• Welcome to The Truck Stop! We see you haven't REGISTERED yet.

    Your truck knowledge is missing!
    • Registration is FREE , all we need is your birthday and email. (We don't share ANY data with ANYONE)
    • We have tons of knowledge here for your diesel truck!
    • Post your own topics and reply to existing threads to help others out!
    • NO ADS! The site is fully functional and ad free!
    CLICK HERE TO REGISTER!

    Problems registering? Click here to contact us!

    Already registered, but need a PASSWORD RESET? CLICK HERE TO RESET YOUR PASSWORD!

What did you do with your GMT400 today...or yesterday....

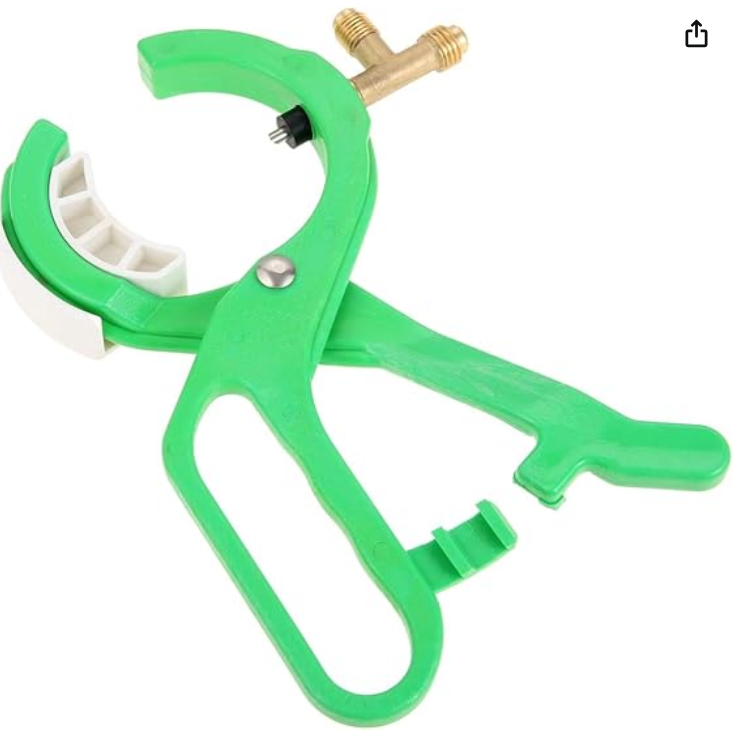
This is the one I use. it punctures the side of the can. it's the old way of charging with cans back when R-12 used the suicide can tap. They changed to a side puncture style which works much better so long as the rubber seal stays in place! when using this one I always make sure I'm not about to pierce the can right on the seam though. for me it's my mind trying to be safe LOL.

1727788007254.png

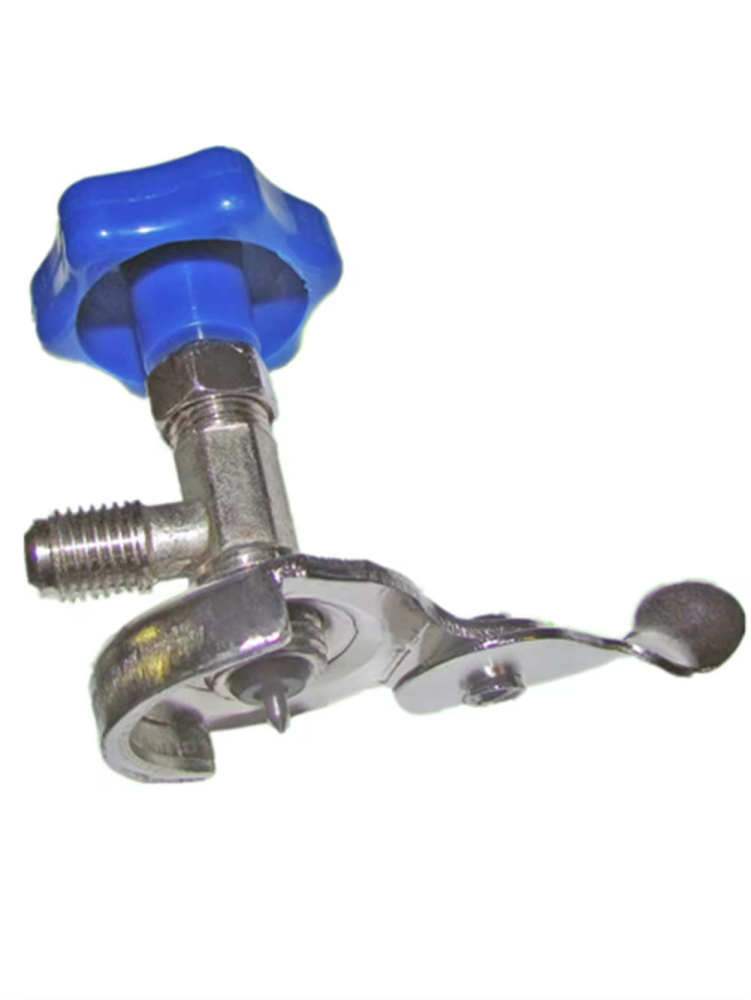
here's a photo of the old one that always blew off the can causing injuries and frost bite.
1727787908339.png
 
As an Amazon Associate we earn from qualifying purchases.
This is the one I use. it punctures the side of the can. it's the old way of charging with cans back when R-12 used the suicide can tap. They changed to a side puncture style which works much better so long as the rubber seal stays in place! when using this one I always make sure I'm not about to pierce the can right on the seam though. for me it's my mind trying to be safe LOL.

View attachment 89932

here's a photo of the old one that always blew off the can causing injuries and frost bite.
View attachment 89931
I will get one of those side can taps on its way.
The old Oldsmobile is a R12 refrigerant unit.
Vicki took it in to get the AC charged up and He converted it to 134.
Hope it can be converted back.
The compressor seal is leaking so a new pump, or, seal and clutch shiuld be installed before going any farther.

I have used the suicide versions afore. Still have one hanging round here someplace. 😹😹😹
 
As an Amazon Associate we earn from qualifying purchases.
If you don't mind flammable gas, the envirosafe performs much better. the only drawback is the pressures are so low that you need an adjustable low pressure cycle switch. for my 93 I can still get them as the accumulator still uses the old R12 SAE thread. on the newer trucks, the pressure switches are metric and I have not been able to find a pressure switch that can be set to a lower cut-off pressure. around 15-18psi is needed vs the standard 22. our trucks use a clutch cycle switch with pressures set to on at 40psi off at 22psi

the older square body trucks all had "adjustable" switches. there is a tiny screw head between the contact pins that you can adjust on them

If I am going to convert one to envirosafe, I like to charge it with ether 134a or 152A and run it a while making sure there isn't any leaks or underlying issues before going flammable routes.
 
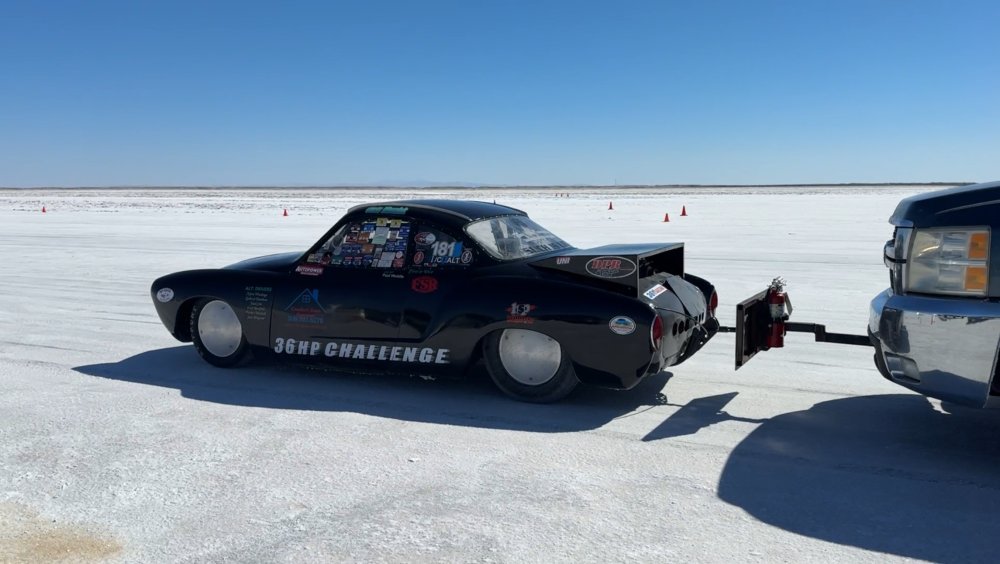
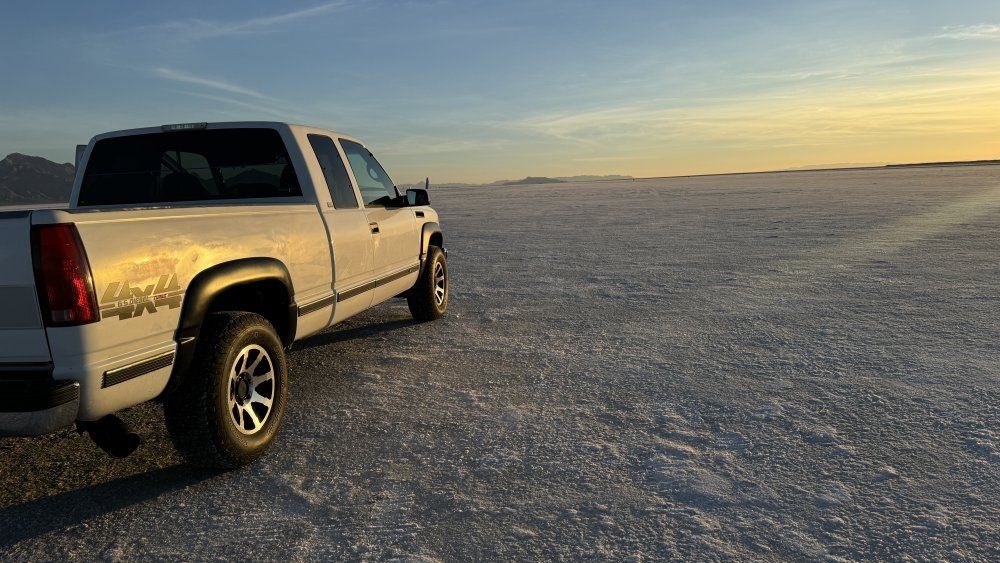
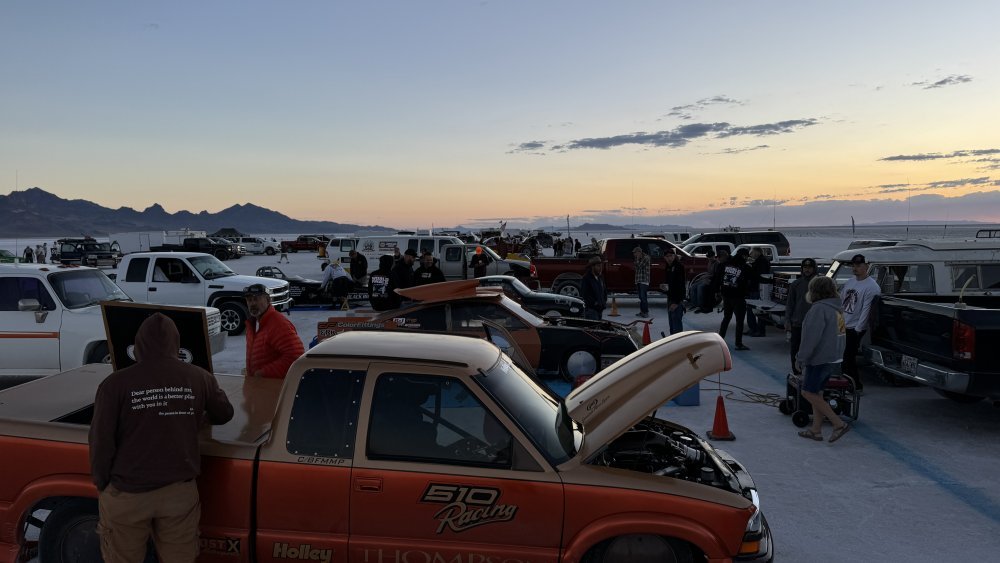
Back from another trip to Bonneville where I used the truck as a “Tool Über”. We ran Mursick’s Karman Gia for the season’s last race, World Finals. Loaded the truck up with my road kit plus awning, chairs, cooler, more power tools, spare wire etc. cause the nearest parts store is about a 1.5 hrs round trip away.
Salt was damp so the truck looked like it had the white version of the Titanic’s ‘rustcicles’ by the end of the first day.
IMG_0020.jpegIMG_0048.jpegBut, it all washed off easily enough since it stayed damp and didn’t get a chance to solidify. By Sunday, the prepared surfaces of the access roads, racing and pit area had dried out so it stopped accumulating so badly.
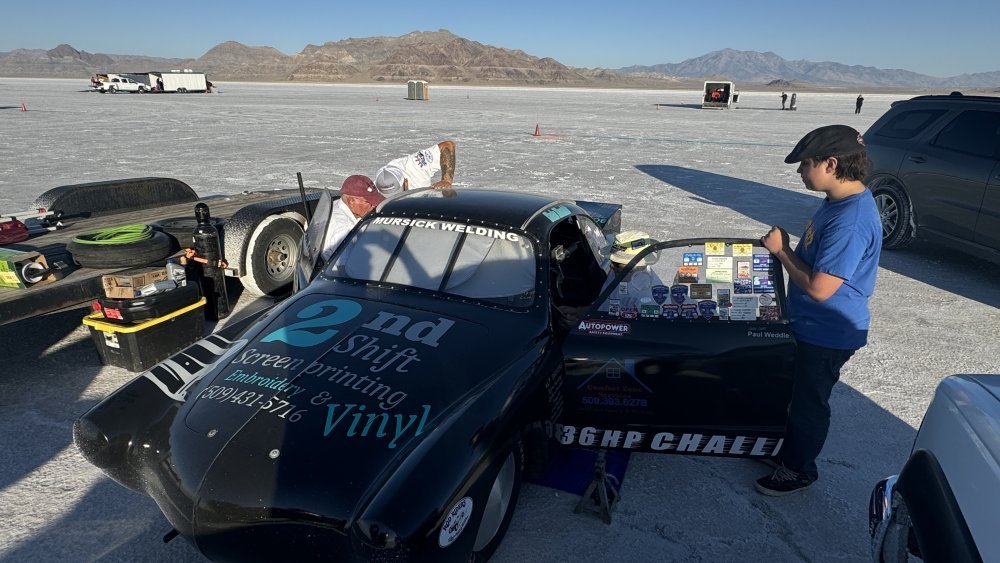
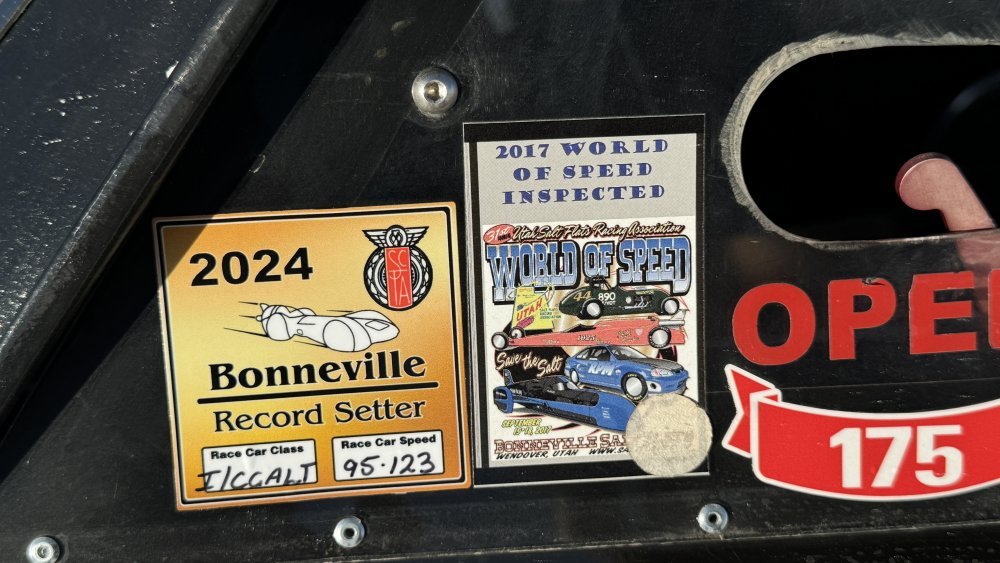
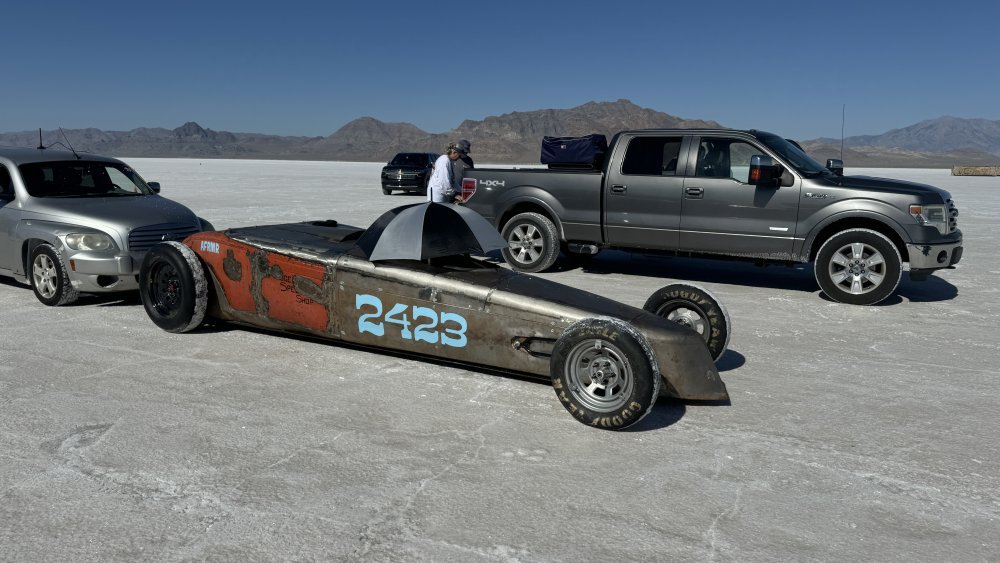
For this event, Chris went with the 2 cylinder “1/2 VW” motor mode meaning, pistons 2 & 4 are removed from the 2 Ltr. engine. What a hoot. Anyway, he held the current record for the ‘“I” motor (under 1000cc)/Classic/Gas Altered’ class or ‘I/CGALT’ so he was just trying to bump it up in the books from 93 to 95 which we did.

Chris and an inspector checking fire bottles, belts etc. Chris’ son looks on. He’s a great help as a ‘go, Fetch’ guy. Learning the ropes young.
IMG_0004.jpeg

I’m famous….
IMG_0005.jpeg

Official ‘went faster’ sticker.
IMG_0046.jpeg

Then Chris handed the car over to his best friend Eric and his son Parker who changed the class to “Fuel Altered” so we could run whatever we wanted to include staying with gas. Erik holds the current I/CFALT speed record and wanted to get his son’s name in the books too. You have to beat the current record on two consecutive runs; first run ‘qualifies’ you to make the second ‘backup’ run the next morning. Parker almost with a back up run that averaged out at 0.104 mph too slow. He had pretty strong headwinds to contend with during the back up run and the winds continued to thwart efforts. Even switching out the jets and fuel to Alcohol didn’t help and, the motor protested to the point we trailered the car mid-afternoon Monday.

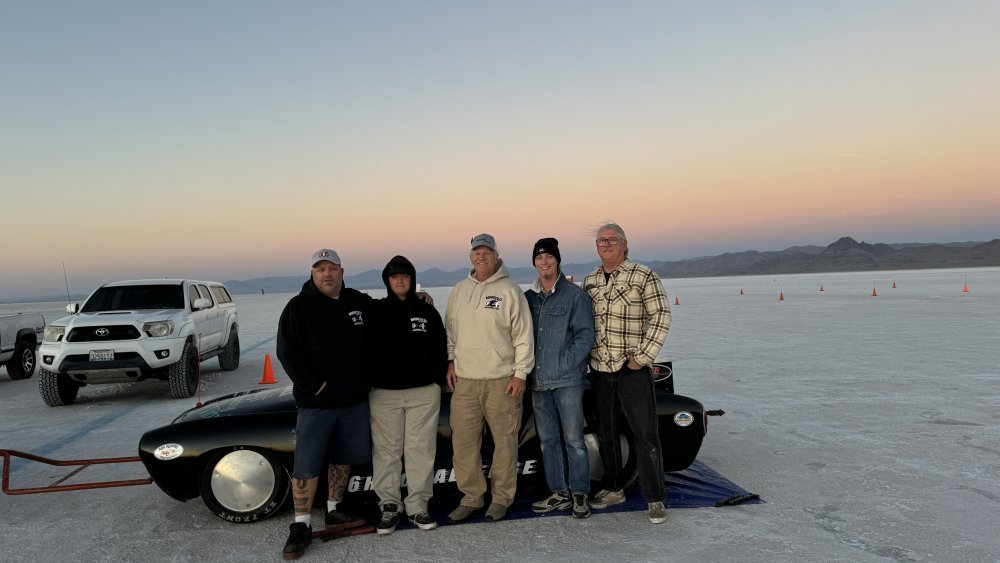
Chris, his son, Pavel, Parker, Erik
IMG_0056.jpeg

That way for dream fulfillment
IMG_0232.jpeg

Push off to about 30mph
IMG_0071.jpeg

Sunrises are always spectacular out there.
Headed to the starting line.
IMG_0049.jpeg

Last sunrise for this year’s racing. Notice the lack of salt build up? “See, it’s coming off.”
IMG_0070.jpeg
 
More happy snaps from the races.

Morning “Q” waiting for the officials to open the salt.
IMG_0026.jpeg

This one went 365+mph at the 5 mile timing line. The qualifying time was closer to 375 on a 355 record. Yeah, bump it a little higher for next year.
IMG_0074.jpeg

Once you qualify or go faster than the current record in your vehicle’s class, you have one hour to get to impound, inspected and then four hours to work on the car for the next day’s ‘Back Up Run’. The car cannot leave impound until the next morning. Having never crewed for a record setting team, I discovered that the morning vibe in impound has a whole nuther feel to it. Everyone is in great moods but, there’s an air of tension mixed with anticipation and anxiety as well. So great to experience.
IMG_0028.jpeg

Chopped Stud. So pretty
IMG_0061.jpeg
IMG_0021.jpeg

Ford Flat Head, 155mph
IMG_0010.jpeg

Patina
IMG_0007.jpeg

Another offering to the Gods of Speed.
IMG_0075.jpeg
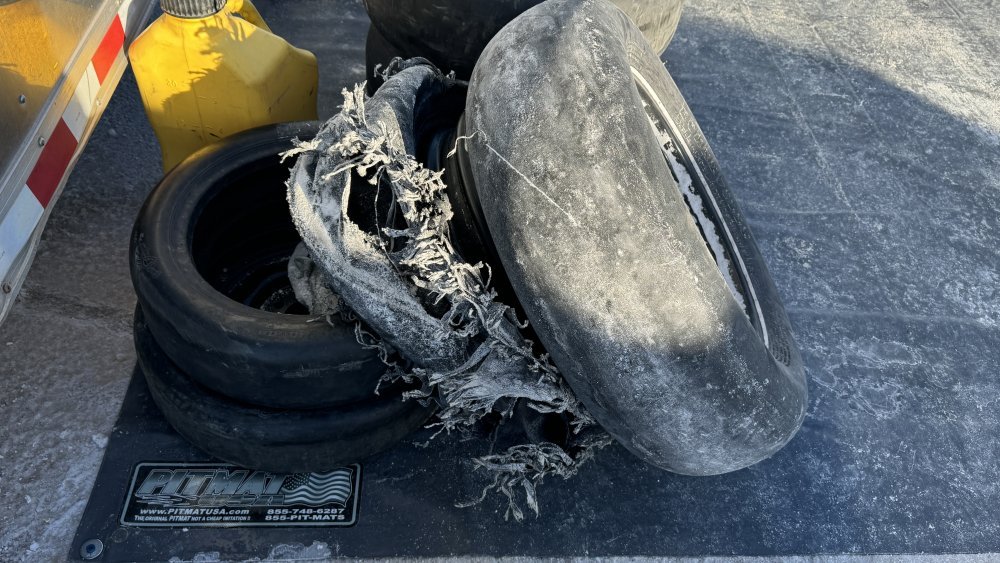
Or…What happens when your 228 mph capable 3500 Dodge Cummins breaks the passenger side axel and the driver’s side does a 2 mile long burn out. “What’s that?” Who knows. Engine sounds fine, keep your foot in it and we’ll figure it out later.
 
Well I spoke too soon on my 93 not having any AC troubles.... I must have jinks-ed it LOL. Yesterday evening While out n about the AC quit...

Couldn't get the compressor to come back on. ended up finding that the connector on the clutch cycle switch had a burned pin. went to the auto parts house this morning and picked up a new cycle switch. I figured I would go with the switch made to fit an 86 model instead of the one for the 93 so that when and if I go to convert it over the envirosafe I would already have the adjustable switch installed.

after installing it (it was marked with off=21psi on=41psi) I connected the gauges and ran it testing everything. as pressures began dropping on the low side, the accumulator started icing over as well as the line all the way up to the compressor. I could see ice forming on the evap pipe going into the firewall too!! revving the engine made the low side presser drop into the teens and all the way down to 10 psi without the compressor cycling off!

Oh crap... I got a dud. started messing with the cycle switch adjustment to no avail, the compressor would not cycle off. shut down the engine and went to pull the switch off and as soon as I began loosening the threads I heard a slight "psst and click" within the switch. I thought maybe I over tightened it on the accumulator. I left it slightly loose but snug on the threads and tried again. got the engine at a fast idle where the low side gauge was staying at about 19 psi while it all was icing over once again. playing with the adjustment I finally was able to get it to cycle now.

at first I had it cycling off at 19 and back on at 45, so I played with it a little more and now it's set perfect for converting to envirosafe. off at 15 and on at 40. right now with the R152a charged my pressures are running at idle at 25 low and 180 high and it's blowing 41 degrees in the cab on low fan and 48degrees on high fan. being it's only 92 and low humidity outside I'm very happy with it as is. didn't need to add any more "duster" to the system ether.
 
I decided to tear further into the 93 today. had a good look at the steering and suspension components making mental notes on what needs to be addressed, what needed quick attention and what all can wait. Only things I found are one outer tie rod with slight play, gear box, steering shaft, and one upper ball joint.

I remembered that I had already replaced the drivers upper ball joint so I jacked up the front end and checked play. sure enough the passenger side upper was sloppy. I just happened to have a new one here I had saved for the 95. I had replaced both upper control arms as complete units on the 95.

pulled the upper arm off the 93 marking the caster/camber bolts and commenced drilling and grinding the factory 31 year old upper ball joint steel rivets out. Boy that was a chore and I'm exhausted. just finished removing it off the arm and will work on re-assembly tomorrow.

the bushings need to be replaced also but the rubber is still intact. I have a set of new bushings but no press or tools to remove and replace them.

The rubber is torn up around the edges but still quite solid where it counts so those can wait until another day when I can pull both sides and take somewhere for them to be pressed out and in.

Next on the list will be the rubber disk in the steering shaft, it's got some play in it but isn't terrible. Just making sure the truck remains safe to keep on the road. Winter is coming up and I don't want to be out there messing with things like this if we get a cold one!
 
Next on the list will be the rubber disk in the steering shaft, it's got some play in it but isn't terrible. Just making sure the truck remains safe to keep on the road. Winter is coming up and I don't want to be out there messing with things like this if we get a cold one!
Thats another thing I been thinking of too.
Might just order in one of them uprated steer shafts to replace that rag joint.

Sanding blasted the exhaustive maneeefolds today. Used the last of the fine blasting sand in town. Today the store that sells that told me it has been on back order for several months.
IMG_0735.jpeg

Might get some of that heat resistant ceramic paint and give them a shot.
Dont know what a good color would be.
I’m kind of partial to the grayish tone that they now are.
 
Thats another thing I been thinking of too.
Might just order in one of them uprated steer shafts to replace that rag joint.

Sanding blasted the exhaustive maneeefolds today. Used the last of the fine blasting sand in town. Today the store that sells that told me it has been on back order for several months.
View attachment 90051

Might get some of that heat resistant ceramic paint and give them a shot.
Dont know what a good color would be.
I’m kind of partial to the grayish tone that they now are.
I wonder if they can be dipped in something to keep them from rusting with the heat. keeping their bare cast iron look!

While you have them out, you might consider drilling and taping for a EGT gauge.
 
Thats another thing I been thinking of too.
Might just order in one of them uprated steer shafts to replace that rag joint.

Sanding blasted the exhaustive maneeefolds today. Used the last of the fine blasting sand in town. Today the store that sells that told me it has been on back order for several months.
View attachment 90051

Might get some of that heat resistant ceramic paint and give them a shot.
Dont know what a good color would be.
I’m kind of partial to the grayish tone that they now are.
Hope springs eternal. Had mine commercially ceramic coated…lasted maybe a year.
 
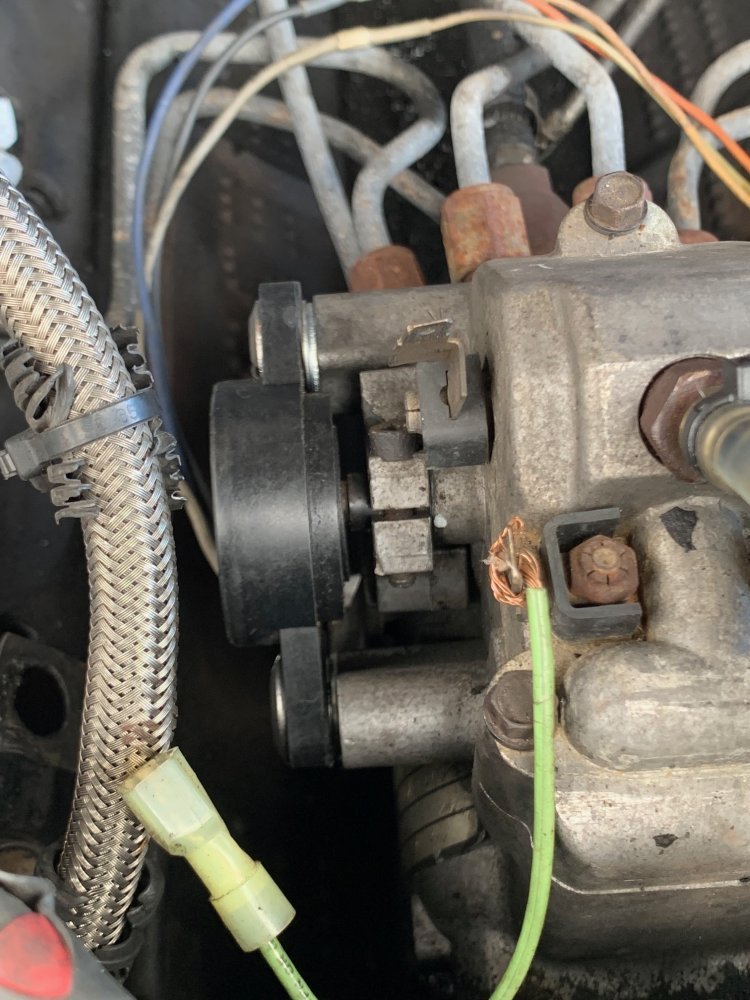
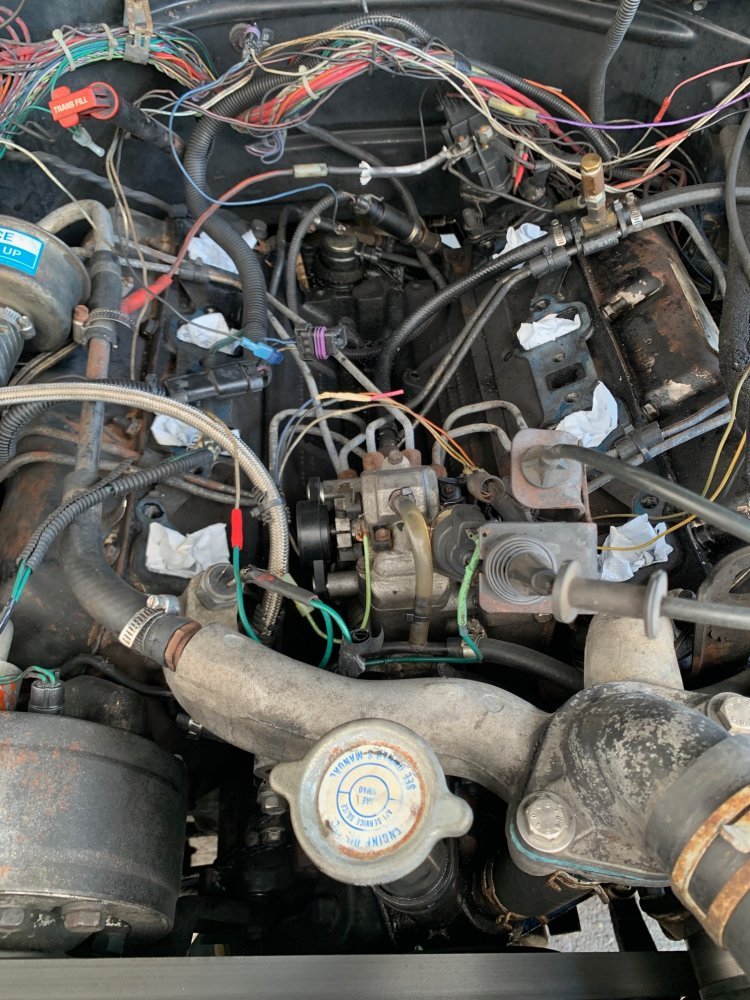
Pulled the intake off the 93 today in an effort to cobble up a GM tps on this military IP and figure out what was causing the throttle pedal to be stiff.

that all boiled down to finding the return spring had been shortened, must have broken at one point and repaired, along with having the TCI remote cable operated tps which was spring loaded holding back on the throttle.

Got all that fixed up, succeed on making an adapter to mate the GM TPS on the military IP using a flange style body nut. carved out a slot for the IP and fitted it in the GM tps. Replaced the return spring, and removed the cable driven TPS. Now the pedal feels much better :)

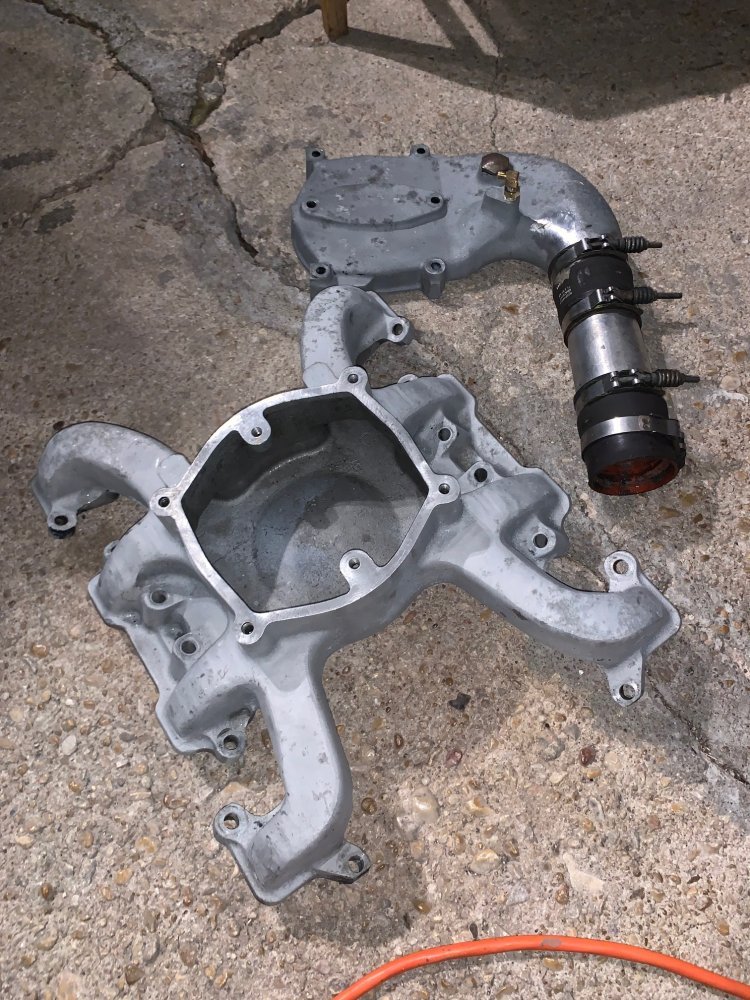
decided to clean up the engine area too while I was in there. stripped off the black paint from the intake and about ready to put it all back together again.

Need to get some loom and wrap the main harness, most of it is no longer functional with the factory TCM not connected. maybe one day with I pull this engine I can remove everything that isn't needed simplifying the wiring.

IMG_5529(1).jpg
IMG_5528(1).jpg
IMG_5532.jpg
 
Question for you guys... the engine in this 93 was from a 99 model. I need to pull the casting numbers on it to verify what block it is, but something I noticed while having the intake off is in the valley there is a boss that sticks up with two threaded bolt holes just before where the oil pump drive is. there is no drain there to let what ever collects to run off the back of the engine like it does on my 95 and on the other 6.2 engine. the valley is also much deeper than the other engines.

was this part of the changes GM made over the years? one would think they would have left a way for oil, water, or even fuel that collected in the valley to drain off and not pool up under the intake! what was the boss for with the two threaded holes. it can be seen in my last post in the first pic.
 
There is a drain, I circles it in white. GEP adds a tube in the back of the block visible behind the flywheel/flexplate that directs the liquids out the driver’s side of the engine. Otherwise any leaking oil gets mis diagnosed as a leaking rear main seal.

The two raised bosses are to mount the center mount turbo. The raised portion over top of the drain hole is where a small hole is drilled at an angle into the oil valley to supply oil to the center mount turbo. Then a larger hole is drilled that allows the drain of the oil back into the crank case by the path of falling past (and some onto) the camshaft.

When I get a chance I will post pics for you of it all.
 
Back
Top