DieselSlug
Well-Known Member
That's my thought, but of course they aren't bad enough to visually tell by plug. I wanted to go look at fuel trims again, but I'm just running out of time before our trip
Follow along with the video below to see how to install our site as a web app on your home screen.
Note: This feature may not be available in some browsers.
Does the side rails on those roof racks seem to be able to be cut down ?Luckily mine is nearly a bolt on swap! Same body style truck essentially. My current rack has 6 bolts per rail, this new one has 7 bolts per rail. I will be omitting the 7th attachment point and all should be fine.
Spent time today cleaning more. A quick polish, its still pitted pretty bad. Took a wire Wheel to the threads of the bolts and used a pick to remove debris in the torx and Allen heads. I will be sealing the threads of these bolts upon installation.
View attachment 91168
View attachment 91169
I also had to JBWeld the front carriage bolts back in. They spun when I tried to take them out as they embed to plastic.
View attachment 91170
Yes, just cut to your required length and re-drill 4 holes in the bottom of the rail to bolt the rails to the plastic bases.Does the side rails on those roof racks seem to be able to be cut down ?
The top of the Suburban is much longer than the top of the cab of My truck so the rails would need to be shortened.
Not sure if your running any injector cleaners in the fuel, but you might try dousing the tank with some lucas injector cleaner along with a full tank of non-ethanol for the trip.That's my thought, but of course they aren't bad enough to visually tell by plug. I wanted to go look at fuel trims again, but I'm just running out of time before our trip
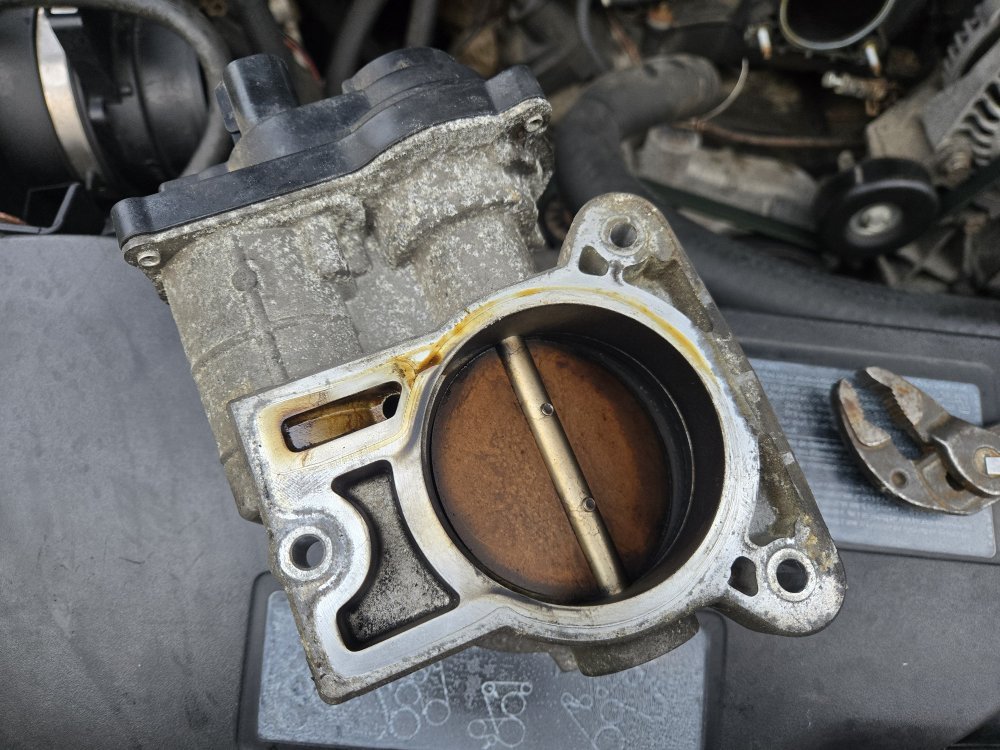
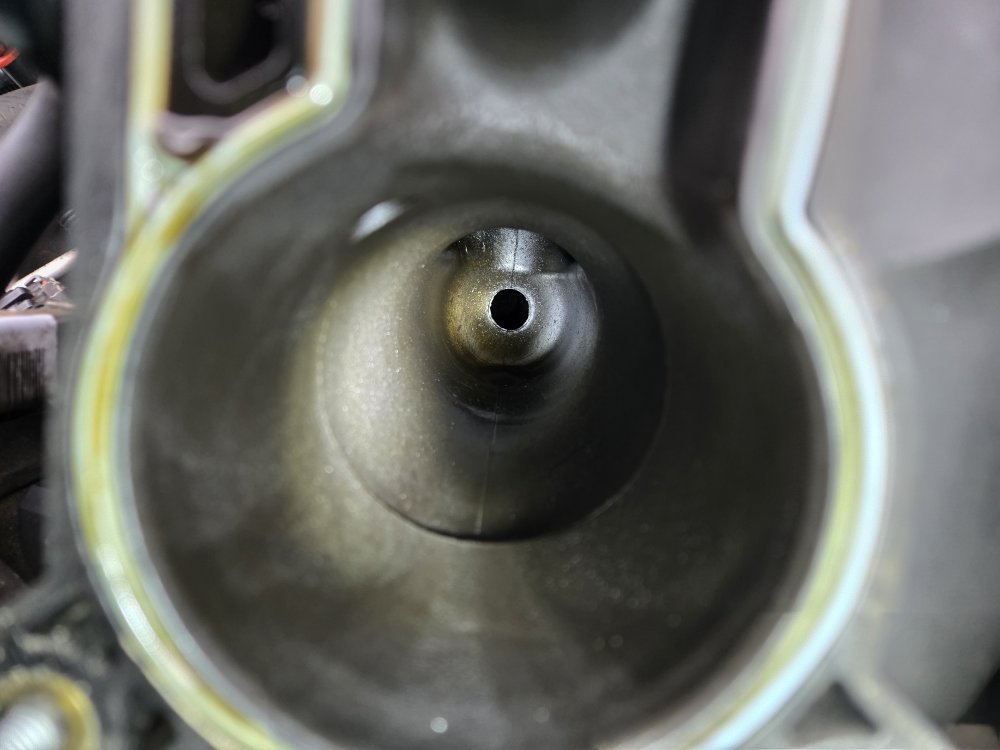
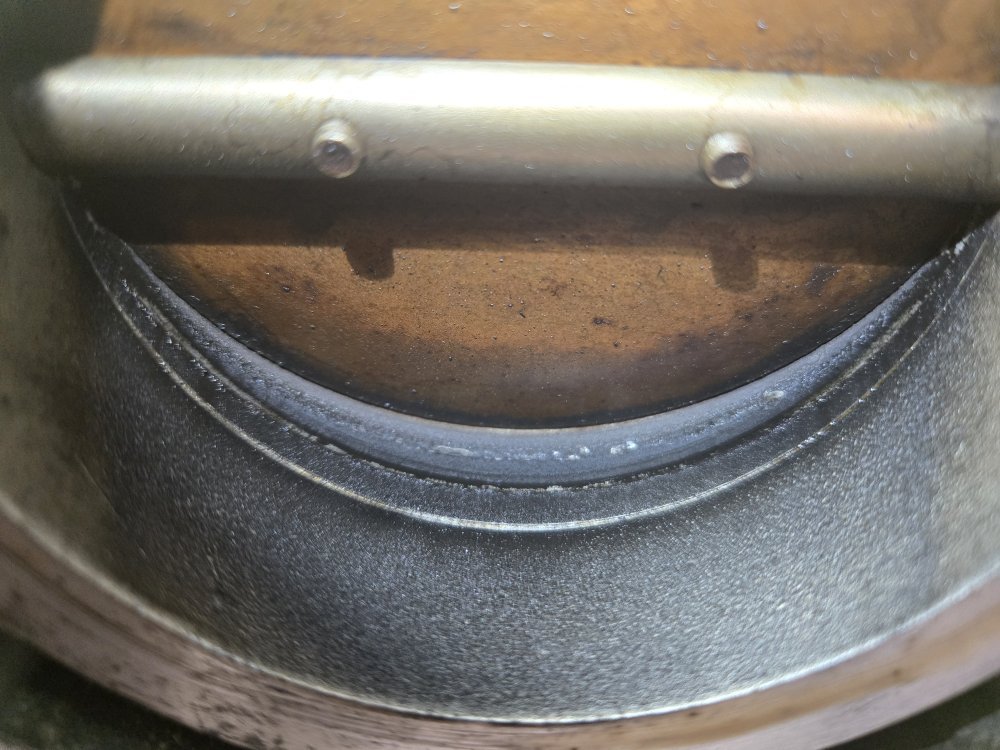
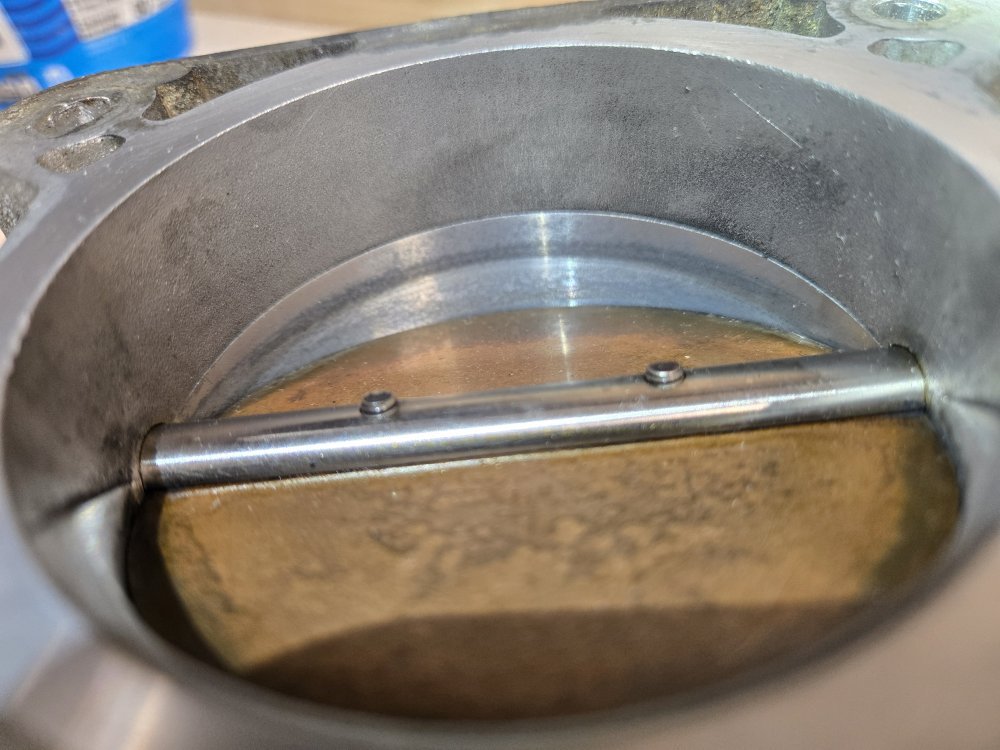
what about the old "Italian tune-up" with the water bottle!! That will remove any carbon on the valves and pistons. also these GM engines to have to have the throttle bodies removed from time to time and cleaned out with a good carb or brake cleaner that resolves the build up. use an old tooth brush on it too.We got the Snap On scanner and scope plugged into the Yukon this AM.
All "reads" normal, except for a very slight misfire at idle on Cylinder 5. It's minimal enough to not trigger a CEL, and only at idle not any bit of throttle. A cylinder balance really didnt show much deviation either, all looked good. O2s and fuel trims looked good, much better after that Cylinder 6 injector replacement.
Discussions included cleaning the throttle body, running some sea foam and injector cleaner through it. He is thinking a valve issue, really need to do a leak down to find out on that front. I was also thinking the intake gasket, but why doesn't it get worse at RPM? Same with weak coil, clogged injector, etc. That should all get worse with RPM.
I haven't, but I am going to try to grab some after lunch today. I'm at a 1/4 tank again now so it's good timing. I always thought that stuff to be like snake oil. Contemplating on trying rhw seafoam, I have heard good stories, none that hurt anyway.Not sure if your running any injector cleaners in the fuel, but you might try dousing the tank with some lucas injector cleaner along with a full tank of non-ethanol for the trip.
I'm working from home tomorrow, so I will try to remove it and clean it during lunch. I need to get a gasket for it too today.what about the old "Italian tune-up" with the water bottle!! That will remove any carbon on the valves and pistons. also these GM engines to have to have the throttle bodies removed from time to time and cleaned out with a good carb or brake cleaner that resolves the build up. use an old tooth brush on it too.
Yeah, they are newer too. Will see what sticks out to me at the auto store. I like the fact they say seafoam is petroleum based.Before doing Doug's version disconnect the exhaust so you don't plug the cats
Might have to take the same amount from each end so that the cut outs would remain symmetrical.Yes, just cut to your required length and re-drill 4 holes in the bottom of the rail to bolt the rails to the plastic bases.
Only issue I could see is making your cuts right so the middle braces fall symmetrically. They "slip" into the bottom of the rails via quare cut outs.
