Navigation
Install the app
How to install the app on iOS
Follow along with the video below to see how to install our site as a web app on your home screen.
Note: This feature may not be available in some browsers.
More options
-
Welcome to The Truck Stop! We see you haven't REGISTERED yet.
Your truck knowledge is missing!
- Registration is FREE , all we need is your birthday and email. (We don't share ANY data with ANYONE)
- We have tons of knowledge here for your diesel truck!
- Post your own topics and reply to existing threads to help others out!
- NO ADS! The site is fully functional and ad free!
Problems registering? Click here to contact us!
Already registered, but need a PASSWORD RESET? CLICK HERE TO RESET YOUR PASSWORD!
You are using an out of date browser. It may not display this or other websites correctly.
You should upgrade or use an alternative browser.
You should upgrade or use an alternative browser.
My 2005 Yukon XL
- Thread starter DieselSlug
- Start date
DieselSlug
Well-Known Member
DieselSlug
Well-Known Member
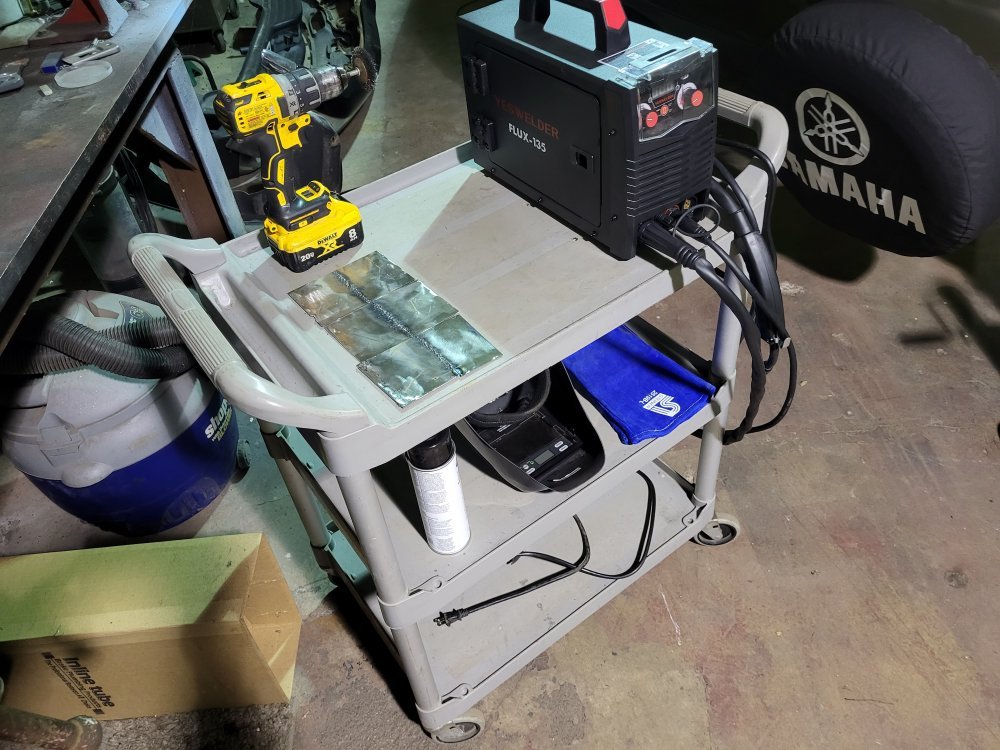
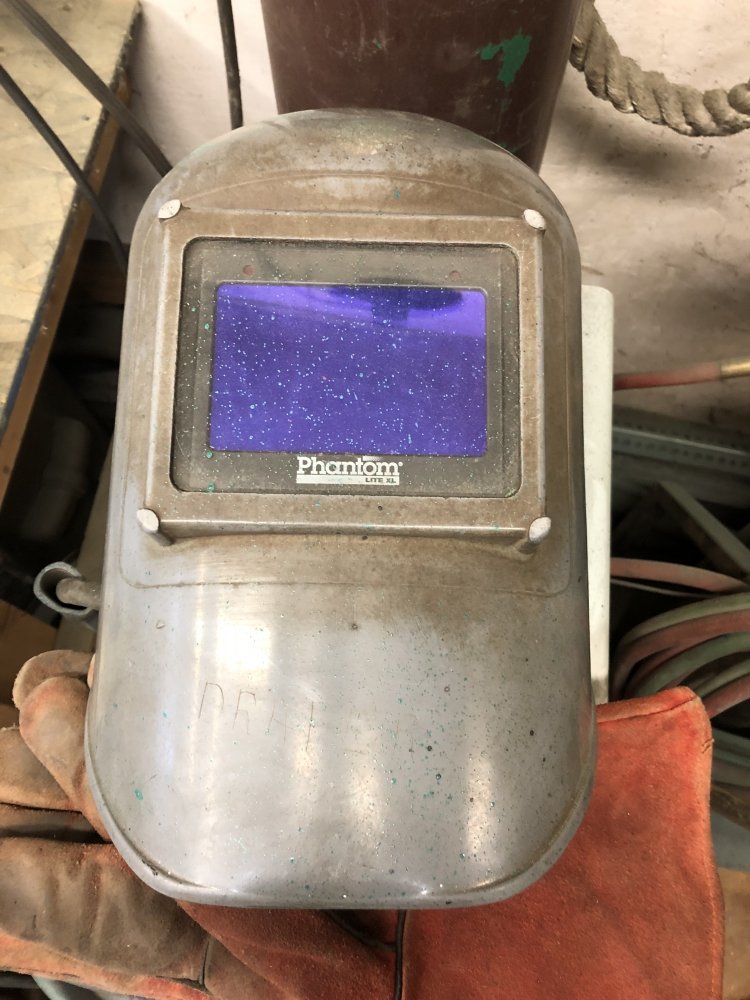
Starting to get better tacks with penetration, could still use more improvement, but starting to move in the right direction. Definitely a process of cleaning frequently due to flux core. One struggle I am also having is being able to see out of the mask, I think my area just isn't lighted enough.
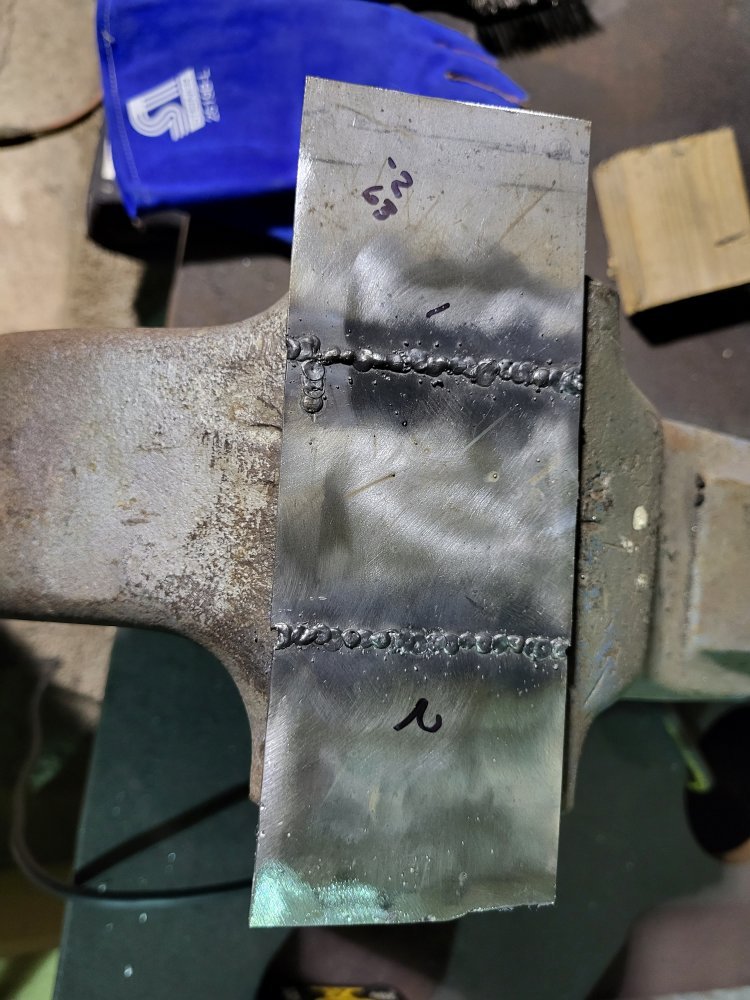
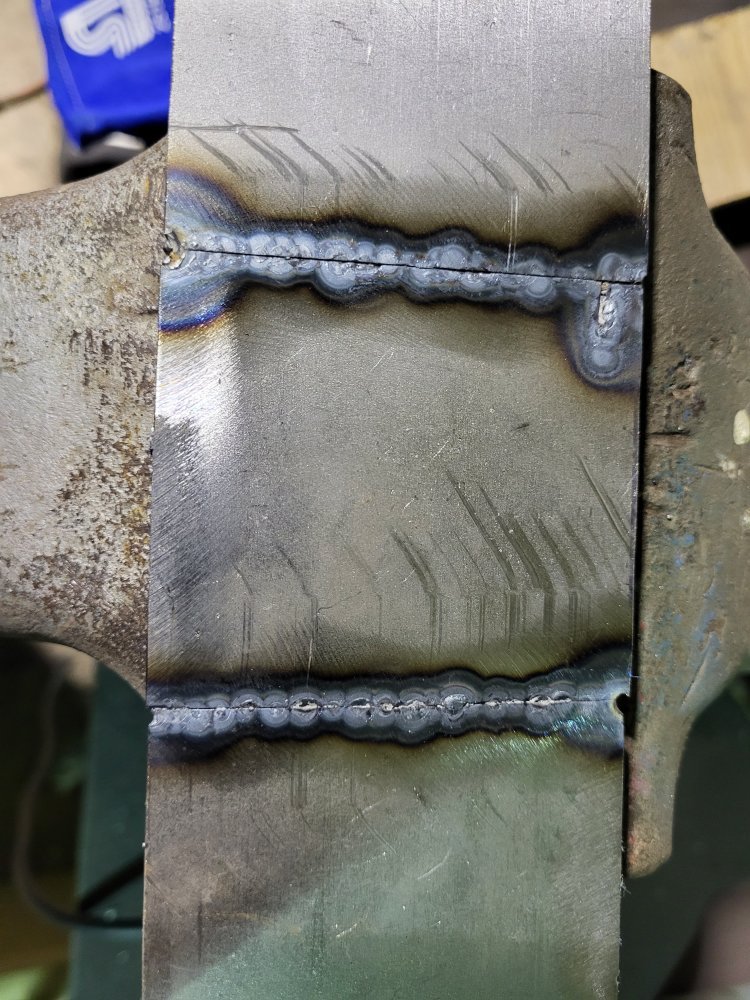
The little HF blasting gun is on point now.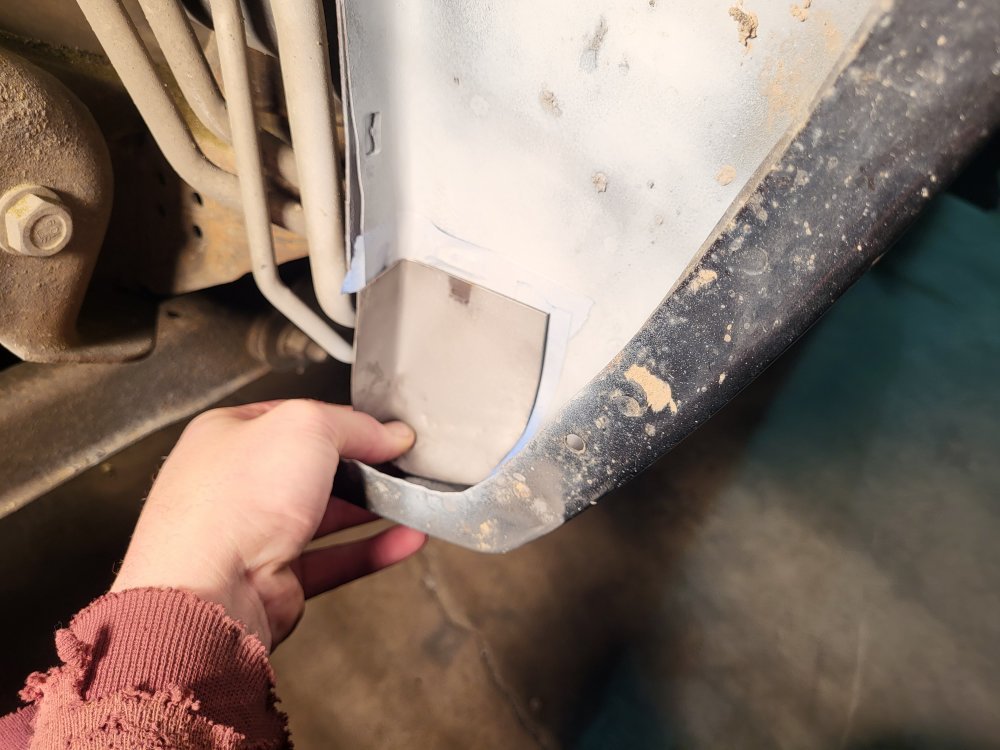


The little HF blasting gun is on point now.

Will L.
Well-Known Member
A little more heat would go a long ways.
DieselSlug
Well-Known Member
Something I am just starting to wrap my brain around (and not sure if this is entirely true) is the relationship of voltage to wire speed/amps when setting up the welder. From what I understand voltage flattens out the bead, wire speed (amps) increases penetration. Obviously you need to have the correct ratio for them to operate properly.A little more heat would go a long ways.
I will try the next run on increased voltage and see if better penetration occurs.
Will L.
Well-Known Member
Right impression of what it does to the bead you see.
Wrong on amps and wire speed relation.
When you crank up the power (best is to forget if it is voltage, amp, etc at first)- the more power you set the welder to: the more it will melt the metal. Both the two metals you are trying to melt together, and the wire you are adding in.
When you have proper melting of the two metals (holding the power to them) if you stay in the same spot on that thin of metal, it will melt away in a couple seconds.
With the wire, the easiest way I taught people was add as much as it will take. Turn it up until the wire hits the metal and actually pushes your hand away and sticks to the metal as a piece of wire.
Do not try to get your settings by ON OFF ON OFF ON OFF tacking.
Take a scrap of the metal and run a bead. Turn up the heat until it is melting out on you like a lightning bolt blast. Then turn it down until you can control it.
Then set your wire speed according to that power level.
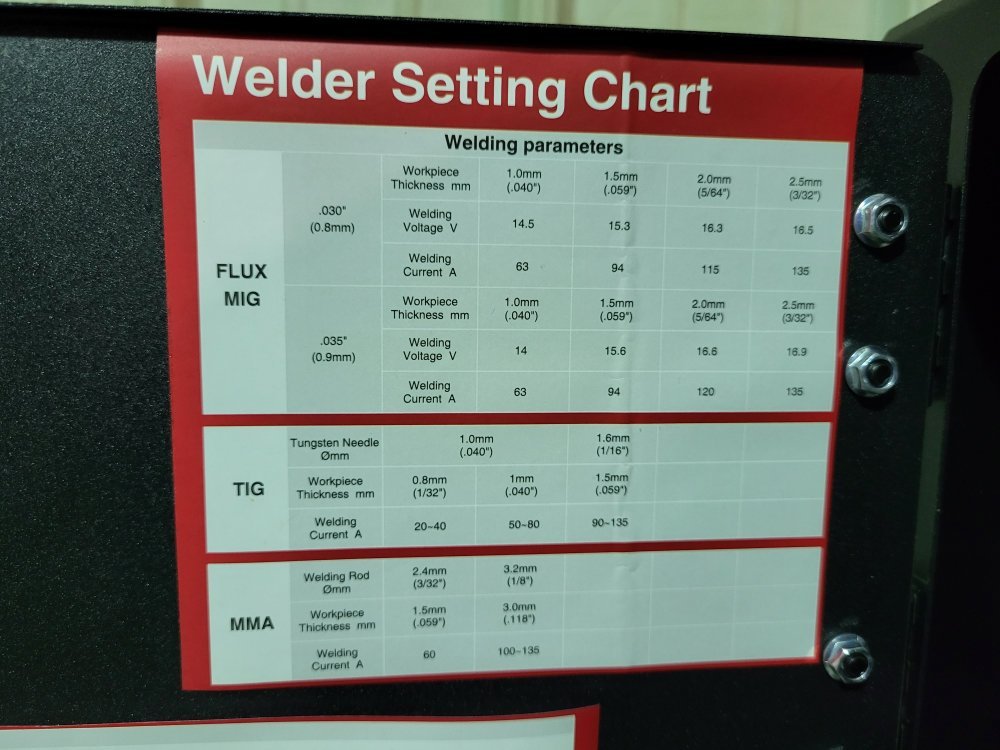
There usually is a cheat sheet that comes with welders to say what power level according to the metal thickness you are welding. If yours isn’t- you can search google and just click images and find something similar, but how efficient the welder is changes the settings a bit.
Once you have the welder set to weld properly, it will tack properly by holding still and hitting the trigger for just under one second.
MrMarty51
Well-Known Member
I have a Hobart 135 with gas.
I have welded using fluxcore on heavier pipe.
I had the heat turned to maximum and wire feed also set to maximum and it laid in some beautiful beads on them clothes line posts.
Back to solid wire and gas. When welding sheet metal such as what You are doing.
I run the voltage next to max. I run the wire quite fast and then, I do not try to lay in a bead. I go along and basically spot weld the pieces together.
I have set the wire speed and heat to where I can lay in a bead but, to get proper penetration, there invariably will be burn throughs that needs to be puddled in.
The spot weld method seems to give excellent penetration and when completed appears like a continuous bead, and, I have no burn throughs to contend with.
DieselSlug
Well-Known Member
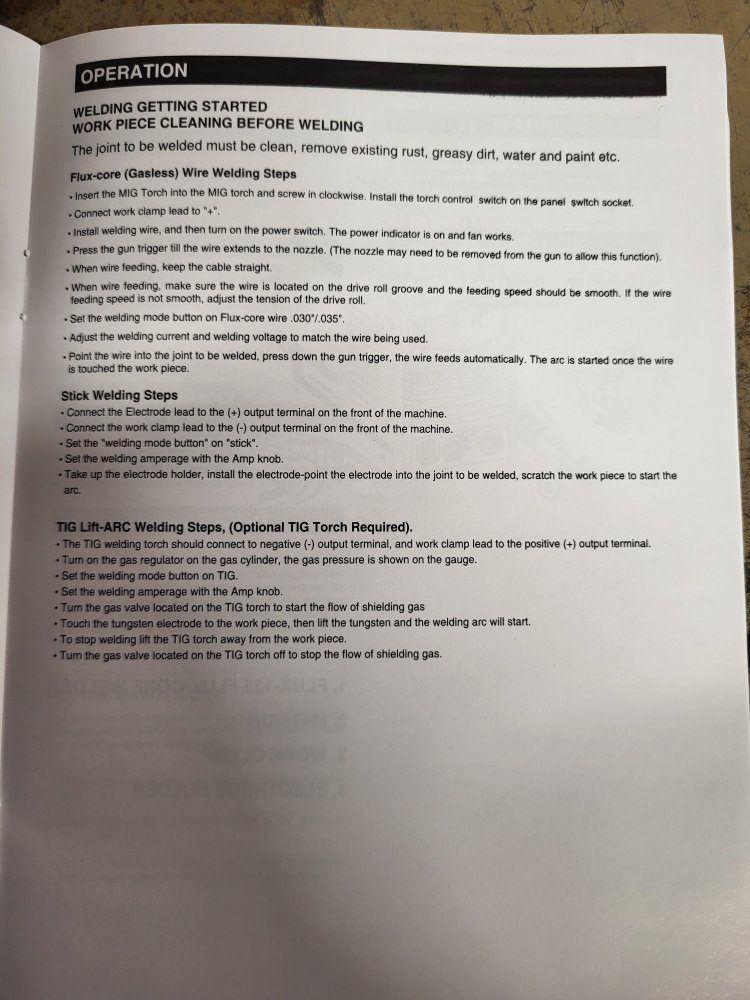
To be honest I haven't event attempted to lay a bead yet as all I planned to do was tack. This welder came with a cheat sheet, but I can't correlate the voltage knob to their recommended setting. Recommended for 1mm is 14.5v, however my range is -5 to 5 volts. Im guessing this is a smart welder, and the volts is based on wire feed. But it gives you a range to alter their pre programmed wire speed. Again, the manual doesn't state this so I am guessing.Right impression of what it does to the bead you see.
Wrong on amps and wire speed relation.
When you crank up the power (best is to forget if it is voltage, amp, etc at first)- the more power you set the welder to: the more it will melt the metal. Both the two metals you are trying to melt together, and the wire you are adding in.
When you have proper melting of the two metals (holding the power to them) if you stay in the same spot on that thin of metal, it will melt away in a couple seconds.
With the wire, the easiest way I taught people was add as much as it will take. Turn it up until the wire hits the metal and actually pushes your hand away and sticks to the metal as a piece of wire.
Do not try to get your settings by ON OFF ON OFF ON OFF tacking.
Take a scrap of the metal and run a bead. Turn up the heat until it is melting out on you like a lightning bolt blast. Then turn it down until you can control it.
Then set your wire speed according to that power level.
There usually is a cheat sheet that comes with welders to say what power level according to the metal thickness you are welding. If yours isn’t- you can search google and just click images and find something similar, but how efficient the welder is changes the settings a bit.
Once you have the welder set to weld properly, it will tack properly by holding still and hitting the trigger for just under one second.
Will L.
Well-Known Member
You need to practice beads- then the tack will be correct.
I know it sounds backwards- but first a child learns to say the word dog, and then learns the letters afterwards. Then it is easy to teach the child to read. Try teaching the letters before speaking and it will not go well.
Weld a bead- adjust as needed. Then the tack will just happen.
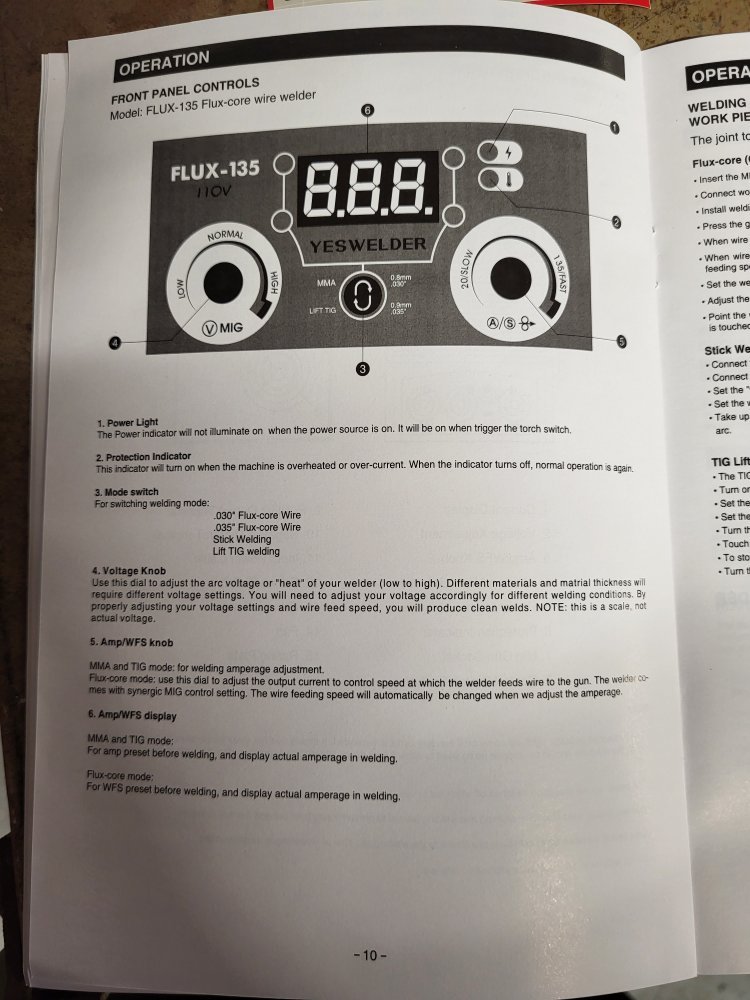
Post pictures of the welder controls, and the cheat sheet.
DieselSlug
Well-Known Member
Here is the knobs. They are infinite (meaning they spin each way forever with no stop). Left is voltage (-5, to 5) in increments of .1, and the right is wire speed (20 to 135) increments of 1. Center button toggles wire size, stick, and tig. I double checked my polarity too and I am electrode negative, so that is correct.
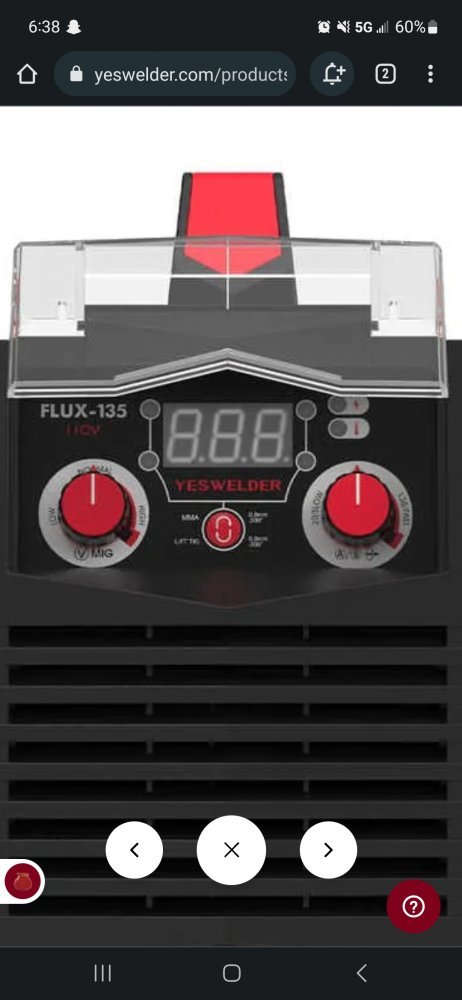
I will try to locate the cheat sheet, it's with the unit at work so may be tomorrow for that.

I will try to locate the cheat sheet, it's with the unit at work so may be tomorrow for that.
DieselSlug
Well-Known Member
jrsavoie
Recruit
For vision I always used a big lensed Jackson helmet.
I most generally had a 300 watt bulb going in spots where I really needed to see. I most generally used a #9 lense
I most generally had a 300 watt bulb going in spots where I really needed to see. I most generally used a #9 lense
DieselSlug
Well-Known Member
DieselSlug
Well-Known Member
I actually am using a Jackson with the large vision port. It was free, maybe the batteries are getting weak?For vision I always used a big lensed Jackson helmet.
I most generally had a 300 watt bulb going in spots where I really needed to see. I most generally used a #9 lense
jrsavoie
Recruit
LOL. My Jackson's never had no stinking batteries.I actually am using a Jackson with the large vision port. It was free, maybe the batteries are getting weak?
I never have gotten used to a flash helmet. I still shake my head before I strike an arc.
For tight spots I have a pair of goggles with a grinding shield duct taped to it to save my face.
I also have a leather helmet that worked ok.
I used that more for sandblasting and carbon arcing than welding.
MrMarty51
Well-Known Member
DieselSlug
Well-Known Member
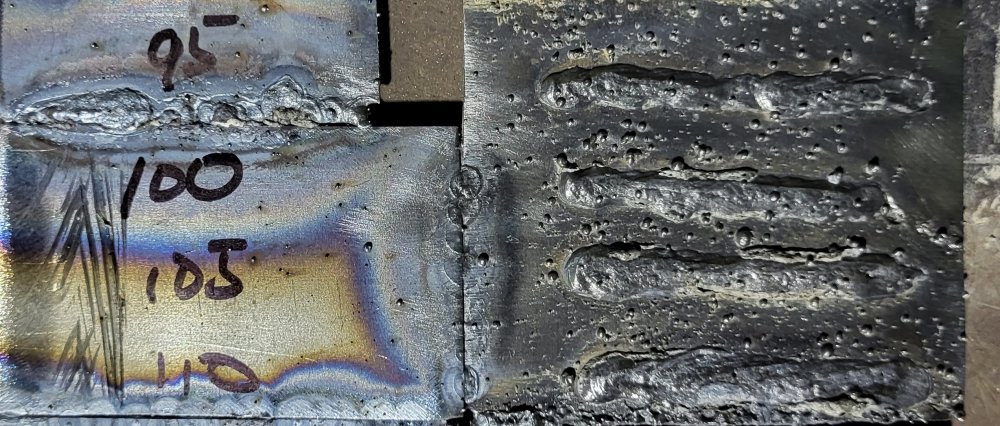
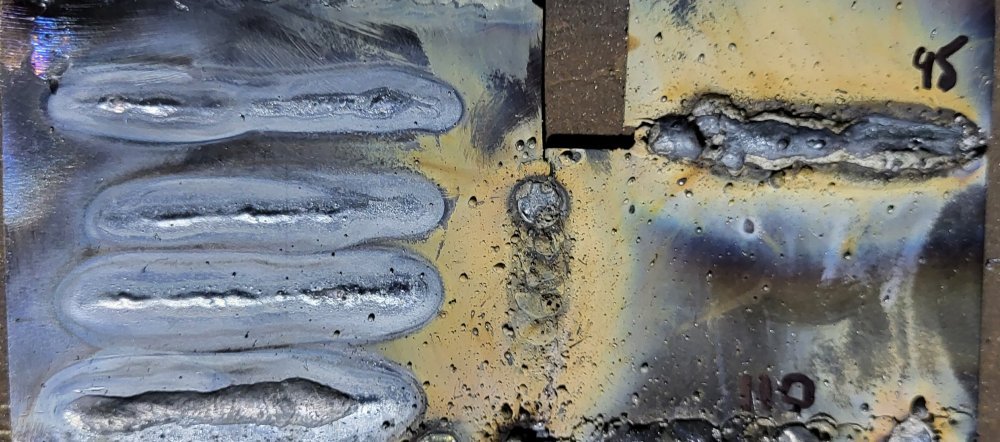
Messed around some more at lunch today. Tried laying some bead on the 16ga. Upped the settings this time to somewhat intentionally blow through. Had a few little areas that did. Worked my way up to 110A, and increased volt by 2.5, and laid down some beads. They were ugly, but didn't blow all the way through.
Tried tacking a piece together at those settings. What I am coming to see is that if they are butted tight, penetration is not good even cranked way up. The minute I introduce some gap to it then I get much better penetration at a lower setting. Just to get crazy I cranked the voltage all the way up(so +5) on a tack and it still didn't blow through on a tight butt at 110A. I need to get more material to practice on, current stuff is whooped!
Tried tacking a piece together at those settings. What I am coming to see is that if they are butted tight, penetration is not good even cranked way up. The minute I introduce some gap to it then I get much better penetration at a lower setting. Just to get crazy I cranked the voltage all the way up(so +5) on a tack and it still didn't blow through on a tight butt at 110A. I need to get more material to practice on, current stuff is whooped!
Last edited:
dbrannon79
I'm getting there!
Try grinding the two edges to make a slight V shape when butted up together. maybe penetration will work better along with filling in the V shape solid.
Husker6.5
135' diagonal 16:9HD, 25KW sound!
DieselSlug
Well-Known Member
Might have to, wondering if there just isn't enough 'oomf on a 110v welder for a tack penetration on 16ga. I have great penetration on 22ga. When I run beads on the 16ga, sending the beans it makes heat! #s are amps corresponding to the bead on flat material.Try grinding the two edges to make a slight V shape when butted up together. maybe penetration will work better along with filling in the V shape solid.
