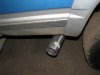
I just looked on summit racing's site and found this: http://www.summitracing.com/parts/SUM-G1380/
There you go, done deal. I wonder why the dont show the plug side?

Follow along with the video below to see how to install our site as a web app on your home screen.
Note: This feature may not be available in some browsers.
I just looked on summit racing's site and found this: http://www.summitracing.com/parts/SUM-G1380/

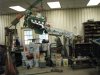
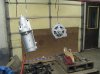
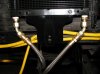
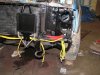
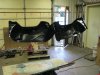
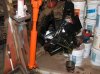
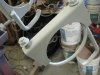
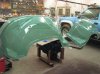
incredible, thats a serious hoist
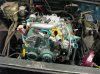
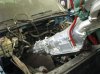
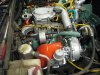
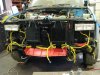
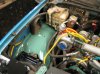
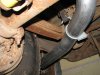
Had to pull the wiring up into the engine bay and fish it back down. Fuel lines had to be pulled down and fished back up:rolleyes5: OOPPS!!!!mad2::rolleyes5: A couple of bumps in the road.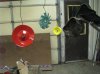
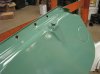
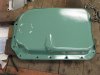
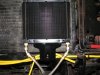

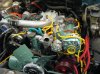
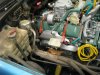
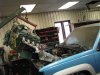
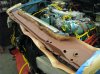
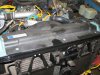
 . Then gave it the scrubbing bubbles bath from both sides.Let it soak for a bit and rinsed. I thought it looked pretty good with just the air hose. Lots more dirt came out with the scrubbing bubbles. The real bonus was it smelled so good afterwords:thumbsup::thumbsup:New upper and lower hoses.

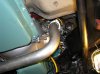
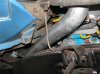

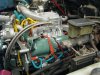
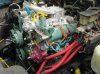
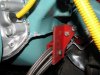
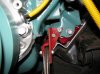
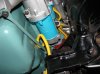
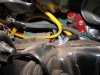
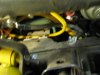
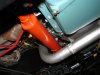
Finished hooking up the glow plugs on the passenger side and installed the stainless heat shields for the center 2.


How much money do you have?Sure is coming together nice, when can I drop mine off...?