Navigation
Install the app
How to install the app on iOS
Follow along with the video below to see how to install our site as a web app on your home screen.
Note: This feature may not be available in some browsers.
More options
-
Welcome to The Truck Stop! We see you haven't REGISTERED yet.
Your truck knowledge is missing!
- Registration is FREE , all we need is your birthday and email. (We don't share ANY data with ANYONE)
- We have tons of knowledge here for your diesel truck!
- Post your own topics and reply to existing threads to help others out!
- NO ADS! The site is fully functional and ad free!
Problems registering? Click here to contact us!
Already registered, but need a PASSWORD RESET? CLICK HERE TO RESET YOUR PASSWORD!
You are using an out of date browser. It may not display this or other websites correctly.
You should upgrade or use an alternative browser.
You should upgrade or use an alternative browser.
What did you do with your GMT400 today...or yesterday....
- Thread starter deejaaa
- Start date
smokymtn65
Well-Known Member
Like explaining a 8 lug 1500 is not a rebuilt wreck...
Big T
Well-Known Member
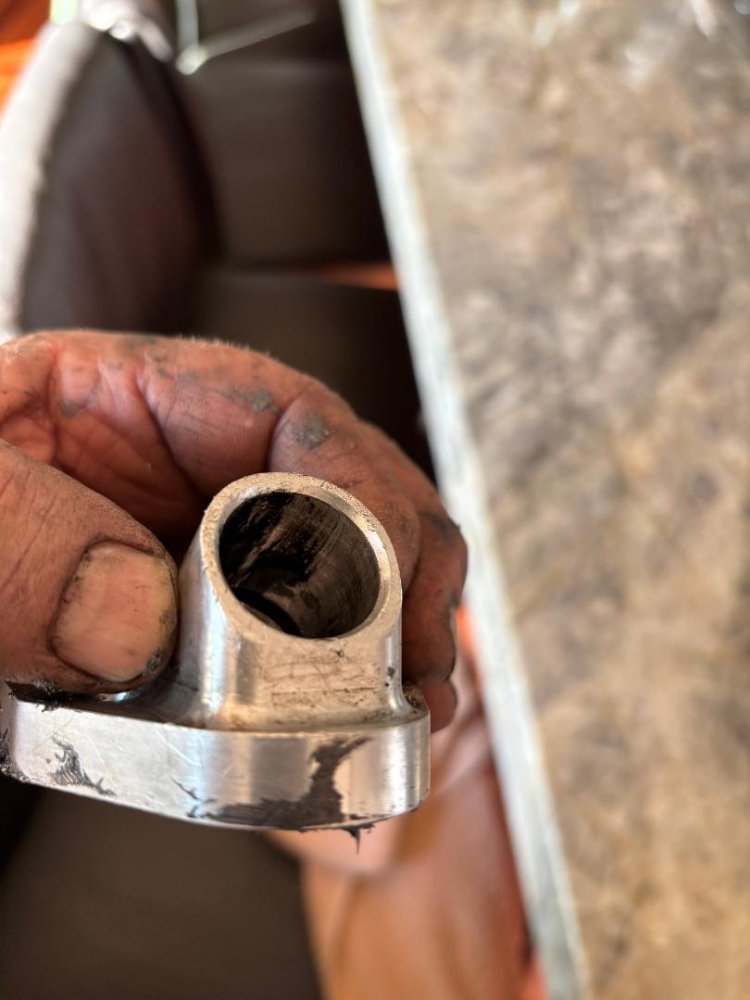
The bore does have a chamfer in it:How does that pipe fit the installed receiver ?
Another alternative would be to remove the receiver plate and die grind a chamfer in the top of the bore.
I have the earlier kit installed on My truck.
The receiver on Mine is a rigid pipe mounted to the plate. It sticks up and out away from the exhaust manifold.
It was made for the GM turbo charger. Easy enough to make the adaption, bored the oil return flange bolt holes a size bigger. Maybe now 5/16ths or 3/8ths.
Big T
Well-Known Member
Spent 5 hours on the turbo drain line tube install. Had to use a second drain line because the pre-bend in the first was never going to allow the install. Ended having to build the tube assembly from the engine up to the turbo. Install new tube to plate. Install plate to engine. Install tube to turbo.
Next step will be to connect the Pro Vent style catch can.
Next step will be to connect the Pro Vent style catch can.
MrMarty51
Well-Known Member
@dbrannon79
Since switching from fhat Stanadyne IP driver module to the Dorman, the truck has not stalled in over 20 miles.
Maybe itiz fixed.
Since switching from fhat Stanadyne IP driver module to the Dorman, the truck has not stalled in over 20 miles.
Maybe itiz fixed.
MrMarty51
Well-Known Member
I know this aint a GMT400. I just needed a post with that “Restore” stuff advertised innit.If you been looking for an excuse to buy one of the $40 boroscopes on amazon- this is a good excuse. Pull the injector to see in there with the scope.
Do the tricks loosen any stuck rings. Beginning with fakey wmi treatment as the water misting will remove carbon from cylinders injector faces, and hopefully some carbon holding a ring or two stuck. (remember to undo pipe before cat/soot trap/muffler)
Then add the different liquids to try loosening the rings incase any are stuck. Long shot but a few hours and $20 could be worth it.
Then pour in the can of “Restore”. It can help clean up compression.
Looking for a thread/post that gives the specific name to that petroleum product. “RESTORE”.
I have the MG in the garage.
Oil consumption on that is a quart to 50 miles.
In the garage I also have at least one jug of Dexron 6 ATF.
Going to mix several batches with that Dex6 and suck it into the MG intake.
Mix it with water about 60% ATF and 40% water and then allow the engine to suffocate on the stuff and die. Give it about a half an hour, fire it up then pour the rest of the 25% in to finish the blow out.
Then thinking a couple cans of seafoam additive through the intake with about the same procedure.
Then, change the oil to that valvoline restore and also add in a couple of jugs of that “Restore” stuff and see if the oil consumption will dwindle at all.
Time will tell and I will report back inna separate thread.
Need to get the heater blower functioning so I got defoggers furst though.
Big T
Well-Known Member
If it’s drinking a quart every 50 miles, the engine desperately needs a rebuild.I know this aint a GMT400. I just needed a post with that “Restore” stuff advertised innit.
Looking for a thread/post that gives the specific name to that petroleum product. “RESTORE”.
I have the MG in the garage.
Oil consumption on that is a quart to 50 miles.
In the garage I also have at least one jug of Dexron 6 ATF.
Going to mix several batches with that Dex6 and suck it into the MG intake.
Mix it with water about 60% ATF and 40% water and then allow the engine to suffocate on the stuff and die. Give it about a half an hour, fire it up then pour the rest of the 25% in to finish the blow out.
Then thinking a couple cans of seafoam additive through the intake with about the same procedure.
Then, change the oil to that valvoline restore and also add in a couple of jugs of that “Restore” stuff and see if the oil consumption will dwindle at all.
Time will tell and I will report back inna separate thread.
Need to get the heater blower functioning so I got defoggers furst though.
Valvoline Restore & Protect is the oil, but I doubt it will help in this case.
Will L.
Well-Known Member
As an Amazon Associate we earn from qualifying purchases.
MrMarty51
Well-Known Member
Yup, sucking every mile I can outta that little beast.If it’s drinking a quart every 50 miles, the engine desperately needs a rebuild.
Valvoline Restore & Protect is the oil, but I doubt it will help in this case.
Surprising, it has not yet fouled a sparking plug.
dieselolds
Well-Known Member
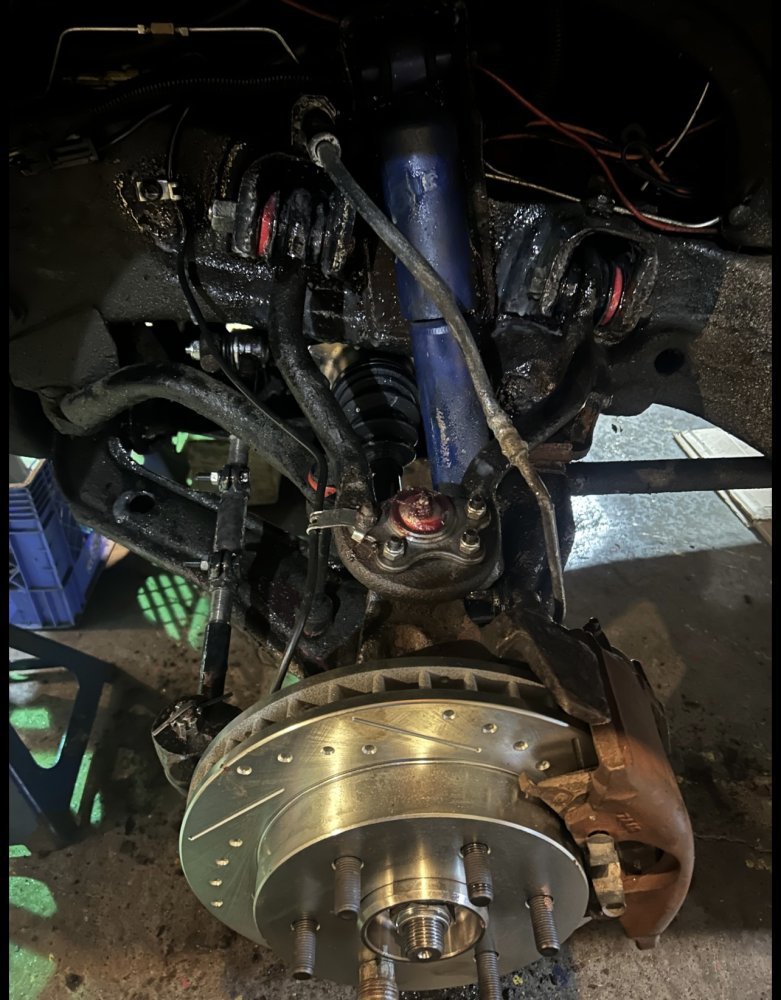
A few nights ago I finished up the driver side ball joint's on my 96 Chevy K1500 with the 6.5 along with tie rods,cv axles on both sides among other things like control arm bushings,eccentric bolt kit,wheel bearing and new rotors from Amazon.Acdelco brake pads were used as well.Thedirt/dust seal on the backside of the steering knuckle is also in place.Its a SKP seal.The ball joints are Delphi brand with prothane control arm bushings.
The last thing I need to do is install the new pitman arm,idler arm with idler arm bracket.It’ll probably be another couple weeks before I get to do that.This truck also has the stainless steel brake line kit that I bought from eBay a few years ago.This truck just needs the body prepped for paint and then it’s road ready.
The last thing I need to do is install the new pitman arm,idler arm with idler arm bracket.It’ll probably be another couple weeks before I get to do that.This truck also has the stainless steel brake line kit that I bought from eBay a few years ago.This truck just needs the body prepped for paint and then it’s road ready.
Attachments
Big T
Well-Known Member
Looking good.A few nights ago I finished up the driver side ball joint's on my 96 Chevy K1500 with the 6.5 along with tie rods,cv axles on both sides among other things like control arm bushings,eccentric bolt kit,wheel bearing and new rotors from Amazon.Acdelco brake pads were used as well.Thedirt/dust seal on the backside of the steering knuckle is also in place.Its a SKP seal.The ball joints are Delphi brand with prothane control arm bushings.
The last thing I need to do is install the new pitman arm,idler arm with idler arm bracket.It’ll probably be another couple weeks before I get to do that.This truck also has the stainless steel brake line kit that I bought from eBay a few years ago.This truck just needs the body prepped for paint and then it’s road ready.
dieselolds
Well-Known Member
Thanks Big T.I have the Napa fleet brand pitman arm and idler arm.Looks to be way better built than their proformer line.
I used a product similar to fluid film in around the back of the upper control arms where the bushings are.I figured it would be easier to apply the product on the chassis with the control arms out ahead of time.
I used a product similar to fluid film in around the back of the upper control arms where the bushings are.I figured it would be easier to apply the product on the chassis with the control arms out ahead of time.
dbrannon79
I'm getting there!
Well I took a trip into the neighboring town today with the 93 taking my two boys to get their eye exams. while on the way home under acceleration the engine went into that louder rattly state and seemed to have a slight boost in power as if some of the oil from the blow by made its way into the intake and it drank it. I let off the throttle and it went away, back to normal. but thinking about it as I continued driving home I had an epiphany. I was thinking on how the cko provent is connected and the tube from it attached to the intake tube allowing "some" oil to be sucked in still. And yes I have experimented with different filtering agents to catch the oil, but with the amount of blow by it has, the more or better filtering it has, the more crankcase pressure builds in the engine causing it to slobber oil from the seams. there's no point to spend more on filtering it.
what if I was to eliminate the CDR from the valve cover and run the provent direct without it, then relocate the exit hose to the air filter housing but with a catch bowl so what oil does get past the provent will run into the catch before coating the air filter. mind you that I am running one of those washable air filters that require to be oiled before use.
the idea came from letting the crankcase pressures to be vented naturally instead of letting the turbo pull any vacuum, but at the same time not have a mosquito fogging machine under the hood! let the crankcase fumes out into the air cleaner box same as how it was done for gassers in the old days. I don't mind needing to wash the air filter more oftin if it gets saturated with oil, but it might prove to help stop so much oil to get pulled from the valve cover at the same time due to the turbo pulling a vacuum on it too. I'm running a K47 style so all I would need to do is seal the bottom so it wouldn't leak all over the inner fender and I could just wipe it out every so oftin. might put an extra bottle for the provent exit hose to dump into with another hose from the bottle higher up to go to the air cleaner (something clear I can visually see how much oil is getting thrown out on this slowly failing engine.
I know under normal circumstances this would not be acceptable, it's just a temporary thing to keep this hunk of iron on the road a little longer before it goes out in a cloud of glory smoke!!
LOL @Will L. is gonna have a field day with this idea of mine HAHA.
Big T
Well-Known Member
I’ll help Will L. by using the 5-word rule:Well I took a trip into the neighboring town today with the 93 taking my two boys to get their eye exams. while on the way home under acceleration the engine went into that louder rattly state and seemed to have a slight boost in power as if some of the oil from the blow by made its way into the intake and it drank it. I let off the throttle and it went away, back to normal. but thinking about it as I continued driving home I had an epiphany. I was thinking on how the cko provent is connected and the tube from it attached to the intake tube allowing "some" oil to be sucked in still. And yes I have experimented with different filtering agents to catch the oil, but with the amount of blow by it has, the more or better filtering it has, the more crankcase pressure builds in the engine causing it to slobber oil from the seams. there's no point to spend more on filtering it.
what if I was to eliminate the CDR from the valve cover and run the provent direct without it, then relocate the exit hose to the air filter housing but with a catch bowl so what oil does get past the provent will run into the catch before coating the air filter. mind you that I am running one of those washable air filters that require to be oiled before use.
the idea came from letting the crankcase pressures to be vented naturally instead of letting the turbo pull any vacuum, but at the same time not have a mosquito fogging machine under the hood! let the crankcase fumes out into the air cleaner box same as how it was done for gassers in the old days. I don't mind needing to wash the air filter more oftin if it gets saturated with oil, but it might prove to help stop so much oil to get pulled from the valve cover at the same time due to the turbo pulling a vacuum on it too. I'm running a K47 style so all I would need to do is seal the bottom so it wouldn't leak all over the inner fender and I could just wipe it out every so oftin. might put an extra bottle for the provent exit hose to dump into with another hose from the bottle higher up to go to the air cleaner (something clear I can visually see how much oil is getting thrown out on this slowly failing engine.
I know under normal circumstances this would not be acceptable, it's just a temporary thing to keep this hunk of iron on the road a little longer before it goes out in a cloud of glory smoke!!
LOL @Will L. is gonna have a field day with this idea of mine HAHA.
ProVent return after air filter.
dbrannon79
I'm getting there!
Maybe I should just move it closer to the filter and further away from the turbo. That might help lessen the vacuum effectI’ll help Will L. by using the 5-word rule:
ProVent return after air filter.
ak diesel driver
6.5 driver
It doesn't take alot of length to change the vacuum quite a bit. As in 1" is quite a bit
Will L.
Well-Known Member
The more vacuum through provent the better.
Going from the airfilter housing is not much vacuum, most is created buy proximity and angle to the turbo
Going from the airfilter housing is not much vacuum, most is created buy proximity and angle to the turbo
jrsavoie
Recruit
I used the fast set. The only issue I had was you have to be fast.
I followed instructions posted years ago.
Chris recently posted how he does it. Could have been him that posts the how to or hRight Stuff.
I like the small caulk tubes with nozzle extensions
Right Stuff.I used the fast set. The only issue I had was you have to be fast.
I followed instructions posted years ago.
Chris recently posted how he does it. Could have been him that posts the how to or how did years ago
I like the small caulk tubes with nozzle extensions
As an Amazon Associate we earn from qualifying purchases.
Big T
Well-Known Member
dieselolds
Well-Known Member
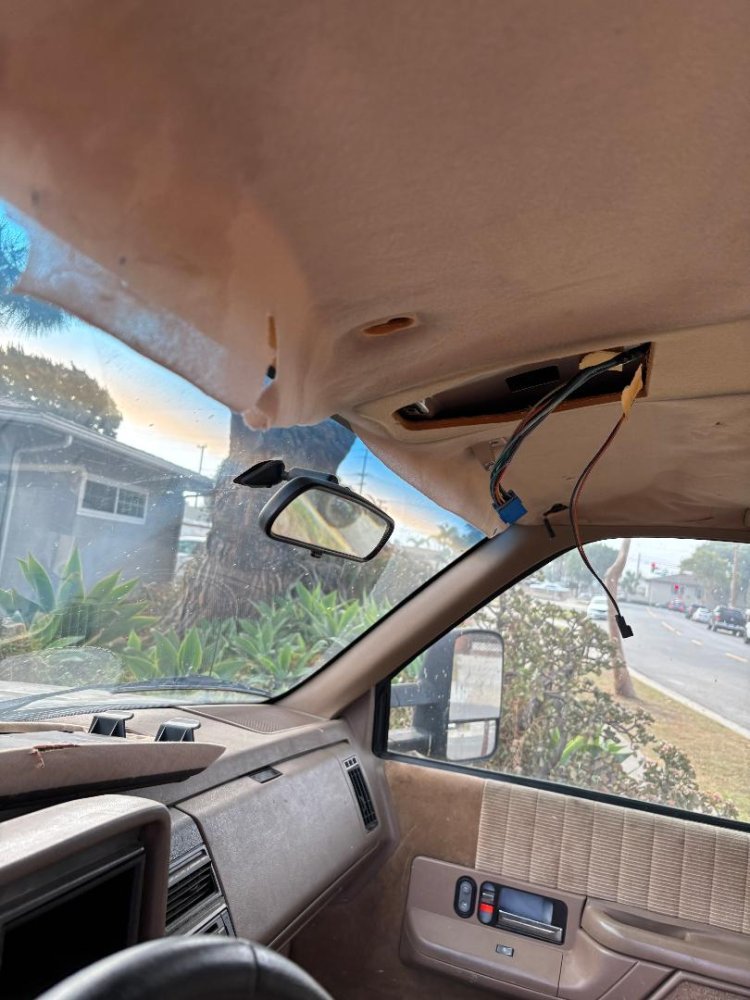
Mine is starting to drop as well in a couple areas on my 96 gmc truck.I’ll have to get it fixed sometime this summer.

