• Welcome to The Truck Stop! We see you haven't REGISTERED yet.

    Your truck knowledge is missing!
    • Registration is FREE , all we need is your birthday and email. (We don't share ANY data with ANYONE)
    • We have tons of knowledge here for your diesel truck!
    • Post your own topics and reply to existing threads to help others out!
    • NO ADS! The site is fully functional and ad free!
    CLICK HERE TO REGISTER!

    Problems registering? Click here to contact us!

    Already registered, but need a PASSWORD RESET? CLICK HERE TO RESET YOUR PASSWORD!

What did you do with your GMT400 today...or yesterday....

Once you get that door installed it looks like your gonna want to repaint the rest to match the unscathed door!
Well this is the 4Runner with 363K miles on it. I’ve told my wife she is to use this one for Off-Road and crappy winter weather. The irony here is that her 2023 is an Off-Road Premium with rear locker.
 
rubbing compound / clays and a buffer.

Issues: cheap buffing pads is easy to more damage than good.
Do not learn on a new car, you make errors. Edges, body lines, seams are most frequent error spots. Go slow, working same area more than a second or two will heat it up and cause damage. (Show the suburban some love)

Remember: what you are doing is removing a layer of clear coat in a controlled manner. Doing it a means the paint fades sooner because you are removing the uv protecting layer.

One option:
Pay a pro, he will blend the new door color closer. Then when finished go get a clear wrap on the car so that you sacrifice the wrap not the paint & clear coat.
Have the wrap replaced every 3-4 years depending how fast she tears it up.
Or pay him to do it and flip and extra $30-40 and have him teach you while he is doing it.

Or if you want to keep improving your skills- plan on polishing it out a few times a year. Then once you do a polish and start picking up color in your pad- that is time to break out your inflatable paint booth and shoot some new clear.

The polishing skills you learn in removing scratches will help when you polish the new clear coat.
 
Wrap didn't occur to me. since this is an off road rig you can have something designed with some pizzazz. install a custom front bumper with a wench. get another wench for the rear receiver hitch, some yankum rope and your golden. be sure to replace the steel cable in the winches with the soft stuff. yankum makes the winch line with build in soft shackles
 
Wrap didn't occur to me. since this is an off road rig you can have something designed with some pizzazz. install a custom front bumper with a wench. get another wench for the rear receiver hitch, some yankum rope and your golden. be sure to replace the steel cable in the winches with the soft stuff. yankum makes the winch line with build in soft shackles
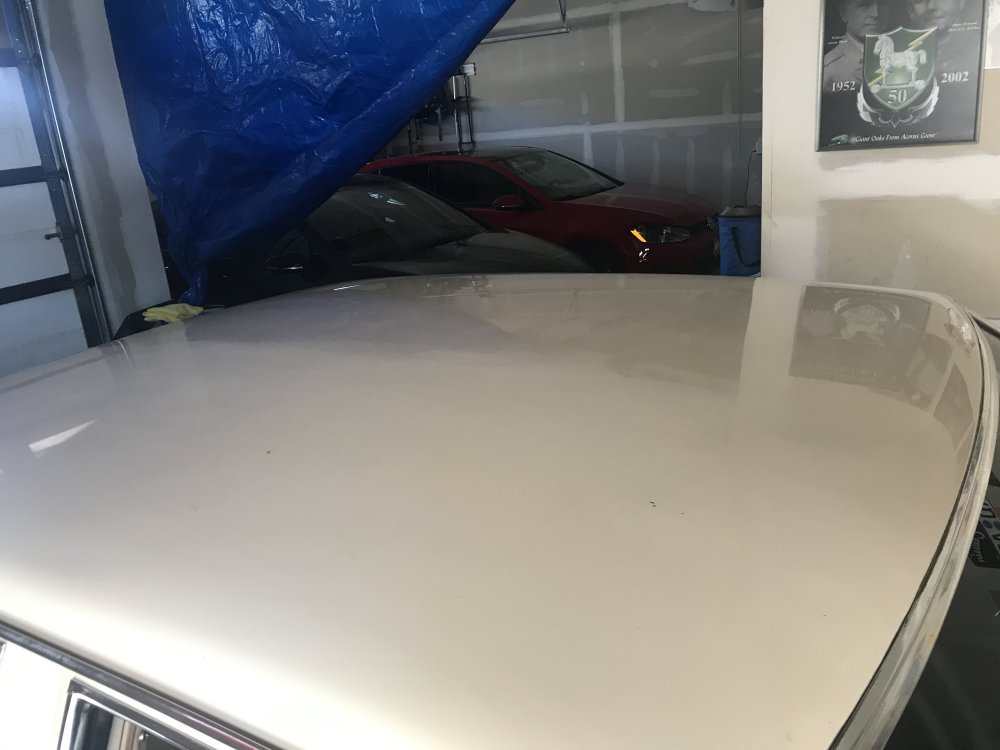
I offered this and she has turned it down.
 
A few years ago I got an 85 Capric and the paint was pretty faded (original).
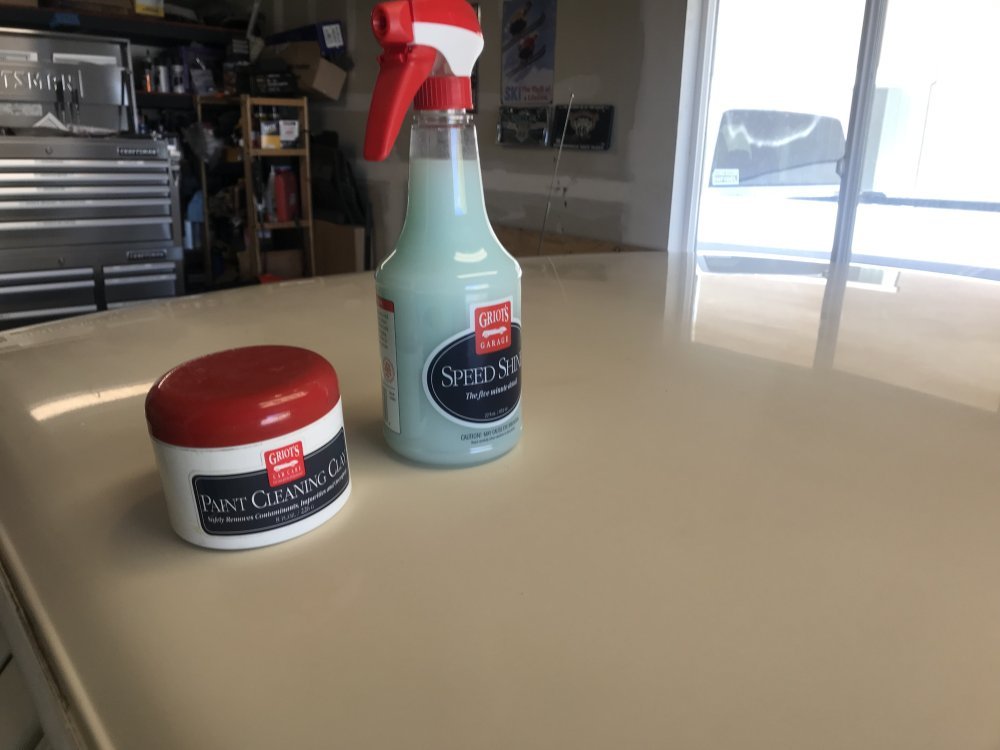
Griott's Clay and Speed Shine to clean the paint.
25.JPG
Then I used a their three step progressive polish with step three being fine. I used a different foam pad for each step and the wax with a Dual Action Sander. FWIW, A one step, system is now offered vs. the old three step. I've used it to good affect too.
Finished up with Paint Sealer.

Below picture shows the "After" with the fine polish and Paint Sealer. Near side was just clayed and hit with the Step one polish.
29.JPG
 
Installed a glowshift fuel pressure gauge, using the sending unit type of gauge.
The sending unit is Td in pre FFM.
I didnt have a three way momentary switch. Also, itiz too difficult to get to the location atop of the IP to install the second sending unit.
The plan is to pull the engine next week to do some sealing and at that time the second SU will get installed and a three way switch to read post FFM pressure.
 
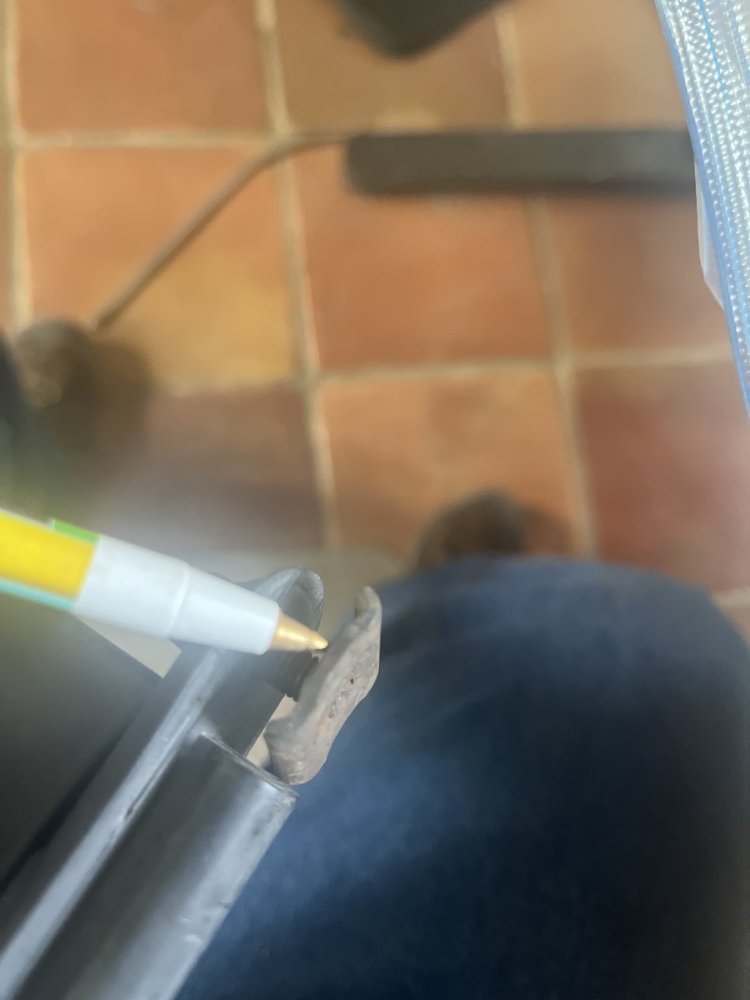
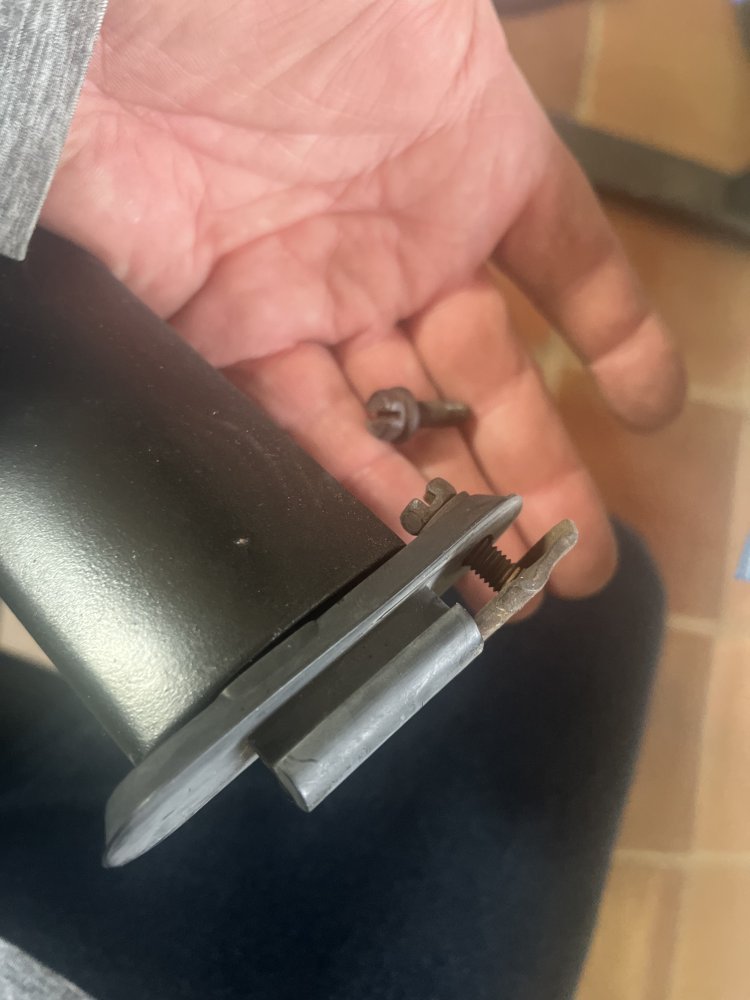
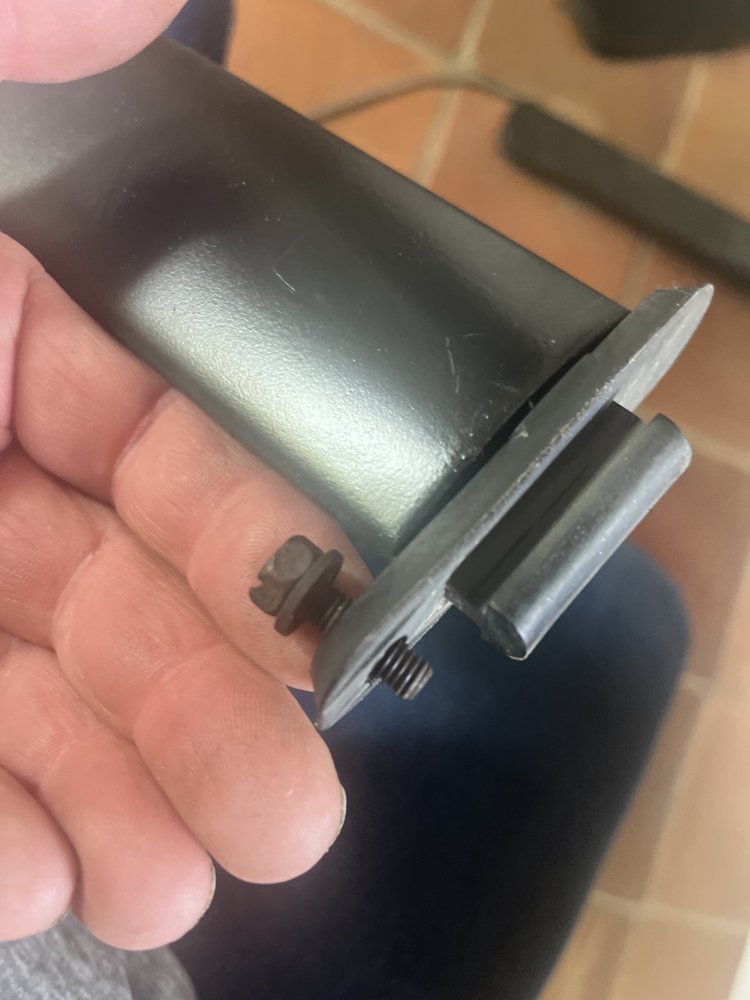
IMG_4377.jpegIMG_4378.jpegIMG_4379.jpegI lost what I would call a “track nut” (see pics) while painting the roof racks on the ‘99 Suburban. Have the bolt, but not the nut. Exhaustive searches inside and outside the vehicle, including sweeping with a magnet, have turned up nothing. Short of hitting a pic a part boneyard (I am up in MT, not SoCal), any suggestions where I could procure one?
 
I wonder if one of those square nuts would work. maybe filing a grove in one side if it needs to grab and slide. not sure what size bolt that is, but lots of top post battery repair terminals use those type nuts if you can't find one.
 
On my 95 truck while driving to and from work I noticed my temp gauge that I added with the sending unit on the rear of the head by #8 wasn't marking temp. I'm hoping it's just a wire, but I have heard others say that area is bad on sending units due to the heat from the manifold and turbo.
 
Now with that nice glow shift FP gauge, I’m thinking I’ll switch the RR cylinder temp to the same style of guage, then still have one gauge hole to fill in that three gauge cluster.
I’m thinking an oil temperature gauge or else a rear differential temp gauge.
What say the members, what would be a good gauge to have.
The FP gauge will be getting another sending unit installed at the IP with a three way toggle so another FP gauge wont be necessary, and, there is a EGT, boost pressure and transmission temp gauge on the pillar cluster.
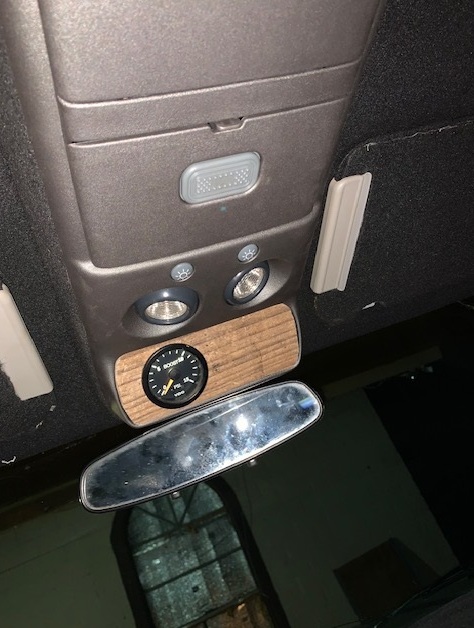
for me, it would be a toss up between a trans temp and EGT gauge. Ya might even do both. I mounted the boost gauge up in the center console on the 93, where there is room for two gauges there. Maybe put the two that you don't need to constantly look at up on the console and those that need to be watched closer to the dash.

Here's the photo, I carved a piece of old pallet wood to fit into the area then cut the hole for the gauge.

1721826306244.png
 
Back
Top