• Welcome to The Truck Stop! We see you haven't REGISTERED yet.

    Your truck knowledge is missing!
    • Registration is FREE , all we need is your birthday and email. (We don't share ANY data with ANYONE)
    • We have tons of knowledge here for your diesel truck!
    • Post your own topics and reply to existing threads to help others out!
    • NO ADS! The site is fully functional and ad free!
    CLICK HERE TO REGISTER!

    Problems registering? Click here to contact us!

    Already registered, but need a PASSWORD RESET? CLICK HERE TO RESET YOUR PASSWORD!

What did you do with your GMT400 today...or yesterday....

Built a list of things to do post trip and, after getting postponed yesterday rescuing the Spousal Unit (flat tire), I started in on it today.
Not Truck related was getting the lawn mowed early since it was in need before we left two weeks ago.
Jacked up the back, drained the gear oil. Checked the magnet and there’s was a little material collected but, very fine and its been too long between changes. Needed another quart of oil but, spousal unit is gone with her car and so I moved to another task.
While playing mechanic trying to swap in a starter correctly at BigT’s I noticed the number 4 glow plug wire wasn’t attached to the GP and the ceramic fitting had melted (WT…). When I checked it today, it was connected and I could see it was repaired. BigT’s mechanic apparently noticed it and corrected it while he was in there un-screwing my mistake on the starter. Never said anything and didn’t charge me for it. Awesome.
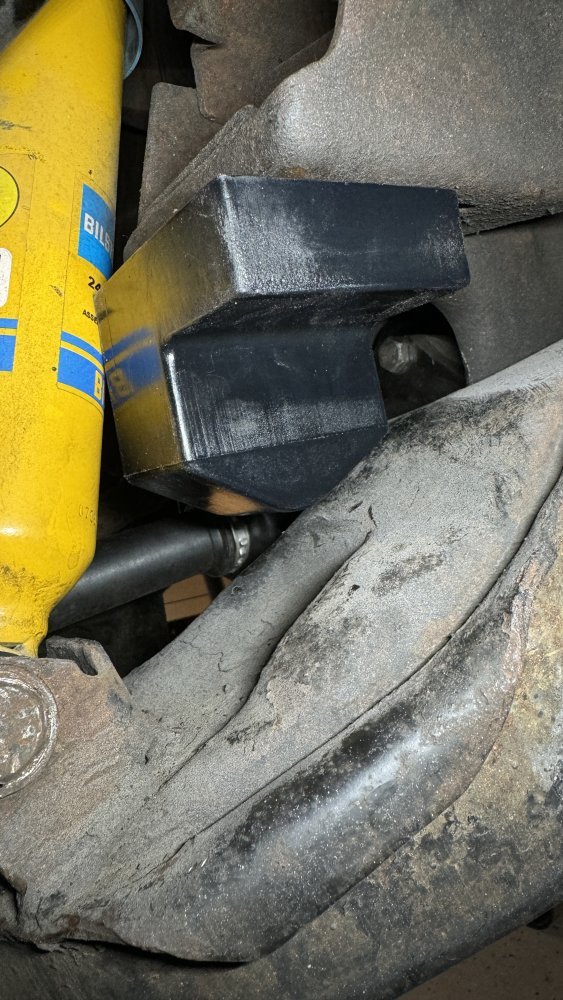
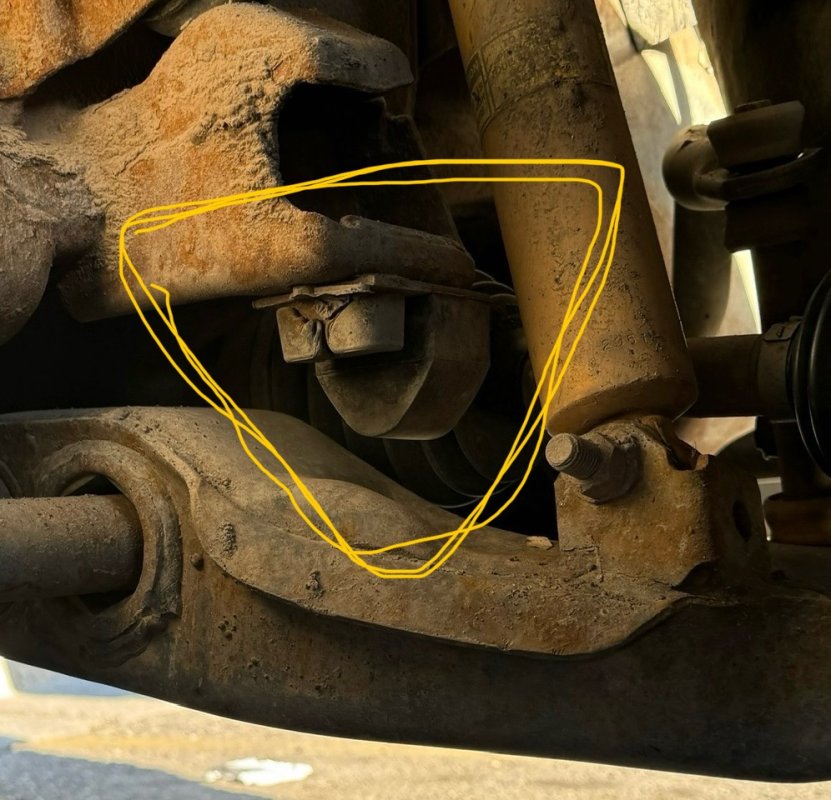
Driver’s side Half-Shaft replacement time after that. Pulled the hub stub I inserted to keep things together while we continued the trip and then got the ‘cup’ off the differential. Expecting a wrestling match getting in the new unit, it went in easily…too easily it would seem but, no breaks in the differential so, accept the blessing and go on. What caused it to fail in the first place is a mystery to me but, I did order the bump stops and will get on that task when they show up.
Then the postman dropped off the new door pins and bushings from Cunningham Machine. Been watching YouTube vids on how to do the job and will try to work up the nerve since it’s the wife who will have to steady the door.
Told ya my local mech at Eagle Watch Automotive is very good and reasonable. He’s a true mechanic, as opposed to a parts thrower.

Do you have a way to ratchet strap the doors to the ceiling of the the garage? That would make the job wifeless.
 
I would preferr the other style installer. with this one you posted above there is too much of a chance that you leave it loose and or rotate the rivnut while in the hole as it's compressing.

as for the sealer I wouldn't use any rubber washer as it might cause the insert to protrude further out on the top side making it stick up too much. how hard is it to pull some trim back enough so you can get you hand up into the headliner and oose some RTV on the bottom side along with maybe even putting a nord-lock washer onto the back side before you compress it so once it's compressed it will have more "grip" on the sheet metal. the ridges on the nord lock or ribbed lock washer will grab the sheet metal along with the ribs on the rivnut to give a tight hold.

This is the style tool I like. there is no chance of rotating the rivnut while compressing it.

View attachment 88636
What I hope to do is to cut off the bolts with a grinder and cutting wheel. Then drill out the remaining bolt and somehow cut or file through the wall of the old rivnut such that I can squeeze it down and pull it out, as oppose to grinding off the flange and letting it drop down into the headliner.
 
What I hope to do is to cut off the bolts with a grinder and cutting wheel. Then drill out the remaining bolt and somehow cut or file through the wall of the old rivnut such that I can squeeze it down and pull it out, as oppose to grinding off the flange and letting it drop down into the headliner.
something I didn't think about till now. if you can get the bolt out and save the threads in the existing riv nut. I wonder if you might be able to use the tool to re-tighten it on the sheet metal not needing to replace it.
 
something I didn't think about till now. if you can get the bolt out and save the threads in the existing riv nut. I wonder if you might be able to use the tool to re-tighten it on the sheet metal not needing to replace it.
I've had pretty good success doing that with long enough bolt, heavy washer and nut to tighten the nursery.

There's only been a couple times that I couldn't get the bolt out of the nursery.

After the bolts out, I run a tap through. Then I use a longer bolt with the heavy washer and nut.
Thread the bolt in and tighten the nutsert with the washer and nut.

Like some do the battery bolt mod. I prefer Allen screws for that
 
AWOL Bump Stop issue solved.
IMG_9503.jpeg

New MOOG units arrived yesterday and went in this morning without issue.
IMG_9504.jpeg

I get that the site says, ‘fits your 96 K1500” but, they look huge compared to the OEM units I saw on another K1500.
IMG_9368.jpeg

Now why had my front differential decided to suddenly take a piss on the garage floor?
 
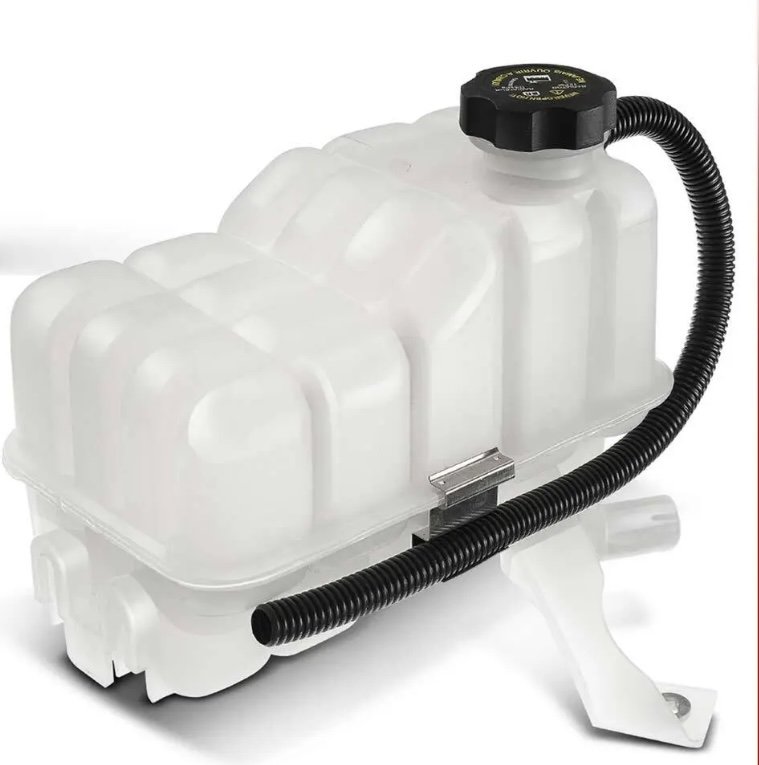
I have a new coolant reservoir from eBay for a newer gm truck that I’ll try to retrofit into my 96 gmc truck with the 6.2.It seems the original is hard to find and not very cheap either if I did find one.So several years ago I bought a new OEM reservoir for this truck back in 2014 but you can’t see or tell how much coolant is in there.Its discolored,etc.Heres a picture of the newer reservoir.I’ll post some pictures of how it looks when it’s been installed.
 

Attachments

  • IMG_8456.jpeg
    IMG_8456.jpeg
    40.1 KB · Views: 3
I have a new coolant reservoir from eBay for a newer gm truck that I’ll try to retrofit into my 96 gmc truck with the 6.2.It seems the original is hard to find and not very cheap either if I did find one.So several years ago I bought a new OEM reservoir for this truck back in 2014 but you can’t see or tell how much coolant is in there.Its discolored,etc.Heres a picture of the newer reservoir.I’ll post some pictures of how it looks when it’s been installed.
The OEM ones are out there but pricey. let us know how well this swap goes and what all will be involved. I would like to replace mine so I can see the coolant level.
 
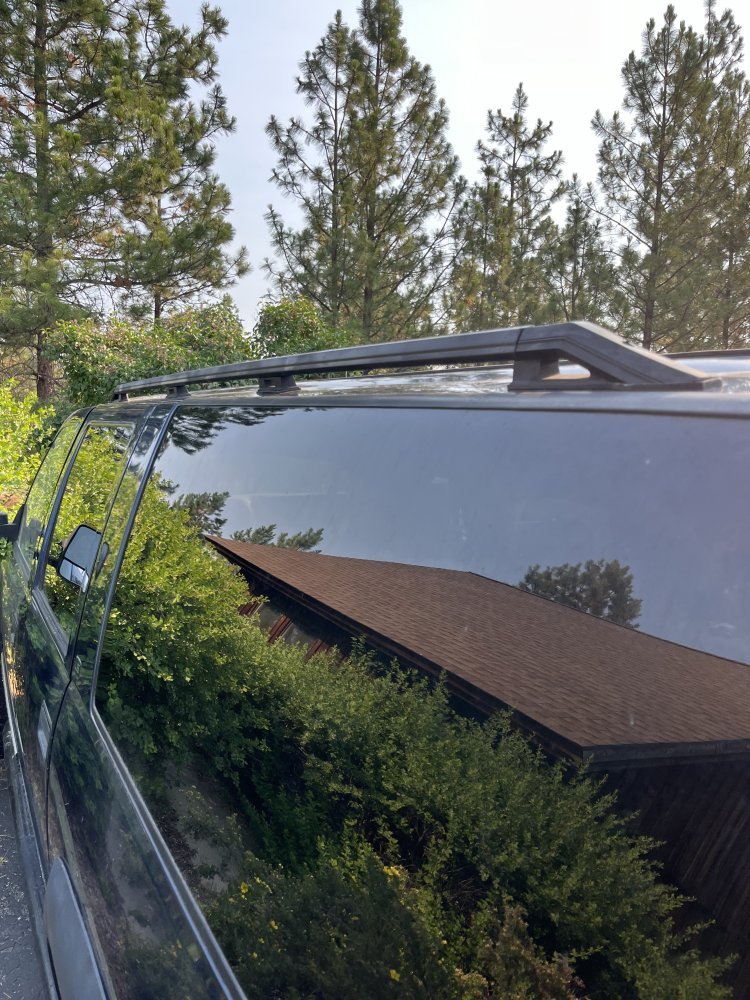
Photo didn’t come through on the text. The racks look good. Well done getting the Rivnut (sp) repairs completed.
Paint came out splotchy, especially on driver’s side. I can sand and add another coat.

The OEM robots are hex sided and drop into hex holes. The replacements were round with ribs to grip, but they did not always grip. Ratcheting rivnut tool was a POS. Does not have enough torque to set the steel rivnuts. I created my own tool with a long M6 1.0 bolt through a coupler nut with washers on each side. Hold the coupler nut with a combo wrench and use a socket on ratchet to squeeze the to nut into place.
I've had luck tightening up loose rivnuts in a similar fashion, ad described earlier.
With a longer bolt, nut and heavy washer.

I found at least grade 5 for standard, works much better that soft hardware.
 
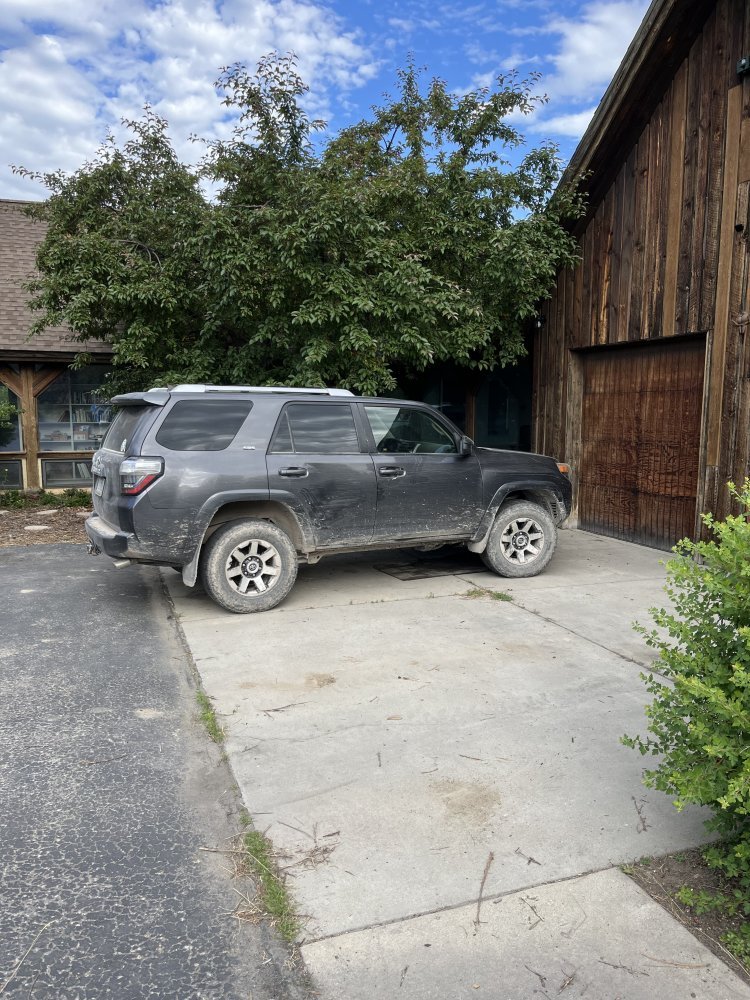
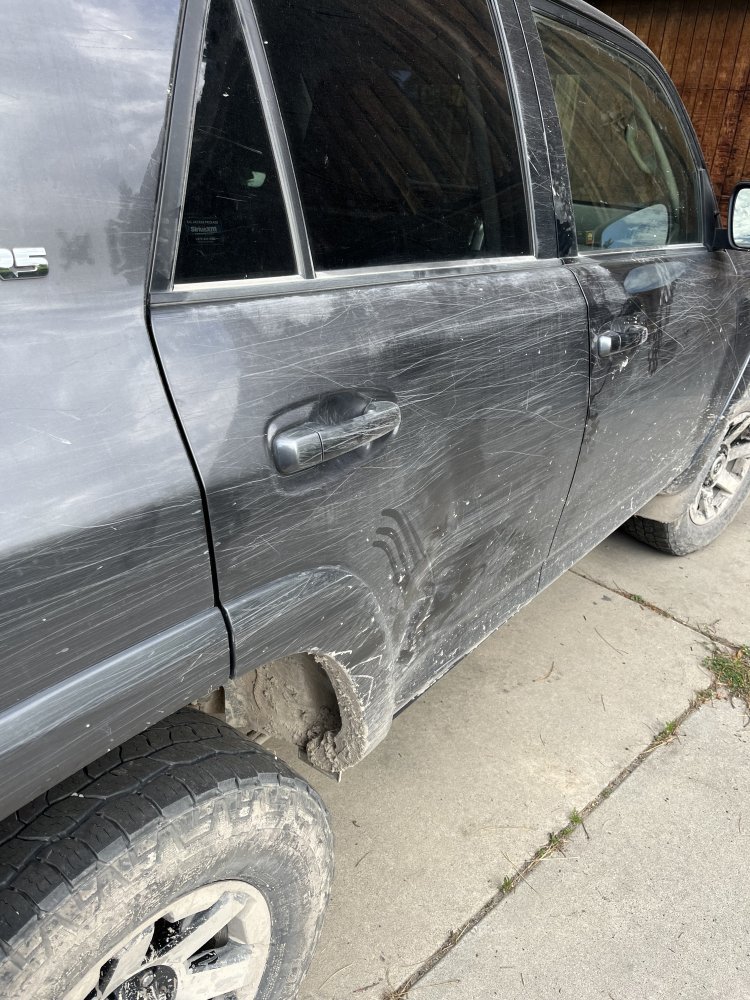
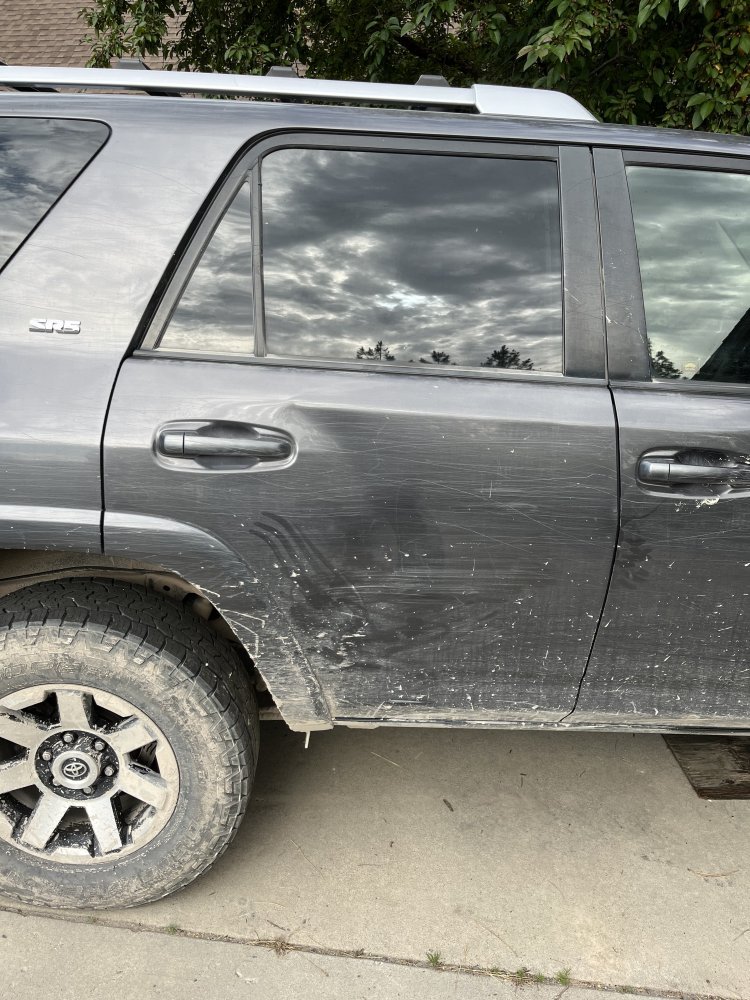
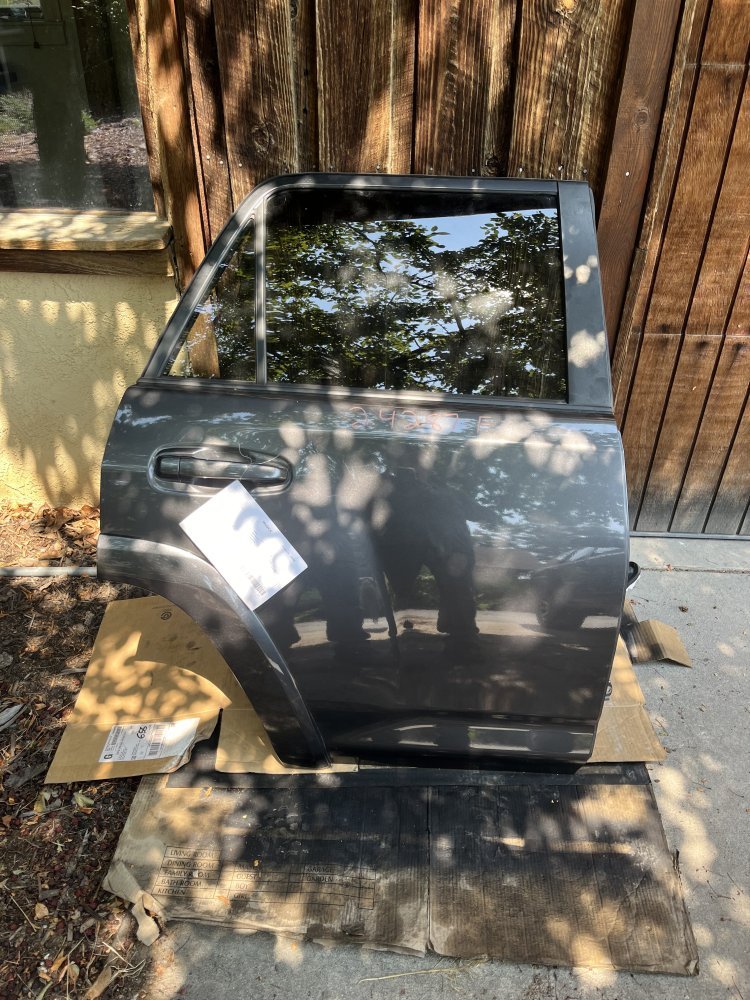
My wife had dented the passenger side second door on the 2014 4Runner while off-roading a couple weeks back. She was in some mud and it slid into a tree. Not terrible damage, but the dent was right where the wheel well flare blends into the door, making it a tough repair.

IMG_3779.jpegIMG_3778.jpegIMG_3777.jpeg
 
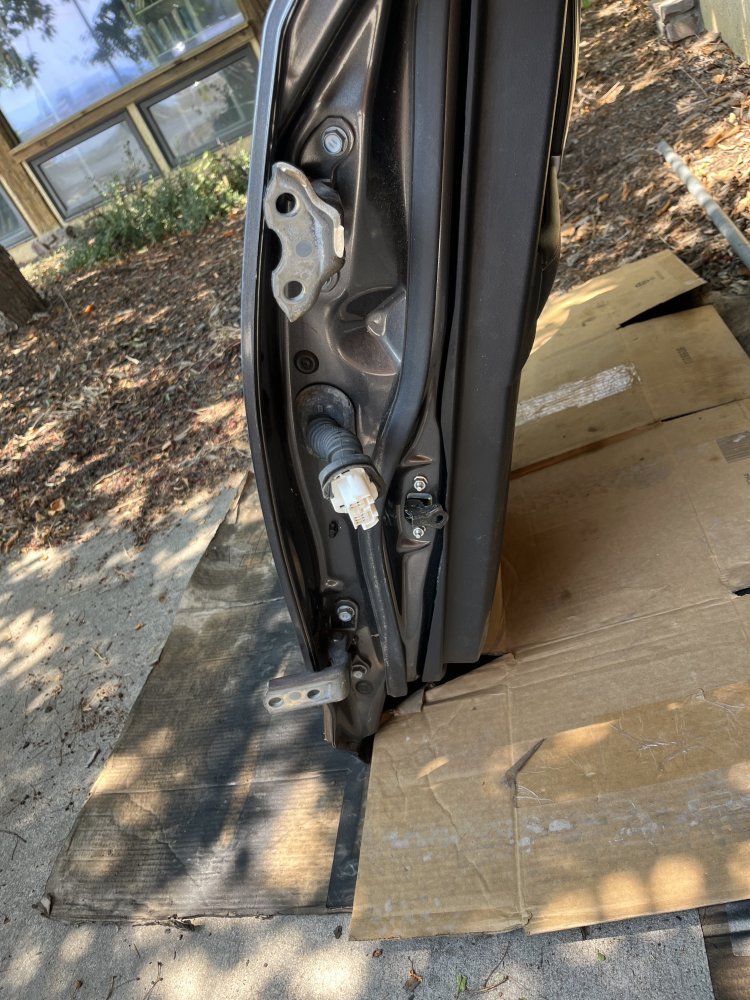
So I found a same color door through car-parts.com. Negotiated a price ($750) and they shipped it from Arizona to Pocatello, ID for $30. We drove down yesterday and picked it up, then went to dinner at one of our favorite Mexican restaurant and stayed night, returning home today.

Door is clean and will be just 4 bolts and an electrical plug to install. Almost like our GMT-400 doors. 🤨


IMG_4320.jpegIMG_4321.jpeg

My next best option was an empty door shell, same color, located in Traverse, Michigan for $750 plus $300 shipping. He did hit me back with a price drop to $637, but maintained the $300 shipping.
 
Back
Top