• Welcome to The Truck Stop! We see you haven't REGISTERED yet.

    Your truck knowledge is missing!
    • Registration is FREE , all we need is your birthday and email. (We don't share ANY data with ANYONE)
    • We have tons of knowledge here for your diesel truck!
    • Post your own topics and reply to existing threads to help others out!
    • NO ADS! The site is fully functional and ad free!
    CLICK HERE TO REGISTER!

    Problems registering? Click here to contact us!

    Already registered, but need a PASSWORD RESET? CLICK HERE TO RESET YOUR PASSWORD!

What did you do with your GMT400 today...or yesterday....

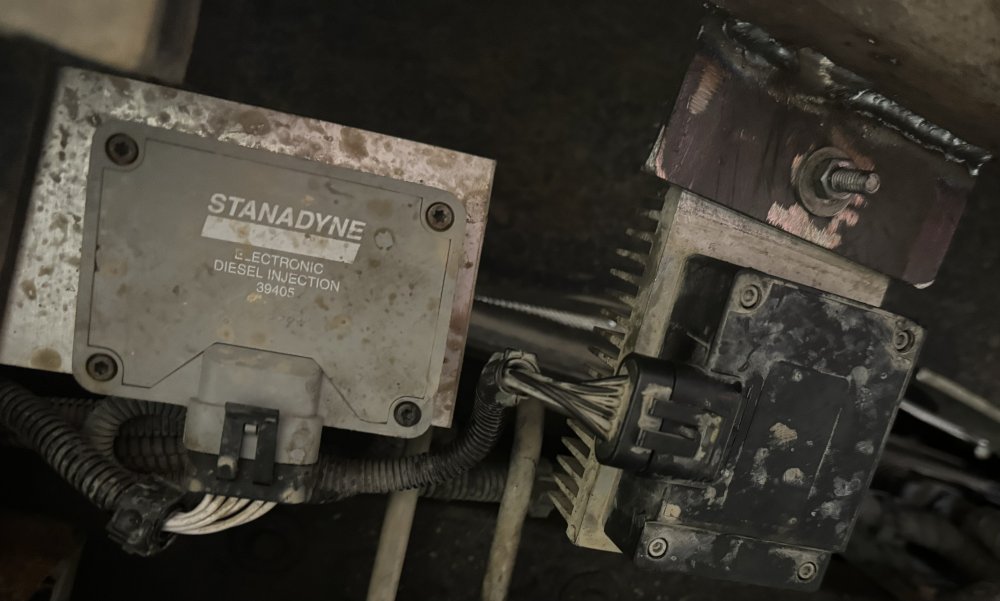
The PO had the PMD mounted to the splash shield across the frame rails, behind the bumper.
Everytime I removed that rubber shield I had to contend with the PMD.
Last winter I welded on a tab to mount the grey box Stanadyne PMD and heat sink to.
Getting ready to pull the engine and am putting the finishing touches on a couple of items, one of them being the mount for the PMD.
Welded on another tab and now both PMDs are solidly mounted.
Both PMDs have the remote harnesses attached and the black box Dorman is the spare.
I had also made the purchase from Leroy of His extension harness that eliminates the adapter harness that made the Stanadyne unit adapt to the OE style harness.
IMG_9977.jpeg
 
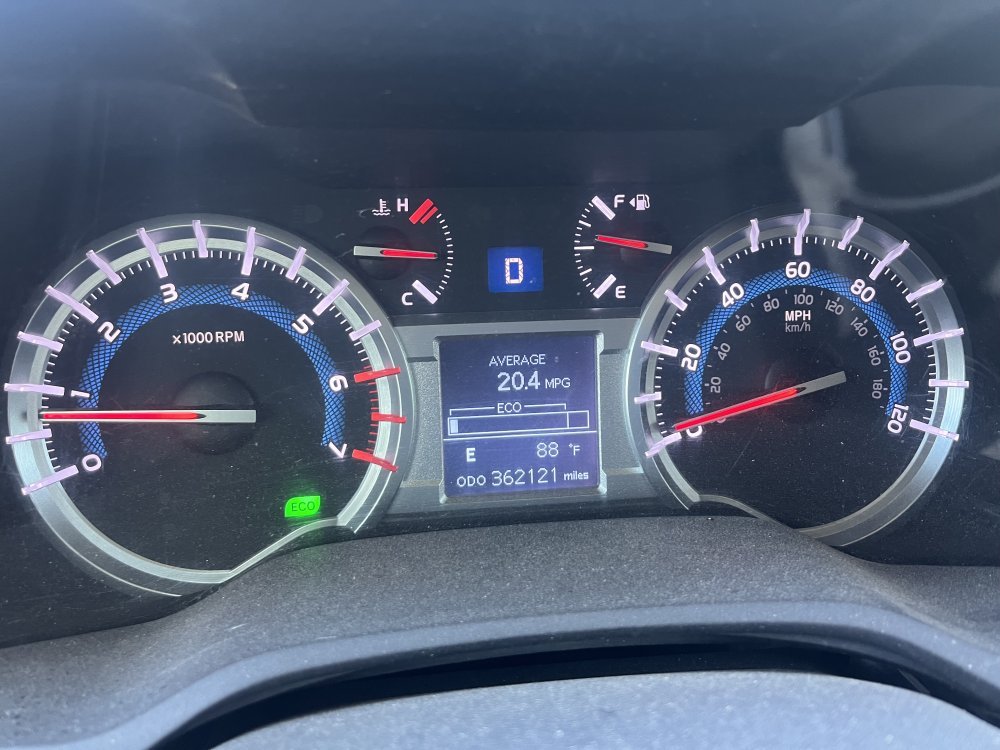
Crossed 260K as I got to The Dalles OR. May need to check the AC Charge. Poor system can't keep up with 114*
Truck has been carrying us along just fine this trip. Other than the first couple of incidents, which I'm actually glad happened, no issues.
Observation on past configurations vs. current. With the 31" BFG A/T trail tires, 17" x9 Dick Cepec wheels and the ATTurbo at 75 mph with the A/C running I got 15.5 mpg running generally down hill from SLC to Vegas.
1720491964919.jpeg


Now that the lift is gone and I'm running BFG Trail Terrains 265x70x16 with a modified GM-8, at 75 mph w/ AC running I'm getting 19-21mpg and thats slow steep climbs for miles up to Montana, 4th of July type Passes, over the Cascades, down to I-5, traffic in Seattle, Portlands and more climbing. I like the 'look' of the big tires and lift but, I'll take the MPGs instead.
1720491987818.jpeg

We should be back at Ft. Living Room tomorrow.
 
Last edited:
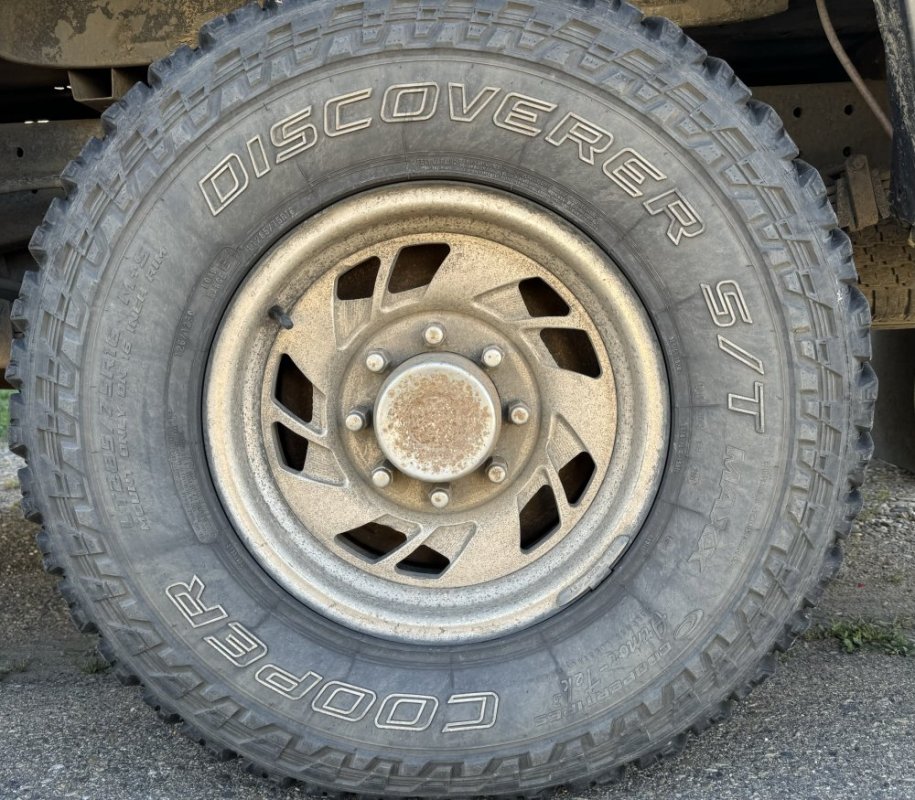
before:
IMG_9989.jpeg
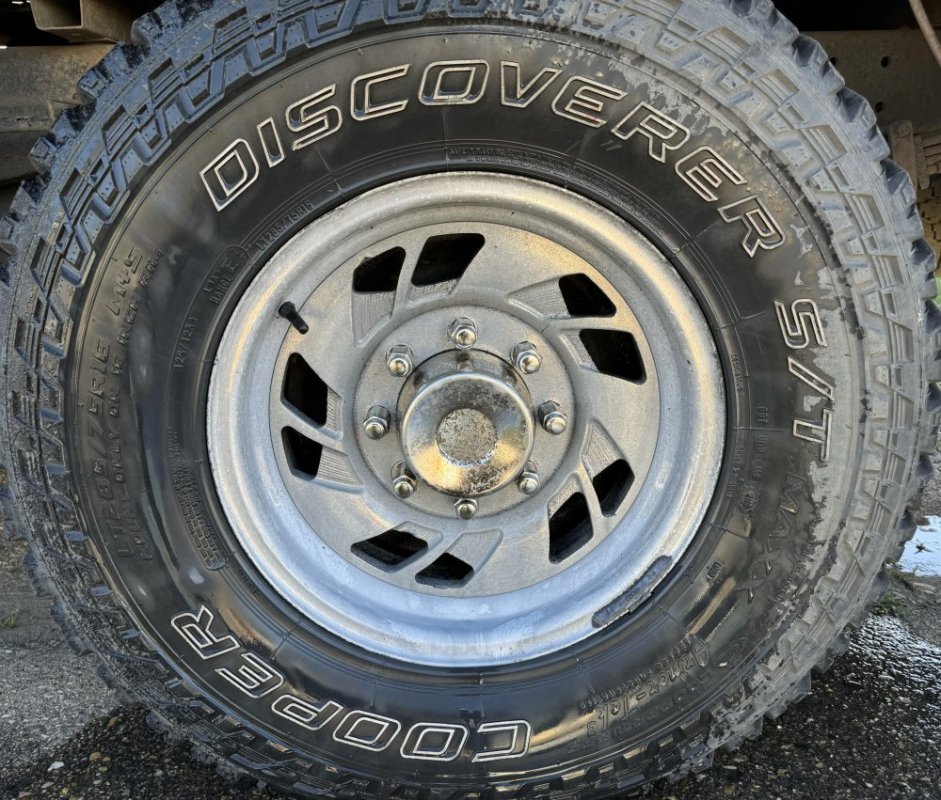
And after:
muriatic acid.
IMG_9990.jpeg
Guy that told me said to rinse soon as it starts smoking.
I didnt get a pic of a front wheel, all coated with that nasty black brake dust, that scrubbing with all sorts of aluminun cleaners wouldnt take off.
I went back on the fronts for a secont dousing, but this time, I kept spritzing the acid on even after the smoke was rolling. Now barely a slight bit of brake dust in some secluded areas.
The acid left the aluminum looking like a stain sort of residue.
Using some Mothers aluminum polish took the most of that off. I could get the wheels to bright and shiny but my hands dont take that kind of abuse so well some more.
Front brakes beginning to surge so seems the weelz will be coming off to get the front rotors turned.
 
before:
View attachment 88557
And after:
muriatic acid.
View attachment 88558
Guy that told me said to rinse soon as it starts smoking.
I didnt get a pic of a front wheel, all coated with that nasty black brake dust, that scrubbing with all sorts of aluminun cleaners wouldnt take off.
I went back on the fronts for a secont dousing, but this time, I kept spritzing the acid on even after the smoke was rolling. Now barely a slight bit of brake dust in some secluded areas.
The acid left the aluminum looking like a stain sort of residue.
Using some Mothers aluminum polish took the most of that off. I could get the wheels to bright and shiny but my hands dont take that kind of abuse so well some more.
Front brakes beginning to surge so seems the weelz will be coming off to get the front rotors turned.
get you a mothers power ball for the drill you can polish them up in no time! of course you can also apply some paint too. something to add some flare and go with your truck color!
 
I'm curious of what that entails on upgrades. I was only aware of the compressor wheel upgrade.
Been a long day driving and trying to stay awake. Gave up two hours from home. Anyway, the correct terminology that escaped me was ‘both the compressor and the turbine sides are supposedly redesigned. I once asked Bill if they just stuffed a wicked wheel in there. He looked hurt. Said they did a different design than a wicked wheel and then redid the turbine too. Haven’t had it apart to check and no longer have anything to compare it with anyway. GM5 and the ‘Super84 (not so much super IMO) they used to market are back on Bill’s shelves. The current owners of Heath Diesel sell a few versions the wicked wheels but, damned if I know which does which for what.
 
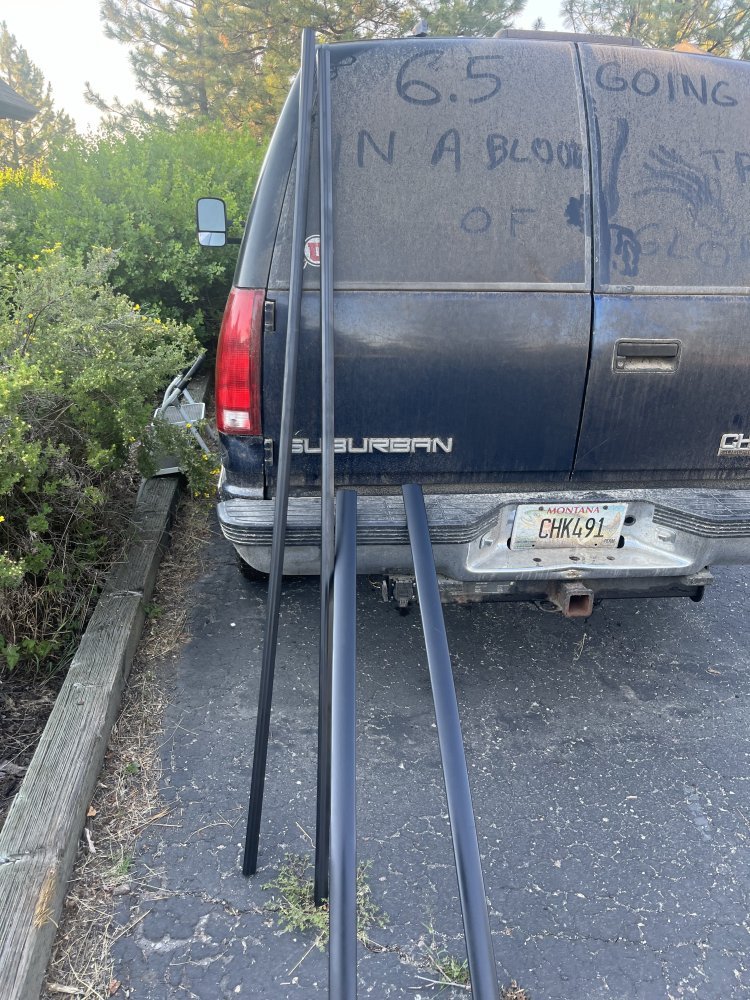
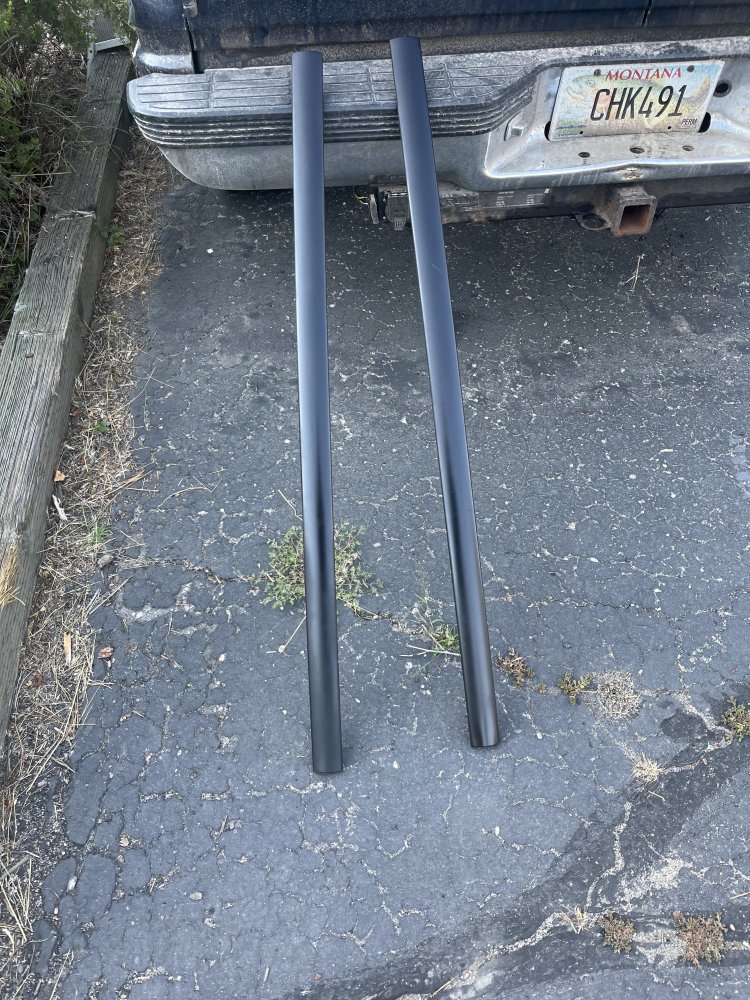
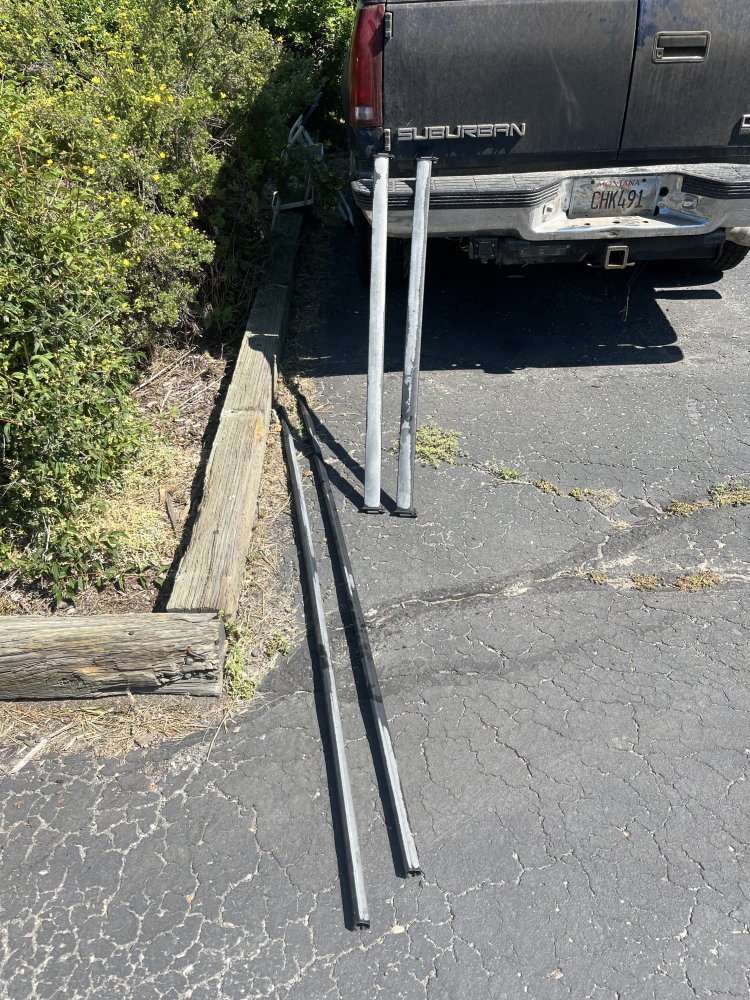
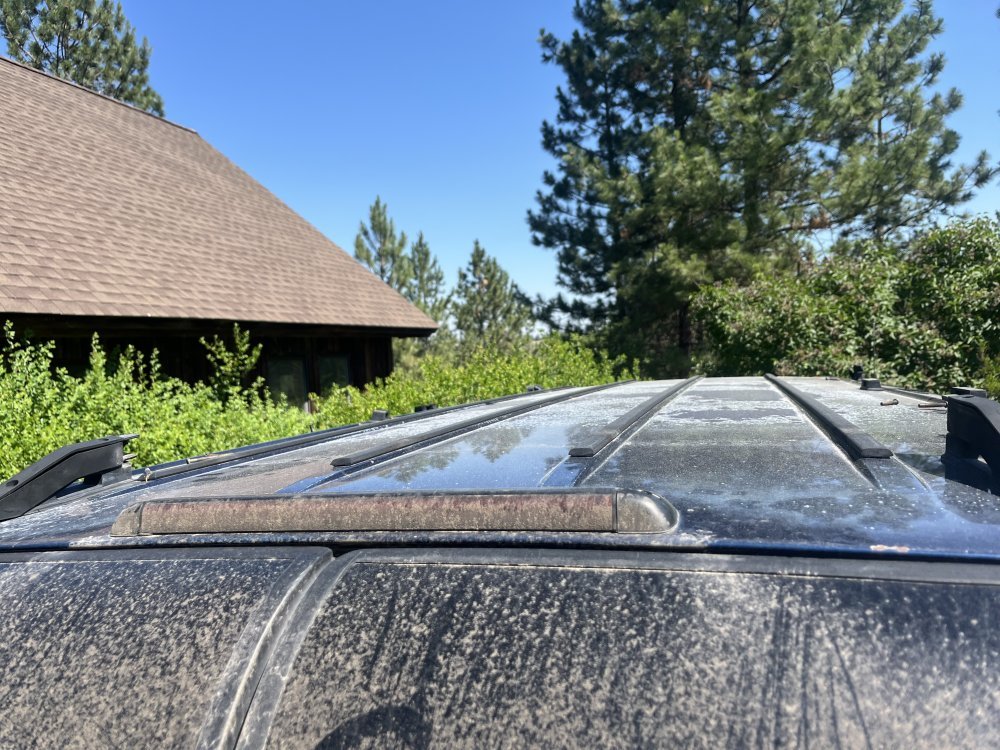
Painted the roof rack on my ‘99 Suburban. Use Dupli-Color enamel w/ ceramic brake caliper paint. Came out ok, but it peels and scratches easily. We’ll see how it lasts. Probably should have had them powder coated.View attachment 88573View attachment 88574View attachment 88575View attachment 88576
You might try stripping one and just shoot the caliper paint on bare metal vs the enamel undercoat. That’s how I did my wiper arms and you saw how they turned out.
 
You might try stripping one and just shoot the caliper paint on bare metal vs the enamel undercoat. That’s how I did my wiper arms and you saw how they turned out.
That’s what I did. Most of the existing coating was gone already. I sanded it down.

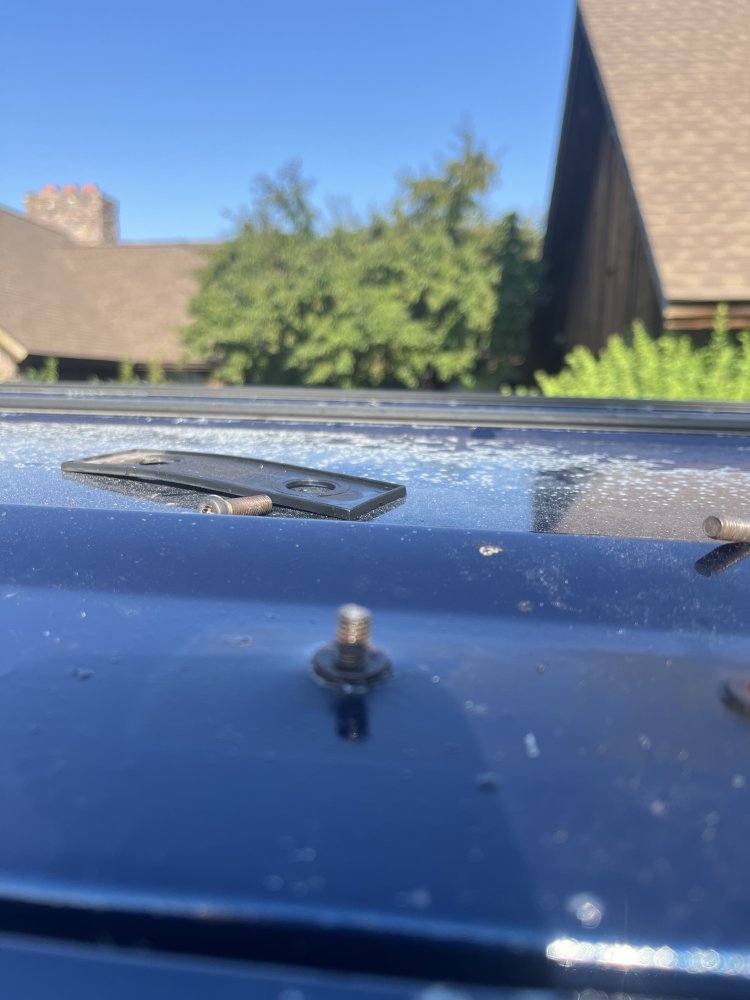
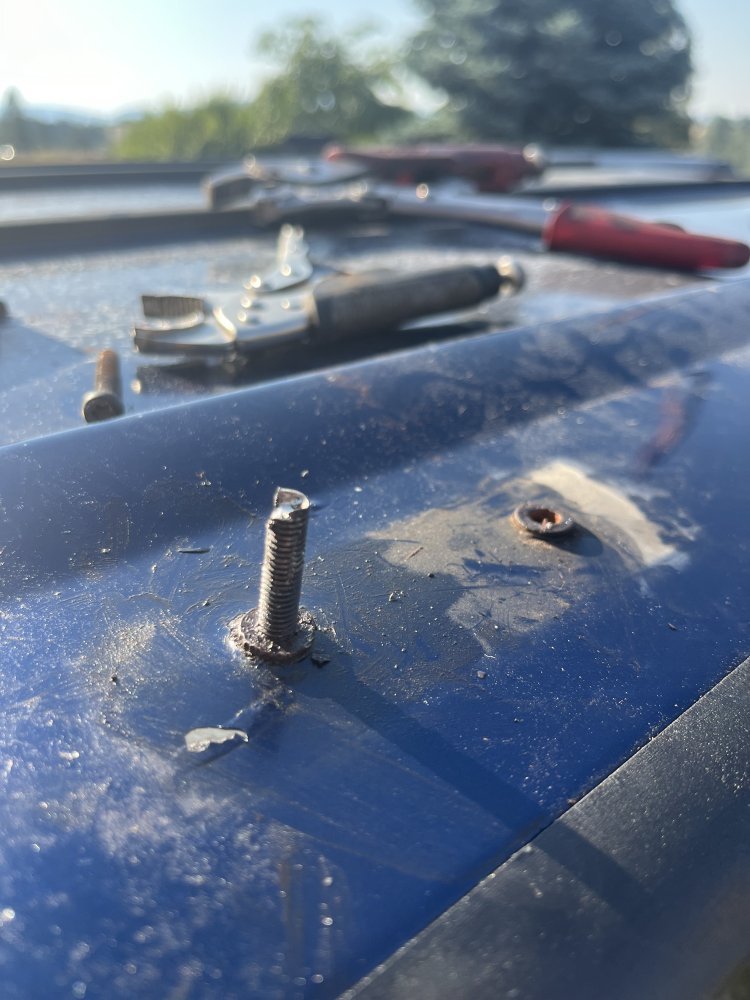
Did have two bolts strip the Torx head. I drilled those heads off, leaving studs. I am soaking them and will try to wrench out with vice grips.

Had one nut come loose from the roof at the very front. Will have to get that welded in after I get it off the bolt.
 
use a small grinder and cur-off wheel. first cut off the stud then grind flat to the roof sheet metal so the rivnut can be knocked in. then install a different rivnut that would have better grip on the sheet metal. I don't know that you would be able to remove the rivnut or stud without tearing a larger hole in the roof or having to go in and pull out the headliner getting to the back side.
 
use a small grinder and cur-off wheel. first cut off the stud then grind flat to the roof sheet metal so the rivnut can be knocked in. then install a different rivnut that would have better grip on the sheet metal. I don't know that you would be able to remove the rivnut or stud without tearing a larger hole in the roof or having to go in and pull out the headliner getting to the back side.
I got some cut off wheels for the grinder, along with a wire brush wheel for prepping the tow hitch for painting. I ordered a Rivnut tool to do the replacement. I also ordered enough bolts to cover the ‘99 and ‘94 as I will be doing this on both.
 
before:
View attachment 88557
And after:
muriatic acid.
View attachment 88558
Guy that told me said to rinse soon as it starts smoking.
I didnt get a pic of a front wheel, all coated with that nasty black brake dust, that scrubbing with all sorts of aluminun cleaners wouldnt take off.
I went back on the fronts for a secont dousing, but this time, I kept spritzing the acid on even after the smoke was rolling. Now barely a slight bit of brake dust in some secluded areas.
The acid left the aluminum looking like a stain sort of residue.
Using some Mothers aluminum polish took the most of that off. I could get the wheels to bright and shiny but my hands dont take that kind of abuse so well some more.
Front brakes beginning to surge so seems the weelz will be coming off to get the front rotors turned.
Armor all quick silver is great for getting the grime off aluminum wheels as well.I’ve used it a few times with great results over the years.
 
Back
Top