• Welcome to The Truck Stop! We see you haven't REGISTERED yet.

    Your truck knowledge is missing!
    • Registration is FREE , all we need is your birthday and email. (We don't share ANY data with ANYONE)
    • We have tons of knowledge here for your diesel truck!
    • Post your own topics and reply to existing threads to help others out!
    • NO ADS! The site is fully functional and ad free!
    CLICK HERE TO REGISTER!

    Problems registering? Click here to contact us!

    Already registered, but need a PASSWORD RESET? CLICK HERE TO RESET YOUR PASSWORD!

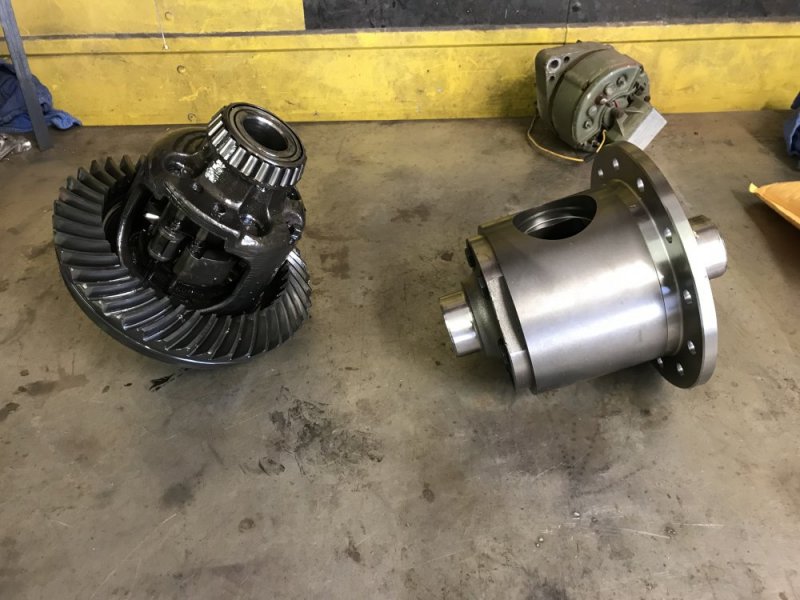
Bye-bye Gov-Lock, Hello Tru Trac, plus gear swap and brakes

On the front brake clip I worried about it not be exactly like OE but seems to be fine. I have no wear on the line that I can see or feel.

The OE clip lays in a little trough the whole width of the knuckle ( sorta along the blue line). I worried about the backside of line rubbing underneath on the knuckles top edge under the point in red but the hose doesn't move on the back side - the Caliper and hose connection stays in same position relative to the knuckle. 99.9% of the movement is on the front side when you steer. Might be a little movement as caliper floats while breaking but its negligible. The upgraded line doesn't swell during braking so less movement than OE. The line would probably be ok without clip but it is a good idea to try and protect any possible chafing being a brake line.

If you wanted you could hone that edge a little just to be extra prudent if your casting has any sharpness.

Let us know if you see something on your install you think might be an issue.View attachment 52530
All good thoughts, thanks. I will be sure to share detail on what I end up doing. I’ve been thinking about what @jrsavoie said about cutting the bracket lengthwise and using it as a saddle - it’s an intriguing idea as well. I may do like he’s doing and grab a couple extra brackets from the junkyard to play with. I do like the simplicity of your cushioned bracket, plus they’re readily available.
 
http://www.crownperformance.com/staniless-steel-brake-lines/
I don't see anything for GMT400. The other weird thing is they list hoses for a 2002 Bronco.....

The guy I heard from said they did not have the kits listed, but when he called, he was able to order a kit for our vehicles.

I wasted half the day yesterday going to 2 junk yards. I would have been better off spending that time fabricating some clamps. Neither yard had a vehicle with the same style brake hose that I have.

I could have bought a couple of new hoses at O-Rielly's for about $45. Seemed a bit much just for the brackets.

I've run out of time. I'm going to order ACDelco Hose for the right side and shelve these stainless hoses until I have time to mess with them and make a bracket.

In the mean time, if anybody has any old brake hoses I could use for a pattern I would very much like to have them. https://www.amazon.com/gp/product/B000C9E4B0/?tag=jhdiesel-20

It always irritates me to pay this much for something aftermarket and then it doesn't work. At least not without more work.
 
As an Amazon Associate we earn from qualifying purchases.
After rereading the thread it appears there may be confusion over Autozone Duralast, aka Duracrap, and AC Delco's DuraStop. The Autozone Crap is what fell apart on me.
 
Started on the swap today.

E79AC992-C173-4F0A-81C7-0AF798061B21.jpeg

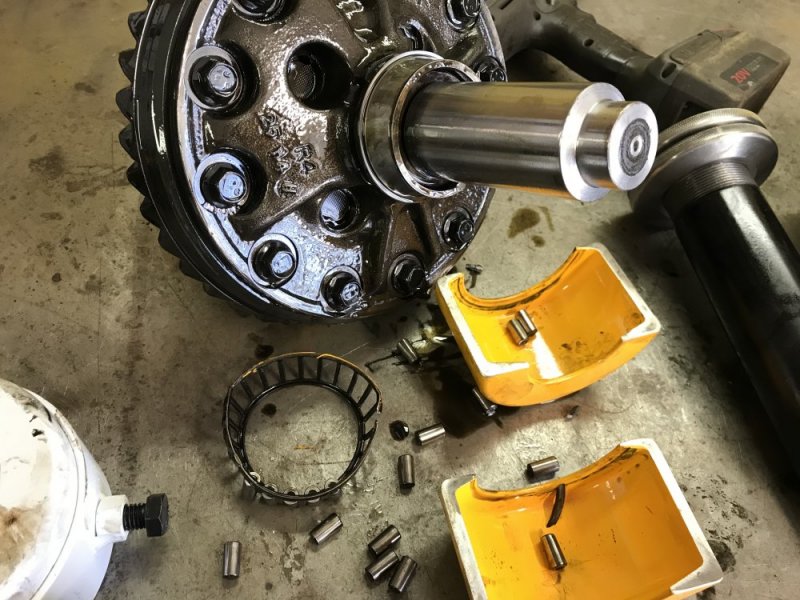
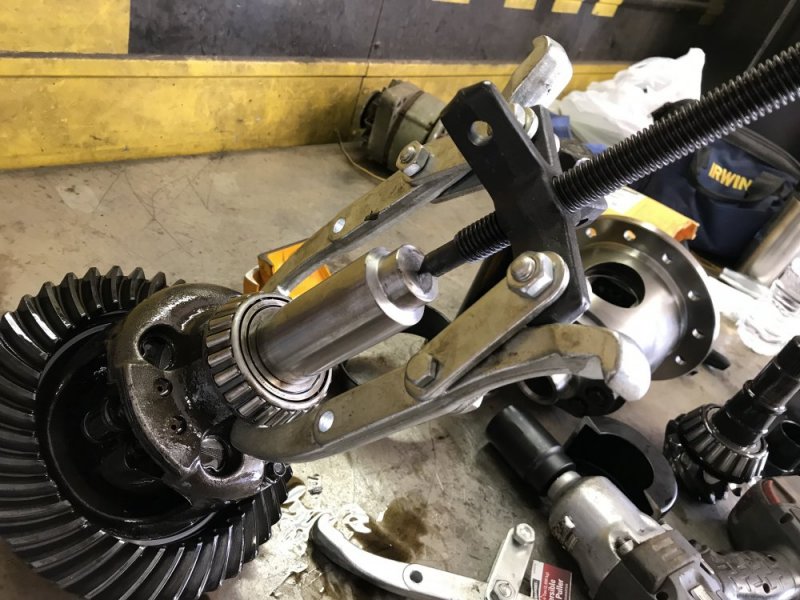
I tried the new bearing puller on the carrier first. I could only get a grip on the cage, but tried giving it a go. It pulled for a bit until the bearing blew up.

FD764661-7DB7-45DE-A581-9E1724E4C01B.jpeg

I was then able to regrip on the inner race and pull it the rest of the way off. On the other side I tried a standard 2 jaw puller since I could kind of get on the back side of the inner race. It pulled for a second then it grabbed the cage and blew that bearing up.

7DAB51F5-EF38-46F6-B8CA-19CE420C31EE.jpeg 00D6F6A3-BF09-4B5A-A87B-E8465DBAEECF.jpeg

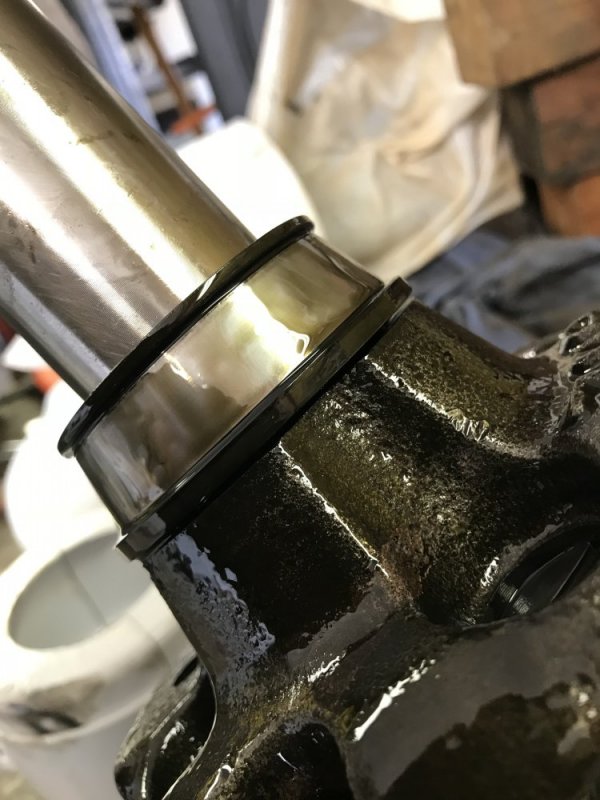
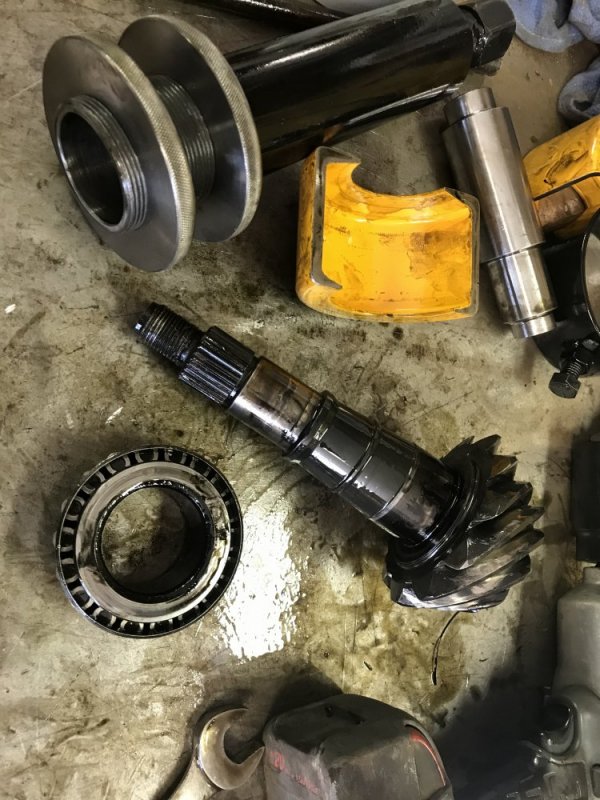
Ah well, the real reason I bought it was for pulling pinion bearings. It worked! Pulled the bearing right off. Nice.

3474C515-CDA4-4D67-AFA7-8E3F31A260B1.jpeg

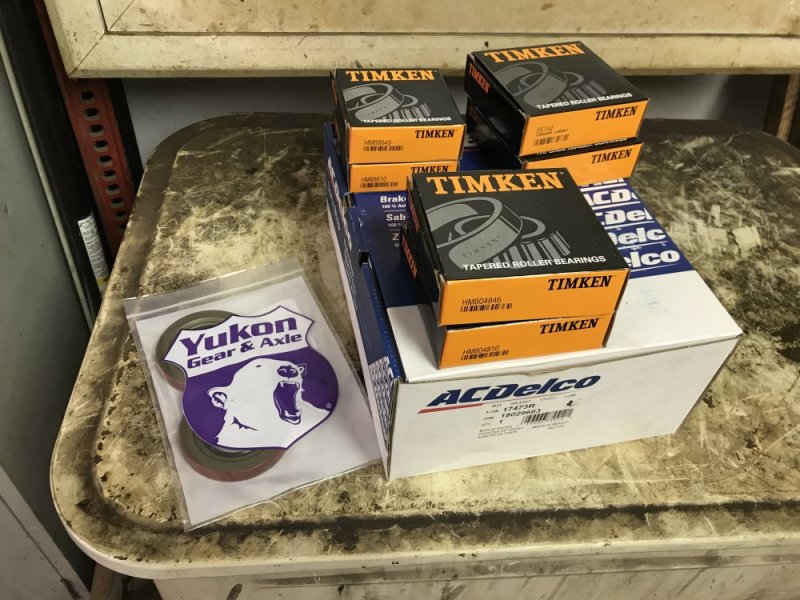
Well I had hoped to reuse the bearings since they only had about 15000 miles on them, so I don’t have any carrier bearings on hand. I did install the bearings on the pinion and install that, but I don’t love how they sound so I’m going to replace them, too. So now I wait. I should have the bearings Tuesday.

CF0FD10D-6885-4AA5-A5F8-173F861747BA.jpeg

I also inspected the brakes and I’m diwn to the rivets on the right brake so it was time to do those anyway. So I ordered rear brakes. It could take as long as May 1 to get them, but hopefully it’s faster than that. I suppose I’ll work on the front diff in the meantime.
 

Attachments

  • 3B15A207-05E5-4393-9226-1846A5528FF3.jpeg
    3B15A207-05E5-4393-9226-1846A5528FF3.jpeg
    177.5 KB · Views: 4
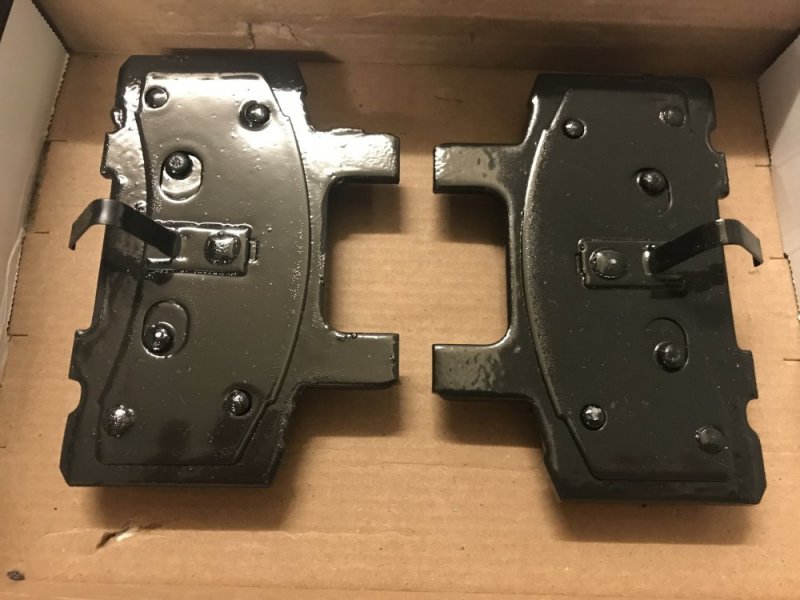
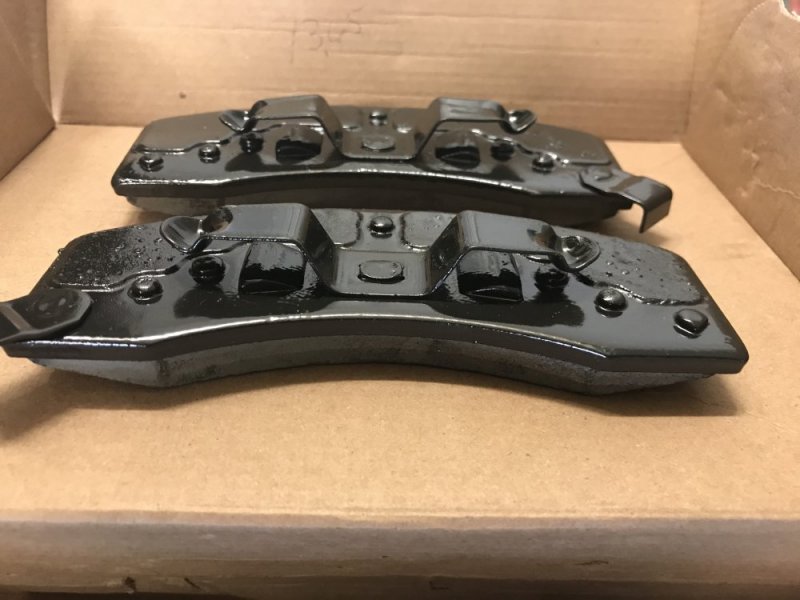
Got a neat package from @Twisted Steel Performance today. I had a set Wagner Thermo Quiet pads coated with his thermal barrier coating to keep some of the heat out of the caliper and therefore out of the fluid. It’s also suppose to quiet the brakes down some too. I wish I could do a back-to-back test to see what it really does, but it certainly can’t hurt. Chris’s turn around time was really speedy! Thanks, Chris!5CD39802-2D2E-4916-AED3-F1D20179E6B7.jpeg11BDC877-4C58-4D0F-8D8F-AE8BE0CA4A6A.jpeg
 
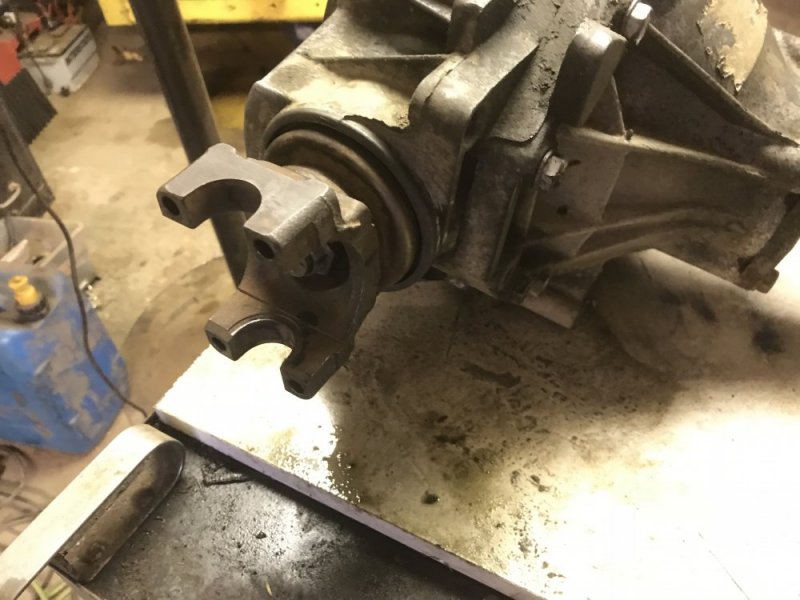
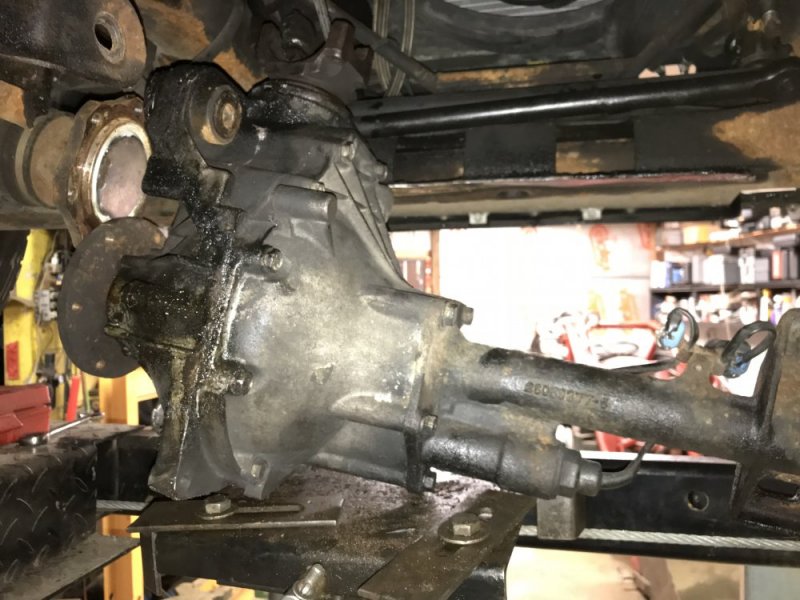
I swapped out the pinion seal on the “new” front diff.

A1817E00-C808-4549-9895-E8CCB461A062.jpeg

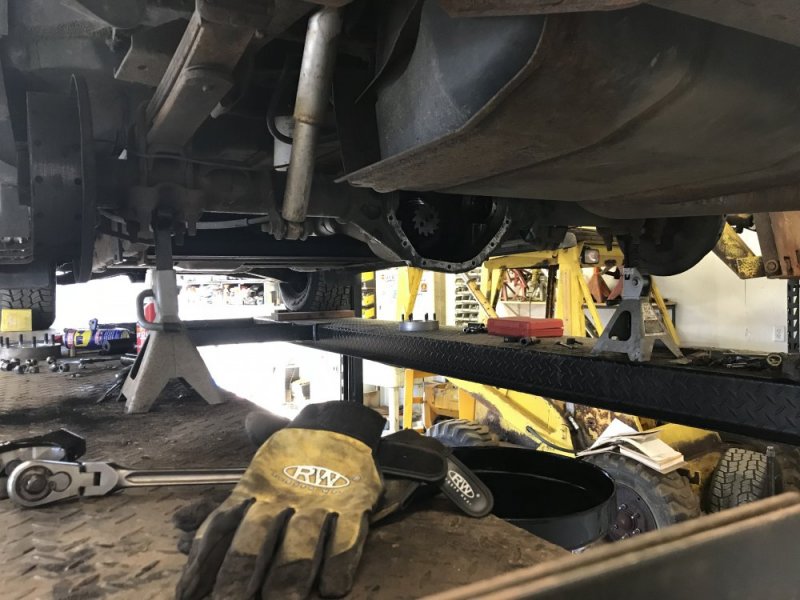
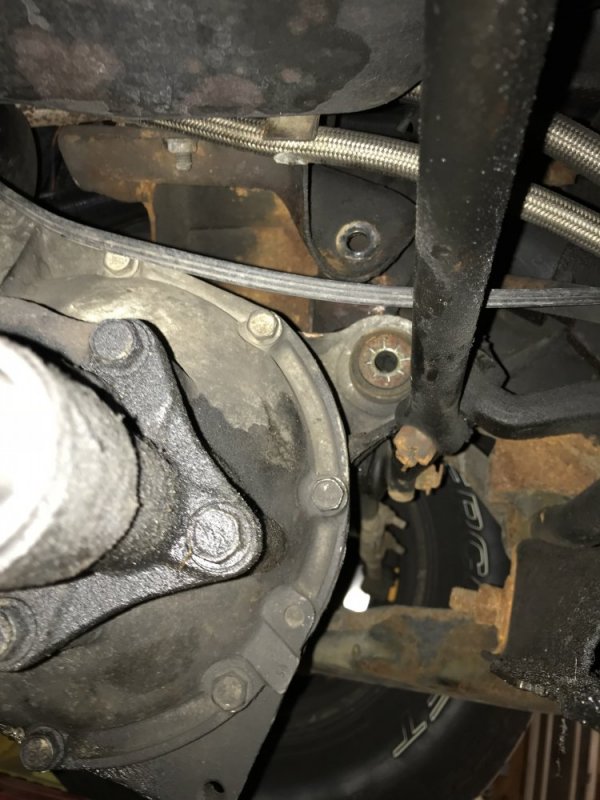
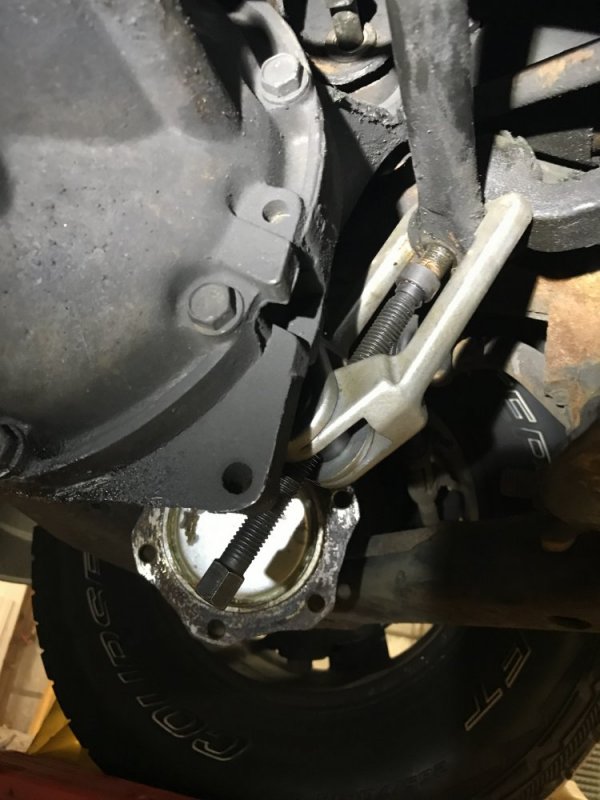
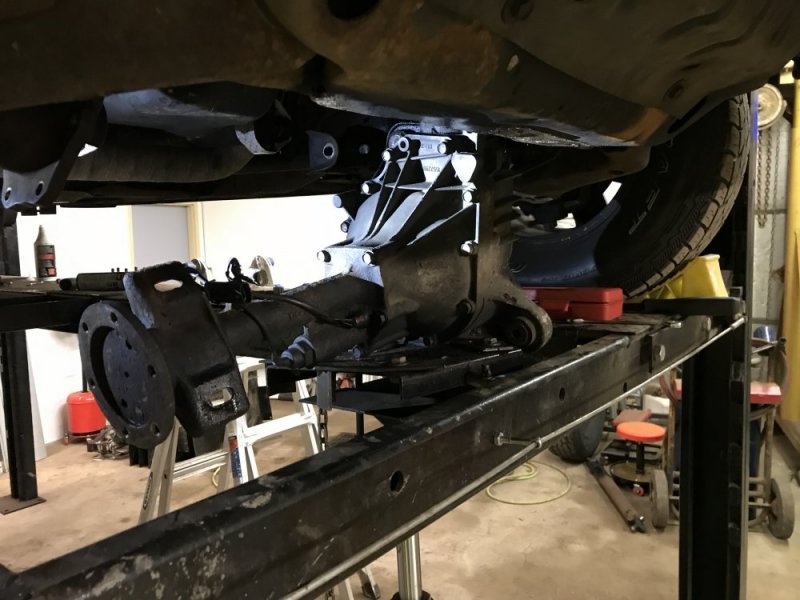
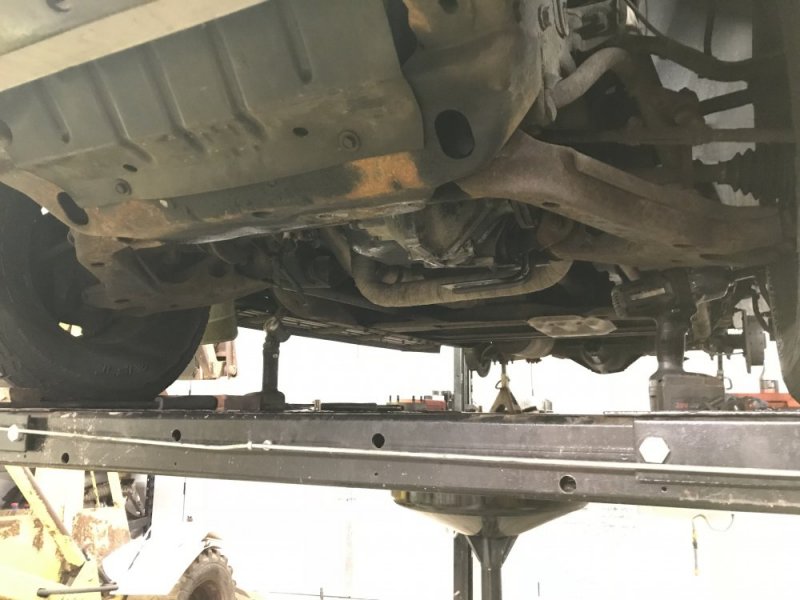
Then I thought I could get the old diff removed, but the steering linkage is getting in the way and I had run out of time before dinner, so I’ll get that popped tomorrow night and then drop the diff. I could maybe turn the wheel and get enough clearance, but since the rear is up on jack stands, I don’t want to risk moving anything too much.

1AC31396-3BBB-472D-8F41-73E593212D0C.jpeg 426F75A4-BC03-45B4-9463-284A75CA7583.jpeg
 
Probably 10 years ago now I was helping a friend change his front diff out and we fought that thing for ever it seamed like. We were taking a break when another friend of ours showed up and he said I’m going to show y’all how to get this thing out. He literally turned the steering wheel just a little bit and the diff fell right out on the floor. I felt like a idiot. So, you are right on thinking to turn the steering a little.
 
I swapped out a front diff in a 99 gasser Tahoe I used to have would have fallen to the floor if I didn't have a floor jack under it. Went back in just about as easy.
Took the front diff out in my 96 3/4t and it was a much tighter fit. Kinda fell out but I didn't think I was going to get it back in. I fussed at it for several hours but I don't remember what I did to get it to go.
 
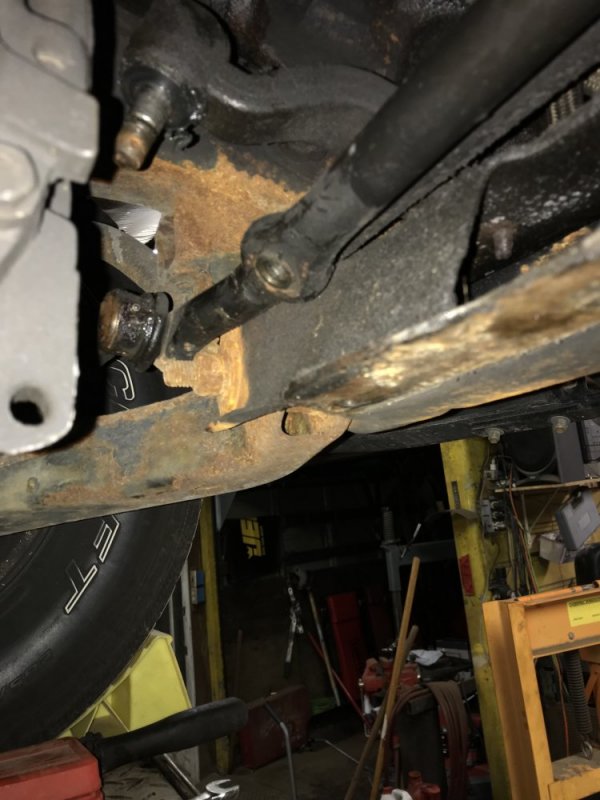
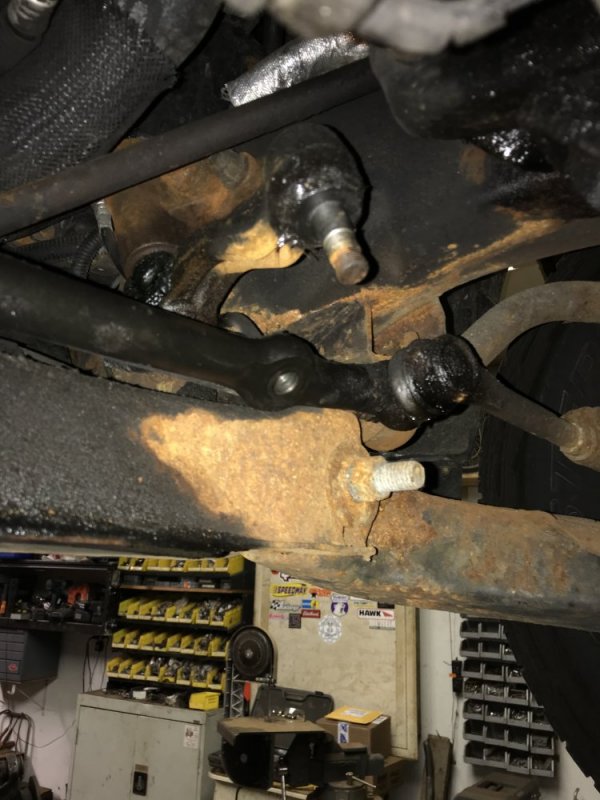
Got the front diff installed tonight. Popping the tie rod center link off the pitman and idler arms gave me plenty of clearance.

D0DEE3E3-2385-49E9-9D0E-036114CDA97A.jpeg 468CE474-F3B5-48C7-9079-B0357AE92A9A.jpeg 394D0680-CCCB-4BC3-844F-0B542A8676E1.jpeg

Then it was just a matter of rotating the diff 90 degrees on the way down.

D0343C36-40BA-44CD-B0BF-4708D2E190E0.jpeg 853A6FAE-54F8-43F9-A507-164EEB09B561.jpeg

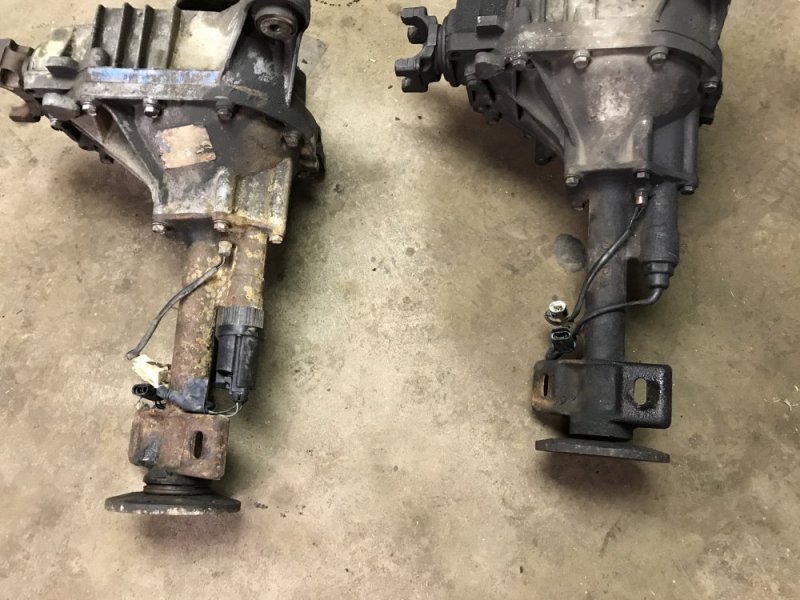
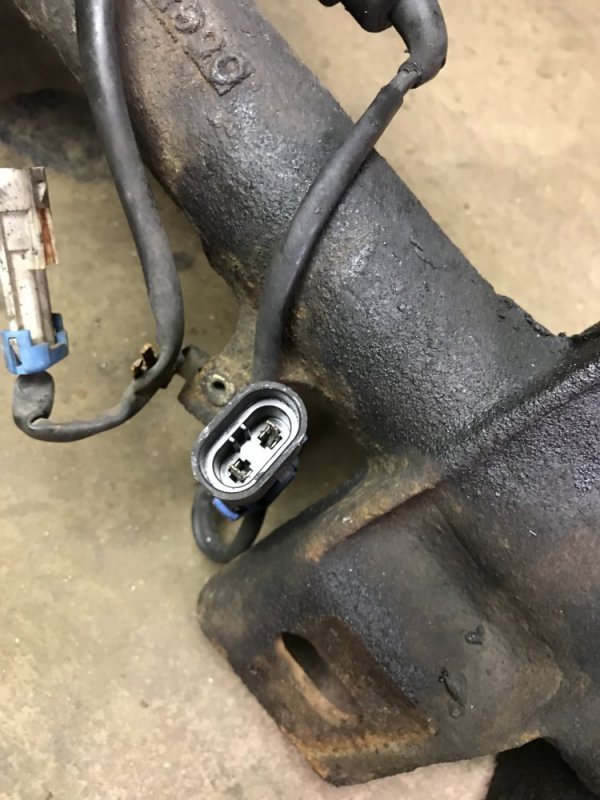
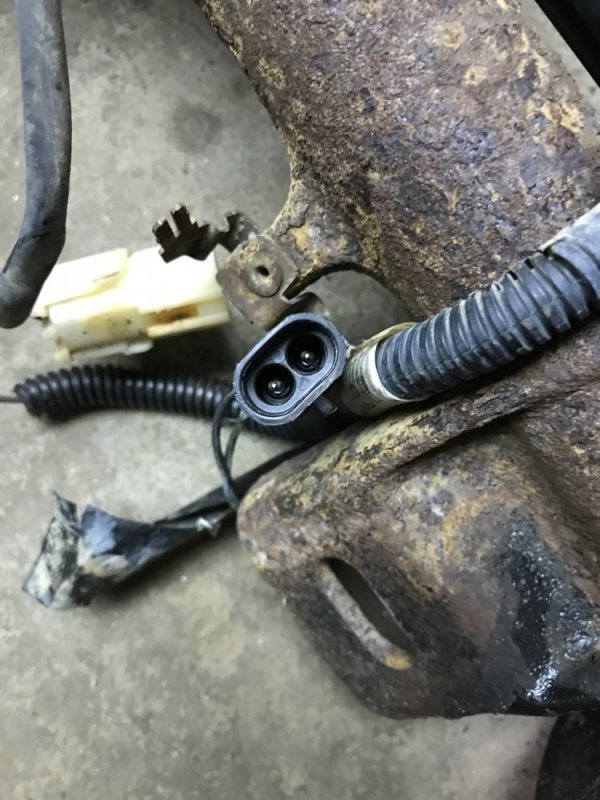
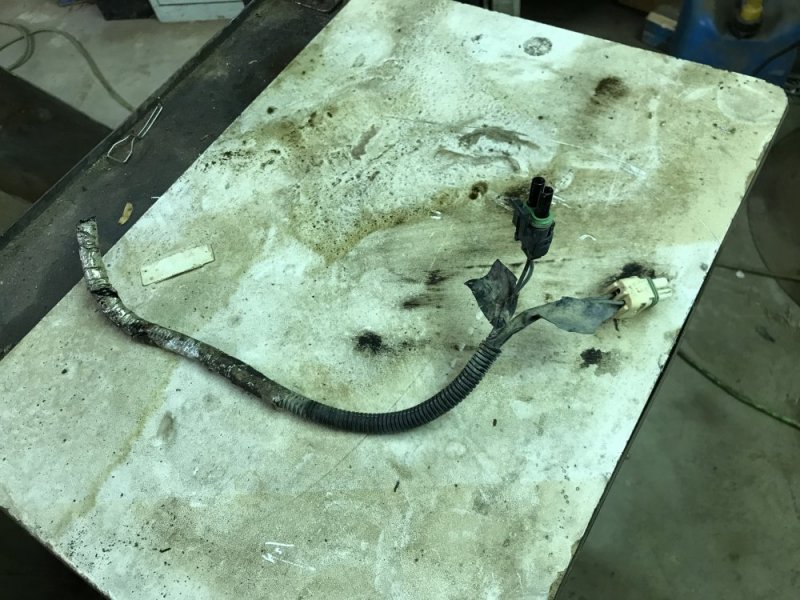
Once on the ground I did some comparing. I noticed before that I still had the old actuator in the Tahoe, so I’m looking forward to the updated actuator going forward. What I didn’t expect was how different the plugs were, even with the conversion harness that came with the other diff. I know about the brown wire from earlier reading, but the 2 different plugs threw me. So I’ll do some reading tonight and figure it out. I did swap the 4wd indicator sensor out since those connectors were different as well.

90C37EA7-25EE-4B4F-8C43-4021DC4029B7.jpeg
8FBEBD32-BD6D-4A7E-8FFB-84C7F003BEBA.jpeg 13BC9A96-F78E-4417-A126-25CB587CA741.jpeg 7C99CF71-C523-494B-BD9A-F36956F65052.jpeg

Other than that the diff is swapped and pretty much ready to go - I just need to add fluid and put the skid plate back on.

5B4F5B45-51B7-4A69-B8D6-05FADA4BCAFA.jpeg
 
Kinda off topic but how do you like that 4 post as compared to a 2 post?
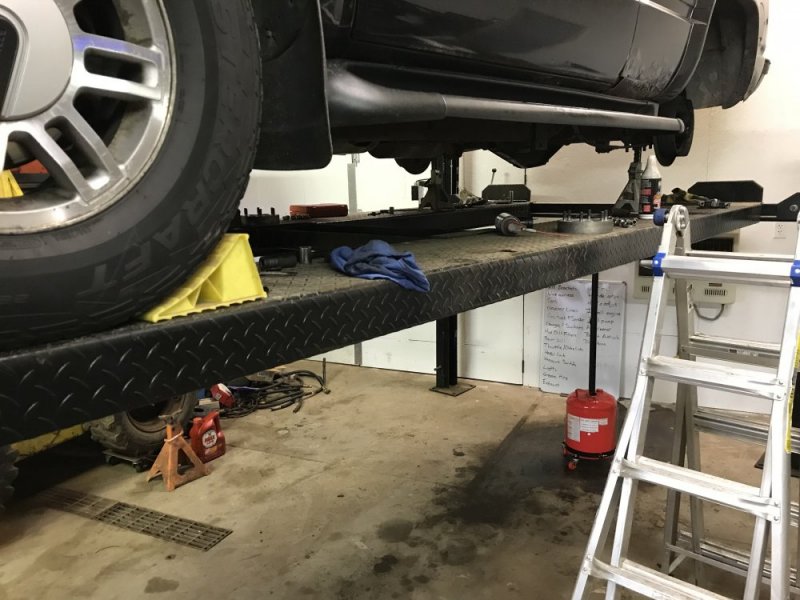
Well, I’ve never had a 2 post, though I’ve been in shops with one, but I think I would like the 2 post better. A 2 post would be in the way less as far as the ramps and stuff go. Also no need to jack a car up once it’s on a lift to service brakes, axles, etc. However, on the plus side, you can just drive on a 4 post and start lifting, no getting on your knees to set the arms. Also, mine has casters so when it’s not in use I can roll it out of the way.....or at least to another location. In the right situation a 4 post can be used for tiered car storage, too. In a perfect world a nice shop would have both kinds I think, but if I could have only one I’d probably go 2 post - I got a good deal on this and I can't really fit a 2 post in this barn....that will not be the case in my next barn.
 
  • Like
Reactions: NVW
I’ve been looking at harness solutions and I think my best play is going to be to splice the connector onto the harness in the Tahoe. Or......actually I think maybe I’ll try to find the correct pigtails and make an adapter. It looks like I have some funky one-year-only thing going on here.
 
As an Amazon Associate we earn from qualifying purchases.
Back
Top