• Welcome to The Truck Stop! We see you haven't REGISTERED yet.

    Your truck knowledge is missing!
    • Registration is FREE , all we need is your birthday and email. (We don't share ANY data with ANYONE)
    • We have tons of knowledge here for your diesel truck!
    • Post your own topics and reply to existing threads to help others out!
    • NO ADS! The site is fully functional and ad free!
    CLICK HERE TO REGISTER!

    Problems registering? Click here to contact us!

    Already registered, but need a PASSWORD RESET? CLICK HERE TO RESET YOUR PASSWORD!

1996 K2500 “Krovvy”

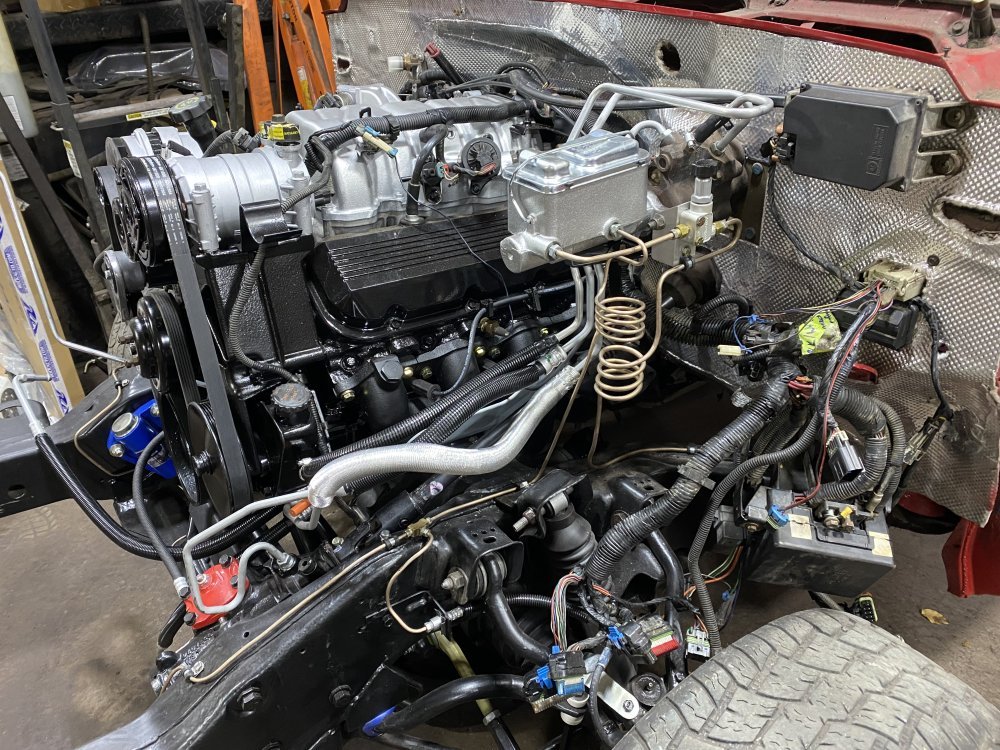
where did you source the coil you put on the brake lines?
I’m pretty sure I got it from The Stop Shop, but I’m not seeing it listed on its own. I bought it a couple years ago.

 
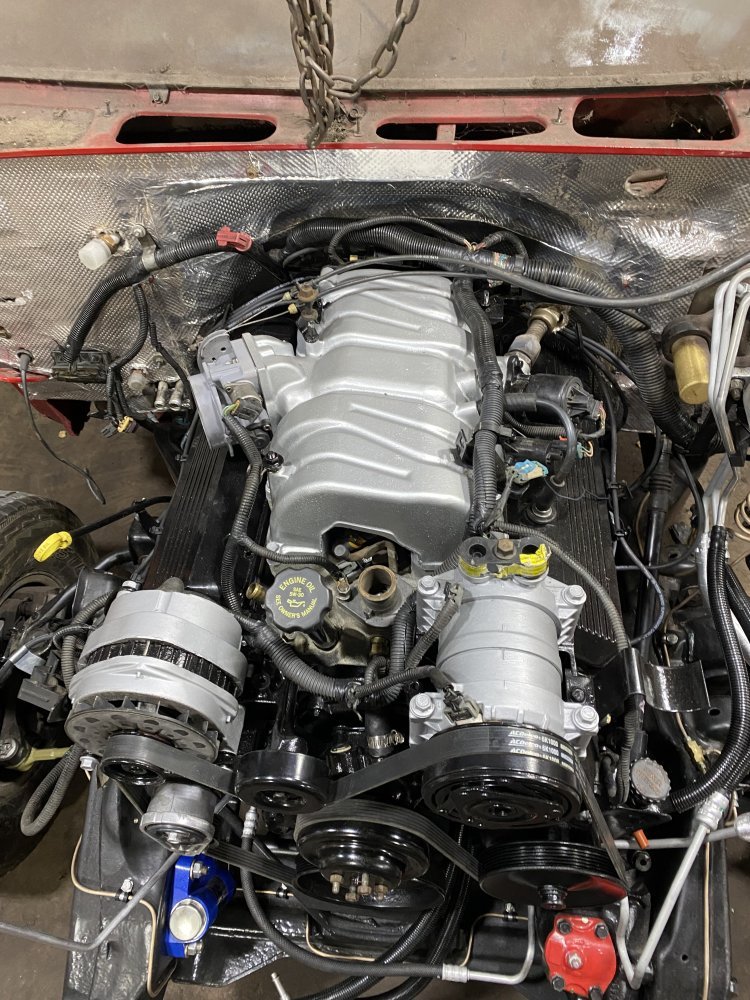
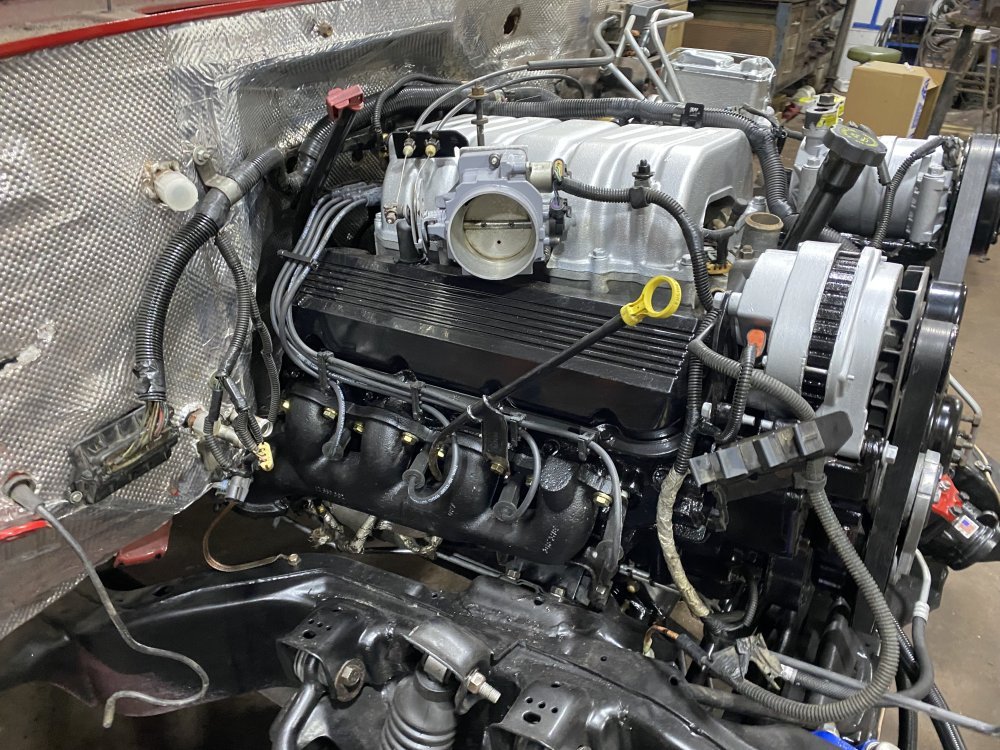
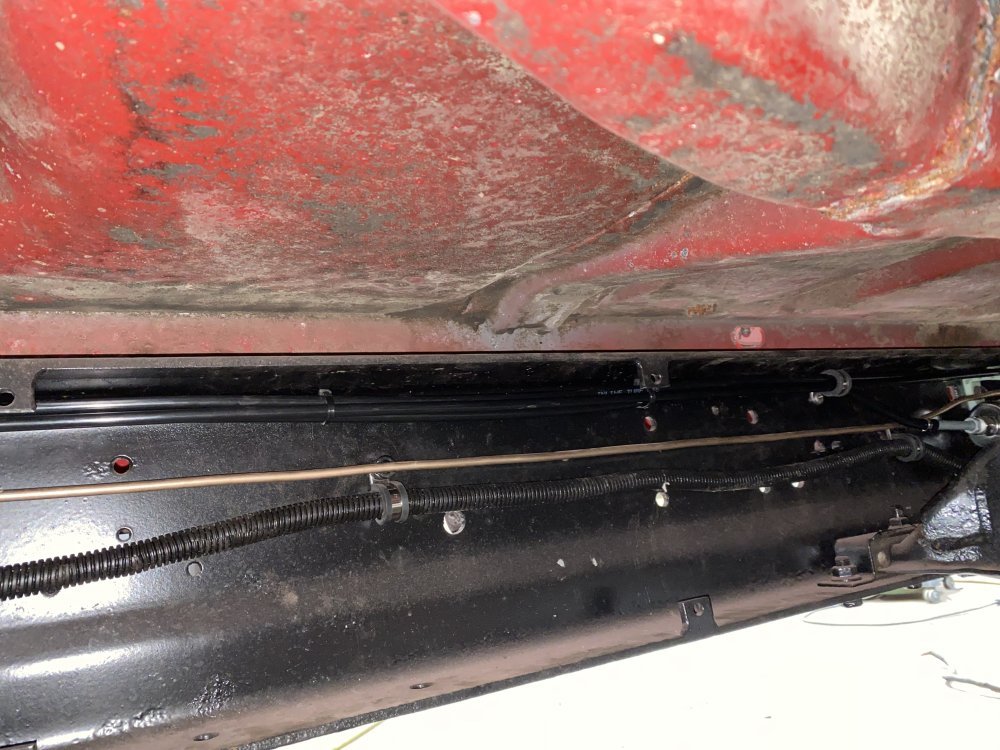
I decided I was going to struggle more installing the wiring after the fuel lines than I would doing it vice-versa, so I tackled that next. It wasn’t too bad figuring out how it was supposed to be run. I have it all hooked up as much as I can right now with the exception of the 4wd part of it - I still need to plug all of that in, but first I need to add the wiring for the upgraded front axle solenoid to that part of the harness.

IMG_0141.jpegIMG_0142.jpegIMG_0143.jpeg
 
I forgot to post last weekend, so I’ll start there and continue into this week.

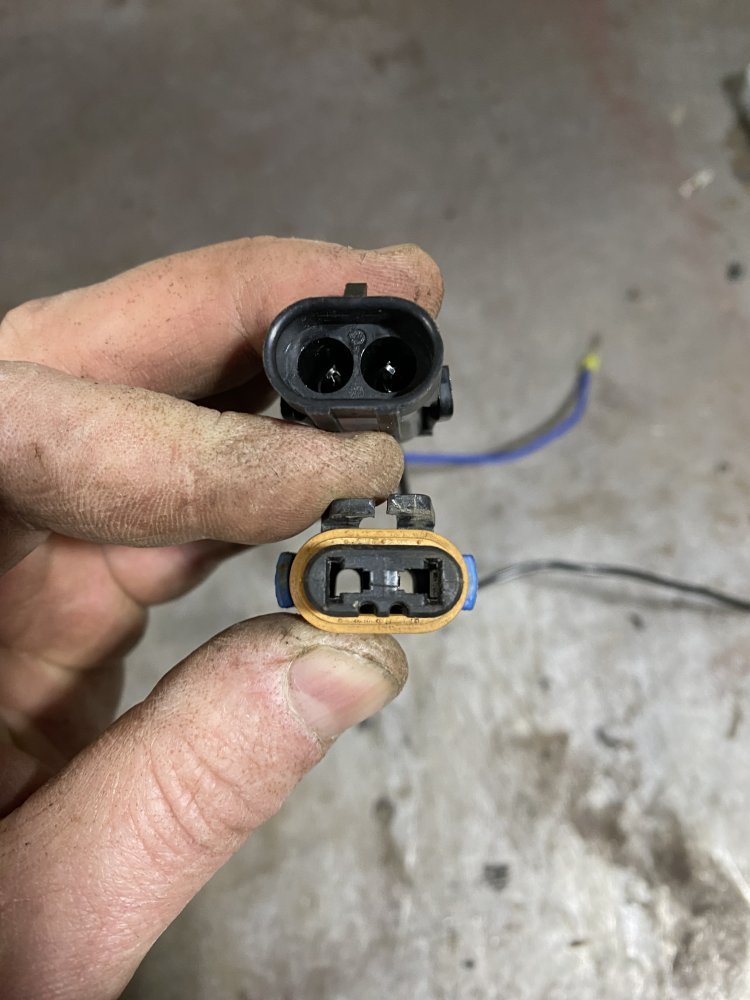
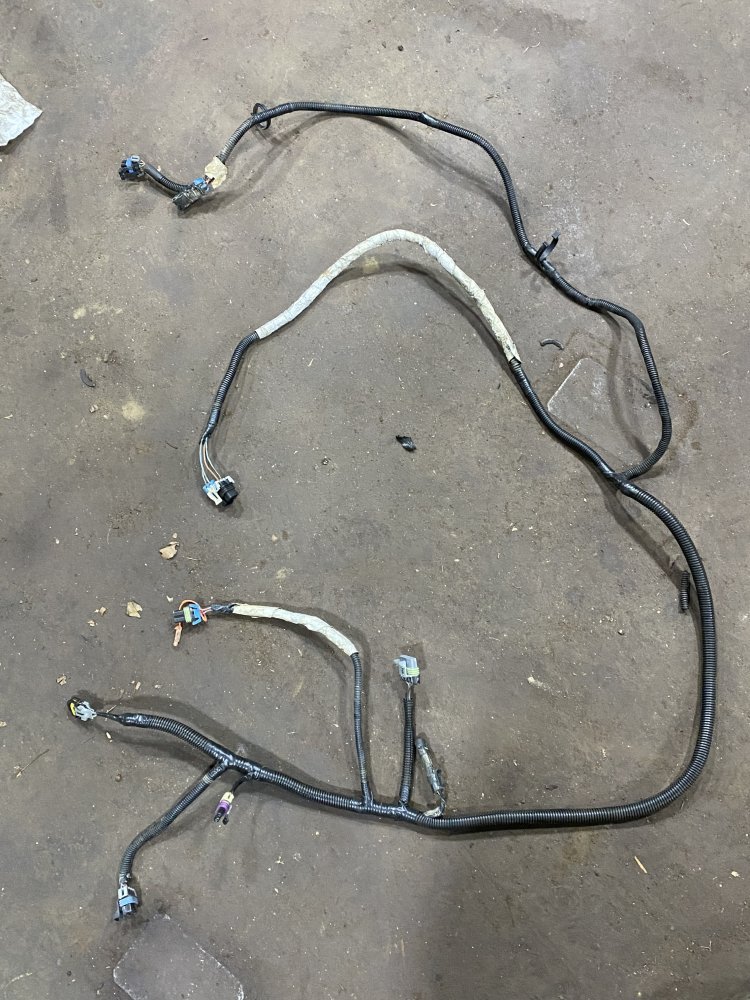
The plugs for the Dorman actuator harness and the factory harness didn’t match up. I found someone else online that had the same issue. So I took the harnesses apart and integrated them into one factory-style harness.

IMG_0144.jpegIMG_0145.jpeg

I also removed the 96 diesel rear harness that I had already installed on the frame years ago and then cleaned up and installed the 98 gasser rear harness.

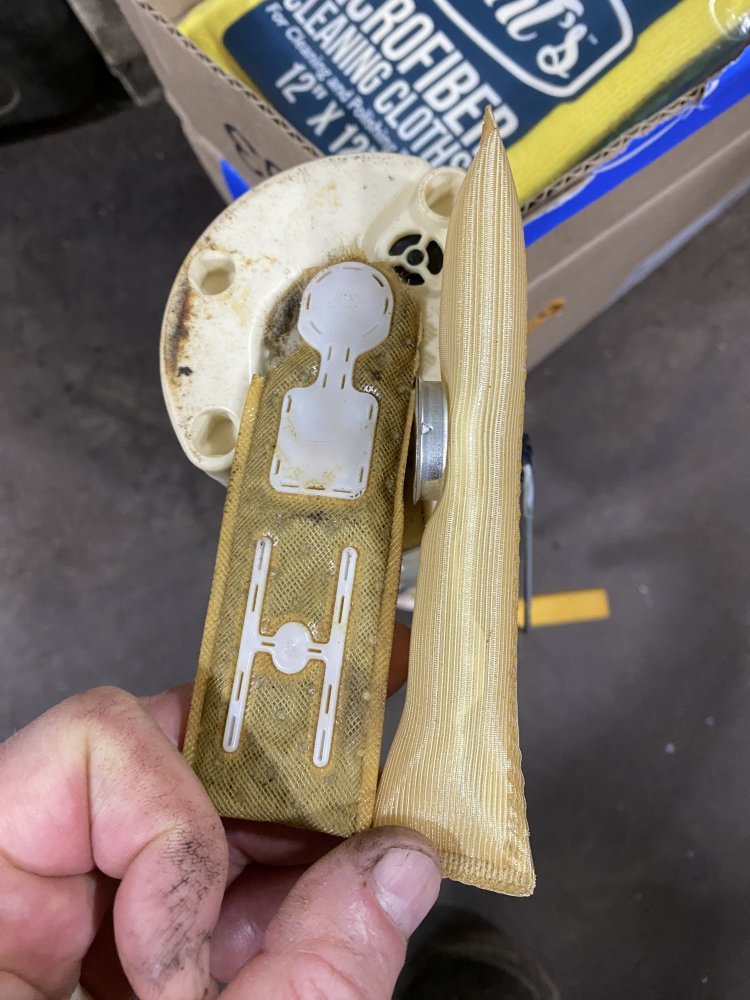
And then I started installing the new gas tank and fuel line kit. I tested the fuel pump (that my dad had replaced a while back) and it was still good, so I planned to reuse it. I bought a replacement strainer just for some cheap insurance. I started removing the strainer on the pump, of course destroying it in the process. I opened up the package for the new strainer and…….it was different. Hmmmm. After doing a bunch of looking at listings, it appears aftermarket pump assemblies have a different style strainer and that style isn’t available separately and may not be replaceable. Sweet. So I ordered a new pump assembly.

IMG_0194.jpeg

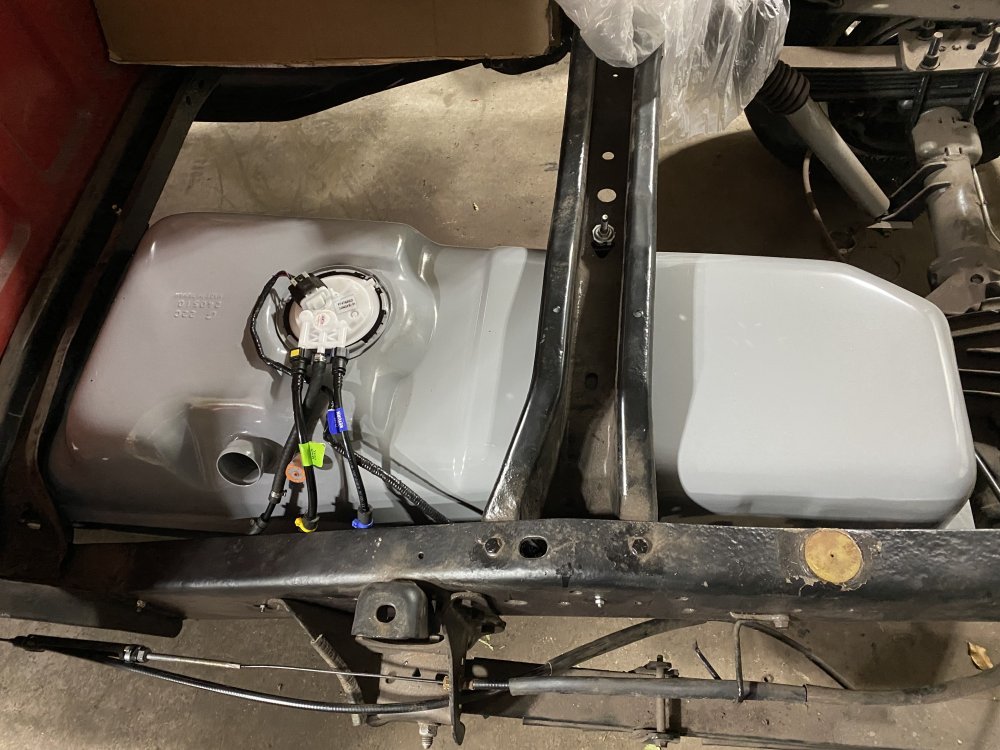
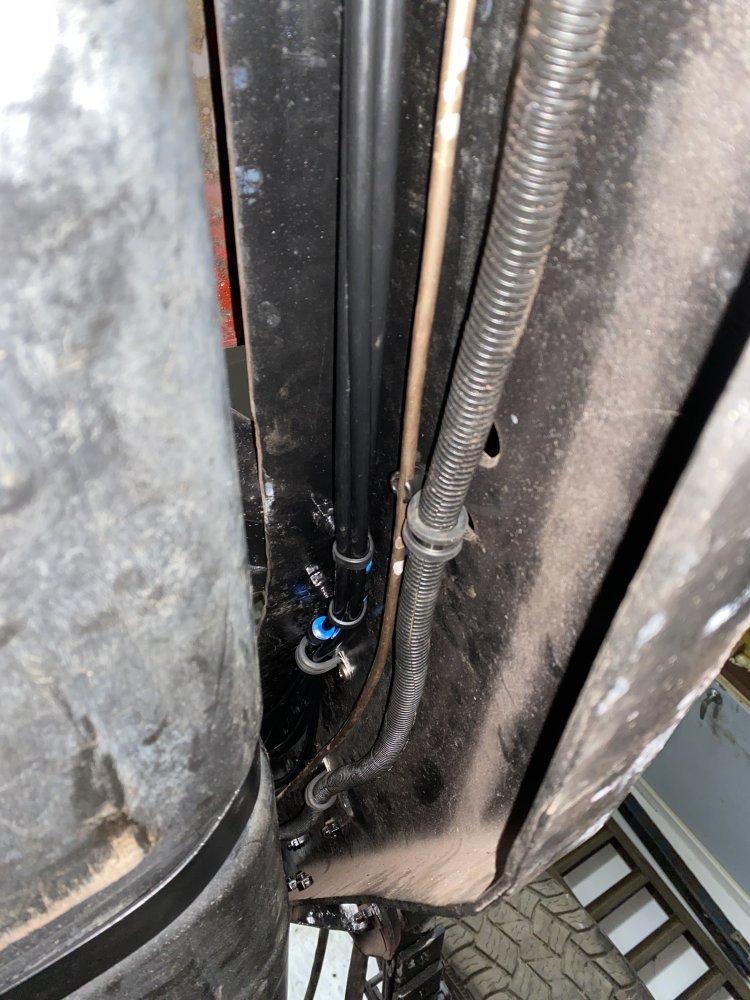
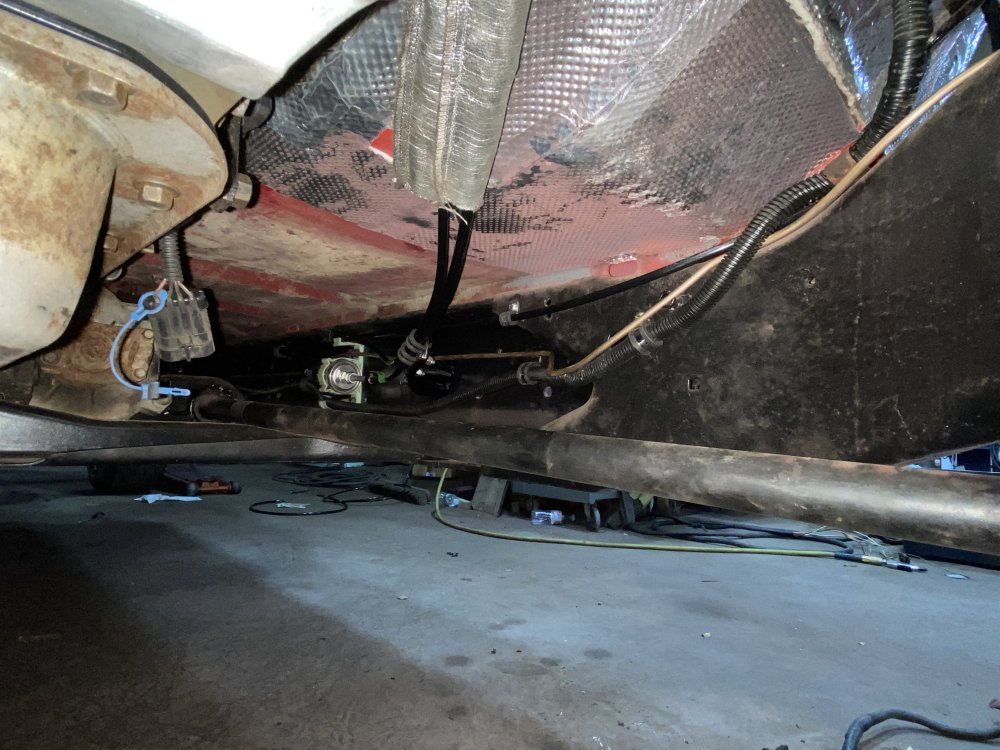
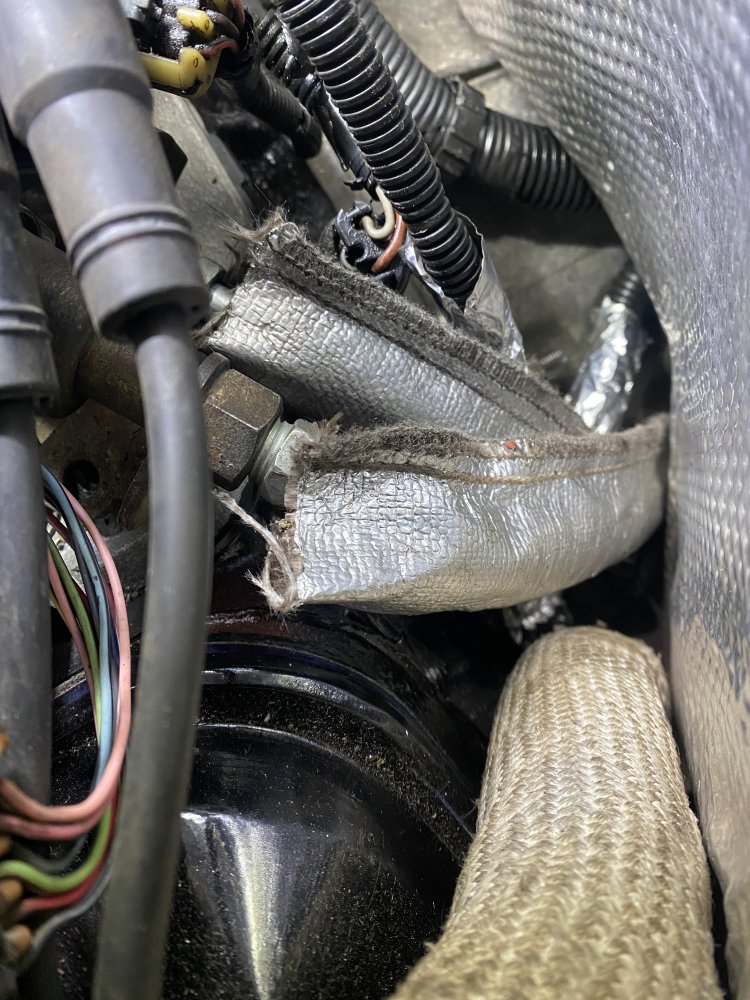
Tonight I installed the pump and finished installing the rest of the fuel lines from the Inline Tube nylon line kit. I installed Design Engineering Heat Sleeve anywhere the line was close to exhaust.

IMG_0182.jpegIMG_0183.jpegIMG_0185.jpegIMG_0189.jpegIMG_0152.jpeg

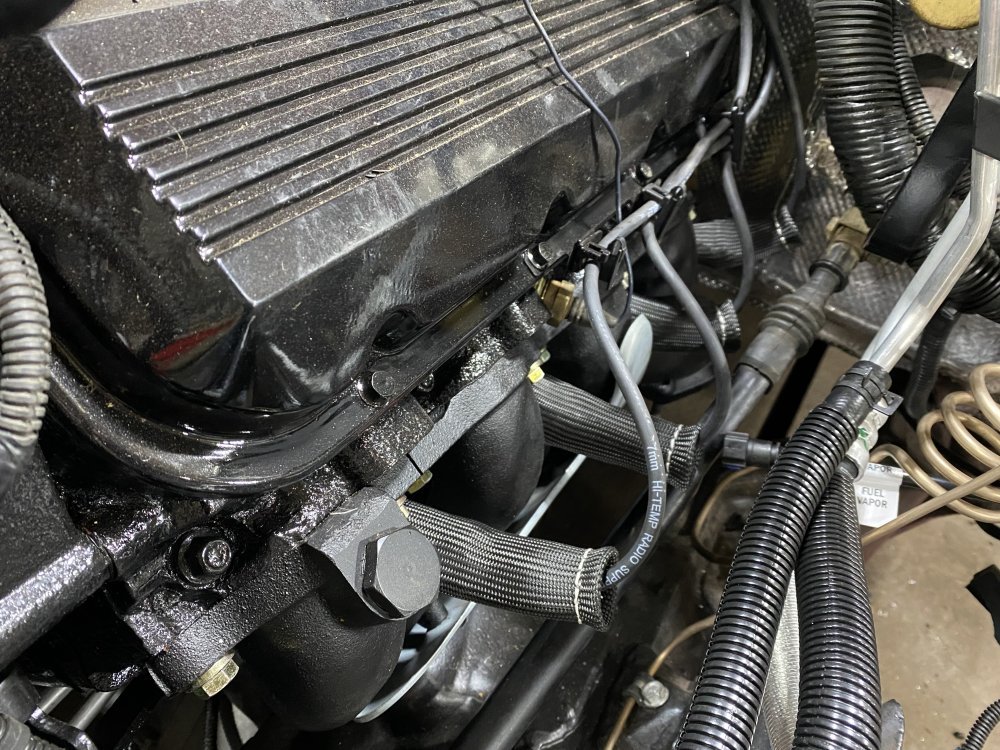
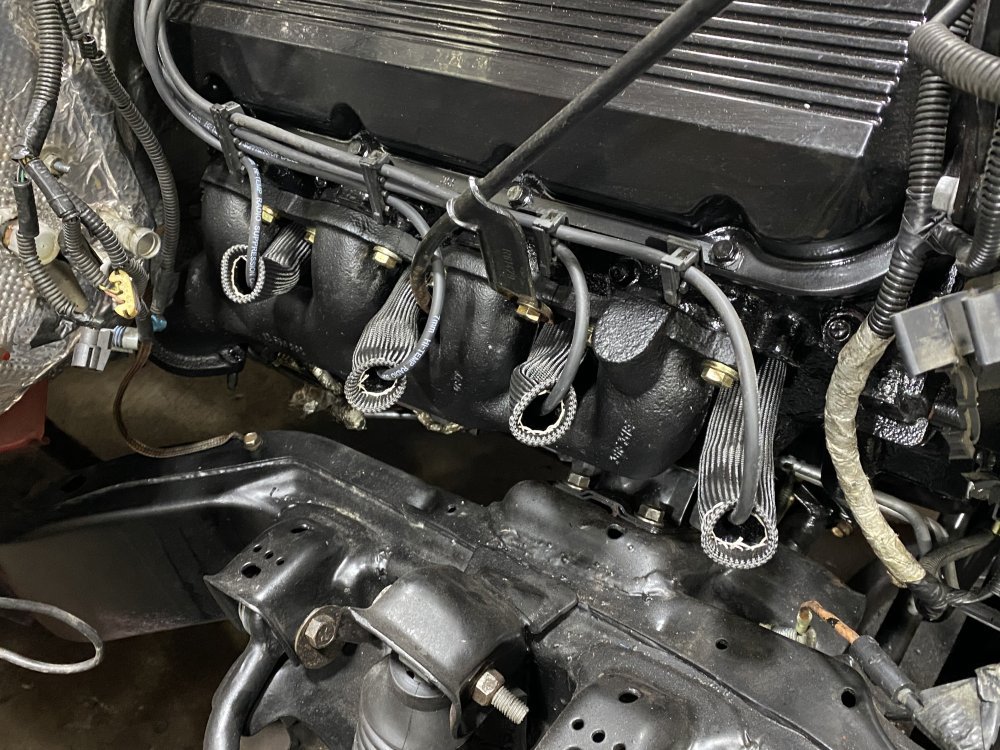
Lastly, since the original plug wire heat shields were not reusable, I shopped around for some spark plug sleeves just for peace of mind. Those showed up and I also installed those.

IMG_0192.jpegIMG_0193.jpeg
 
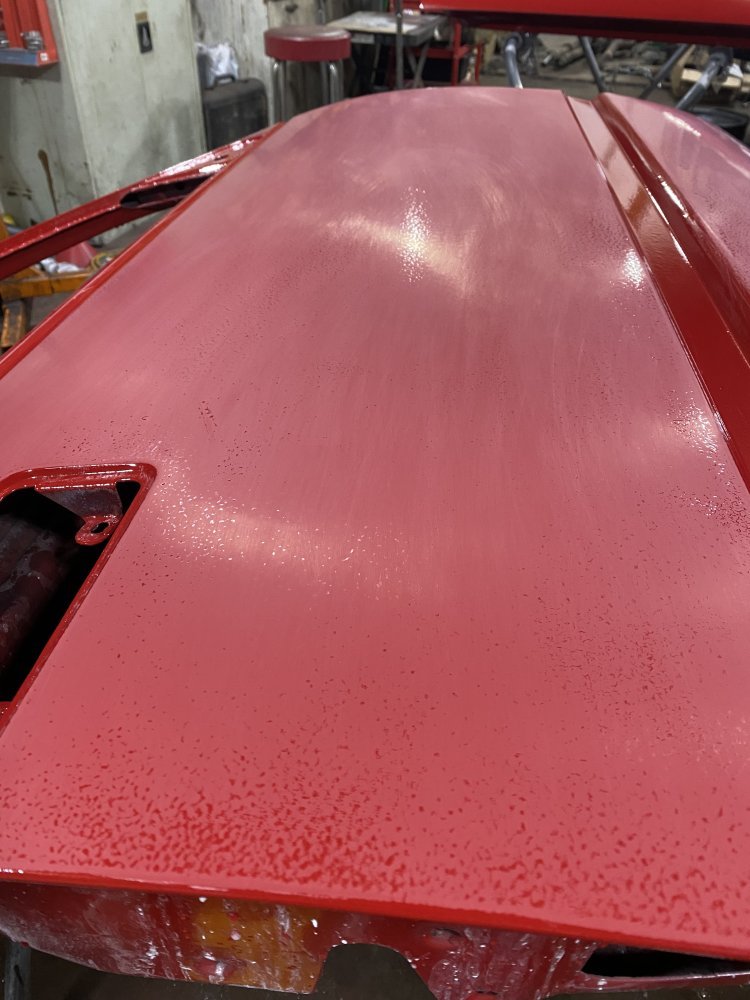
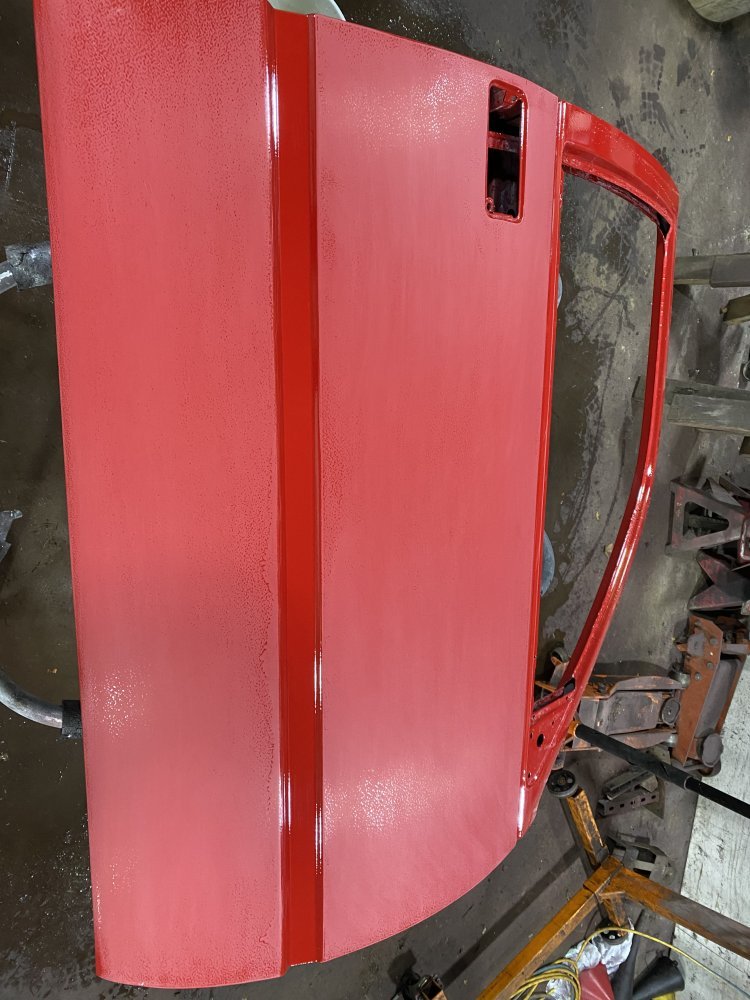
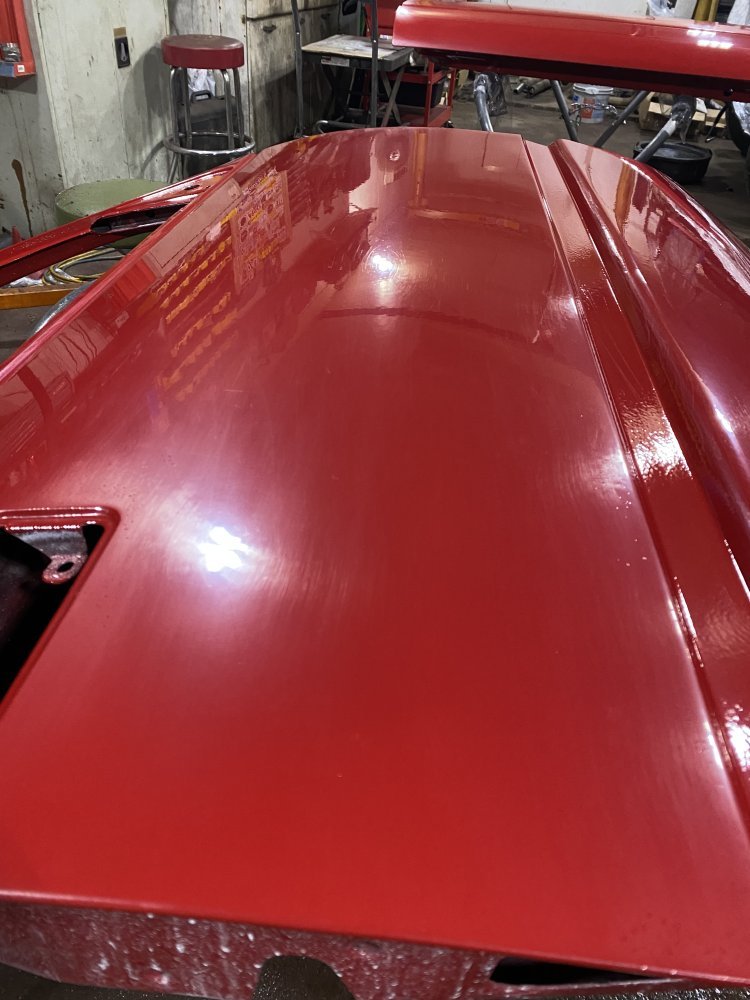
Tackled something new that I’ve never done before - taking care of some of the orange peel on the doors that I painted a couple months ago.

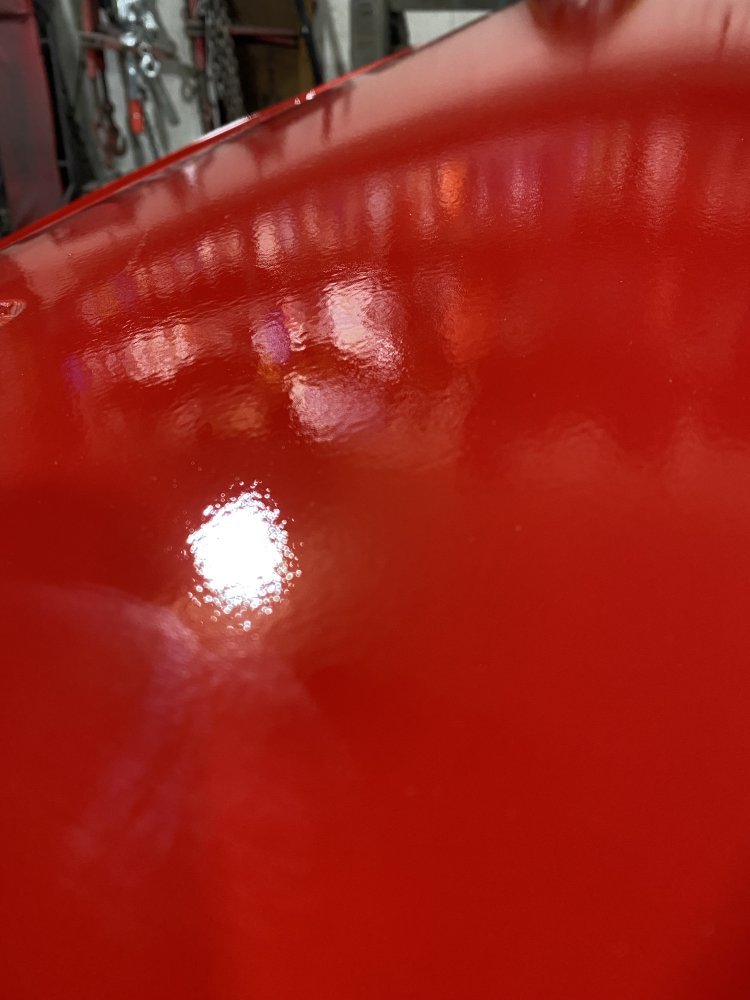
Here are the before pics.

IMG_0197.jpegIMG_0198.jpeg

First step was hand sanding with 1500 grit. I didn’t 100% sand the orange peel out for a couple reasons: 1. Because I didn’t want to risk sanding through the clear coat and 2. Because I don’t want/need to make the doors perfect because the rest of the truck has almost 30 year old paint and I don’t need the doors to stand out from the rest of the truck.

IMG_0200.jpegIMG_0199.jpeg

Next step was hand sanding with 2000 grit.

IMG_0201.jpegIMG_0202.jpeg

And then finally, hand sanding with 3000 grit. It was interesting to see some shine come back after this grit.

IMG_0203.jpegIMG_0204.jpeg

Next up was applying 3M rubbing compound with a Harbor Freight polisher. A lot of transformation with this step.

IMG_0205.jpegIMG_0206.jpeg

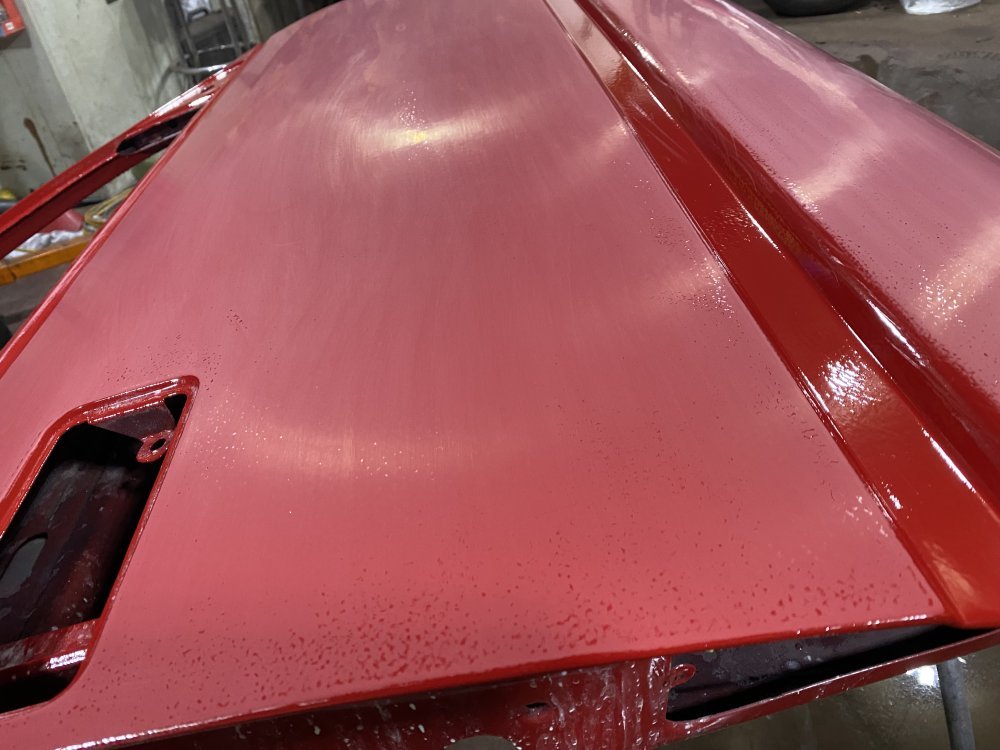
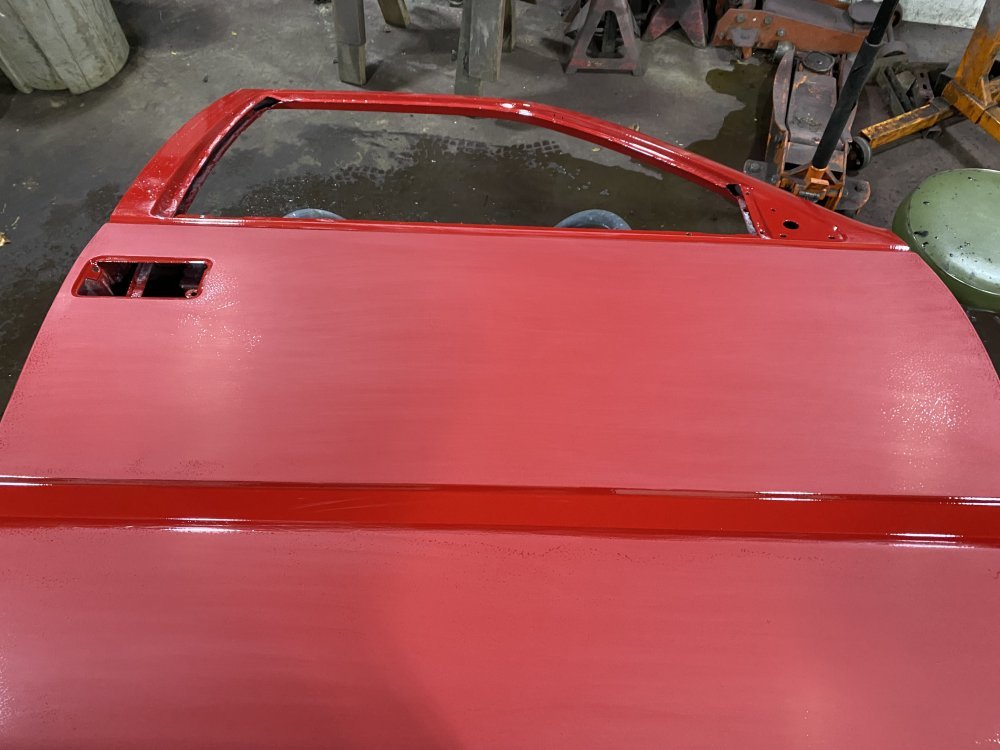
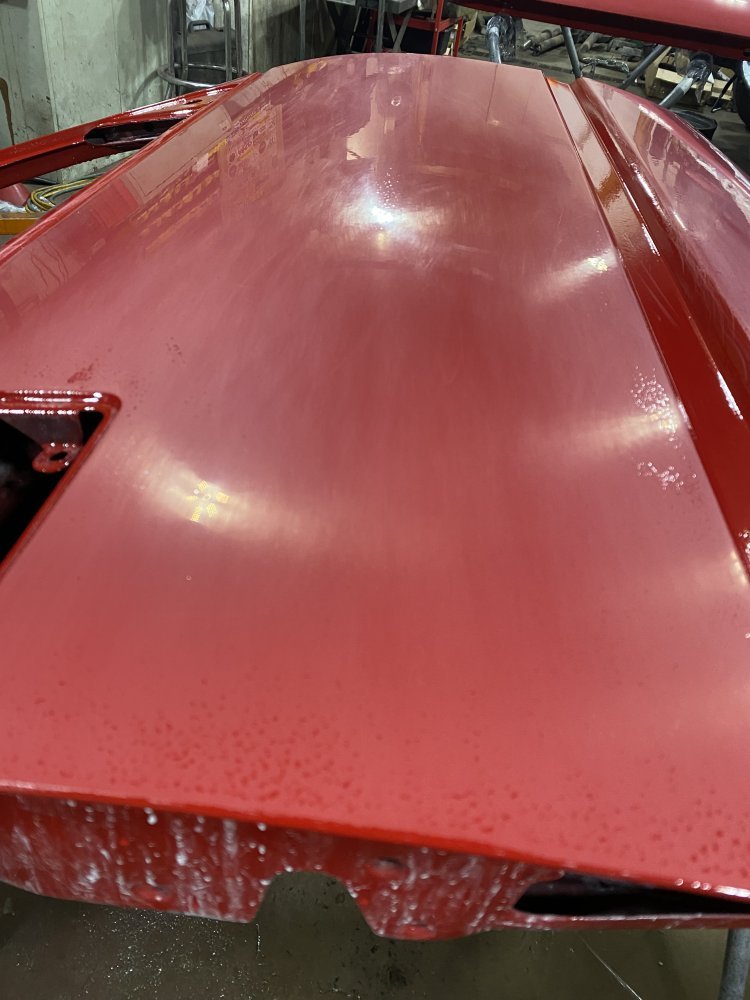
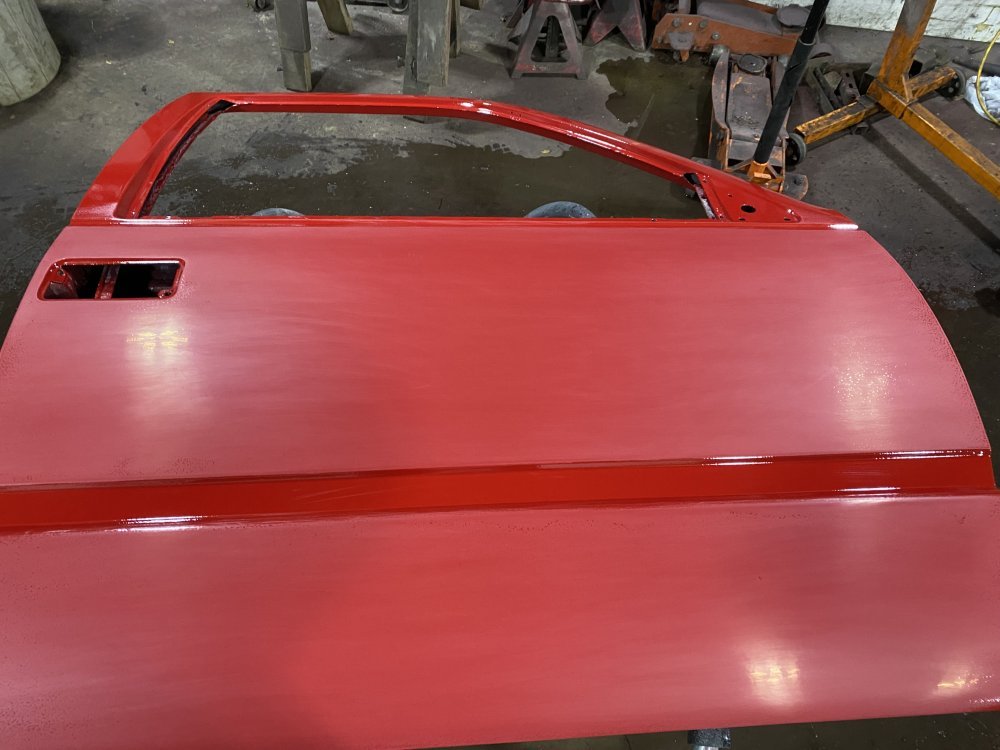
And finally was applying 3M Machine Polish. (pics in the next post)


I have another level of 3M polish, but right now I feel like it matches the rest of the paint really well, so no need to go further. This was a good learning experience. It looks like I could have done the 2000 and 3000 grit sandpaper if I wanted to make the scratches go away, but again, it looks pretty perfect for matching the rest of the truck.
 
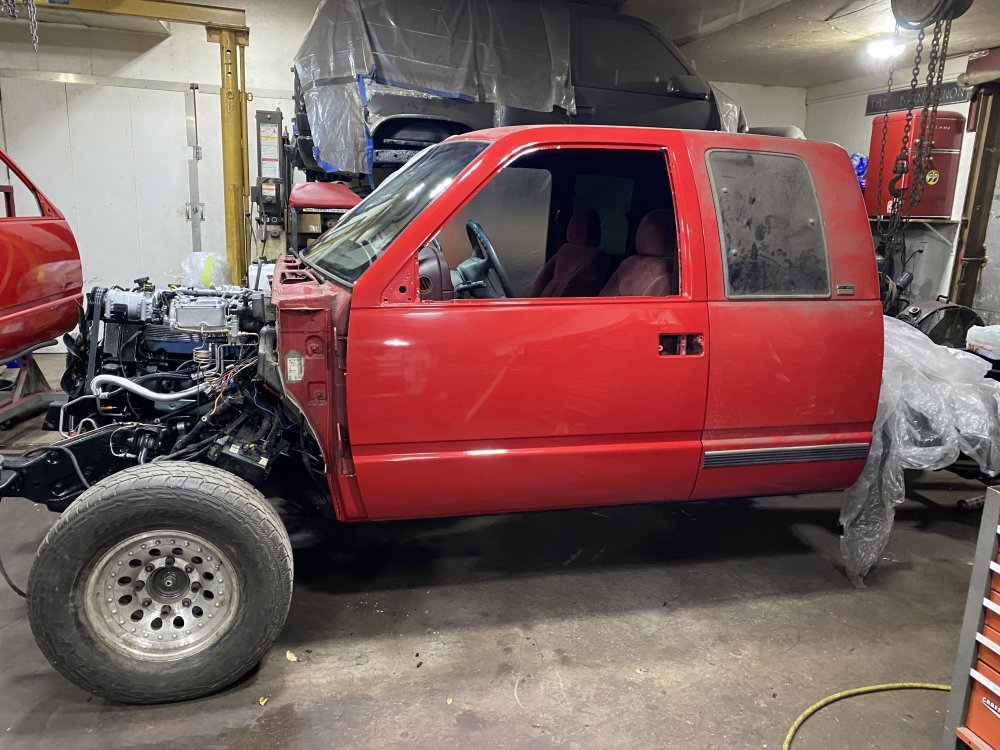
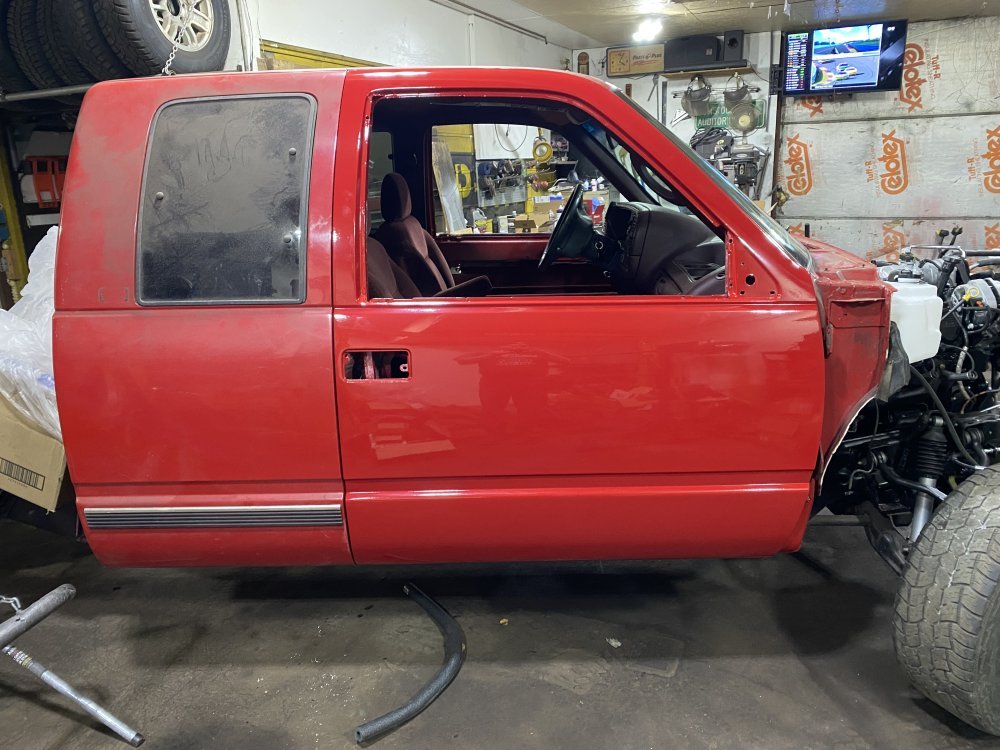
I started today trying to make a door installation cradle to mount on a floor jack. I was struggling to round up materials I was happy with. I was getting depressed and not making any progress so I shifted directions. I realized I could lower my body panel stands low enough to use that to support the door for installation so I did that instead. I got the doors and their latches installed and they close nice. I’m happy. Another important milestone crossed.


IMG_0209.jpegIMG_0211.jpeg
 
This weekend I got the exhaust mostly done.

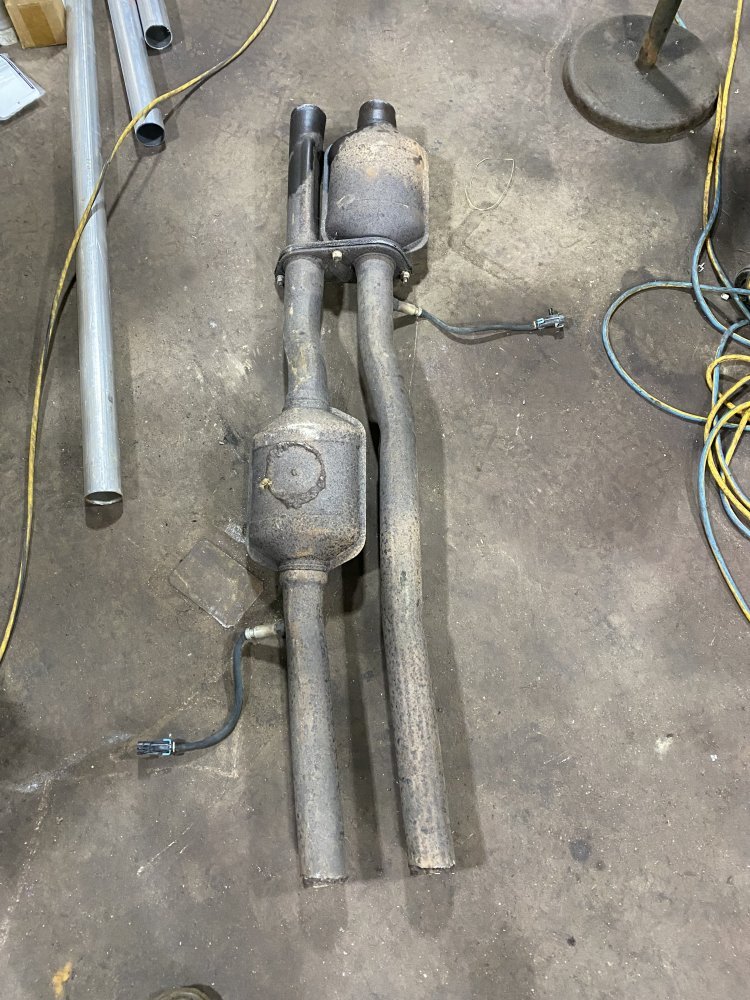
I started by cutting the 280,000 mile factory cats and pipes off of the head pipes. As you can see, one had surgery in the past and wasn’t doing it’s job anymore, so might as well finish the job and reduce the future places to leak. This truck is supported by HP Tuners, so I’m going to turn the rear O2 sensors off using that so we won’t get a Check Engine Light.

IMG_0241.jpeg

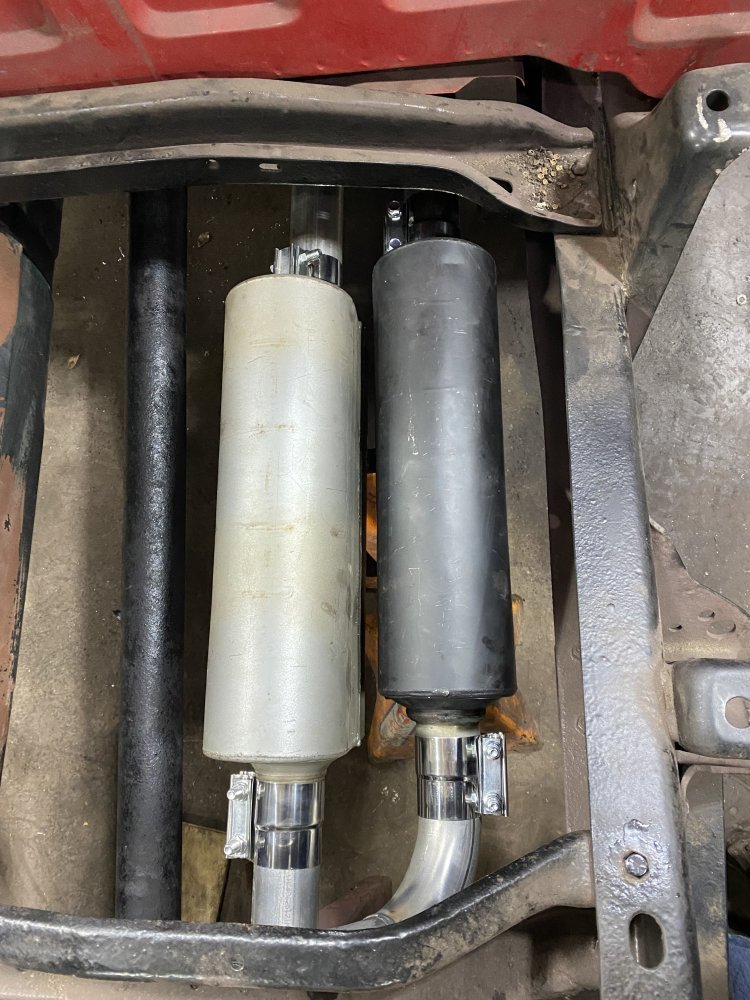
I had a couple Flowmaster 50 SUV series mufflers already and they were perfect for this truck. The silver one is stainless with 2.5” inlet and outlet. The inlet was conveniently offset to help me get the outlet tube up over the axle. The black muffler is carbon steel with 3” inlet and outlet. Since I needed to put a jog in the tube to get around the shock anyway, the center inlet and outlet were fine. I cut off the inlet and outlet tubes and welded on some 2.5” muffler tubes I had in my pile.

IMG_0242.jpeg

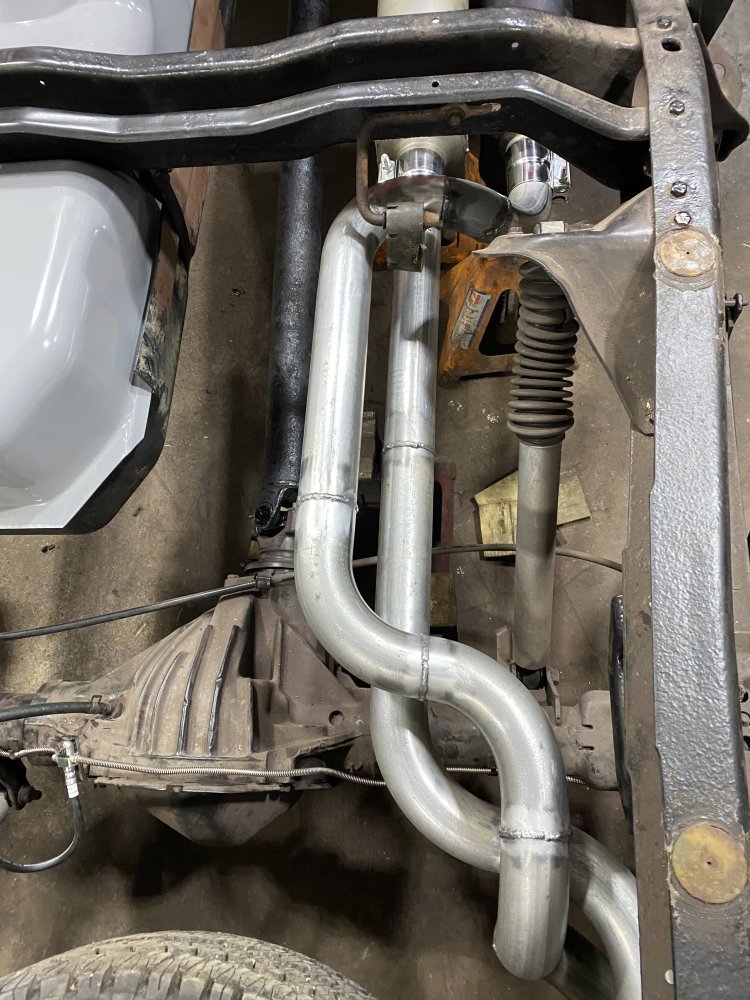
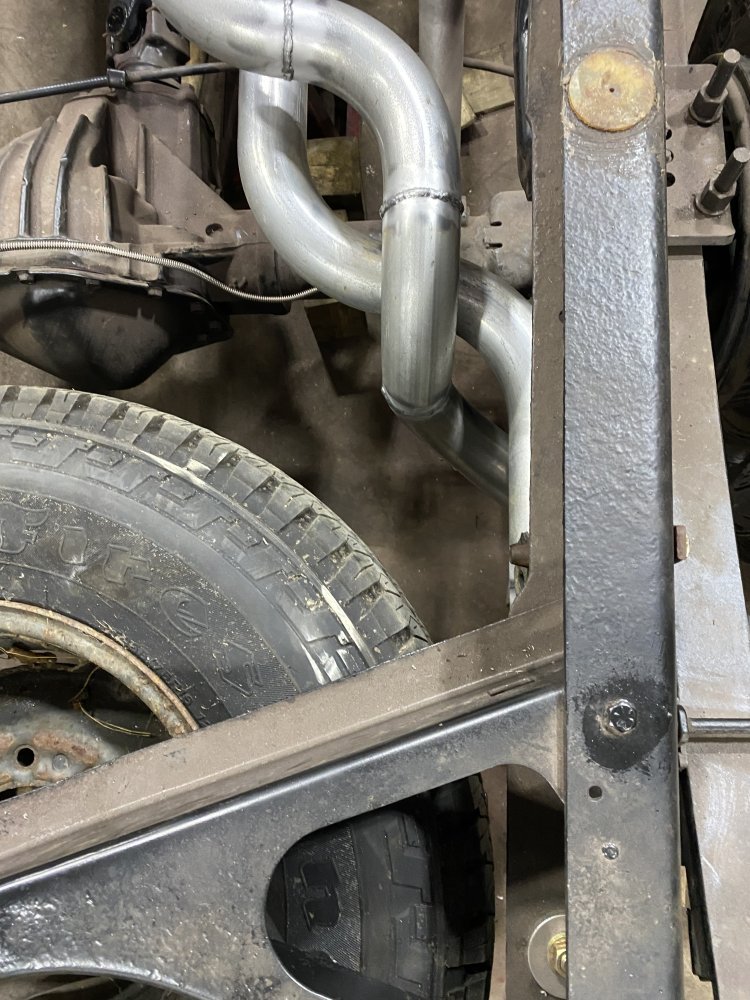
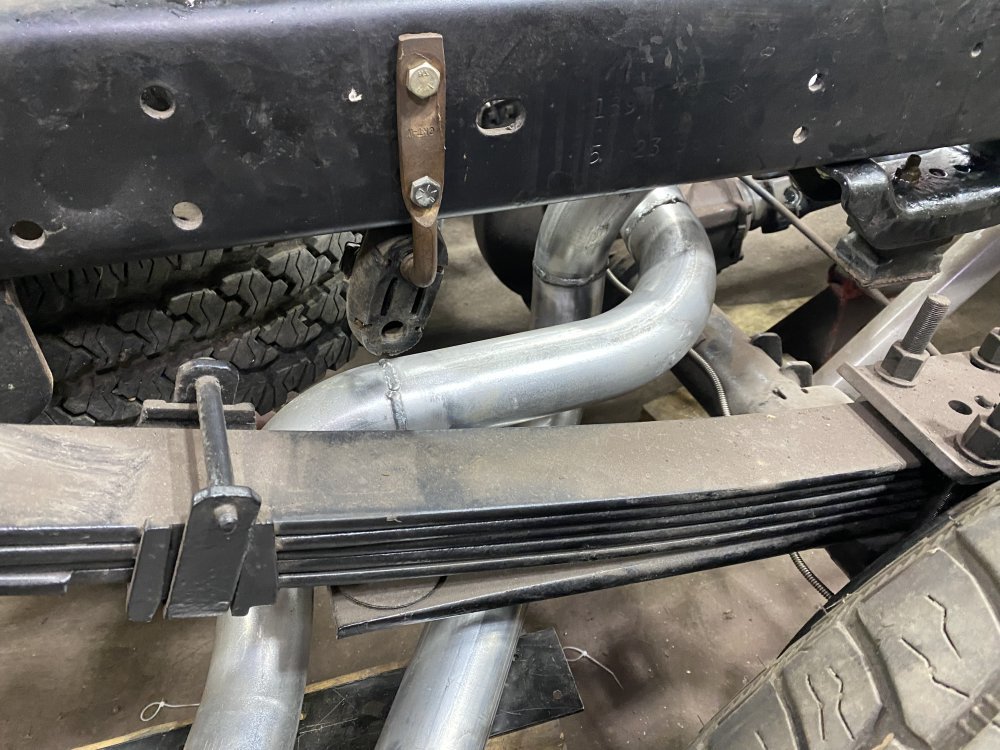
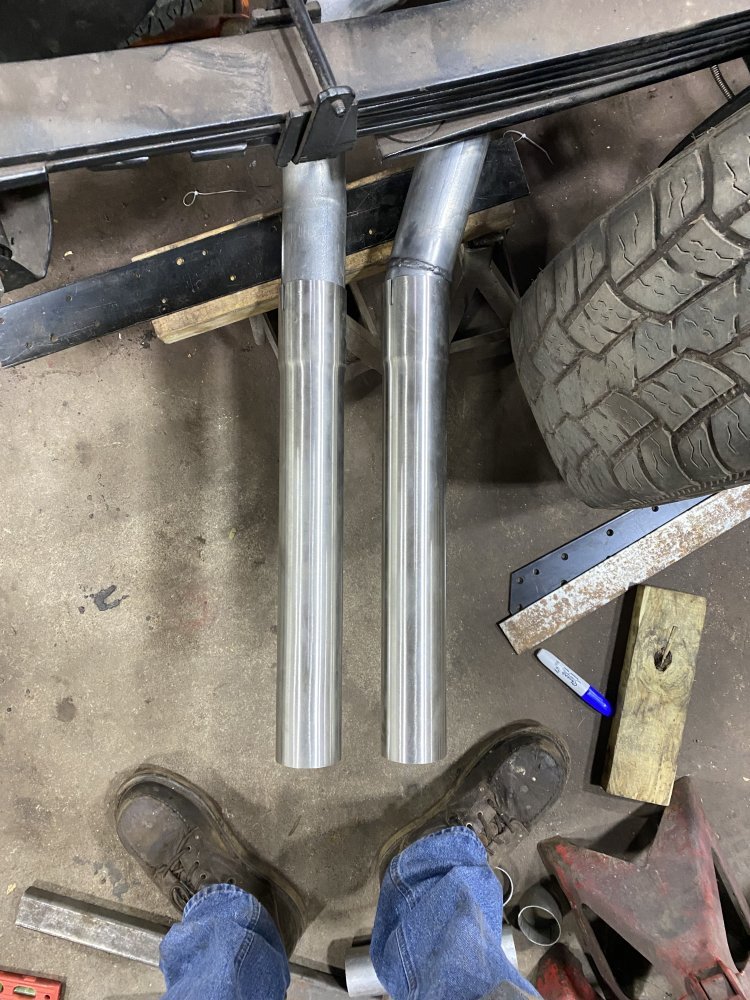
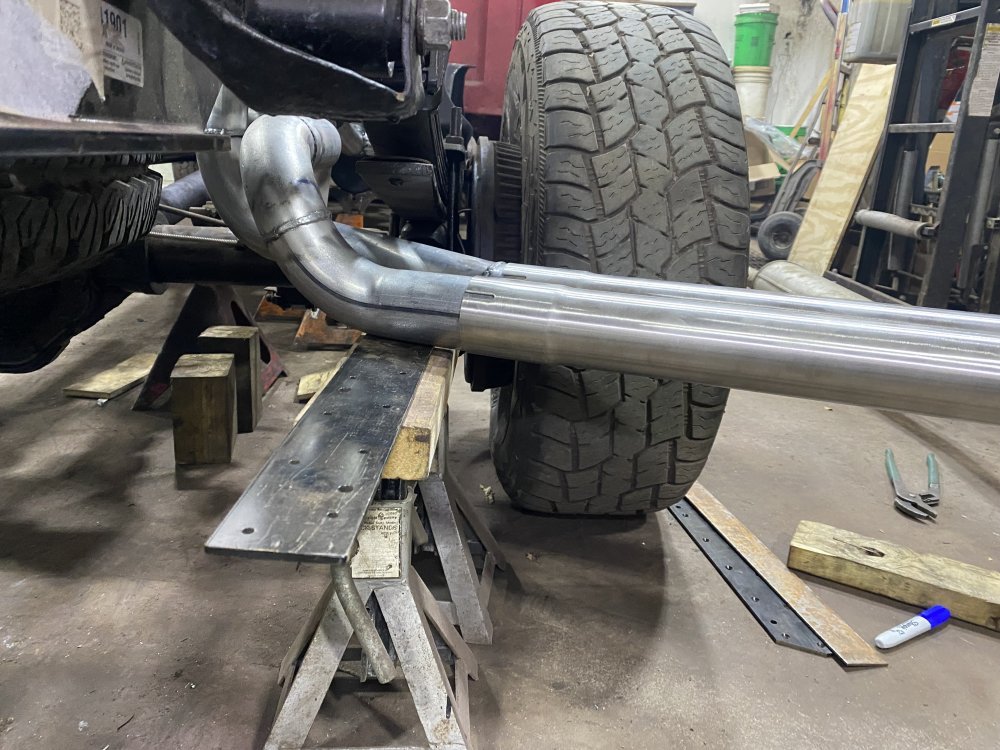
My dad wanted true dual tailpipes that both exited on the passenger side in the stock location and wouldn’t interfere with a spare tire. This made the routing a little tricky, but I made it work. It took four and a half 180 degree mandrel bends and about half of a 45 degree bend…..a fortunate quantity because that was the exact number of bends I just happened to have already. It may look a little unconventional, but it achieves everything wanted and needed. The stainless pipes on the end will be trimmed to length once the bed is installed so we can make sure they look correct. Not sure yet if they’ll be straight or slash cut yet - we’ll determine that when we get to that point.

IMG_0243.jpegIMG_0244.jpegIMG_0245.jpegIMG_0246.jpegIMG_0247.jpeg
 
This weekend I got the exhaust mostly done.

I started by cutting the 280,000 mile factory cats and pipes off of the head pipes. As you can see, one had surgery in the past and wasn’t doing it’s job anymore, so might as well finish the job and reduce the future places to leak. This truck is supported by HP Tuners, so I’m going to turn the rear O2 sensors off using that so we won’t get a Check Engine Light.

View attachment 89828

I had a couple Flowmaster 50 SUV series mufflers already and they were perfect for this truck. The silver one is stainless with 2.5” inlet and outlet. The inlet was conveniently offset to help me get the outlet tube up over the axle. The black muffler is carbon steel with 3” inlet and outlet. Since I needed to put a jog in the tube to get around the shock anyway, the center inlet and outlet were fine. I cut off the inlet and outlet tubes and welded on some 2.5” muffler tubes I had in my pile.

View attachment 89829

My dad wanted true dual tailpipes that both exited on the passenger side in the stock location and wouldn’t interfere with a spare tire. This made the routing a little tricky, but I made it work. It took four and a half 180 degree mandrel bends and about half of a 45 degree bend…..a fortunate quantity because that was the exact number of bends I just happened to have already. It may look a little unconventional, but it achieves everything wanted and needed. The stainless pipes on the end will be trimmed to length once the bed is installed so we can make sure they look correct. Not sure yet if they’ll be straight or slash cut yet - we’ll determine that when we get to that point.

View attachment 89830View attachment 89831View attachment 89832View attachment 89833View attachment 89834
Holy Bowl of Spaghetti Pipes, Batman!
 
Back
Top