• Welcome to The Truck Stop! We see you haven't REGISTERED yet.

    Your truck knowledge is missing!
    • Registration is FREE , all we need is your birthday and email. (We don't share ANY data with ANYONE)
    • We have tons of knowledge here for your diesel truck!
    • Post your own topics and reply to existing threads to help others out!
    • NO ADS! The site is fully functional and ad free!
    CLICK HERE TO REGISTER!

    Problems registering? Click here to contact us!

    Already registered, but need a PASSWORD RESET? CLICK HERE TO RESET YOUR PASSWORD!

1994 K3500 extended cab dually

I did just a few minutes of searching this morning and watched a video (not one of yours though, the forum wasn’t working this morning so I couldn’t get to this thread), it looks like most switches are triggering at 254psi, which makes sense because that’s a typical high side pressure at 85-90F.

This sounds like a cool idea, but I’m going to wait to execute it because I just need to get the truck on the road (we’re planning on camping finally in May!), so I need to push forward with the things that are keeping the truck from being on the road right now. I hope AK does the switch for his truck and reports back though.
 
And I feel like I should apologize to you @Will L. I should have taken the time to fully look at and digest what you were proposing with the trinary switch rather than start out poo-pooing it. I was trying to work on the wiring while also do a half-ass job of digesting what you were sharing. My mind immediately went to a high pressure cutoff switch and not what the trinary switch really is with an intermediate/lower set point. Sorry to make sharing your idea/though extra work yesterday.
 
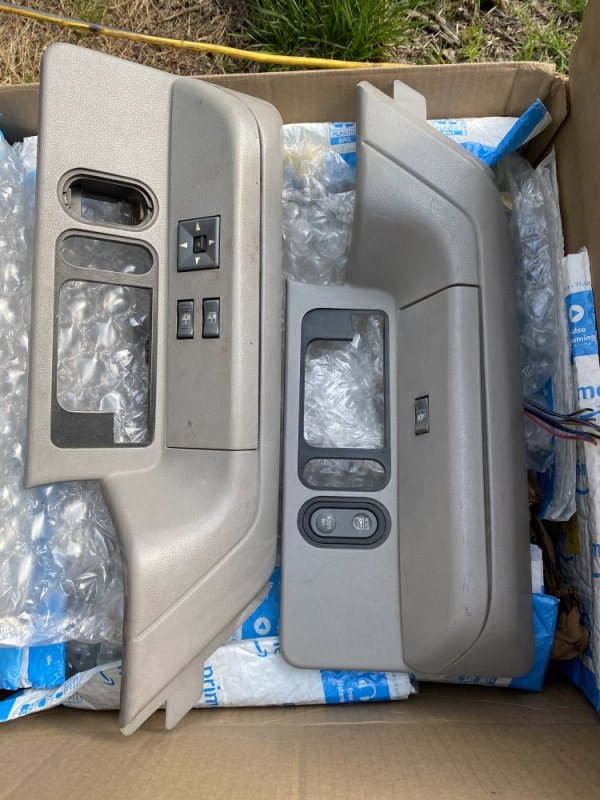
I got a fun package from UPS today.

8AAA99D6-4A29-4D62-B856-8DAB08AA0E17.jpeg

A guy on Facebook had a set of gray 2 door power window bezels with switches he claimed were tested and good. I’m pretty excited to get this together with all the right pieces to make it a factory looking power mirror install!
 
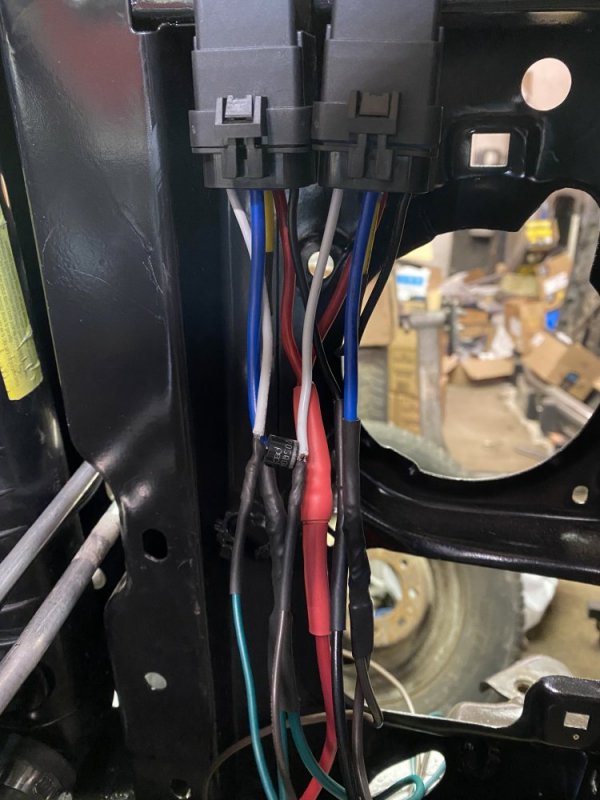
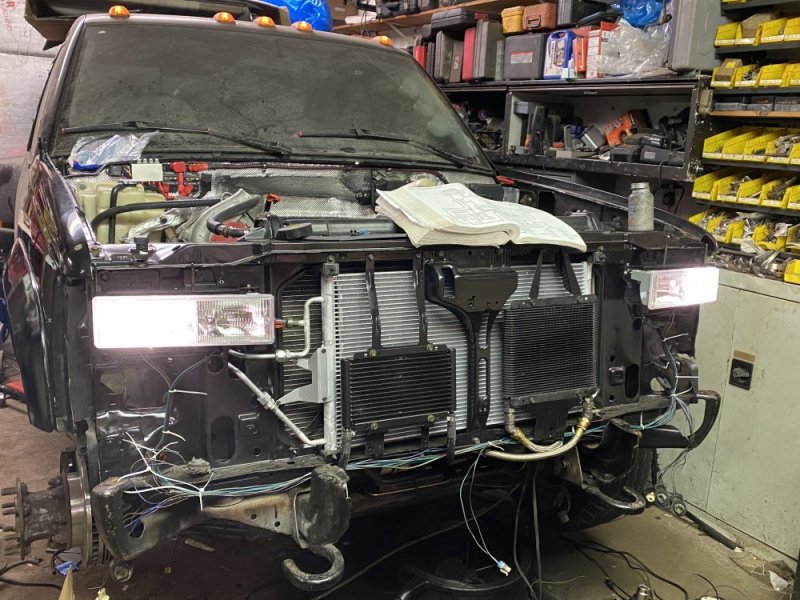
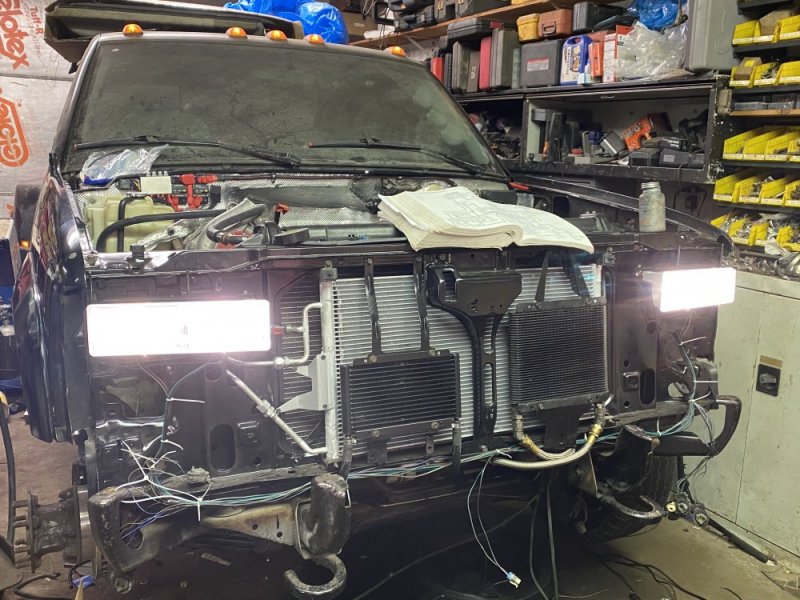
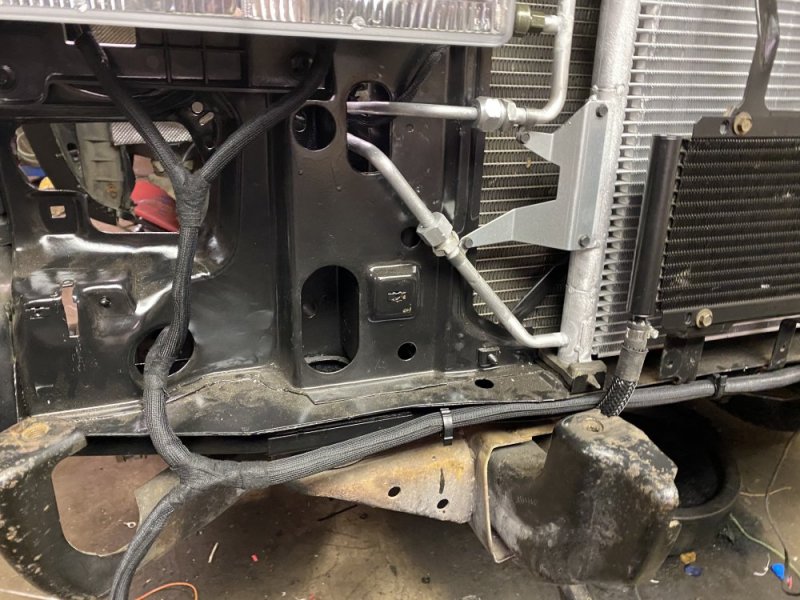
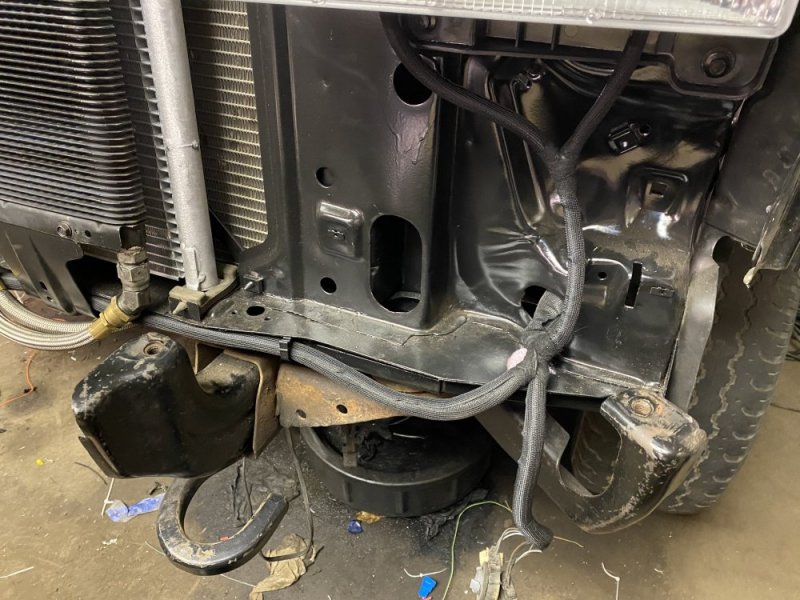
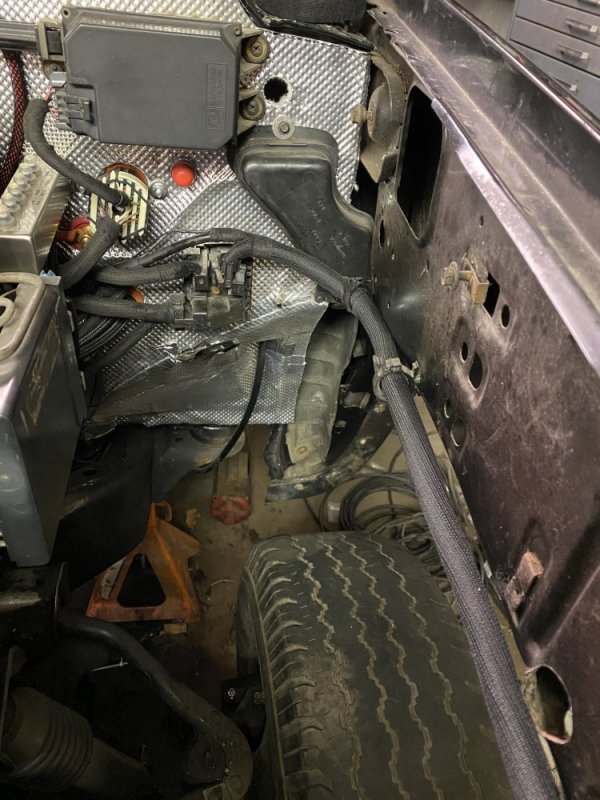
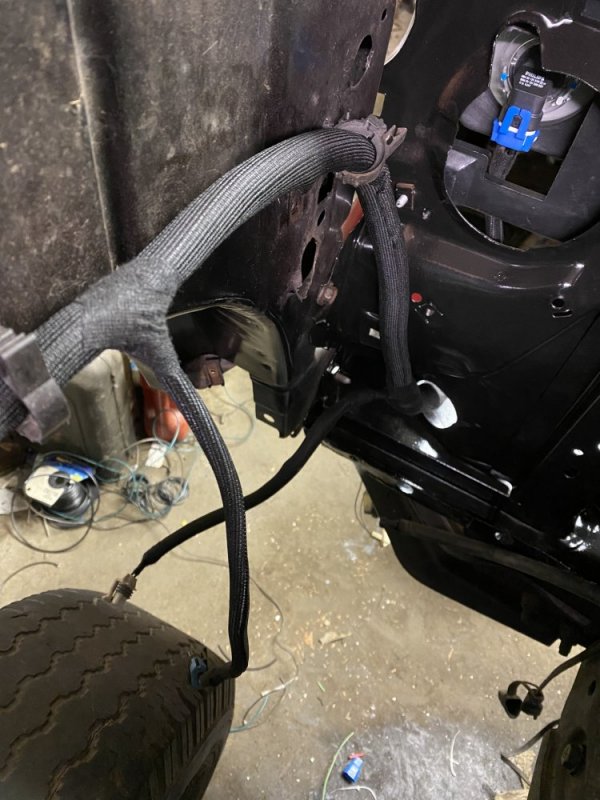
Today I got the front harness done. I started by mounting and wiring the relays. I added a diode between the high beam signal wire and the low beam signal wire so I’ll have all four lights on with the high beams. The relays are supplied by a 10 gauge wire and all wiring after them is 12 gauge.

9682C006-A798-4C64-A09A-25FA513EFD6C.jpeg

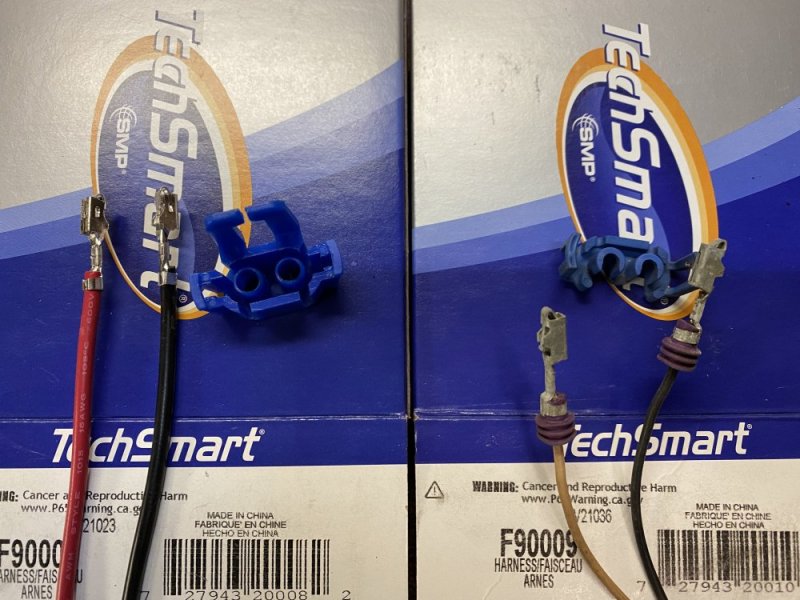
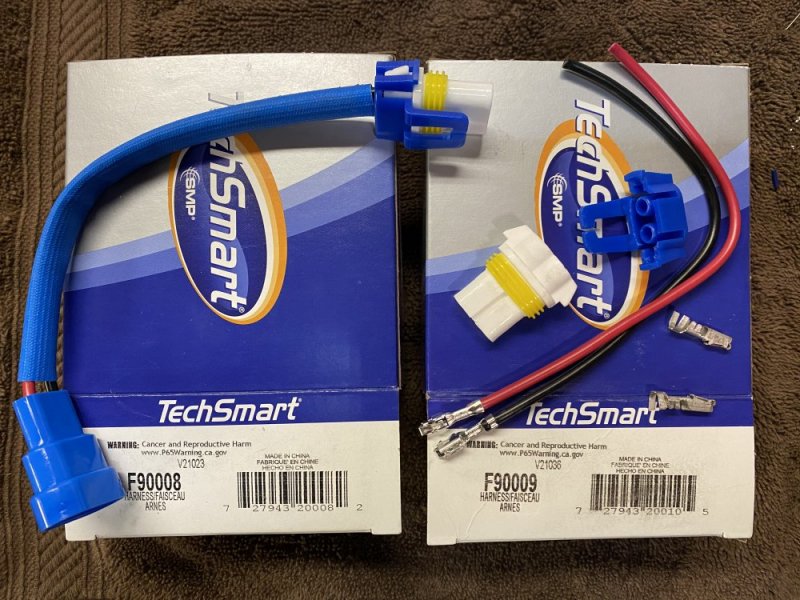
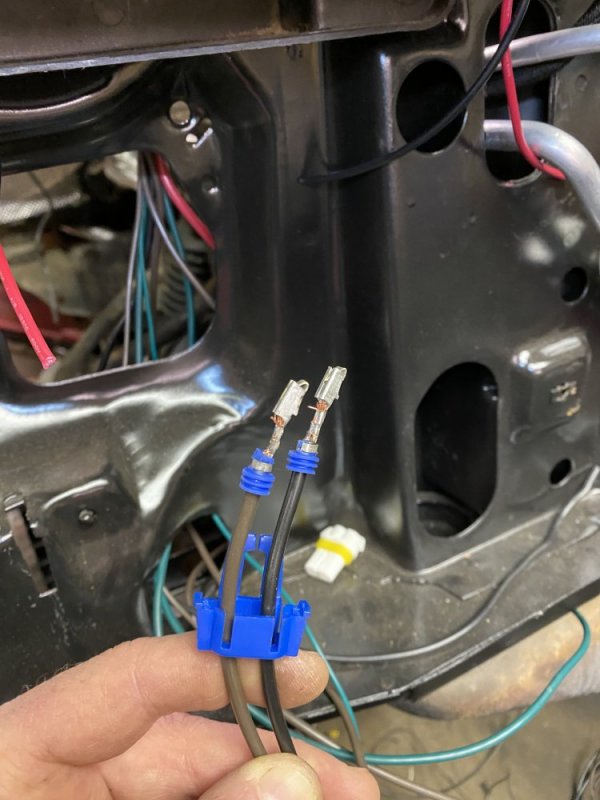
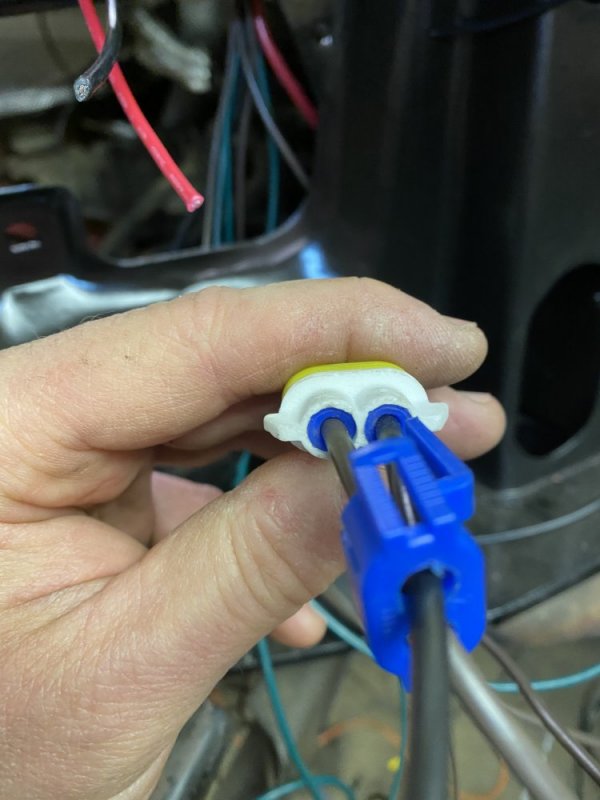
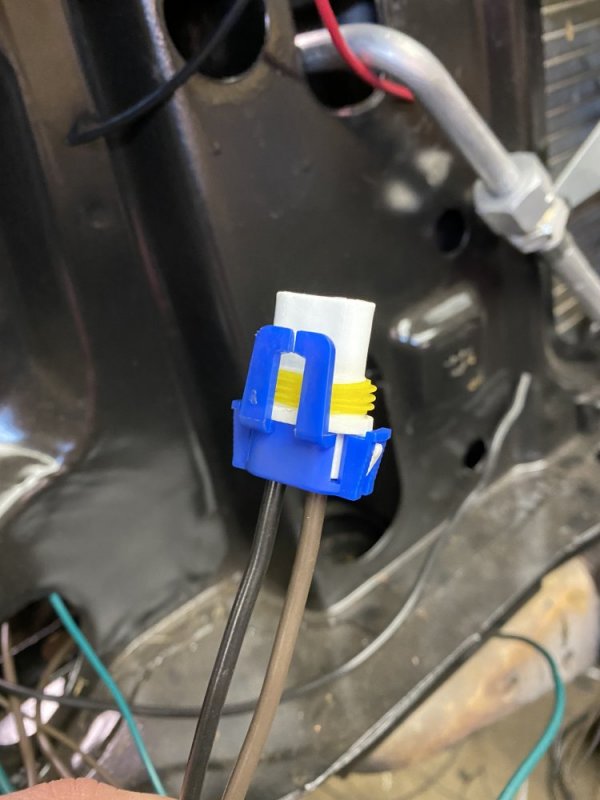
I got some heavy duty headlight pigtails that have ceramic plugs. They had 16 gauge wire. I figured I’d just clip them close to the plug and splice the 12 gauge wire....well I decided to disassemble them to see if I could do something else. Fortunately I found that the terminals are just Metri Pack 280 and I just happened to have some of those so I used the ceramic plugs and scrapped the rest. I had to modify the clips to make it all work together, but it wasn’t a huge deal.

43F8851A-3FE1-43C4-AA63-1E0443FAB000.jpeg8ECD5A45-DB29-4CA2-BBF9-856E11988C26.jpegB8563530-3CE5-4892-9D93-D780412AE7FF.jpeg11E9570B-F697-4646-A683-710199633A29.jpeg3E1674A6-4787-452B-A333-D4683B823ADA.jpeg

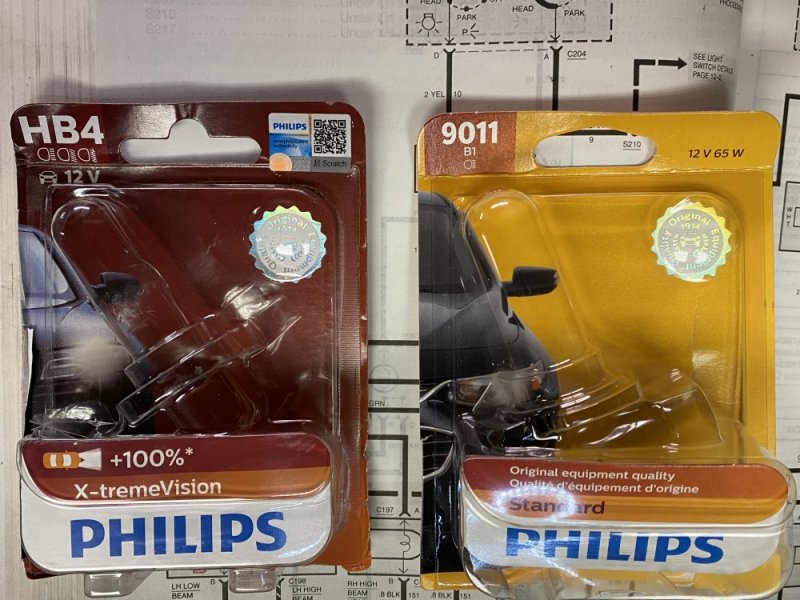
I got all the wires run and tested it out. It all worked well. I also got new GM headlight assemblies. In most of my other vehicles I’ve been running LED bulbs. I know they’re not the best light to run, but they’re hard to beat for the light you get, plus they look cool. Well for this truck I decided to do the “right” thing and install good halogen bulbs - this is also why I’m running the full 12 gauge wire for the headlights. These are supposed to be some good bulbs.....we’ll see. Note I’m using 9011 high beams instead of the 9005, it’s supposed to be a good upgrade and you just need to trim one tab a little to make them fit.

F61C81F4-0BDE-43BA-9AC6-11A177197ACB.jpeg7F4AA8BE-AD32-44FD-A168-290FD1EBE184.jpeg02223201-D8CC-43D1-93BA-363AF9B1F8B3.jpeg
 
Today’s progress was not what I thought it would be. My plan was to get things to where I could install the hood and drive the truck outside so it could sit out there while I paint the exhaust parts (it sucks being down to one bay to work in). Unfortunately it took me all day just to get ready to install the hood.

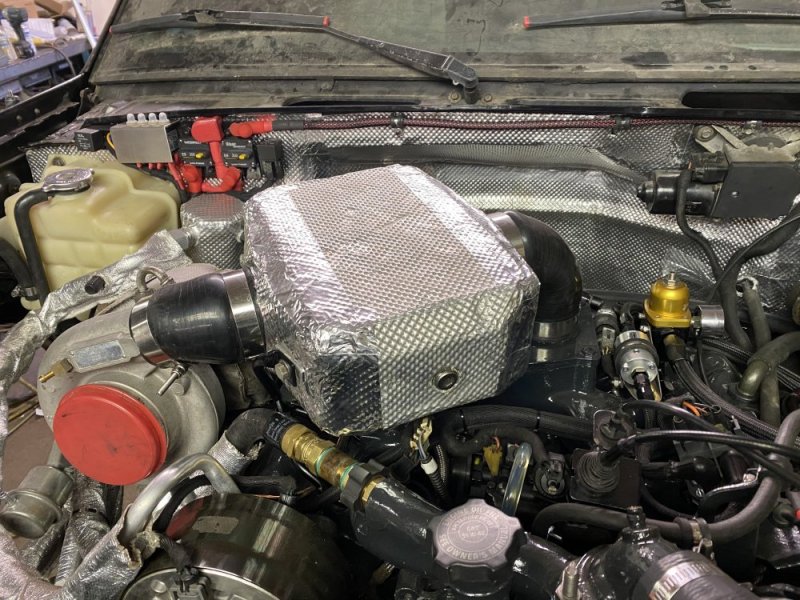
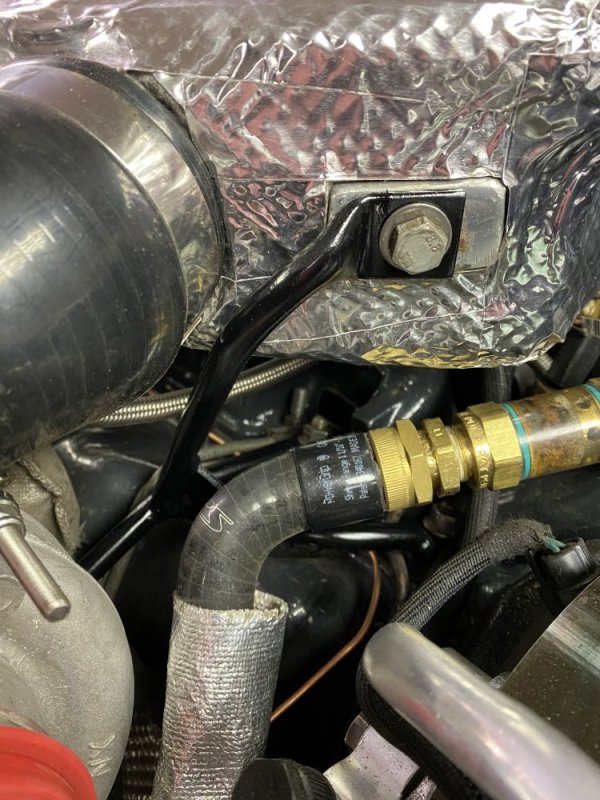
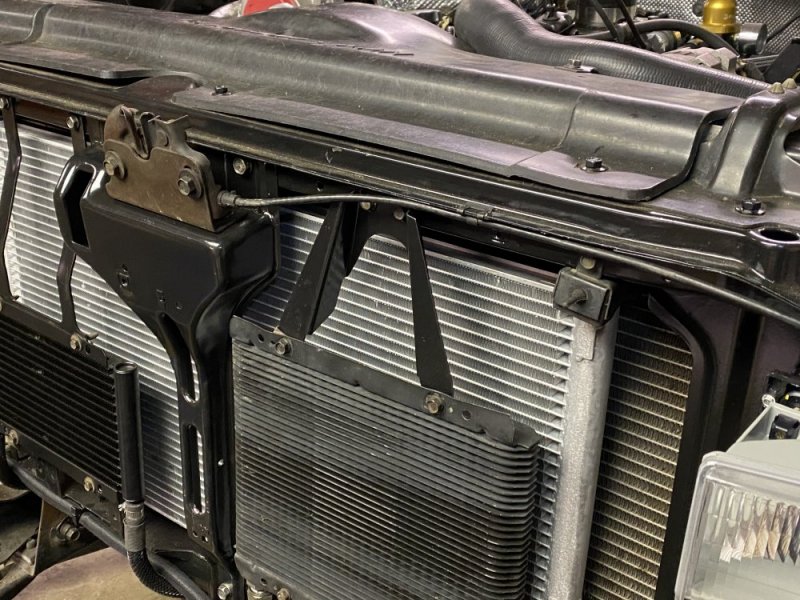
One of the first things I started working on was installing the intercooler. I thought it would be a simple matter of dropping it in place after cleaning it up a little. Nope. I forgot one of the braces attached to the alternator bracket, which was different on the Tahoe since that was a 97, so I had to come up with a new brace for that side. I ended up adding on to the existing turbo brace. I also flushed the intercooler to get the PCV oil residue out of it. I flushed it 3 times with xylene until that ran out pretty much clear and then 2 more times with alcohol. Then I cleaned up the outside and re-taped a bunch of the seams in the Tunnel Shield that was already on it.

FB9C0BD5-53E7-42F9-939C-70F85F75DEEC.jpegFF7AA1A1-26D7-4C73-9A2E-B6DC96771077.jpeg

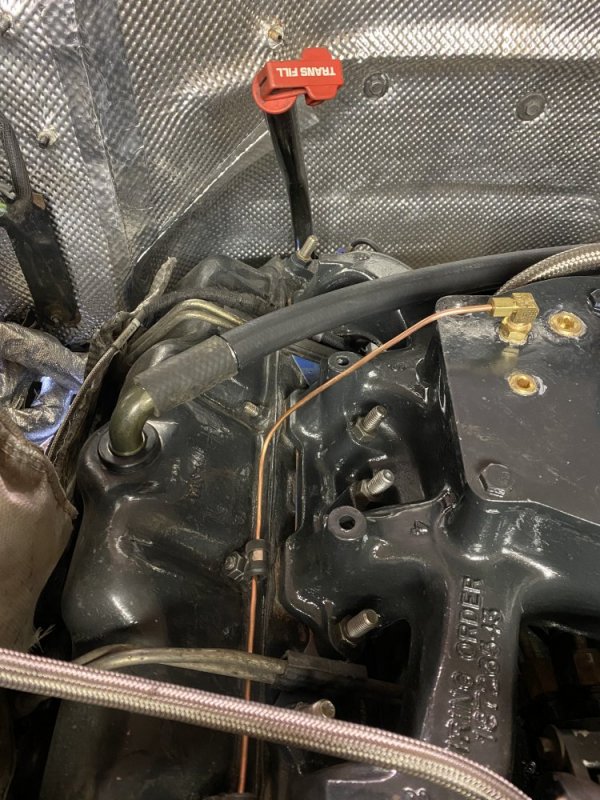
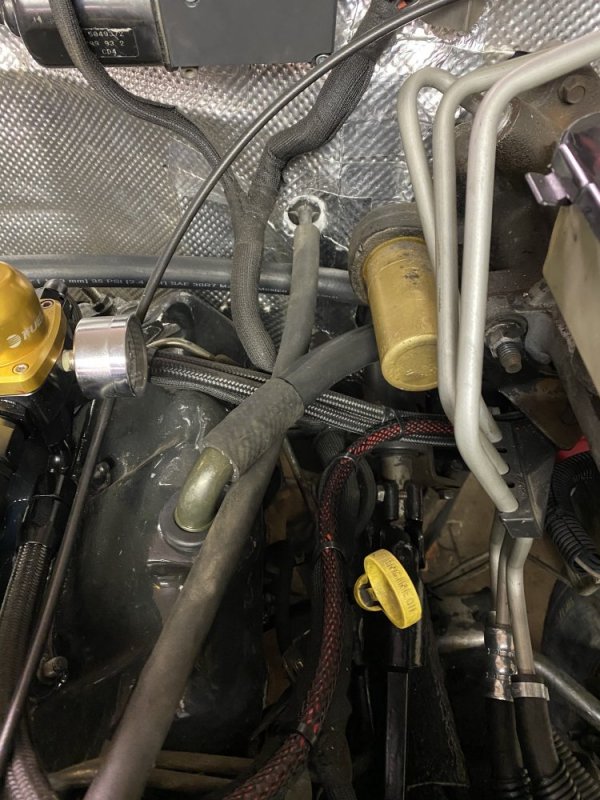
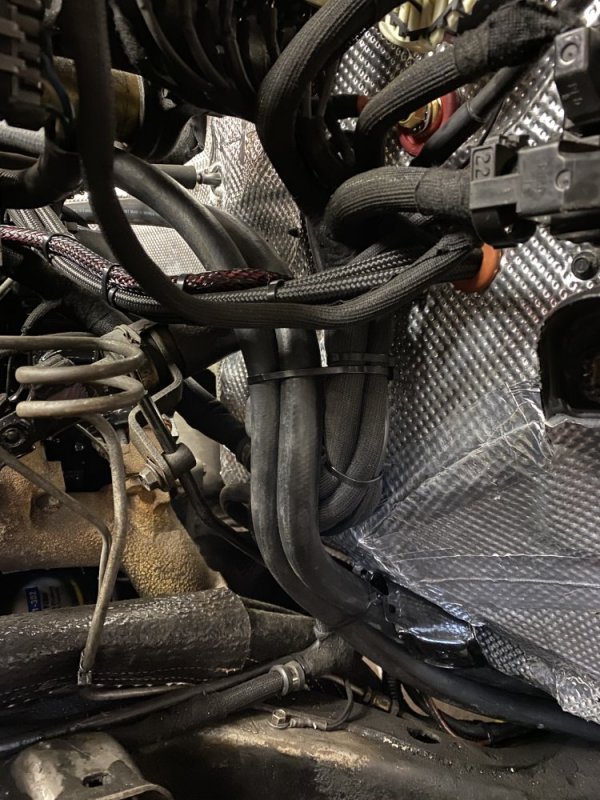
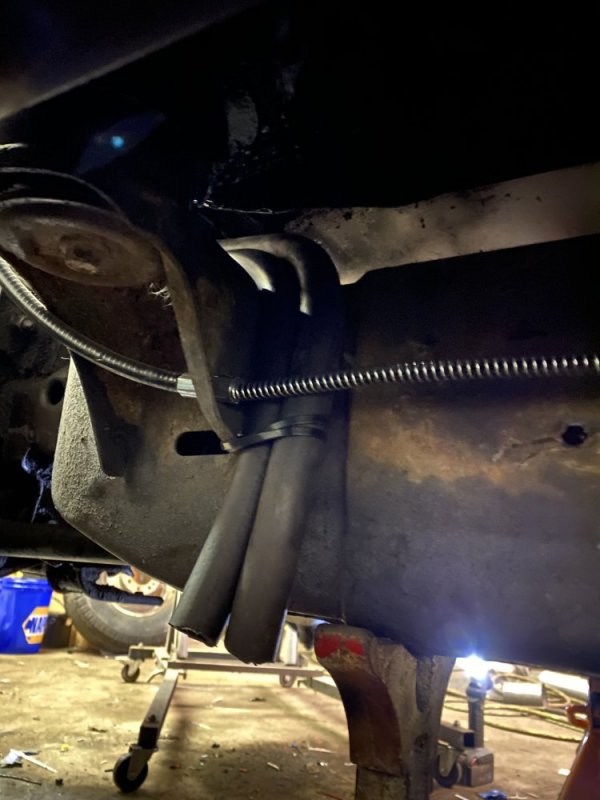
I also installed my road draft tubes. Tired of the said PCV oil residue, and not wanting to design/buy a better oil catch can, I decided to just run some road draft tubes and see how I like that. This engine has minimal blow-by since it’s relatively fresh still and has gapless rings so I think it will be fine, but if I don’t like it I’ll come up with a different catch can later. I ordered some 3/4” PCV elbows from Speedway which look and work nice.....unfortunately I mistakenly thought the CDR stub was 3/4”, but it’s actually 1”, so I had to run to 2 parts stores to find 3/4” grommets - another part of why my day didn’t go to plan time-wise. I had a bunch of 5/8” vapor hose from my fuel tank install so I used a 3/4-5/8 reducing barb and then used that for the draft hose. Oh and I also installed the copper tube for the boost gauge as well.

B1F605EE-531C-4A77-98D4-C59D2B7A257F.jpeg7ADB7E81-BABB-44D4-BFED-ACB2A7AD3CAB.jpeg18E616B1-F9D0-4727-A209-5504D2BEF54C.jpeg5C71E50A-68D6-4D27-B6AF-E69EEDF9FDB5.jpeg

I also installed all new antenna wiring because mine broke at the connectors. No pics of that.

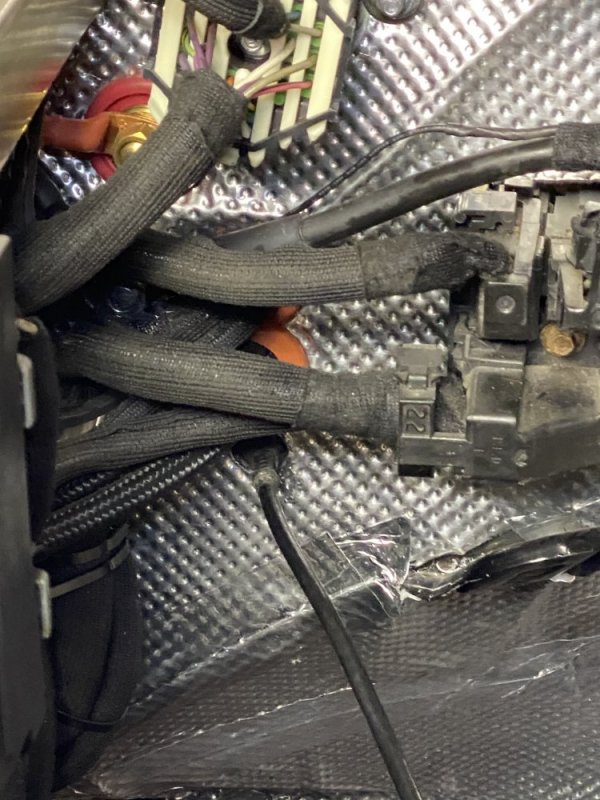
And finally I needed to install the hood latch and cable. I figured I had installed sound deadening over the hole for the hood cable, so I looked at one of my other trucks to find the location...........uh, nope, apparently I had mistaken the hood release cable hole for a hole someone added for wires because I used it for one of my grommets! Oh well. I drilled a new hole beneath the grommet and installed the cable there.

5911CCEC-1380-45BD-ACE3-0AF289D49796.jpeg99C82E71-9991-4F81-8F34-CD64532F1BC5.jpeg

Pretty much ready for hood installation so it can be driven out of the barn.
 
Kinda curious why you ran your copper tube forward instead of back to the firewall?

I mounted my boost and drive pressure gauges in the overhead console, so it made sense to run the lines through the passenger side A pillar to keep things less congested in the driver side A pillar. Since the lines were on that side of the engine compartment I went to the front of the engine for two reasons: 1. to keep the line away from the downpipe and 2. because some day I intend to do a center mount turbo setup on this truck, so I have been trying to keep all things out of that area in the engine compartment. I only ran the road draft tube back there because it’s kind of an experiment and not worth investing a ton of time at this point into crazy plumbing.
 
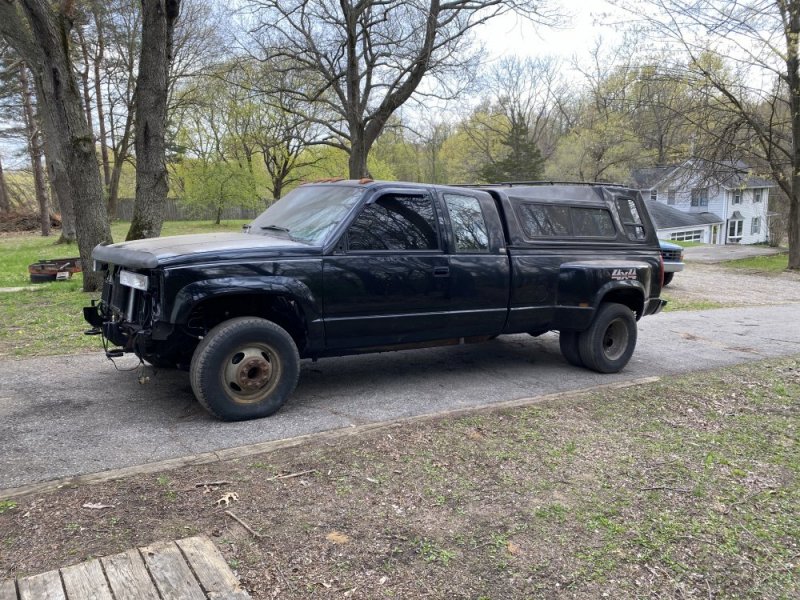
Last night the truck drove out of the barn under its own power for the first time since last June. It badly needs a bath.

6D63A653-3E9A-41F7-A517-81F36DE28E33.jpeg

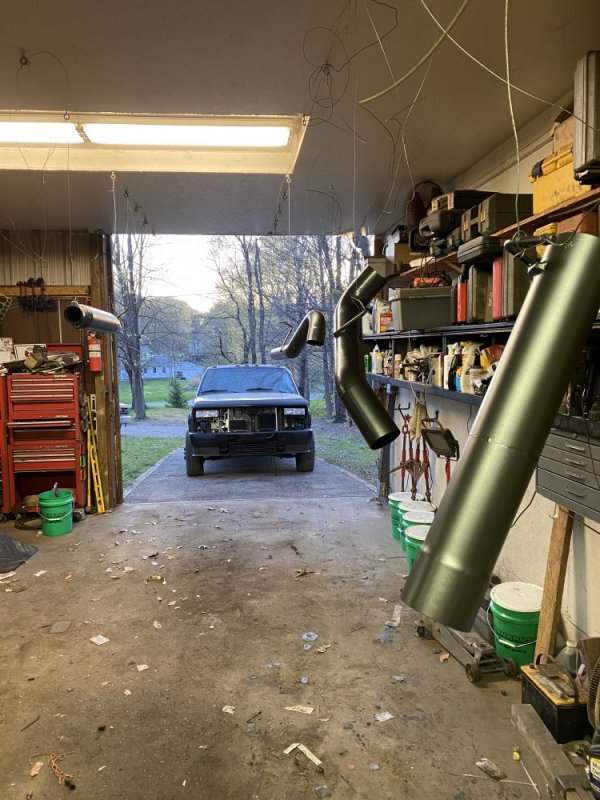
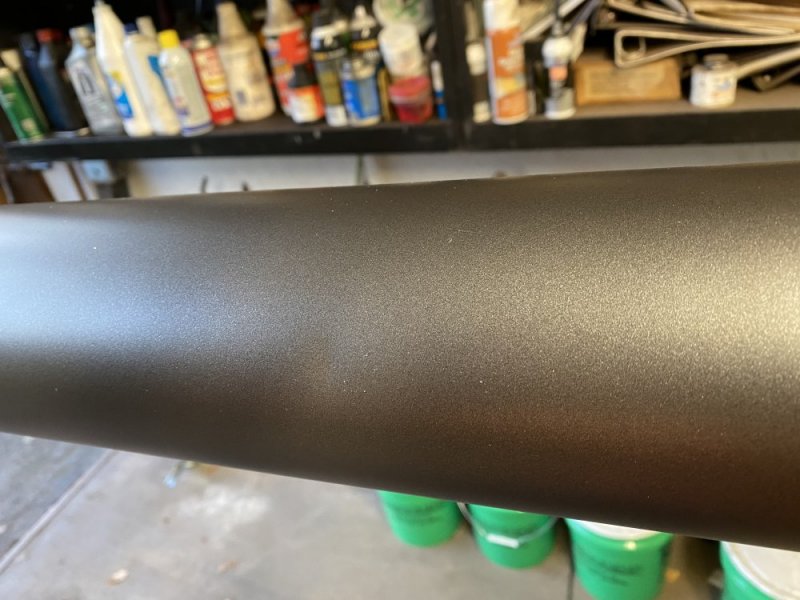
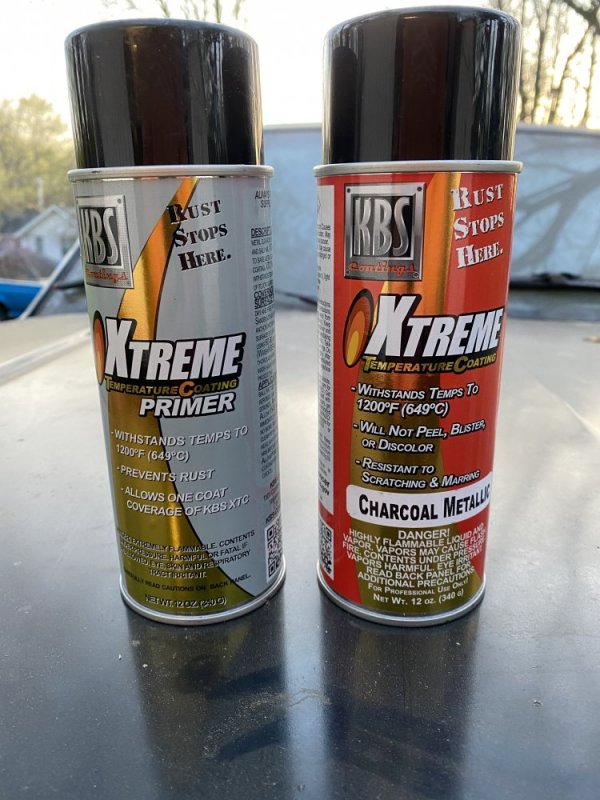
I pulled it out so I could paint the exhaust. I’m digging the color of this KBS paint.

DFD5E8BD-DABB-4288-8244-83CB3194788A.jpeg23C280FA-2BDA-413F-8D06-CCA106D0CCA3.jpeg56656A61-EEB0-42F7-B612-B9570A8311D1.jpeg

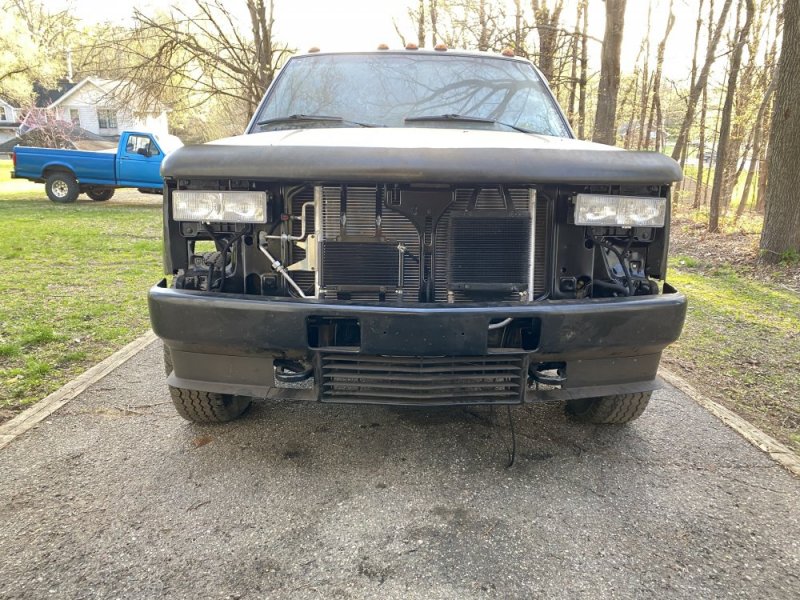
In between coats of paint I started installing the front bumper. It’s bolted to the inner brackets right now, but I need to so some tweaking/swapping of outer brackets to make it bolt up all the way.

D5886886-29EE-4AA6-91B6-DF3CF25C0FB0.jpeg
 
Do you think that paint would work on our cast iron exhaust manifolds? I know you live in the salt belt too and I see you have exhaust wrap on your custom manifolds. Is there a way to treat the iron/ steel and use wrap so whatever salt gets in doesn't rust from the inside out?
 
Do you think that paint would work on our cast iron exhaust manifolds? I know you live in the salt belt too and I see you have exhaust wrap on your custom manifolds. Is there a way to treat the iron/ steel and use wrap so whatever salt gets in doesn't rust from the inside out?

It won't last really long, the only true way would be make everything out of 409/304, 316 stainless steel being used in the marine world most.... all the exhaust coatings have gone through a salt spray test, but none will endure it forever ...

Now copper would not ever corrode, could a set of mannies be made with it ??
Copper plating is an option...back in the day some of the arms manufactures plated their marine environment compatible small arms with copper then nickle.
 
Back
Top