• Welcome to The Truck Stop! We see you haven't REGISTERED yet.

    Your truck knowledge is missing!
    • Registration is FREE , all we need is your birthday and email. (We don't share ANY data with ANYONE)
    • We have tons of knowledge here for your diesel truck!
    • Post your own topics and reply to existing threads to help others out!
    • NO ADS! The site is fully functional and ad free!
    CLICK HERE TO REGISTER!

    Problems registering? Click here to contact us!

    Already registered, but need a PASSWORD RESET? CLICK HERE TO RESET YOUR PASSWORD!

What did you do with your GMT400 today...or yesterday....

Took the 2000 K3500 to the alignment shop.....
................. If that is all that is the matter after 245,000 miles, I`d say I`m getting off real reasonable. Tie rods, lower ball joints, drag link, pitman arm is all good............ LOL
took mine in with 260K and was expecting to pay a lot but nothing was wore out. all it needed was an alignment. drives straight and tires are wearing even.
-------------------------
got the electronics in. was almost ready to put in the floor shifter but it was too late. had to get a battery for the TDI so will drive it for the rest of the week.
hope to finish it this weekend.
 
@deejaaa
I have had that happen, take in a wehicle for alignment and it needed nothing, a very rare occurrence for Me. LOL

Installed the new shocks yesterday after work, I`m now excited to get headed for work, find out how the new shocks ride, not excited about going to work though. LOL
After torqueing the torsion bars up to allow for those oversize tires, the original shocks were at their maximum extended length, there was not even a budge more length left.
New shocks are 4" over length. I hope that is enough.
I will be installing the original size tires when tires is needed, just can not afford tooodoooit right now. Then the proper stock length shocks will be installed after the bars are adjusted back down.
 
Took the 2000K3500 to the alignment shop, was quoted $289.00 for them to install the upper control arms and align the front end.
I now remember why I have been doing My own repairs and why I do not trust any shop. Went to pick it up, $489.00.
That will never ever happen again.
 
yeah. i hear ya.
mine is at the trans shop: pump is busted and 2 ears are broken. will salvage parts from the old to get it fixed. pissed.
 
Installed my 1500W inverter in the Burb, Added a relay box to the fire wall to house relays for OPS by pass and finished upgrade to electric 4X4 actuator and put switch on dash to by-pass, so I can use low range without engaging front axle.
 
drove it to work this morn. 1st time in 2 weeks. shifts a little harsh and need to change shift rpms. TCC doesn't lock unless i use the toggle and speedo isn't working now. got some demons to exercise.
 
that's what i'm using. i made sure the clips were on and have had no problems so far after 6 years on the road.
 
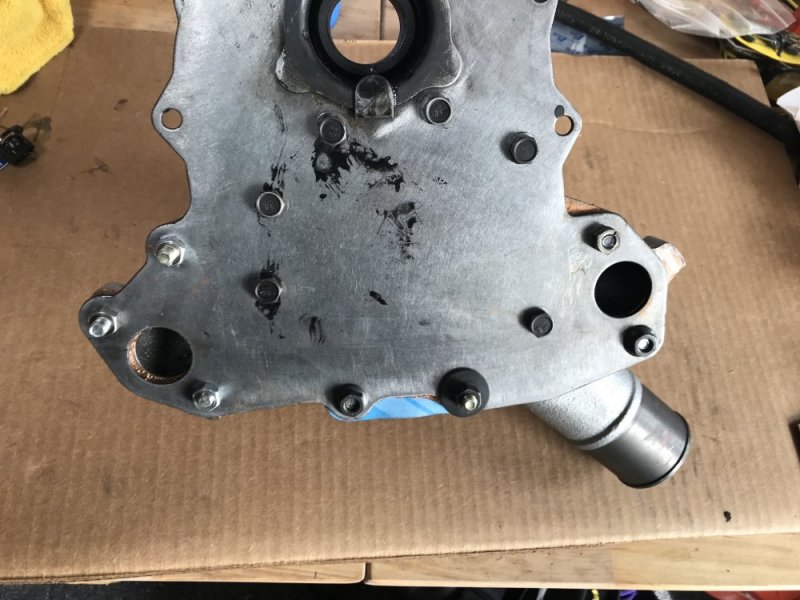
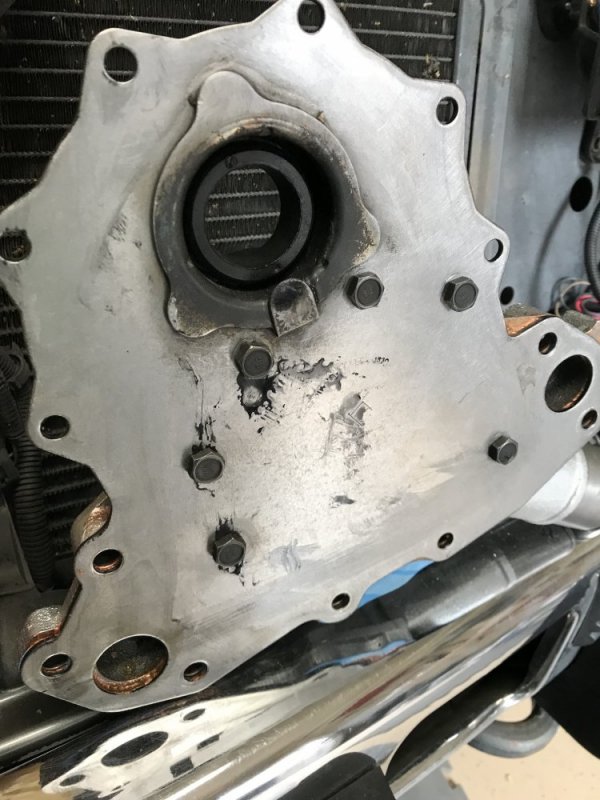
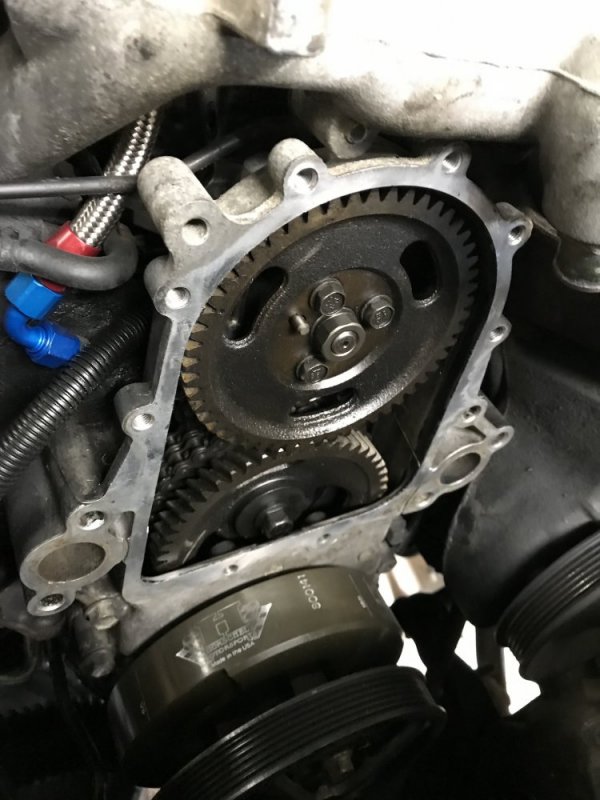
Water pump on the Burb finally reinstalled.
A while back I mounted the pump to the backing plate and used additional M-8 bolts and nuts to ensure even clamping of the water pump gasket. This was back in November I think because I knew it would be a while before I would get around to putting it all back on the truck but the day had warmed up and I wanted to do 'something' on the poor Burb.
IMG_9692.JPG

Today:
Removed the additional bolts and cleaned up the surfaces.
IMG_9694.JPG IMG_9693.JPG
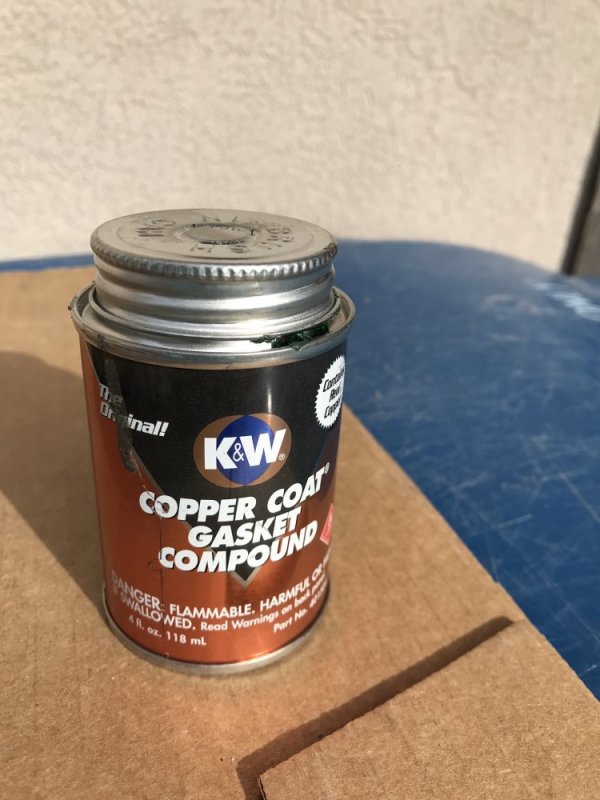
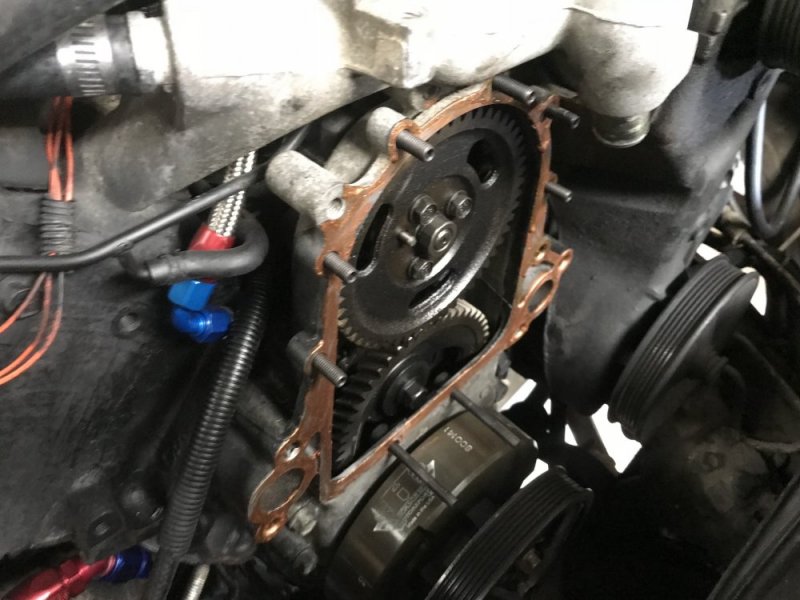
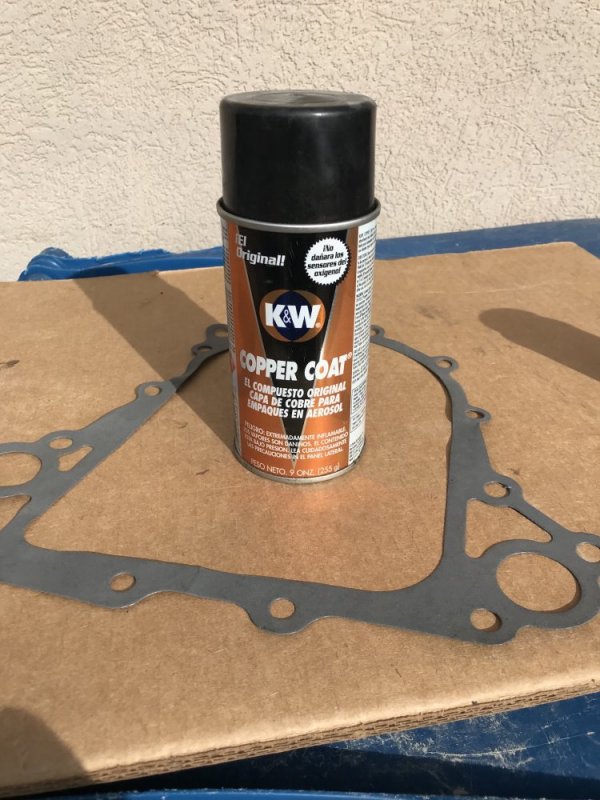
Applied KW Quick Copper to the mounting surfaces and installed some studs to keep the gasket in place while I installed the pump/plate assembly. Gasket also got some KW spray just for luck.
IMG_9695.JPG IMG_9697.JPG IMG_9696.JPG

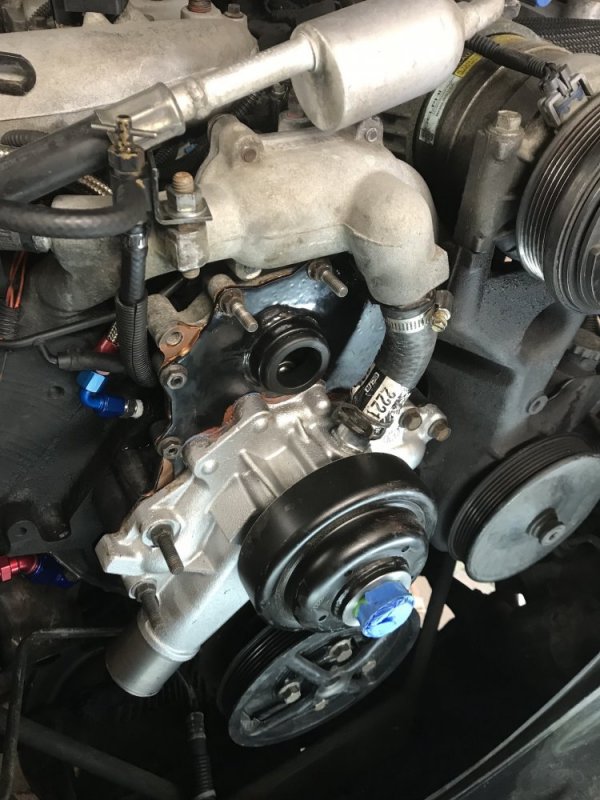
Removed the two lower and tow of the upper studs (oil filler neck mounting points) but left the other four in place just to be different. Torqued everything down and installed the small hose and Oil Filler neck.
IMG_9698.JPG

That's enough fun for one day.
 
One more 'while I'm in here changing the water pump' project done...Injectors installed, lines tightened and return lines installed. These things never get any easier to do. Seems a different combination of tools, extensions, angles, wrenches etc. is required for each one. Easiest thing was installing the caps w/ clips on number 7 & 8. Go figure.
 
One more 'while I'm in here changing the water pump' project done...Injectors installed, lines tightened and return lines installed. These things never get any easier to do. Seems a different combination of tools, extensions, angles, wrenches etc. is required for each one. Easiest thing was installing the caps w/ clips on number 7 & 8. Go figure.

3 and 4 are the biatch.

I am so pleased that mine is running fine for now.
 
3 and 4 are the biatch.

I am so pleased that mine is running fine for now.
Concur on #4, I can't recall how I got the @#$%^& thing out! #3 was easy as I had a clear straight shot at it with about 12" of extensions. Number 2 left the copper crush washer in the hole. Came out easy enough. Discovered the nut on the #2 glow plug just spins on the plug. Plug is fine but, it's going to get entertaining should I need to replace it someday. Guess the welder I was given (which I have no idea how to use) may come in handy yet. Guess I'll keep it 'for just such an emergency."
 
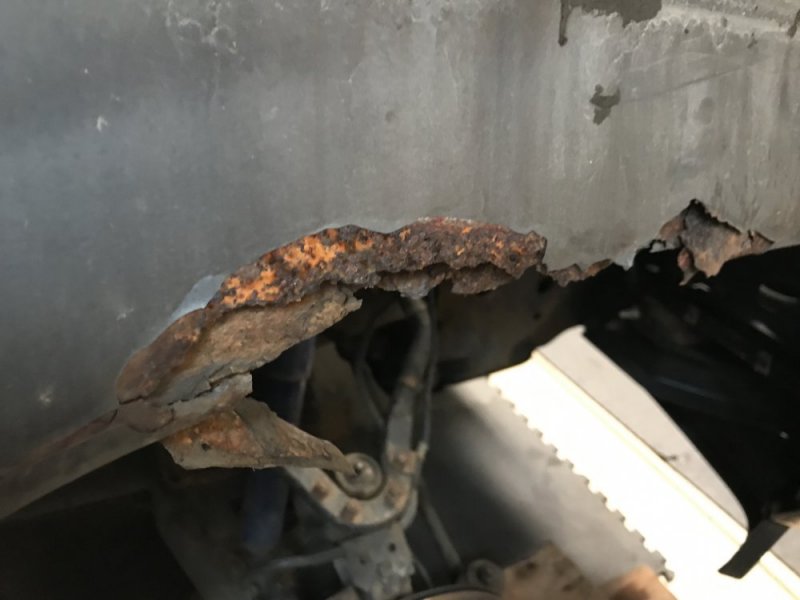
More rust work.

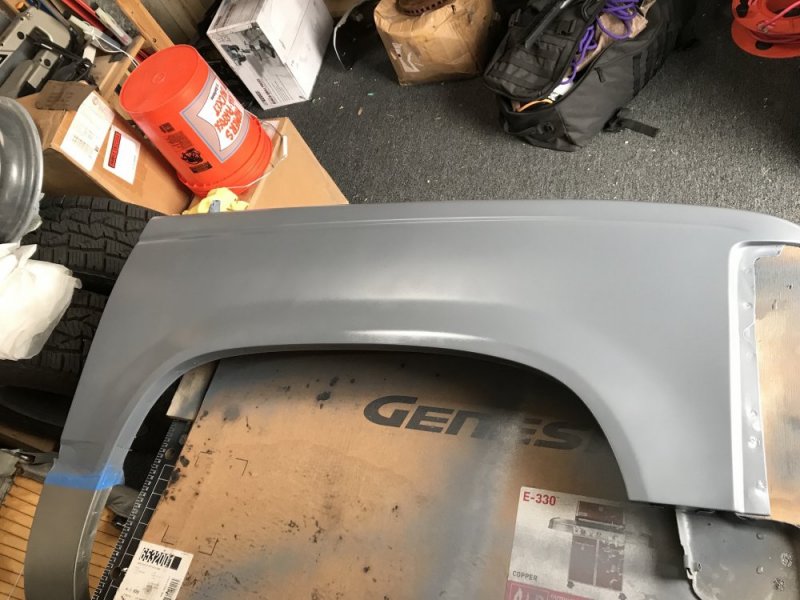
Knowing the right fender had issues when I bought it, I picked up a replacement fender for when I got around to addressing it. The inner fender had already been removed so I figured it was time. Besides, having it out it will make replacing the fan, radiator, hoses, glow plug wires, starter cable…I’m getting depressed at the punch list… back to fender work.

Yesterday I started removing the fender flare not realizing that it is bolted on through the fender as well as screwed in along the fender well edge. The replacement fender isn’t drilled for this so, one step forward, two back. At least the replacement color matched the lower part of the Burb so I removed the molding, sanded and got it primed.
IMG_9700.jpg


Today I wanted to scuff and spray the replacement but, we had snow flurries being blown sideways so, instead, I removed the old fender and got to the last couple of nuts holding the flare in place. I guess I could spray it with some Rustolium, add some bondo and just put the flare back on…nah.
IMG_9699.JPG

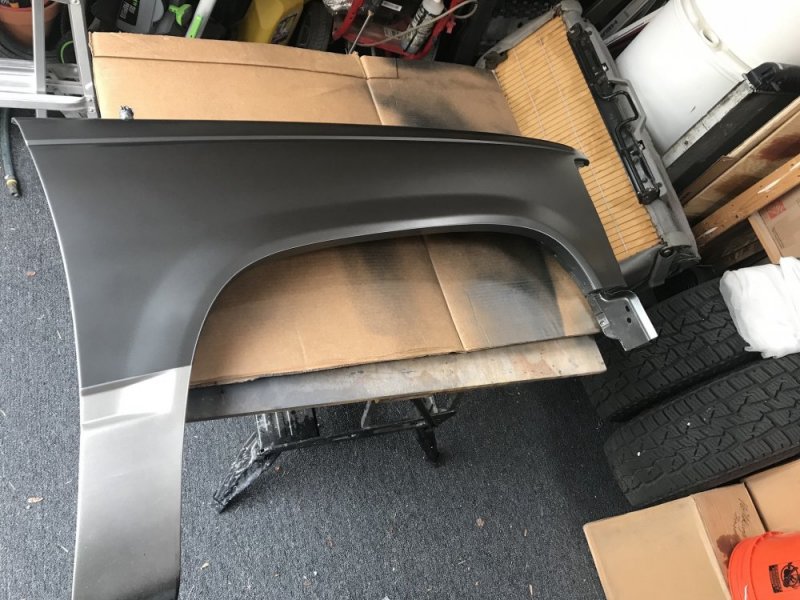
The sun came out so I hurriedly did the prep for the color matching Rattle Can work on the replacement fender and got it done before the rain/snow started again. Reflection makes it look like overspray on the lower half. It will do until I get the flare holes marked and drilled. Then I’ll scuff it again and shoot it with ‘real’ paint later.

IMG_9704.JPG

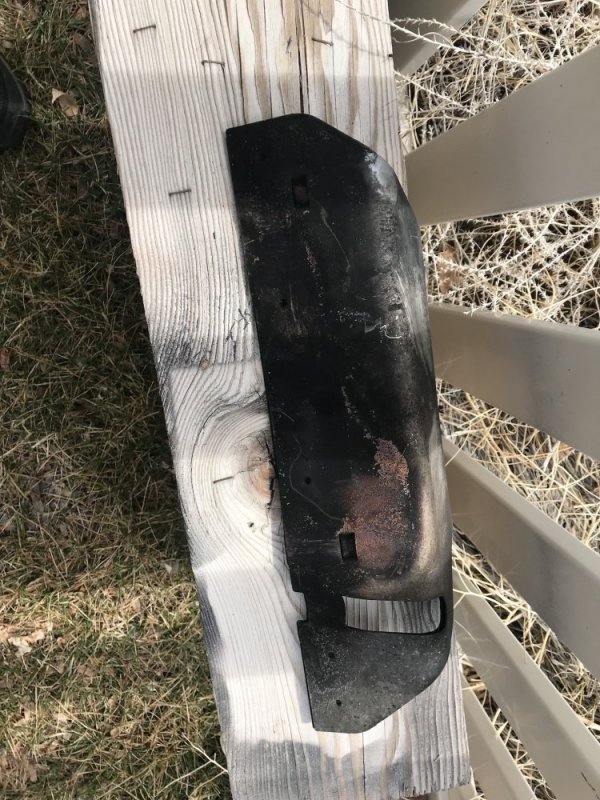
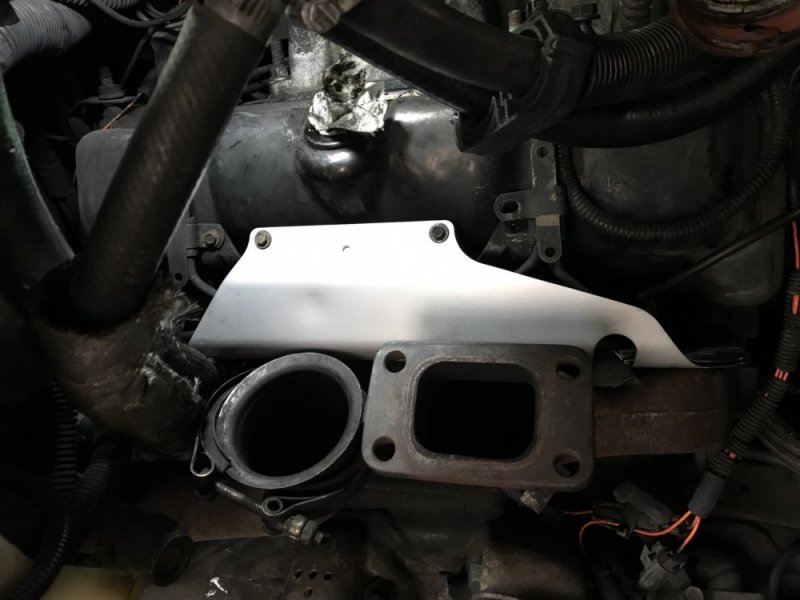
I didn’t put in the turbo heat shield back after I replaced the injectors the other day so, figured I'd do it today as well. It was pretty nasty from, I’m guessing, exhaust leaks at the turbo/exhaust manifold.
IMG_9705.JPG

So I hit it with a wire wheel on both sides and then the DA sander with 150 and 220 on the outside. Final sanding was 320 to get rid of the DA Swirles. Shot it with VHT engine paint, black on the inside, silver outside. Yeah, I’m fussy. It will probably only survive a week before it boils off.
IMG_9706.JPG

Clouds coming in, time to quit and go hold down the couch. Cheers.
 
More rust work.

Knowing the right fender had issues when I bought it, I picked up a replacement fender for when I got around to addressing it. The inner fender had already been removed so I figured it was time. Besides, having it out it will make replacing the fan, radiator, hoses, glow plug wires, starter cable…I’m getting depressed at the punch list… back to fender work.

Yesterday I started removing the fender flare not realizing that it is bolted on through the fender as well as screwed in along the fender well edge. The replacement fender isn’t drilled for this so, one step forward, two back. At least the replacement color matched the lower part of the Burb so I removed the molding, sanded and got it primed.
View attachment 52250


Today I wanted to scuff and spray the replacement but, we had snow flurries being blown sideways so, instead, I removed the old fender and got to the last couple of nuts holding the flare in place. I guess I could spray it with some Rustolium, add some bondo and just put the flare back on…nah.
View attachment 52249

The sun came out so I hurriedly did the prep for the color matching Rattle Can work on the replacement fender and got it done before the rain/snow started again. Reflection makes it look like overspray on the lower half. It will do until I get the flare holes marked and drilled. Then I’ll scuff it again and shoot it with ‘real’ paint later.

View attachment 52251

I didn’t put in the turbo heat shield back after I replaced the injectors the other day so, figured I'd do it today as well. It was pretty nasty from, I’m guessing, exhaust leaks at the turbo/exhaust manifold.
View attachment 52252

So I hit it with a wire wheel on both sides and then the DA sander with 150 and 220 on the outside. Final sanding was 320 to get rid of the DA Swirles. Shot it with VHT engine paint, black on the inside, silver outside. Yeah, I’m fussy. It will probably only survive a week before it boils off.
View attachment 52253

Clouds coming in, time to quit and go hold down the couch. Cheers.

Have you used a sprayer vs a rattle can? Have you done clear coat?

I need to repaint my hood and the driver's side barn door.
 
Back
Top