• Welcome to The Truck Stop! We see you haven't REGISTERED yet.

    Your truck knowledge is missing!
    • Registration is FREE , all we need is your birthday and email. (We don't share ANY data with ANYONE)
    • We have tons of knowledge here for your diesel truck!
    • Post your own topics and reply to existing threads to help others out!
    • NO ADS! The site is fully functional and ad free!
    CLICK HERE TO REGISTER!

    Problems registering? Click here to contact us!

    Already registered, but need a PASSWORD RESET? CLICK HERE TO RESET YOUR PASSWORD!

What did you do with your GMT400 today...or yesterday....

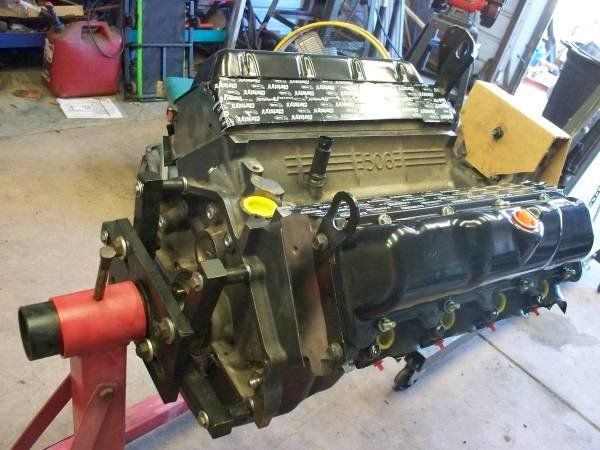
I spoke with the machinist doing the work on my 87 6.2 last week and he reported no cracks in the webs or anyplace else.I must have a pretty decent casting to have it survive 400K with zero cracks.Anyway they’ve done the align hone with arp main studs in place.They just need to bore the block next.The connecting rods have the new Leroy diesel bolts and bushings in place.More updates to come.
 
Get the rotating assembly balanced but ask him to record how far out they were.
I bet yours is not as far out as others and that why it survived so well.
I’ll definitely ask him about doing that.🍻

It should be a great little engine once it’s assembled.I plan to paint it Chevy red with some duplicolor engine enamel to resemble the 1982 engines.I have a few cans of the alpine green by duplicolor but I think I’ll use the green on my 5.7 diesel when it’s ready on the stand.The olds was a sort of a jade green back in the day when I dismantled it.The jade green is hard to find.The Chrysler Color is pretty close.

I have standard height chrome valve covers so the injector lines won’t be distorted out of shape with chrome oil pan for the olds.I plan to put a serpentine belt setup on it with a reverse rotation 4.3 V6 diesel water pump.

I know a lot of the chrome valve covers are higher than the GM covers and the last thing I want is twisting the injector lines out of shape.
 
What a task... I'm done! it's back together and running now. I didn't end up swapping out intakes after all. I was just too tired and didn't feel like unsealing that block and having to re-seal it again. I've got ever orifice plugged off and sealed to keep moisture and trash out since it's sitting outside. Put the intake back on and primed the IP lines before buttoning it all up. almost ran the batteries dead trying to get the IP to push fuel.

Doofus forgot to connect the PCM ground wires LOL. once I discovered that and connected them it primed up quick. Fired it off for a few minutes and then buttoned it all back up.
Did you helicoil the stripped threads,leave it or just go with an oversize bolt and redrill the top plenum?I remember reading a post online where a guy double nut a stud on a 6.2 in that location and the double nut loosened up and destroyed one of the pistons,etc.
 
That should be excavate, not evcavate. I really hate the combination of tiny smartphone screen keys and fat, slightly arthritic, stiff old thumbs!
And my phone seems to change what I type when I hit send, after I proof reading it.
I have to remember to look at what is posted also.

A lot of times, what it changes makes no sense
 
The two I’m pointing at are partially stripped out along with all 4 of the holes that hold down the top plastic cover the threads are completely gone

View attachment 84248
For the massive 17lbs of torque those need, just use an 8mm helicoil insert kit. Won't even need to remove the intake from the motor as long as you block intake runners and vacuum up afterwards.
 
I’ll definitely ask him about doing that.🍻

It should be a great little engine once it’s assembled.I plan to paint it Chevy red with some duplicolor engine enamel to resemble the 1982 engines.I have a few cans of the alpine green by duplicolor but I think I’ll use the green on my 5.7 diesel when it’s ready on the stand.The olds was a sort of a jade green back in the day when I dismantled it.The jade green is hard to find.The Chrysler Color is pretty close.

I have standard height chrome valve covers so the injector lines won’t be distorted out of shape with chrome oil pan for the olds.I plan to put a serpentine belt setup on it with a reverse rotation 4.3 V6 diesel water pump.

I know a lot of the chrome valve covers are higher than the GM covers and the last thing I want is twisting the injector lines out of shape.
Or, take the OEM covers to a good chrome shop and have them done. Probably cost about the same as replacing them, you'll have the right covers and you won't have an extra set laying around the garage leaving you wondering what to do with them. Ask me how I know.
 
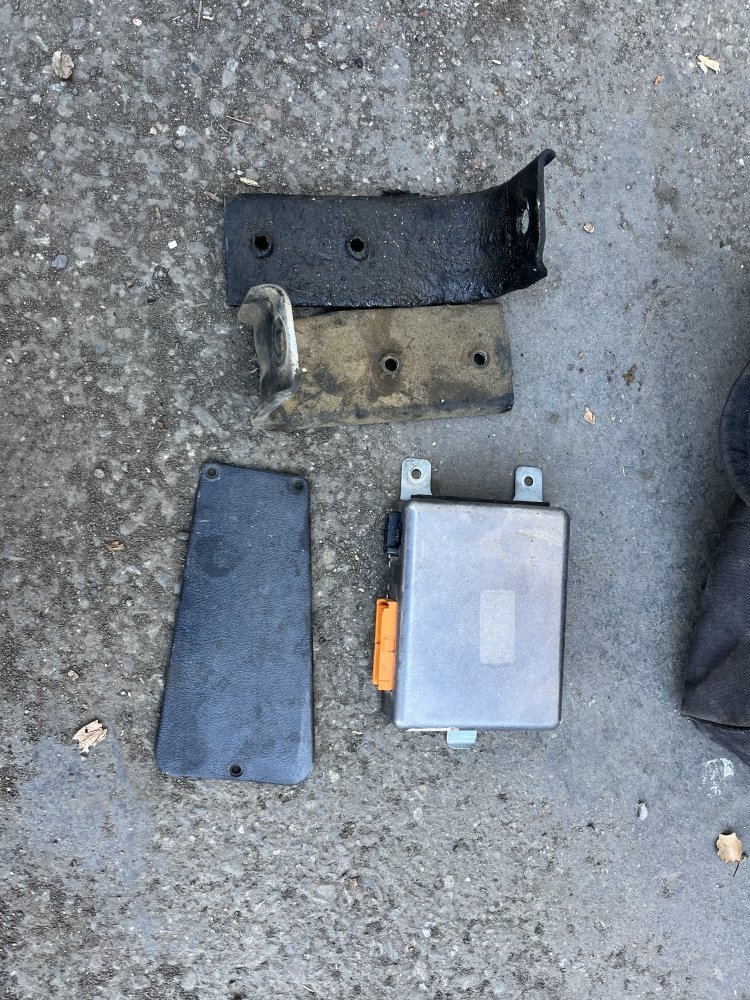
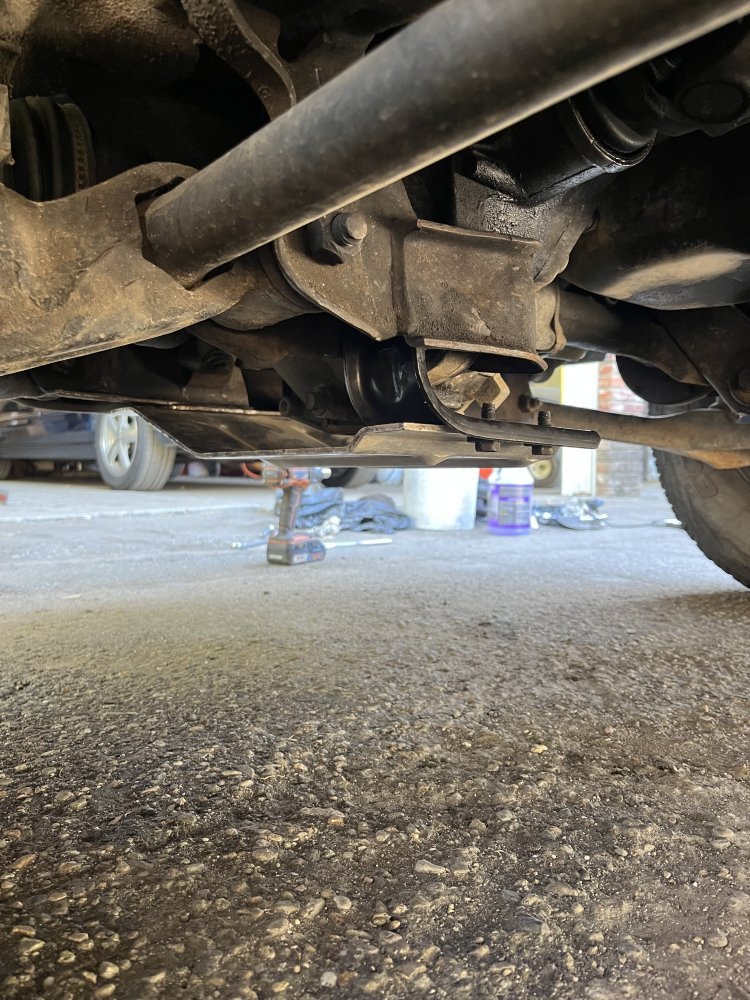
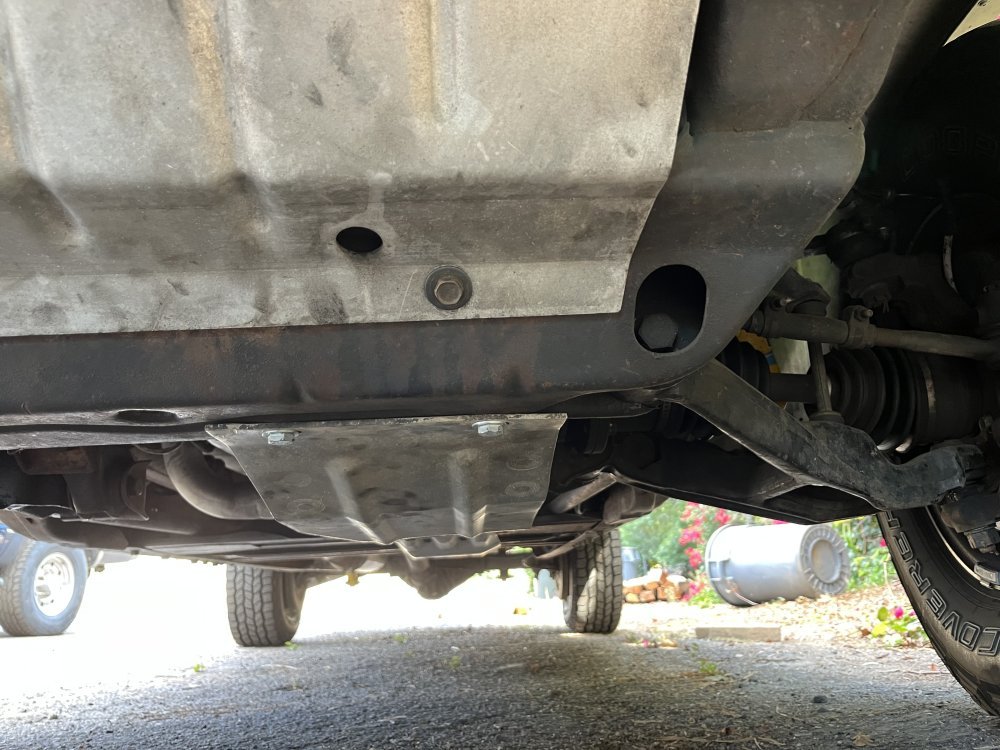
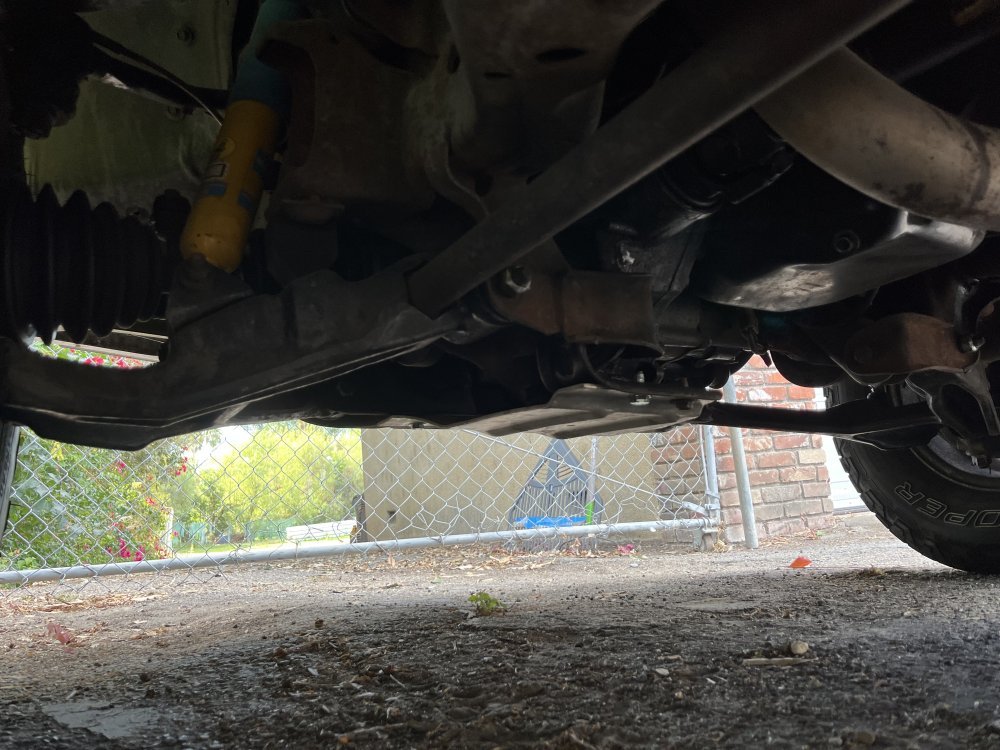
Hit the Pick a Part boneyard in Victorville. 2 rear brackets for front differential skid plate, 1 access cover (below the latch) for driver’s side door, 1 NP8 Transfer Case Control Module from a 1995 K1500 Suburban (fingers crossed):

IMG_0921.jpeg

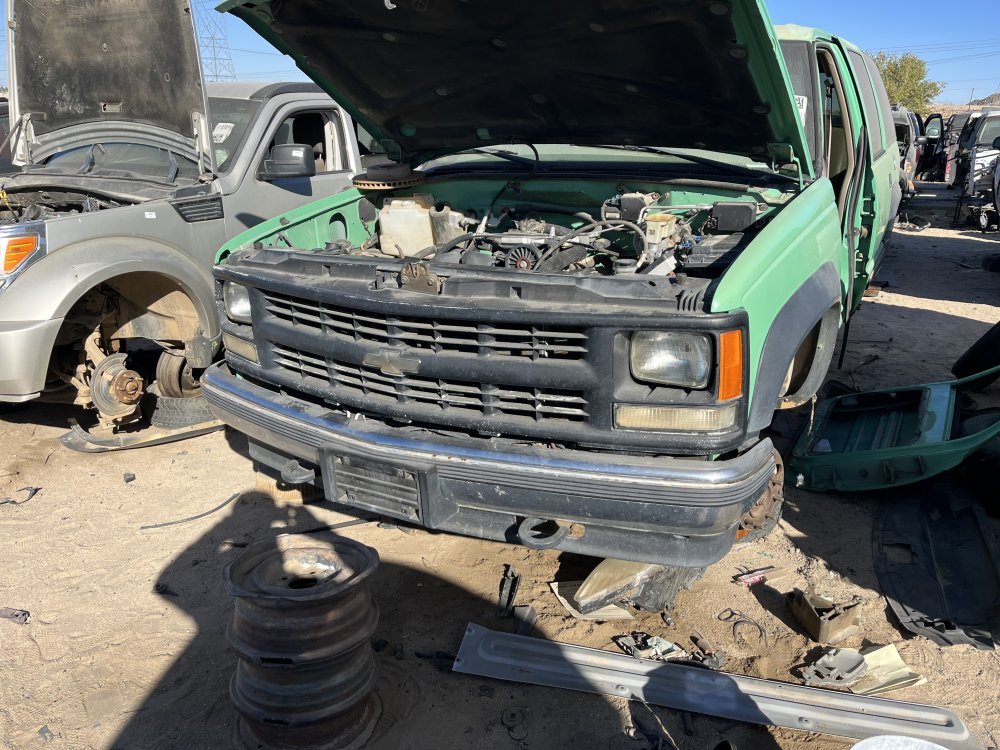
1999 K2500 Suburban looked like it might have been a U.S. Forest Service truck. Had the grill that goes with the sealed beam headlights. Transfer case module had already been stripped from this, but I did get one skid plate bracket from it:

IMG_0909.jpeg

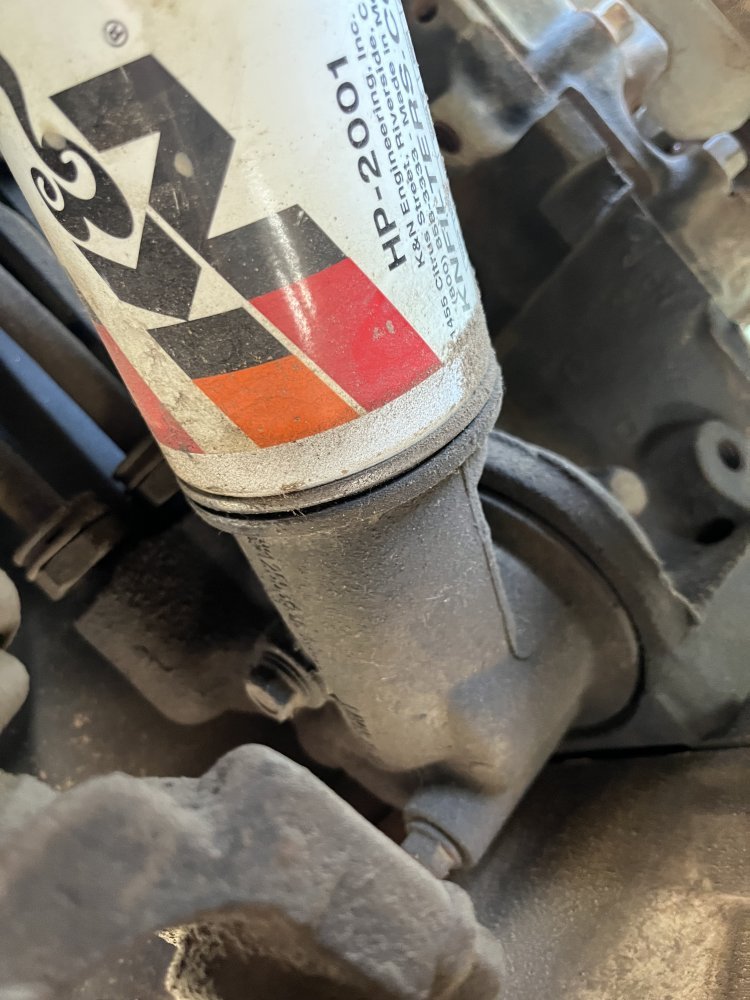
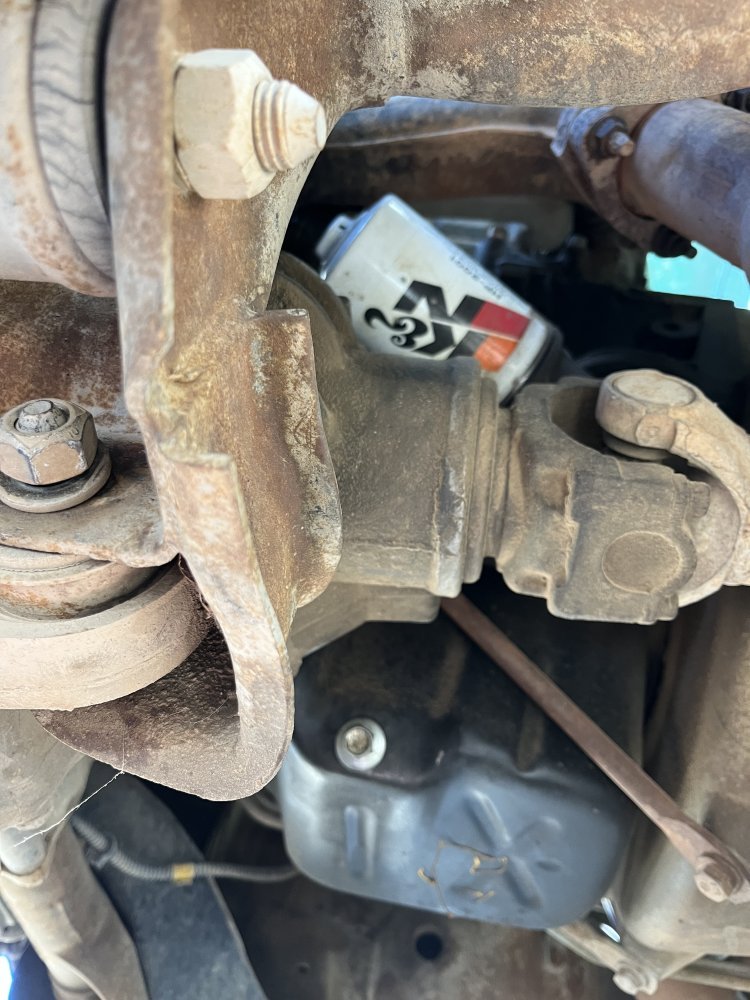
It did have a oil filter mount that I have never seen before, which probably explains why everything was dry under it.
 

Attachments

  • IMG_0911.jpeg
    IMG_0911.jpeg
    113.5 KB · Views: 3
  • IMG_0910.jpeg
    IMG_0910.jpeg
    131.6 KB · Views: 3
Did you helicoil the stripped threads,leave it or just go with an oversize bolt and redrill the top plenum?I remember reading a post online where a guy double nut a stud on a 6.2 in that location and the double nut loosened up and destroyed one of the pistons,etc.
I had used some longer bolts. the factory bolts only go about half way into the threaded area, luckily there were still about 1/4" of good threads left so longer bolts worked fine. I was thinking about just drilling and taping out for the next size bolt and going with that, no helicoil. just never got to it since the last bit of threads in the hole were still holding.

now that I have the other engine I was planning to use that intake, again just too lazy to pull it and then put one back on that engine to seal it up from the elements again. One of these days LOL
 
I have a good report on the oil leak. I've driven into town twice now and so far there is only a small drip on the driveway where the front of the oil pan meets the timing cover has a slow leak. no puddle under the back area were it was before!

Weather just started to cool down, the front is moving in. had gone into town to grab a couple cans of 134A since my AC was now cycling too fast. it has a slow leak. went into wally world and found they were completely out! as I was strolling back down one of the main isles in the store I spotted what looked like a stray can stashed in a display of fitness stuff. walked over and sure enough there was a single can of 134A. snagged it up, came back home and charged it into the truck. now I will have a working defroster for the cooler weather. HAHA
 
Or, take the OEM covers to a good chrome shop and have them done. Probably cost about the same as replacing them, you'll have the right covers and you won't have an extra set laying around the garage leaving you wondering what to do with them. Ask me how I know.
I was thinking of just reusing the chrome oil valve covers I have.I bought them back in 2006 from eBay.They are still in good shape but need to cleaned up before I reuse them.When I first got them they have the off Center holes in them for a pcv valve so I just put chrome oil fill covers in those holes to block those areas and created a Center hole in each valve cover so I could retain the factory grommets and those black ventilation filters the olds engines use.

I also bought a universal stud kit so I can thread little studs in the cylinder heads vs bolts when the time comes to reinstall the valve covers.I have the same kit for the oil pan too.
 
Temps are dropping quickly! wind is blowing, Jacket time outside! I had to make another trip into town this afternoon to get the propane tanks filled. turned on the heater in the truck to make sure it worked. then got home and pulled out all the space heaters out of the closet and made sure they all worked too.

Old man winter.... Bring it on, I'm ready.... LOL
 
Back
Top