Navigation
Install the app
How to install the app on iOS
Follow along with the video below to see how to install our site as a web app on your home screen.
Note: This feature may not be available in some browsers.
More options
-
Welcome to The Truck Stop! We see you haven't REGISTERED yet.
Your truck knowledge is missing!
- Registration is FREE , all we need is your birthday and email. (We don't share ANY data with ANYONE)
- We have tons of knowledge here for your diesel truck!
- Post your own topics and reply to existing threads to help others out!
- NO ADS! The site is fully functional and ad free!
Problems registering? Click here to contact us!
Already registered, but need a PASSWORD RESET? CLICK HERE TO RESET YOUR PASSWORD!
You are using an out of date browser. It may not display this or other websites correctly.
You should upgrade or use an alternative browser.
You should upgrade or use an alternative browser.
What did you do with your GMT400 today...or yesterday....
- Thread starter deejaaa
- Start date
Husker6.5
135' diagonal 16:9HD, 25KW sound!
Not GMT-400, but put a new set of tires on my '05 Camry LE this afternoon. Took advantage of Sam's Club's sale last weekend and got $80 off on the set of four and free mounting and balancing with lifetime rotation/balancing, repair, hazard replacement and roadside assistance. Got a set of 215/60-16 Pirellis with excellent traction rating (A A) and an 80,000 miles wear. After using a Sam's Club gift card and a couple of preloaded debit cards from going a couple of medical studies, I only paid $119 for what would have been a $507 set of tires PLUS another $80 for the mounting and balancing!
The set of BF Goodrich Advantage T/A Sports with a 60,000 mile rating I got 62,000 miles ago just after Thanksgiving 2017 at Sam's Club were FREE to me! Because earlier that fall they had a special that if you upgraded your Sprint phone to, and bought, a new Samsung model you got a $300 Sam's Club gift card! So I upgraded my Samsung Galaxy S6 to an S8+ and got the gift card. Come Black Friday Sam's had a tire special of $80 off a set of four BF Goodrich and free mounting and balancing. With the discount on the set of four plus tax and tire disposal fee, the total for the set of four tires installed was $297. I handed them my FREE for the phone upgrade $300 Sam's Club gift card, and got it back with $3 still left on it!
The set of BF Goodrich Advantage T/A Sports with a 60,000 mile rating I got 62,000 miles ago just after Thanksgiving 2017 at Sam's Club were FREE to me! Because earlier that fall they had a special that if you upgraded your Sprint phone to, and bought, a new Samsung model you got a $300 Sam's Club gift card! So I upgraded my Samsung Galaxy S6 to an S8+ and got the gift card. Come Black Friday Sam's had a tire special of $80 off a set of four BF Goodrich and free mounting and balancing. With the discount on the set of four plus tax and tire disposal fee, the total for the set of four tires installed was $297. I handed them my FREE for the phone upgrade $300 Sam's Club gift card, and got it back with $3 still left on it!
MrMarty51
Well-Known Member
MrMarty51
Well-Known Member
Inner fender
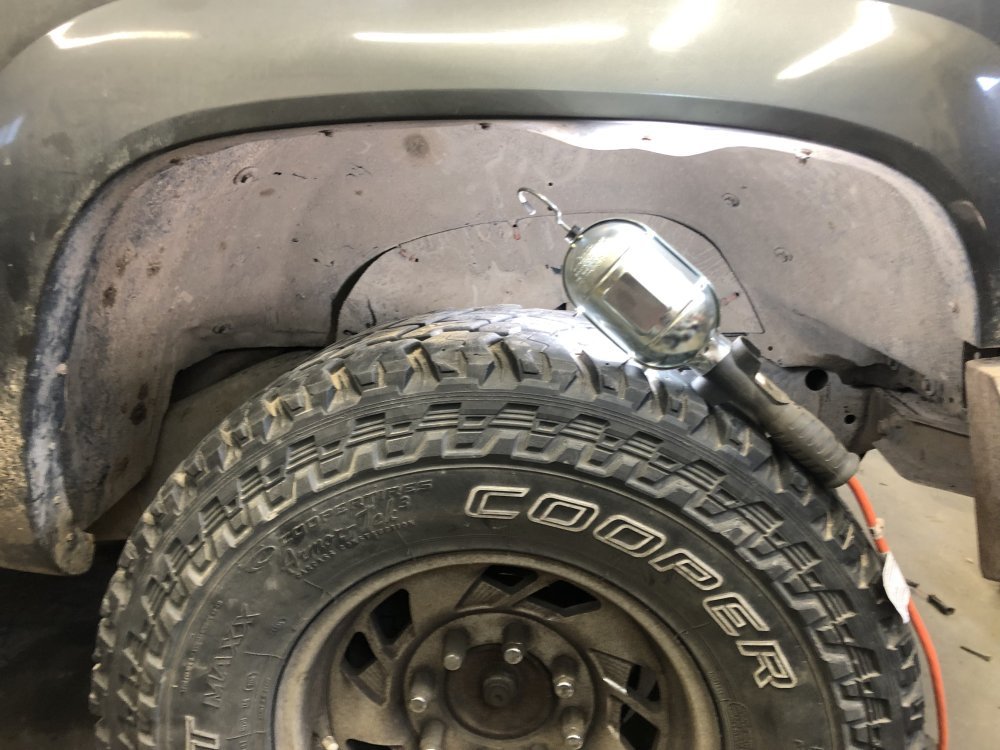
Air filter box and I have had a spare fuel pump module driver heat sink. A spare Stanadyne pump driver and not too far back ordered one of Leroys 6 foot Stanadyne grey box extension harnesses. With the made up oil cooler hoses on this truck there was not much room left for another PMD under there but I did find some room. Mounted the driver to the heat sink then drilled a hole in a non load bearing section of the frame and got that PMD plugged to the harness and the other end routed near the IP. I dint have a plug for it but crafted a nice covering with some Gorilla Tape.
I still want to change the differential lubes as they both have about 20,000 miles on them.
I might have to call it a day and finish this come Wednesday. Doc appt in Billings tomorrow for a follow up on the back.
I been over taxing the back far beyond the guidlines He set for Me, I just dont have anyone to take care of when I cant and I need this finished.
Anything else after this can wait.

Air filter box and I have had a spare fuel pump module driver heat sink. A spare Stanadyne pump driver and not too far back ordered one of Leroys 6 foot Stanadyne grey box extension harnesses. With the made up oil cooler hoses on this truck there was not much room left for another PMD under there but I did find some room. Mounted the driver to the heat sink then drilled a hole in a non load bearing section of the frame and got that PMD plugged to the harness and the other end routed near the IP. I dint have a plug for it but crafted a nice covering with some Gorilla Tape.
I still want to change the differential lubes as they both have about 20,000 miles on them.
I might have to call it a day and finish this come Wednesday. Doc appt in Billings tomorrow for a follow up on the back.
I been over taxing the back far beyond the guidlines He set for Me, I just dont have anyone to take care of
Anything else after this can wait.
Attachments
Paveltolz
Доверяй, но проверяй
Decided to go to the pick-a-part yard and grab that hood before it got away.
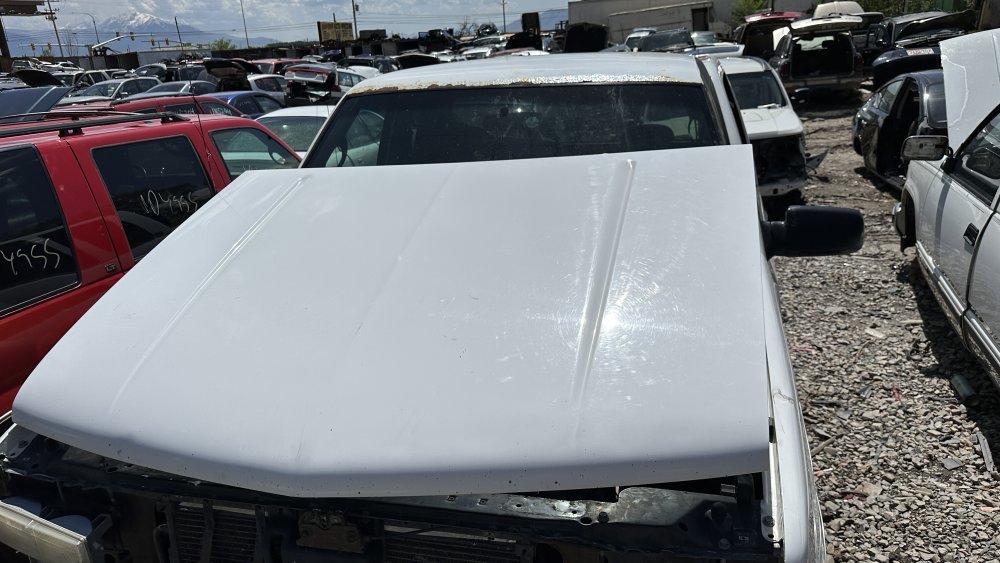
Checked bolt sizes at home before loading up tools and heading out.
Pro Tip. Proper order of things is: 1. Close the hood securely and then drive… Hood became a necessity rather quickly. #$%^&*(
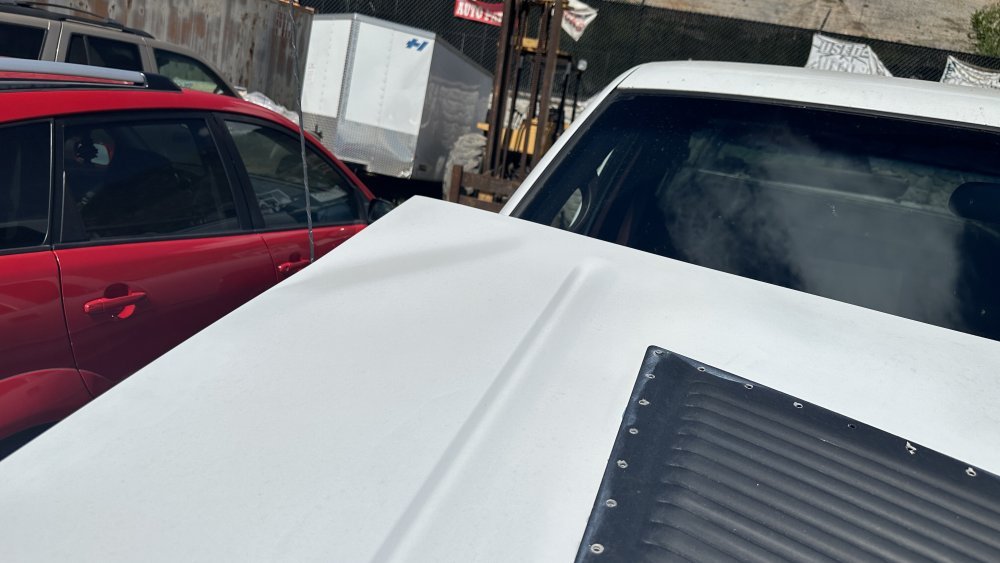
My son met me there and we took the old/damaged hood off in the parking lot and put the replacement on, along with a new hinge spring (another casualty of brain farting). Left the old hood there since they said they’d just put it in the scrap pile. Truck looks BORING without the vents but, I hav another set in still in the bo…somewhere.
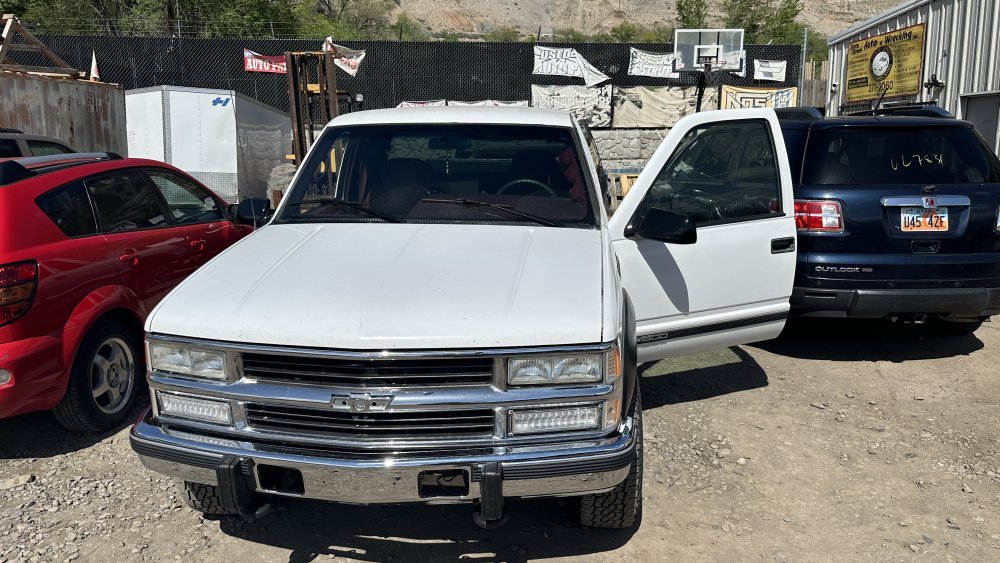
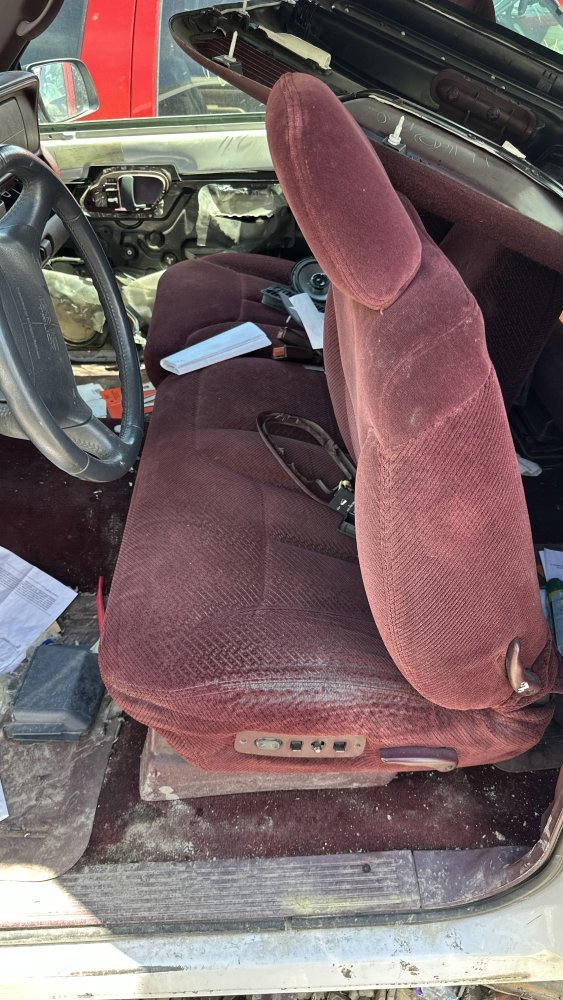
Couldn’t find the right seat bracket but, I did confirm the 60/40 split bench seat does lean forward and the power will plug right up to existing wiring in my truck. Hmmm. Yeah, I’d lose the console. But, the seat is in good enough condition and it would be nice for Mrs. Pavel.

Checked bolt sizes at home before loading up tools and heading out.
Pro Tip. Proper order of things is: 1. Close the hood securely and then drive… Hood became a necessity rather quickly. #$%^&*(

My son met me there and we took the old/damaged hood off in the parking lot and put the replacement on, along with a new hinge spring (another casualty of brain farting). Left the old hood there since they said they’d just put it in the scrap pile. Truck looks BORING without the vents but, I hav another set in still in the bo…somewhere.

Couldn’t find the right seat bracket but, I did confirm the 60/40 split bench seat does lean forward and the power will plug right up to existing wiring in my truck. Hmmm. Yeah, I’d lose the console. But, the seat is in good enough condition and it would be nice for Mrs. Pavel.

Will L.
Well-Known Member
@MrMarty51 HEY follow dr orders man! Who does any of it if you take yourself out for an extra year?
@Paveltolz keeping the wifey happy is always the smartest choice.
Maybe you just need some racing stripes on the hood this time?
@Paveltolz keeping the wifey happy is always the smartest choice.
Maybe you just need some racing stripes on the hood this time?
jrsavoie
Recruit
Exactly. I have a Friend that got right back to it after back surgery and now he is very crippled@MrMarty51 HEY follow dr orders man! Who does any of it if you take yourself out for an extra year?
@Paveltolz keeping the wifey happy is always the smartest choice.
Maybe you just need some racing stripes on the hood this time?
MrMarty51
Well-Known Member
Now back to the Dr. Orders. The truck is done, back dont feel any worse for the wear and the doc will do an X-ray to be sure all the hardware is still in position where He left it.
Feeling good about the upcoming appointment.
Feeling good about the upcoming appointment.
dbrannon79
I'm getting there!
On my rig, I have been noticing lately that my column shifter had been getting loose and sloppy. it almost feels like something is about to break in there. I had to replace the entire column when I bought the truck due to the shifter was broken. got the one in it now from the pick a part yard. I hope it doesn't need parts that would cause the need for another junk yard column again!
if that is the case, I might try looking into a newer style column. I have heard that the ones from the 2010 or 2015 would fit. that would be a nice addition with the looks of the steering wheel and what not. Though the last time I was at the pick a part yard, they are starting to charge you for each individual piece. not for assemblies anymore. I would assume they'd break down the whole column to charge for the wheel + cap +column + shifter..... might be better off dissecting a column out there just for the pieces I need leaving the remaining for them to scrap and loose money like I see everyone else out there doing instead of taking the whole thing.
if that is the case, I might try looking into a newer style column. I have heard that the ones from the 2010 or 2015 would fit. that would be a nice addition with the looks of the steering wheel and what not. Though the last time I was at the pick a part yard, they are starting to charge you for each individual piece. not for assemblies anymore. I would assume they'd break down the whole column to charge for the wheel + cap +column + shifter..... might be better off dissecting a column out there just for the pieces I need leaving the remaining for them to scrap and loose money like I see everyone else out there doing instead of taking the whole thing.
Will L.
Well-Known Member
Why replace the old column with another old column…On my rig, I have been noticing lately that my column shifter had been getting loose and sloppy. it almost feels like something is about to break in there. I had to replace the entire column when I bought the truck due to the shifter was broken. got the one in it now from the pick a part yard. I hope it doesn't need parts that would cause the need for another junk yard column again!
if that is the case, I might try looking into a newer style column. I have heard that the ones from the 2010 or 2015 would fit. that would be a nice addition with the looks of the steering wheel and what not. Though the last time I was at the pick a part yard, they are starting to charge you for each individual piece. not for assemblies anymore. I would assume they'd break down the whole column to charge for the wheel + cap +column + shifter..... might be better off dissecting a column out there just for the pieces I need leaving the remaining for them to scrap and loose money like I see everyone else out there doing instead of taking the whole thing.
Rebuild it or get one of the rebuilt ones from the companies that do it.
dbrannon79
I'm getting there!
I didn't know anyone rebuilds them! the issue is getting the parts. when I had to replace it the frist time. there was a piece of aluminum in there on the shifter linkage that I couldn't find as a replacement part.
Big T
Well-Known Member
On my ‘94 Suburban, there is a plastic collar to which the cable for the shift indicator attachés. It broke its attachment to the shift hub so was not rotating with it and you could not “see” what gear you were in. I did an interim fix of attaching it to the shift hub with duct tape. I say interim because it’s off one gear notch, so R is really drive.I didn't know anyone rebuilds them! the issue is getting the parts. when I had to replace it the frist time. there was a piece of aluminum in there on the shifter linkage that I couldn't find as a replacement part.
Husker6.5
135' diagonal 16:9HD, 25KW sound!
Wouldn't that be off two notches, or do you have the very rare no Neutral automatic transmission with the P-R-OD-D-2-1 pattern?
dbrannon79
I'm getting there!
Thats what's odd on mine. the indicator seems to move and stay inline with the cable but the lever has a LOT of slop. the indicator doesn't move with the handle until you feel the linkage moving in there. occasionally it also feels kinda like something is rough in there when I shift from park to drive or back the other way as if something in the column is grinding on jagged aluminum if that makes any sense.
I need to get in there and look at it. just have been very lazy about it lol.
I need to get in there and look at it. just have been very lazy about it lol.
Big T
Well-Known Member
I don’t know. It’s probably on N when in OD.Wouldn't that be off two notches, or do you have the very rare no Neutral automatic transmission with the P-R-OD-D-2-1 pattern?
Big T
Well-Known Member
Indicator has a cable attached to a plastic hub on the column. Cable wraps around the hub when rotating clock-wise, spring pulls it back when going counter clock-wise. But this plastic hub is supposed to lock into the metal shifter hub on the column.Thats what's odd on mine. the indicator seems to move and stay inline with the cable but the lever has a LOT of slop. the indicator doesn't move with the handle until you feel the linkage moving in there. occasionally it also feels kinda like something is rough in there when I shift from park to drive or back the other way as if something in the column is grinding on jagged aluminum if that makes any sense.
I need to get in there and look at it. just have been very lazy about it lol.
Will L.
Well-Known Member
Rip one apart and get the part out. Then it’s fabricating time and start selling if they are nla.
MrMarty51
Well-Known Member
From yesterday. I forgot to post this one, I think I forgot to postit.
Paveltolz
Доверяй, но проверяй
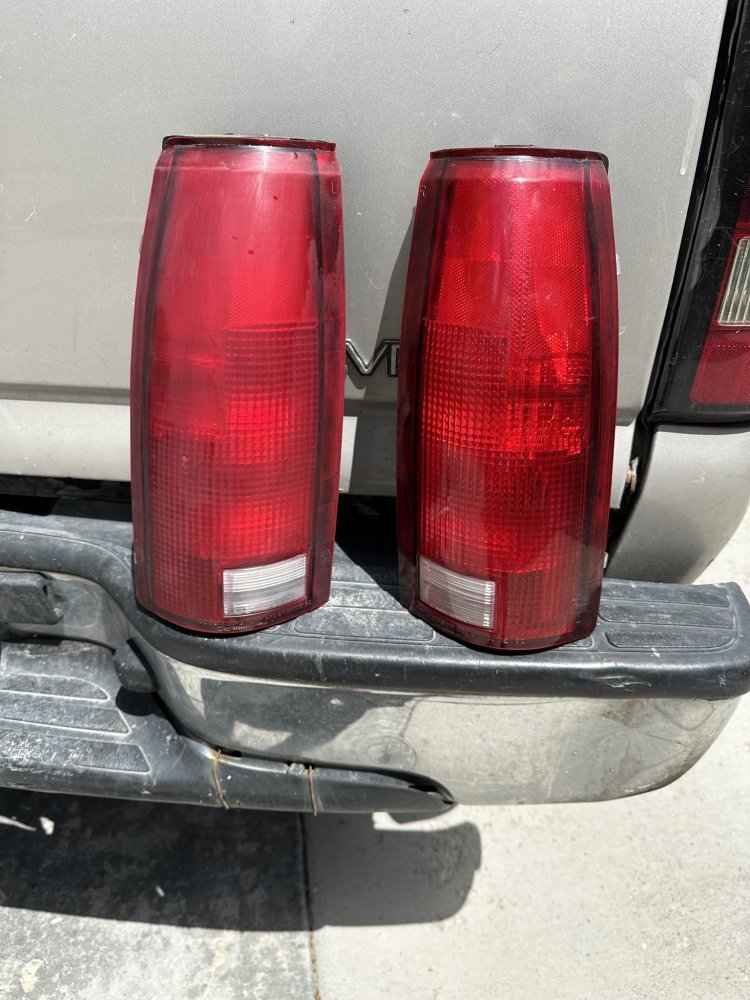
Since the LED tail lights were malfunctioning, half lit and reverse lamp circuit dead on one side I got out the faded old OEM units and did a 'headlight restoration' on them. SuperbrightLED.com supplied the 1156 and 57 bulbs along with a shorter 1156 for the engine bay lamp and an even shorter one for the under-hood reel lamp which I went over the other night to restore functionality.
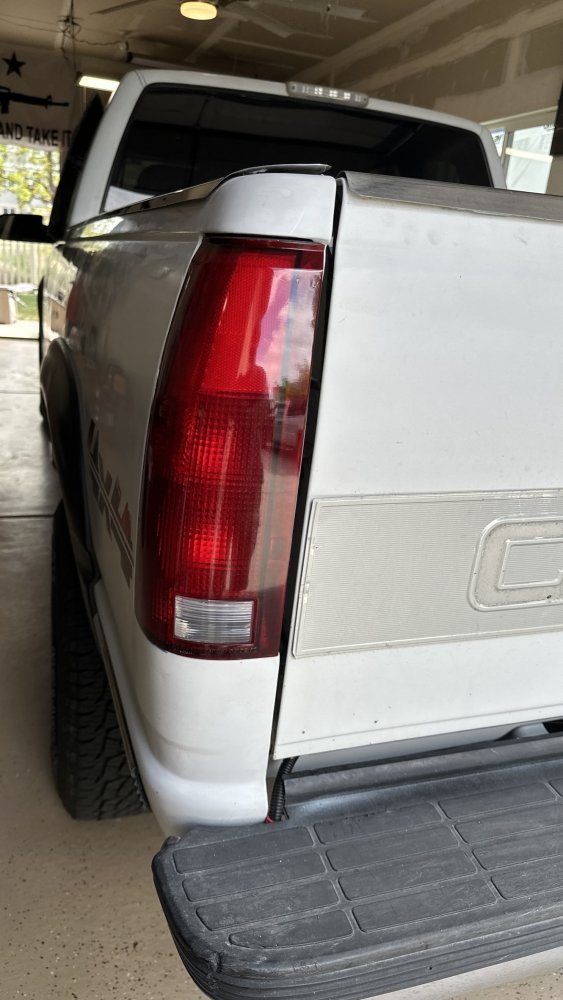
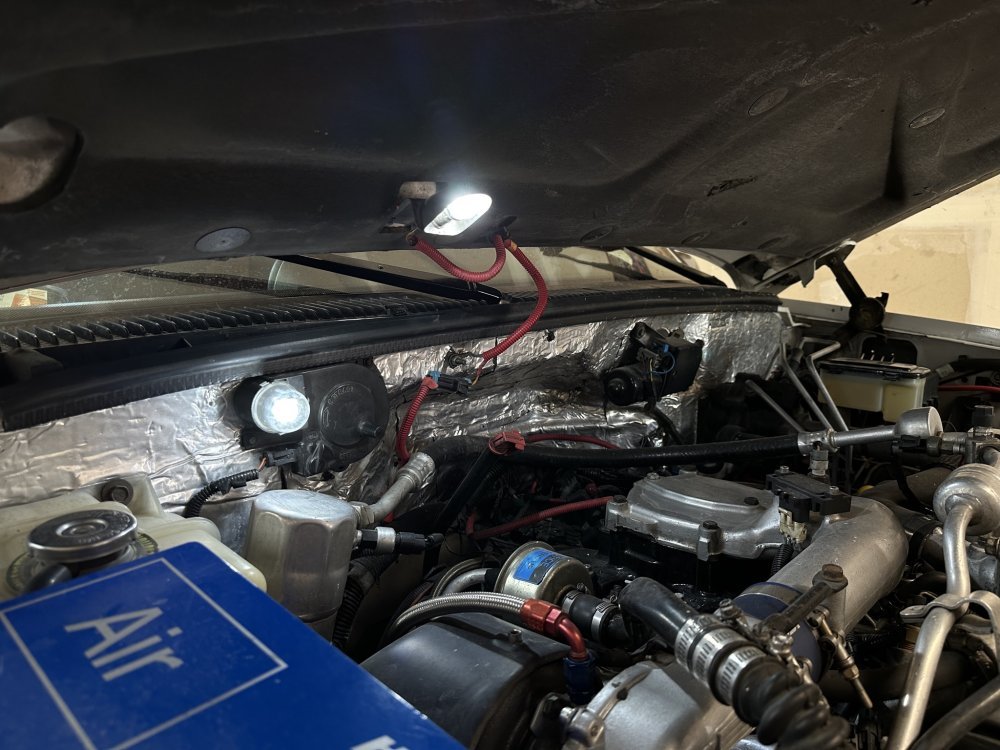


Big T
Well-Known Member
I need to repair the engine bay lamp in my ‘99. Where did you get these?Since the LED tail lights were malfunctioning, half lit and reverse lamp circuit dead on one side I got out the faded old OEM units and did a 'headlight restoration' on them. SuperbrightLED.com supplied the 1156 and 57 bulbs along with a shorter 1156 for the engine bay lamp and an even shorter one for the under-hood reel lamp which I went over the other night to restore functionality.
View attachment 81515
View attachment 81513
View attachment 81514

