• Welcome to The Truck Stop! We see you haven't REGISTERED yet.

    Your truck knowledge is missing!
    • Registration is FREE , all we need is your birthday and email. (We don't share ANY data with ANYONE)
    • We have tons of knowledge here for your diesel truck!
    • Post your own topics and reply to existing threads to help others out!
    • NO ADS! The site is fully functional and ad free!
    CLICK HERE TO REGISTER!

    Problems registering? Click here to contact us!

    Already registered, but need a PASSWORD RESET? CLICK HERE TO RESET YOUR PASSWORD!

Pseudo-Resto 96 K-1500…Um, when was this a good idea?

Worked on the hood today and drilled out the louver panels. Not as bad a job as the fender vent so these could be re-used. I pulled the ratty hoodliner that has seen better days. I'll have to consider an alternate replacement as the fiberglass OEM unit took quite a beating with all the air coming in and out of louvers as well as water etc. So, cleaned it all up, got all the gack off of it. Removed all the adhesive on the front edge left over from holding on various bug deflectors, coated all the bare metal underneath with primer/rust inhibitor so the holes from other bug deflectors didn't rust out. After it all dried I turned it over to start cleaning and removing the paint on top and while doing so it fell off the saw horse and stove in the front corner. It isn't bad but I doubt it is one of those things that can be made right. I know I don't have the skill sets and replacements can be found for cheap in the strip yards that it isn't worth the time. I'd say two steps forward and three back except I have a nice hood on my 95 Tahoe...

So, I'll strip the paint off the top of the old hood as planned, repaint it as best I can, repaint the old louvers and reinstall them.

The Tahoe's hood is pretty much unblemished save for a couple of wear points from the current bug deflector so I'll feather those out and cut the louver holes out prior to paint. I have new hood louvers on the way that will be anodized and clear powder coated so they don't peal like the first set and so I'll have a nice 'new' setup for the truck when the time comes.

Dynamat sells a sound dampening solution for hoods that is head resistant. Might look a little cleaner than the oem fiberglass stuff and offer some sound deadening. Looking great Paul. I've sure missed a lot of your projects on here. Will be watching this thread much more closely. If the painting on the heat side of the turbo housing and the exhaust manifolds doesn't hold I know a place in town that has a high temp powdercoating. I looked into it for my Holset but im far from having the Cash to do anything. Or the time for that matter. Sure looks like a lot of fun. Cant wait to dive into my own rig. How did you put it? A case of forumitis?
 
Updates...
Hmmm, updates....
Yeah, Updates

I quit!

It was a fun idea but work took off, winter set in, wedding plans for Thing 3 (youngest son), more work travel, back pains etc. It all piled on and the enthusiasm meter spun backwards.

The fact is the truck is pretty much fine the way it is and any 'improvements' to the ambiance at this point violates my priority rules:

Safety

Reliability/Longevity

Performance/Bling

If I can do "the Bling thig" while making the truck safer or more reliable, then that's great but in this case, well, it isn't the case.

Besides, it is too cold and takes too much heat to raise the frame and metal to a temperature that prepping and painting the frame etc. is workable.

So, I'll address safety and reliability and get the stabilizer bushings and tie rod grease caps replaced along with the front and rear shocks which have to be blown out by now.

Since the vents have been pulled from the hood and fenders (which are also off the truck), I'll re-install the sheet metal anyway, get the truck restarted and pull it out side to make room for parking the vehicles around here that are pulling their weight or, at least my weight, out of the weather.

For the rest of the winter I'll cover the front end to keep water and snow from getting on to the motor which is causing the surface rust on the once pretty powerplant. I'll have the vents re-coated, the LED lighting parts ordered, the bumpers chromed and some other stuff done while waiting for warmer weather. Come springtime I'll have the parts ordered to correct the front differential issues along with the lift. I'll also redo some of the wiring for headlights along with fog lights and HID reverse lights. Once that is done I'll address the paint. It will be warmer and after paint I can do the final reassembly of bumpers, grill, vents, fender flares etc.

I may still pull the bed and address some surface rust on the frame but that’s not a priority and by the time that comes around it will be October again…

Maybe after I really retire?
 
That was a very frustrated sounding post Paul. :D I understand how life, and circumstances can interfere with projects. I still look forward to the updates when your weather gets better, and other things slow down some. I felt like quitting the other day when my truck blew a head gasket, and after tearing it down, I find it has seriously cracked heads going all the way through the valve seat, and beyond. :confused: So, I'm not driving mine right now either, but hopefully it won't be to long.

Matt
 
Thanks. I'm still getting work done that's been on the differed maintenance list for too long. I'll address some engine bay noise issues, a couple of oil weeping spots (turbo oil feed / OPS 'T' fitting and Turbo oil return line) as well as some wiring that's all easier to do before putting the sheet metal on.

Restoration wise though It's really a matter of needs, wants and priorities. I've wanted to do something like this for a long time but I need the truck for stuff and there's no real priority for the project.

Besides, the Tahoe I bought from SSForce's Grandmother would benefit greatly from a Diesel Swap....

I can't say how much I would love to see a 6.5 in that ol rig. I love that thing. Just might have to buy it back after the swap :D
 
A small project today after installing a water softener for the house.

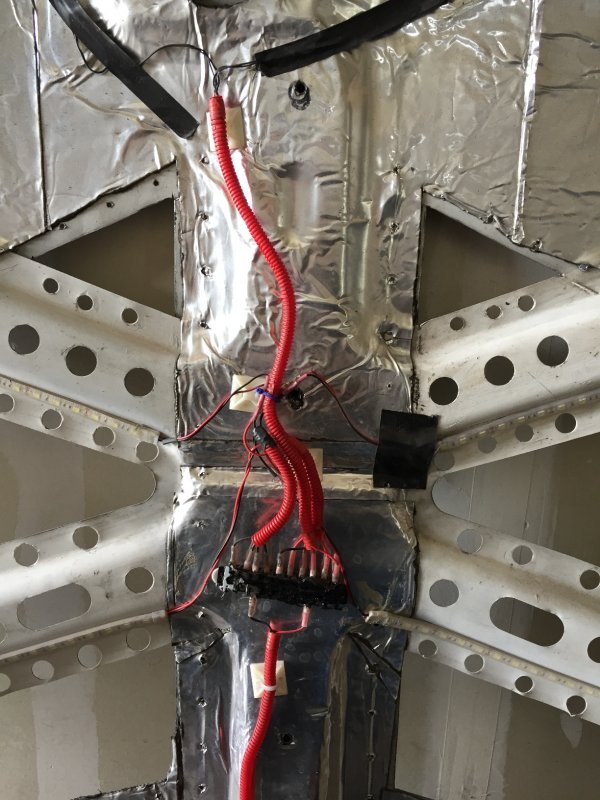
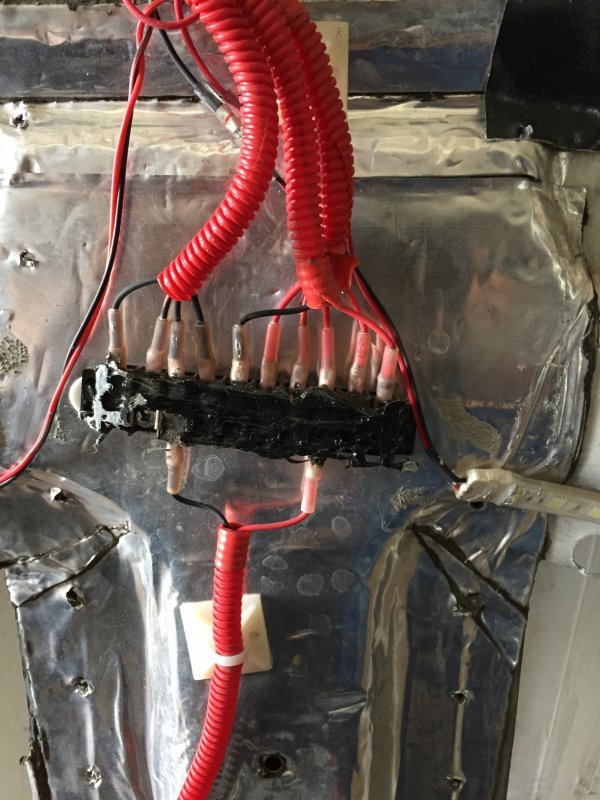
The under hood lighting, while successful as a means of illuminating the engine bay, was a wiring fail.

I had used a multi-terminal block and ran all the power to one side and all the grounds to the other. The “FAIL” was the bulk of the terminal block and wire looms created an unsightly mess which couldn’t be hidden by the insulation blanket.
hood relight 001.JPG hood relight 002.JPG
It was a learning experience anyway and the insulation blanket was on its last legs so what the heck.


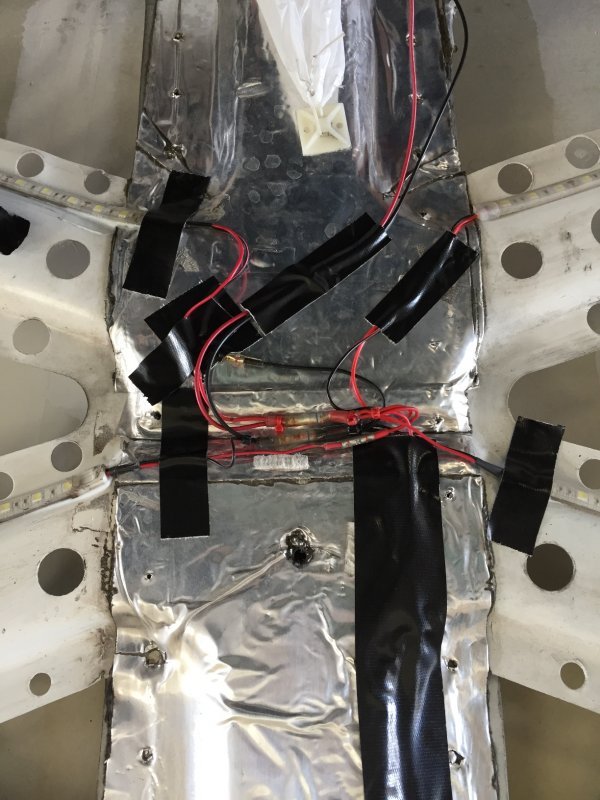
Round 2…I chose to use some 2-1 butt splices for 14 and 16 gauge wiring as well so I redid everything in order to achieve an more ‘aesthetically pleasing’ end product.


hood relight 003.JPG
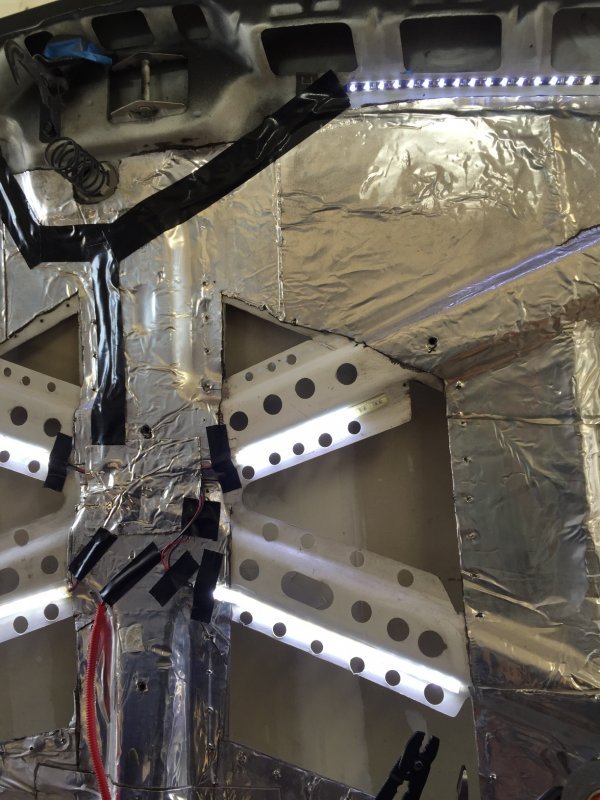
I use the Gorilla Tape to hold the wires in place until I get a new hood blanket or black sound mat to go over everything. In the mean time, all the splices in the valley/molding "V" are covered with a piece of RamMatt BTXII.
hood relight 004.JPG

One comment on the original thread for this lighting project had wondered how long the lights would stay affixed given their location and the heat from the motor. I mentioned they were holding up well and after an even longer period of time they are still holding on tight. The terminal ends, given their larger size tended to pry up a little for less than a half inch but it didn’t cause the whole strip to peel off. I noticed that I need to replace one strip as a section burned out so that will have to be done but, on the whole, it has proven to be a success.
 
My shoulder decided to behave today and I wanted to do some stuff on the truck cause looking at it day after day sitting on Jack Stands...lonely, forlorn, forgotten....

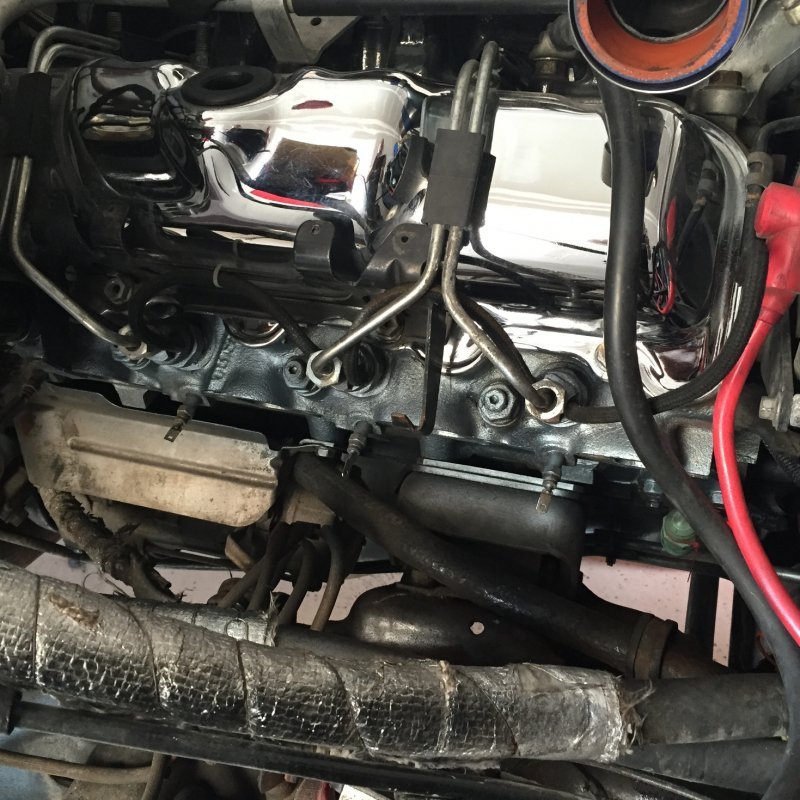
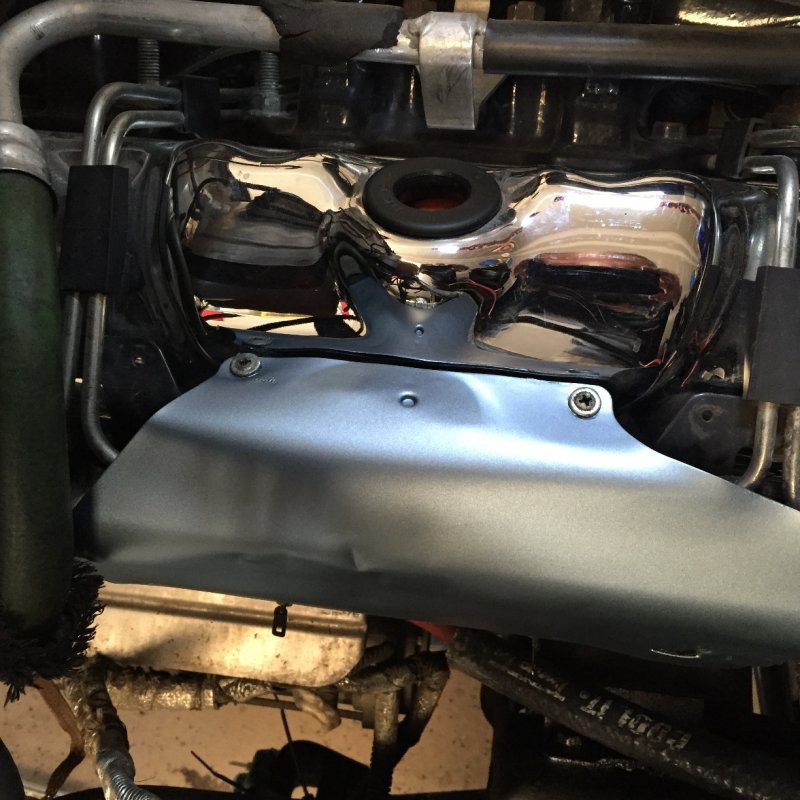
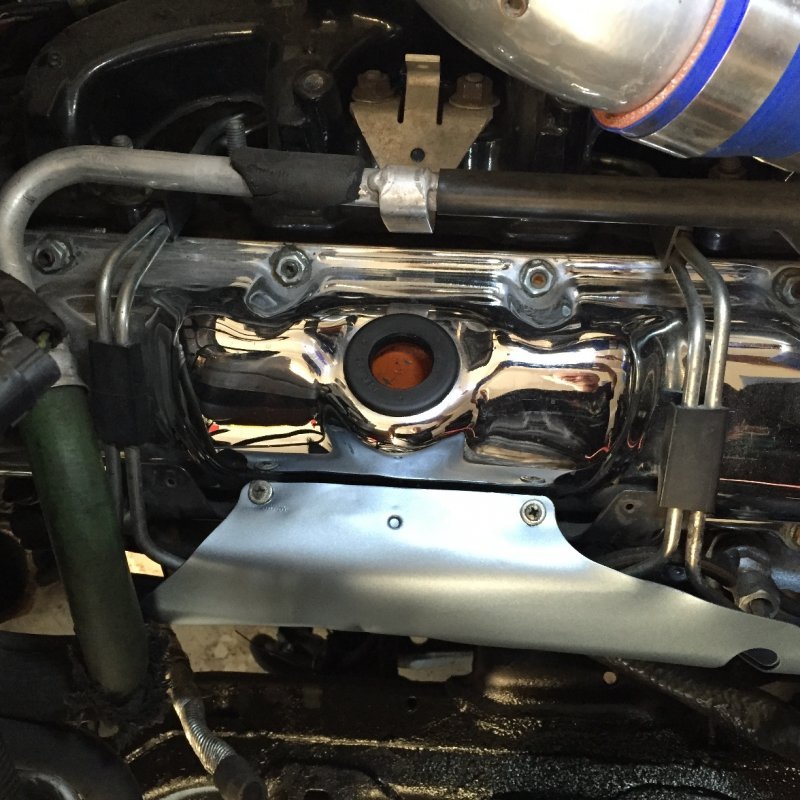
I took the heat shield off and cleaned it up cause it was easy. Decided to paint it the engine color cause one can't see the engine color below it anyway. Removed rust from the heads since the access was easy and then just shot the heck out of it. It'll rust again when the rain gets through the hood vents anyway but it looks "gooder" now.
18 Repainted head.JPG

While waiting for the paint to dry between coats I put the tires on the rear. I'd of lowered on to the wheels but I don't think it would have stood the shock. That and it would put the front end up even higher than it is.

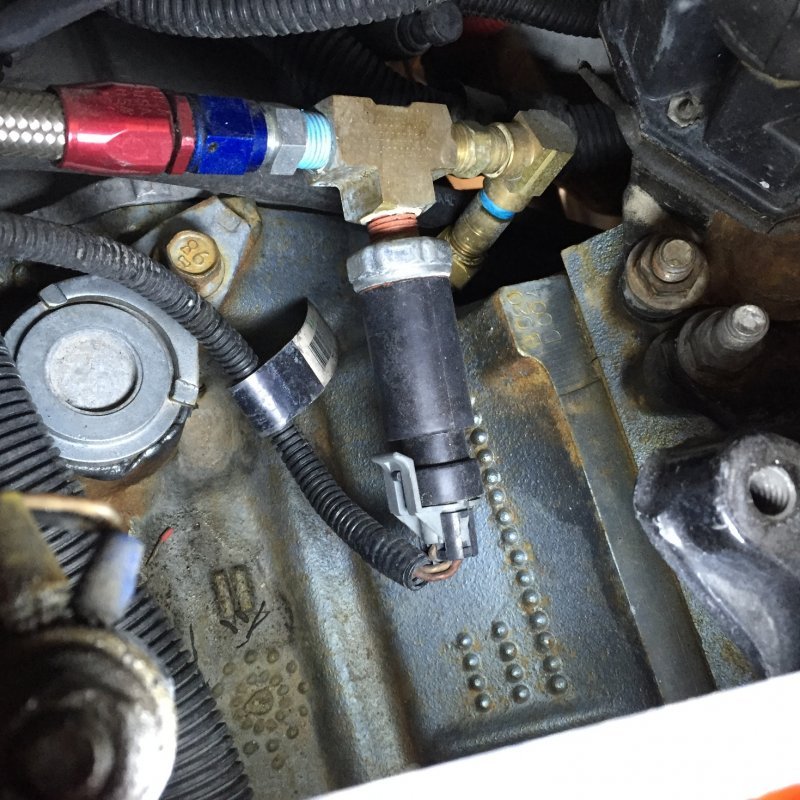
I checked on the Turbo Oil Feed where it mounts and T's off to the OPS as I thought it might be a little loose but it's fine and dry... cleaned thing up out of anal retentiveness and moved on.
17 Oil Feed Line & OPS.JPG

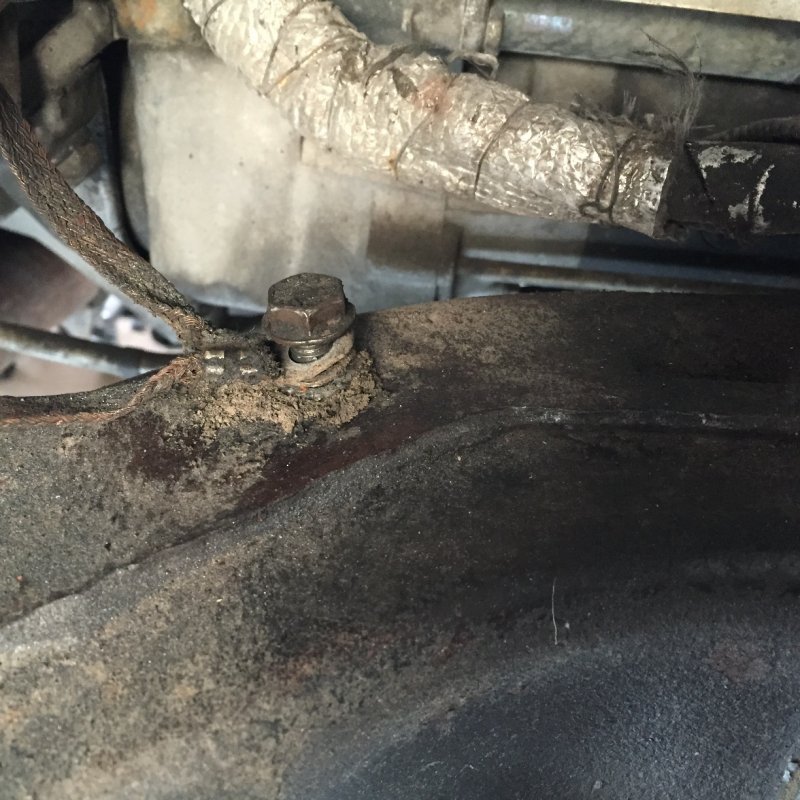
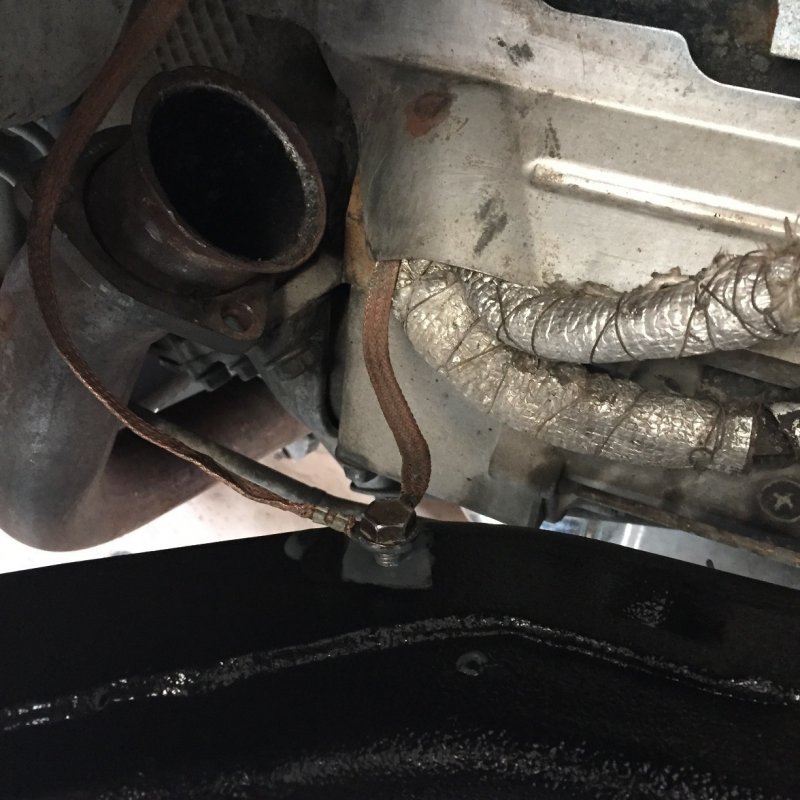
As I needed to clean up the frame a bit the grounds were a natural point of effort too.
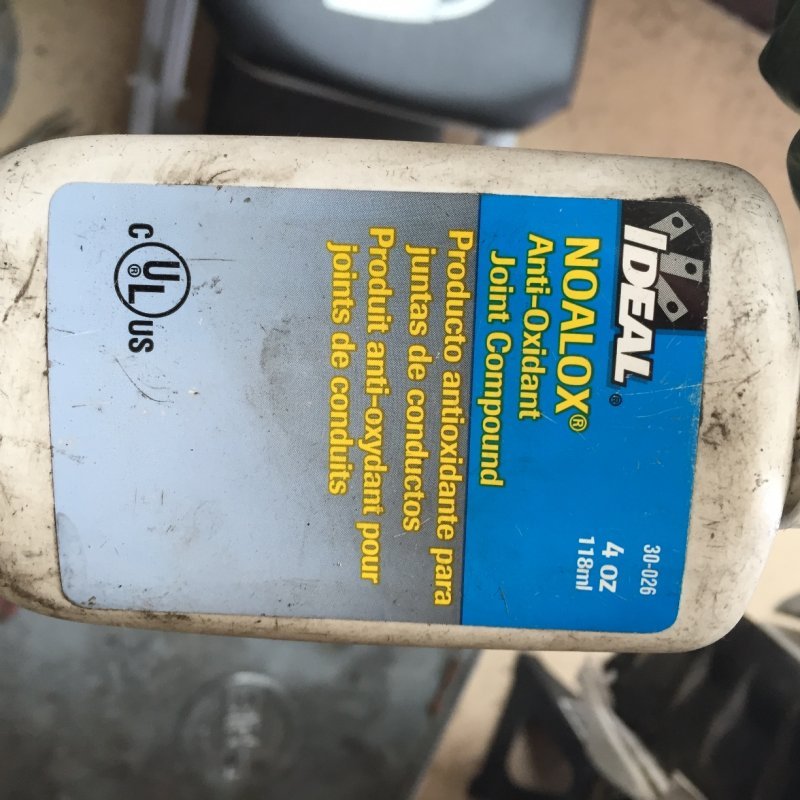
Loosened up at the frame, it is apparent that the NOALOX I used long a go was working even though it looked like it needed attention.
01 frame Ground.JPG
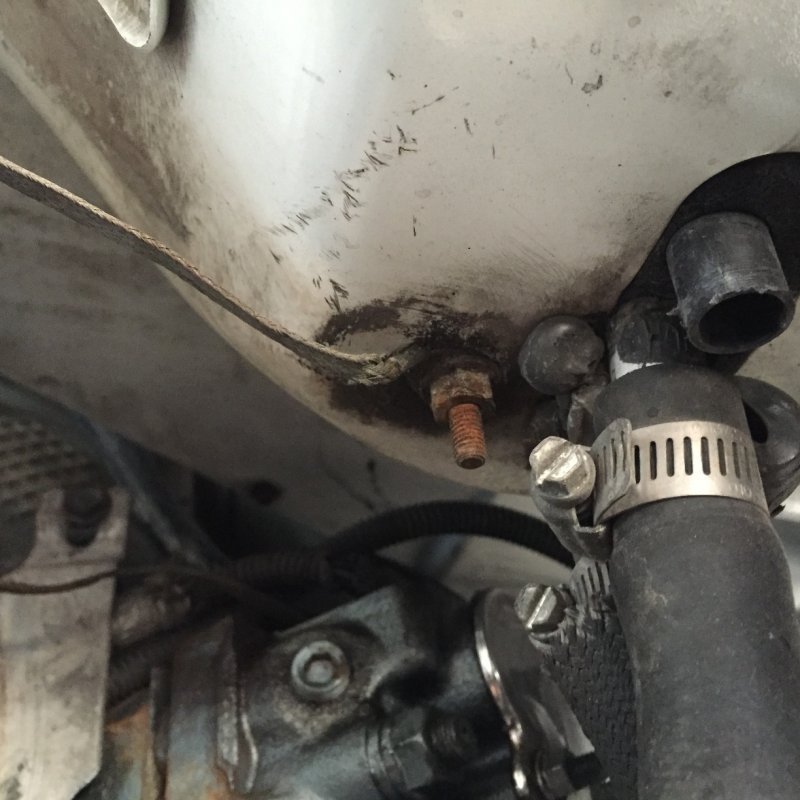
Firewall Ground point.
02 Fire wall ground.JPG

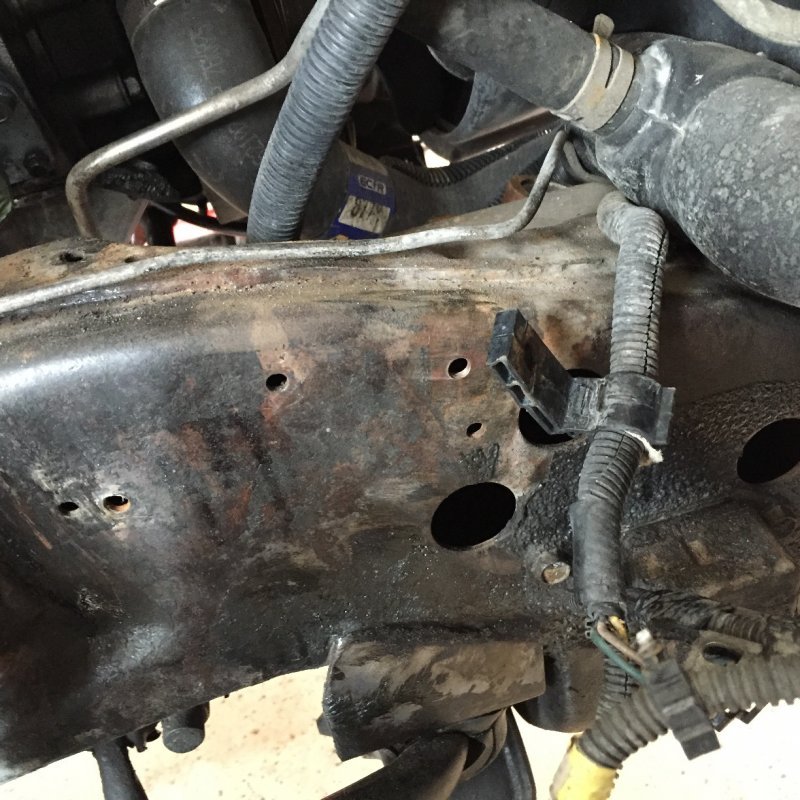
Frame in front of Control Arms
06 PS Frame Front B4.JPG

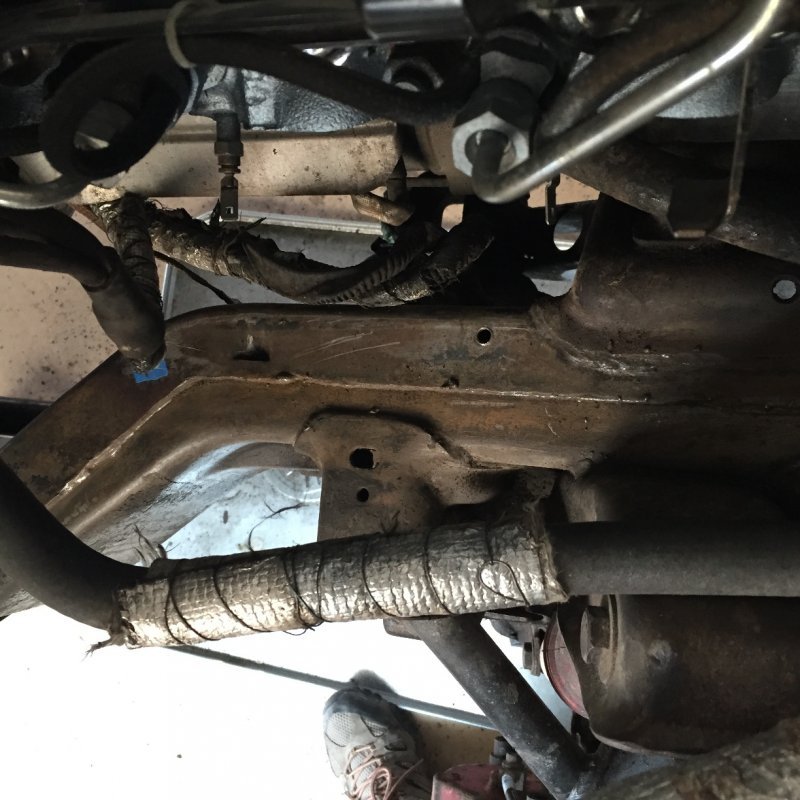
Frame looking down from the top
05 PS Frame Top Down B4.JPG
 
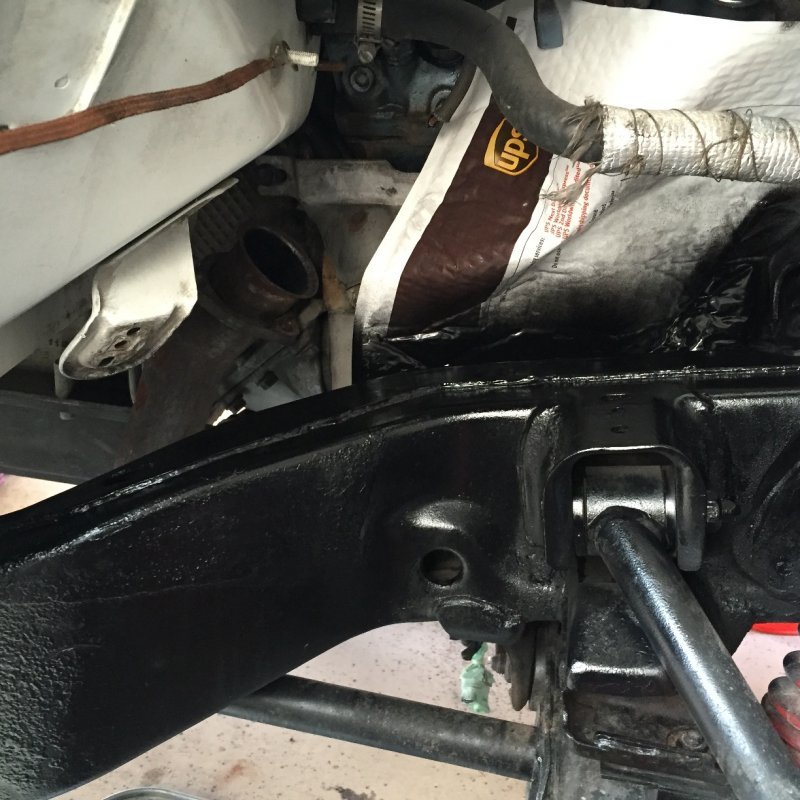
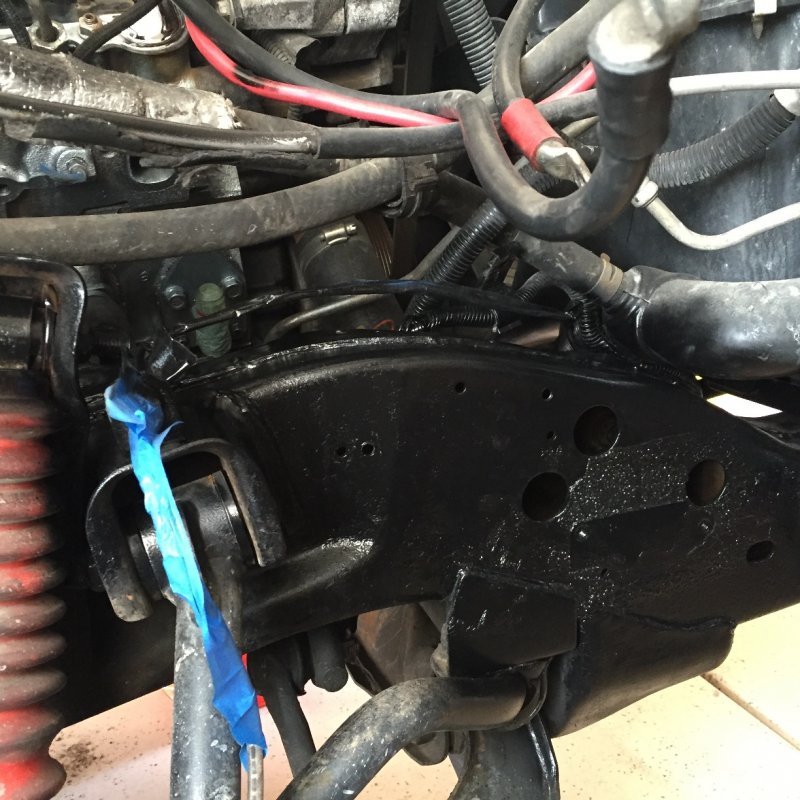
I removed the ABS wires, Air Bag, etc., scraped, wire brushed, cleaned with brake cleaner, then Lacquer Thinner, blew it all down w/ air from the shop compressor a buddy gave me (he got a newer one so I was helping him clean his garage...its a service I offer), hit it with black gloss rust prevention/conversion and then 3M Rubberized undercoating.

07 PS Frame Clean.JPG

08 PS Frame Front Clean.JPG I

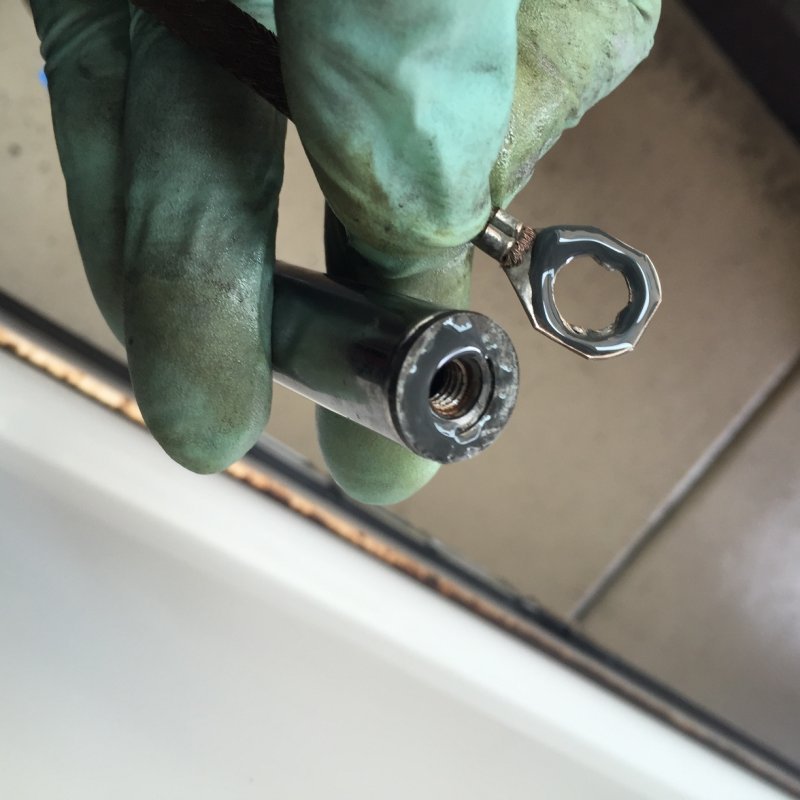
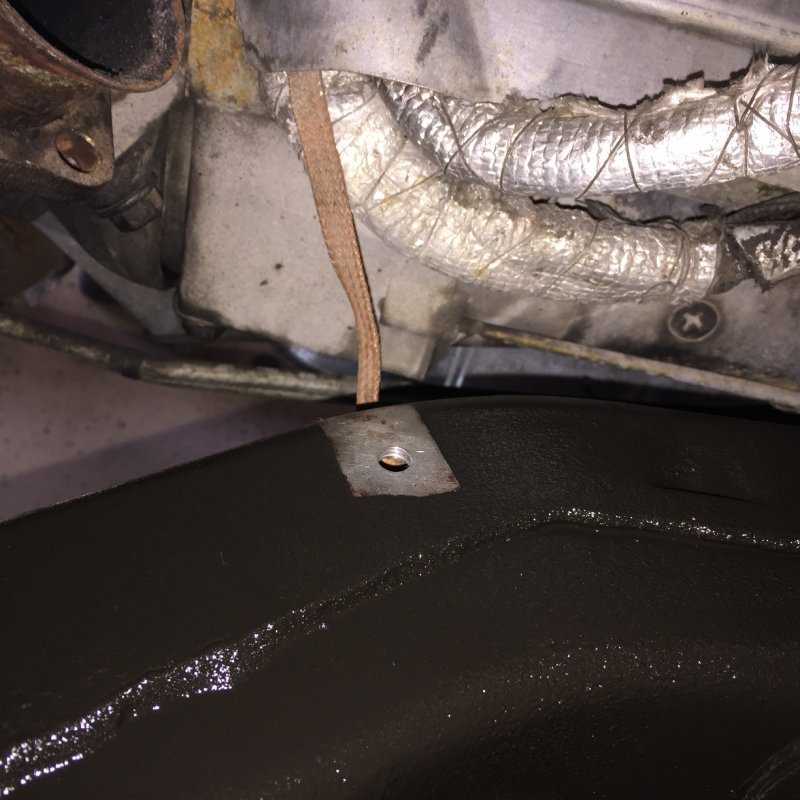
I had placed tape over the mounting point for frame ground so while the paint and undercoating was wet, I removed the tape, re-applied NOALOX to everything and carefully replaced the now cleaned ground straps and tightened them down.
10 NOALOX.JPG 11 NOALOX Applied.JPG 12 Frame Ground Point Clean.JPG 12 Frame Ground Point Clean.JPG 13 Frame w NOALOX Applied.JPG

With the shoulder still cooperating I put the heat shield on and called it a day. No use pushing it when I don't have too.
15 Heat Shield Painted.JPG 16 Heat Shield Painted.JPG
 
Some good progress, and extra points for not pushing it too far and forcing a no play situation with the shoulder.
 
Thanks guys. I'm not excited about doing the same to the Driver's side I'll tell you that much.

I got wiring for ABS and Air Bag sensor replaced later on that evening. I will put the exhaust back together next and then go after the suspension:
1. Control Arms. Replace the Rough County aftermarkets. I still want a lift and am torn between BDS and straight axle swap. Money up front vs. long term issues is the balancing act. Hassle with the SAS and costs up front or chase suspension parts wearing out early for seemingly ever with and IFS lift kit. Right now the front diff is out for previously stated reasons so the debate will continue for a while.
2. Sway Bar end link kits. Aftermarket control arms require the upper ball joints to come out to gain access to the old, worn out ones which is spurring the control arm thoughts.
3. Then there's the door pins and and and....
 
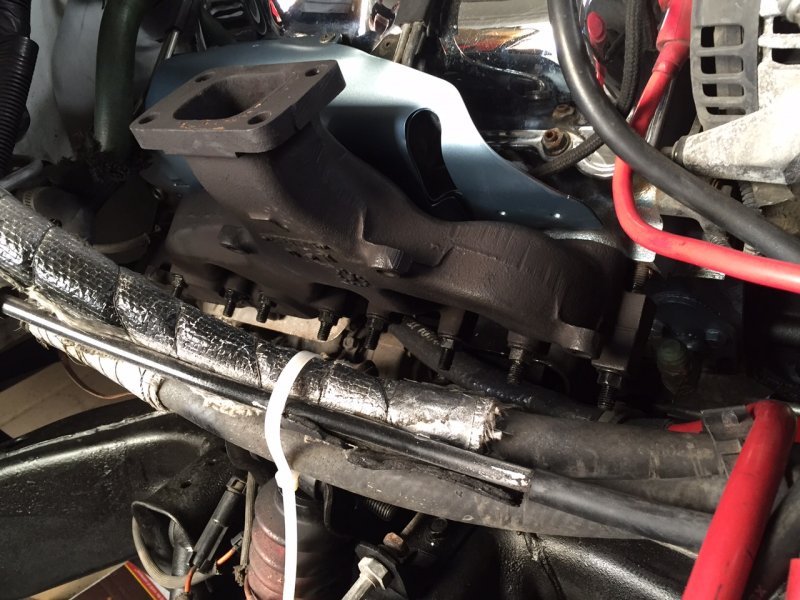
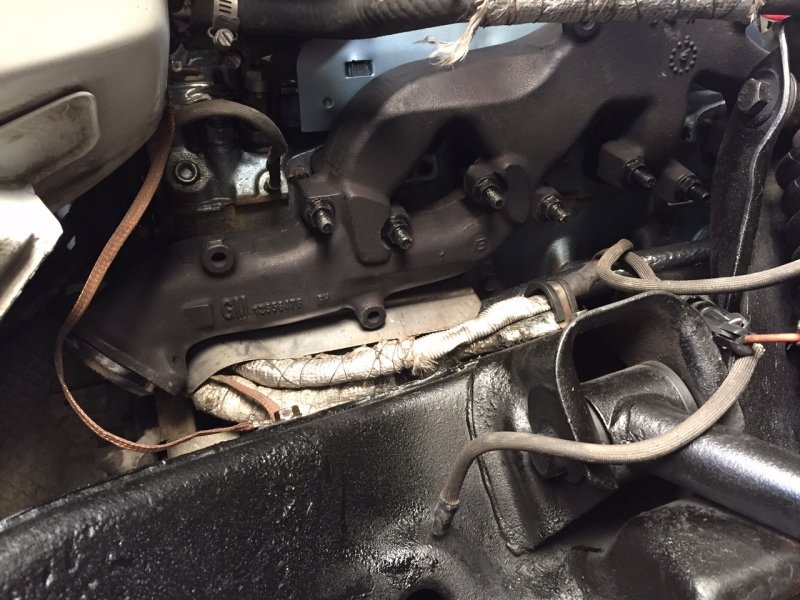
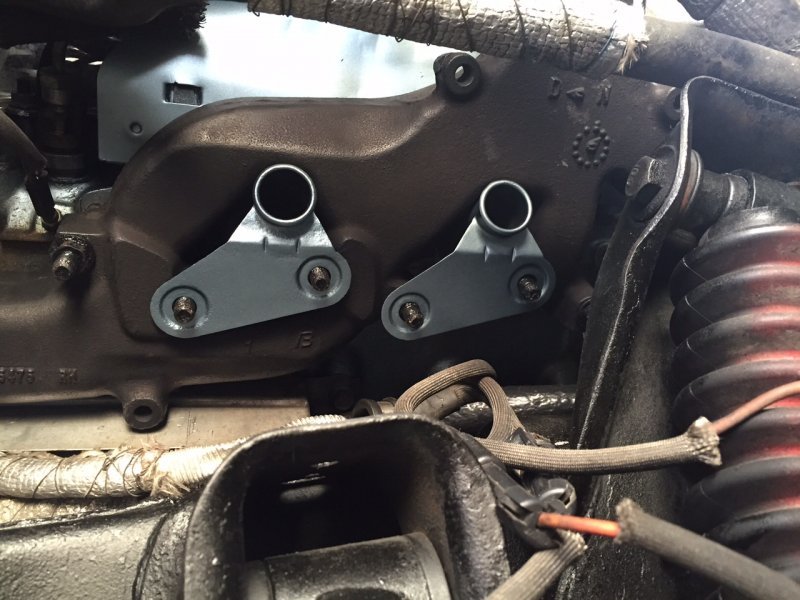
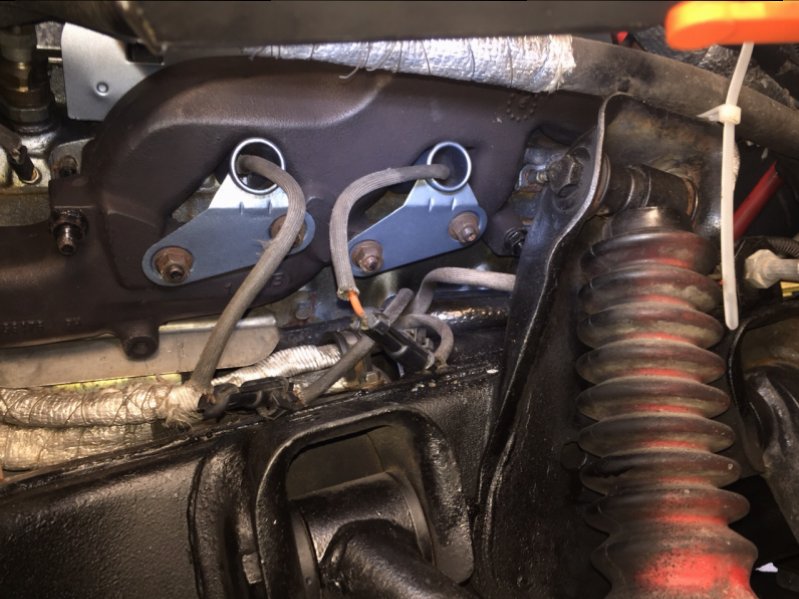
Grand Daughter's Birthday today so I only got the PS Manifold back in. Dropped the cross over as I'm taking the driver's side manifold off (eventually) and there were alignment issues with the new exhaust doughnuts in place that I didn't want to damage those.

So with the cross over out of the way I was able to the manifold on, torqued down to 26lbs.
IMG_5832.JPG

IMG_5833.JPG

Old Glow plugs were looking good so with they went back in at 16lbs torque if anyone cares to know.
IMG_5834.JPG

The cleaned up GP wire heat shields went in and they look alright though it won't last I'm sure.
IMG_5835.JPG

All buttoned up and shiny.
IMG_5838.JPG
 
I'm not setting a goal given I can't predict how much time I'll have to work on it this year. I should be 'home' (not out of state) until mid-July and then I'm pretty much gone through mid-September.
I got home from the last trip late Thursday night / early Friday and left in the morning. I'm still not home. Not complaining mind you. I'm grateful to be working a good job.

Work is picking up with new events and another major one earlier in the year for 2016. Slow and steady may win the race but being sidelined for lack of time to work is the same as sleeping during that same race which didn't go well for the rabbit.
Besides, one more ride in a certain 06 LBZ will probably get the thing drug out of the garage on the hubs to the yard to make room for one of my own...yeah I've been looking around....
 
Back
Top