• Welcome to The Truck Stop! We see you haven't REGISTERED yet.

    Your truck knowledge is missing!
    • Registration is FREE , all we need is your birthday and email. (We don't share ANY data with ANYONE)
    • We have tons of knowledge here for your diesel truck!
    • Post your own topics and reply to existing threads to help others out!
    • NO ADS! The site is fully functional and ad free!
    CLICK HERE TO REGISTER!

    Problems registering? Click here to contact us!

    Already registered, but need a PASSWORD RESET? CLICK HERE TO RESET YOUR PASSWORD!

Pseudo-Resto 96 K-1500…Um, when was this a good idea?

Um...No.

Not quite the effect I'm looking for but you go right ahead and let us know how it goes. Maybe you could add a simulated flea collar around the hood at the A Pillars and rename the truck 'Scratchy.':rof:
 
Got the hood and the Rusty passenger fender off today.
View attachment 43139

I took pictures along the way to ensure the memory loss thing doesn't bite me too hard.
For the record, after removing the hood and hood hinge from the fender, battery and the wheel well....
Remove the top bolt at the core support
View attachment 43141

Remove the bottom bolt to the core support behind the bumper
View attachment 43140

Remove the bolt sitting under the snorkel...access through the snorkel
View attachment 43147

Remove the the battery support
View attachment 43146

Remove the battery grounds
View attachment 43143

Remove the two bolts accessed though the open door
View attachment 43145View attachment 43144

Remove the 'Rocker Panel' bolt
View attachment 43142

Disconnect the antenna lead and pull the fender off.

In attempting to drill out the rivets holding the vents to the hood and the fender I've discovered that it ain't as easy as one would hope. Trying to preserve the side vent on the fender failed resulting in the ordering of new units...oh well, can't win them all.

Side Note...FWIW, There's an occasional debate on the 6.5 side of things to do a Snorkle-ectomy to remove the horrible obstruction within the fresh air intake snorkel that runs from the core support up to the fender, Passenger Side. Some say to just take it off but that's personal flavor. I prefer to keep it in place but to each his own. Here's a picture of the inside of the one on my truck. Big obstruction within...not so much on this one.
View attachment 43138
 
Looks like your making great progress Paul. I haven't removed my snorkel to look inside of it. Did you modify yours? I don't currently have my air box on my truck, but as soon as I get a K47, it will be plumbed back in, as I don't like sucking hot air from right next to my turbo. Thanks

Matt
 
Worked on the hood today and drilled out the louver panels. Not as bad a job as the fender vent so these could be re-used. I pulled the ratty hoodliner that has seen better days. I'll have to consider an alternate replacement as the fiberglass OEM unit took quite a beating with all the air coming in and out of louvers as well as water etc. So, cleaned it all up, got all the gack off of it. Removed all the adhesive on the front edge left over from holding on various bug deflectors, coated all the bare metal underneath with primer/rust inhibitor so the holes from other bug deflectors didn't rust out. After it all dried I turned it over to start cleaning and removing the paint on top and while doing so it fell off the saw horse and stove in the front corner. It isn't bad but I doubt it is one of those things that can be made right. I know I don't have the skill sets and replacements can be found for cheap in the strip yards that it isn't worth the time. I'd say two steps forward and three back except I have a nice hood on my 95 Tahoe...

So, I'll strip the paint off the top of the old hood as planned, repaint it as best I can, repaint the old louvers and reinstall them.

The Tahoe's hood is pretty much unblemished save for a couple of wear points from the current bug deflector so I'll feather those out and cut the louver holes out prior to paint. I have new hood louvers on the way that will be anodized and clear powder coated so they don't peal like the first set and so I'll have a nice 'new' setup for the truck when the time comes.
 
Coming along. thing by thing and before you know it it'll be done.

Snorkel that gets removed is inside the fender. Not all years had them, I'm guessing up to 95??
 
Coming along. thing by thing and before you know it it'll be done.

Snorkel that gets removed is inside the fender. Not all years had them, I'm guessing up to 95??

Thanks for the info on the snorkel. I'd seen one where the poster had taken the trouble to split the plastic apart, ream out the interior and re-install. I'll double check both the new and old fenders and see what's what.

Winds today are preventing striping the hood with chemicals so I'll clean up the firewall and around where the fender met the door. There's a rubber piece there that is about 12" or so long that fell off. Adhesive failed over the years.

Maybe even get the firewall sound proofing stuff in place on the passenger side. Then there's surface rust treatment along the frame....
 
Fender: No Snorkel in either of them. Drilling out the rivets, as mentioned, created damage to the vent that, in my opinion, negates their re-use on this project.
View attachment 43159

Drill Bits didn't hold up so well either. At least the Hood Vents fared better and will be re-used, after media blasting and powdercoating, on the truck's hood. That hood will be swapped out with the Tahoe's
View attachment 43160

Only real damage to the Tahoe's hood, is where the deflector has been rubbing. As the truck is getting repainted, it's moot compared to the dents and bends in the truck's hood.
View attachment 43158

Cleaned up the firewall, removed the door vent, Coolant Reservoir, assorted nuts and retainers and loosened one side of the AC dryer. Templated and cut out the holes on a complete section of RAAMat and stuck it on.
View attachment 43157

Re-installed everything over that portion. Wow, one section done without set backs.
View attachment 43156 Not sure if I'll add a black insulation barrier as well since the RAAMat alone cleans up very well.

Cleaned up the front portion of the frame and crossmember with a wire wheel and shot it flat black.
View attachment 43154View attachment 43155
Just need to get the tow hooks cleaned up and resurfaced and they can go back on. So, the front 12" are done. Now to address the radiator and A/C Condenser Fins with the Radiator comb and clean things higher up.

Obviously, there's more to do further back...another day.
View attachment 43153

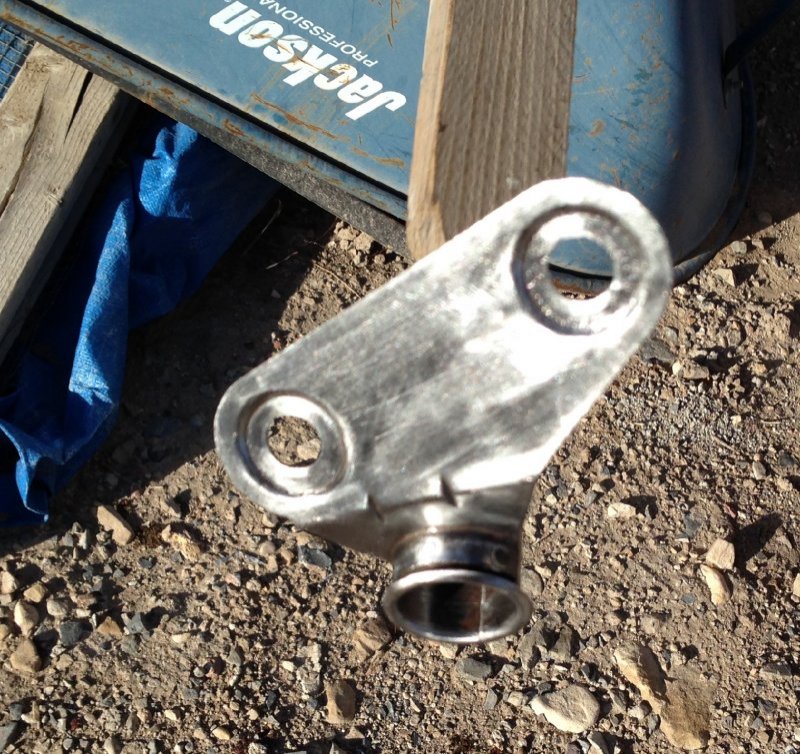
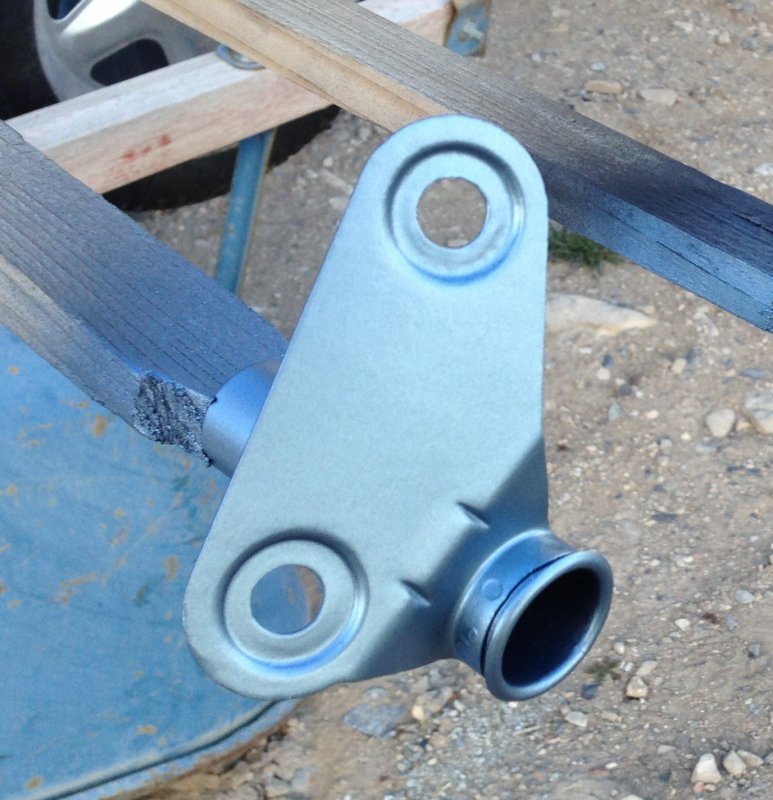
I did get the Nerf Bars under the cab removed so I could have the access to get the front cab corners addressed. The passenger side has been cleaned of surface rust, treated and primed. Not sure I'll reuse the Nerfs though, there's some pretty deep rust on the brackets.
 
Thanks for the compliments guys. I've been sickish all week so haven't done much but work from home. Good thing that's and option because I wake up very early with the crud and can start at 4a.m. or as was the case Friday, 0200. 'What's the "O" for in "O-TwoHundred?"

Same thing this morning only I'm cruzing E-Bay to see what's available. 1996 K2500 Sub 6.5 in florida. Already converted to Vegi Burner...229k on the clock "Will need Injectors Soon." No kidding.

Then there's this beauty listed on E-Bay from Diesel Care and Performance in Tennessee.:hihi::rof:
View attachment 43211
:???::eek::WTF:

Someone started a thread in the Tech section asking why things are so slow around TTS so I figured this will get some banter going as long as the site doesn't randomly crash threads.

I know Mike's not a fan of purple but maybe with a slight shade of pink included....Not exactly my color choice but someone out there may like it.:rolleyes5::rolleyes5:
 
I've heard the "0" can stand for
Oh it's too early for this. And
Oh I am sore from yesterday.
In this case I'm going to say
Oh that's is a bright color on that engine!
 
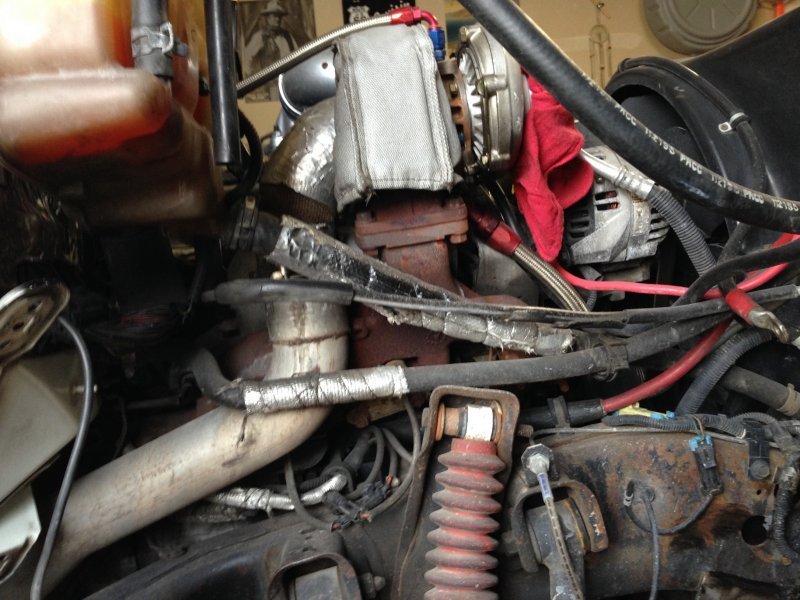
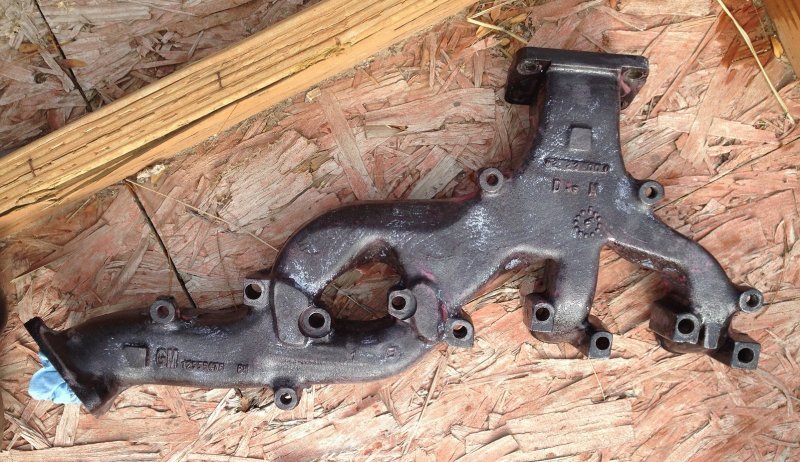
Finally got some time Saturday so decided to remove the Turbo, down pipe and exhaust manifold.IMG_4375.JPG
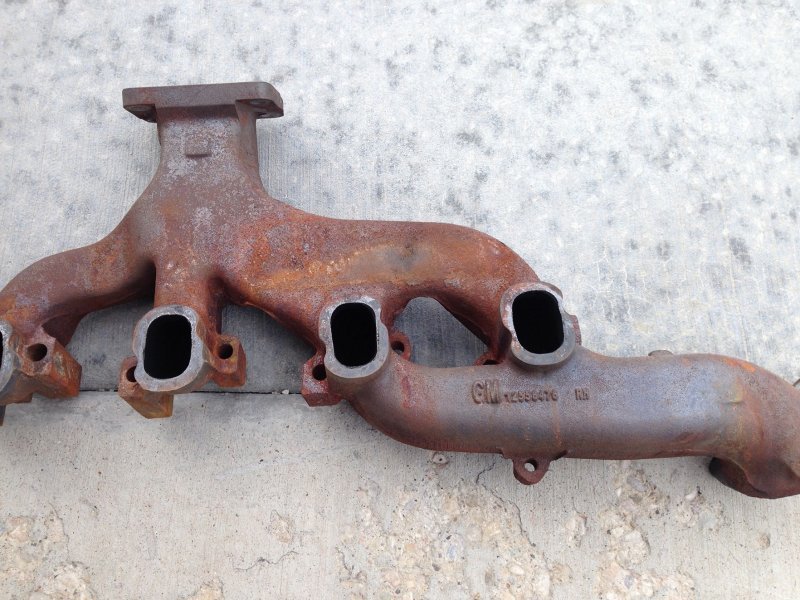
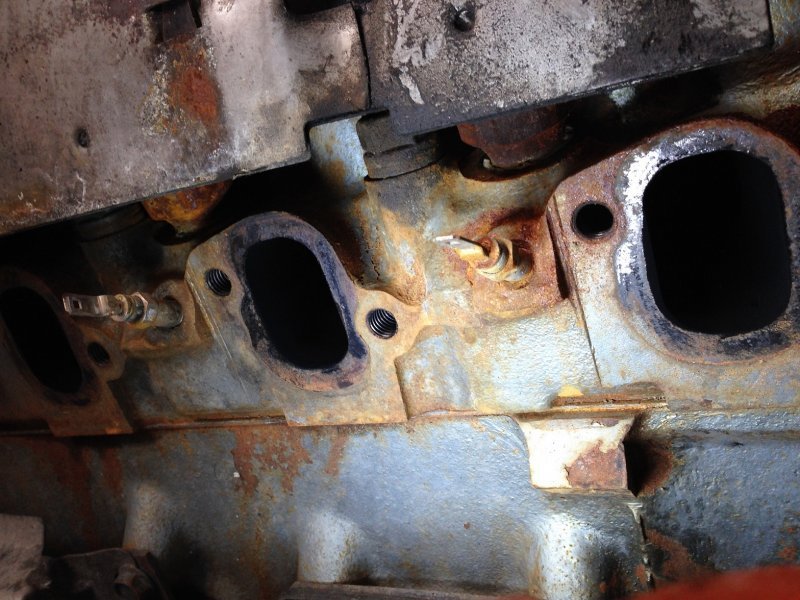
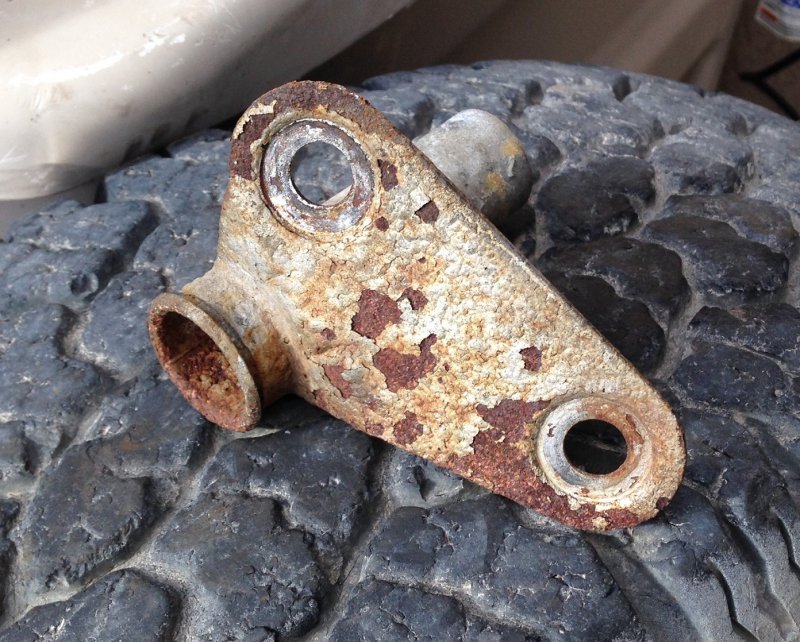
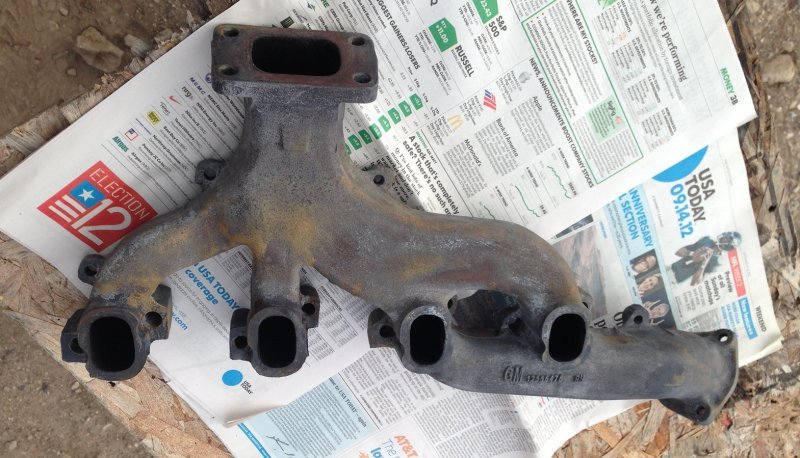
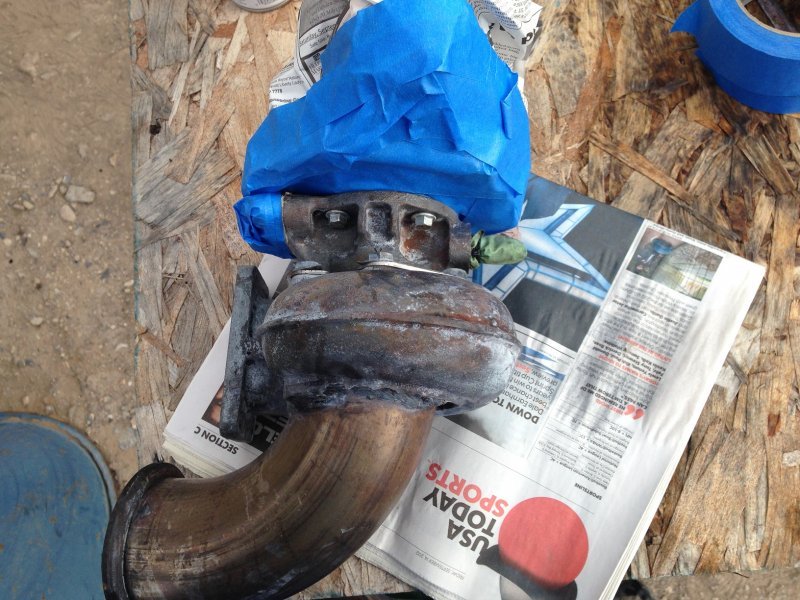
No issues with the turbo other than some rust around the exhaust manifold mating point. I had to mud wrestle the manifold out given the bolts to the cross over and all but all I lost was some time. I've long suspected a possible exhaust leak given the ticketty soound I've heard but there doesn't appear to be the expected amount of soot on the heads, exhaust manifold or any manifestation of a leak on the mating surfaces of either.IMG_4377.JPG IMG_4382.JPG
What I suspect I am seeing is the manifestation of the water getting past the hood vents during rain storms while the truck is parked. Lots of surface rust on the lower side of the heads and the manifold. May have to re-think things the vents or, pull the motor, clean it up and do a proper job of painting but still no guarantee it won't do it again. I really don't want to pull that motor. Hmmmm, what to do ... what to do?

The only thing I really got cleaned up were the Glow Plug wire heat shields. Here's before shot of the worst of them.
IMG_4383.JPG
The other one wasn't s bad but was still a mess... Here's a 'during' shot of that oneIMG_4384.JPG
And then the final shot of the better one. The bad one came out real nice too but how many of these do you want to look at...really?IMG_4385.JPG
I note that previous photos have fallen victim to the new software. Any chance of unlocking things so one can re-do some of these or is the issue still being worked and there's hope?
 
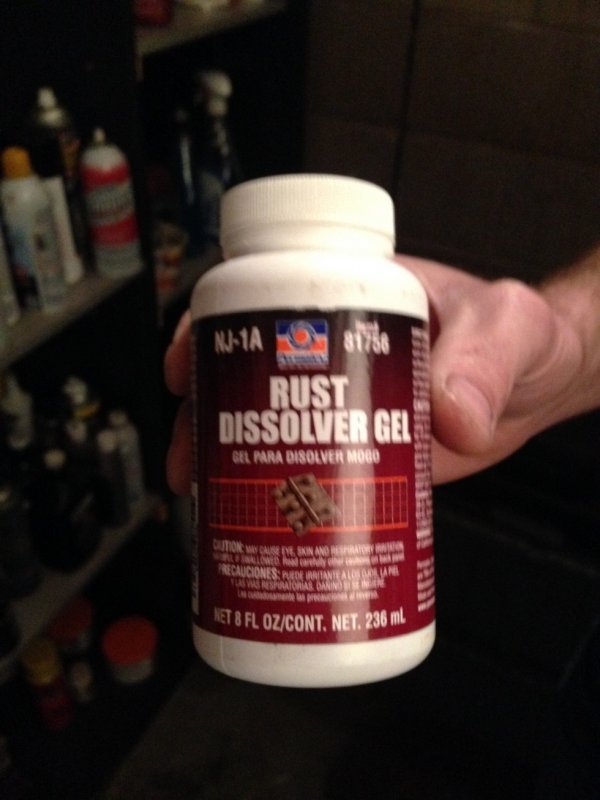
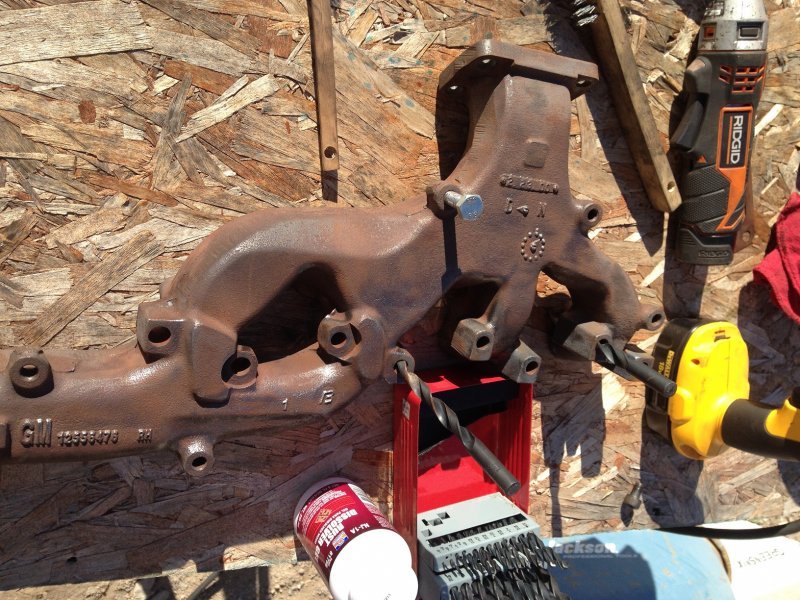
Nice day today and I was willing to try some Pematex Rust Desolver (pink slime stuff) along with the wife's new steam cleaner and see what effect they would have on the cast section of the turbo and the PS exhaust manifold.
IMG_4413-s.JPG

You can see their 'before' condition in the previous post.
After some wire brushing to get the scaly stuff off. I used 10mm bolts and two different sized drill bits to get the rust loosened up inthe holes.
IMG_4414-s.JPG

IMG_4415-s.JPG

Pink slime applied.
IMG_4416-s.JPG

IMG_4417-s.JPG

After rinsing with fresh water, steam cleaning to ensure it was all gone and then blowing everything dry with the compressor. I was wondering what the turbo down pipe would look like with the header wrap being on there for over a year. Given the condition of the exhaust manifold I had my fingers crossed while unwrapping it. Happily, there was no rust on it or any of the welds (explanation...the welds are rough as this was a final prototype unit so 'pretty' wasn't a consideration).
IMG_4418-s.JPG

IMG_4419-s.JPG
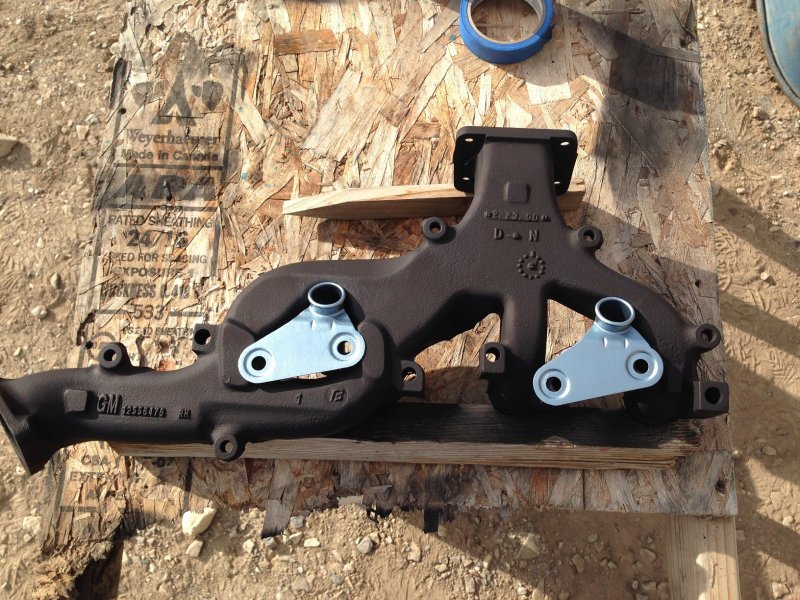
Results are pretty impressive. I'd use it on the truck's frame but this is probably the last nice weekend for a few months and I'm gone for the next 10-12 days. The turbo is obviously prepared for paint as well.

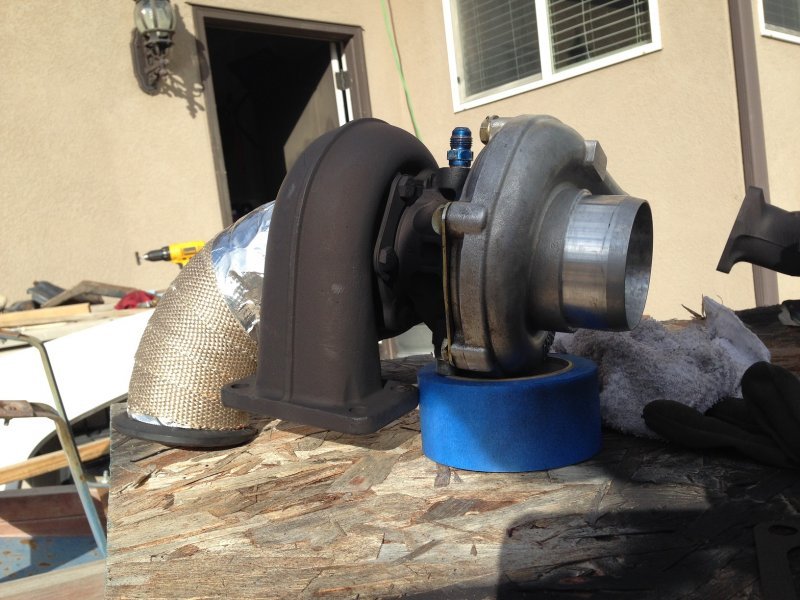
Both painted and looking good. I put the GP wire heat shields in place just to show the effect. Turbo got the header wrap returned around the down pipe of the turbo.
IMG_4422-s.JPG
IMG_4421-s.JPG

Overall I'm pleased with the outcome. I'm not going to be able to do the frame with this pink stuff unless I wait until spring. The motor could use a cleaning and coat of paint too but, again, the temps are going to make that prospect a bit rough. Given that the engine is pretty much hidden by everything else....
 
Very impressive results Paul. The manifold looks like new, and the turbo would too, if you give the compressor housing a coat of Cast Coat Aluminum paint. :) Its to bad you have to deal with that rotten cold weather.

Matt
 
"I only work in Black...and sometimes very dark grey."
At least for yesterday. I'll get to the shiny front stuff later. I'd actually like to take the compressor housing off and have it coated instead of painted. More durable and easier to clean up.

As for looking brand new, thanks Will. I'm about 100% positive the newness and the nice black color will last about a week given my luck but I have to try. I'll take the heat loss through the hood though, rather than keep everything painted under it pristine.
 
Back
Top