• Welcome to The Truck Stop! We see you haven't REGISTERED yet.

    Your truck knowledge is missing!
    • Registration is FREE , all we need is your birthday and email. (We don't share ANY data with ANYONE)
    • We have tons of knowledge here for your diesel truck!
    • Post your own topics and reply to existing threads to help others out!
    • NO ADS! The site is fully functional and ad free!
    CLICK HERE TO REGISTER!

    Problems registering? Click here to contact us!

    Already registered, but need a PASSWORD RESET? CLICK HERE TO RESET YOUR PASSWORD!

New Holland L35 skid steer loader revival

Fingers crossed for this test.

Welding for strength is what most people learn on, so good tie ins and a little extra meat on the weld is ok for that. When doing something where penetration has to be equal and keeping the puddle flowing even is more challenging. So pipe fitters have their own realm of challenges. When you find a stuctural welder that is also a pip fitter- those guys can put down some magic.

A few years back at that plastics to fuel place, having to weld piping and pyrolysis tanks, etc that had oils & fuels from diesel up to butane and everything inbetween and the fuel was well over 1000 degrees f being heated by open flame with pressures of 25psi and when the fuel was only 200f pressure could be 200 psi. Then we operated the plant so knowing if your welds and testing was not up to par, and the super heated fuels in the plant was in the 25,000 gallon range- it could be a bad day. Haha.

So our testing was done at a very different level. A failed water/ air test on a simple 8” diameter pipe 2’ long had the potential to be deadly. So testing the 12’ X 50’ chambers could have taken out us and our neighboring businesses. After I left and knowing they now have a couple guys working there that don’t understand welding at all- scary & illegal as hell. I sure won’t drive down the street when they operate the distillery column. All they do now is seperate mixed fuel so not as dangerous, but still waiting to see the fireball on the news sometime.

Back on track- where you did the “patches”- hope it holds. If not- avoid those stop and starts. Running a continuous bead over those little areas close to each other should gove better results.

If worries about warping metal, Get a towel soaking wet and set it on the metal side to keep it cool. Do it at an angle to let it drain away from your work area.
 
After sitting overnight it looks like all but 3 leaks are fixed. I’ll work on those and see what’s left after that. I’m liking he idea of using that Red Kote more and more as a secondary solution.
 
After grinding and rewelding where I had the last 3 leaks, the tank now holds water. I am going to coat the inside of it with Red Kote for extra insurance.

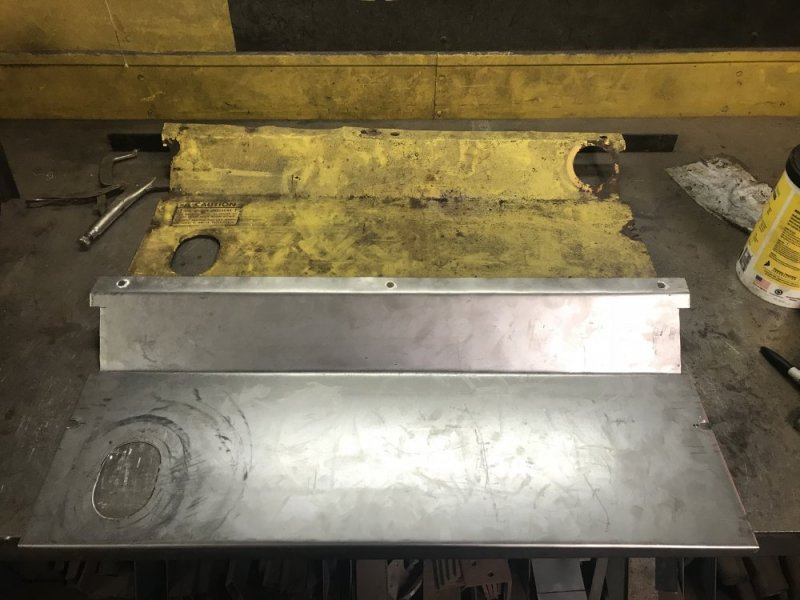
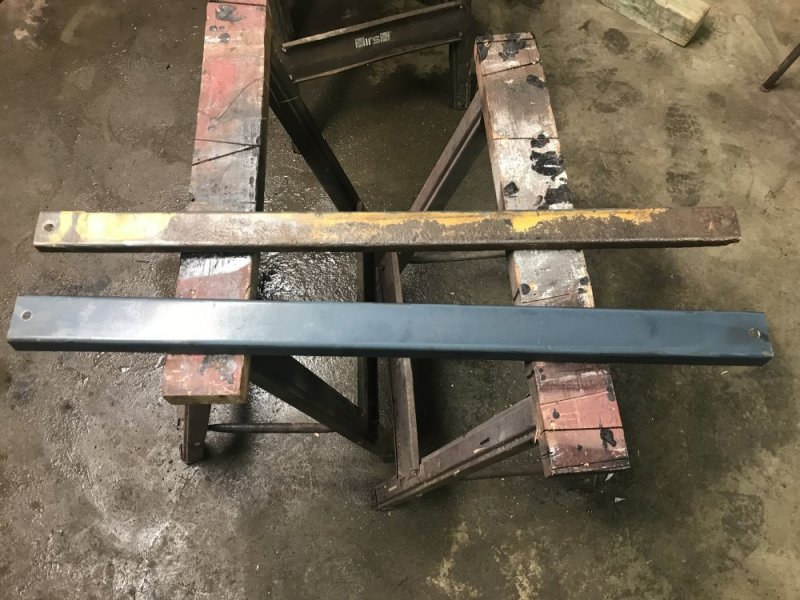
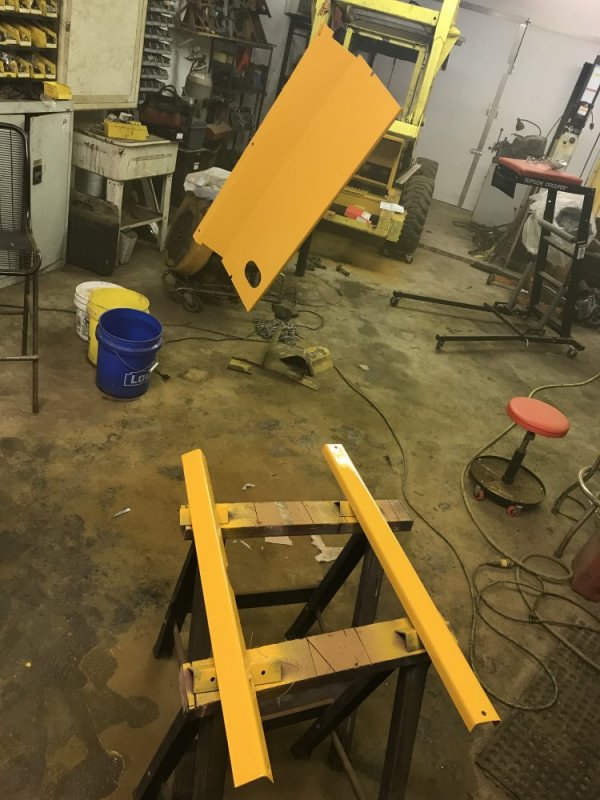
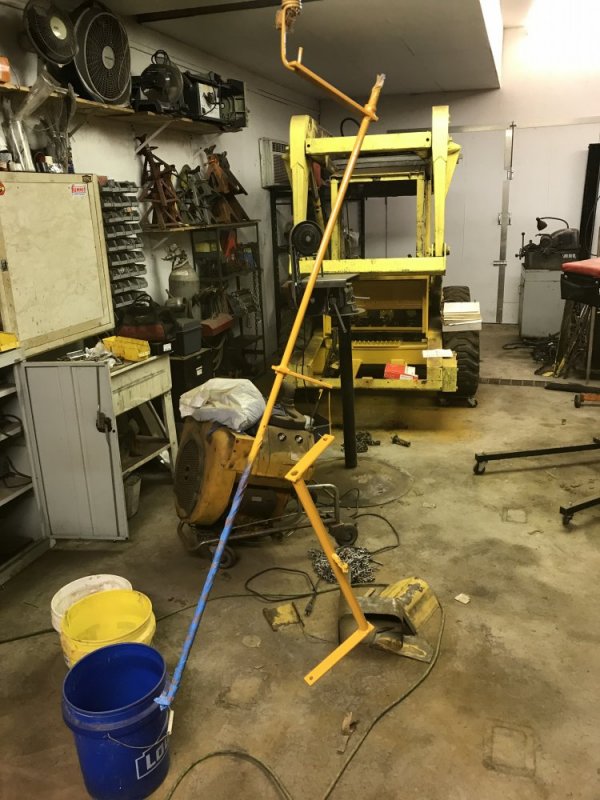
Since I couldn’t really do anything with the tank I shifted my focus to other parts in the back: the tank support & retainer and the heat shield. The tank retainer was pretty rusted. Rather than trying to repair it I decided to just make a new one. I had a piece of sheet metal channel that was close to the right size so I used that. The channel profile is a little wider and taller, but with how this piece fits it won’t make a difference. The heat shield also needed to be remade, but the fabrication was another story - I had to get out my makeshift sheet metal brake again so I could put the proper bends in it. I’m pleased with how it turned out. You’ll notice that there is a large hole missing from the new heat shield - this hole is for the engine intake system. I don’t have the factory parts for the air intake so I’ll be making my own intake and I don’t know yet if I’ll need a hole there or not. The support only needed wite wheeling to clean up the rust. All pieces have a fresh coat of Cat Yellow and will be ready to use once the tank is finished.
2B6DEE8C-37EA-44DD-8D4B-39D6E352ECF3.jpeg E1A5BA21-F2B9-4C51-A41E-23BB474229B8.jpeg 489DC509-7FFD-484C-8B27-051223357978.jpeg
 
There's not going to be alot left without new paint. Looking good!
Thanns! I don’t know.....there’s a lot of ugly left on this thing, but at least the engine compartment will be looking good - and that’s the important part, right! Hmmm, anyone know where I can get chrome dress-up bits for a Wisconsin V4???:D:D
 
The tank wasn’t dry enough to do the Red Kote so I made a new throttle and choke bracket instead. The original one was a solid chunk of rust that wouldn’t rotate and had to be cut in half to remove it. I’m going to add a grease zerk to this one. E6A6A92D-4E79-4995-8513-3CC563CE73F6.jpeg
 
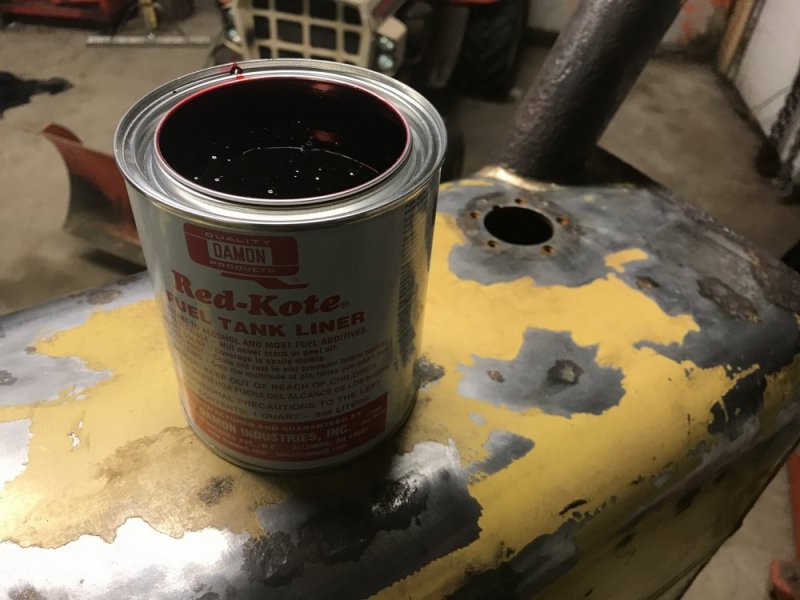
A little more progress today. I finally applied the Red Kote to the inside of the tank. It has the consistency of thick syrup and it definitely does COAT. I got a little on the outside of the tank and you can’t just wipe it off - you have to use a solvent to remove it. I poured it in and just kept rotating the tank so it would get coverage all over the inside of the tank. When it dries, I’m going to play around with what’s left inside the can so I can get a feel for the stuff.
8EF38BB1-BECE-4962-873C-9FD1FAF609AA.jpeg


I also finished the throttle and choke linkage. I drilled a cotter pin hole that keeps the assembly from collapsing. I also added a grease zerk to the tube so I can keep it greased and hopefully not rust up like it did before. Then I sprayed it with more yellow paint. The fumes were pretty strong after all those different chemicals so that was it for today.
5A2892F3-CD92-47D1-80B3-8AEBAFA3FBFC.jpeg
 
More progress today. First I checked on the cured Red Kote. It appears to be pretty tough stuff. Here’s a video review:

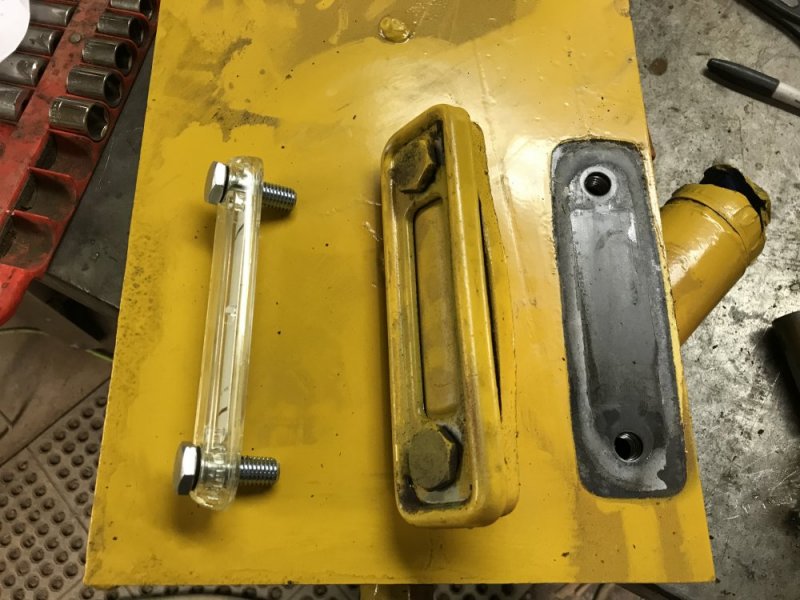
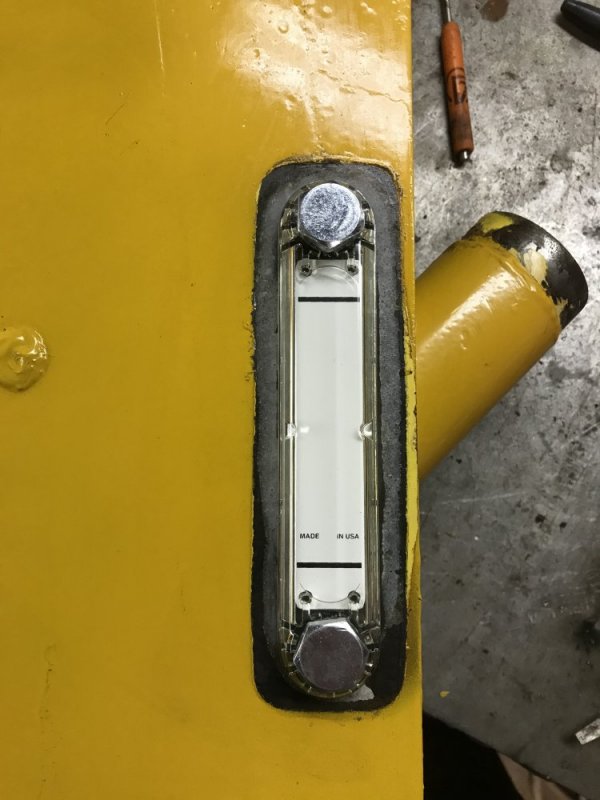
Then I changed the sight glass on the hydraulic reservoir. This is one of those moments where I had to remember that I’m not doing a restoration. When I painted the tank last year I left the old sight glass in place to mask the ports. What I didn’t realize was that the new sight glass was of a different design and didn’t cover as much space as the old one. So it’s not perfect, but now it functions.
6BBB7E3E-3694-4C02-B2C1-9DA9BC31F7B6.jpeg 4B9E7C1A-9742-4EE4-8BF2-56B22692F00D.jpeg

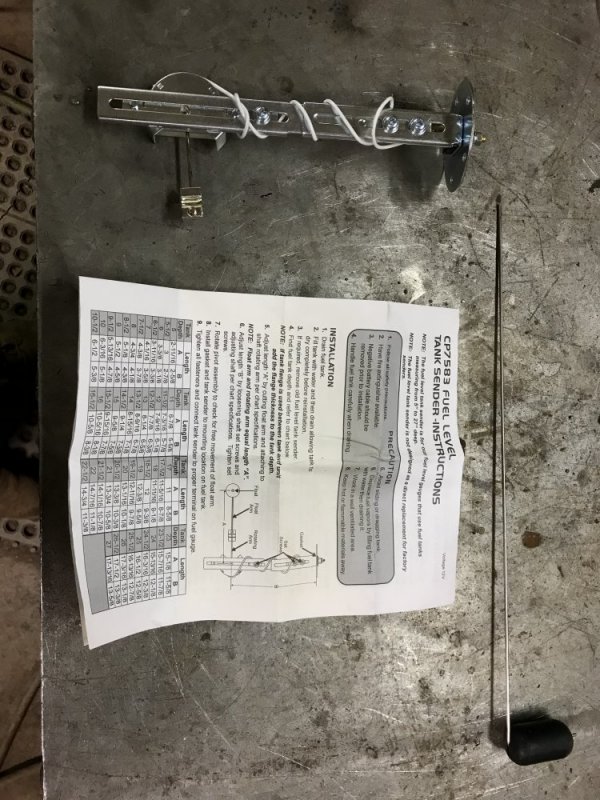
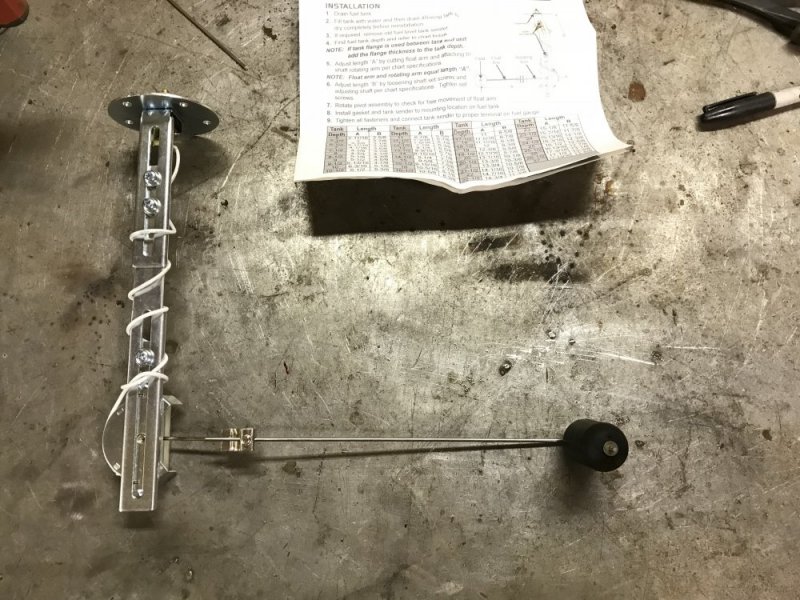
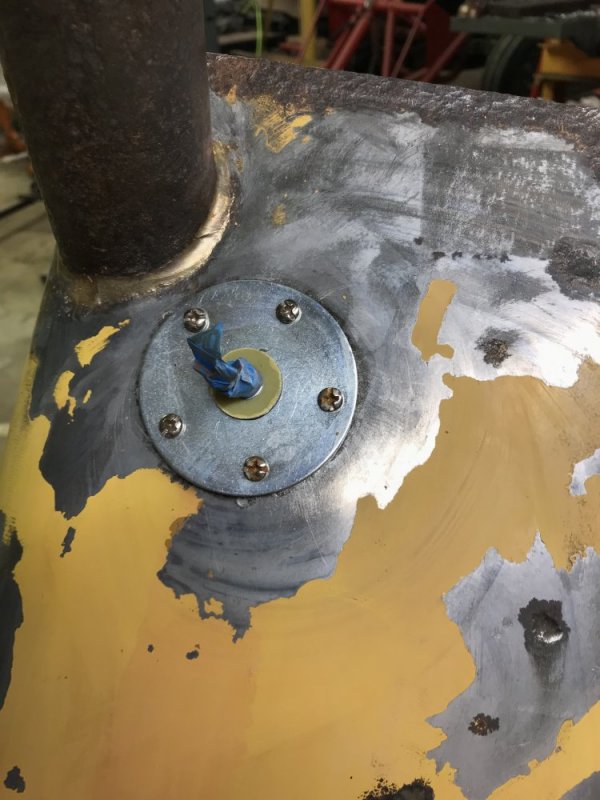
I next adjusted the universal fuel level sending unit to fit the tank and then installed it.
569C638D-7523-4252-B2F1-48094808FBCF.jpeg 899884D0-C97A-4F44-86AD-3551D1AFC6C7.jpeg A8689C4D-D8A0-4891-83DF-495DDECD93E3.jpeg

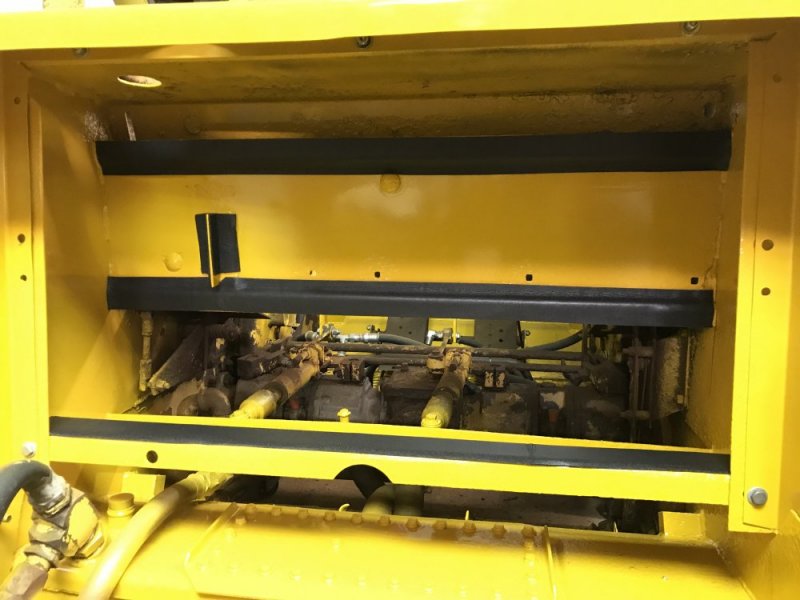
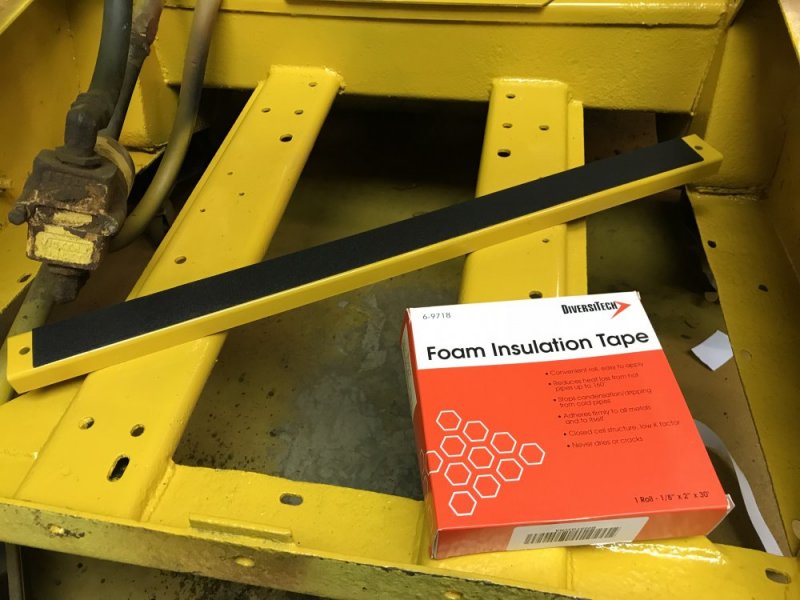
Then I started assembling the rear sheet metal. I need to get some more hardware so I had to stop. What I did instead was install the foam tape at all of the rub points.
9A0EBC4E-D994-4CA0-9FC0-481A2E53A088.jpeg B0FB242A-D8E0-4C53-AA30-73479863E89C.jpeg

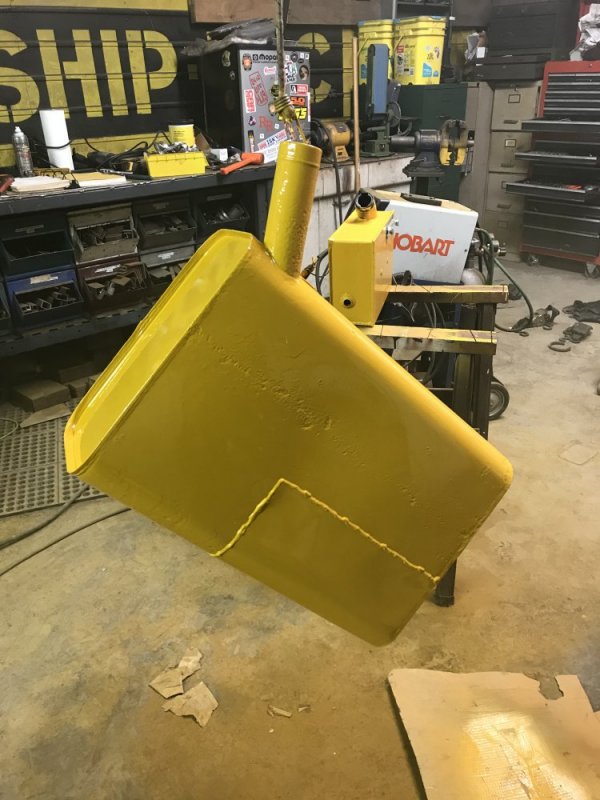
Finally I painted the tank. There should be a lot of assembly progress this week.
7E89DEBD-D3CB-4739-A4A7-B692BD808983.jpeg
 
You do know, Nate, that this "just get 'er running" project is quickly becoming that full resto project you swore it wouldn't become. Next up, the polished stainless steel hydraulic fittings!
 
Hey, don’t discourage him or we will never get to see this thing on a dyno!

I feel for you and at same time am jelous of the ocd. I had it, then decided I had to beat it. Now I dont stress on every little thing, which is nice. But now I went from perfect landscaped yard to 2nd worst in the block. Spent more time using my rigs than fixing them, but now the look ugly and need attention bad. Turns out a rheostat was needed, not an on/off switch.

The Red Cote looks like good stuff, but I will admit of thinking “too bad he couldn’t get it in yellow to match”
SMH- I’m broken.
 
Back
Top