• Welcome to The Truck Stop! We see you haven't REGISTERED yet.

    Your truck knowledge is missing!
    • Registration is FREE , all we need is your birthday and email. (We don't share ANY data with ANYONE)
    • We have tons of knowledge here for your diesel truck!
    • Post your own topics and reply to existing threads to help others out!
    • NO ADS! The site is fully functional and ad free!
    CLICK HERE TO REGISTER!

    Problems registering? Click here to contact us!

    Already registered, but need a PASSWORD RESET? CLICK HERE TO RESET YOUR PASSWORD!

New Holland L35 skid steer loader revival

For what the metal looks like they seem like good enough welds to me. :)
Thanks. Yeah they're more than sufficient welds, I just hate seeing porosity in welds. This project isn't worth the effort of grinding out and rewelding though....at least not for that part.
 
I got the handles wire wheeled and painted tonight. If I can find a 3/4" shaft collar locally tomorrow I'll be able to put the handles back in. Then on to the next part.IMG_7544.JPGIMG_7545.JPG
 
Finally got some time this afternoon to get the handles reinstalled. I just need to get some new bolts to make the travel stops in the u-brackets on the ends. It's about time to turn the machine around and start working on the back of it now. IMG_7575.JPG
 
n8in8or, thank you so much for starting this thread! I just joined the forum to watch and comment on your project, which I found through google, because I too recently acquired an old New Holland L35.

My L35 has a working Wisconsin VG4D engine. I see yours has Cessna transmissions, but mine has Vickers transmissions. Overall, she is in pretty good working order, and not bad body condition because she's been in Colorado (rust isn't so bad here). I have a serial number, and I think she's a 1975. She doesn't have the hydraulic fluid sight glass that yours does. I just broke the bucket linkage yesterday afternoon, so I'm going to have to fix that -- it was the original linkage.

She has a Prestolite IAD-6004-2N distributors (no magneto), and we recently rebuilt the distributor and put in a new coil and battery, and she fires right up. I would like to eventually upgrade to Packard 440 ignition wires. She doesn't have an alternator, though, and I don't plan on installing one at this time because I don't use her that much and keep her on a trickle charger when she's not in use.

I'm at a higher altitude (6,000 ft), so she's not able to reach full HP, but she's still very strong! I think she's a bit sensitive to fuel quality and got some bad fuel, so next I'll be checking out the fuel system next. If that proves to be a dead end, then I will then check out the carburetor. I don't think these engines like any ethanol at all, and I think they like higher octane fuel.

I love your pictures! I hope your project is going well and look forward to another update. I will post some pictures of my L35 soon.
Thanks Demoder! I haven't worked on the L35 for a while because I shifted my focus to other projects, but I do plan to get back at it in a couple months. When I do I will start posting again.

Thank you for the link to the manual, fortunately I have that same manual in print form already.

We all love seeing what everyone's working on here, so if you do some work to your loader start a new thread so we can follow along. Hopefully I can learn something from your machine that sounds much nicer than mine!

OH!! And welcome to The Truck Stop!
 
Welcome. There are some really smart people like n8in8or and others that can help with about anything you through at them.

we need more threads of this kind of thing so start you a thread when it's time to work on yours so someone else might venture here from google and find the answer they are looking for
 
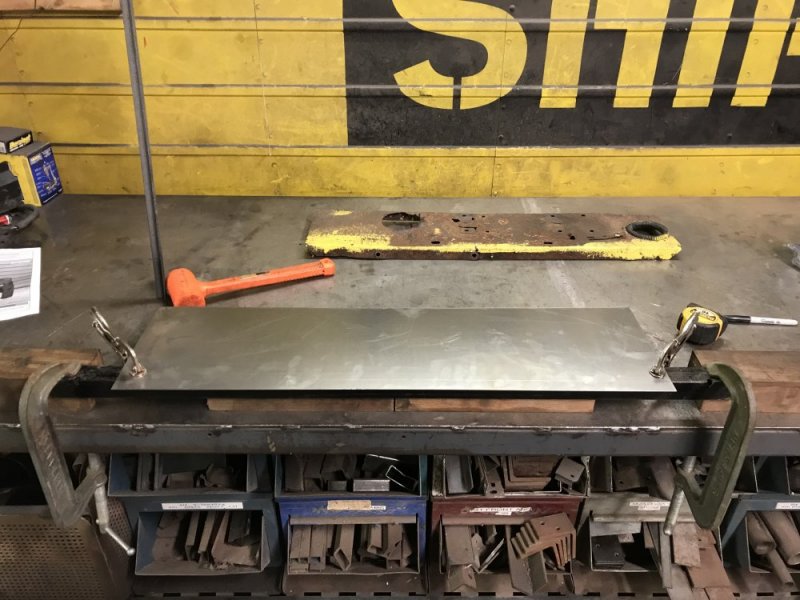
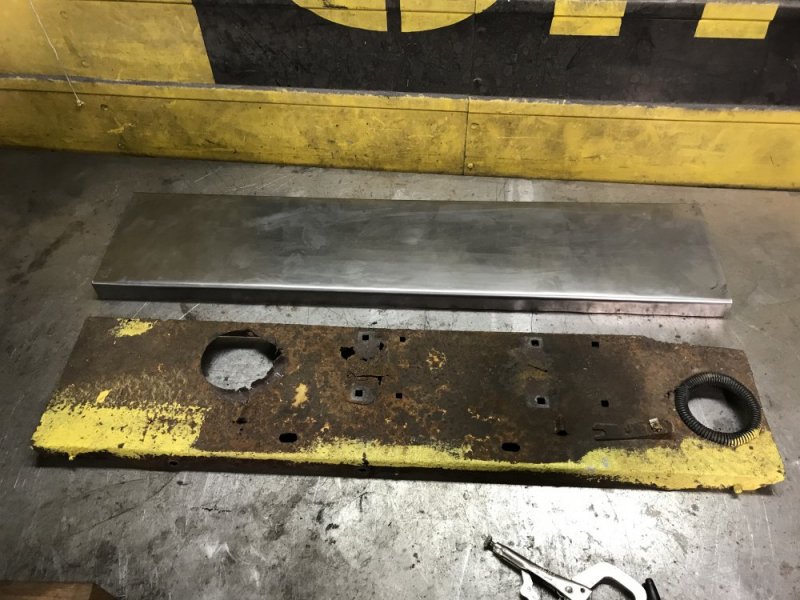
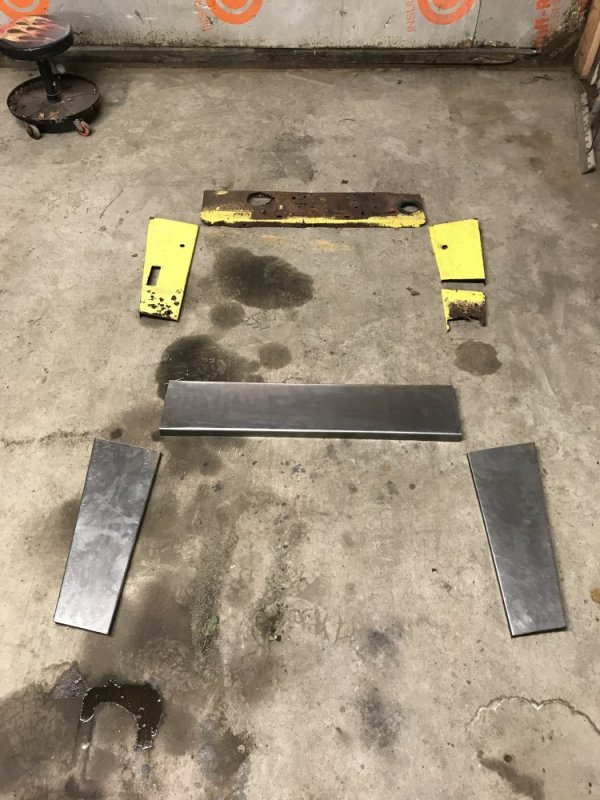
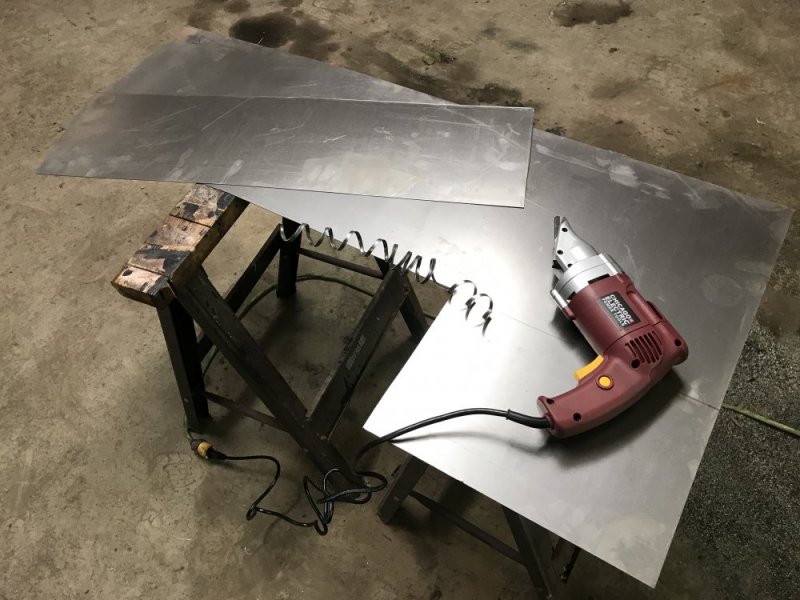
Finally getting back to this project. The next thing on the list was to address the rear cowl since it was almost totally rusted out. I had thought about just patching it, but the more I looked at it the more I convinced myself that the whole thing needed to be replaced. I cut the original into 3 pieces and used them as templates. I finally used my electric shears from Harbor Freight - they worked sweet!! They made it really easy to make straight cuts and it did them quickly. I made the parts out of 18 gauge sheet steel.

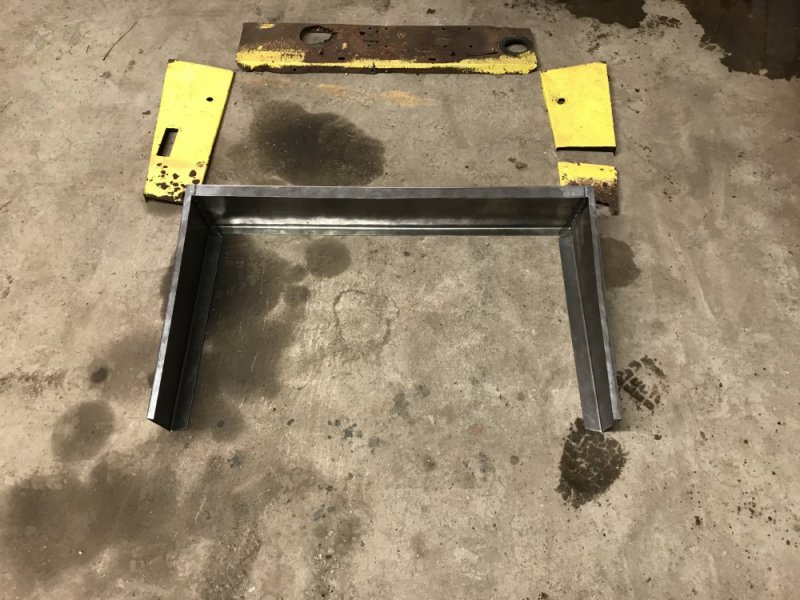
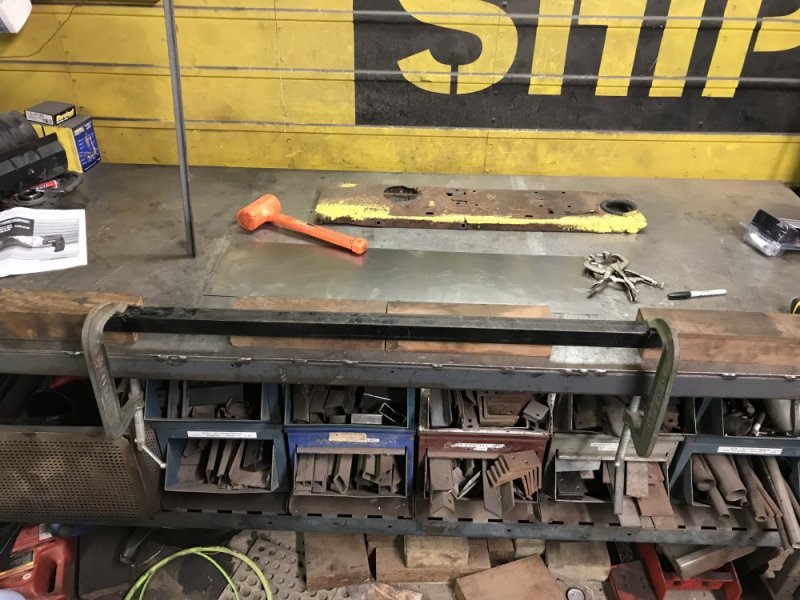
After that I improvised my own sheet metal break out of angle iron and vice grips and also using a dead blow mallet. This worked well enough for what this project needed.

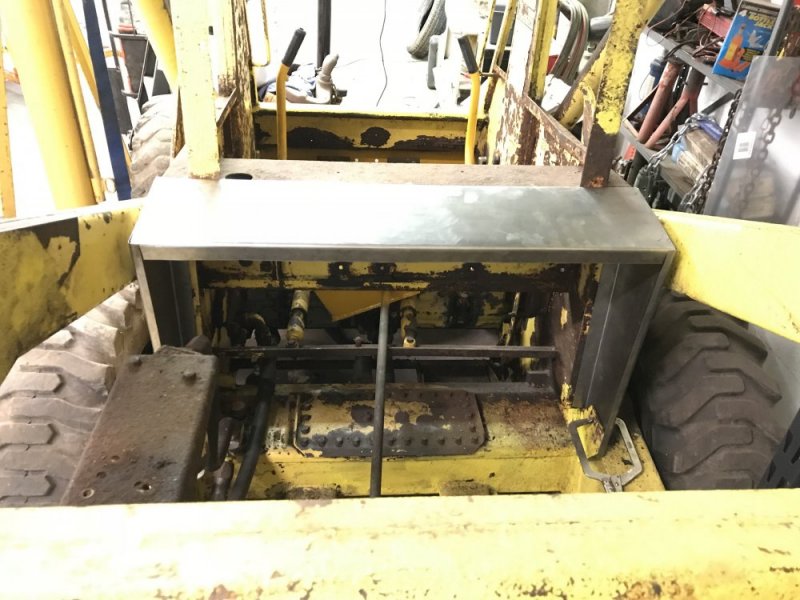
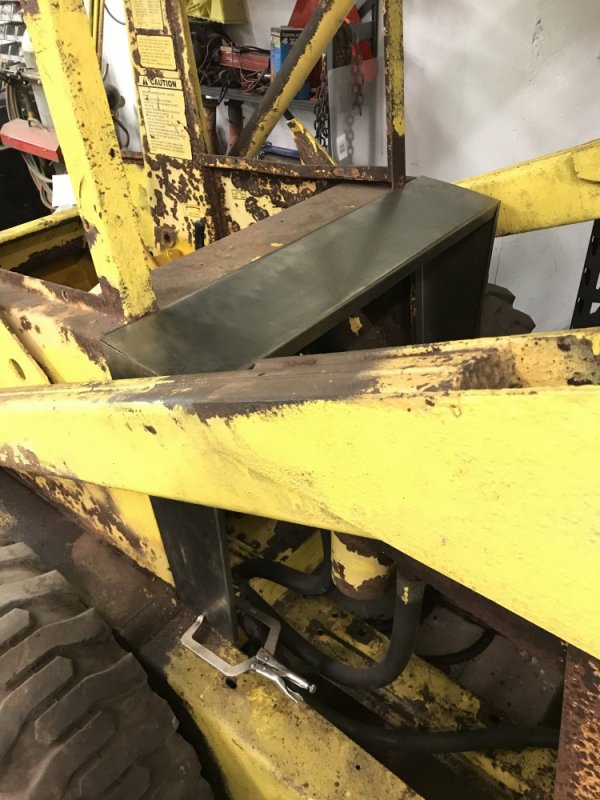
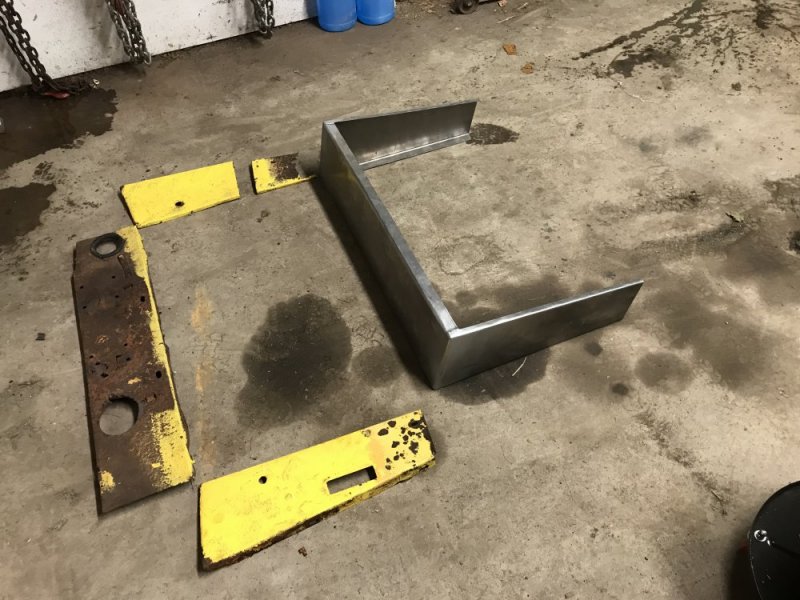
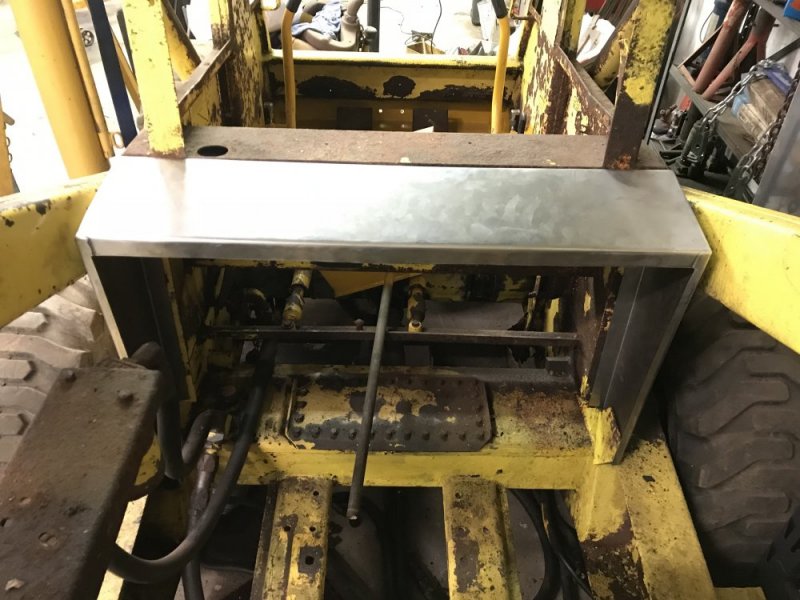
I test fit the parts and they fit right on the first try! So then it was time to weld the 3 parts together. I actually didn’t blow through any of the metal so that was a relief. I kept moving around and only welded about 1/2-3/4” at a time. Once it was fully welded I ground the corners down and finished with a DA.....not too bad! Definitely better than what was on there before. It feels good to be making progress once again.
7891B085-C67C-497B-AD76-F42654C796C5.jpeg 9FC9858D-7197-4CDD-B646-5AC474328485.jpeg 2566D501-D7C8-430F-966F-3B57023D90FE.jpeg 829E99E3-F7E6-4CB2-A90F-76C70858F5B9.jpeg D300F906-ED5D-45B3-AD89-9EA7EC895EF4.jpeg FE6F3DE1-25FC-4523-ADA0-A76D5588C125.jpeg FF1A7136-4D7C-42D0-BE9A-AB91872CDCD3.jpeg 3E532905-631D-451B-8DF1-804BA5B900A4.jpeg E0A333F8-167D-47F5-956A-D6A99228BC4F.jpeg 5976FD63-7BA5-4B5C-8D13-0C1B131D6A2F.jpeg
 
Made some more progress today. I poked all the holes in the new shroud piece. Then the engine bay and the shroud got primer and then paint. After this I need to r&r the gas tank and then things can start going back together. 9A49E821-F96E-4EF4-A10F-EDF432D1C001.jpeg24CCE87E-C2D8-423D-8747-F45564B53C4E.jpegEC197DDB-622B-478A-9FCF-7C787B285741.jpeg4E618C3A-D209-45AC-AD26-AA50C5E502D6.jpeg7D92FB48-CBFB-4006-89FF-AAB012E97D3A.jpeg7D347B37-A993-4C04-BDCA-C1A63EA185DD.jpegDC582FA9-4F0A-4E4D-953C-BF480F480076.jpeg6048D618-8562-4C2E-86B3-7F73C9FB49BC.jpeg
 
What, You going for the fresh off of the show room floor look ? LOL
Nice work N8
Ha! I’m trying not to go “full resto” on it - I just need to make it work again so I can put it to use......but it’s really hard not to clean up parts of it as I’m working on them! I’m justifying this work by telling myself that it will make it nicer to work on. Nicer to work on....yeah that’s it, that’s the ticket.

Thanks Marty
I always figure, long as I`m in this deep, might as well make it nice. I like The feeling of satisfaction when it is all together and operates as good or better than new and looks nice too.
 
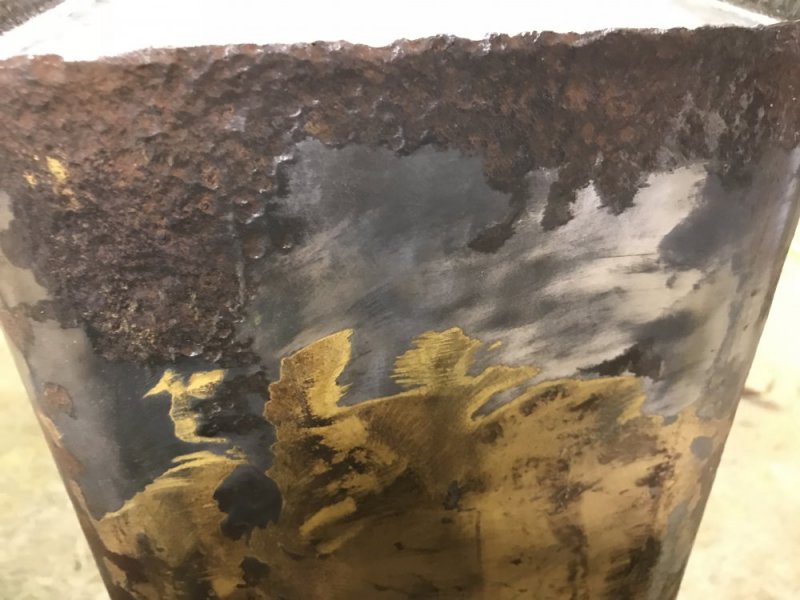
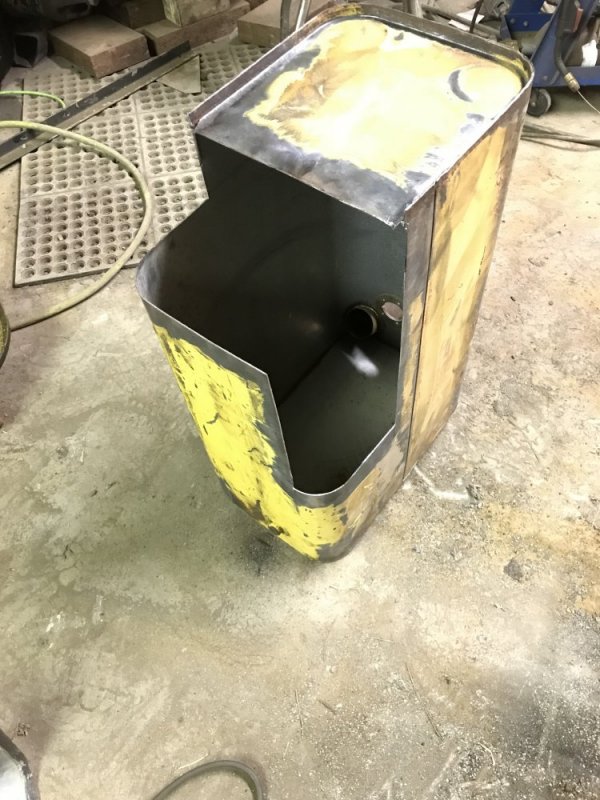
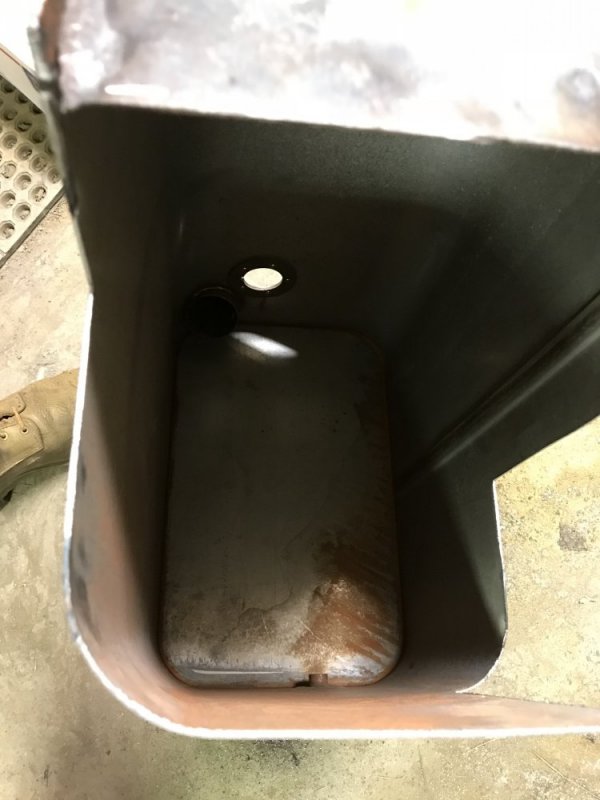
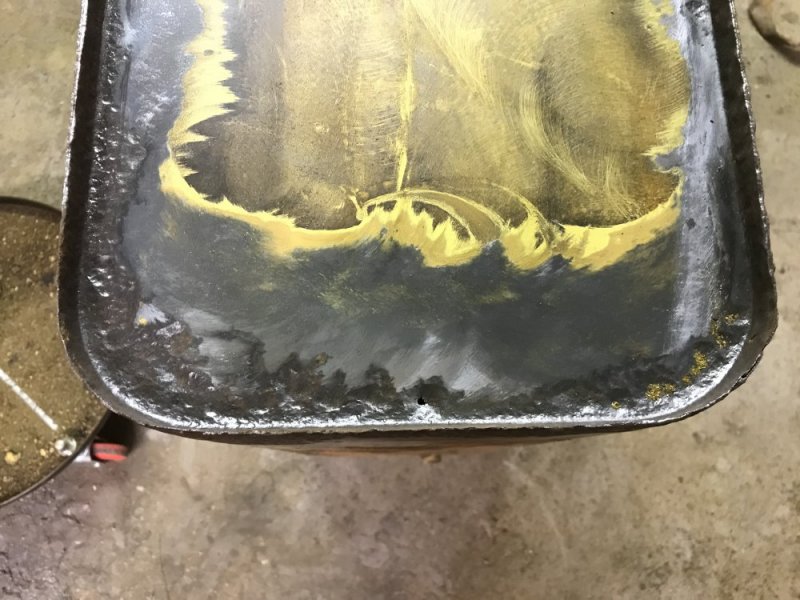
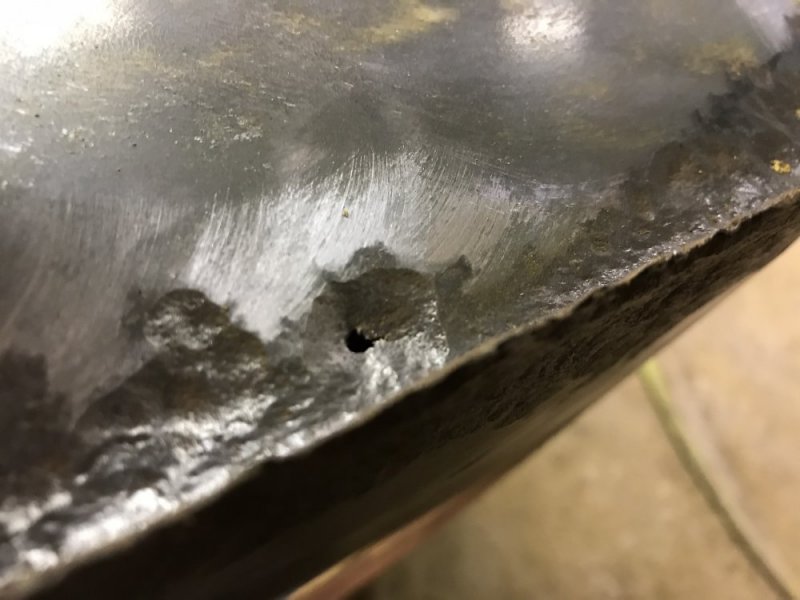
Rust sucks. I started cleaning up the gas tank and of course it’s worse than I thought....in fact, I found a hole. So I start looking it over and there are a lot of suspect parts. A new tank is $230, so that’s not happening. I did a quick search for something plastic and of course they all need adapting and will fit weird and still cost at least $75. So I guess I’m fixing this one. At least the inside doesn’t look bad. So far I have the rusty bits cut out. Patching to commence soon. BC7A15DD-5C44-48B7-B58C-61848453303D.jpegA68E26B6-398C-4E8E-932B-BCAC51C38CE8.jpeg6400B5EB-EDD9-49C3-8B0F-3757BB0F6C4B.jpegF5111984-1538-48FE-B7C6-C707F4CB533F.jpegA902A477-D692-4BF6-BD28-AC84E7817E80.jpeg
 
Back
Top