• Welcome to The Truck Stop! We see you haven't REGISTERED yet.

    Your truck knowledge is missing!
    • Registration is FREE , all we need is your birthday and email. (We don't share ANY data with ANYONE)
    • We have tons of knowledge here for your diesel truck!
    • Post your own topics and reply to existing threads to help others out!
    • NO ADS! The site is fully functional and ad free!
    CLICK HERE TO REGISTER!

    Problems registering? Click here to contact us!

    Already registered, but need a PASSWORD RESET? CLICK HERE TO RESET YOUR PASSWORD!

My 2005 Yukon XL

Are you using a spot weld bit?
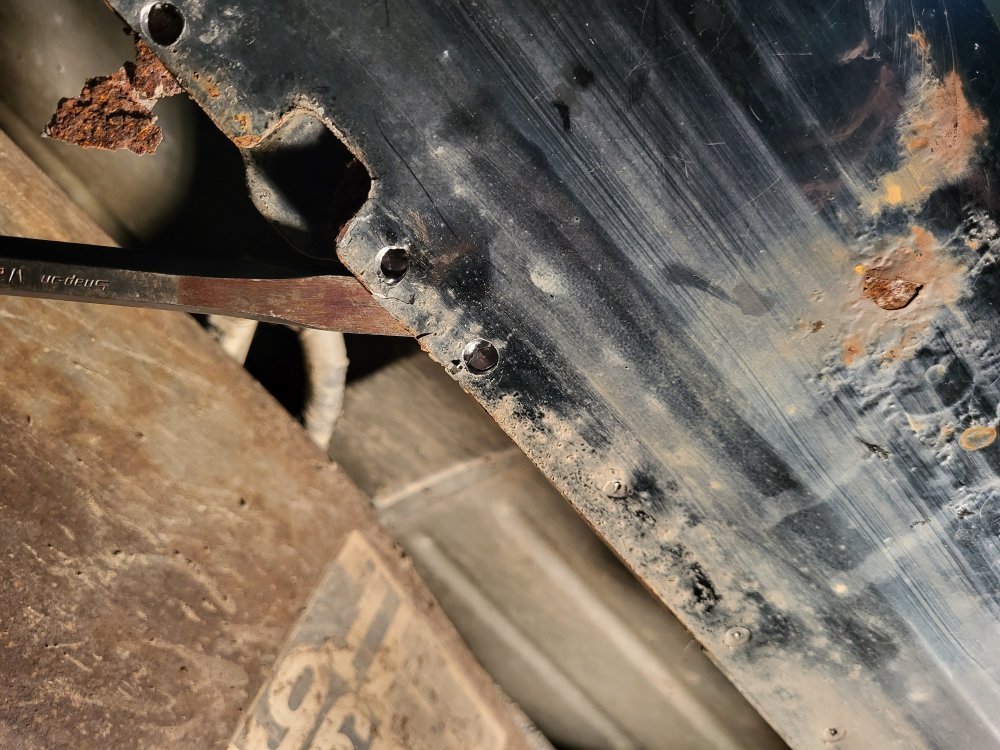
Actually no, I looked them up, watched reviews, and saw people struggling with them. Decided to just try with normal bits. I was punching centers, starting with a 1/4-inch, then reaming out with a 1/2-inch until I could see the tip break through the 1st layer.

Have you had luck with a certain brand or type of bit?
 
I have used the spot weld bits, then after drilling used one of those heavy duty wood handle gasket scrapers to get between the layers and sort of chisel out the rest of what remained of the spot weld.
If You use a wood handle scraper for a chisel, grind back the wood on the end of the handle or else it will split as the steel becomes deformed. grind it back a decent amount too.
 
I have a couple don't know what brand they are. Biggest mistake most make is RPM, running them too fast
I saw that a lot around stainless. People would put the drill on high and smoke one bit after another.
I was drilling next to an electrician and he asked for one of my drill bits. I told him it wouldn't do any good. He got his bits from.Fastenal same as I did. - their gold bits were good. Their cheap bits were garbage. A few Fastenal stores refused to stock the cheap bits.

A little anchor Lube, a little pressure and trigger the drill on and off. If you see smoke, get off the trigger.
 
I have a couple don't know what brand they are. Biggest mistake most make is RPM, running them too fast
I did notice that to on the video, I found yesterday with good pressure, slow oscillating trigger seemed to "dig" the best. Will have to see if I can find one to try, I am 3/4 done with the passenger side currently.
I have used the spot weld bits, then after drilling used one of those heavy duty wood handle gasket scrapers to get between the layers and sort of chisel out the rest of what remained of the spot weld.
If You use a wood handle scraper for a chisel, grind back the wood on the end of the handle or else it will split as the steel becomes deformed. grind it back a decent amount too.
Tools of choice yesterday were chisel (to pry the seams apart like your stating), hammer, punch (to center the drill bit), and of course 2-separate drills setup with bits. I was getting good with the drilling yesterday, that a couple taps on the chisel it would pop the remaining weld right apart.
I saw that a lot around stainless. People would put the drill on high and smoke one bit after another.
I was drilling next to an electrician and he asked for one of my drill bits. I told him it wouldn't do any good. He got his bits from.Fastenal same as I did. - their gold bits were good. Their cheap bits were garbage. A few Fastenal stores refused to stock the cheap bits.

A little anchor Lube, a little pressure and trigger the drill on and off. If you see smoke, get off the trigger.
Luckily I found a few good quality bits at the shop, they seem to be still cutting good. Tried to find the 135º tips for less "point" penetration.
 
More lunch work done.

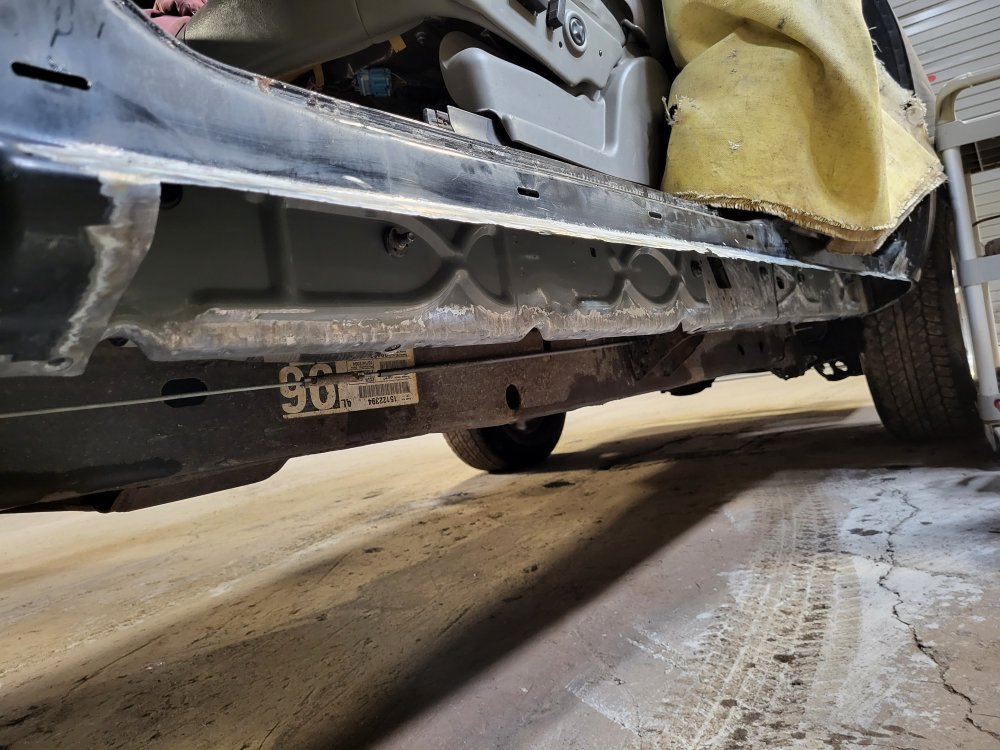
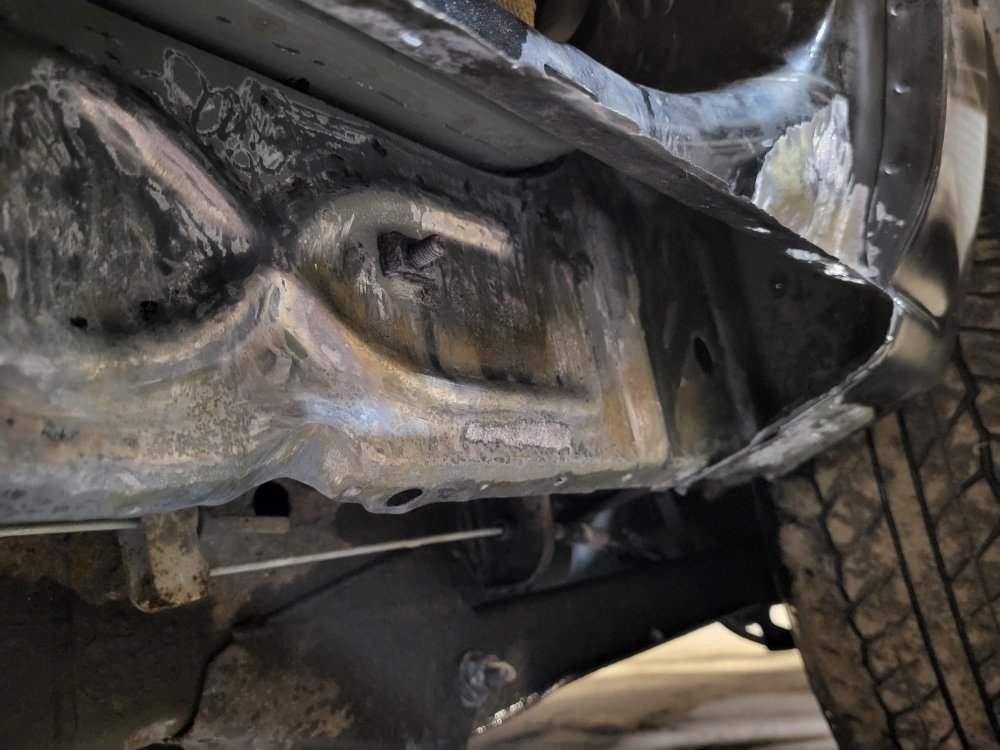
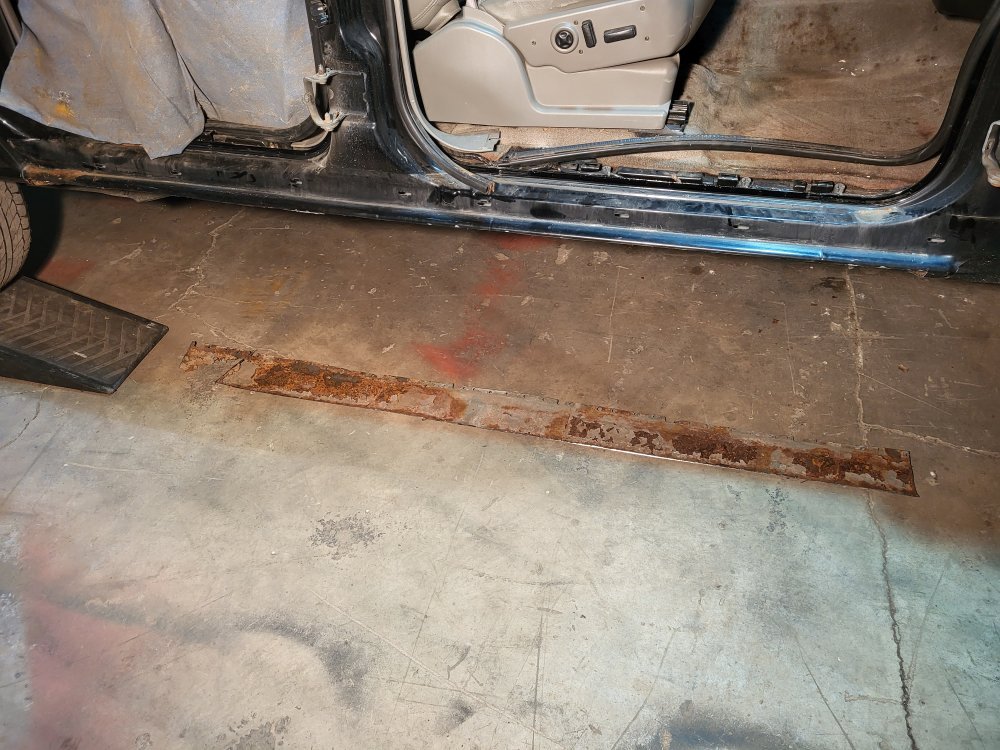
Finished drilling spot welds on the passenger lower. I'm getting better at my execution of this!
20221213_120507.jpg

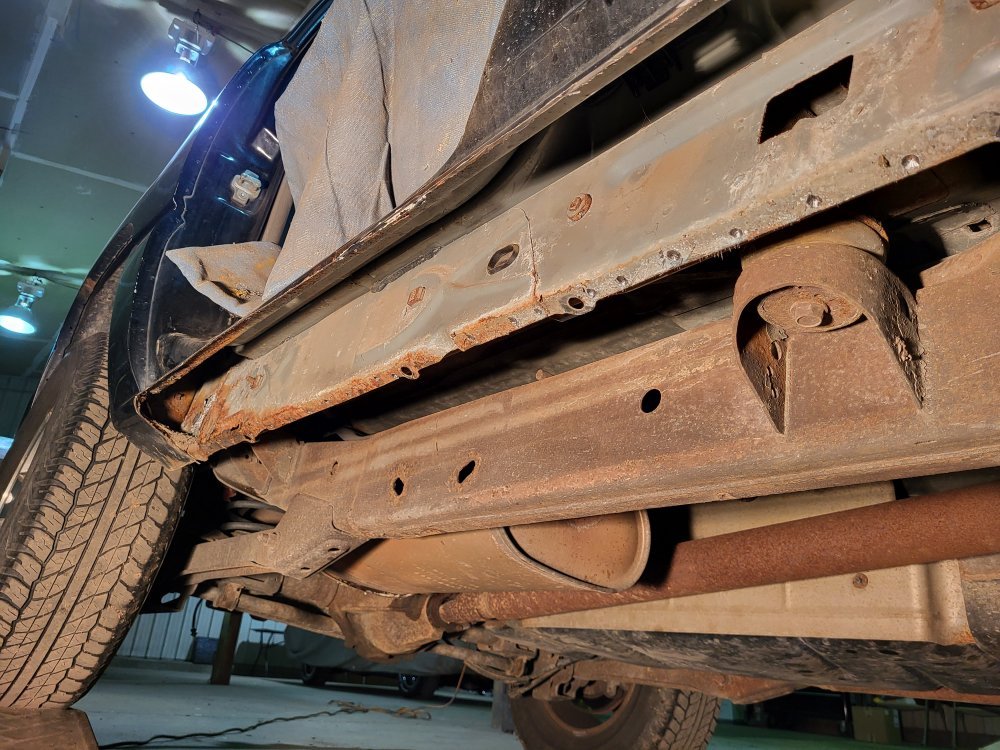
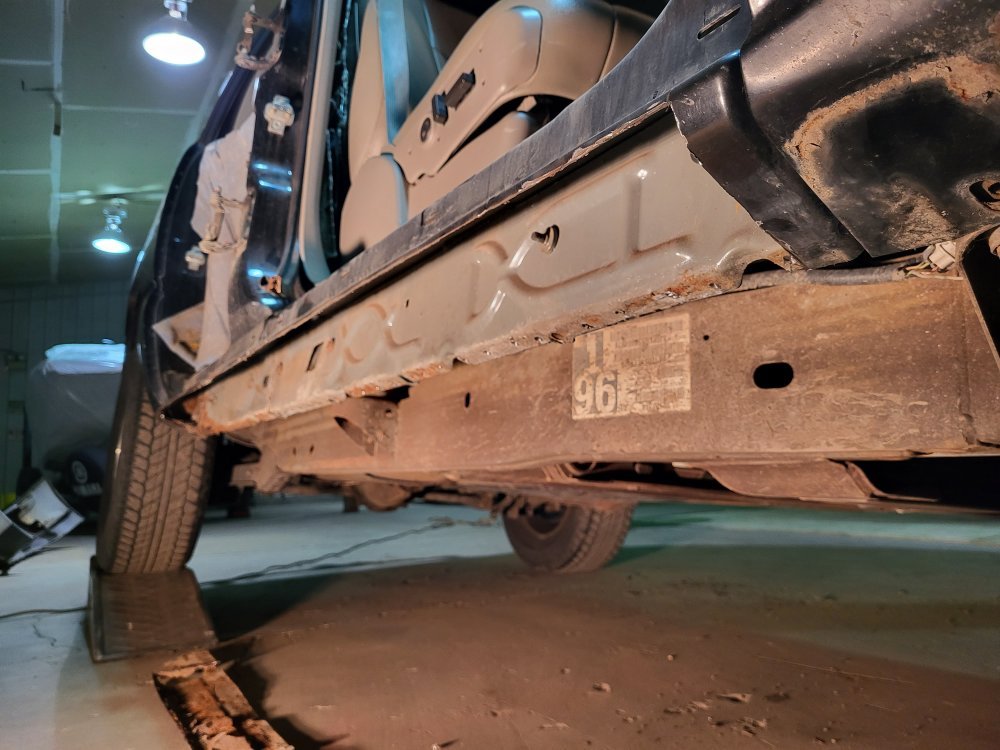
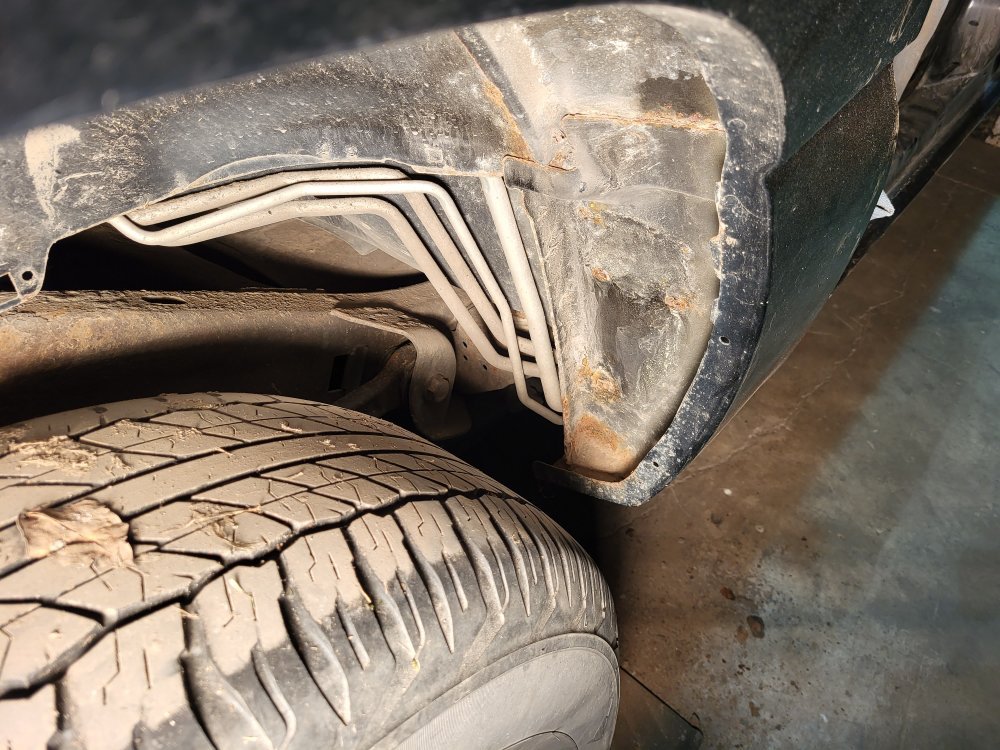
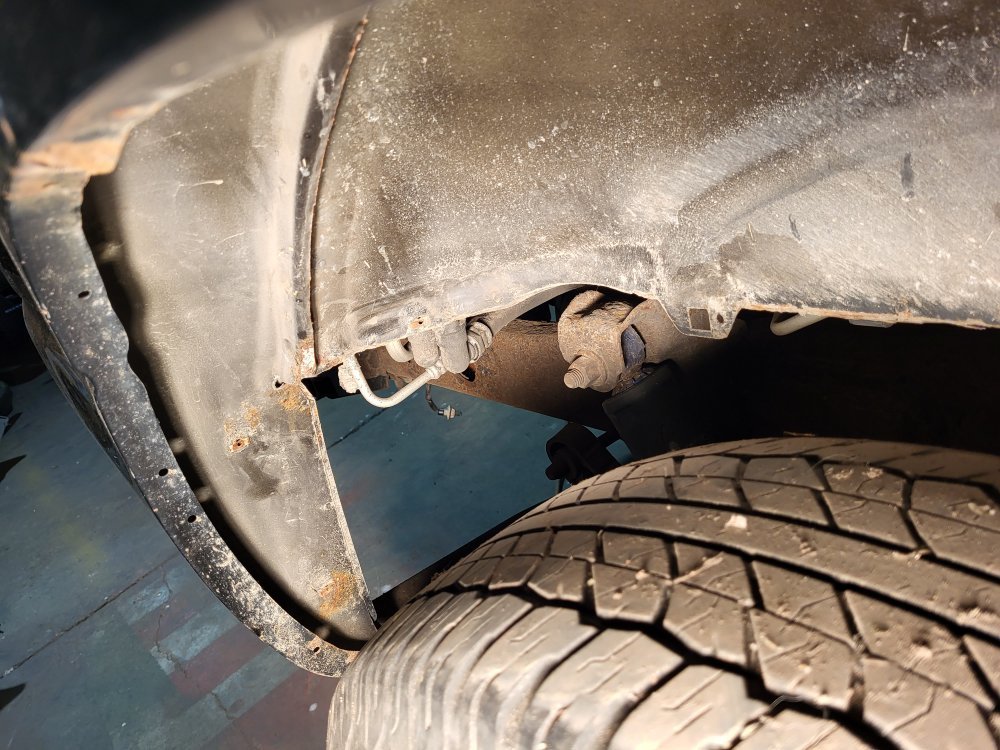
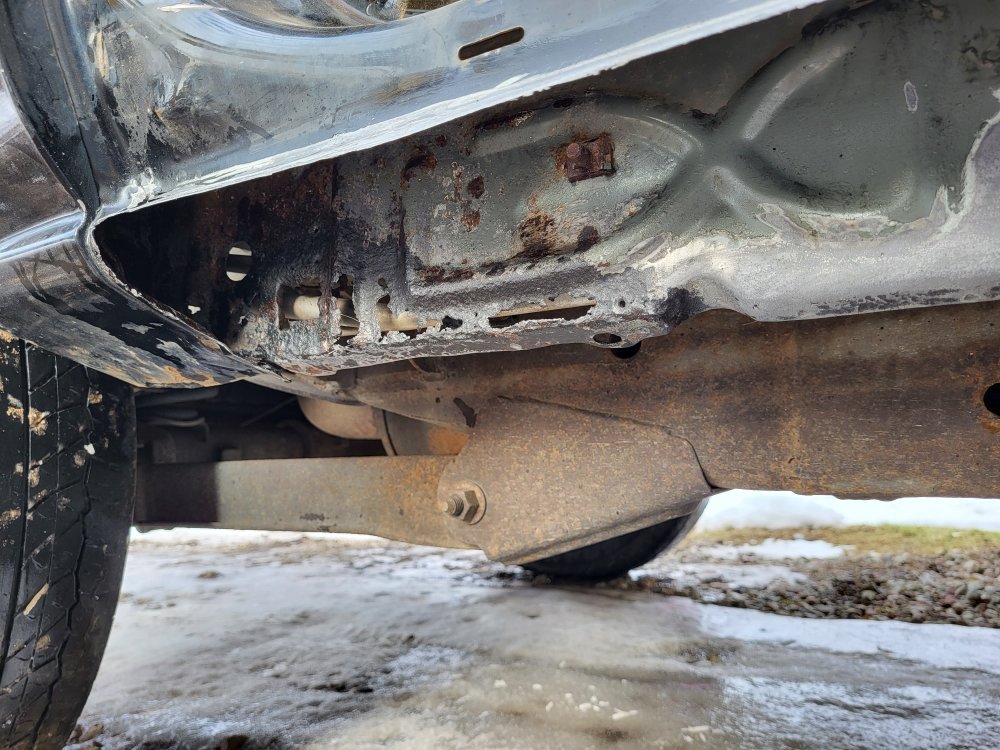
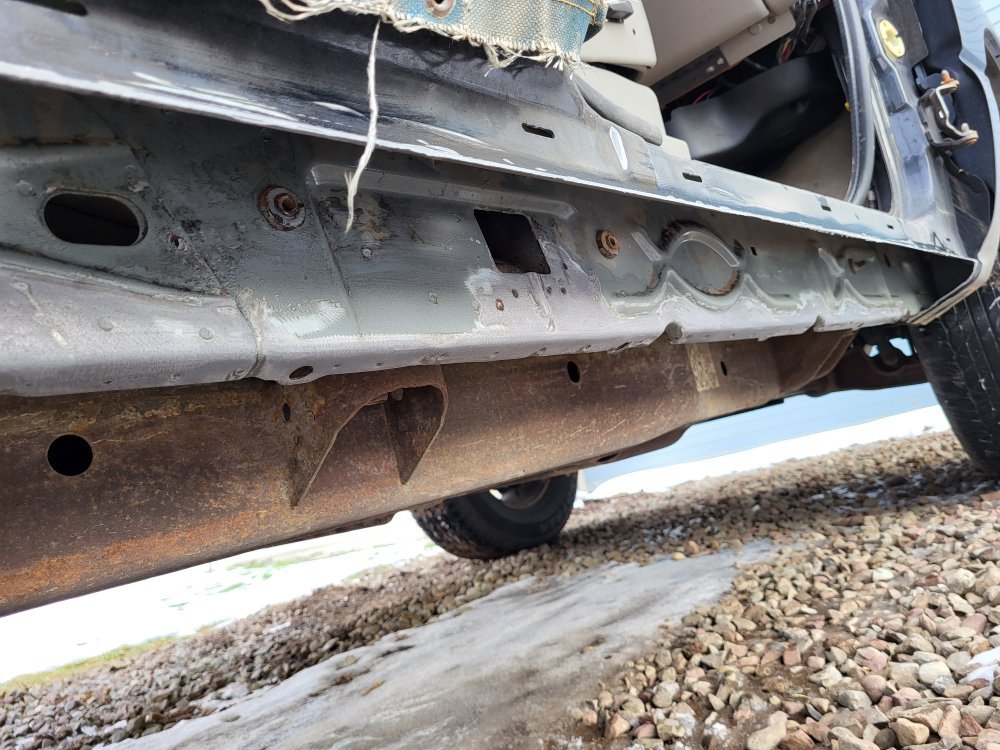
Cut part of the panel away just to get an idea of what the inside looks like. To do this correctly some of the inner rocker will need to be cut out, and replaced. In the worst part of the rot there are some elongated holes you can barely see below.
20221213_123928.jpg
20221213_124038.jpg
20221213_124047.jpg

Pulled out the passenger inner liner too.
20221213_125400.jpg
20221213_125408.jpg

My intentions are to clean up all areas within the rocker cavity the best I can (wire wheel, grinding, sanding, etc). Then apply some type of rust converter (thinking phosphoric acid based), then apply weld through primer anywhere I can. Has anyone had good luck with phosphoric acid? I guess you can get a rust/concrete stain remover from home depot that works.

After this is all done we will be removing plugs, and spraying either fluid film or the new Blaster surface shield within. I have the fancy 360 extendo-spray nozzle for my compressor.
 
Spent hours sanding, and grinding with a buddy. Got everything cleaned up the best we can. Got the outer rockers ordered, need to source some sheet steel to rehab the inner rocker at the rear passenger wheel well interface.

We also got the first coat of phosphoric acid applied. This was nasty stuff!
20221228_110622.jpg20221228_110627.jpg20221228_112424.jpg20221228_112445.jpg
 
Well, that's a difference....
20221230_141415.jpg
Got the second coat of diluted phosphoric on today in an effort to phosphatize prior to paint for encapsulation. Tomorrow we will rinse. Let dry, and paint with my new weld through primer.
20221230_171256.jpg
 
I know you're on body work now, but what kind of job was it to replace the steering shaft and bearing shown in your first post in this thread? My '05 Tahoe and '01 Sierra are due.
To be honest the shaft was easy. That stupid plastic POS bearing sucked to install. The access to the lower column is tight. I did it without removing the driver's seat as I didn't have the reverse torx bits. Laid on my back on the floor board with my feet out the door on the ground. If you have any type of back or shoulder issues this job isn't for you.

The old bearing came out with limited hassle. Getting the new one back in was rough. You want to be able to hammer (press) it back into the column, but with limited room it's tough, and your hand strength just isn't enough. I ended up getting a large wrench (like 1& 1/8-inch big) placed the open end over the bearing, and within the outer casing (which has a notch for the shaft to stick out through), and pulled inward to the column on the dhaft of the wrench to try, and generate more leverage. At one point I also used a mallet on the wrench and that seemed to help some too. My advice, get creative for leverage. Taking out the seat will help your torso form the strange angle, but won't help upper access into the small opening below the column IMO.
 
Back
Top