dbrannon79
I'm getting there!
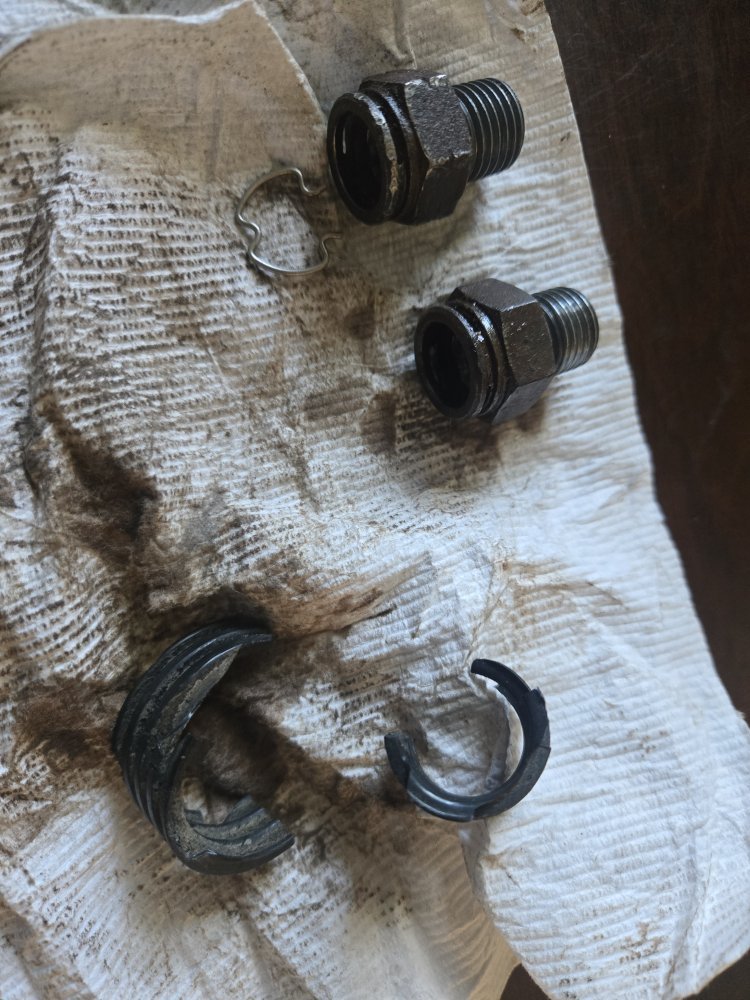
a little red rtv in place of that crush gasket will work, even placing that deformed gasket in there with the red rtv should seal.
Follow along with the video below to see how to install our site as a web app on your home screen.
Note: This feature may not be available in some browsers.
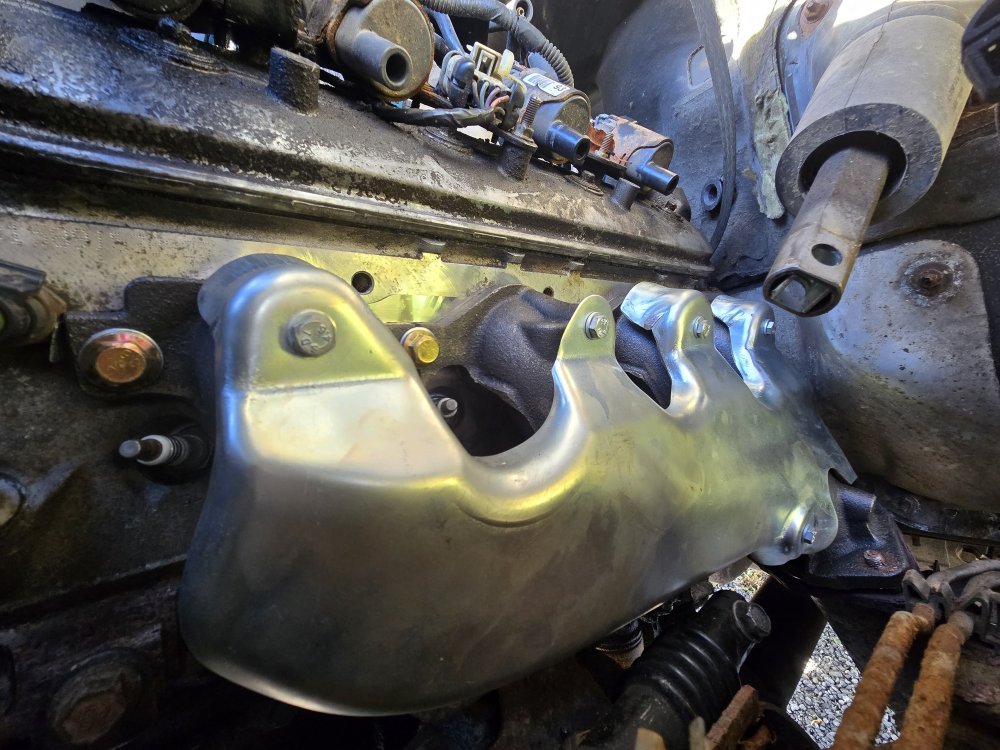
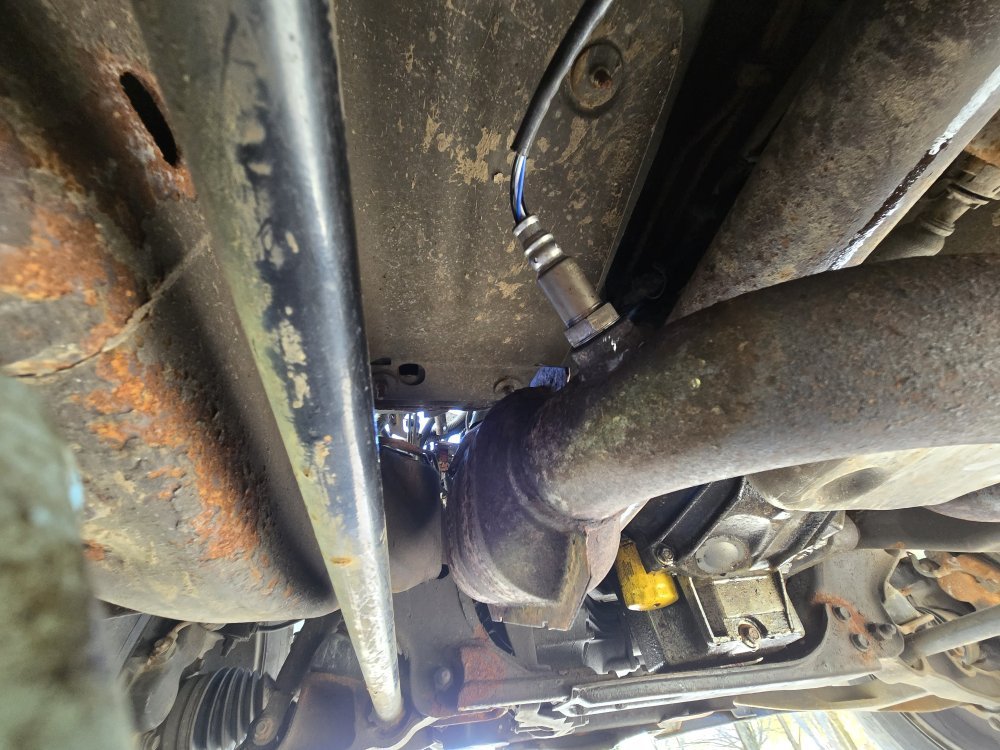
I have a ball joint press and luckily my old man has a 20T HF shop press.You will need a press or you might get by with the rent-able ball joint press for those. those bushings are a PIA !!
You are 100% correct on that question.Yeah, if anything like my '98 K2500 Burb, you will need either a hydraulic press or one of those C-clamp type of ball joint press tools to get those bushings out of the arms.
Bigger question: Why didn't you replace the bushings while you had it apart to do the upper ball (and lower?) joints? It would have been just a couple of more bolts to remove and saved you all this labor tearing everything back apart that you already had back when you did the ball joints.
I'm one of those people who say to themselves, "Hey, I'm already here and it's not that much more work to go a bit further and replace X, Y and Z while I've already gotten it this far apart." kinda guys.
Like when I replaced the timing belt on my daughter's '97 Camry 2.2L. While I had the timing cover off to do the belt, I went ahead and replaced the water pump that the belt drives, the tensioner pulley and tensioner spring, the idler pulley, the oil pump shaft seal and oil pump cover seal, pulled the cam pulley and replaced the camshaft seal and replaced the front main seal, too. I figured the extra hour and a half spent doing all of that, while it was already all apart to do the timing belt, was FAR easier than if possibly in a few months having to spend another 5½ hours tearing down and putting back together everything yet again to replace a leaking water pump or oil pump seal.
Just my $1.98's worth of comment.
Energy Suspension and Prothane are two that come to mind immediately. You can also get polyurethane control arm bushings with the metal shell already installed on them, for extra of course. Makes the swap SO much easier and cleaner that trying to cut/burn the old rubber bushings out and then cleaning up the shell just to find that it's too rusted/pitted to be useable. Just press out the old bushing assembly, clean up the bore in the control arm, lube and press in the new bushing/shell assembly.My original intent was to go all TTX (uppers and lowers), but i just can't swing the cost right now.
I already ordered the Moog stuff, but what brand has the urethane ones? I plan to do all the lines, then the bushings last.
Other manufacturers than those two make them with the metal shells already on them. Now, whether for our application, I don't know, but when I just Googled 'polyurethane control arm bushings' up came not only Energy Suspension and Prothane, but pictures from other mfrs with what looked to be control arm bushings with new metal shells on them.RA and amazon both show the energy suspension and prothane kits for a reasonable price though I haven't seen them with the outer shells yet. I'm sure going direct would show them.
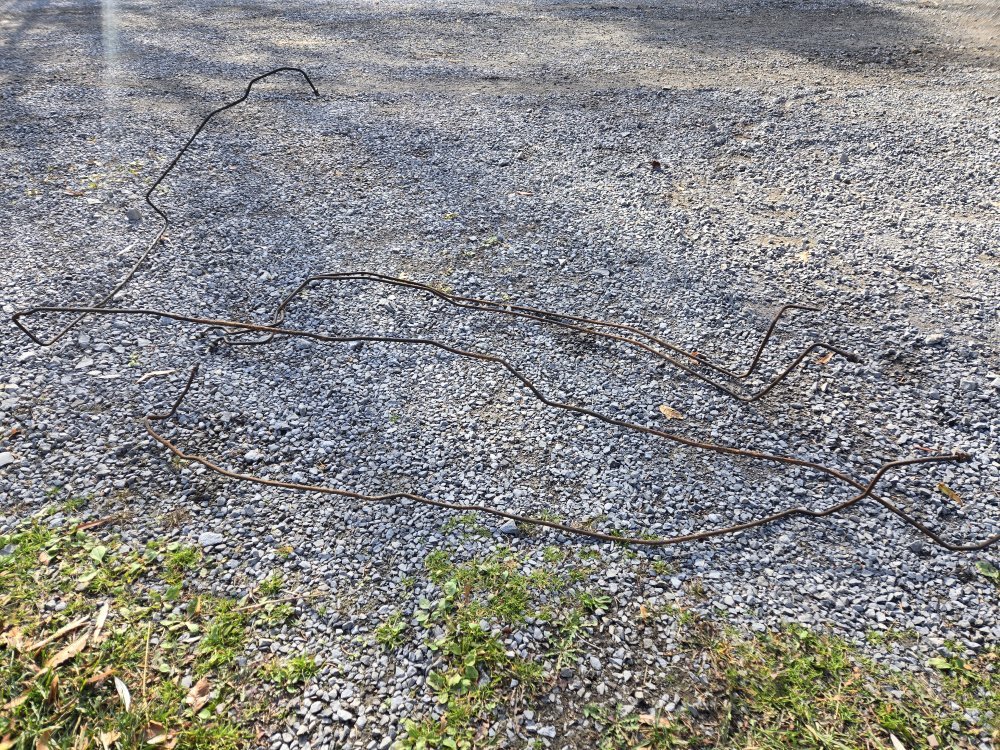
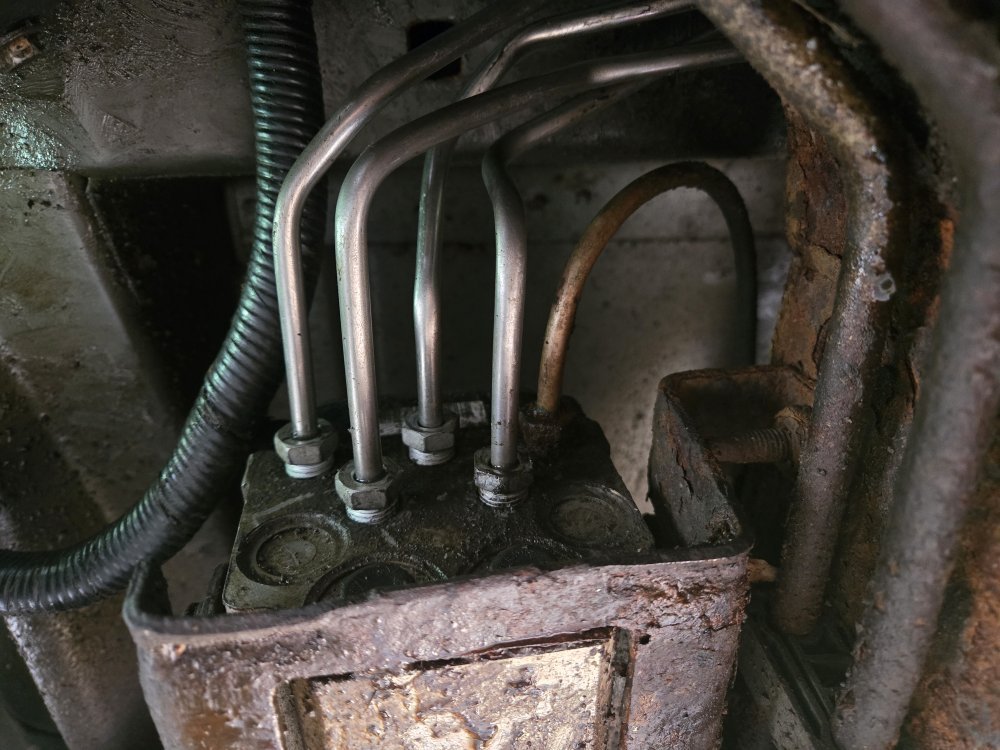
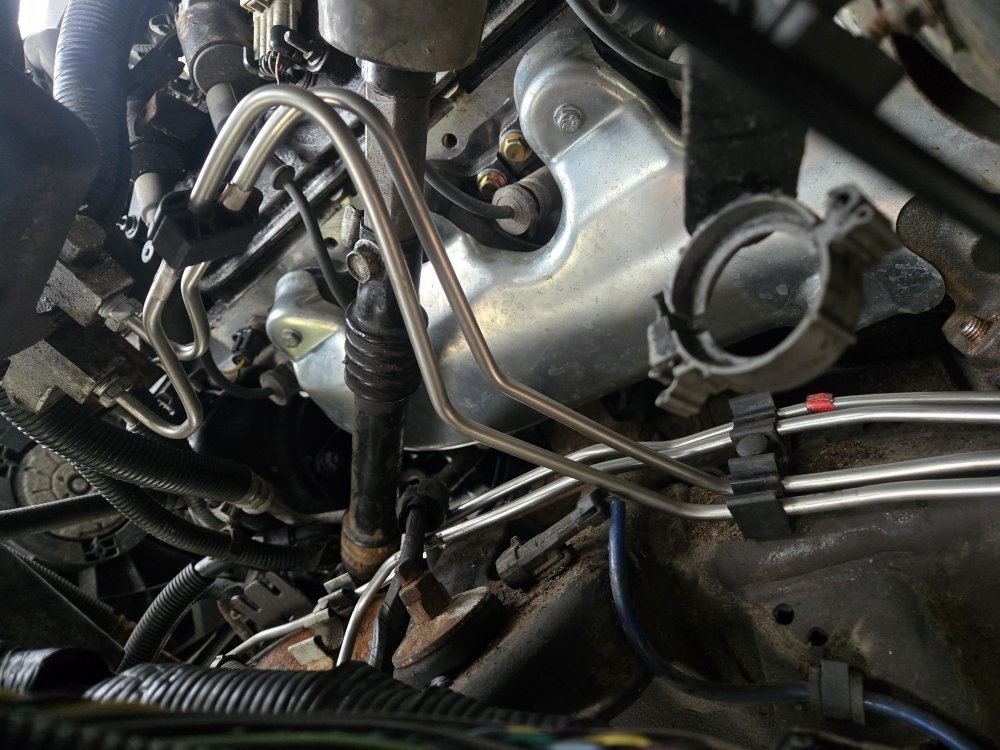
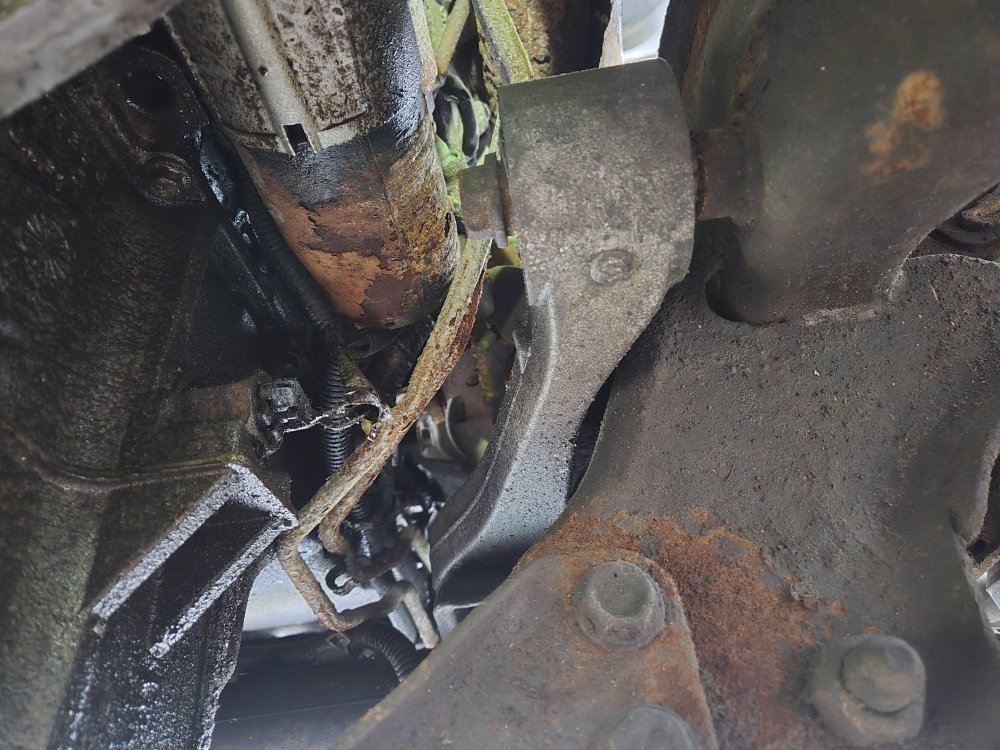
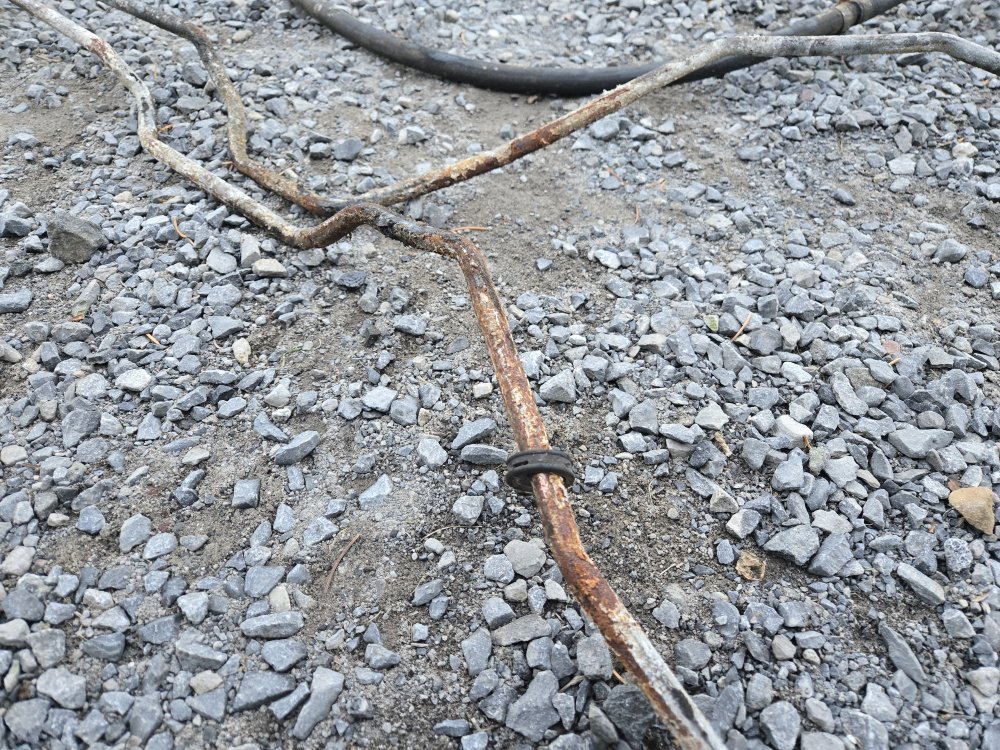
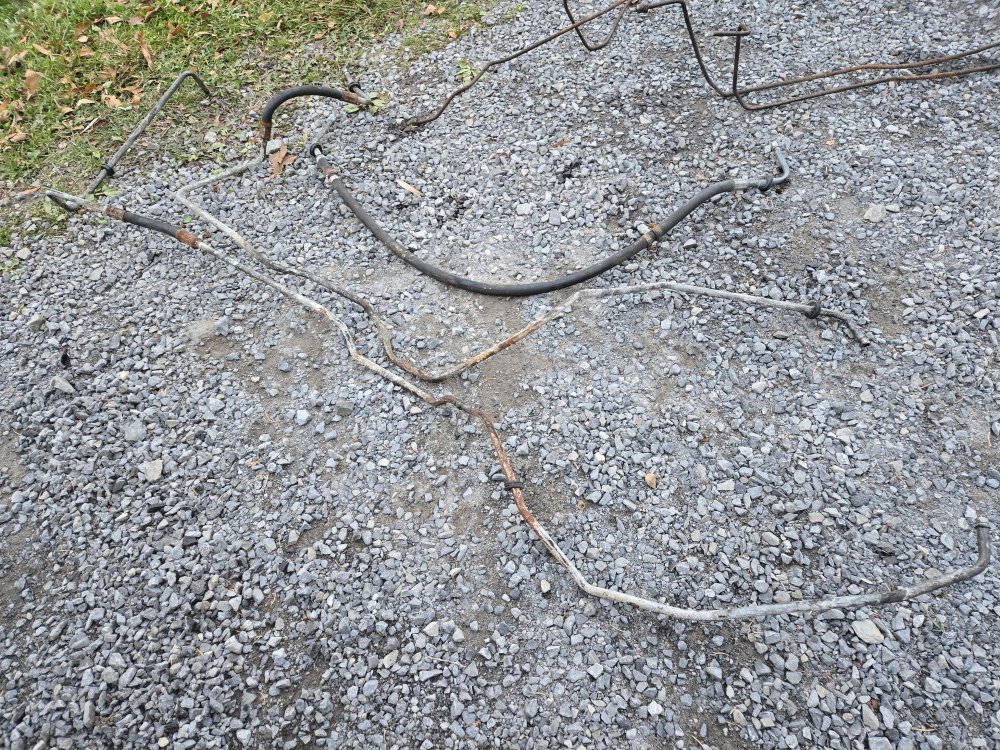
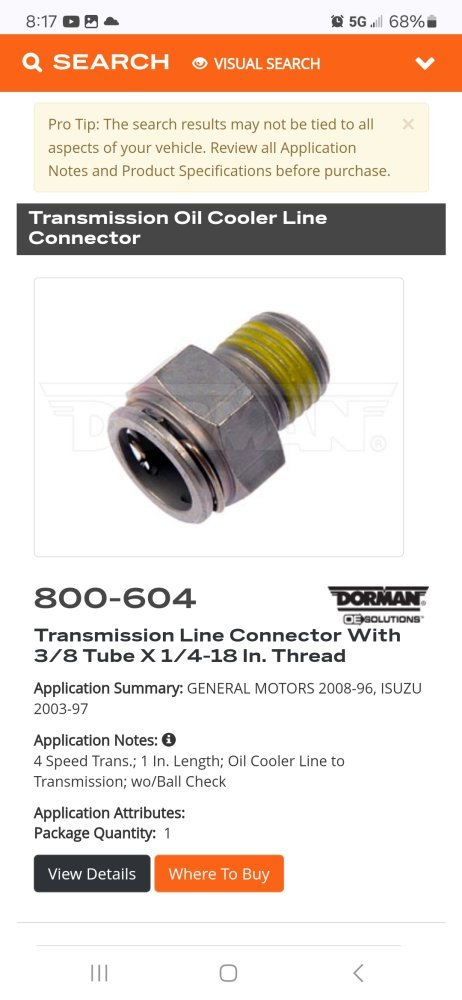
I wanted too eliminate this stupid e-clip things, but I couldn't find a complete kit with all fittings and lines for under $300. In another time crunch again so I just got aftermarket replacements. I wanted GM stuff but it was over $200.Any chance you can eliminate those clip in fittings on the trans and go with some threaded fittings like on the older rigs?
nice work on bending and shaping the new brake lines! open all 4 bleeders and pour in the fluid, let it gravity bleed while you have some cold snacks (beer)sometimes you have to take a step away. might even go smoother when you get back at it!
you most likely will need a power bleeder to get the air out of the ABS system, but you can get most of it, enough so that you can take it to a shop with one to do the final bleeding if you don't want to invest into one.
