• Welcome to The Truck Stop! We see you haven't REGISTERED yet.

    Your truck knowledge is missing!
    • Registration is FREE , all we need is your birthday and email. (We don't share ANY data with ANYONE)
    • We have tons of knowledge here for your diesel truck!
    • Post your own topics and reply to existing threads to help others out!
    • NO ADS! The site is fully functional and ad free!
    CLICK HERE TO REGISTER!

    Problems registering? Click here to contact us!

    Already registered, but need a PASSWORD RESET? CLICK HERE TO RESET YOUR PASSWORD!

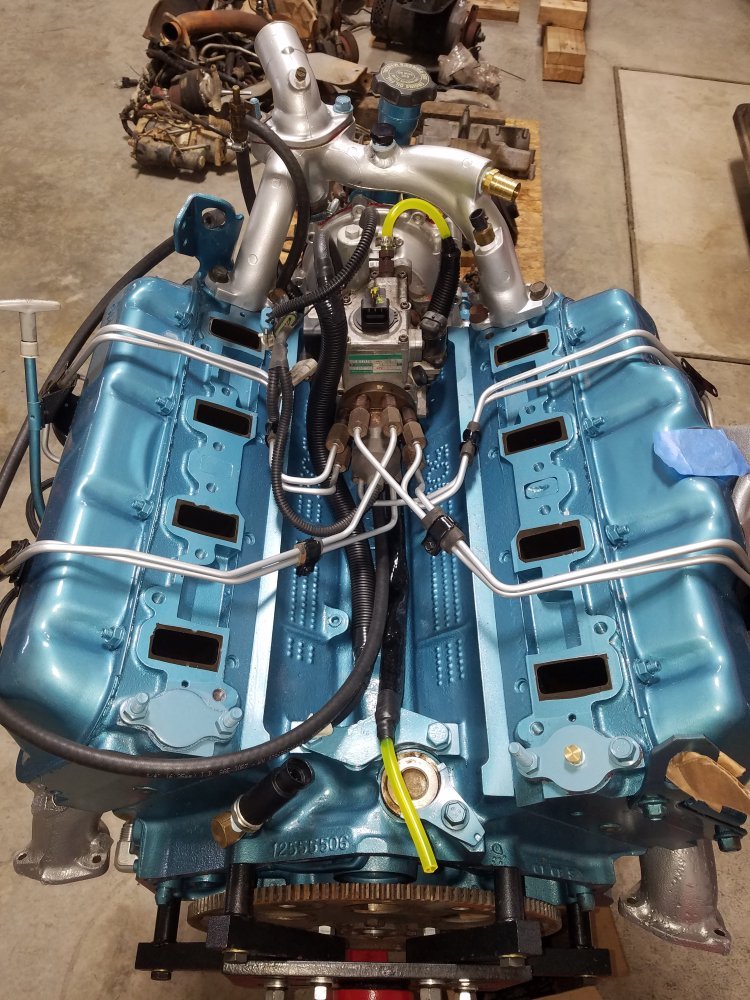
'95 Engine build

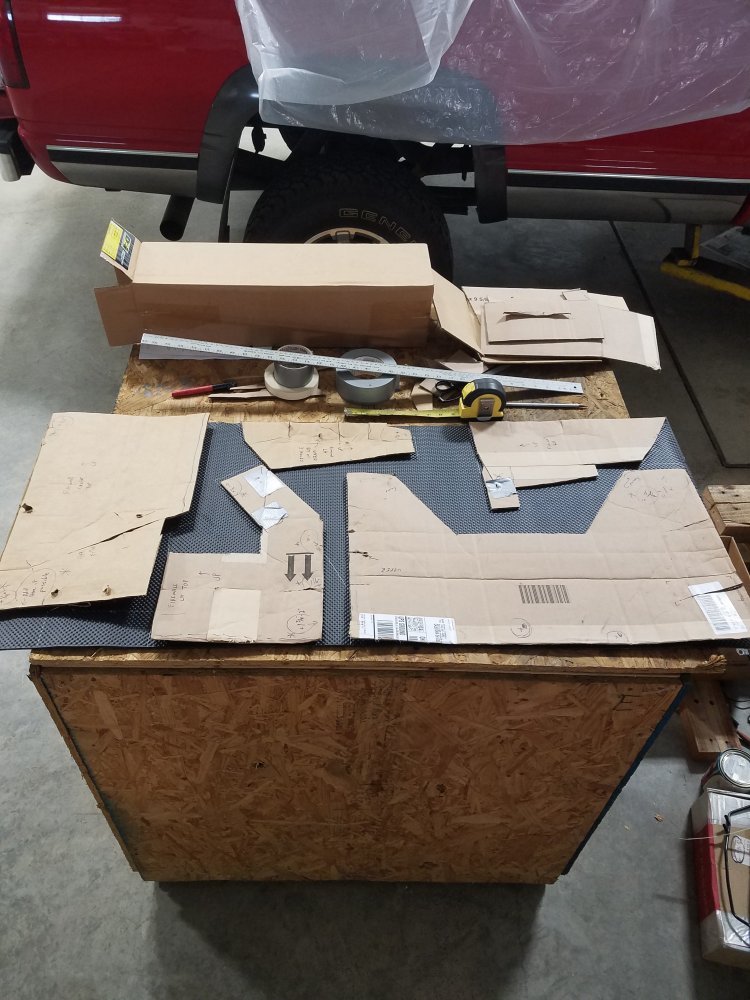
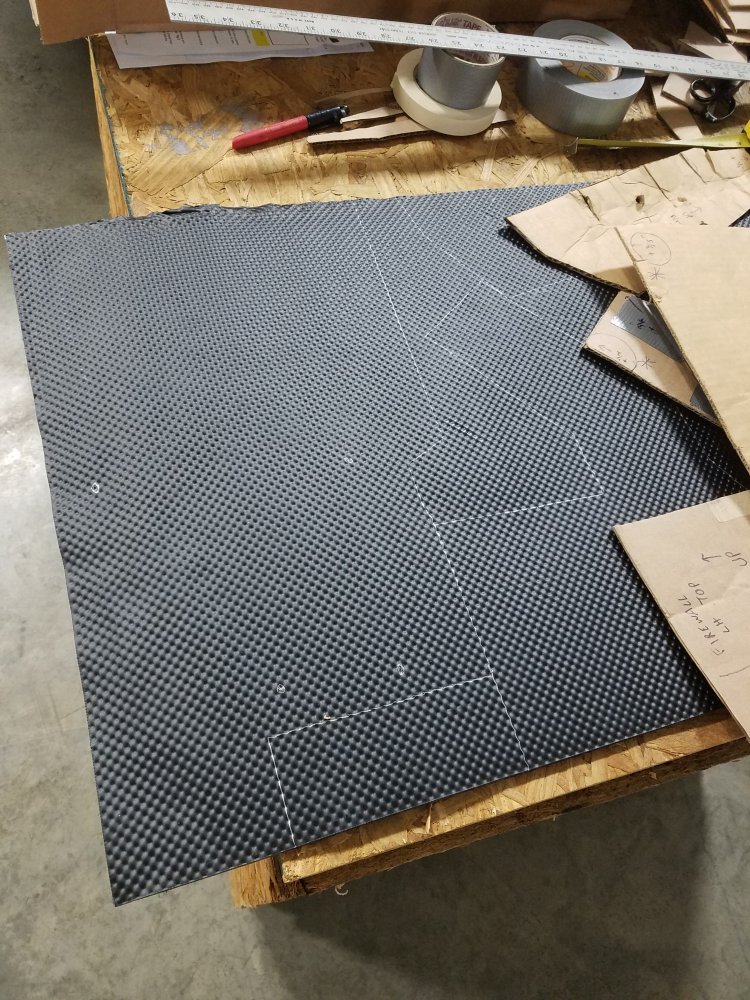
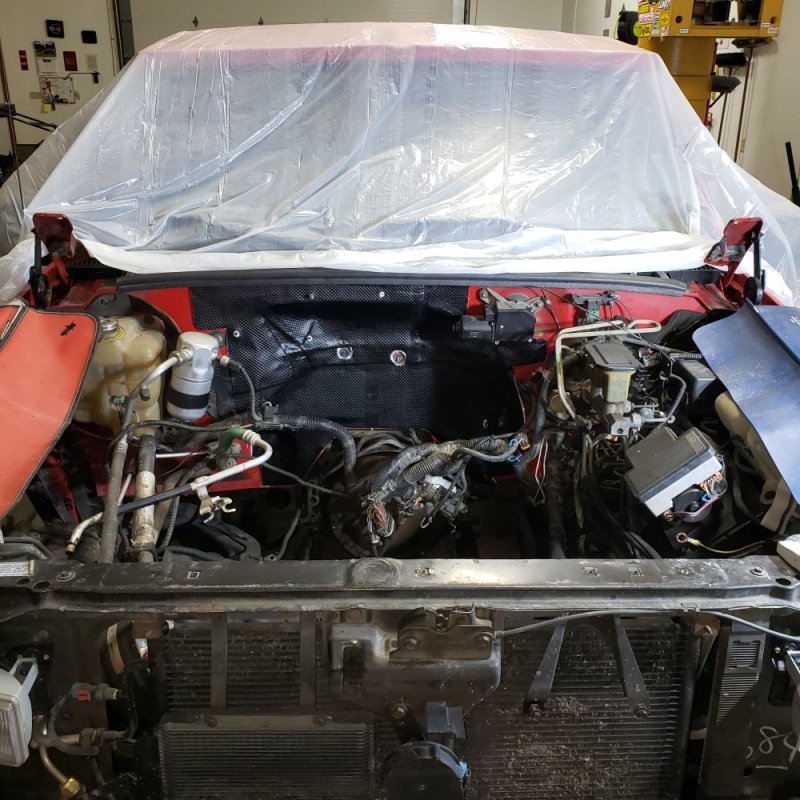
I didn't choose to strip the firewall of all components like @n8in8or so elegantly does when he installs his mat, but I at least have something that isn't falling down like the factory stuff was. The same DEI company makes the tunnel shield in black so this is what I chose. I made cardboard templates and then transferred the shapes onto the mat using a steel pencil. I marked all my pieces and cut with heavy scissors and made the necessary incisions with a razor, as n8 had suggested. Many thanks for this.

20230917_171353.jpg
20230917_171407.jpg
 
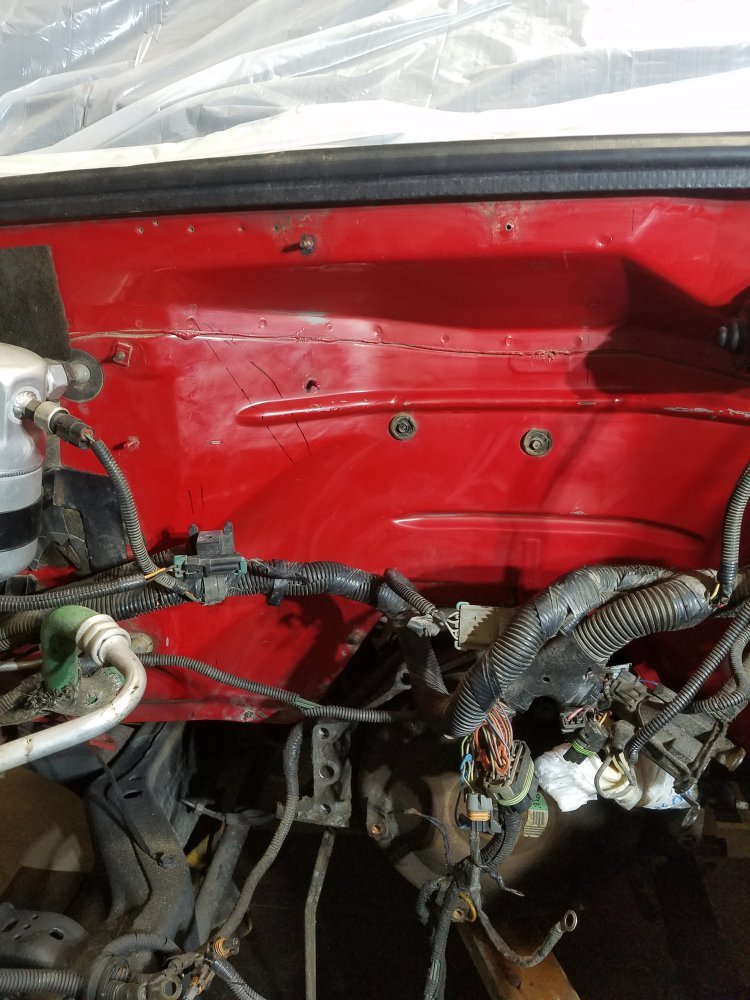
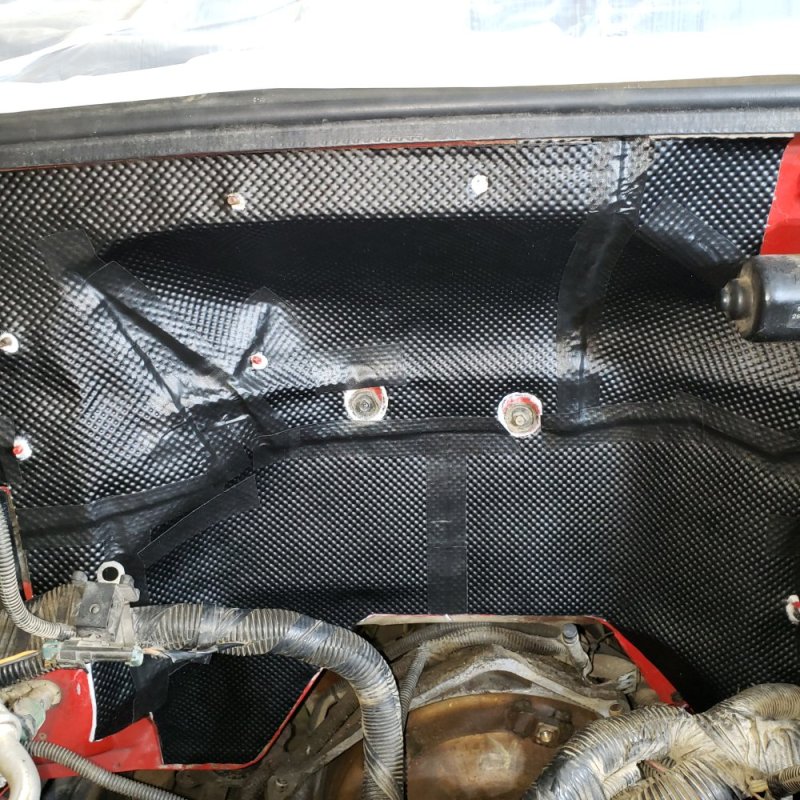
I lightly cleaned the firewall with brake cleaner and let dry before I started sticking the pieces on. One thing worth noting is that this has the adhesive backing is EXTREMELY sticky. You get one shot to get the pieces where you want them. Period. I made some marks for reference points and started from the bottom and worked my way up. The close-up shot with the mat installed looks much worse than it does in person. From sitting in the engine bay, the edges look much cleaner. I didn't actually notice some of this until I loaded the photos.

20230917_171426.jpg
20230926_183356.jpg
 
There is a seam tape I discovered and taped up all the seams. It's supposed to be good for a few hundred degrees. I'll be a believer if it still looks this good after a few hundred engine heat cycles. The irregularities on the firewall shape made this a real challenge. I estimated about 12 hours in the whole job, but that was also including a few dozen trips into and out of the engine bay when fitting the cardboard pieces. For the holes, I marked them and punched through with a long stainless screw, then hand turned a drill bit to open the holes further and to chew away the fiberglass mat underneath the aluminum surface.

I had some overlap on my sections. If I had to do it over again, I would have likely butted them into one another. We'll find out later if it matters, aside from appearance.

20230926_183448.jpg
 
There is a seam tape I discovered and taped up all the seams. It's supposed to be good for a few hundred degrees. I'll be a believer if it still looks this good after a few hundred engine heat cycles. The irregularities on the firewall shape made this a real challenge. I estimated about 12 hours in the whole job, but that was also including a few dozen trips into and out of the engine bay when fitting the cardboard pieces. For the holes, I marked them and punched through with a long stainless screw, then hand turned a drill bit to open the holes further and to chew away the fiberglass mat underneath the aluminum surface.

I had some overlap on my sections. If I had to do it over again, I would have likely butted them into one another. We'll find out later if it matters, aside from appearance.

View attachment 83662
How about slicing the material with a utility knife, or a single edge razor blade would make a thinner slice, wherever You want a butted together seam, then apply the tape if so desired.
Thats how a professional home decorator got the butted together appearance on the wall paper that we installed in my old camper.
It looked sharp and clean when He got done.
 
I learned to overlap the edges just a tad, then use a razor knife to cut on the overlap removing the lip to get a solid seam on things. not sure if that would work with this stuff though.
 
I'm hoping this bolt saga is almost finished.

I twisted the bolts in my fingers today and they're certainly NOT round. There is speculation that they're tri-lobe or something of the sort and I will say that I agree there is a good possibility of that being true. The bolts have "lobes" on them in terms of the way they feel.

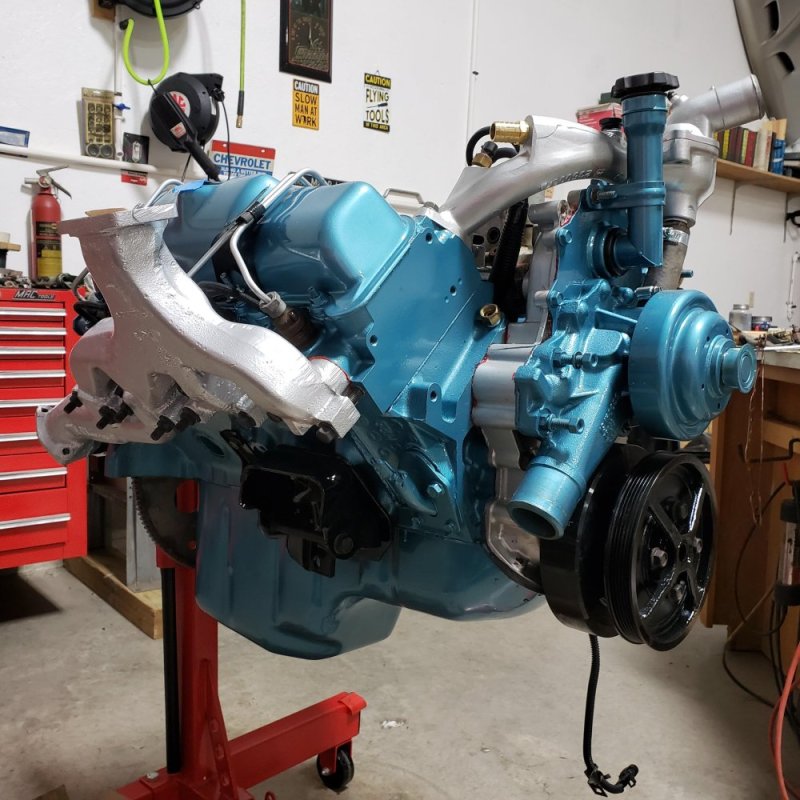
I got a few things done - temp sensor, motor mounts, crank position sensor, injector return lines, oil pressure switch. Crank pulley is not on yet due to fresh paint. Apparently AMG can only paint one side, so it's up to the consumer to paint the rest of the bare metal.
20231014_174736[1].jpg
20231014_174804[1].jpg
20231014_174815[1].jpg
Still debating on whether to install the exhaust manifolds before setting the engine in or after. Leaning toward before, but open to advice. It seems like there should be enough room with them in place.
 
Wow, has it really been a month?? Balancing work, family, fall time change, etc. keeps me from getting on this as much as I envision myself doing some days.

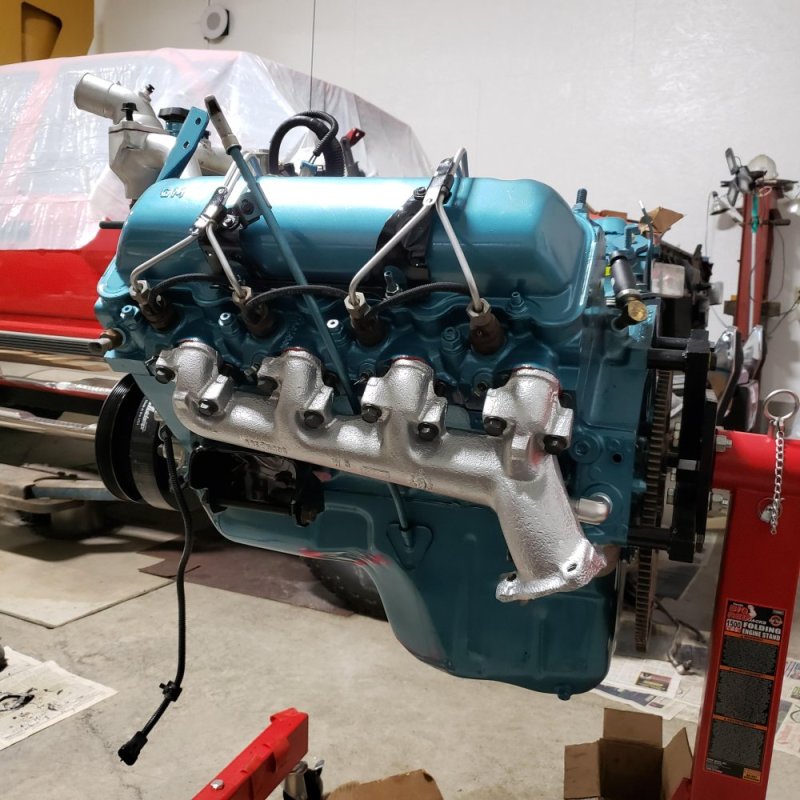
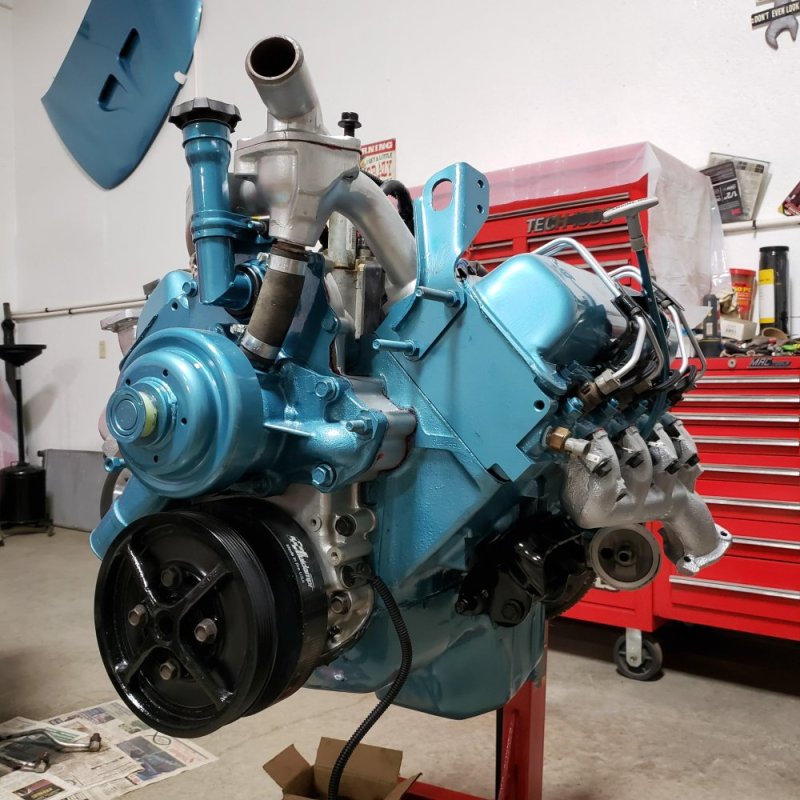
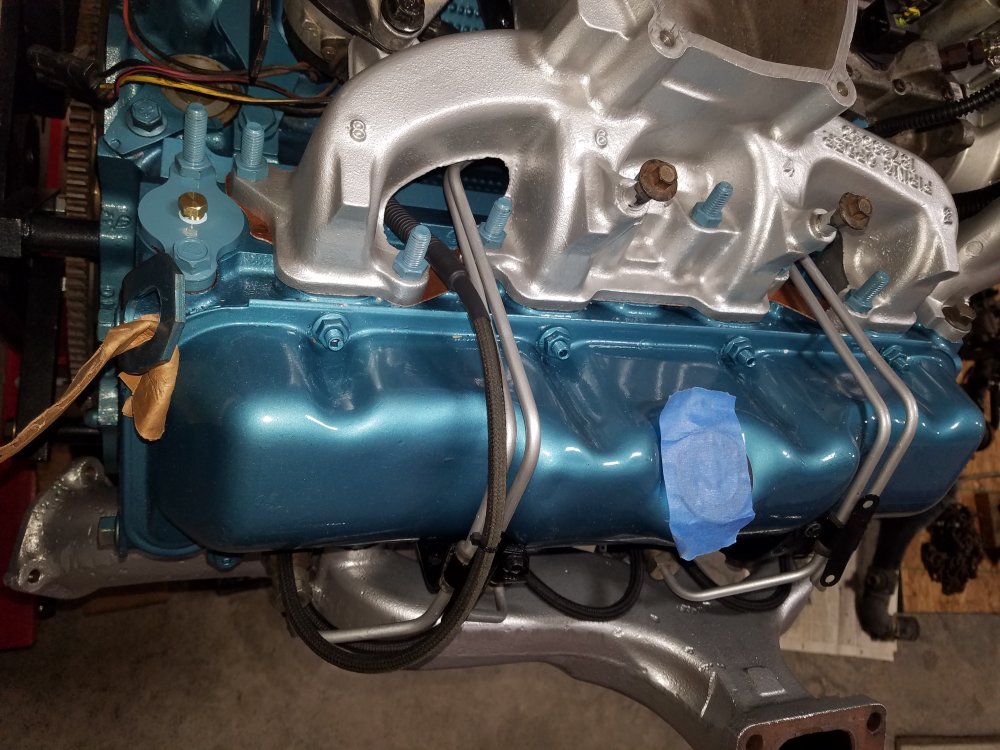
Fittings for oil cooler are in the block. Fuel lines are mostly worked out which took the most time since I've added a fiberglass insulated silicone sleeve and finally determined what I'm doing with the line routing since I'm deleting the factory crossover fuel tube. More pictures of that later.
20231117_162838.jpg
20231117_162852.jpg
20231117_162914.jpg
 
It took me a while to work out what I really wanted to do with the fuel lines. I literally stared at this thing for hours and pondered it for hours when I was away from it, trying to come up with something that I was going to be satisfied with. Now I'm pleased with it. I ended up buying a length of the Tygon tube to do this. I am using the Fuel log from Quadstar Tuning, but the kit didn't come with enough hose to do what I wanted to. No fault of theirs - Just needed more. The Tygon hose is only rated at 165 degrees, so it doesn't belong in the valley of this engine without some shielding. I ordered some silicone hose which is insulated, then I used cold shrink wrap on each end to secure it to keep it from working from end to end. It is 1/2", which fits perfectly over the 1/4" Tygon. Even the silicone sleeve has convoluted tubing where it sneaks under the injection pump.
1700877236594.png
20231124_105840.jpg
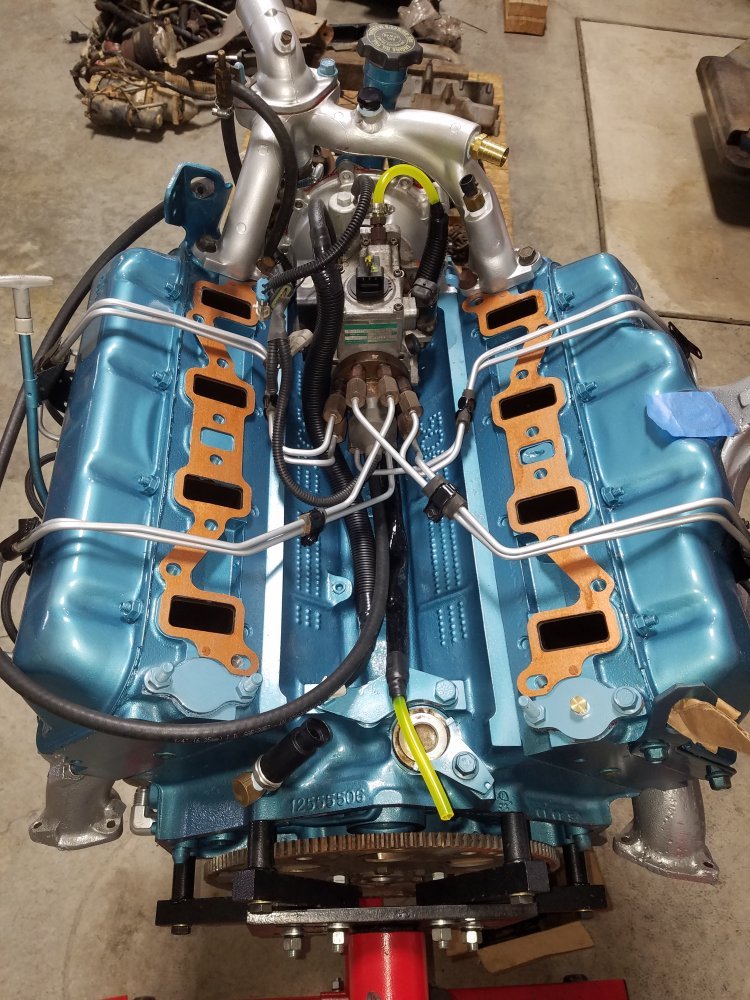
For the supply hose, I found the OEM formed hose wasn't available, so I bought some of my own 1/4" diesel rated Made in USA hose and just covered it with convoluted tubing. The drain hose I left bare - it wasn't touching anything. Intake gaskets got a couple coats of Coppercoat, then I ran a bolt into every intake manifold bolt hold in the heads just to clean the threads a bit before putting the actual bolts in to torque down.
20231124_110106.jpg
 
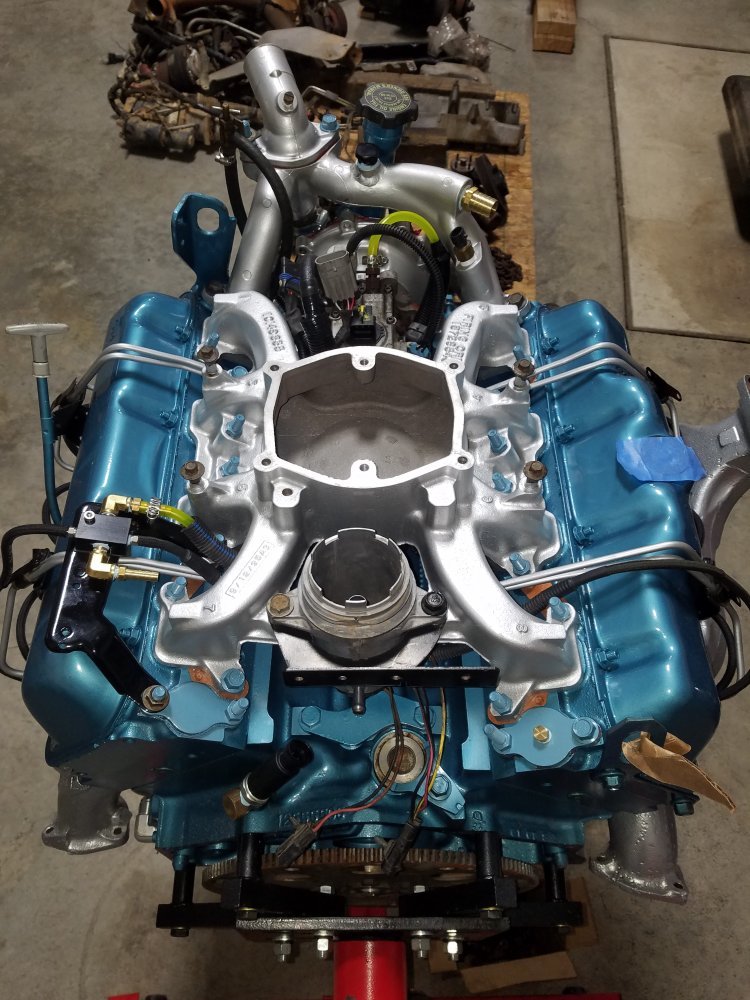
Intake in place, with fuel filter manager. Off to the left side, the fuel lines can be seen in their permanent location.
20231124_164407.jpg
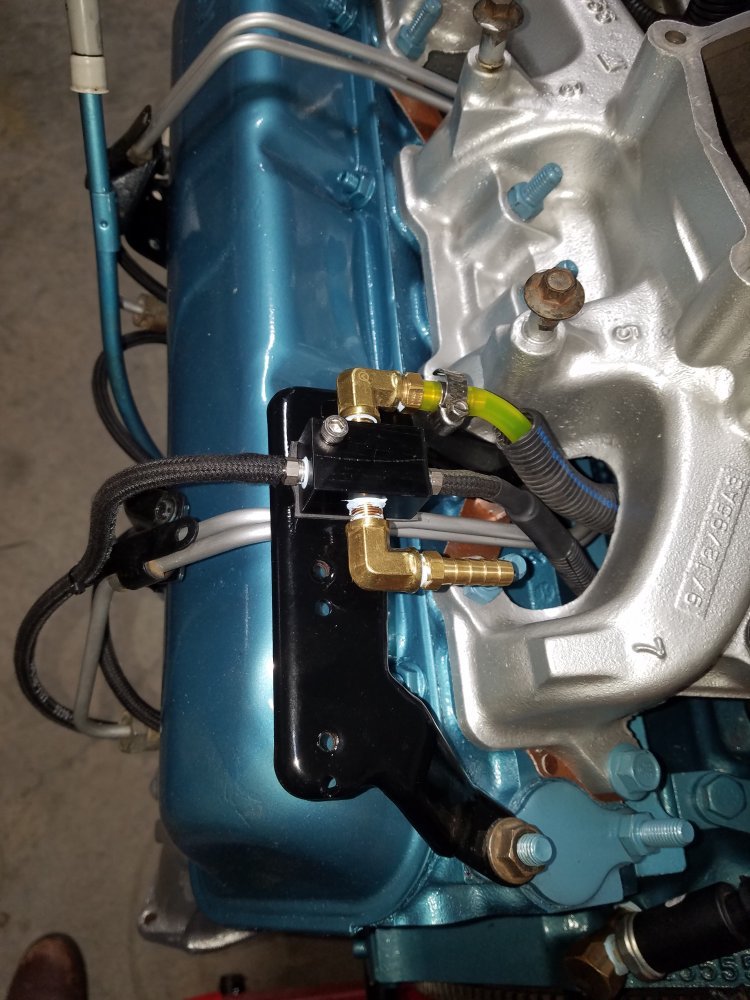
Here is a closer view of the fuel log setup, below. Upon looking at this picture, it doesn't show up well on the black bracket where it's mounted. Regardless, I drilled a mounting hole and ran a stainless steel bolt through it to secure. I sandwiched rubber between the aluminum fuel log and the bracket in hopes it would stay still better. The verdict is still out on whether this was a good move or not.
20231124_164417.jpg
Below is a closer view of the RH side. I put convoluted tubing over the return line that routes under the intake also and used heat shrink at each end to secure in place. Every pipe fitting I've touched has Blue Monster on the threads. Unpainted bolts/nuts will be replaced with painted as soon as they're dry. The mismatched ones are just holding things in place while I get that finished up.
20231124_164440.jpg
 
That tygon is still going to get too hot. It will harden and fail. It will take longer to get hot, but will get there.

Replace it with steel or stainless steel tubing imo. Just flaring tool to do the ends so the hose doesn’t come off easy. Otherwise buy sae30r9 or saw30r10.
 
What is the "clear" hose that is suggested when someone has a fueling issue in order to see if there are bubbles. I guess that is what I need rather than this?

I'll replace the Tygon line with real hose today. I'm assuming that if there is a diagnosis needed, then a section of the clear stuff is installed on a temporary basis.
 
Last edited:
The clear line left permanently is just the 5” long loop that is out of the ip return but it is directly inline catching air from the fan. So it doesn’t get too hot.

I posted on here a few years back about a website that sold clear line and multi color tinted clear line by the foot. I tried fuelline.com but that doesn’t work so hopefully I am remembering the name wrong. But they sell clear line that is good to 25psi, withstands descent heat and any fuel including nitro methane.

I took a couple small pieces when I bought it and threw in sealed jar of diesel w/10% ethanol and another piece in e-85 gas. They survived well for over a year until the glass jars got knocked off the shelf and broke. I just chucked it all at that point. Tygon fails that test around month 10 or so btw.
 
Back
Top