ak diesel driver
6.5 driver
So unless some of the parts in those drawings are foam or similar type material it allows for unfiltered air to be sucked in when opened, which is probably better than water.
Follow along with the video below to see how to install our site as a web app on your home screen.
Note: This feature may not be available in some browsers.
The outer layer is a foam filter. Not the best filter, but it also isn't using that filter all the time, just when the bypass valve comes into use.So unless some of the parts in those drawings are foam or similar type material it allows for unfiltered air to be sucked in when opened, which is probably better than water.
Exactly. That was my thought from the start, but then the guy at AEM said they wouldn't recommend that. But after thinking about it more overnight I think that's what I'm going to do as a stop-gap measure......especially since I was able to see the construction of the valve better in the patent drawings. But eventually I want to make my own poppet valve design with a better filtered inlet.So I would think you could install a T and simply cap the end of it


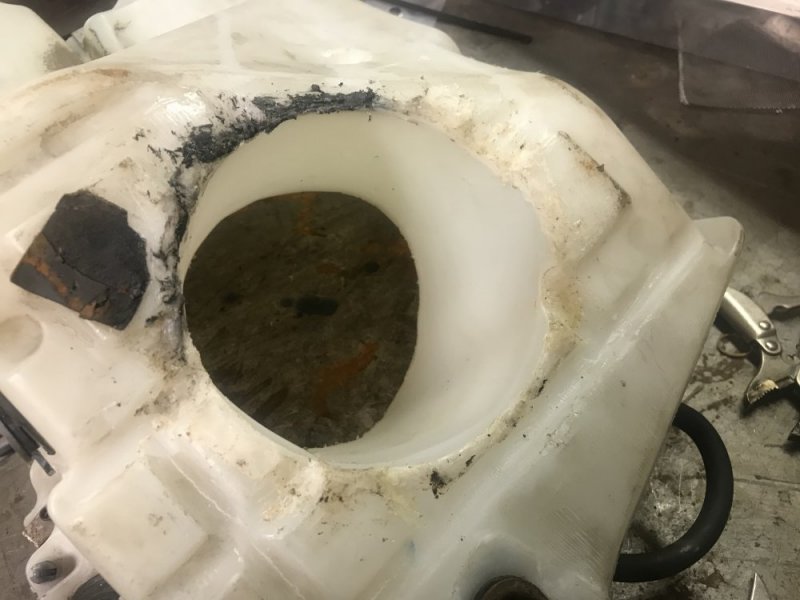
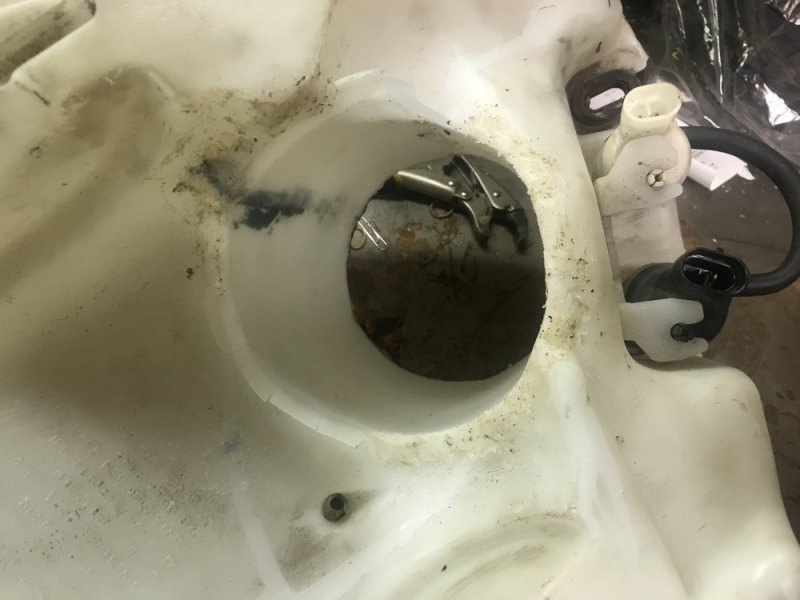
Yeah it’s a bit thinner and I’m sure it isn’t helping me learn how to do it. It’s like learning how to weld on sheet metal. I’m just trying to use the materials readily available to me. If I can’t get this to work, then I’ll go buy a sheet of thicker stuff and try to roll it into a tube.I have both and I like the iron alot better. The problem for me with the hot air was it was too easy to heat up more than I wanted and then it would sag. I would have thought that the washer fluid container would be alot thinner which would make it more difficult
Is the screen to reinforce the joint to make it last longer or will it help with making the joint more sound in the first place?Reinforce the plastic weld with metal screening just melt it into the area being welded...........
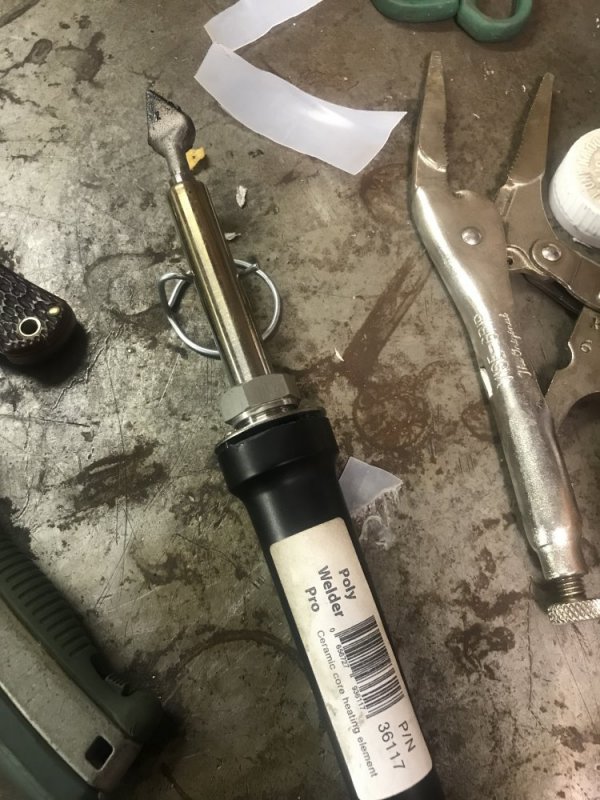
This is the one I bought. I sprung for the 200 watts.Amazon.com: Hobie - Kc Welder Pro With Rod Stock - 72097001: Sports & Outdoors
Buy Hobie - Kc Welder Pro With Rod Stock - 72097001: Welding Systems - Amazon.com ✓ FREE DELIVERY possible on eligible purchaseswww.amazon.com
mines like this one, I like the narrow foot
Stronger all around....Is the screen to reinforce the joint to make it last longer or will it help with making the joint more sound in the first place?
One thing i should have mentioned first.. absolutely no oils or it will not weld well
Yeah, I was going to suggest wiping everything down with MEK and letting it dry before welding.