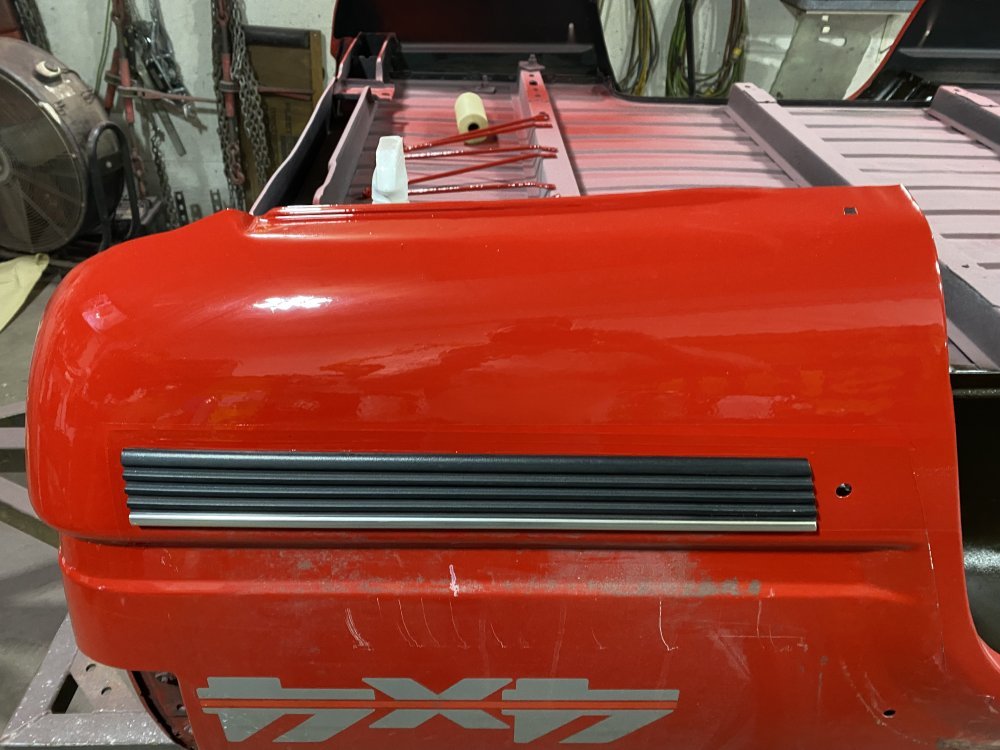
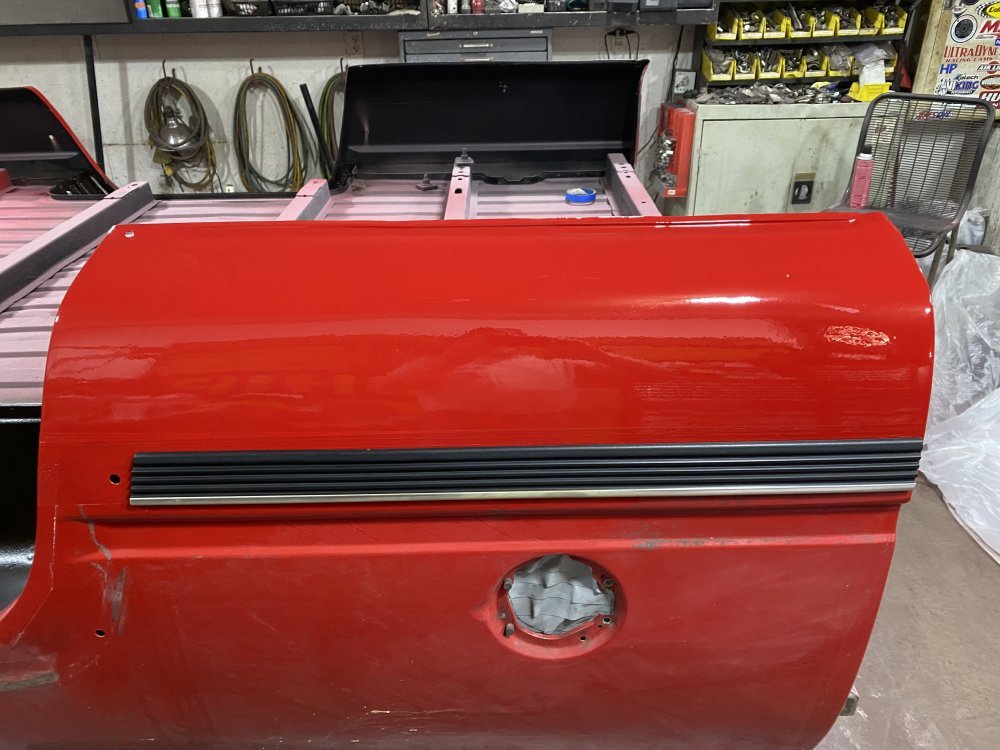
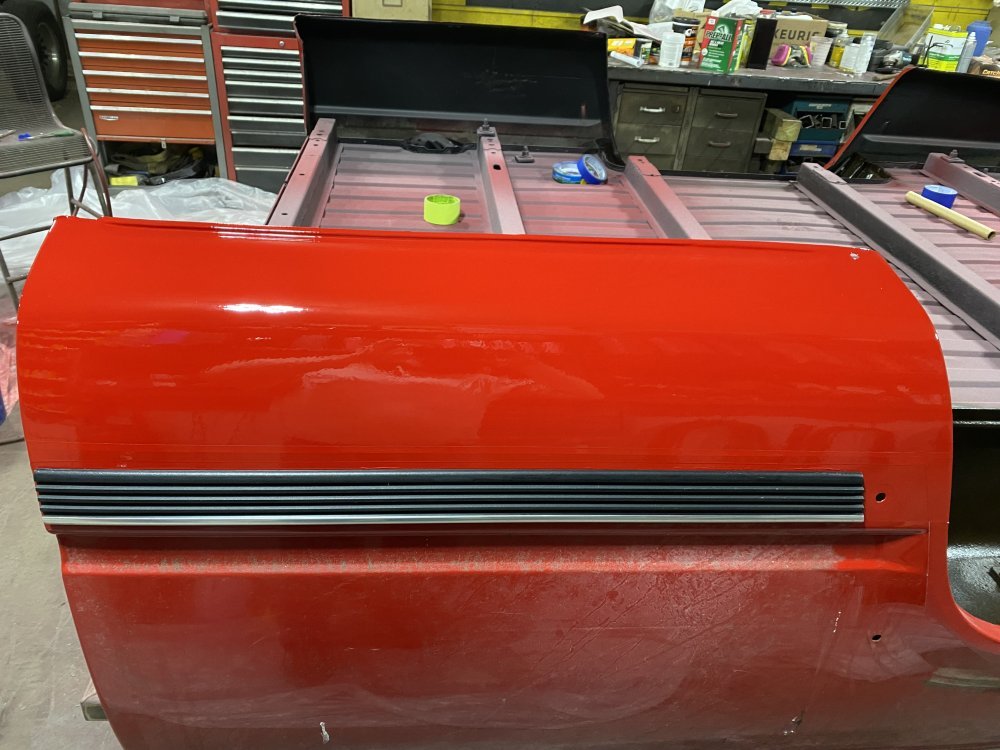
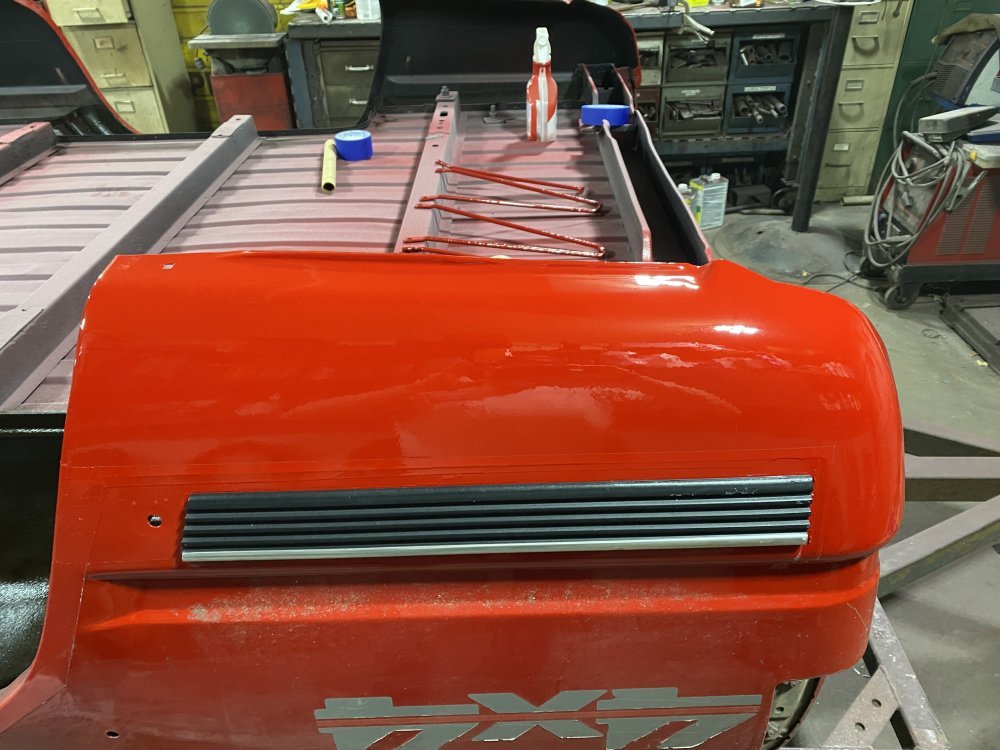
Husker6.5
135' diagonal 16:9HD, 25KW sound!
Curse you, Murphy, and your stupid Law!
Follow along with the video below to see how to install our site as a web app on your home screen.
Note: This feature may not be available in some browsers.
Sir, could you elaborate some on the "custom machined pre-cups"? That's a mod. I've never heard of before?Yep. Another project......
View attachment 59662
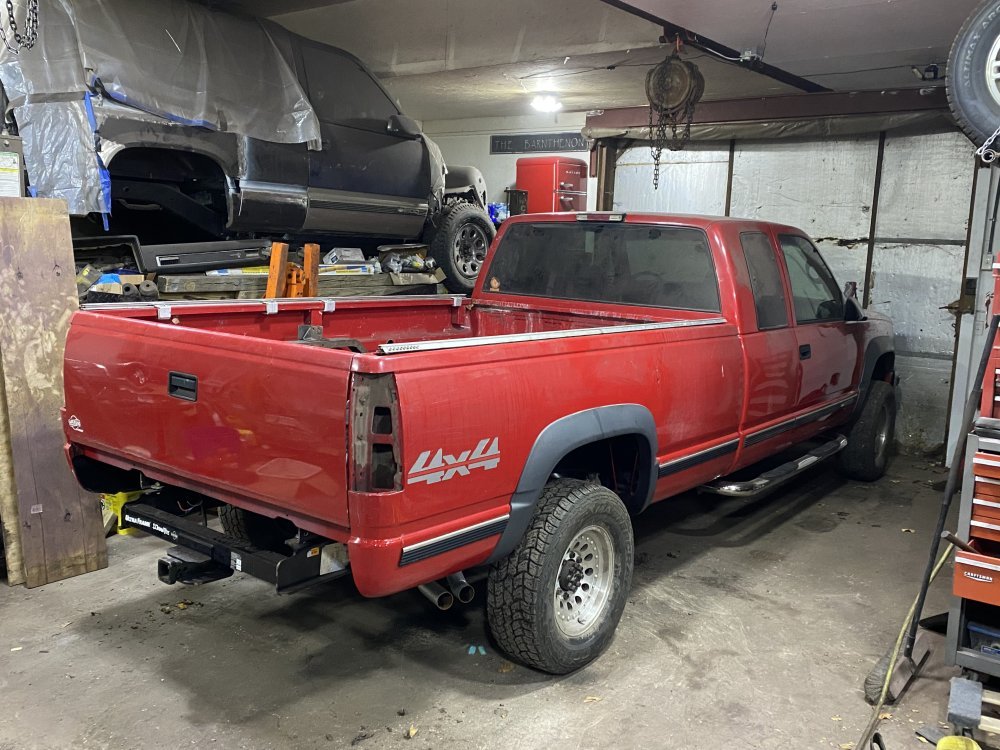
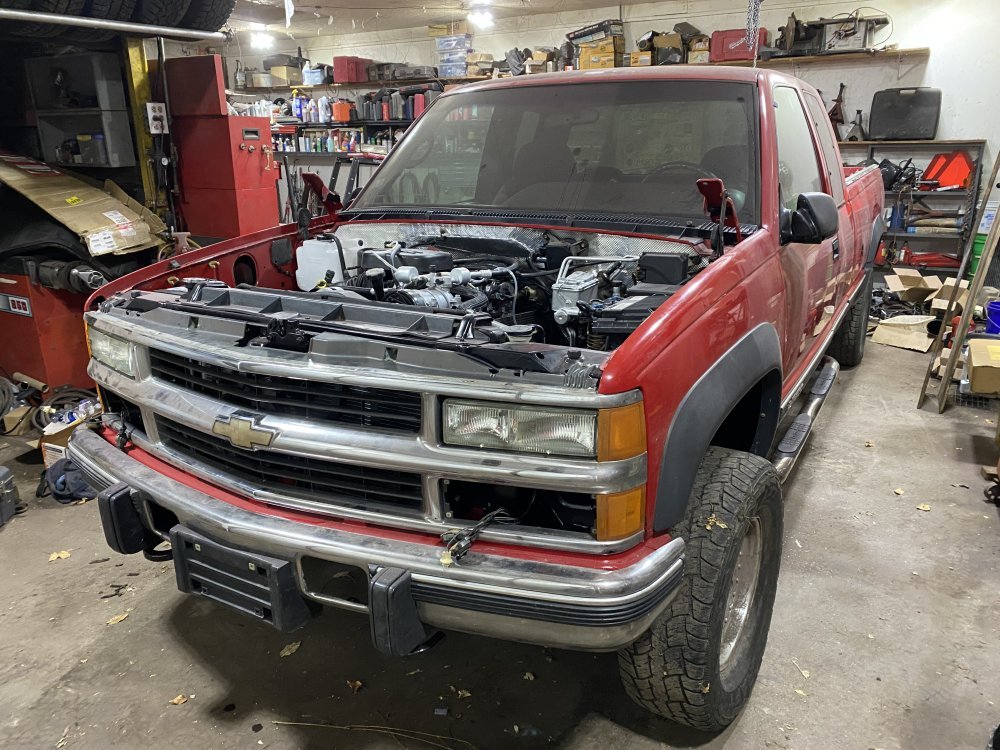
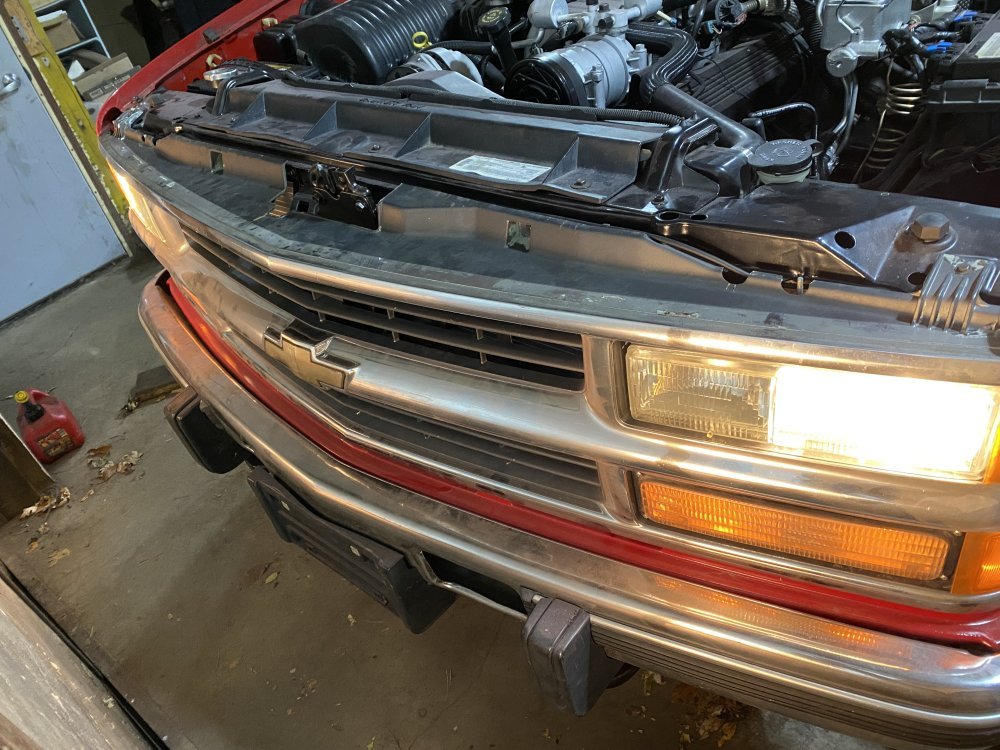
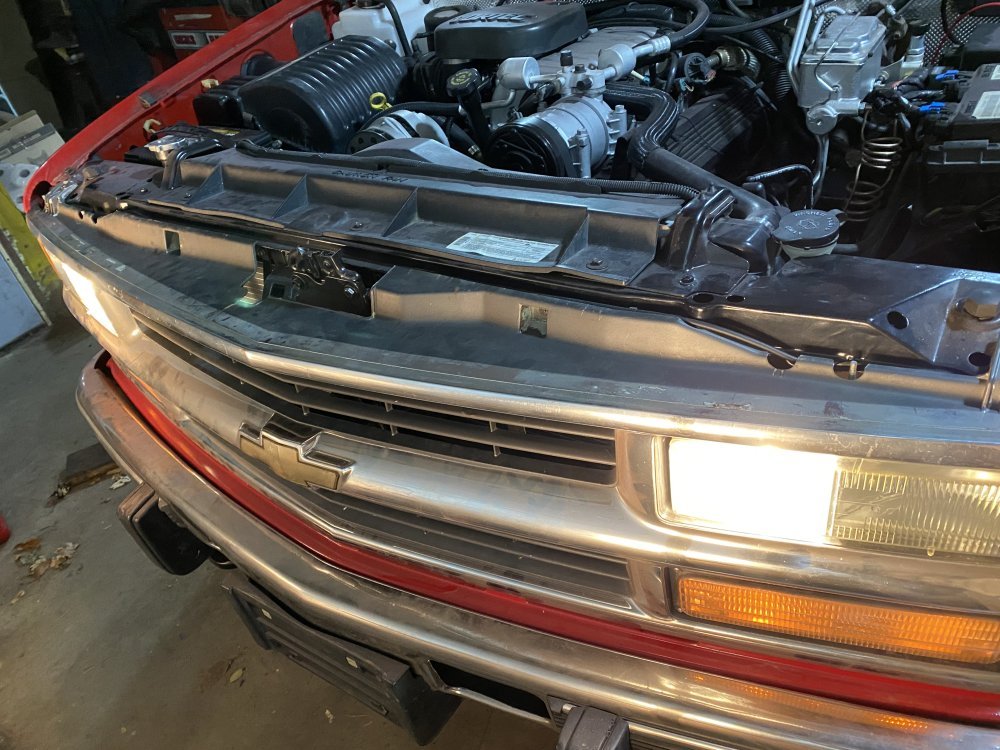
Last fall I bought some 6.5 parts from a guy about 2 hours from me. While there he showed me a truck he had that was basically complete except for an engine and he said he’d sell it to me for $800. I wasn’t looking for a truck, but noted that it was really solid for a Michigan truck, so I stored it in the memory banks. I kept thinking about the truck over the winter.....
Well the dually project keeps growing legs in my mind and I’m woefully behind on it (ok, haven’t started on it) because I’ve been focusing on getting my barn into better shape for working on projects. Over the past 2 months I have sold off 8 pickup bed loads of non-6.5 stuff as part of this process and I’m so happy to have more room and organization! So here I am now - a barn for working on stuff, a decent stash of 6.5 parts and in need of a truck for towing this summer. Sounds like a good fit for this other truck!!
I contacted the owner last week and we made an arrangement for me to come get it. Yesterday I drove up with the Envoy and my car trailer and drug it home. I hope that’s the last time I have to tow something that big with the Envoy, it wasn’t a leisurely drive, that’s for sure.
View attachment 59663
So here’s the plan: get it on the road in the next couple months using mostly parts I already have and have a nice solid, doing-nearly-anything rig. That was the problem with the dually - since it’s a 94, with the parts I have in stock, I could only put it together stock or hot, mechanical using all the stuff from the Tahoe. The idea of a stock 6.5 didn’t excite me and I want to do some things before I put the Omega Moose in another truck. I also didn’t want to spend money on an OBD1 tune when it would only be a temporary setup. That’s where the 96 is a better fit - I can put all my cast-off DS4 stuff from the earlier Tahoe build and have a decent running rig.
So today I will be starting the process of pulling the engine and trans from the Tahoe so I can at least use that transmission in this truck - again a good fit....it’s relatively fresh and in good working order so it will work well in this application; the Tahoe and the dually will be getting something built stronger so I might as well start fresh with a core on those rather than take apart a perfectly good transmission. I may also use the Hoe’s short block on this truck since it’s also somewhat fresh and again I’ll want to go bigger and better on the other builds.
I’m excited to get a 6.5 back on the road again!
View attachment 59664View attachment 59665View attachment 59666View attachment 59667View attachment 59668View attachment 59669View attachment 59670
Here’s the post from the engine build thread.Sir, could you elaborate some on the "custom machined pre-cups"? That's a mod. I've never heard of before?
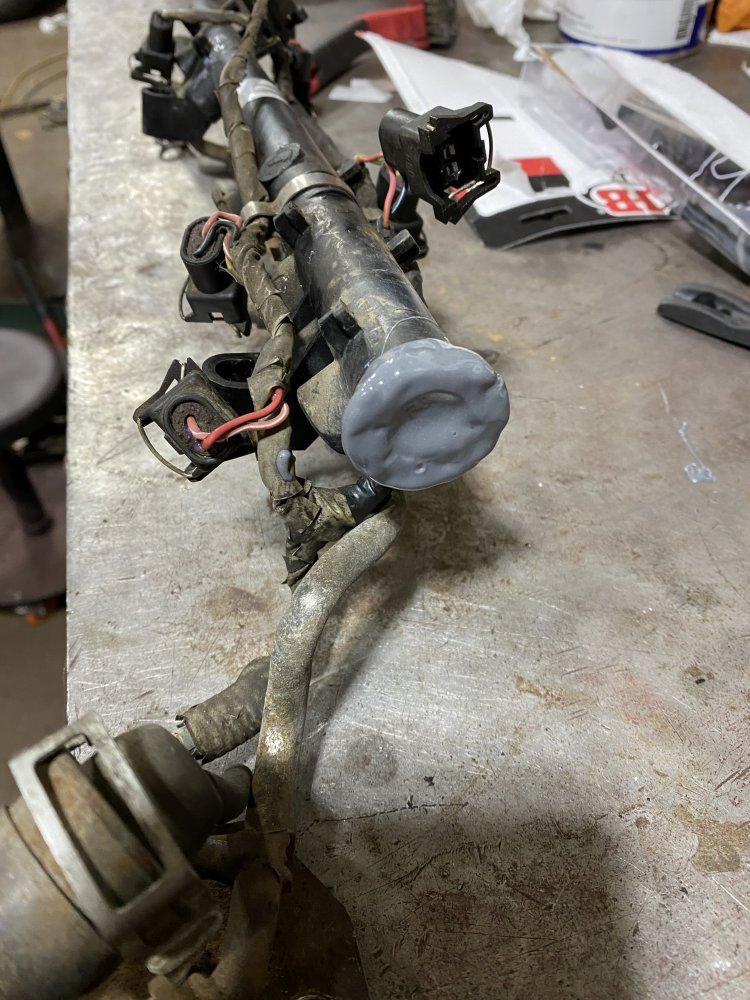
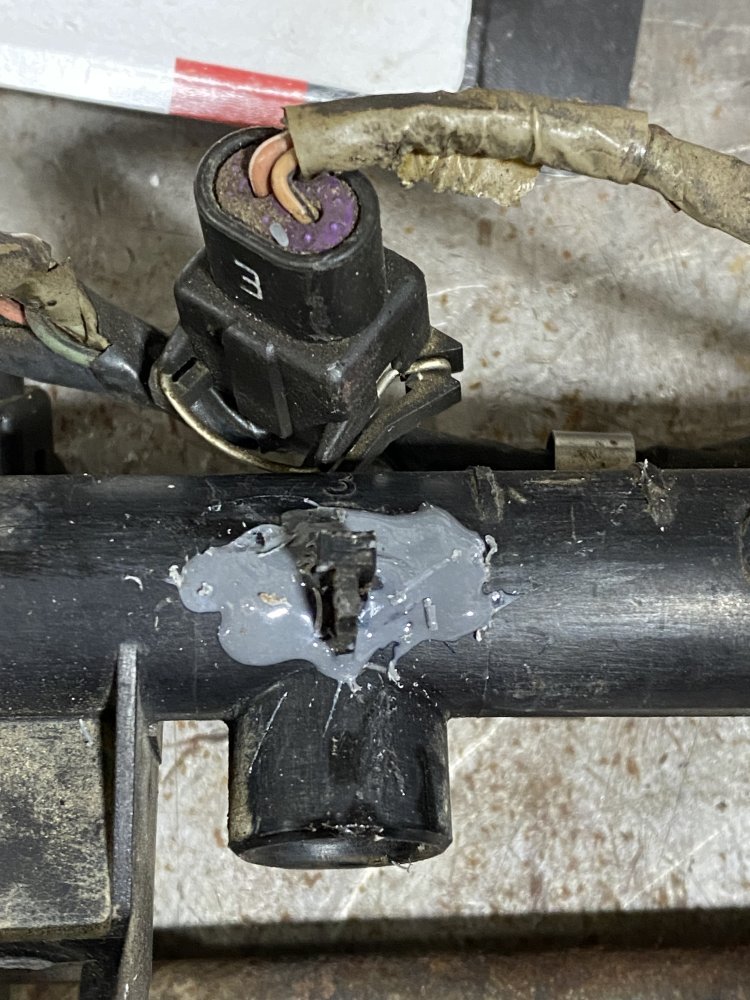
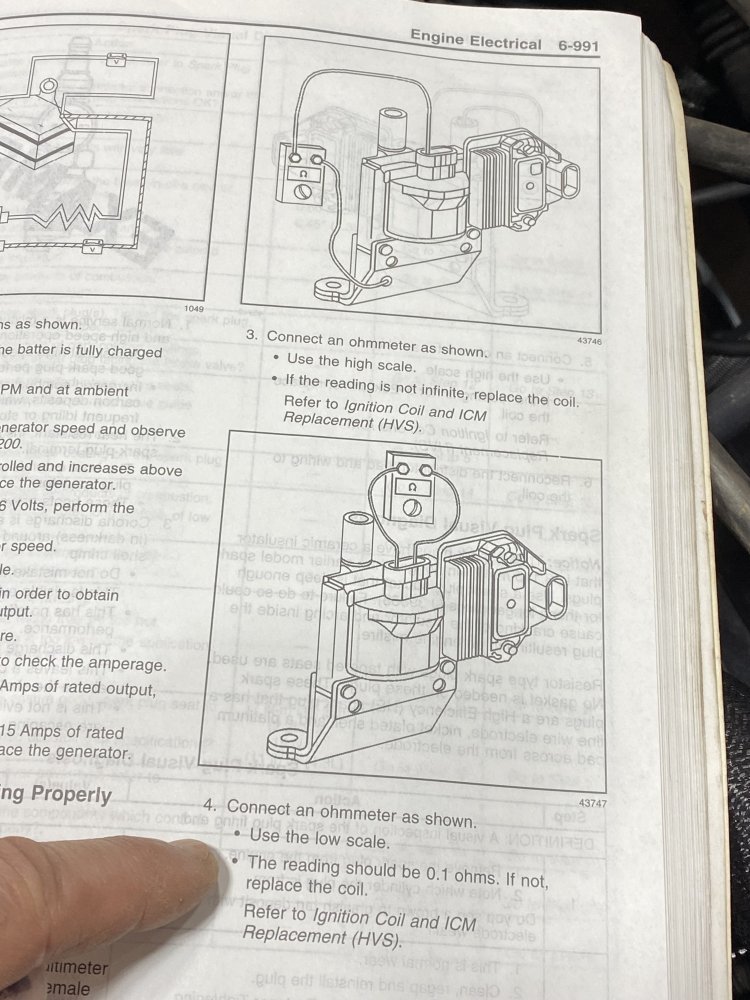
A new Delphi coil arrives today. We'll see if that's takes care of it. I hate just throwing parts at it, but I'm sort of at a loss at the moment.Victory is more pleasant when the task involves a bit of struggle.
Glad to see you are making progress, and yes that high resistance coil will cause a tiny shutter that when you first feel it you can’t decide if you felt something or not. It’s kinda gone as soon as it happens. Then a minute later you get another…
Funny, I remember reading that same thing in a manual years ago chasing what I thought was a ghost. Swap-a-roo and the stutter feeling was gone. Hope that’s yours too.
That sounds real nice.Installed the new coil. Interestingly the primary resistance in the new coil read the same as the old one. Gave it a try anyway. It’s finally running pretty smooth.
I’m tempted to try a new module because it isn’t buttery smooth yet, but that’s probably just me being picky and wishing for too much.
The distributor is a new replacement. The gear was worn and it wasn't much more to just buy a whole new distributor instead of only replacing the gear. Plus and wires are also new, so the only ignition part now that isn't new is the module. Though just because something is new, doesn't mean it isn't bad. I've heard that even new distributor caps can be a problem area on these because the paths criss-cross in the cap internally so the wires aren't all criss-crossed externally. I think it's all fine now, but I'll keep monitoring.That sounds real nice.
Also check the pickup coil, inside of distributor cap and plug wires.
Several items not quite what they should be all stacks up to a little less performance.
Seeing a single coil so I’m just guessing it has all those other components.
Especially check the inside of the distributor cap coil wire button and the center top of the rotor for carbon.
Backed up electrical energy will create carbon around those components and cause all kinds of poor performance.
Here is from a DELCO HEI that I machined and mated to the 78 MG B after the NLA Lucas ignition failed. I didnt have money for the fancy replacement units so I built My own.I went through two ignition modules inside the distributor of the 305 wheezer in my old '84 G25 Chevy conversion van before I solved both problems by building and dropping a 300+HP 327 ci engine with a Pertronix 50,000 Volt distributor system into the van.
And ignition modules.Yes you know true 7.4 guys are like 6.5 guys ,only they carry extra distributer caps not pmd's
