• Welcome to The Truck Stop! We see you haven't REGISTERED yet.

    Your truck knowledge is missing!
    • Registration is FREE , all we need is your birthday and email. (We don't share ANY data with ANYONE)
    • We have tons of knowledge here for your diesel truck!
    • Post your own topics and reply to existing threads to help others out!
    • NO ADS! The site is fully functional and ad free!
    CLICK HERE TO REGISTER!

    Problems registering? Click here to contact us!

    Already registered, but need a PASSWORD RESET? CLICK HERE TO RESET YOUR PASSWORD!

1996 K2500 “Krovvy”

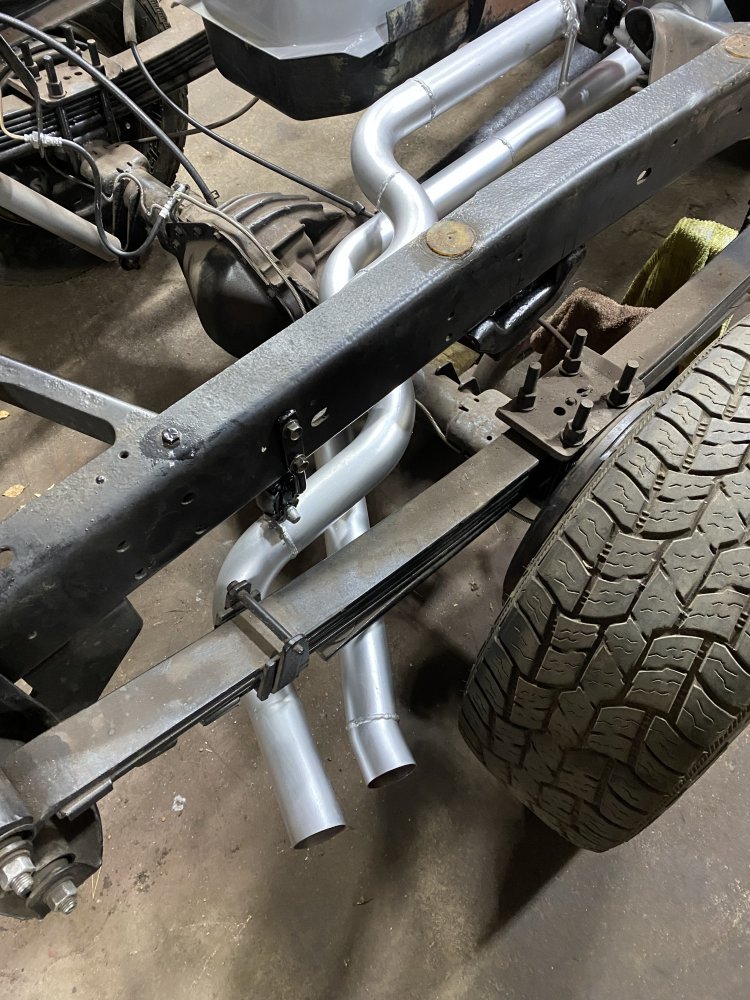
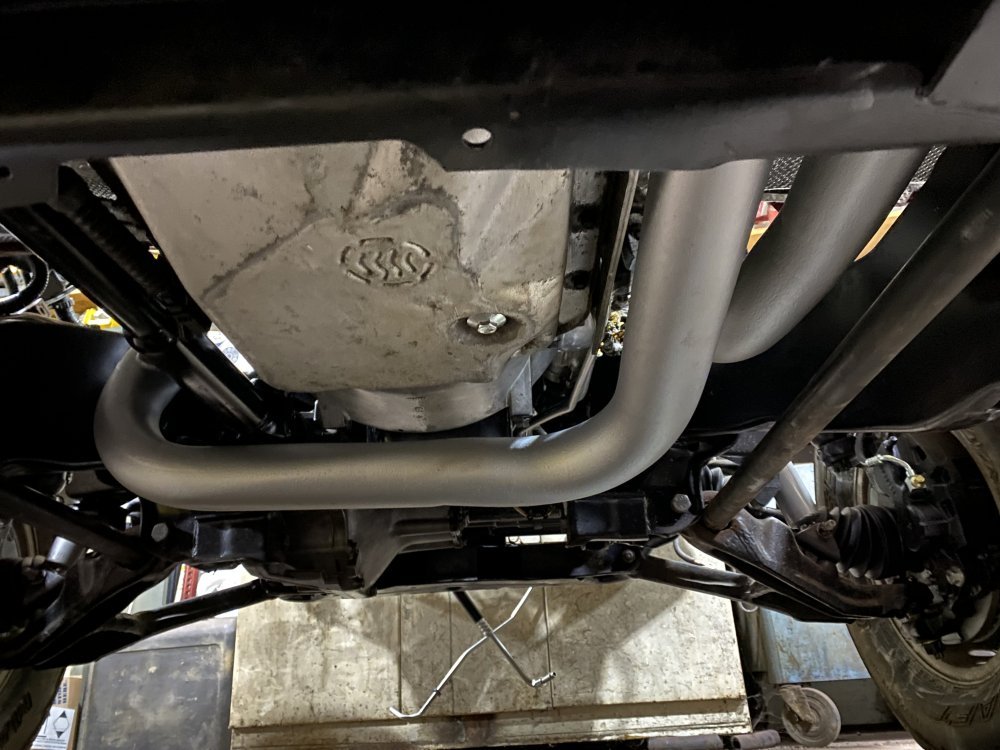
This week I finished the exhaust up.

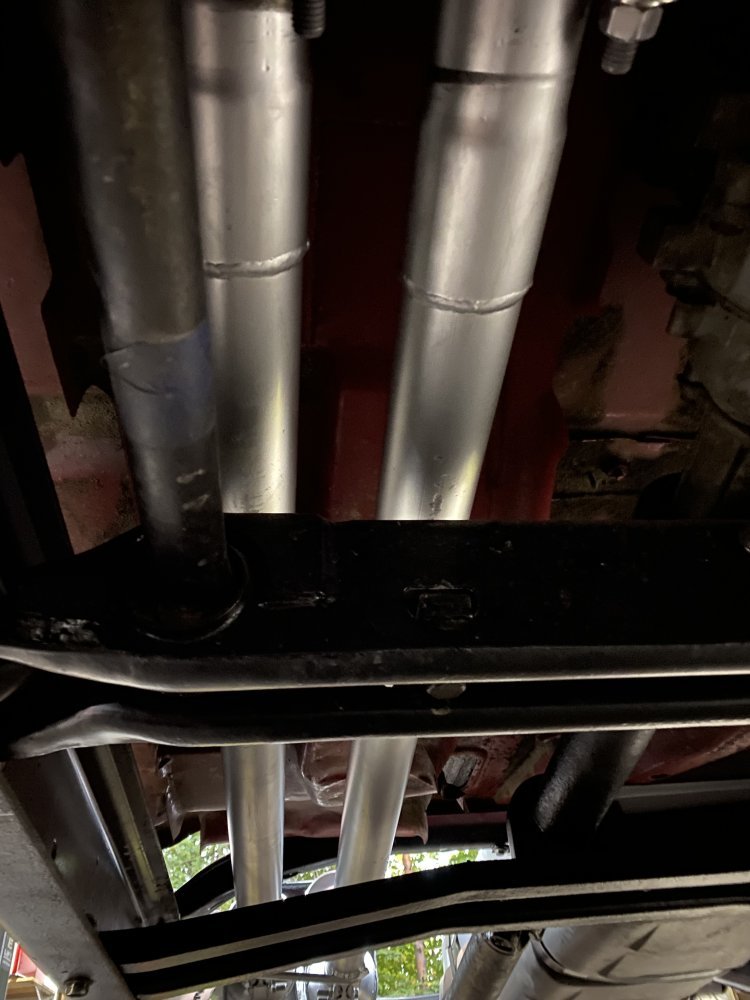
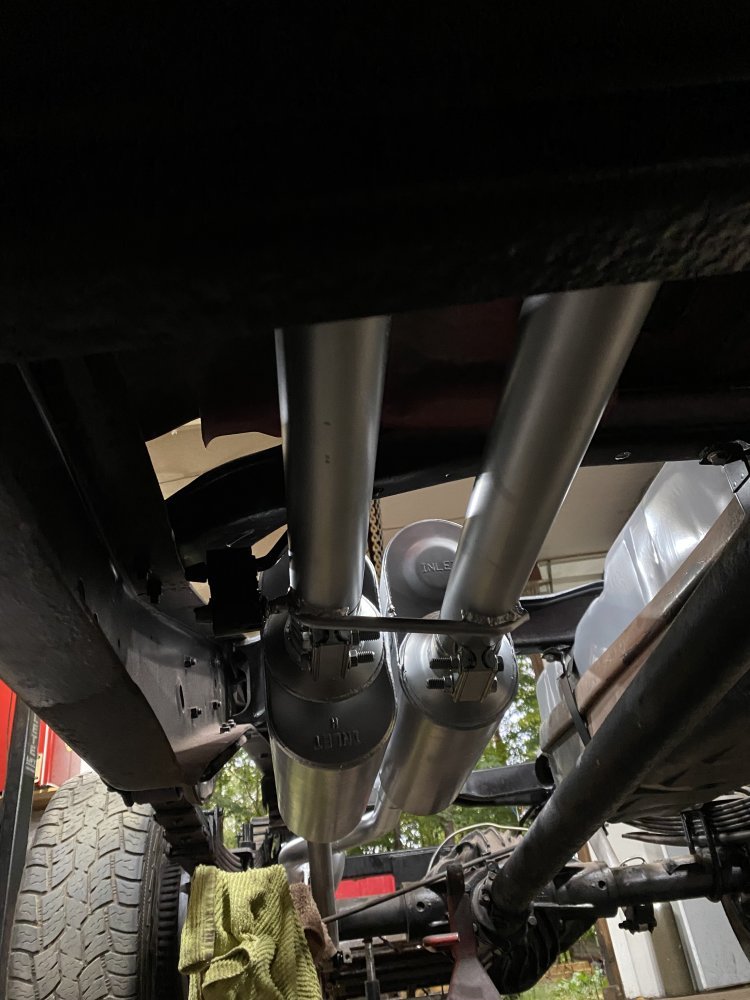
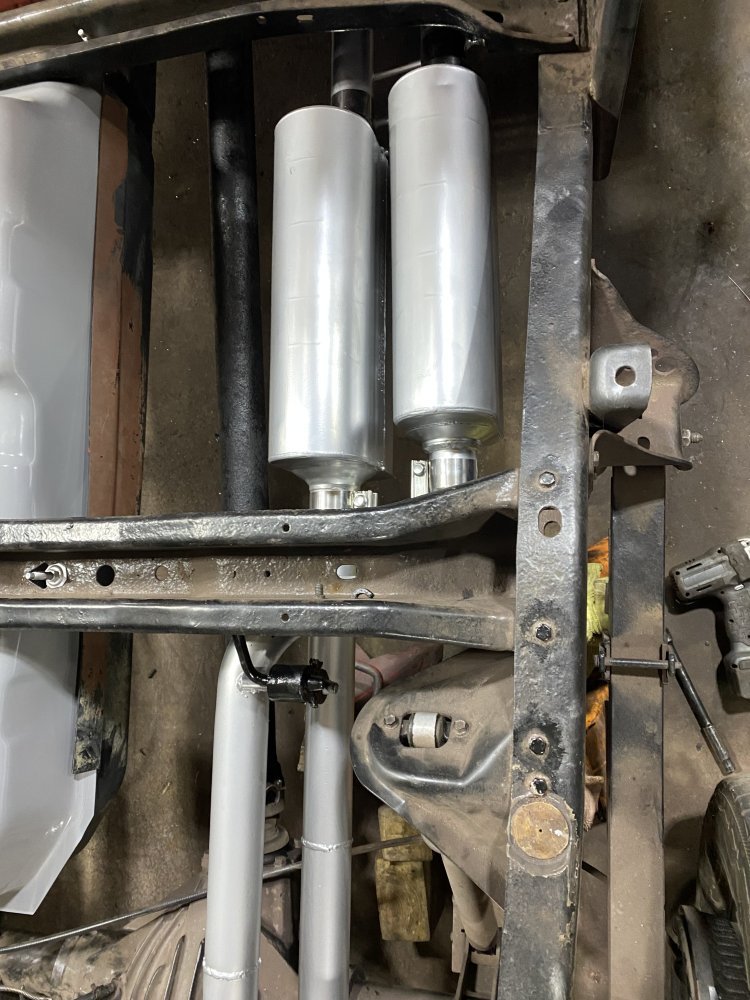
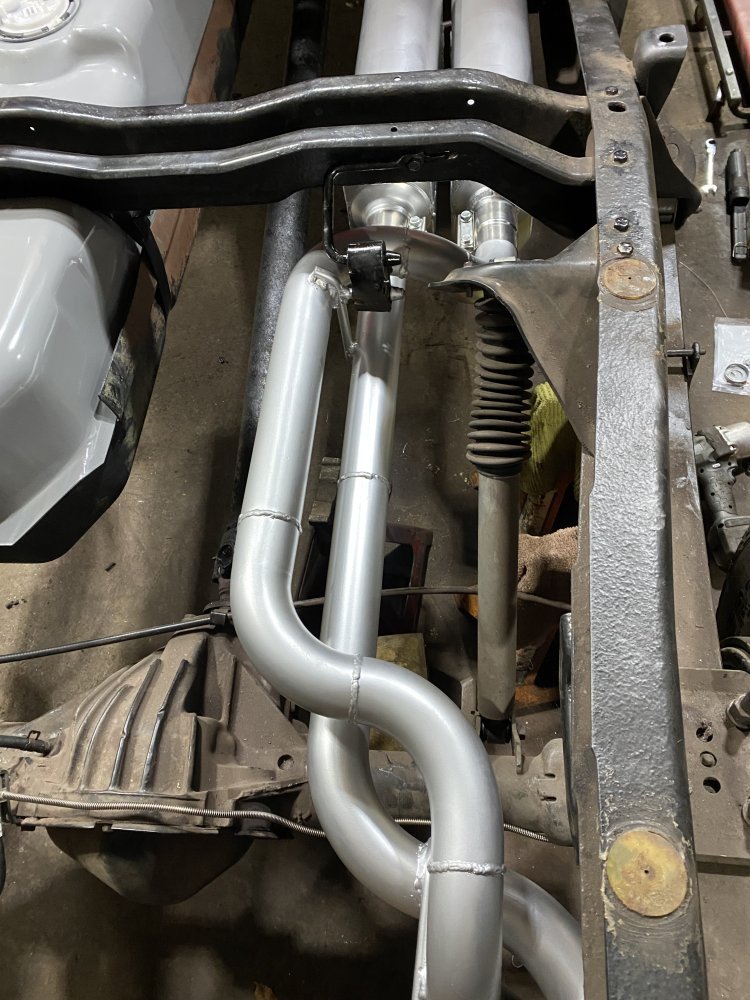
First I bent of some 1/2” rods and used those to tie the pipes to each other so they couldn’t shift out of position from each other. I also used those rods as the foundation for the hangers. I cut the mounts off the factory pipes and welded those to the rods.

Once that was done, I cleaned the pipes and mufflers up to prep them for paint. I intended to use KBS XTC paint for the whole exhaust, but as I read the instructions again, I was afraid the whole exhaust wouldn’t get hot enough to cure the paint as they said it needed to reach 350 degrees to fully cure. I contacted KBS to see if my suspicions were correct and they said they were. Damn. I didn’t want to figure out putting the pipes in an oven somewhere, so instead I coated the head pipes in the XTC and then did the rest of the pipes in Rustoleum Professional. The data sheet says it will stand up to 200 degrees, so I think it will be ok…..and if it doesn’t hold up, then I will recoat the parts where the paint fails in the XTC.

Yesterday I got the exhaust mounted. It turned out pretty well.
IMG_0276.jpegIMG_0277.jpegIMG_0278.jpegIMG_0279.jpegIMG_0280.jpeg
IMG_0281.jpeg

Today I started running the lines for the remote oil filter. That is proving to be tricky to get around the exhaust and driveshaft, but I’m close to a solution.
 
I appreciate the compliment. I don't love how the welds turned out, but I've never been great at getting welds on thin exhaust pipes to turn out very pretty......though I've also never put a priority on getting them to turn out pretty either. MIG is fast and very forgiving as far as being able to weld over any gaps between the pipes, so I take advantage of both of those features. Maybe someday I'll try to fit things together really well and then use TIG, though my TIG skills aren't as great as I would like either, so that would probably just be a bunch of frustration for little gain.
 
I bet it would be fun for Nate taking one of his custom builds on the powertour toad trip!
I looked at doing Power Tour in the Escalade this year, but I didn’t get anywhere near to having it up to par for that. The block is still at the machine shop for Pete’s sake….not that I’d have had time to do anything with it anyway. Maybe next year. Or maybe do it with something else. It would be kind of fun to have the only 6.5 on Power Tour. I’m probably further away from having a worthy 6.5 on Power Tour though…..
 
I had wanted to do power tour in my 95 truck at one point after watching a couple of youtube videos of folks taking beaters from the bone yard on the trip. I feel like my old truck would have made it from Texas, but the one thing that stopped me was the thought of needing a tow home at over 1000 miles away! that alone would have cost me a fortune! I had figured out that trip would have been a total of 2300 miles round trip! That is a lot of windshield time LOL
 
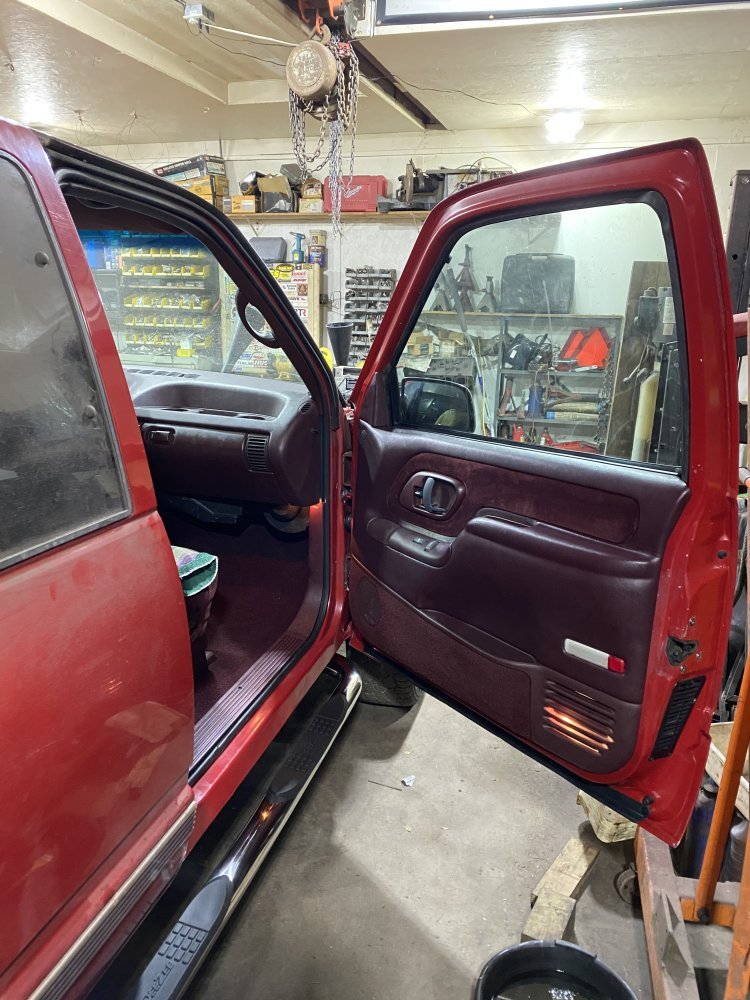
This week I got the internals of the doors installed. The driver door was a PIA, but I learned from that and the passenger door went together much better. I’ve got lots of odds and ends done and things are getting closer to done.

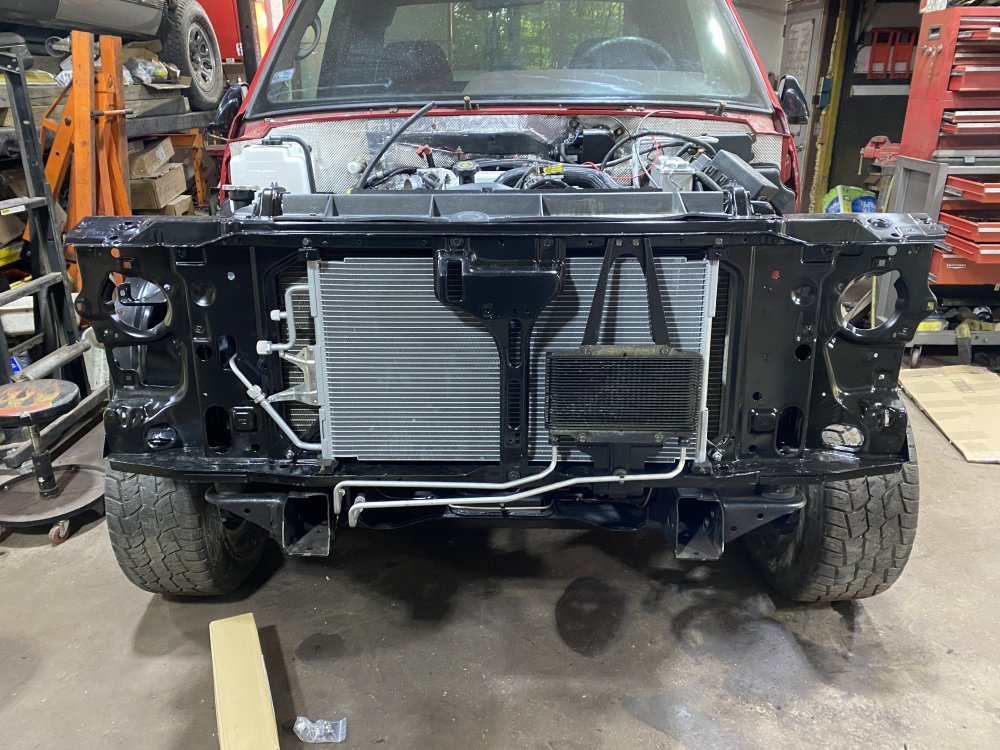
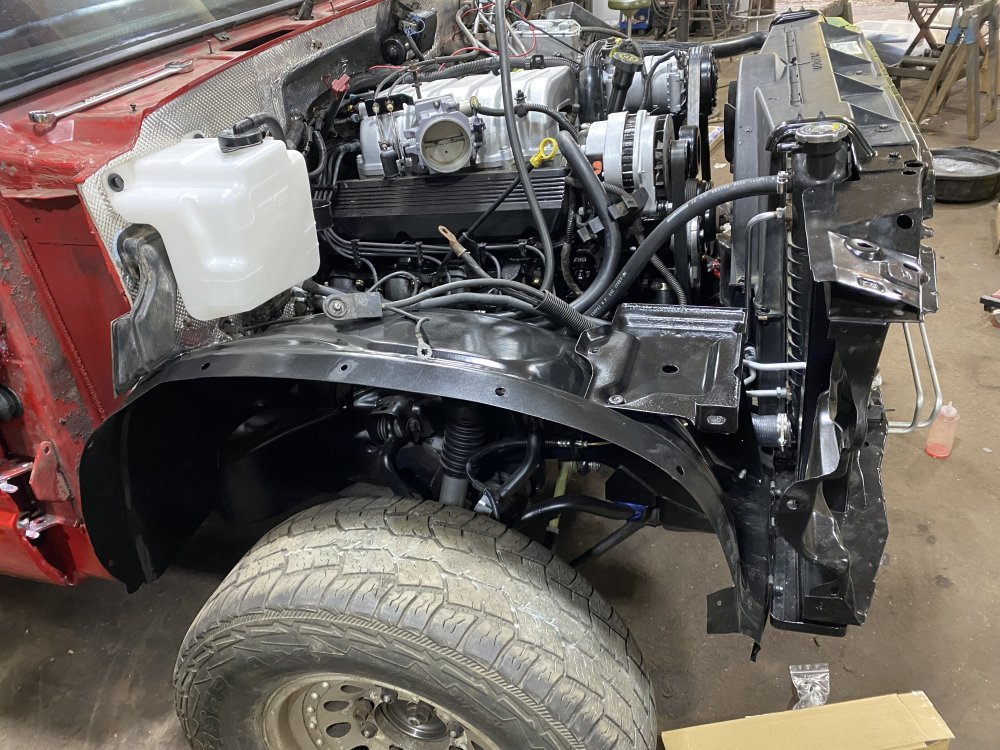
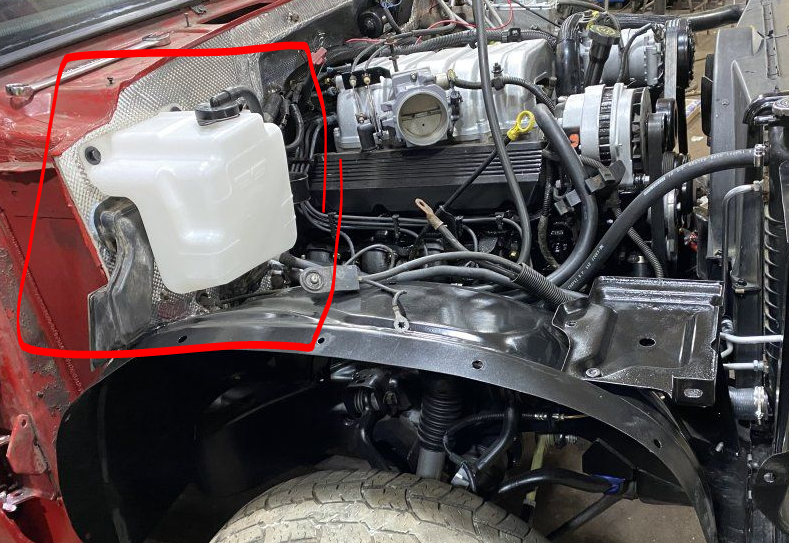
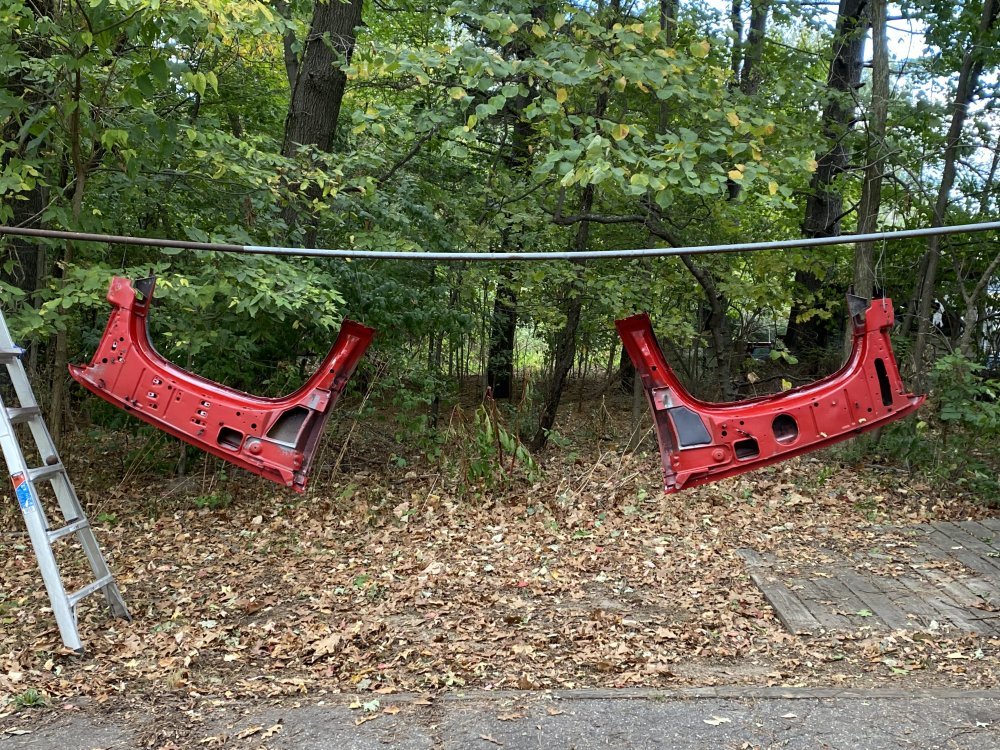
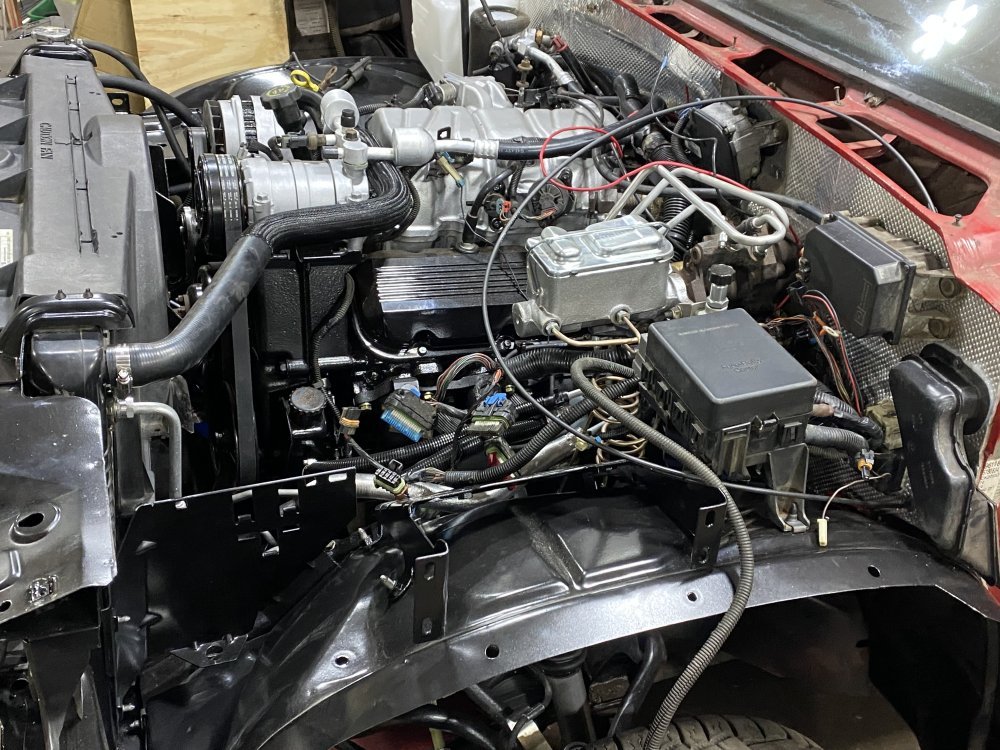
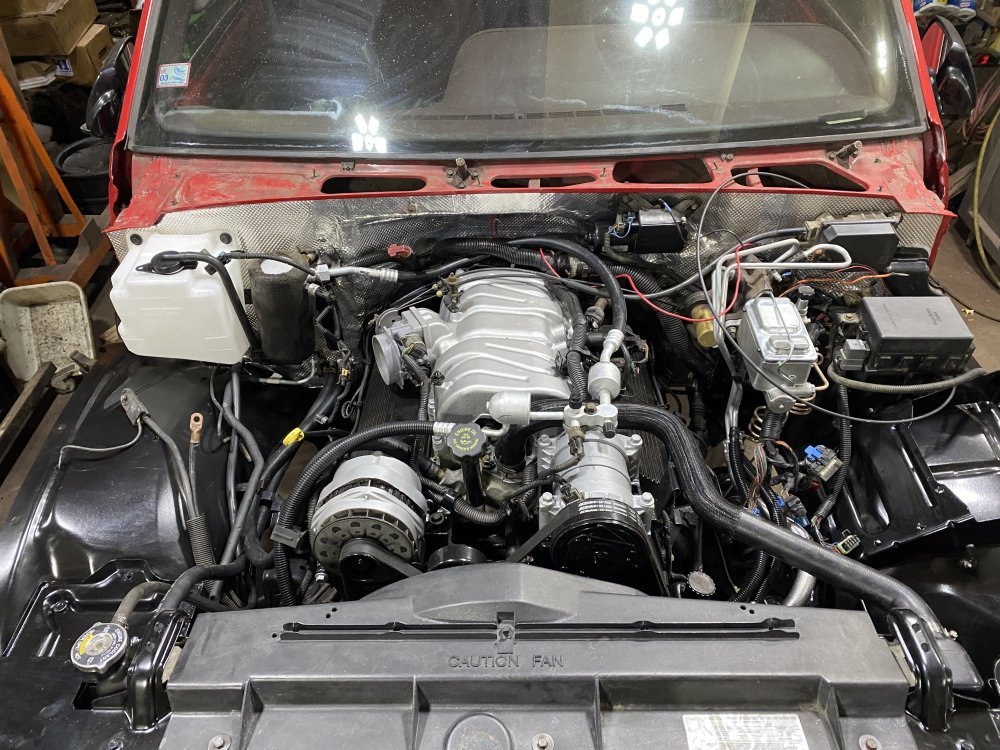
Today I got things far enough along that I could start assembling the front clip. I decided to try something different this time and install the inner fenders before the fenders so I could more easily see and reach the final routing of lines and such. So far that’s going well.

IMG_0324.jpegIMG_0325.jpegIMG_0323.jpeg
 
That is the same unpressurized bottle on my 93 diesel. the only way to go that route is to swap out the radiator with one that has a cap on it. I think champion makes an aftermarket aluminum one with a cap that fits our trucks. my 93 still has the OE one that hopefully holds up for a few more years!

@n8in8or from the looks of your radiator, if that is a 4 core, it looks to be the same as the one in my 93. if you got it using a specific application, it might be a good alternative for the newer diesels and allow the use of the non-pressurized bottle. I would like to at some point switch to this on my 95 and do away with that pressurized tank :)
After I wrote that response, I was thinking it would probably work in a 93 and older diesel application, thanks for adding that.

The radiator is the one that was in my dad’s 98 already. I’ll have to look to see how many cores it has.
 
I looked at the radiator today, and it’s a wide 2 core - 4 core equivalent. Looking at the RockAuto catalog, it appears that the core width and height are the same as a 93 diesel radiator, but the core is actually thicker. The other difference is that it has an oil cooler built into the tank, whereas most diesel radiators don’t….but that’s not a huge deal, it just wouldn’t have to be hooked up if it was installed in the diesel. I haven’t compared inlet and outlet diameters though.
 
I had the day off work today. I didn’t get as much done as I hoped.

First thing I did was dig the fenders out of the loft area, anticipating that they would be installed today. As I cleaned them off, I noticed a lot more rust than I expected, boo. So I wire wheeled the rusty spots and then hit them with red oxide primer and paint. The driver side fender is pretty good and it probably usable for a long time, but the passenger side is going to need to be replaced eventually. It presents well enough, so it’s going to get bolted on with my touchups and called good enough for now.

IMG_0333.jpeg

I went to assemble the AC and found I didn’t have enough PAG oil on-hand, so I had to run to the store…..another time suck.

I got the AC assembled and drew a vacuum. It held vacuum no problem.

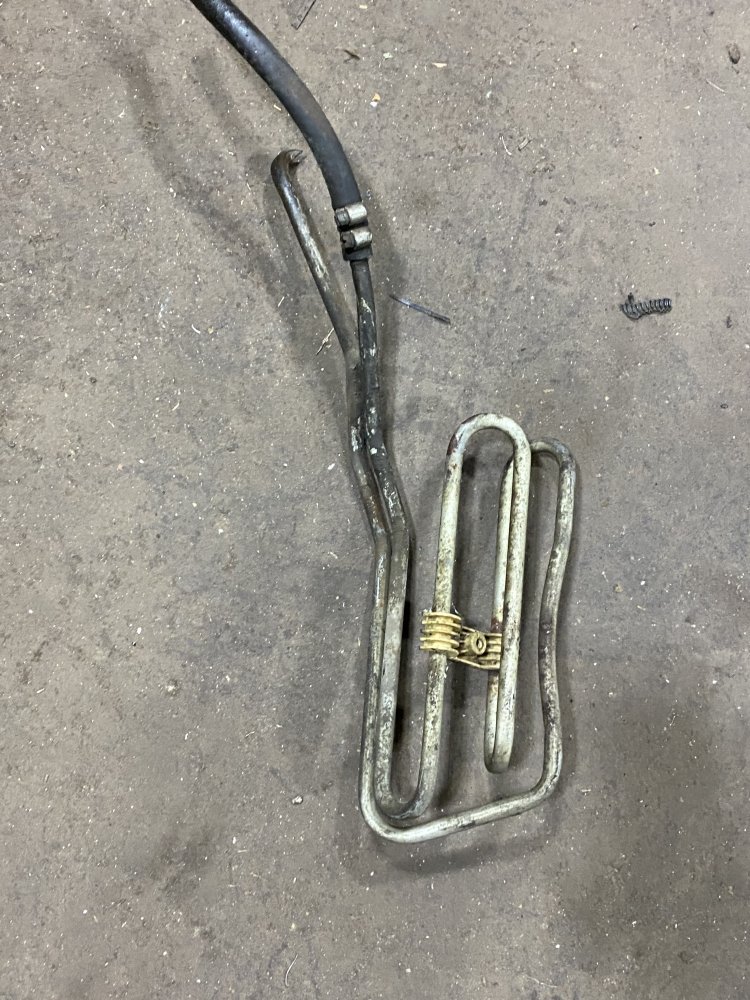
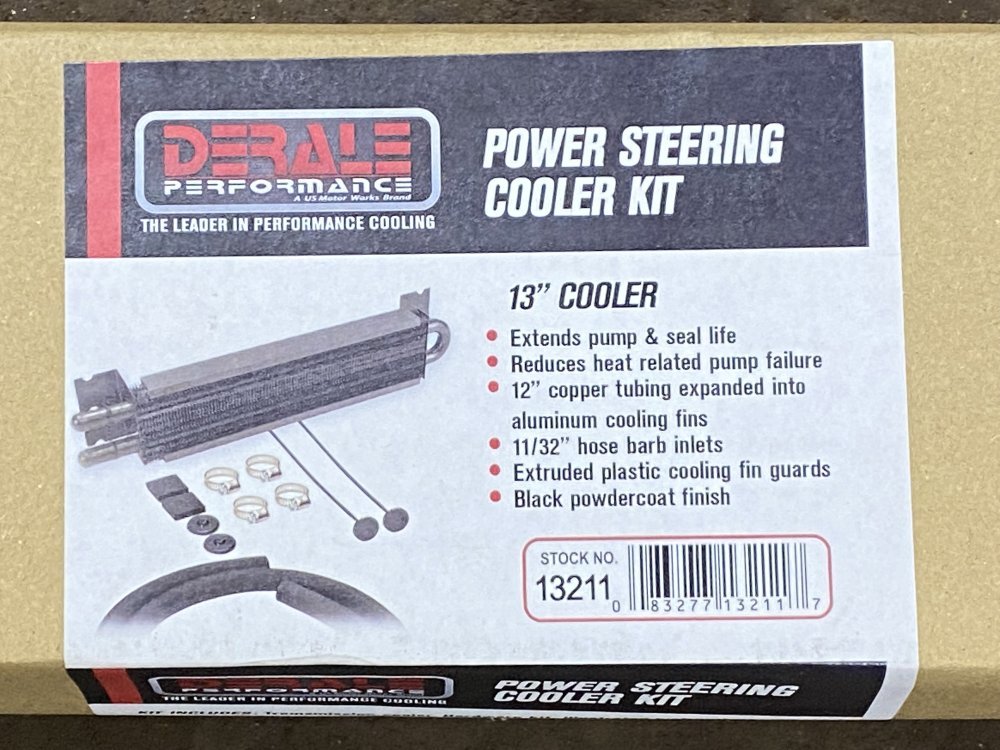
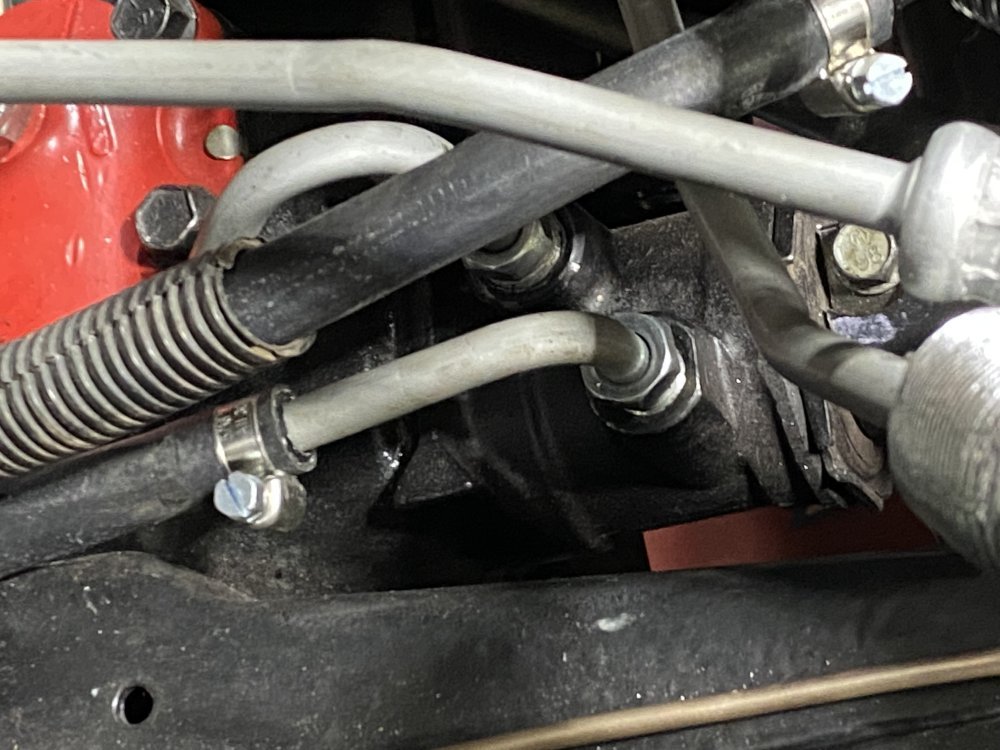
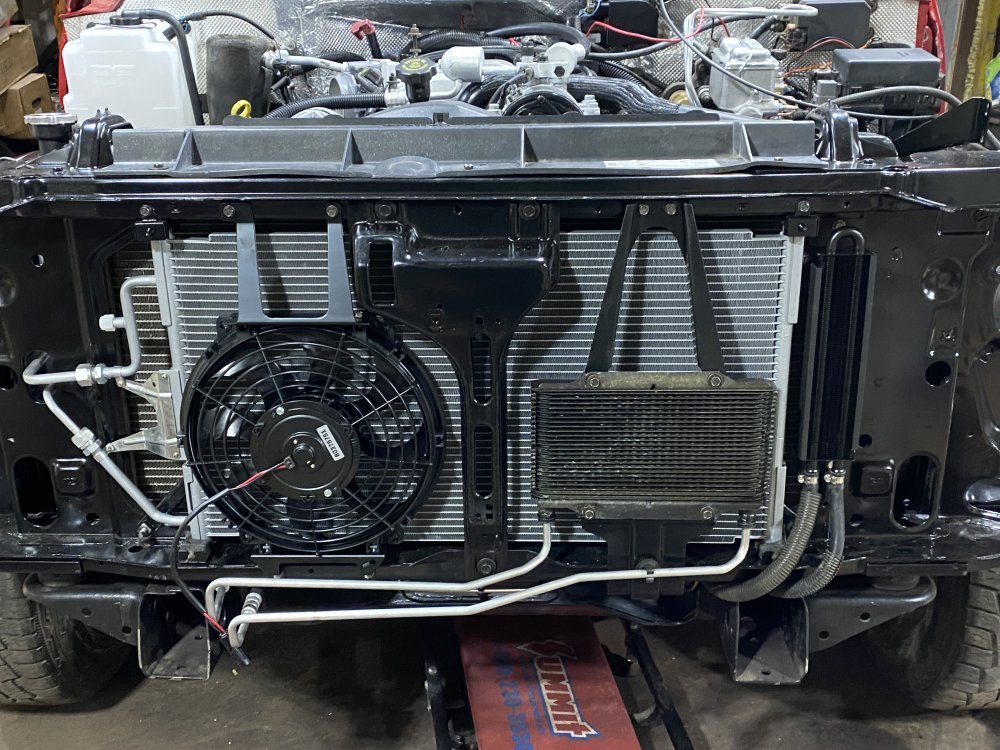
I got the power steering cooler installed also. The donor truck had a tubing complex in the frame horn that acted as a cooler. Unfortunately the fitting was rusted on and it wasn’t savable during disassembly, though probably something I would have wanted to upgrade anyway.

IMG_0337.jpeg

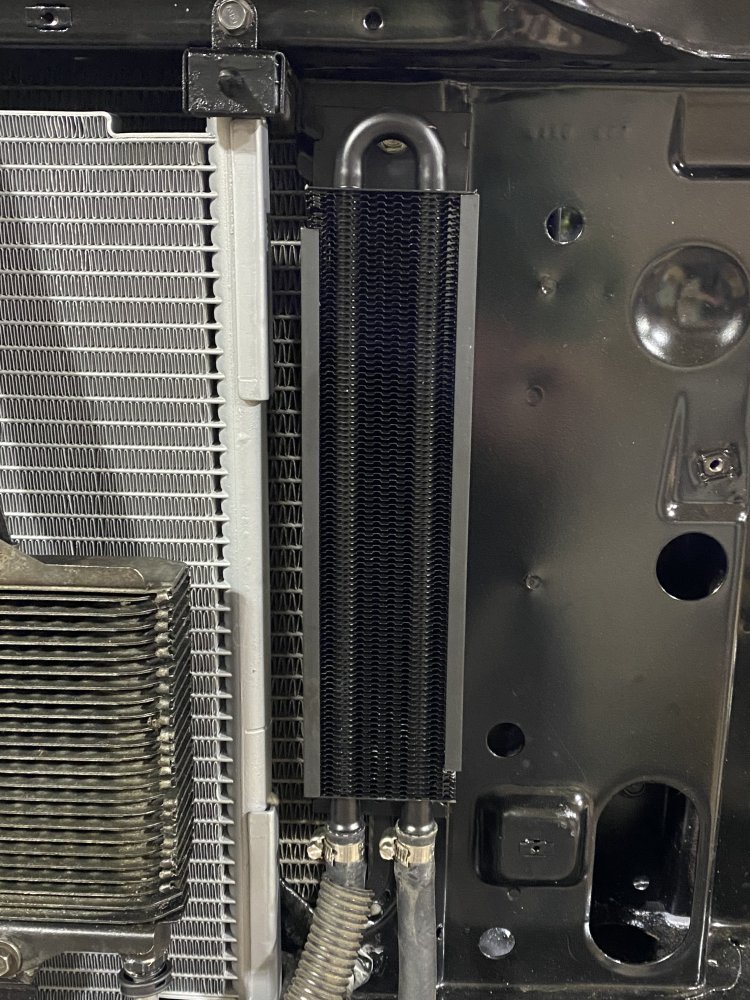
I looked up a proper factory cooler and it was like $110. Seemed pricey. I did some digging and found a similar Derale cooler for just $45-ish.

IMG_0338.jpegIMG_0340.jpeg

All I needed to add was a fitting to the gearbox. This is Sunsong part number 3603004.

IMG_0339.jpeg

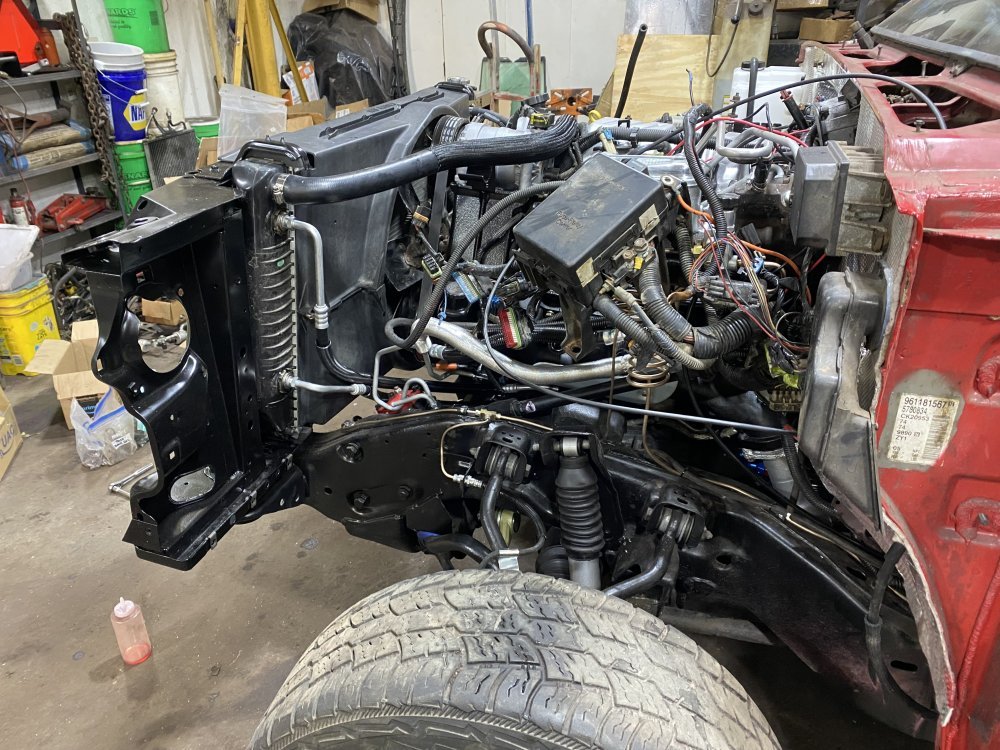
With those steps done, I installed the driver side inner fender and a couple brackets. Wow, the driver side really gets crowded with that stuff installed. I found that I need to reroute a hydroboost line so the vapor canister will fit, so that will be my next step when I can work on it again a couple days from now. Once that is done, I’ll focus on the vapor lines and then the wiring on that side and in the front of the truck. Hopefully fenders will be going on soon.

IMG_0334.jpegIMG_0335.jpegIMG_0336.jpegIMG_0341.jpeg
 
Man, I’m getting bad about not updating this thread in real time and then I have to try to catch the thread up and remember what I did since the last post.

One thing I got done was installing the fenders. It went well having the inner fenders preinstalled, so I was happy to have done it that way.

Once those were on and got most of the rest of the front end together I hooked up a battery to see how the electrical was doing. I had 3 problems: 1. A bunch of stuff didn’t have power. I found out the wrong fuse was pulled when removing the ABS fuse…..instead one of the 2 IGN fuses got pulled. Easy fix. 2. The Courtesy fuse kept blowing. I did a bunch of tracing and found that I had accidentally plugged the plug for the glovebox light into the passenger door switch. Oops. And 3. No power locks. Dad’s truck used to blow the Cigarette Lighter circuit because the passenger side lumbar harness was arcing to the floorboard and the fuse hadn’t been replaced after I fixed the harness. Another easy fix. Huzzah.

With everything working electrically, I buttoned up the door panels and interior trim.

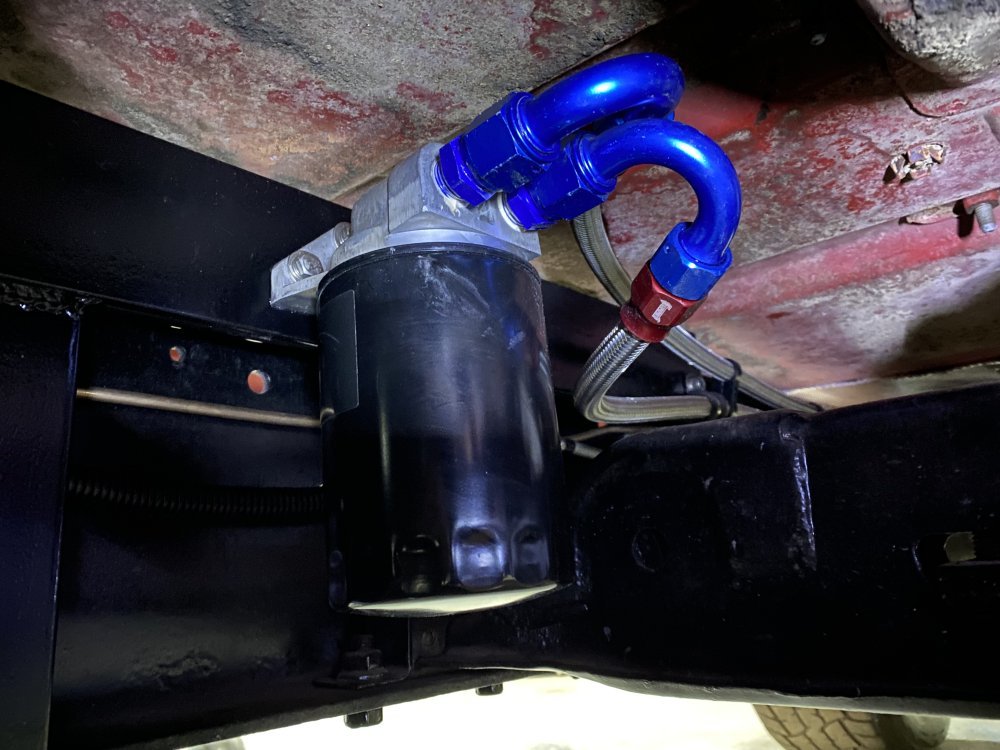
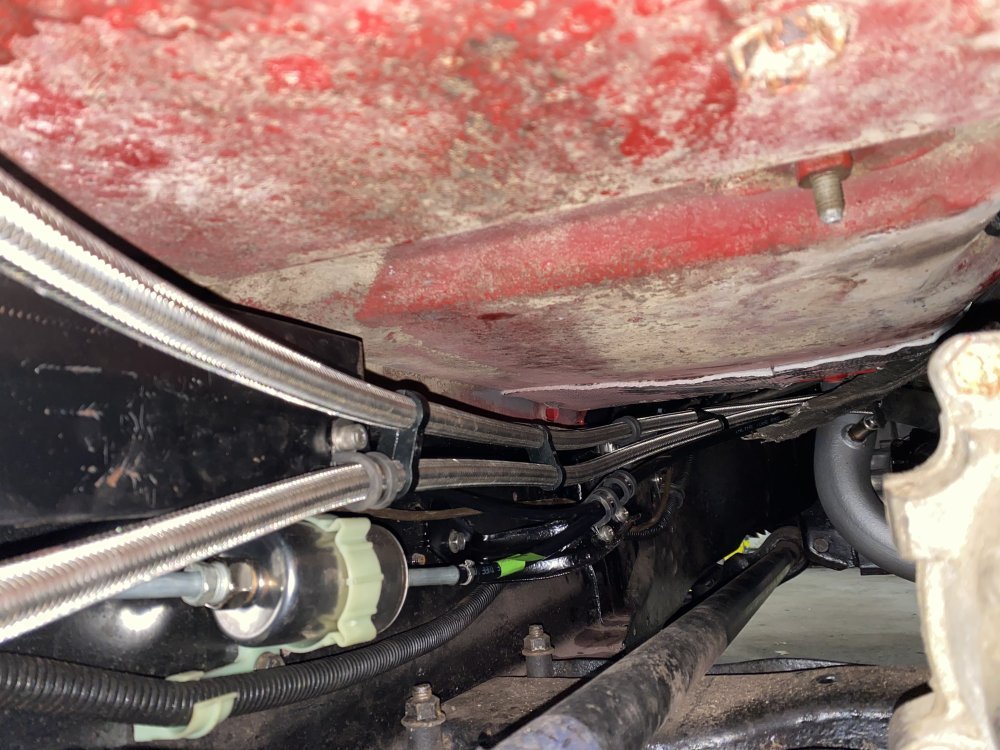
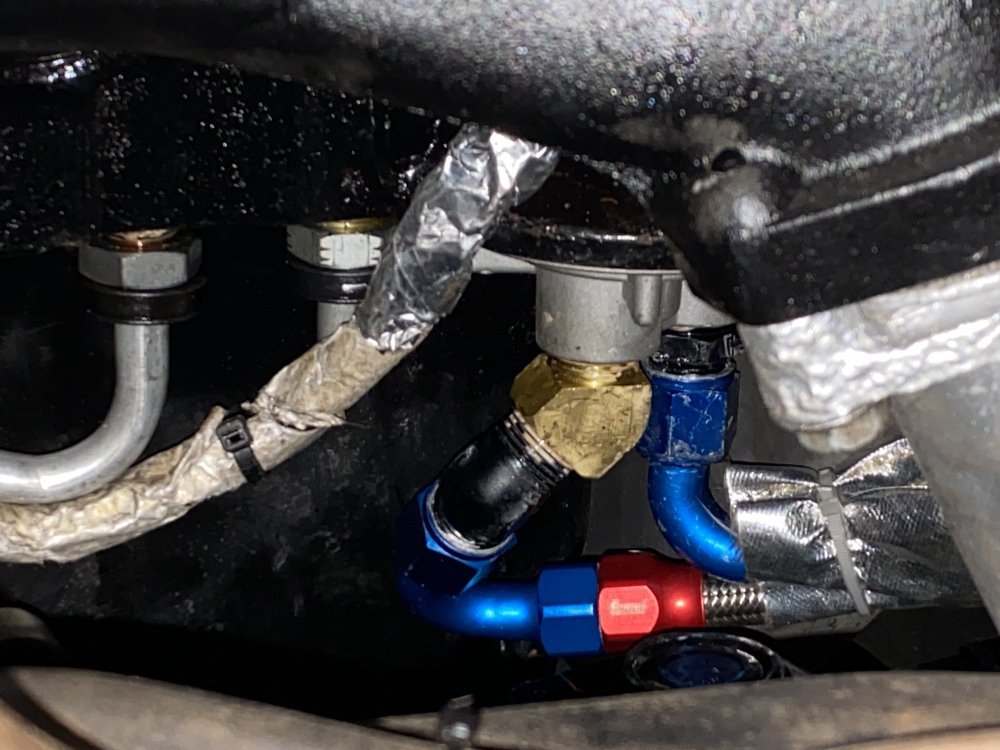
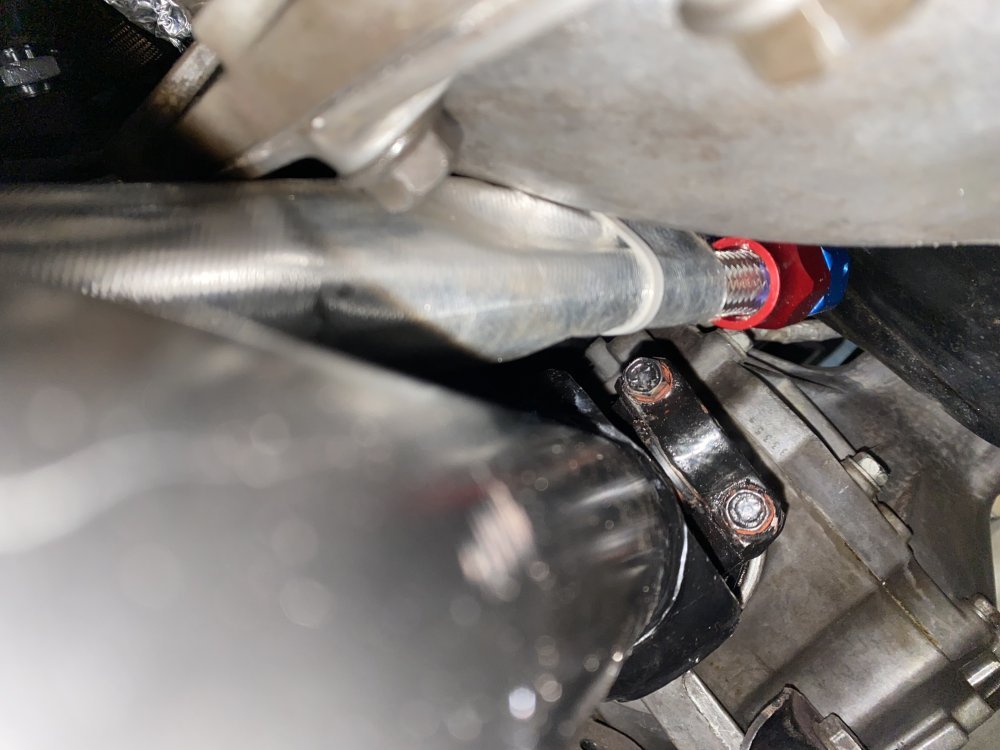
I got the remote oil filter finished. I made a bracket and bolted it to the frame rail and made some lines using Summit PTFE stainless braided hose and fittings and a Derale remote filter kit. It was a bit of a challenge to work around the front driveshaft and exhaust crossover pipe, but a couple 45s did the trick. It’s hard to get a pic the accurately shows how it’s routed, but there’s definitely sufficient clearance.

IMG_0384.jpegIMG_0385.jpegIMG_0387.jpegIMG_0388.jpegIMG_0390.jpeg

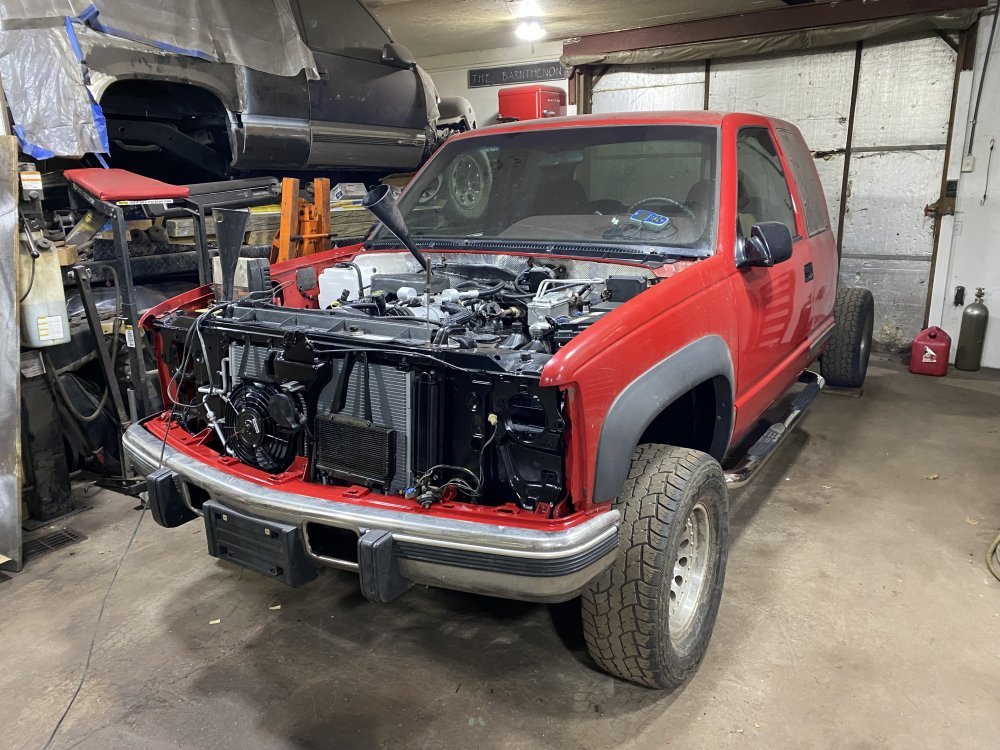
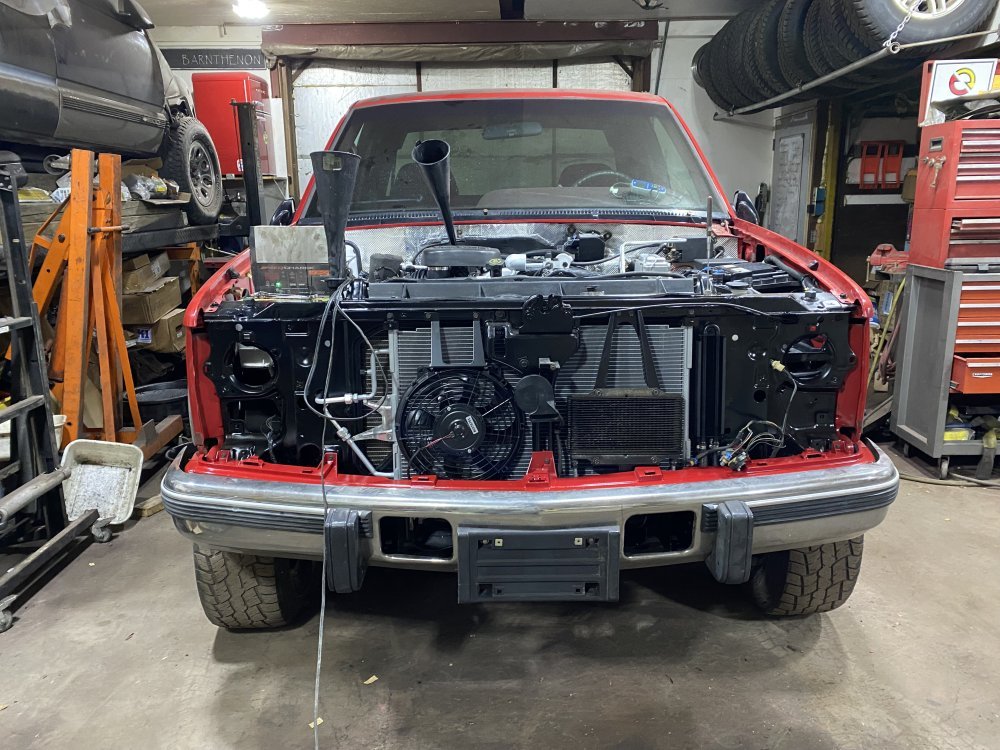
I got a front bumper installed. Unfortunately the only good bumper I have is a diesel bumper. I hate seeing a diesel bumper on a gasser swapped truck, but enough money has been spent on this thing lately, so this will do until I find a good gasser bumper in the future.

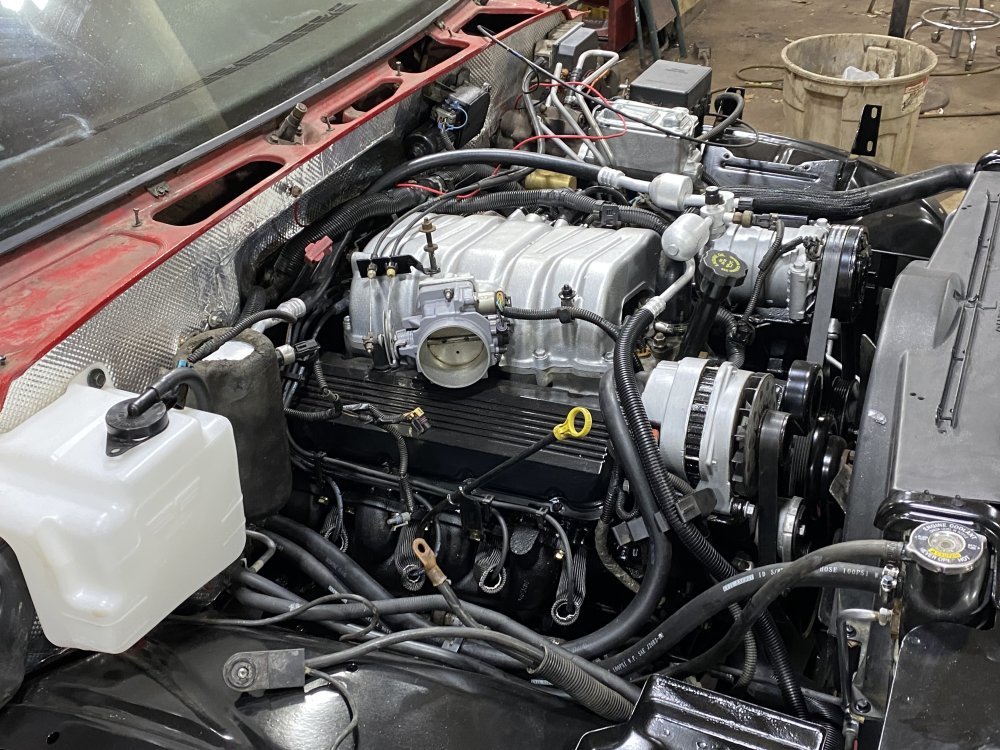
All fluids are filled and it’s ready to start! Here’s how it sits tonight…..kinda sorta looks like a truck finally!!

IMG_0392.jpegIMG_0393.jpegIMG_0394.jpegIMG_0395.jpeg

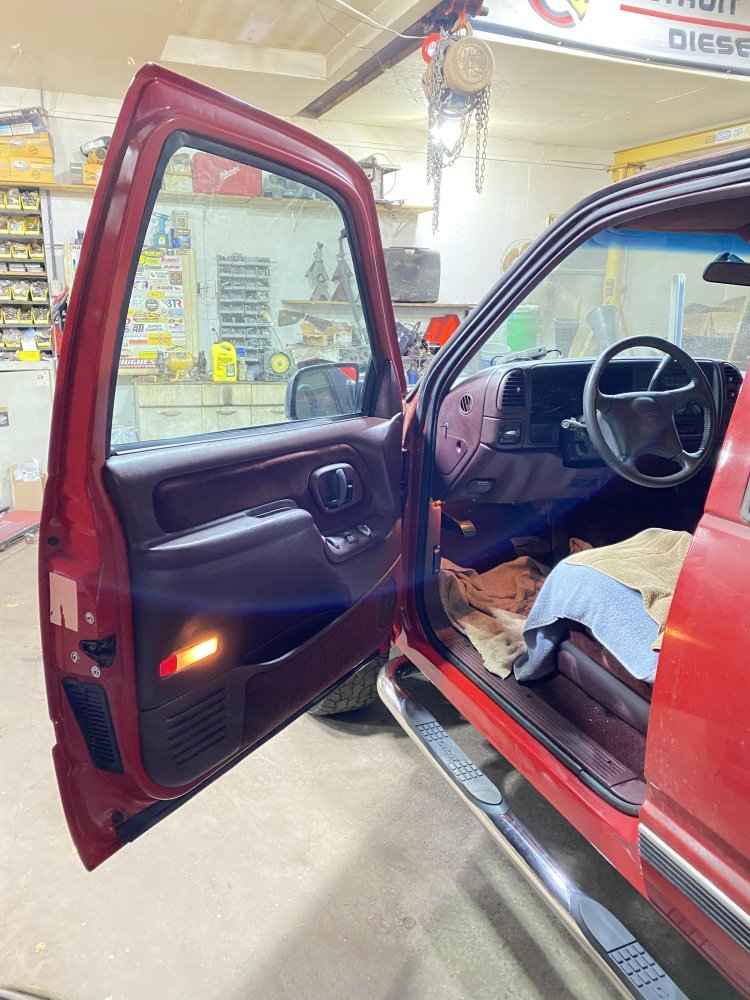
Yes, I see the passenger door light isn’t in the right spot right now. Argh.

Tomorrow night my dad and brother are coming over and we are going to fire this thing up for the first time. Exciting times! Hopefully dad gets to drive it around the yard a little.
 
Last week didn't go as hoped. We got the engine to fire up, but there was a miss. The scan tool said it was a misfire on cylinder #8. We swapped plug wires, swapped spark plugs, traced injector wires and did a compression test and nothing changed it. That left the injector itself (or the computer). The injectors are a set that my dad bought off of eBay a while ago because the #7 injector was a leaker when he was driving the truck regularly.

On top of that, the truck was in a forward gear all the time, no matter where the shifter was (even Park!), so my dad couldn't even take the truck for a drive through the yard. Not the best night.

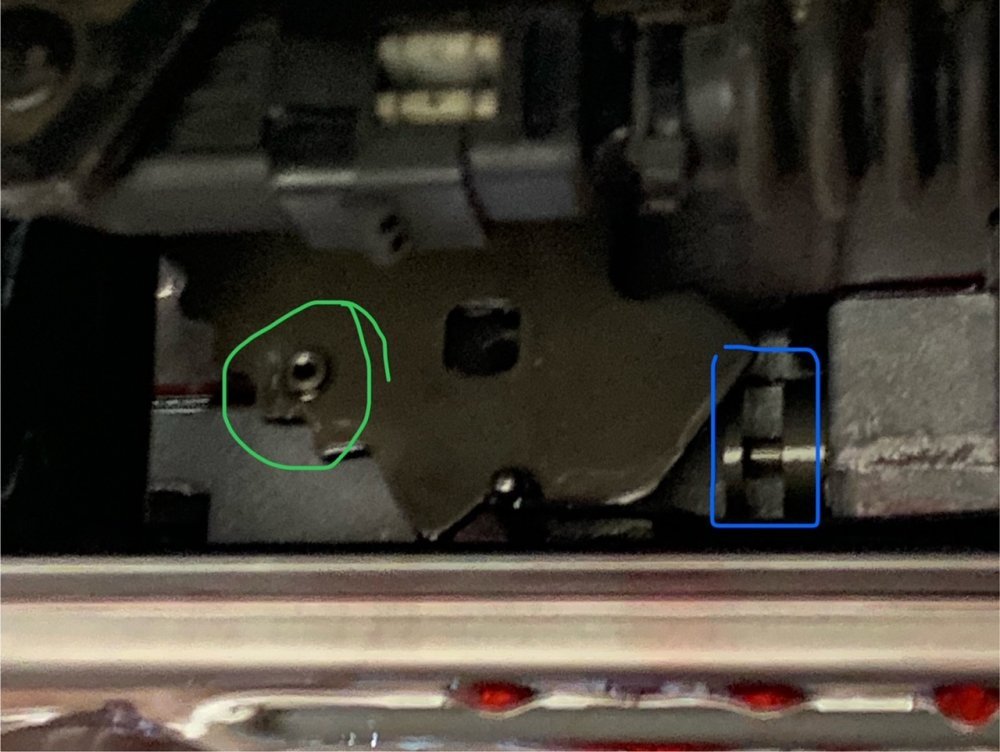
I did some research and the likely culprit for the trans was that the manual valve wasn't engaged with the shift linkage. I dropped the pan and confirmed that was indeed the problem. At least I don't have to remove the transmission! It is a little concerning/puzzling that it was not engaged, but I kind of recollect having to mess with the valve body after I lowered it onto the transmission the first time......so I must not have been paying attention to the manual valve alignment when I fiddled with it the second time. I ran it through its full motion and it can't come disengaged, so it should be fixed now. The picture sucks, but the pin is on the backside of the quadrant where I have circled in green, and the groove it is supposed to be engaged into is what I have outlined in blue. No, I didn't have the alignment off that much.......that's where the manual valve got pushed the first time the gear selector was moved down to D1 and then it couldn't be drawn back out due to the pin not being engaged.

Trans.jpg

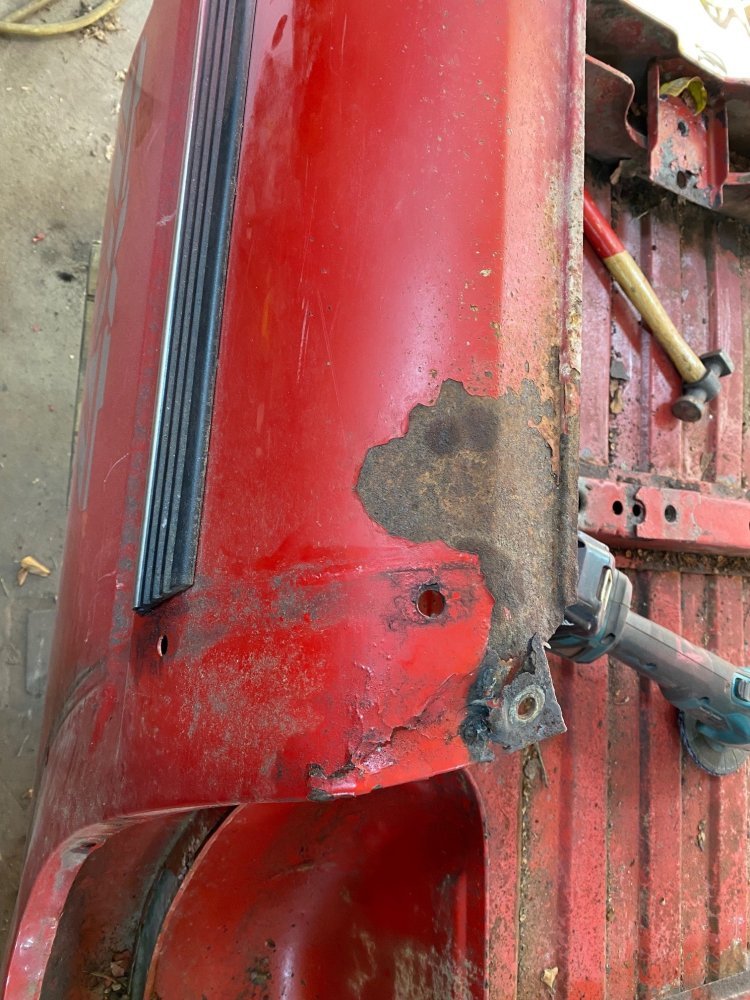
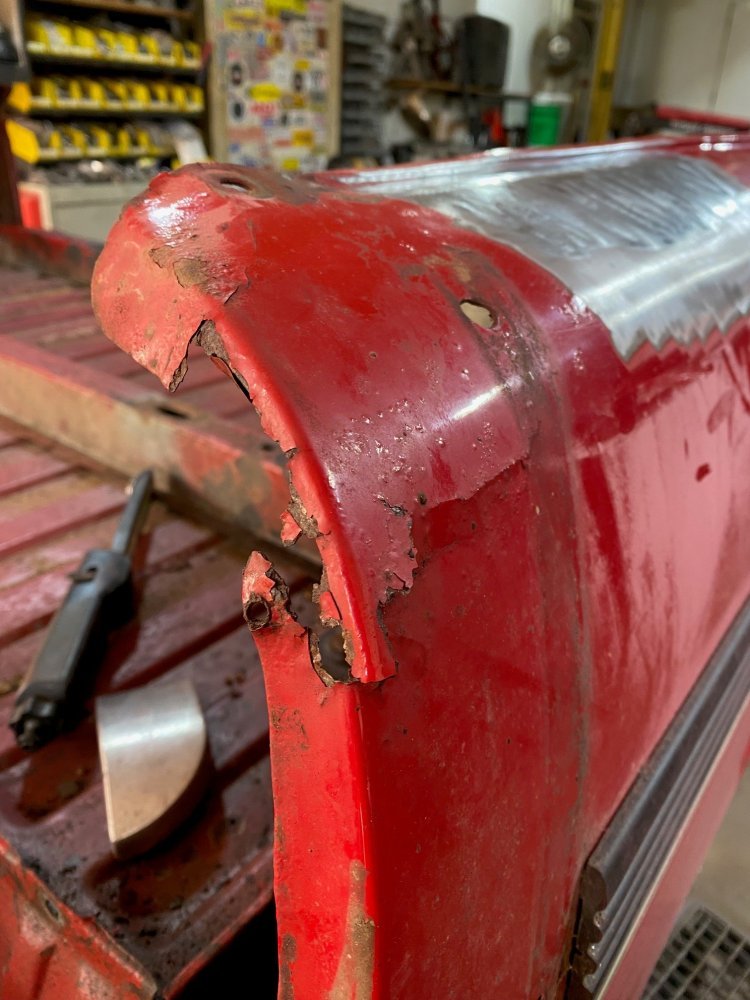
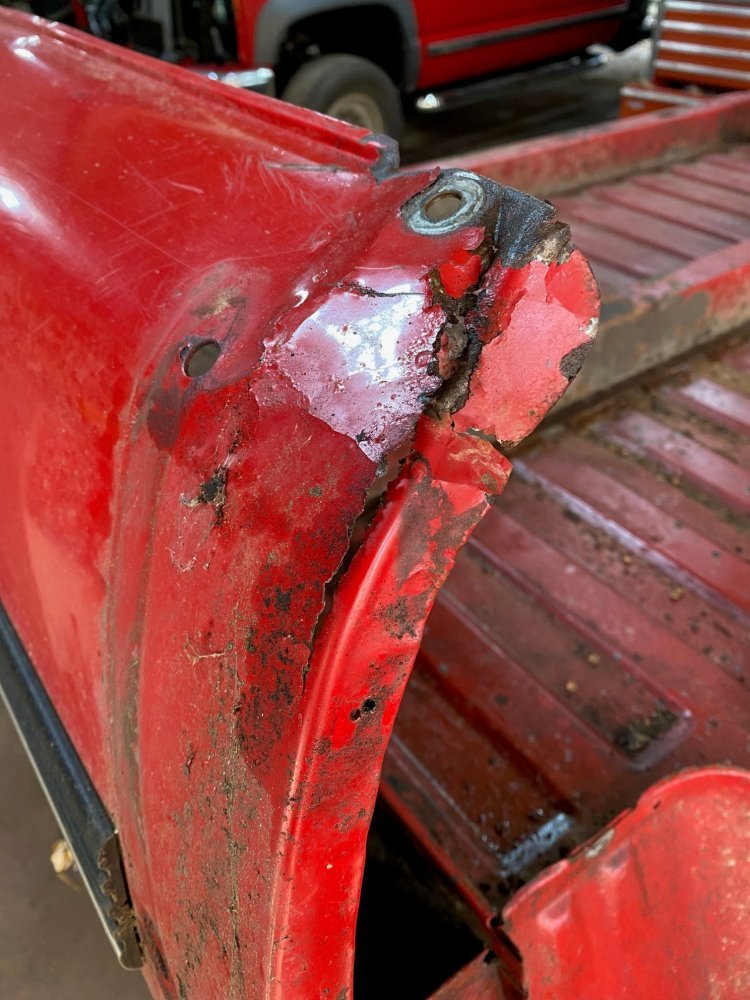
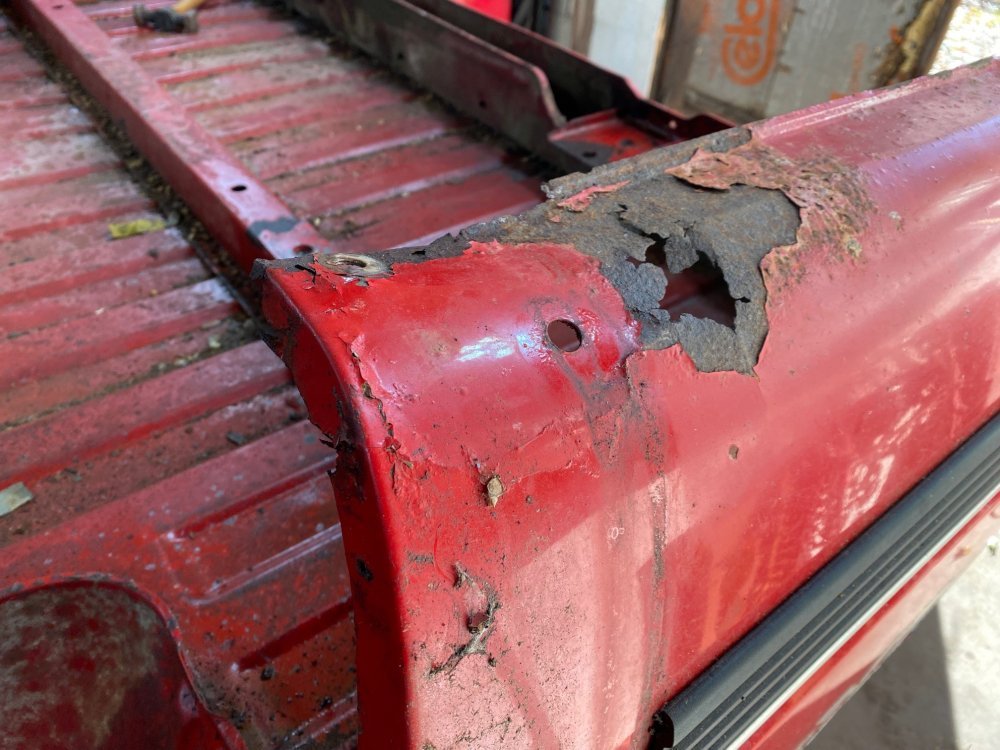
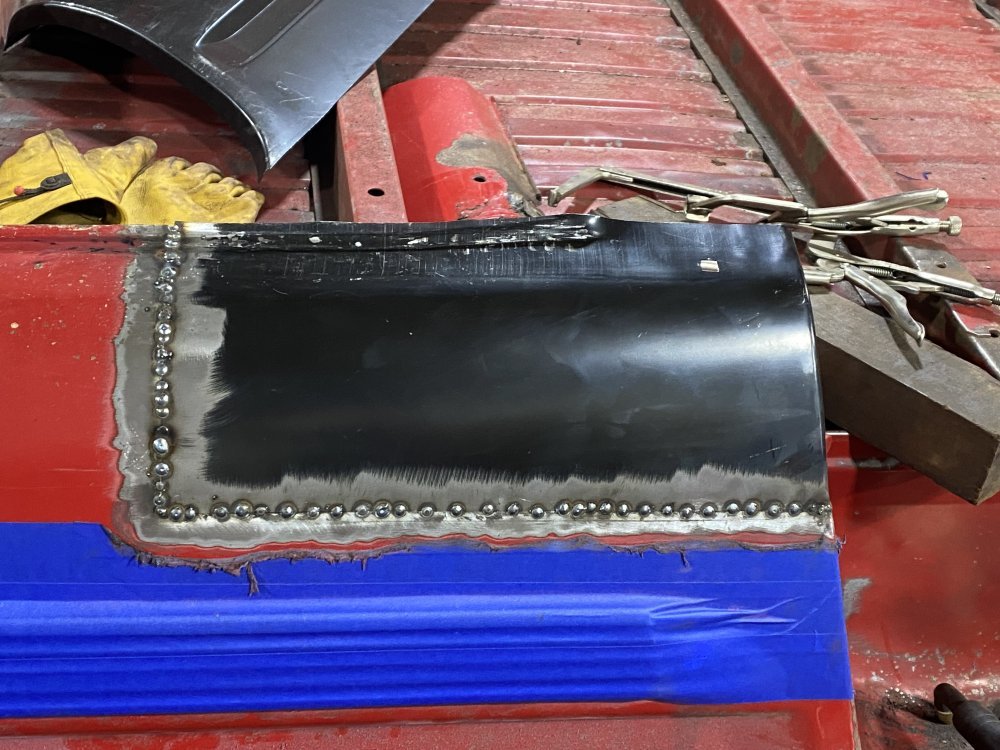
This weekend I started messing with the bed. I remembered a little rust underneath that I should clean up before installing the bed. I looked at it and it was worse than I remembered. Suck. So I flipped the bed upside down and removed the flares so I could look closer. Yep, not good. So now I am going to be installing 4 patch panels in the bed on top of cleaning up the surface rust on the crossmembers. Rust, my old nemesis.

Bed1.jpgBed2.jpgBed3.jpgBed4.jpg

And finally, last night my brother came over with a reman injector from a supplier he's had good luck with and a fancy $12,000 Snapon scan tool from work that can individually control each injector. First thing he did was confirm that the #8 injector in the engine was bad.....it was. Then we were comparing the replacement injector he bought, the injectors in the engine, and the original injectors. The originals didn't have caps, the replacement he brought didn't have a cap, but the ones in the engine DID have caps. Ugh. We were both concerned that mismatching could affect the balance of the injectors, as far as the spray pattern goes....and maybe even the output of each? So we swapped the new injector in to see if we could see a difference. Holy crap, what a difference!! The new injector atomized the fuel WAAAAAY better than the injectors that were in the engine. In the video below, the injector at the top is the reman injector my brother bought (made by GB Remanufacturing) and the one at the bottom is the eBay special. YIKES. So I am now buying more GB Reman injectors for the other 7 holes.


I sure hoped to be done with this truck by now. I'm lucky the weather has held out longer this year because I'm starting to bump into poorer weather and I still have other stuff to get done outside before winter. Hopefully I can bang out the bed body work quickly and get this thing wrapped up.
 
I thought it was really cool to be able to actually see such a dramatic difference. Too bad that scan tool is so expensive. It also made me feel better about the expensive set of injectors I have sitting on the shelf for the Escalade - a clear case of getting what you pay for.
 
Back
Top