• Welcome to The Truck Stop! We see you haven't REGISTERED yet.

    Your truck knowledge is missing!
    • Registration is FREE , all we need is your birthday and email. (We don't share ANY data with ANYONE)
    • We have tons of knowledge here for your diesel truck!
    • Post your own topics and reply to existing threads to help others out!
    • NO ADS! The site is fully functional and ad free!
    CLICK HERE TO REGISTER!

    Problems registering? Click here to contact us!

    Already registered, but need a PASSWORD RESET? CLICK HERE TO RESET YOUR PASSWORD!

1996 K2500 “Krovvy”

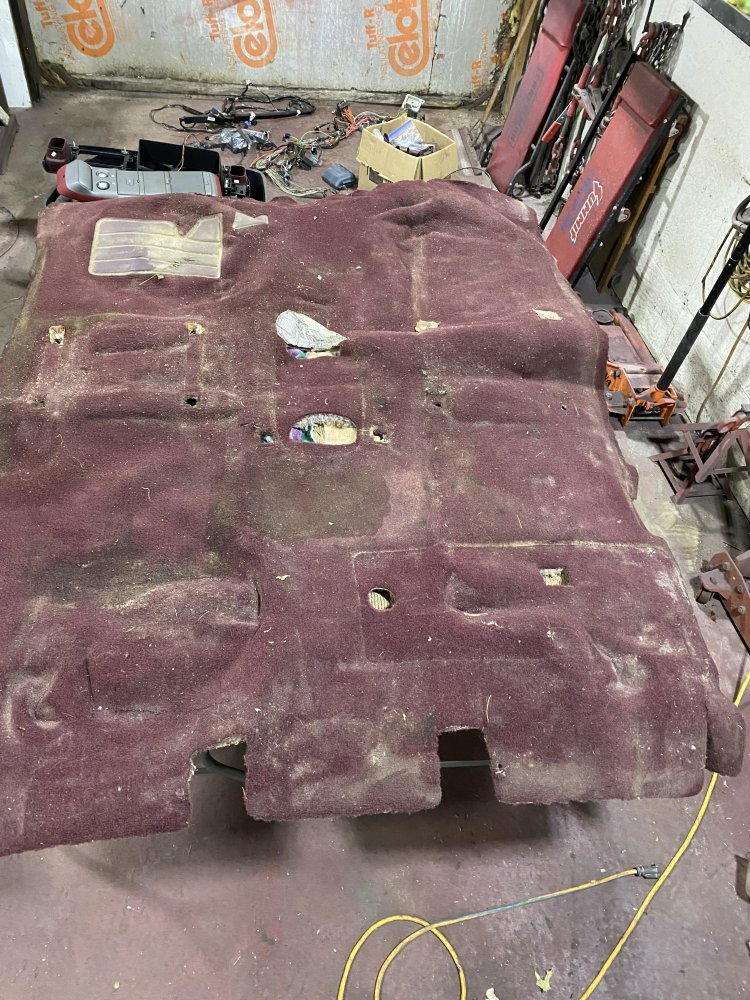
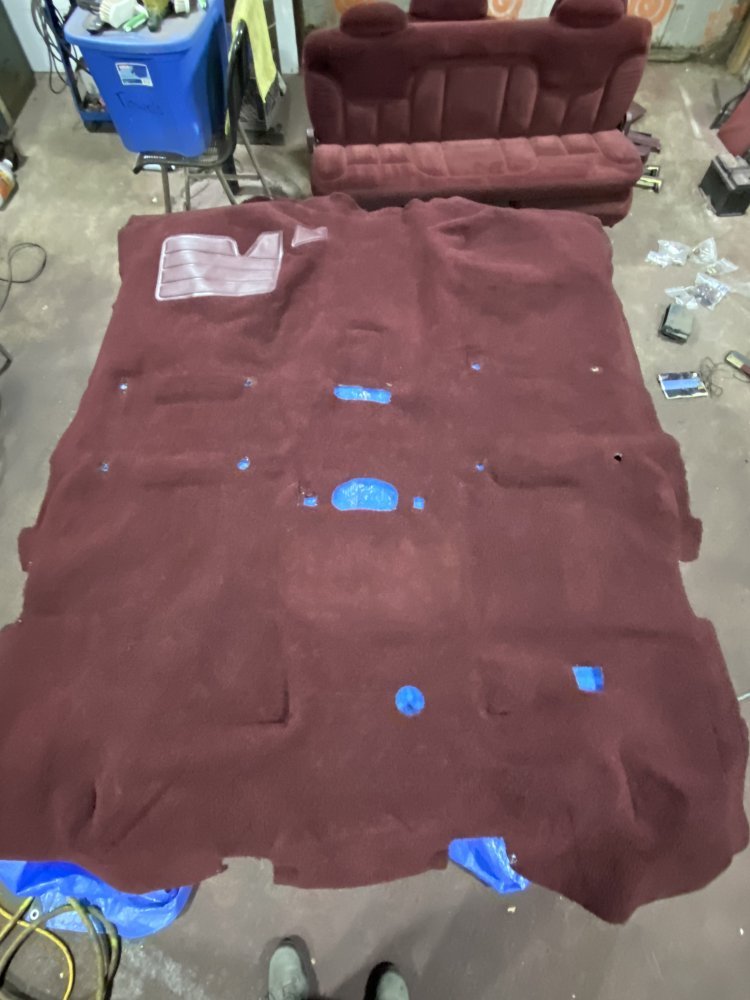
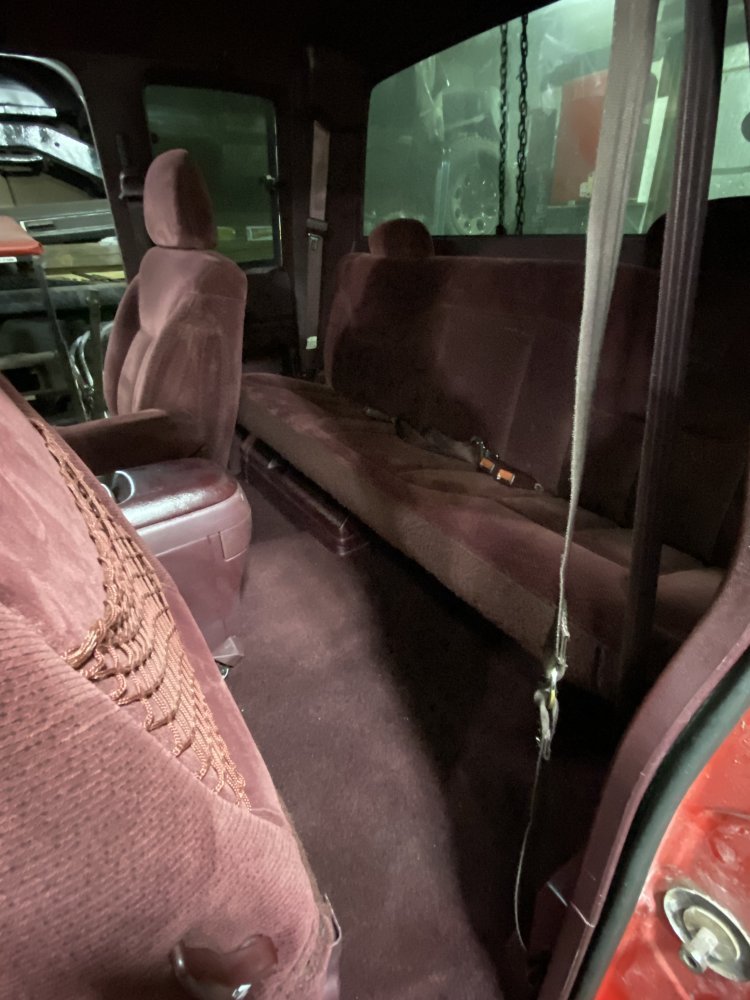
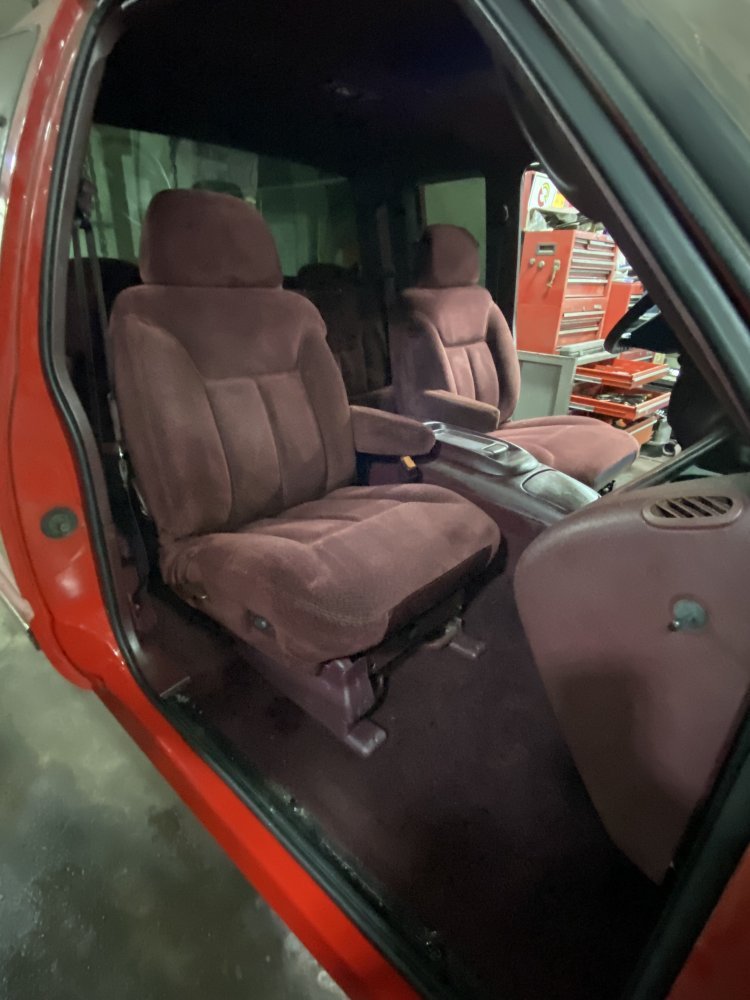
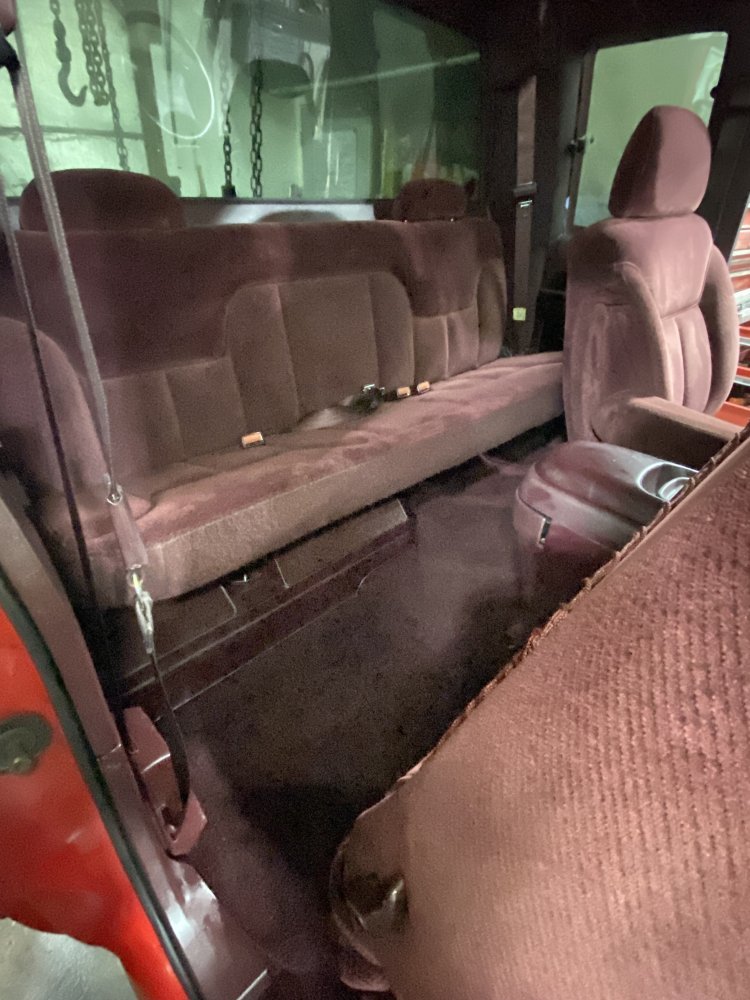
Here’s a shot of the carpet in the same position as before for a good comparison.

Here’s the “before” picture as a reminder:

IMG_9735.jpeg

And now here’s the “after” from this morning:

IMG_9752.jpeg

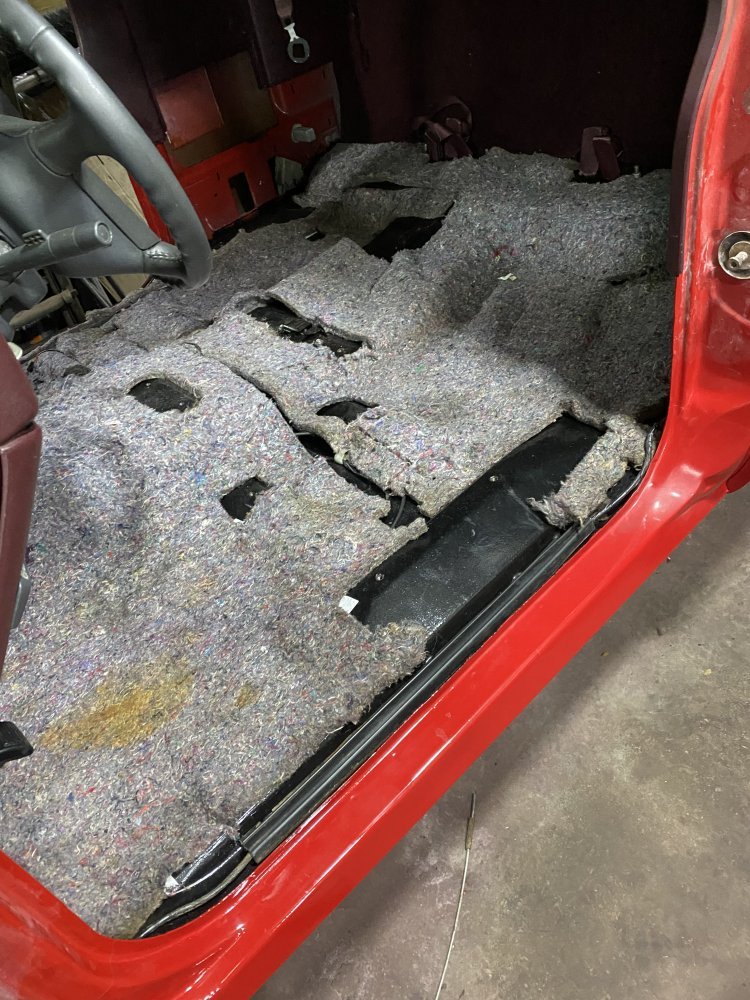
First thing I did was install the jute padding in the cab. I had removed it from the carpet because it was drying much slower than the carpet itself.

IMG_9753.jpeg

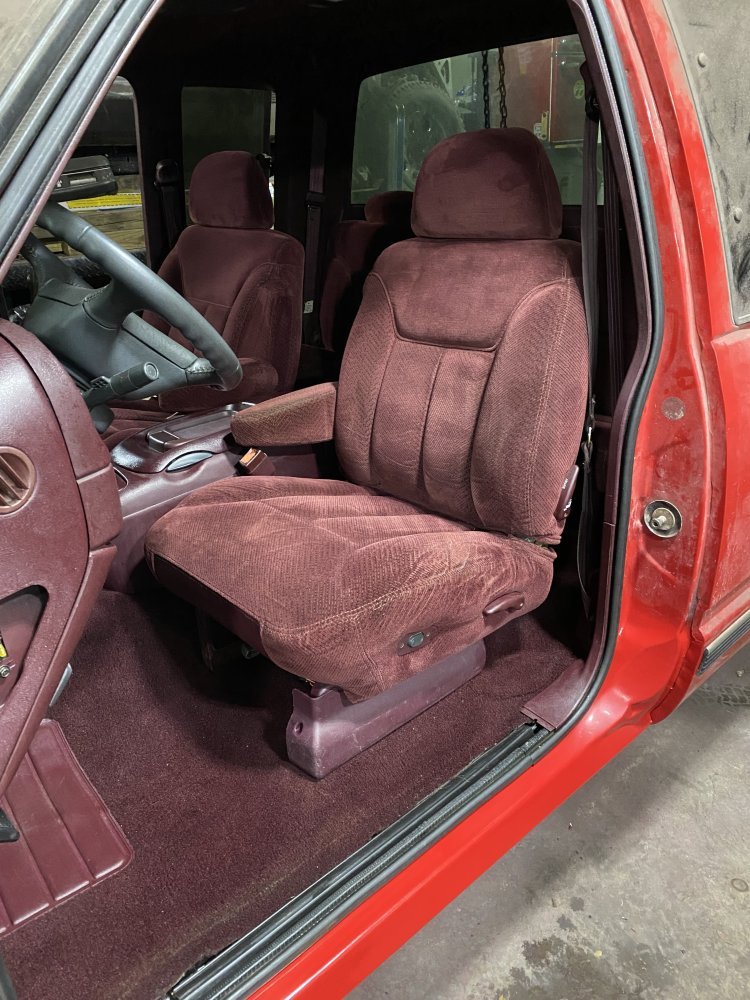
Then the carpet got installed. I thought I had taken some in-process pictures, but I see I had not, so now we go all the way to the ending.

IMG_9755.jpegIMG_9756.jpegIMG_9757.jpegIMG_9758.jpeg

Overall it looks pretty good in person. I went over the plastics with Armor All Detailer once everything was installed to make it look nicer, but it’s still not as nice as I would like, so I may try using regular Armor All on everything.

Next up is converting the transmission from dad’s truck to 4 wheel drive and wrapping up the engine refresh so they can be installed.
 
Surprised you didn't install some sound deadening mat on the bare floor while you had everything out.

so did that carpet in the second pic come from LMC? LOL looks like new after you cleaned it!
I had thought about adding extra deadening, but since it’s a gasser now, my dad was happy with his truck as-is, and with the amount of money I have spent on this lately…..I decided to just keep it stock.
 
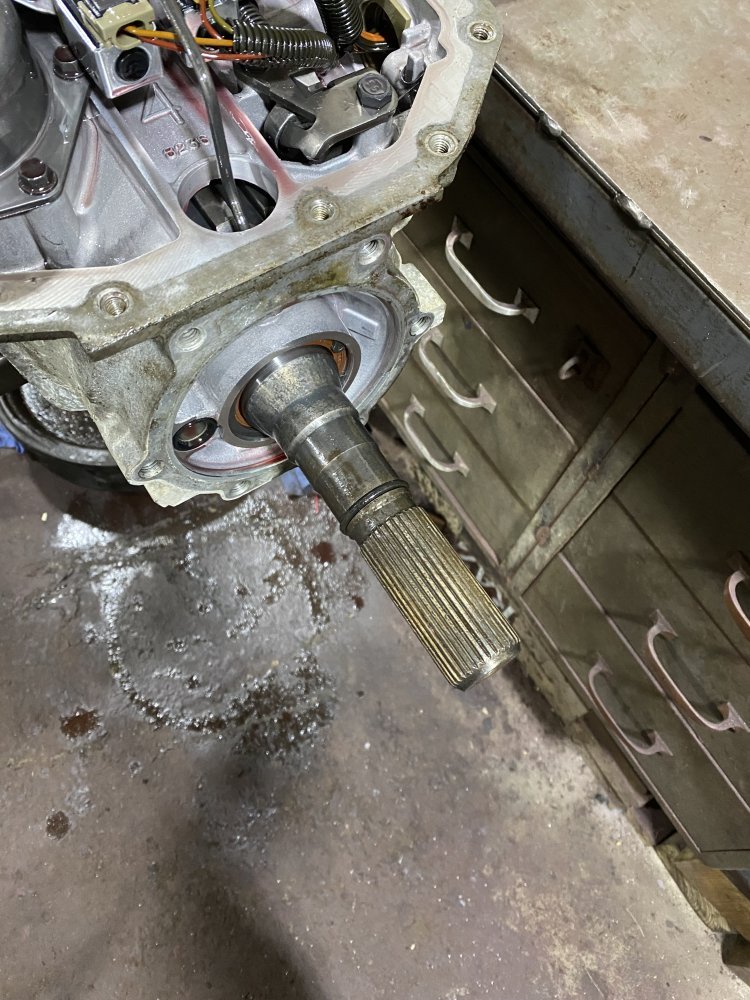
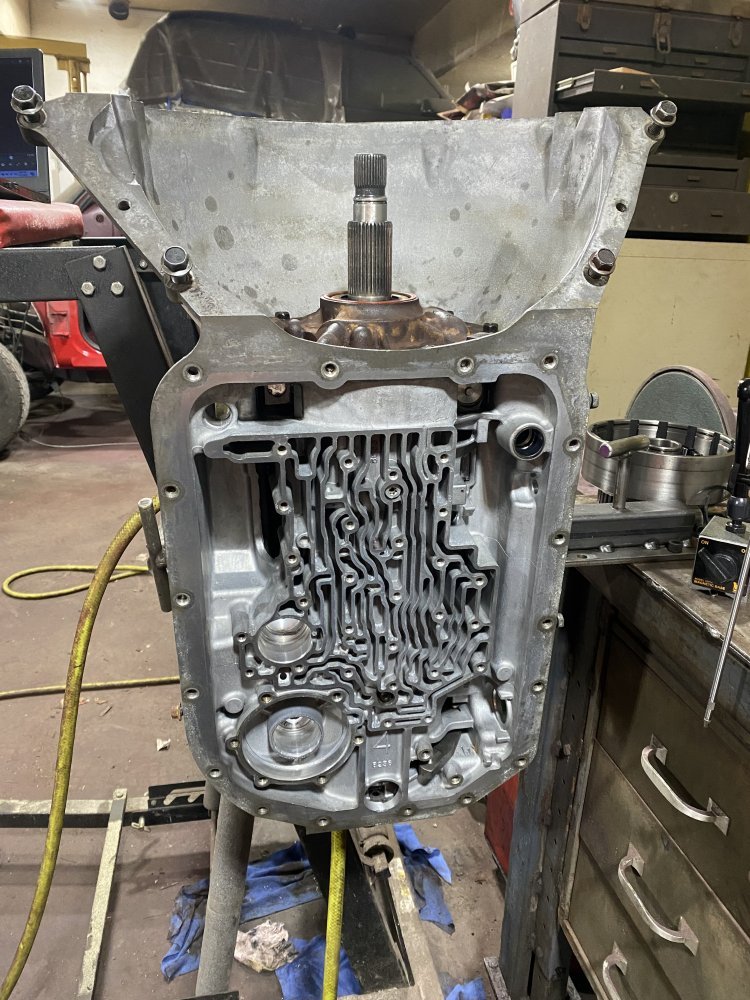
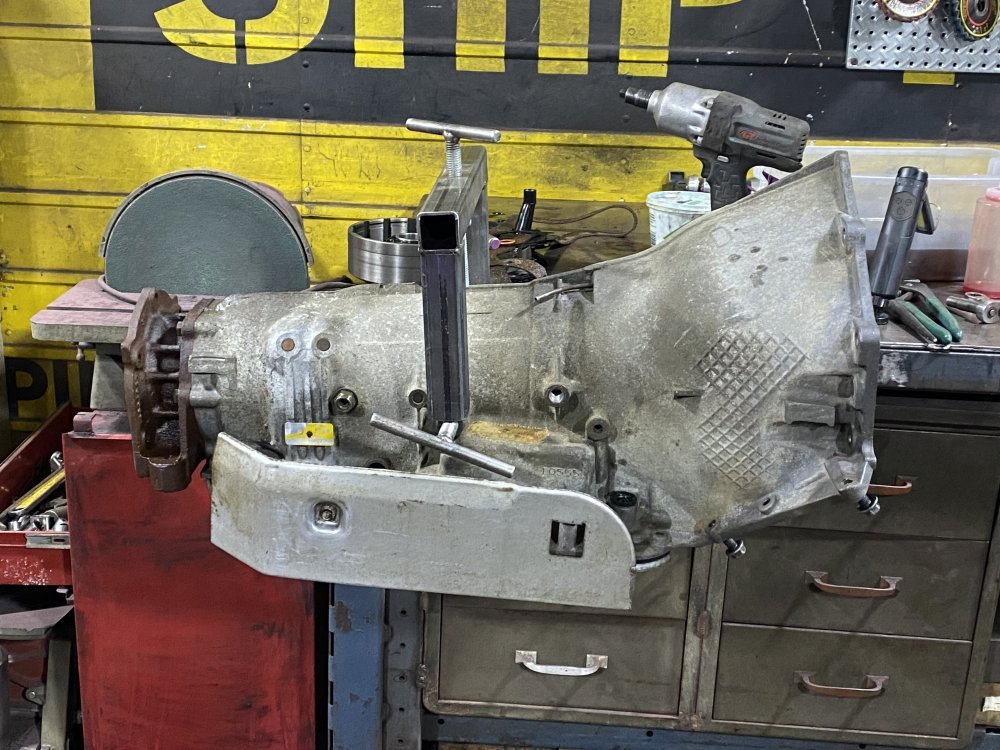
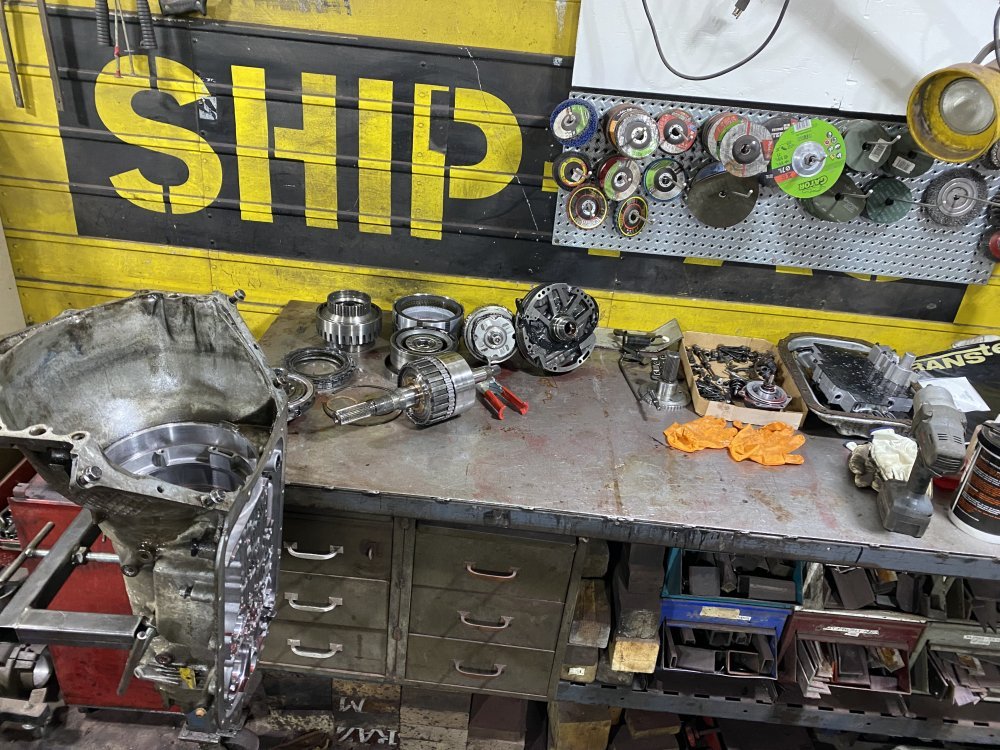
I got the trans torn down today. The transmission had been rebuilt locally only a year or two before dad parked the green truck 7 years ago, so there wasn’t anything I needed to address other than to convert it to 4 wheel drive.

However, once I started tearing it down I found a couple things I didn’t like.

First thing I found was that the bolt that retains the rear speed sensor had broken off and the “fix” by the rebuilder was to just tack weld the bracket to the remains of the bolt in the case.

Second, when I removed the valve body I found that the TCC solenoid filter was missing.

And third, the rear spacer/snap ring was also totally missing. That one’s a real head scratcher to me.

Everything else appears ok. I had already been considering doing the Valve Body Shift Correction Kit by Superior Transmission Parts, but now that I have to order parts, I’m going to definitely order it, especially since I can tell it wasn’t done before. I’m also doing the heavy duty snap ring mod they do in the Transgo kit. Also going to do the Sonnax rear case bushing with rollerized bearing. And a couple other parts.

I got the case degreased and I can assemble tomorrow as far as I can until I get to that missing snap ring.

IMG_9789.jpegIMG_9786.jpeg
 
I hoped to have the trans all done today, but I was only able to get through the drivetrain. The front endplay was too large so I had to take a few things back apart to get it within spec. I wish I had checked the endplay before I took it apart, just for funsies…..I don’t think I changed anything that would have made it as far out as it was. I think the previous rebuilder put it together with mix ‘n’ match parts and didn’t bother to check anything when done.

IMG_9819.jpeg
 
Transmission is all done, except for the front cooler line fitting - I ordered the wrong one. Besides converting to 4wd, I also inspected everything to make sure it was good. I found the direct drum had some wear and so did the outer sprag race, so I ordered good used parts from Global Transmission Parts. I also put a new 34 element sprag in it because I wasn’t sure if it had been replaced by the builder or not, plus the outer sprag may have compromised it. Also replaced the Overdrive sprag since it was cheap. I installed the Valve Body Correction kit from Superior Transmission Products to take care of some common issues as well as upgrade. I also did the internal dual feed for direct that is a common mod that applies more hydraulic pressure to the piston for 3rd gear. And finally installed the HD snap ring in the case. Oh, I also did the no-walk rear bushing from Sonnax with the rollerizing bearings instead of the factory thrust washer.

IMG_9838.jpegIMG_9842.jpeg

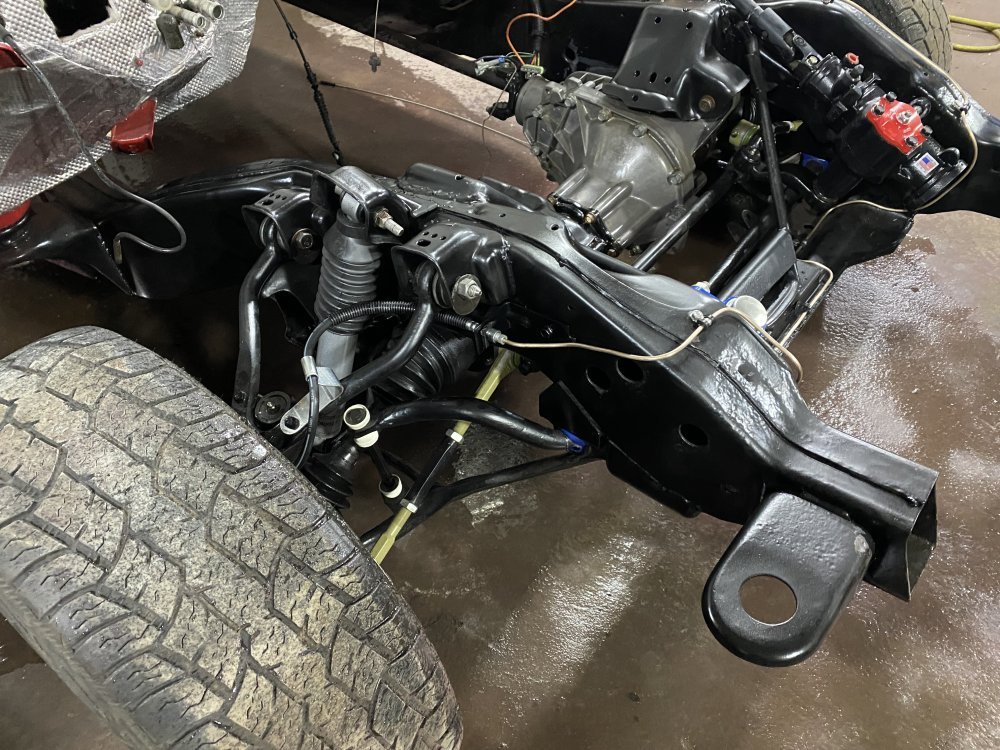
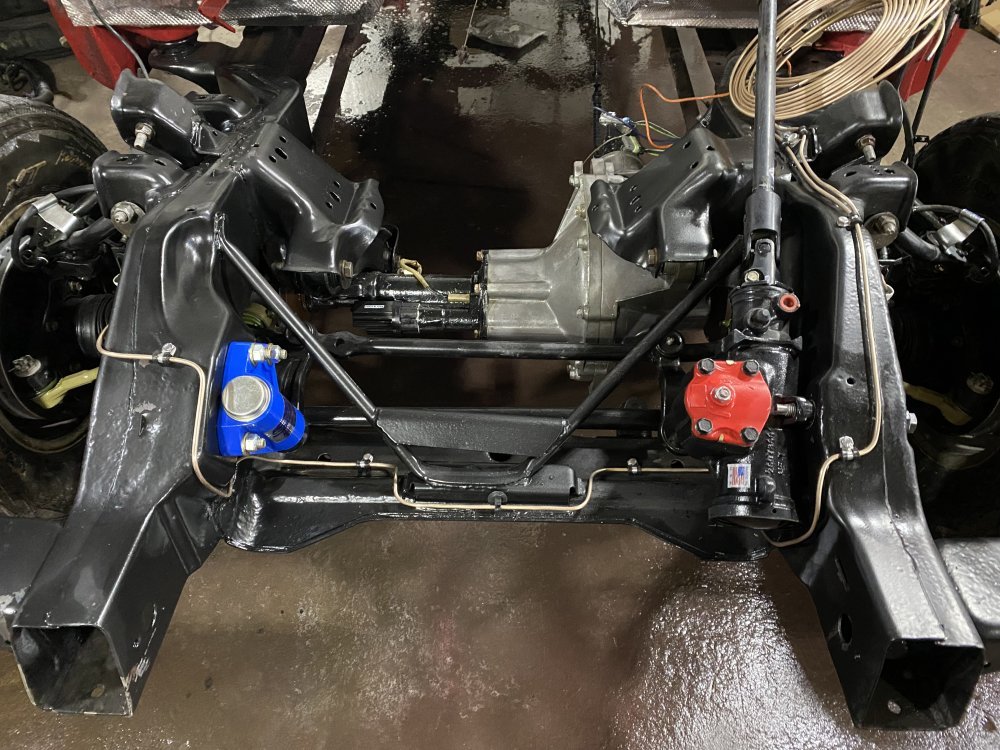
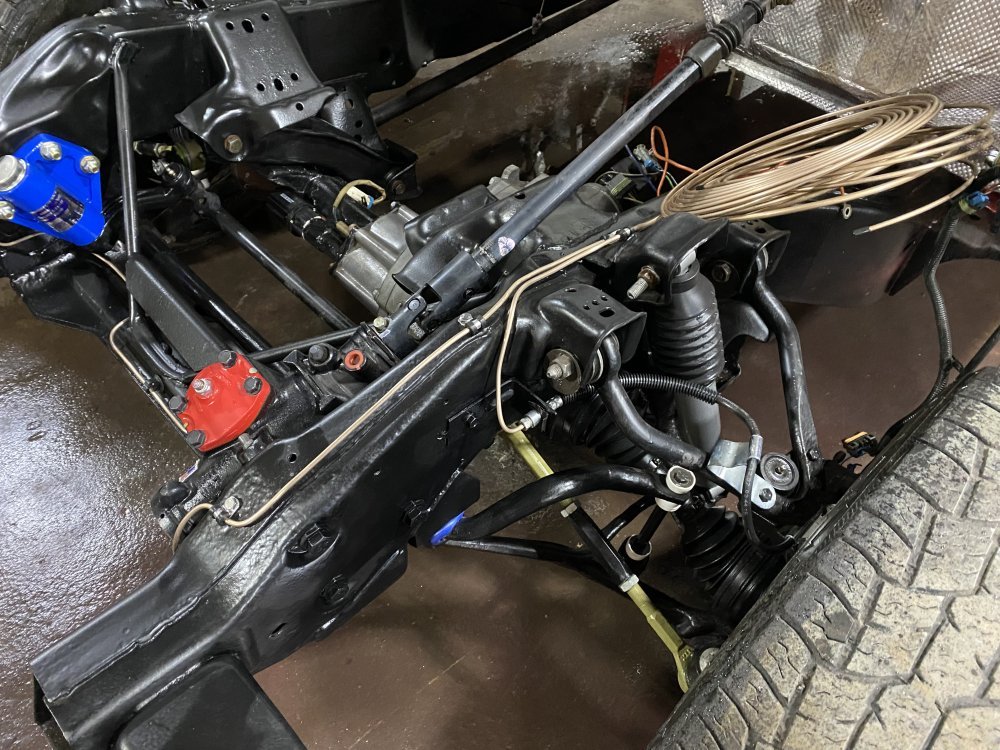
Front brake hoses and lines are also in place. I sure love this nickel-copper line! So easy to work with and the anti-corrosion is also welcome. I also gave the front end a bath because it was filthy with a couple years of shop dust.

IMG_9851.jpegIMG_9852.jpegIMG_9853.jpeg
 
@n8in8or you mind me asking where you found your super-steer idler arm bracket? the old part number for the 88-98 trucks was SS-170 from them. they have since discontinued making them. I have been wondering if I can make the one that fits the newer trucks work. the one that uses a U shape bracket on the frame. I thing the part number for that one is SS-175. Just can't find any reference to the taper if it's the same between years to use the factory arm to connect to the center link (2x4 trucks).
 
@n8in8or you mind me asking where you found your super-steer idler arm bracket? the old part number for the 88-98 trucks was SS-170 from them. they have since discontinued making them. I have been wondering if I can make the one that fits the newer trucks work. the one that uses a U shape bracket on the frame. I thing the part number for that one is SS-175. Just can't find any reference to the taper if it's the same between years to use the factory arm to connect to the center link (2x4 trucks).
I bought it direct from Super Steer back in 2020. That’s too bad it’s discontinued. I was afraid they were going to discontinue it when it went on sale a year or so ago.
 
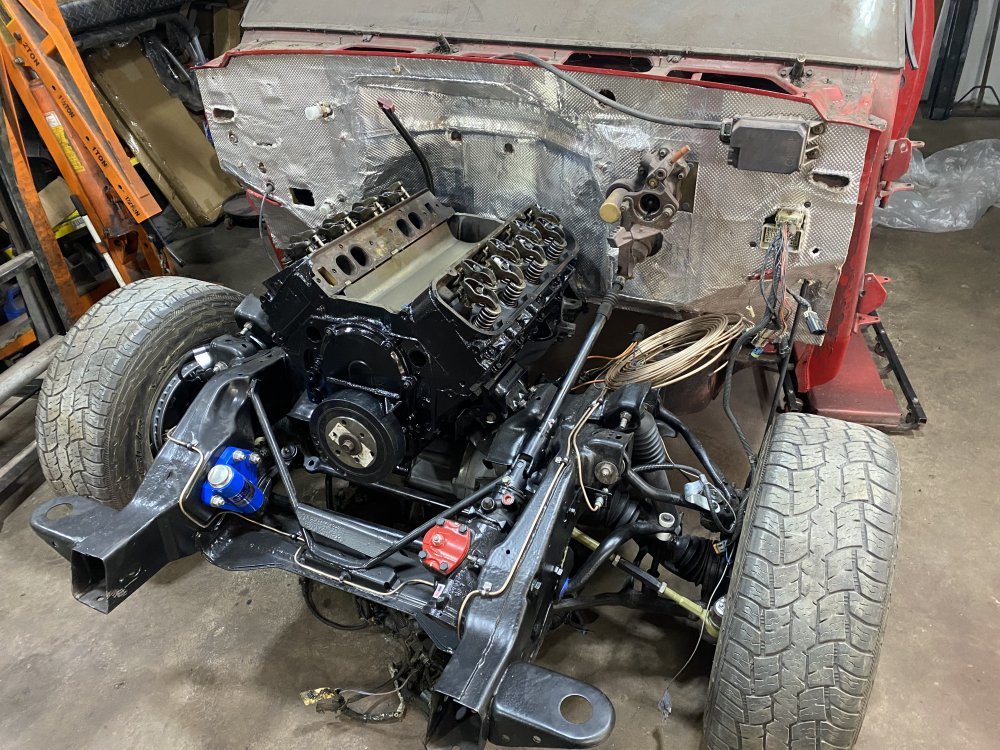
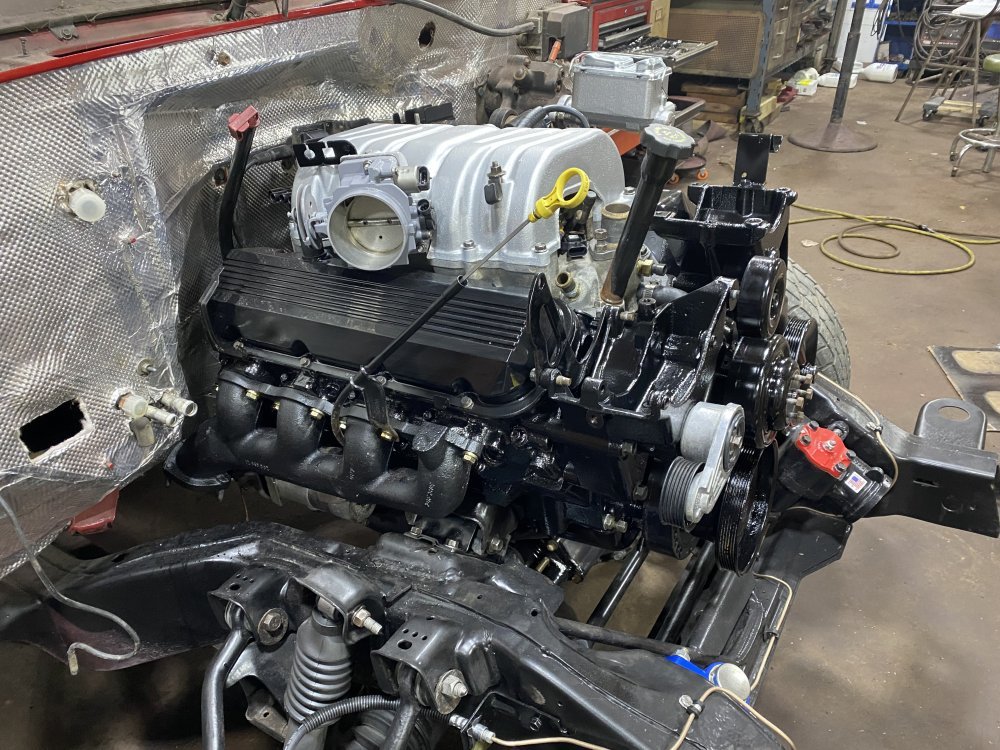
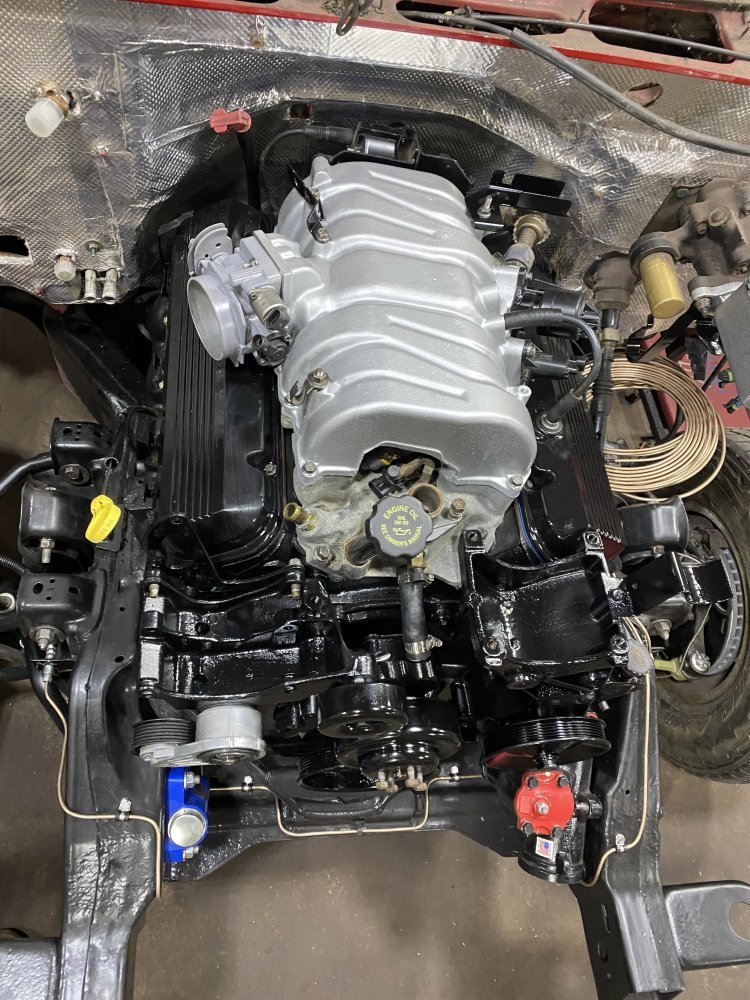
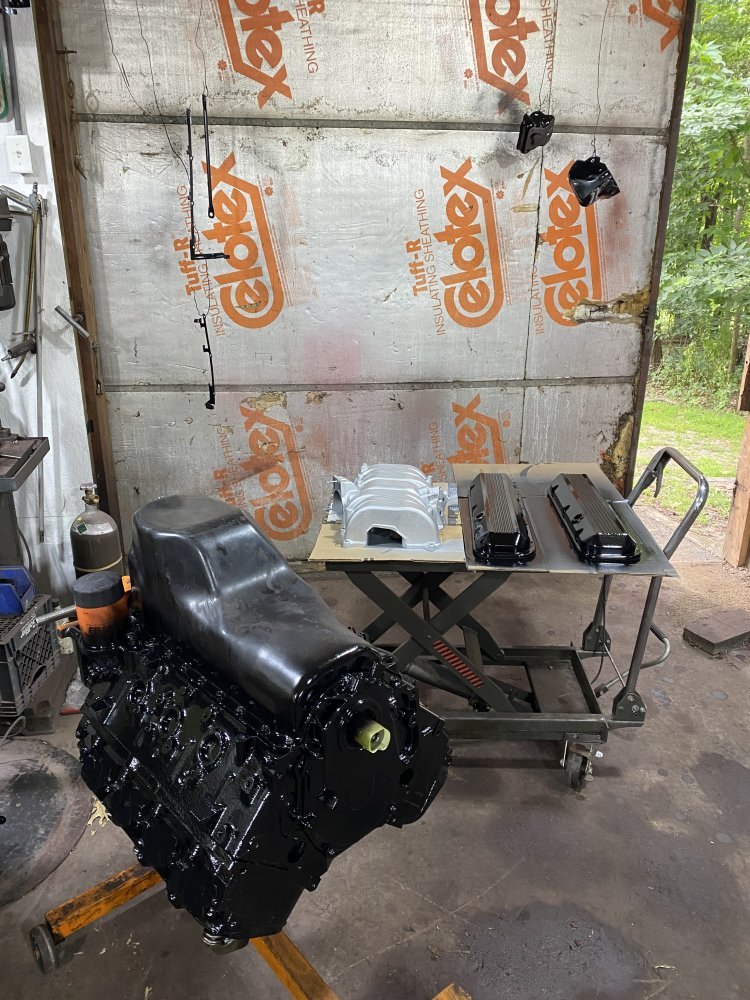
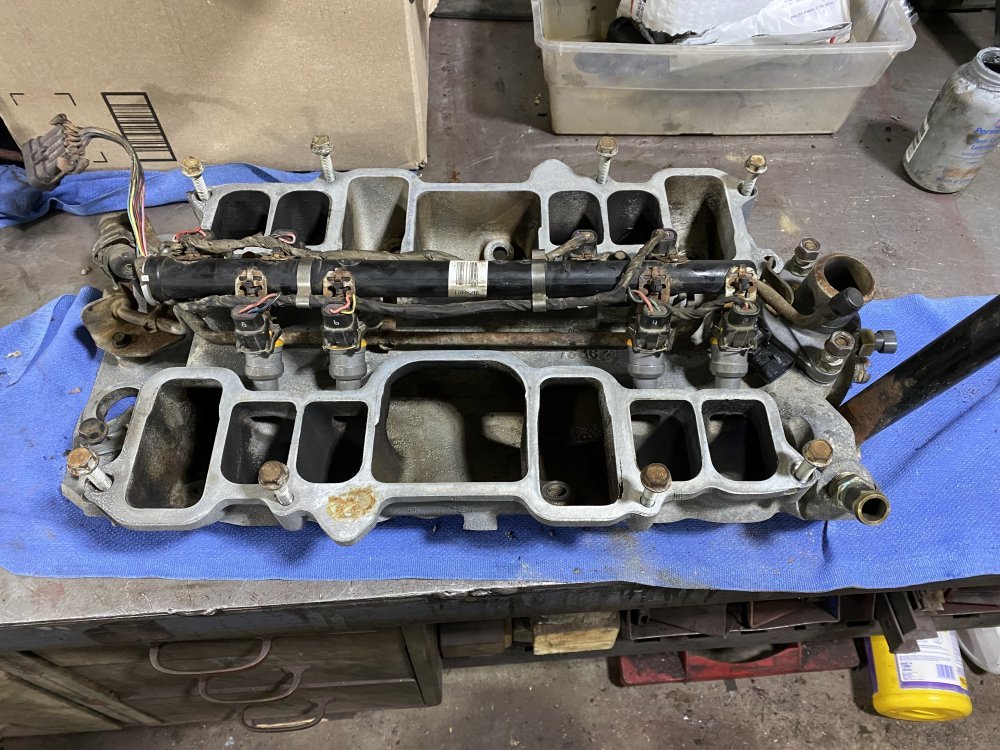
Oil pump and oil pan got installed this week. I got the valve covers stripped yesterday and today painted them and the long block. I cleaned the upper intake as well as I could and I still wasn’t happy, so I threw some aluminum paint on it.

IMG_9926.jpeg

I also got the lower intake ready for installation - complete with new injectors and a new thermostat.

IMG_9927.jpeg

Tomorrow the engine and trans will be going in the truck.
 
Got the engine, trans and transfer case installed today. My dad and brother came over so the 3 of us could do it together, since the 3 of us together had taken the engine and trans out of his truck earlier this year. We decided to get ambitious and preassemble and install the engine, trans and t-case at once. We had to remove the passenger side motor mount from the frame to get it all to clear and go in…..which was definitely easier than lifting the transfer case into the truck from below. But then once the mount was reinstalled we had a HELL of a time getting the engine to sit in the motor mounts! During our fight to get it in we actually bent the tangs on the rubber mounts on the passenger side. Something wasn’t right. The engine side of the passenger side motor mount looked weird to me, so we removed that. I dug out some other mounts I had and they all matched each other, but didn’t match this mount - this one was taller and the profile of where it seats into the frame mount was slightly different. So I cleaned up one of the others and we bolted it to the engine. We also straightened the tangs on the rubber mounts. Round 2. The engine dropped right in, no drama. That was dumb and wasted a bunch of time, but we worked through it - it was helpful to have some extra eyes and hands to work through it.

IMG_9930.jpeg

It’s nice to have this phase complete. I’m looking forward to the next steps that are hopefully more of a bolt-on nature.
 
A couple small things done since the last post.

I got the lower intake installed and was going to install the new distributor, but then remembered we were going to prime the oil system so I changed gears….err rather ground gears. I ground the teeth off of the distributor gear on the old distributor and then cut the top of the housing off so there was enough of the shaft sticking out to get a drill on. I capped any open holes in the oil system and plumbed an old oil pressure gauge. It took a while for oil to come out of all 16 pushrods, but finally it did. According to this gauge, it’s making good pressure with the new oil pump.


Now I can continue bolting things on this weekend.
 
Lots of cleaning, painting and installing parts this weekend.

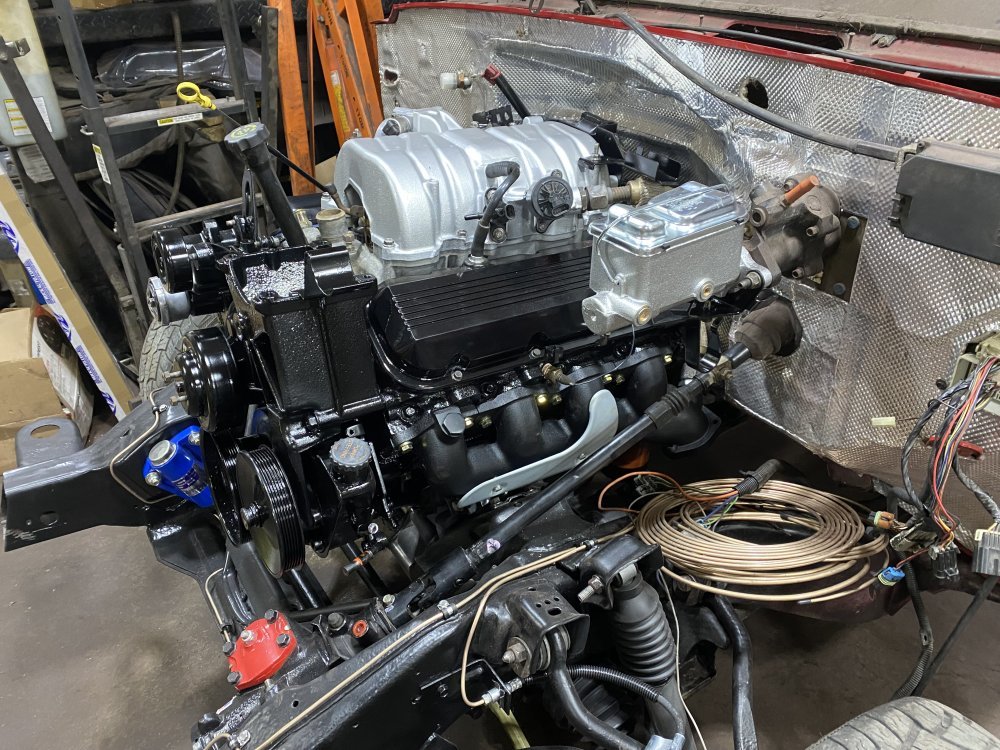
Dad sandblasted the exhaust manifolds, but unfortunately uncovered a large crack in the driver side one, so he purchased a new Dorman manifold for that side. I painted both of them with Design Engineering silicone exhaust paint. The accessories I painted with Rustoleum after cleaning them. I chose semi-gloss paint, but should have chosen satin to get the look I was hoping for. Oh well, it’s not a show truck. It’s looking pretty good if I do say so myself.

IMG_0056.jpegIMG_0057.jpegIMG_0058.jpegIMG_0059.jpeg

Now I need the Inline Tube fuel line kit I ordered to show up so I can hang the harness on the engine.
 
Got a few things done this weekend.

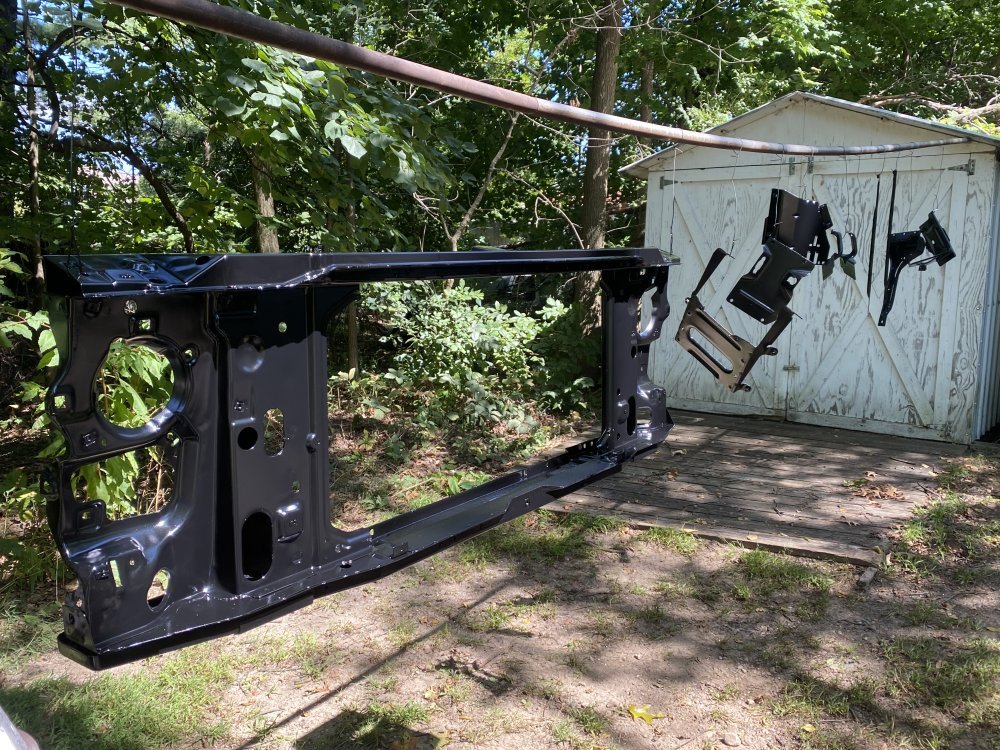
First I gathered up all the metal bits for the front clip besides the inner fenders (because those have already been blasted and painted) and wire wheeled all of the rust and loose paint off. Then they got degreased and left to dry overnight. The next day they got some Rustoleum red oxide primer and 3 coats of Rustoleum satin black sprayed on them.

IMG_0114.jpeg

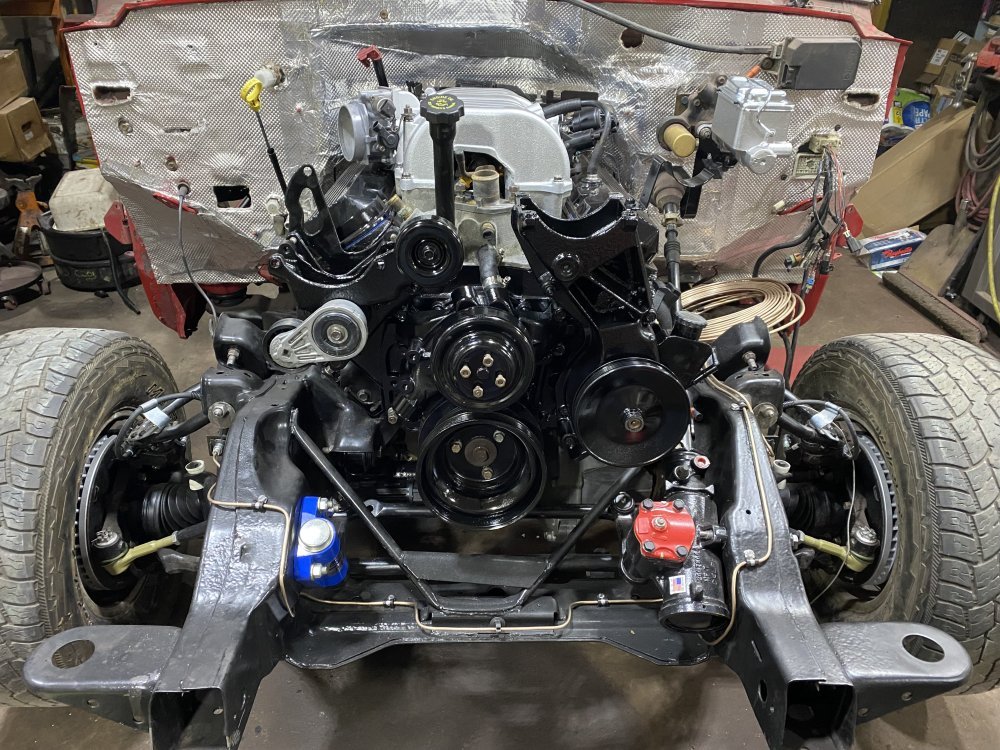
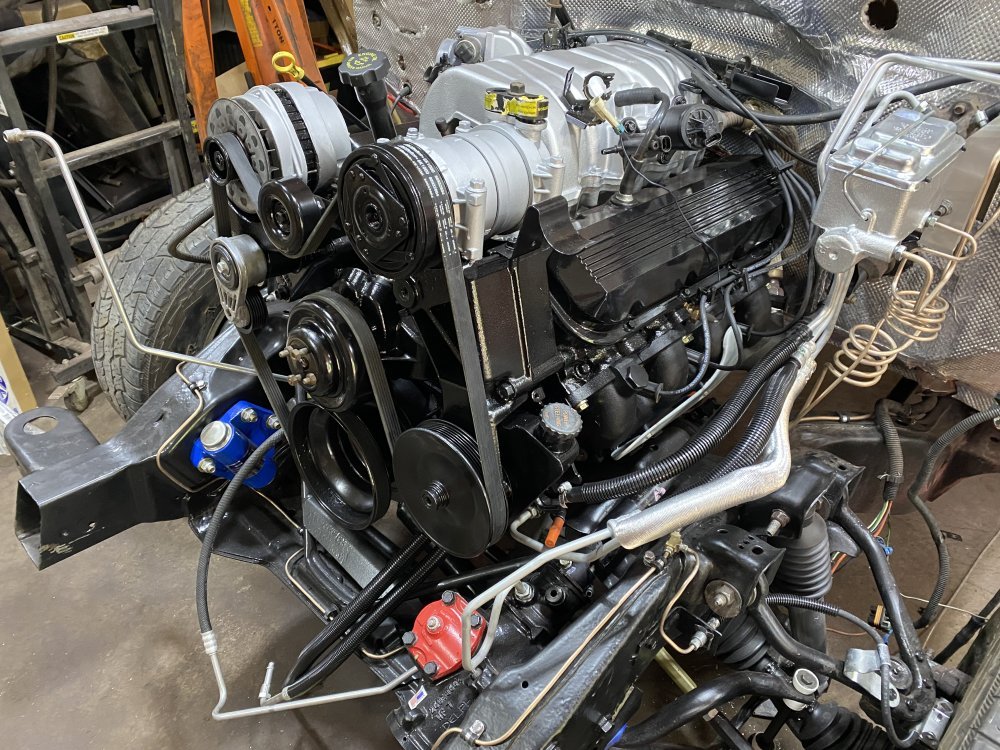
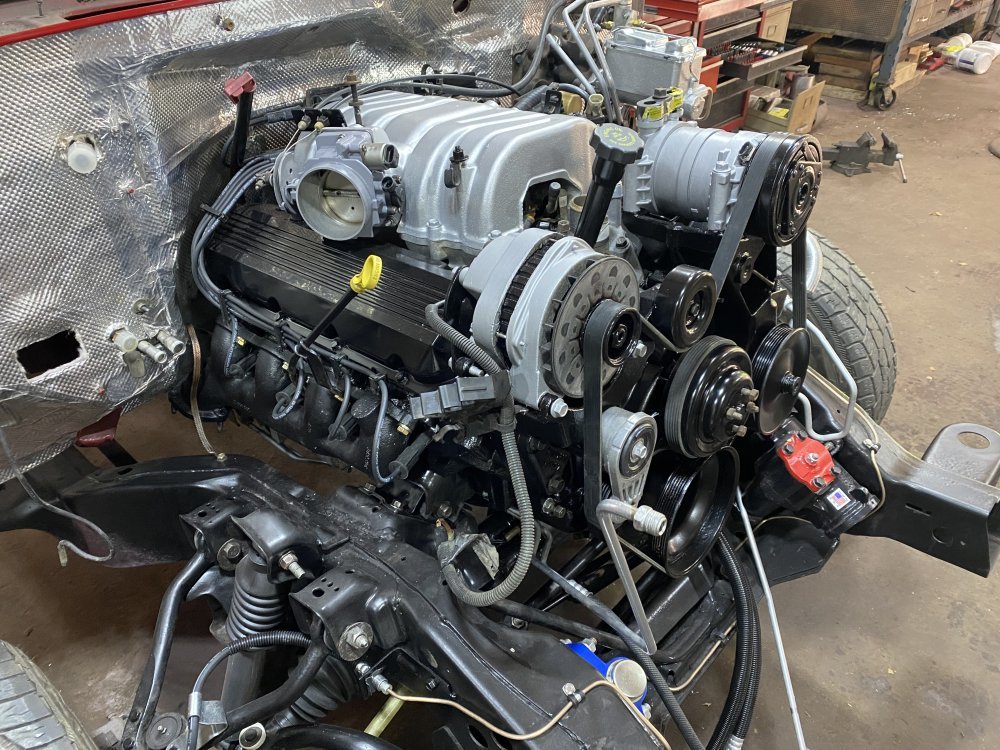
After that, some more bits got installed on the engine so now it’s pretty much fully dressed.

IMG_0124.jpegIMG_0125.jpeg

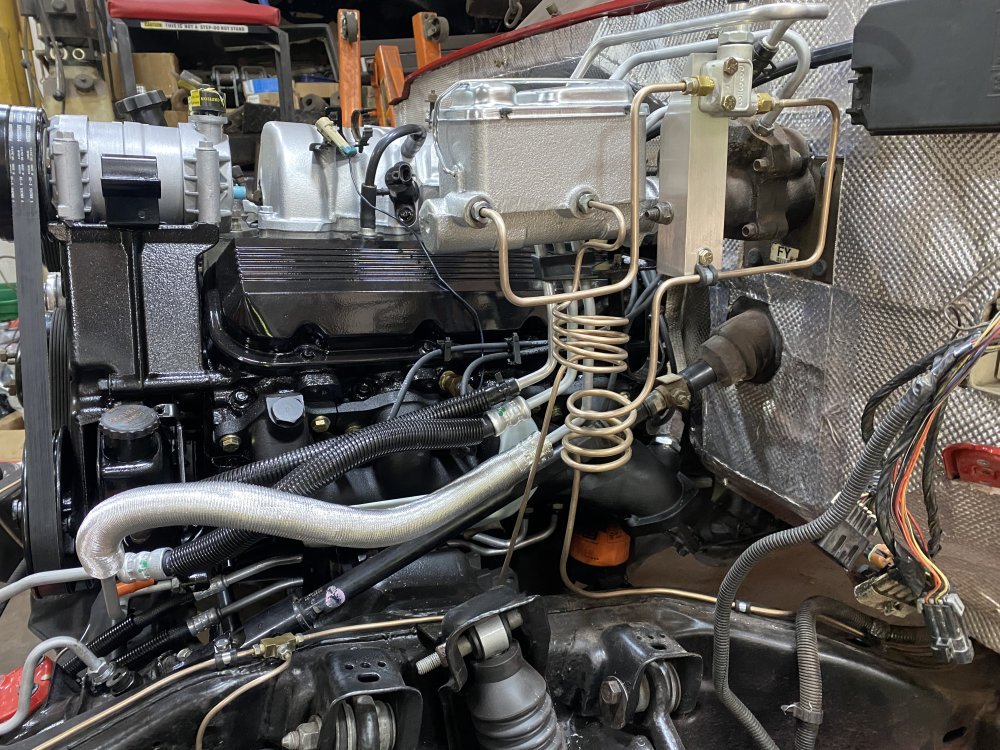
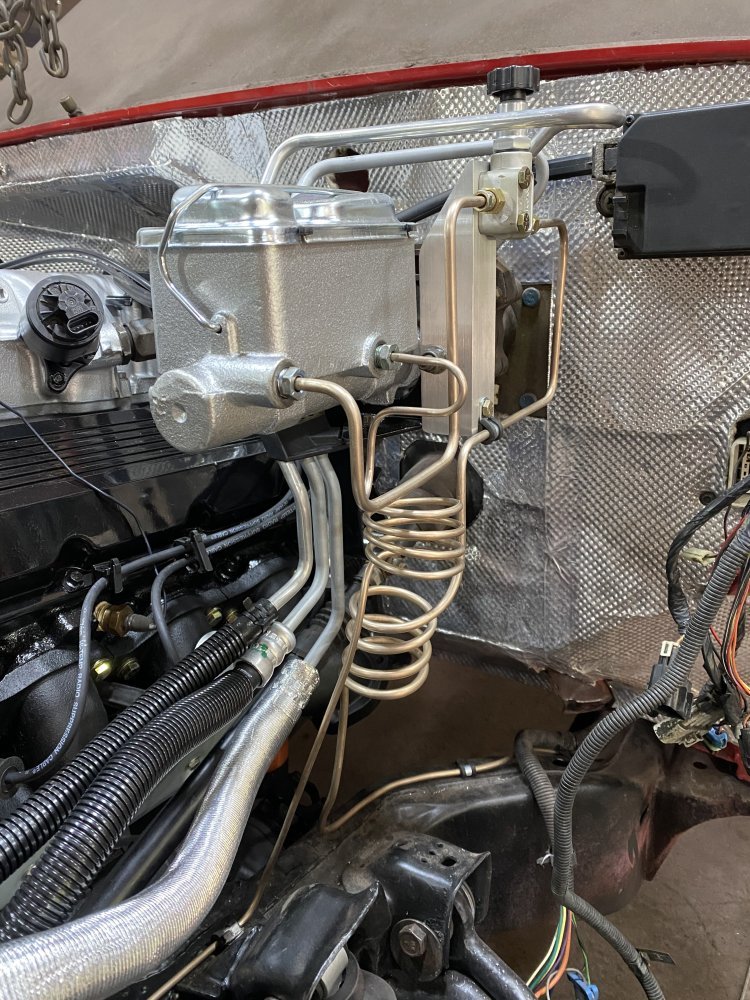
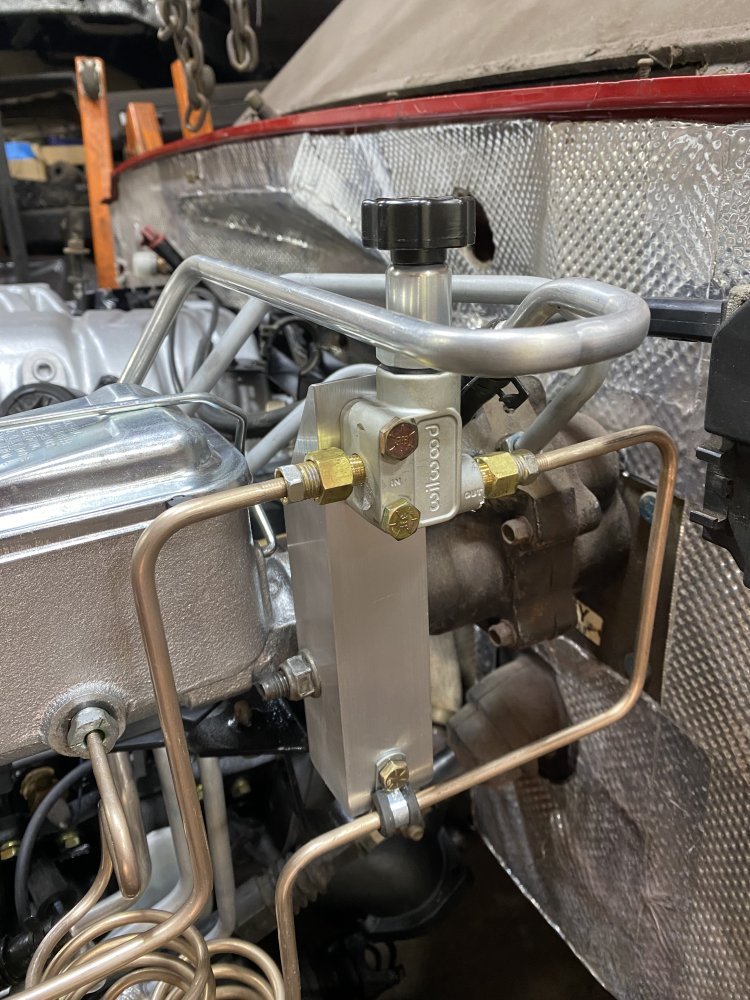
And finally, the brake lines got finished. When I was building this truck, I had planned on deleting the ABS - my dad also wanted the ABS deleted, so I continued with that plan and instead of the ABS module I installed an adjustable proportioning valve.

IMG_0118.jpegIMG_0119.jpegIMG_0126.jpeg

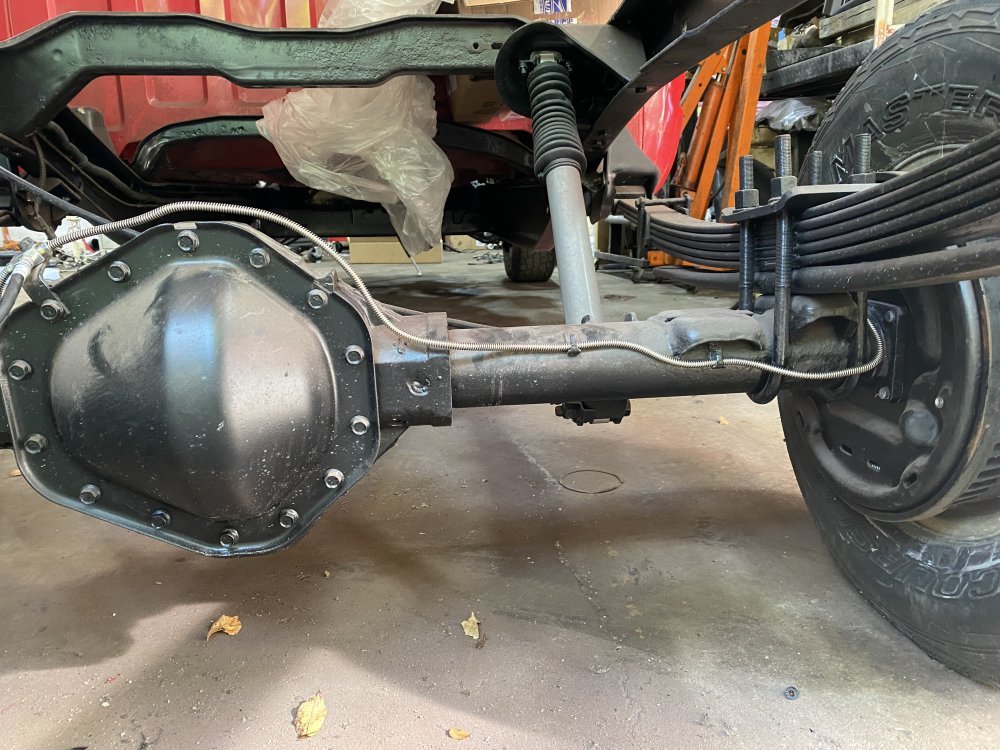
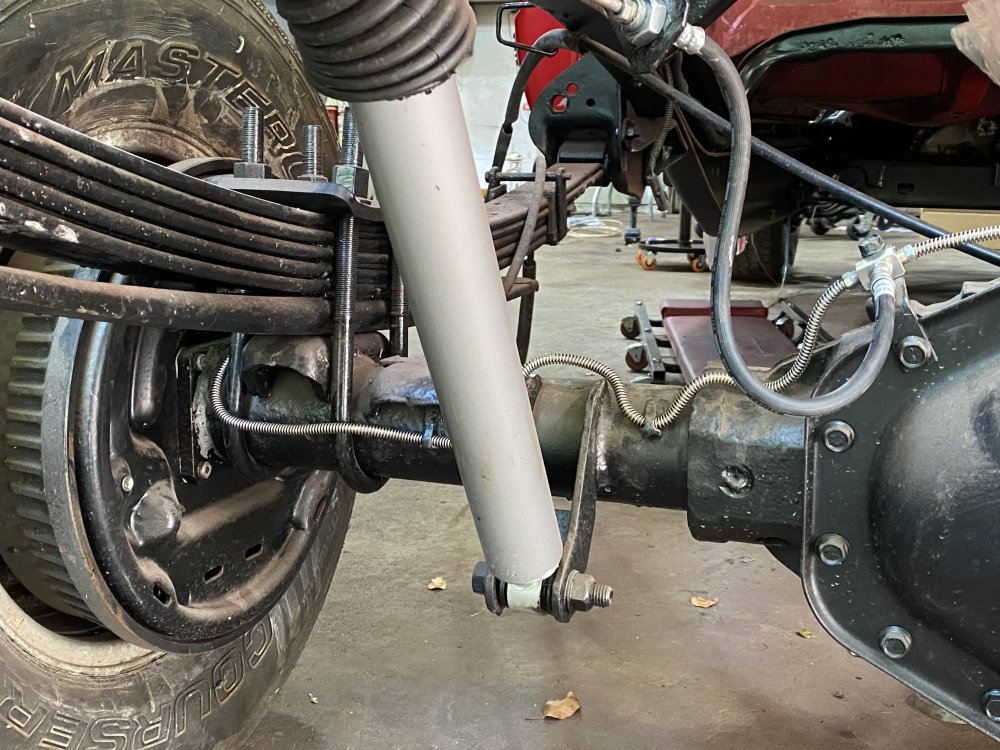
And I also finished the brake lines on the rear axle - they’re still nickel-copper, but they also have the spring-like coil surrounding them like the factory so they’re protected from rocks and what-not (plus it looks really good :) ).

IMG_0122.jpegIMG_0123.jpeg

Unfortunately the fuel line kit I ordered was lost by USPS, so I’m waiting to see how that gets worked out…..that’s significant because I want to install the fuel lines before I install the main wiring harness so I have more room to work, though at this point I may just move forward with the harness and deal with the fuel lines while cursing USPS as I bust my knuckles.
 
Back
Top