• Welcome to The Truck Stop! We see you haven't REGISTERED yet.

    Your truck knowledge is missing!
    • Registration is FREE , all we need is your birthday and email. (We don't share ANY data with ANYONE)
    • We have tons of knowledge here for your diesel truck!
    • Post your own topics and reply to existing threads to help others out!
    • NO ADS! The site is fully functional and ad free!
    CLICK HERE TO REGISTER!

    Problems registering? Click here to contact us!

    Already registered, but need a PASSWORD RESET? CLICK HERE TO RESET YOUR PASSWORD!

The Stealth BOMB'r is under the knife

Sorry to hear about the dog. He alright(assuming its male)?

Are you keeping the cold side ATS purple or going with something else? I always used to hear that ATS customer service was terrible. No hassles? They are shipping you out a new one just like that?

Figured I'd share it with you since I have no use for it, there is a rather pricey, but worth it Stainless steel header that's available for the cummins engines on another site. Numbers have shown increases in boost, HP, TQ and reduction in EGT. Plus it would look dead sexy in that silver ram next to that silver block. And no painting required!
 
Yeah, I've seen them. But I'm honestly now sure about their true effectiveness vs cost.

The 3 piece manifold I have now is actually pretty good.

Until you start porting the exhaust side of the head and going with a really large single turbo, I don't know if you'd really get a noticeable benefit from those tube headers.

Besides, under my hood is extremely busy as it is. I'm already moving both batteries back under the bed to make some room under the hood.
 
The next week or 2 is gonna be pretty slow, at least until I tear the trans down.

The head is off at ATS, the pistons are at Haisley Machine, the turbos are apart waiting on a new turbine housing for the 3000, need to take the Edge out of the truck to send to a gentleman in Canada, got a DPF delete to do today, got a clutch to do Friday, got the Chevelle to get ready to hit the dyno again next Thursday...........

I need like 6 more hours in the day.
 
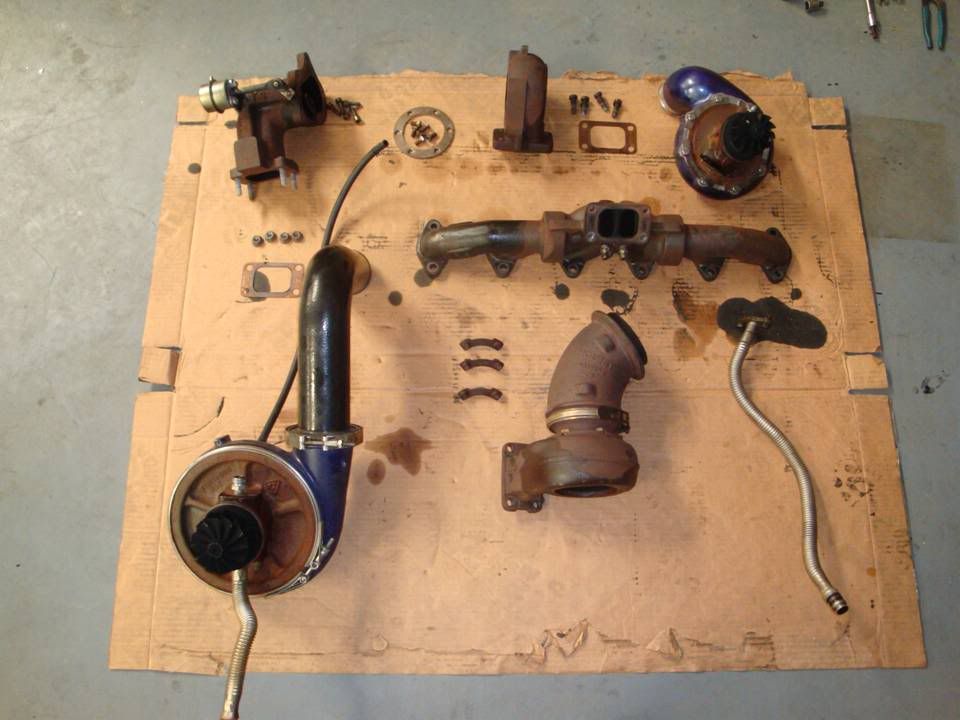
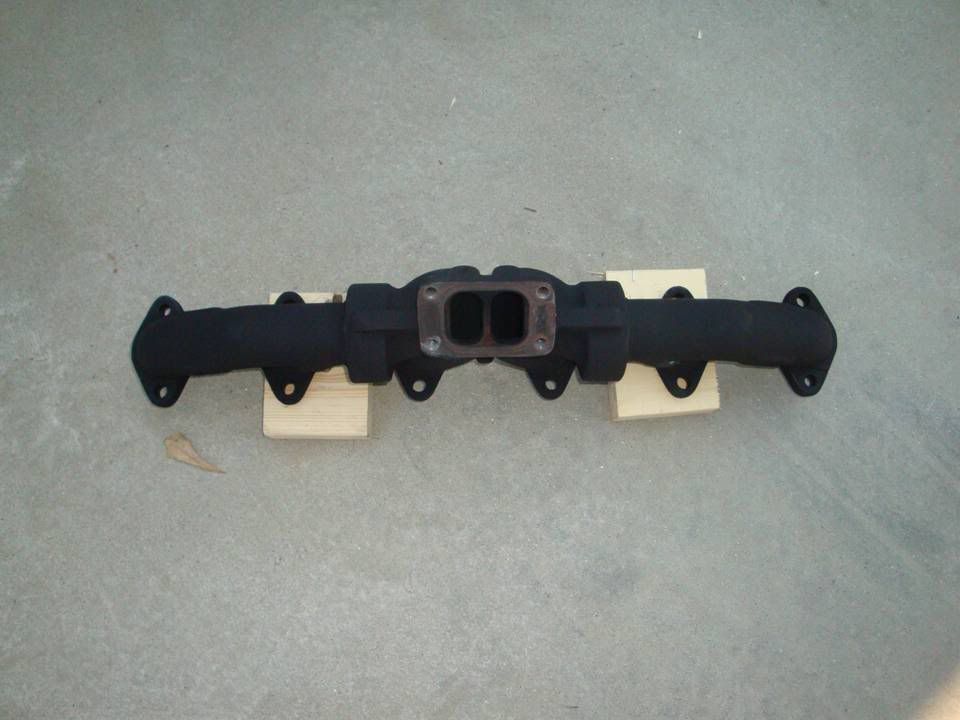
No more rusty cast iron turbo parts.

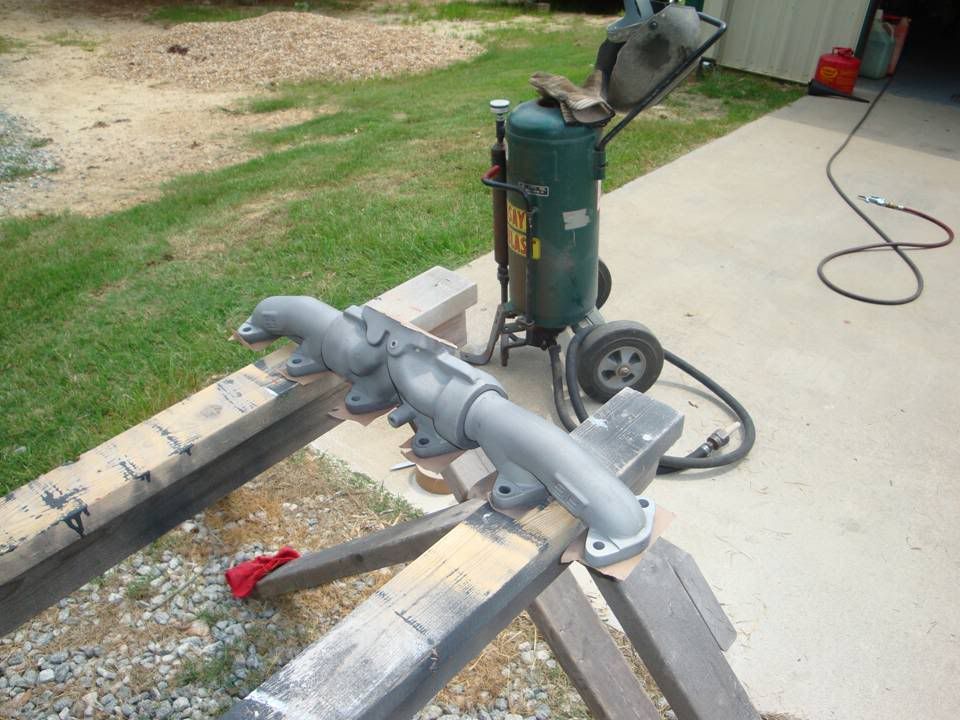
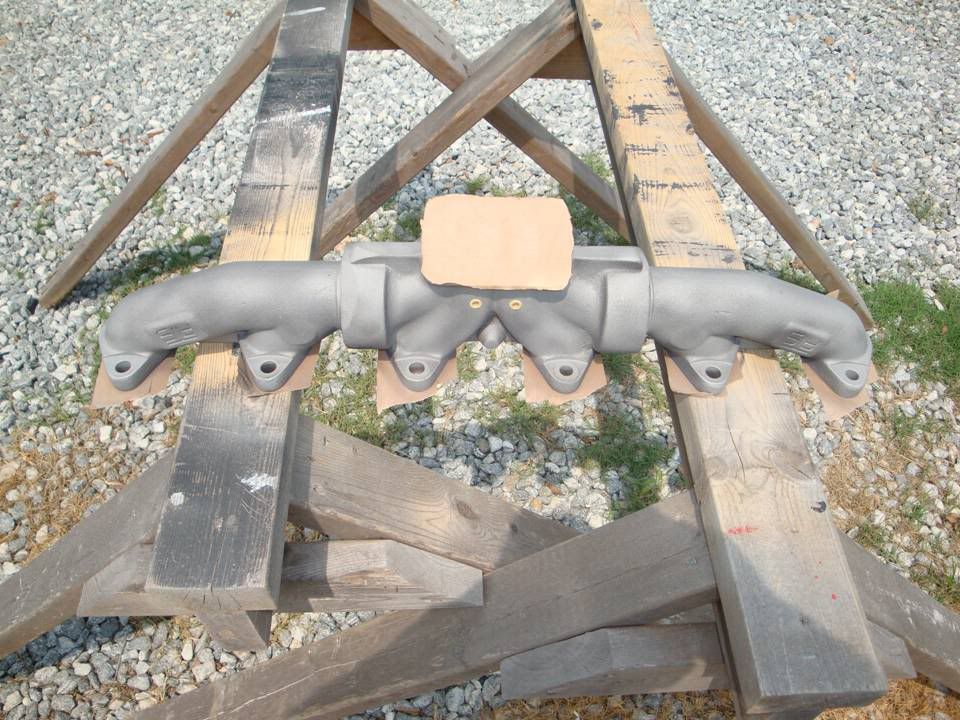
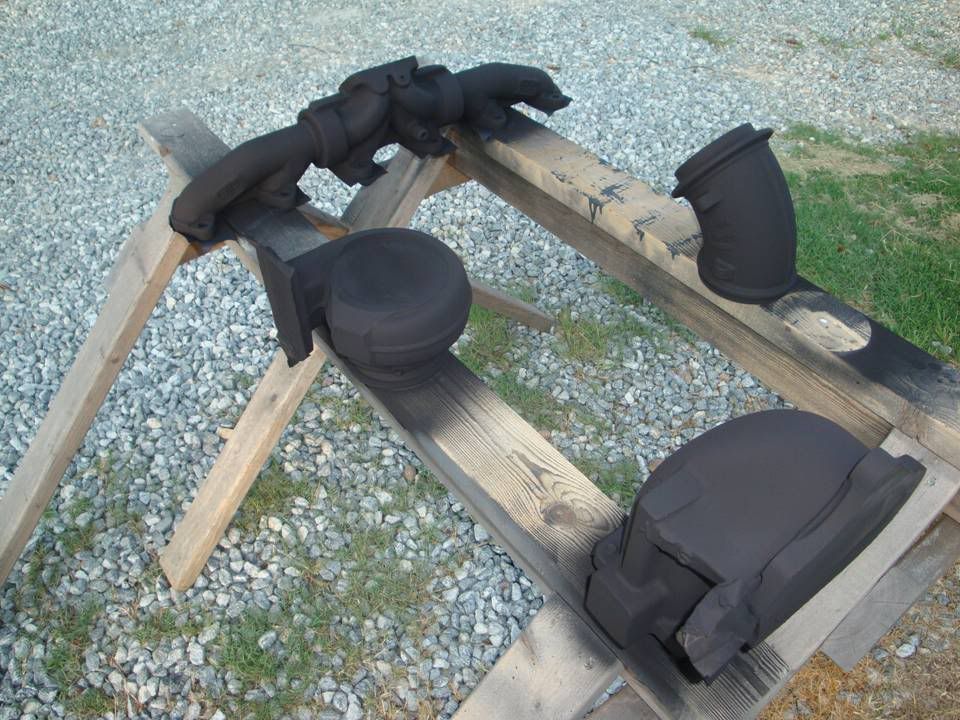
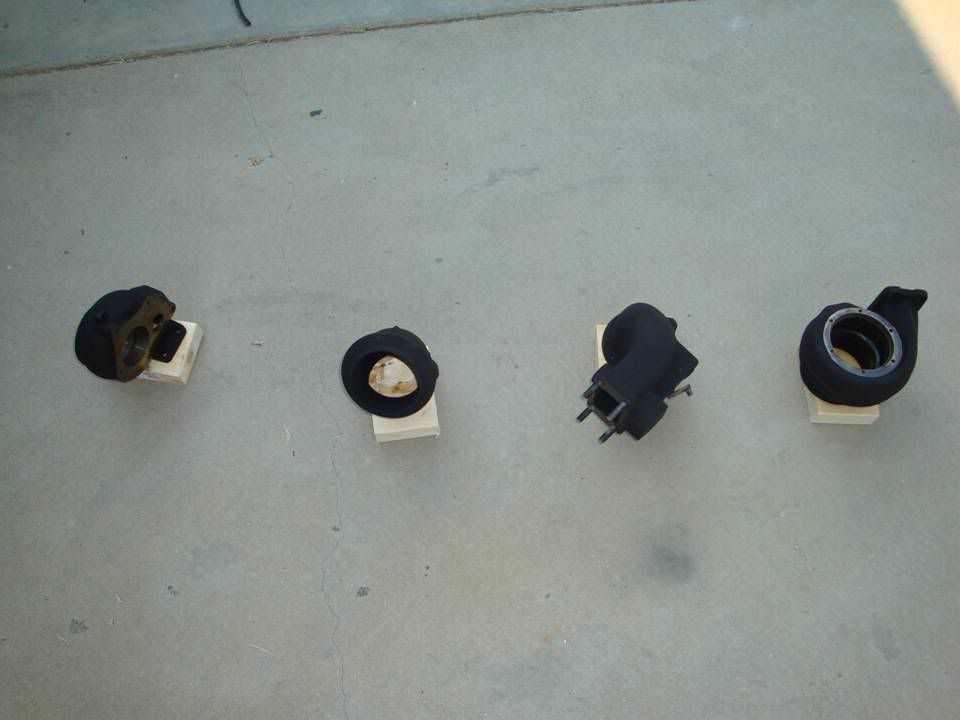
Everything got sand blasted and coated with VHT ceramic paint and will go in the oven tomorrow.

What was.....

Slide2-84.jpg


Stripped.....

Slide1-84.jpg


Slide2-85.jpg


Coated and ready for curing.....

Slide3-58.jpg
 
Last edited:
Rich...thanks again for taking some time out of your slammed schedule to talk with me the other day :thumbsup:
 
Got a few bigger projects in the shop that are gonna eat up a few days.

One car to do a radiator on, truck coming in tomorrow for the clutch, had a '99 come in yesterday needing a lift pump and injection pump and wanting intake, gauges and j-hook for the wategate.

This is why it takes so long to do your own stuff.....gotta get the customers stuff done first.
 
Hehe Yes BUT without them you cant afford to play with your toys!! unless your independently wealthy if that case LUCKY!!! haha anyways, whats the 2 ports in the exhaust manifold? one id imagine is the EGT probe, what was the other hole? PS not to sound totaly stupid but whats the J-hook for the waste gate on the 99?
 
The manifold actually has 3 ports.

The two that you see I use for EGT probes. One is for the gauge in the truck, the other is for the water injection.

The third one is for the drive pressure gauge.

As for the j-hook......all you're doing there is clamping the wastegate shut. There's 2 ways to do it. You can either use two hooks and a solid turnbuckle and REALLY clamp it shut (not good on a stock turbo) or you use the hooks, a turnbuckle that is drilled out on one end, 2 large washers and a spring (better on a stok turbo).

The second setup adds preload to the wastegate, but still allows it to open. You put the spring inside the turnbuckle with a washer on each end and then use a nut on top of the threaded portion of the hook. You simple tighten it or loosen it to get the additional boost that you want.
 
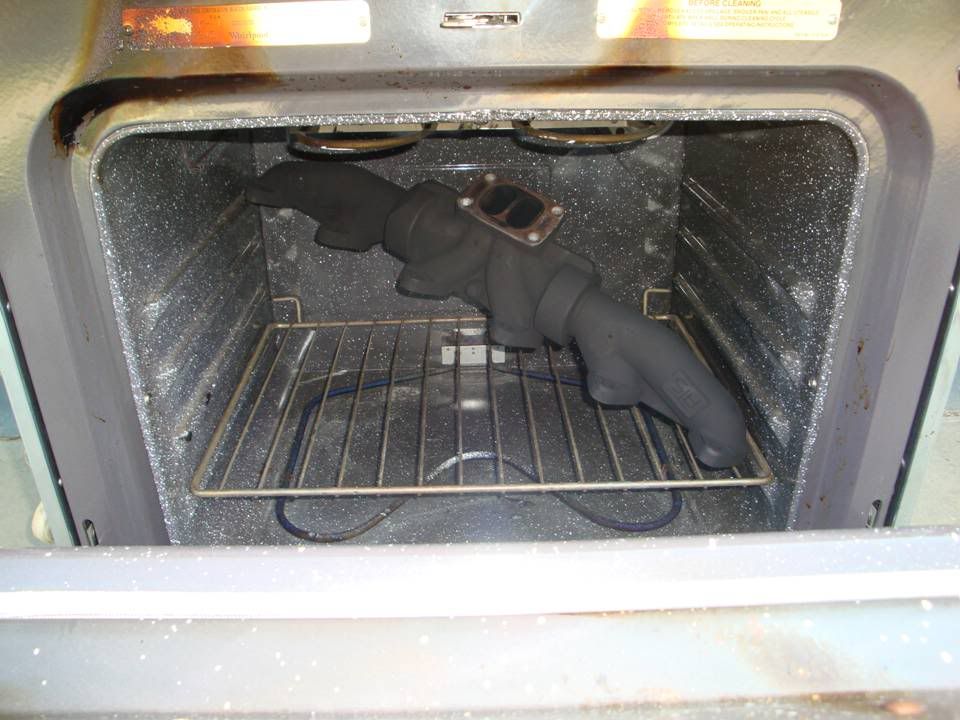
Cookin' with Cumminalong.....

Add 1 part exhaust manifold.....

Slide3-59.jpg


.....2 parts turbine housings, 1 part exhaust elbow, and 1 part wastgate housing, apply ceramic coating liberally.....

Slide2-86.jpg


.....and bake at 600 degrees for 90 minutes.

Slide1-85.jpg


):h
 
YOUR WIFE LET YOU USE HER OVEN!!!! lucky!! i got yelled at for warming up a flywheel ring gear in the oven for 20 minutes....haha..where do you get that ceramic coating? does it have to be baked on? come in any other colors? it looks nice..does it burn off like paint?
 
No, that's not the wife's oven. That's the one in the shop that we use for powder coating small items.

If my wife ever came home and the house smelled like that stuff.......well, first, let's say that she'd have a heart attack because I even had the oven turned on, then she'd smell the stuff, then she'd shoot me with my own guns when she saw my parts in the oven.

It does come in other colors, but they are all flat colors. With the ceramics, you won't get them in glossy colors. And yes, it has to baked on to properly cure it, otherwise it's not that durable. And no, it won't flake off like paint does; baking it adheres it to the pores in the metal. On cast iron, this stuff holds like concrete and is good for 2000*'s
 
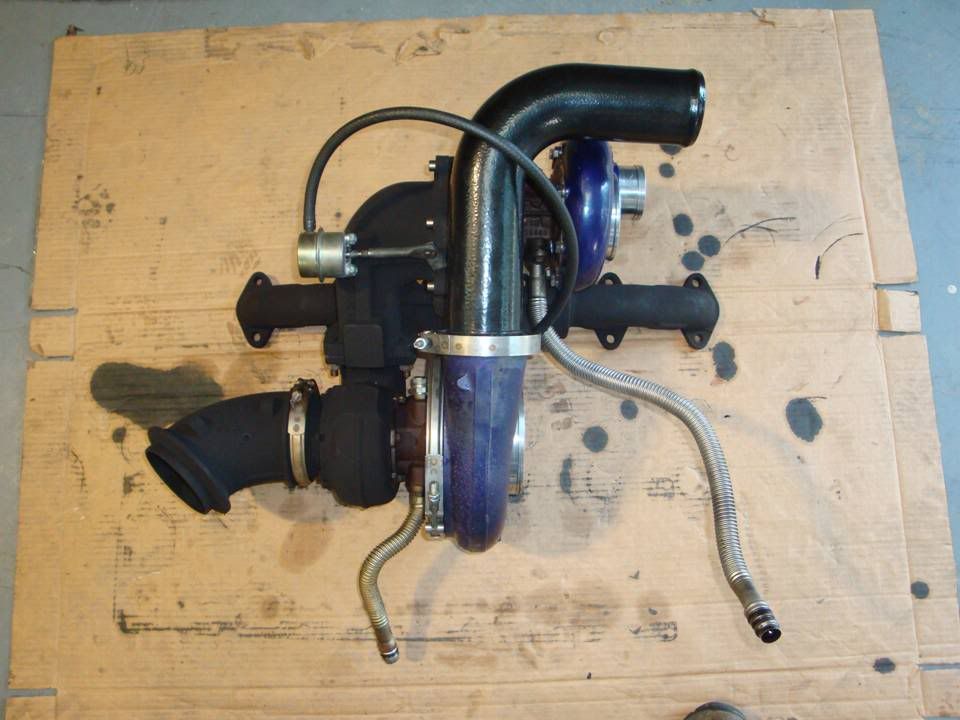
Got the boys all back together today.

The flat black is all the ceramic coated hot side parts.

Twins.jpg


Now I just need the head and pistons back, got new rings sets, thermostat, and a few other small miscellaneous parts on the way.

Once the motor is back together, I'll get the trans started.
 
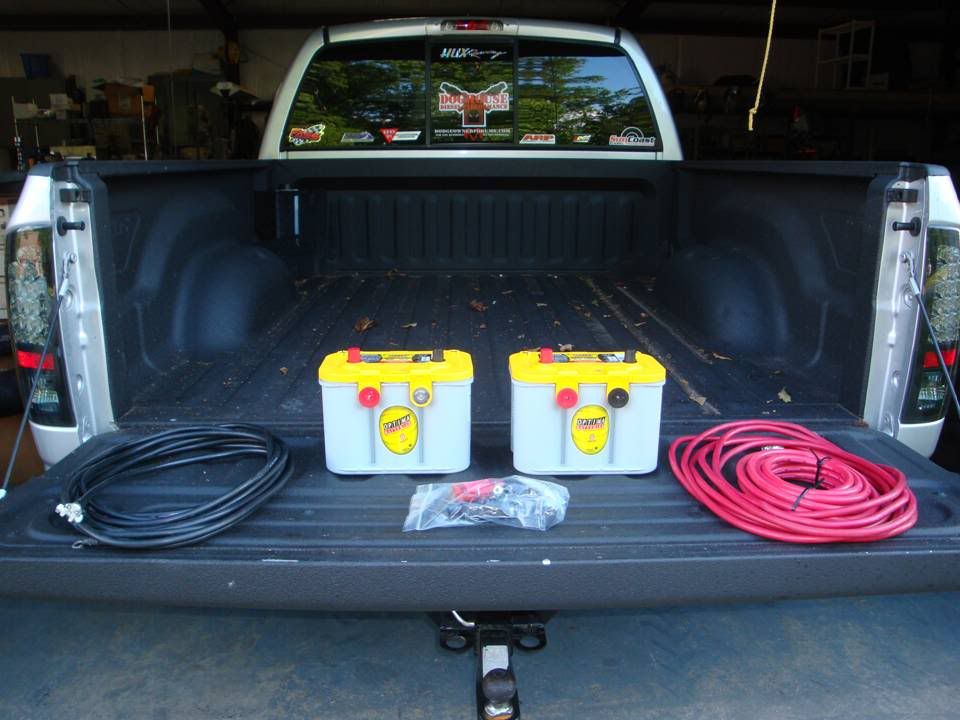
Well, the only pictures the last two days are a set of Optima Yellow Tops, some battery cable, and a '99 Cummins that I've been installing a Raptor 100, new VP44 and new intake on.

Tomorrow I'll get started on the fab work for the battery relocation.
 
Okay, so since I have finally have a little time on my hands this weekend (finished a truck two days early) I decided to start tackling the electrical.

Here's what's going in. Two 870 amp Optimas, 48 ft of power wire, 24 ft of ground wire.

Slide1-86.jpg


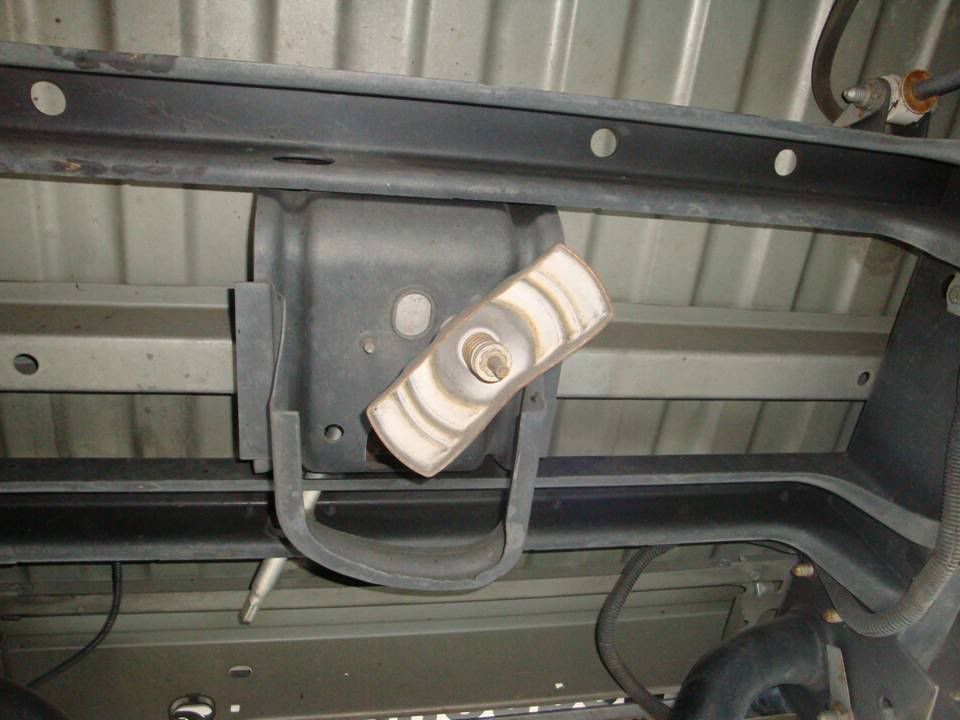
Here's where it's going. We're pulling the bed off tomorrow and cutting out the spare tire carrier. Those two cross member will make the perfect base for the batteries.

Slide2-87.jpg


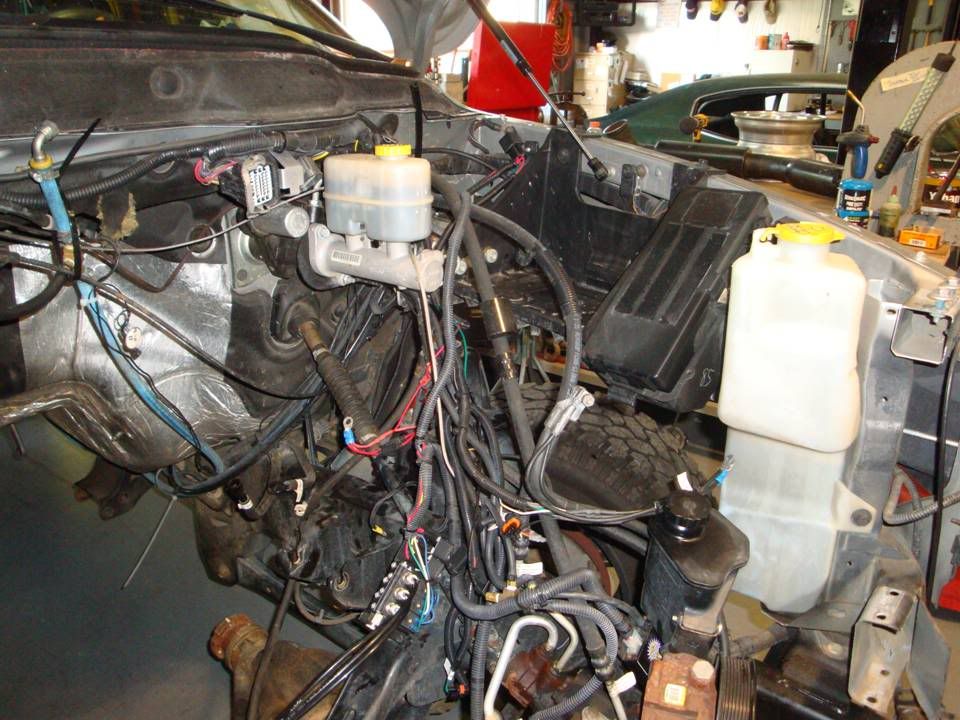
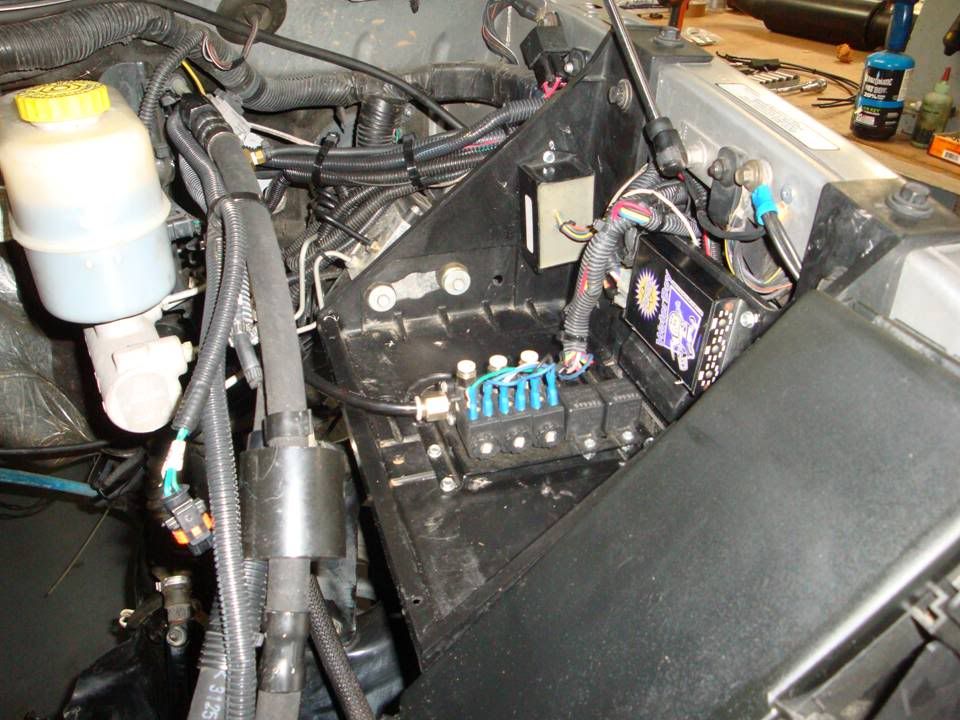
And I started taking care of this octopus of wiring before we called it quits for tonight. I pulled all the wiring and remounted the solenoids, the dual CP3 controller, and the Waterboy controller in to the battery box. All the wiring is now running behind the box and is MUCH cleaner.

All this wiring in the picture is add-on crap....gauges, water injection, dual CP3's, sensors, probes, boost lines, etc. I don't want to see any of it.

Slide3-60.jpg


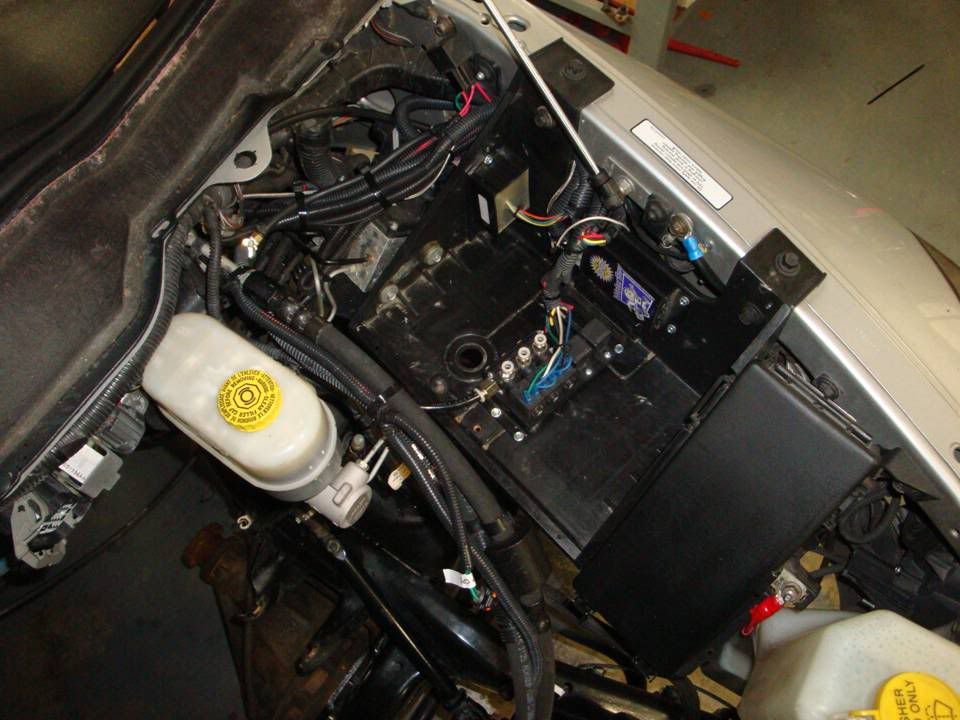
The passenger side battery box won't be going back in, but I'm leaving the driver side box to mount the accessories.
 
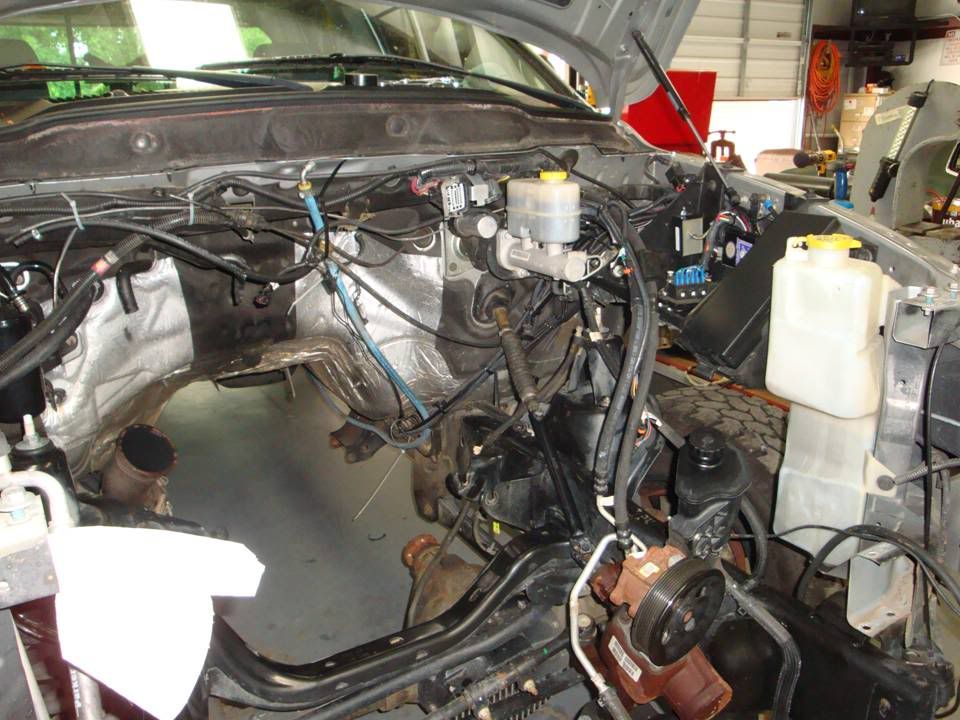
Okay, all the electical in the engine bay is sorted out.

Re-routed the washer fluid line so it follows the fender behind the battery box and across the firewall instead of going across the front of the truck.

Looks MUCH better now. Makes me happy.

Leaving the driver side battery box installed is the perfect spot to mount all the extra electronics and solenoids.....now to add 2 more solenoids.

Slide1-87.jpg


Slide2-88.jpg


Slide3-61.jpg


But first, it's time to pull the bed off and cut out the spare tire carrier and get those batteries mounted and make some new stainless braided fuel lines.
 
Back
Top