• Welcome to The Truck Stop! We see you haven't REGISTERED yet.

    Your truck knowledge is missing!
    • Registration is FREE , all we need is your birthday and email. (We don't share ANY data with ANYONE)
    • We have tons of knowledge here for your diesel truck!
    • Post your own topics and reply to existing threads to help others out!
    • NO ADS! The site is fully functional and ad free!
    CLICK HERE TO REGISTER!

    Problems registering? Click here to contact us!

    Already registered, but need a PASSWORD RESET? CLICK HERE TO RESET YOUR PASSWORD!

Running Too Much Boost, And Blew A Head Gasket.

With the Evans, is there any direct comparison of temperature you can tell us? Something like: on a particular road/hill you always drive it would climb to 215, but now it does "x".

My other thought is for my off roading- my windshield washer tank has a tiny breather hole and leaks out when I go at angles. I know your supposed to drill a hole in the radiator cap for Evans, and I'm gonna leak out there like the windshield fluid. I am trying to figure a double p trap set up to solve that, but nothing came to mind I like.

Keep in mind your coolant temp gauge will not really sense the excessive heat created through the steaming of EGW and elevated EGT's with any accuracy. A search in any search engine of cavitation and steaming of EGW coolants will provide a wealth of usable facts. GM has designed steam venting lines into the later 6.5td and the LS series gas engines because of the steaming problems.

After the CKO HX40 temps are even more stable, as hills go not many to speak of here but w/EGW I saw 225+ deg. f under load a few times while running AC now the temps are lower and stable. I read a lot and then make up my mind as to what I'd like to accomplish for any project. As I understand the steaming, cavitation from the water in EGW so it is the smoking gun in many heat related failures of cylinder heads and blocks.

Vent caps to breather hoses by installing a hose fitting would be a good practice in your situation. As caps go EVANS sells the zero pressure cap.

There are overflow tanks on some applications and accumulator tanks on others like the later GM diesels and LS series engines the coolant level is usually about 1/2 to 2/3rds the height of the tank overfilled it will leak on expansion of coolant as it will with air being pumped into cooling system.
 
Last edited:
The pressure system used a cap that has a spring pushing down on the stopper part of the cap allowing for psi to build... the cap I used didn't have the spring or stopper part, it was only a cap that sealed the top of the radiator, the over flow is below the top and allowed over flow when hot and back flow when cooled, all this with 0 psi at any time and no leakage...
 
My heads haven't made it here yet, but the tracking says they're on the truck for delivery. Fedex doesn't usually get here till between 3-4pm, but it should be soon.
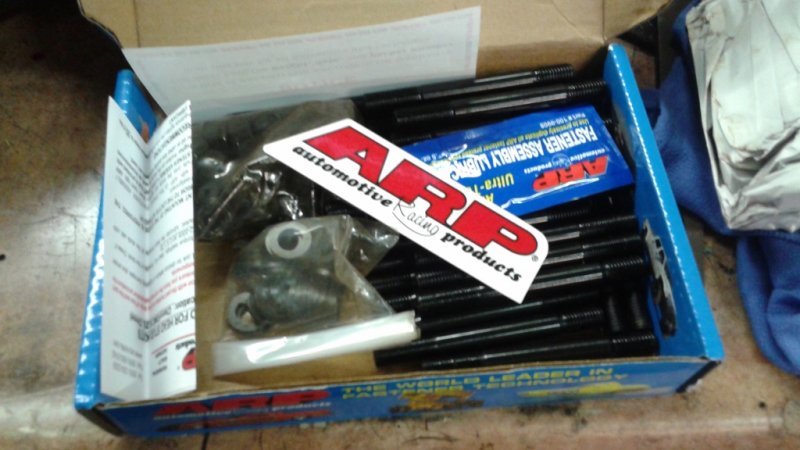
My studs arrived from Leroy. Thanks Leroy. :)
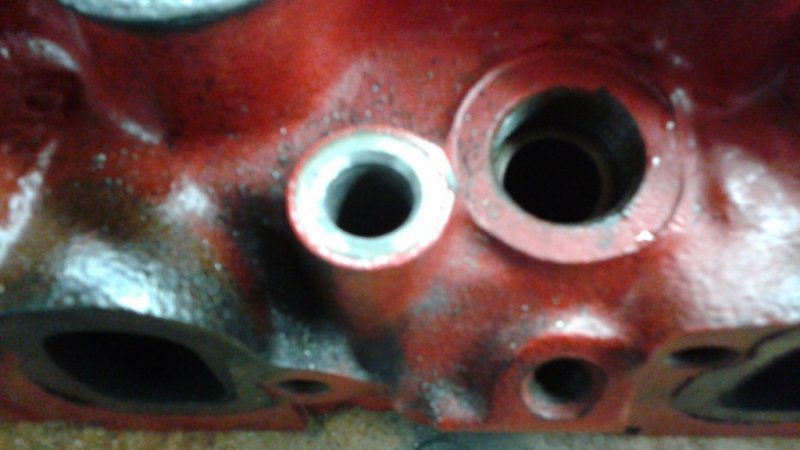
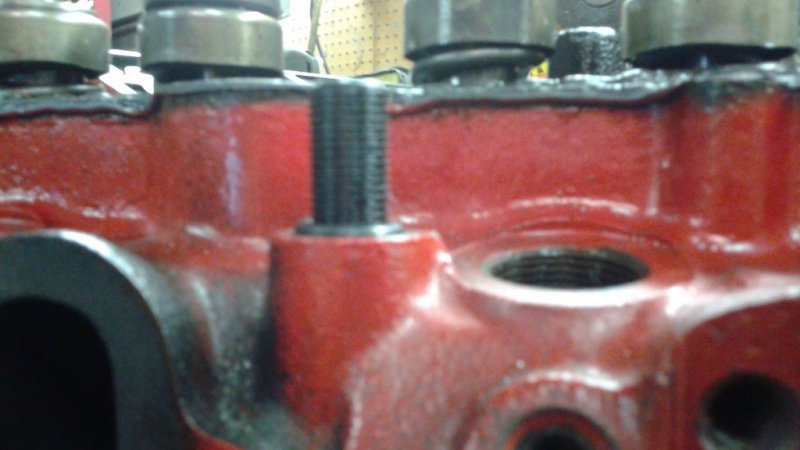
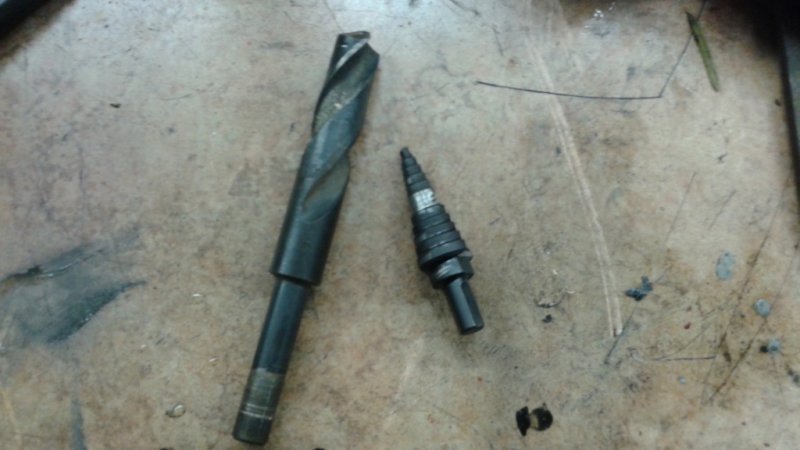
I've been experimenting with o-ringing the studs on one of my old heads. It was somewhat painful having to grind one of the lands off my step bit, to make it work properly. I use the step bit to cut the head, then I use a 3/4" drill bit to clean off the sharp edge left by the step bit. I may still need to go a bit deeper than I'm going right now, but the o-ring is almost a the halfway point. I plan on mounting the new heads on my drill press for better control of my depth. This should be a nice added defense against getting coolant past my studs.
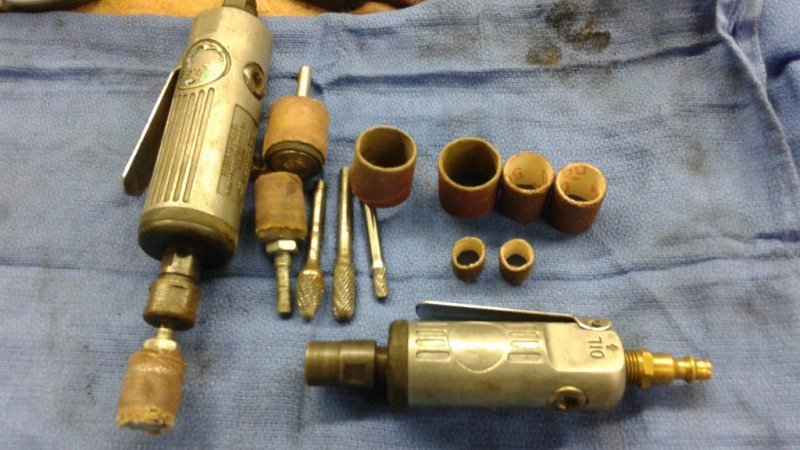
I took an inventory of my porting tools, and I'll have to go buy a bunch more sanding roles. (I thought I had more) I also have to purchase a new small drum, as I bent mine awhile back. Here are a couple pics.

Matt
 

Attachments

  • 20150205_092452 (1024x576).jpg
    20150205_092452 (1024x576).jpg
    63.8 KB · Views: 10
  • 20150205_095441 (1024x576).jpg
    20150205_095441 (1024x576).jpg
    46 KB · Views: 10
  • 20150205_095515 (1024x576).jpg
    20150205_095515 (1024x576).jpg
    46.4 KB · Views: 10
  • 20150205_101031 (1024x576).jpg
    20150205_101031 (1024x576).jpg
    48.7 KB · Views: 10
  • 20150205_124813 (1024x576).jpg
    20150205_124813 (1024x576).jpg
    49 KB · Views: 10
  • 20150205_132950 (1024x576).jpg
    20150205_132950 (1024x576).jpg
    72.8 KB · Views: 10
I like where this is going :D

Interesting on the o-ring idea. I had read the Turbonator brothers doing that. I plan on just doing Blue Loctite on the studs in the block like WW, but maybe it does make sense to do the o-ring as a backup. I know I'm not enjoying coolant in my oil right now.
 
I like where this is going :D

Interesting on the o-ring idea. I had read the Turbonator brothers doing that. I plan on just doing Blue Loctite on the studs in the block like WW, but maybe it does make sense to do the o-ring as a backup. I know I'm not enjoying coolant in my oil right now.

I didn't o-ring my ARP's and they don't leak. Blocks side was threaded with sealant and nuts with ARP assembly lube. Leak free and run hard for months now
Yes this is a mod the turbonator brothers came up with. Its a simple mod, and I can tell the oring is going to make a very tight seal between the head, and stud. To me, it just seems like good insurance. I seems most people don't have a problem with coolant leaks around the studs, but I've read about many that have, so I figure a couple hours of labor (the guy doing the labor doesn't charge me anything :D), and a few orings will give me peace of mind.

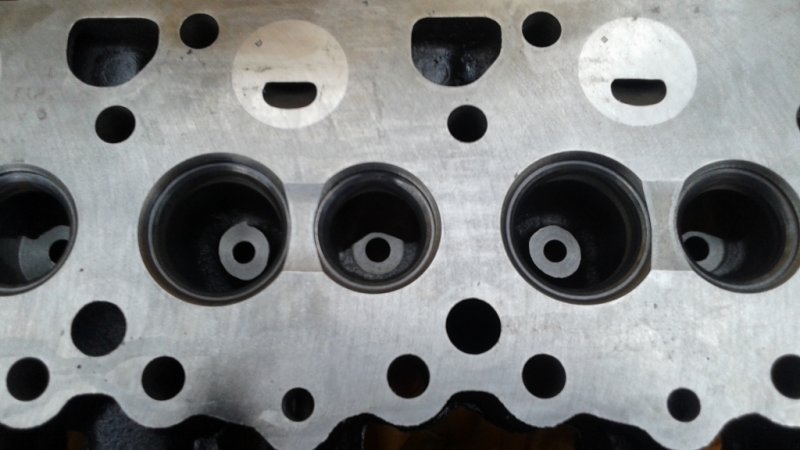
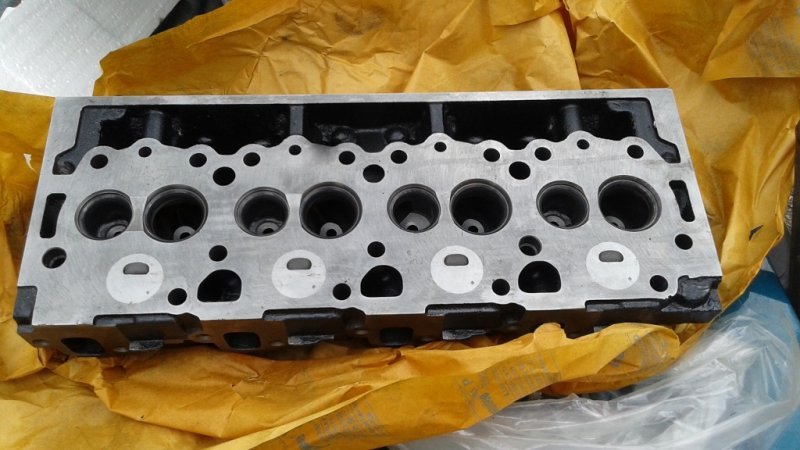
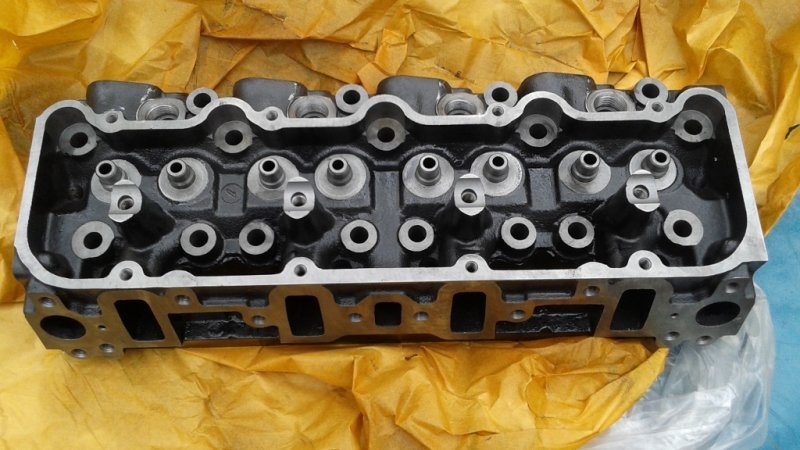
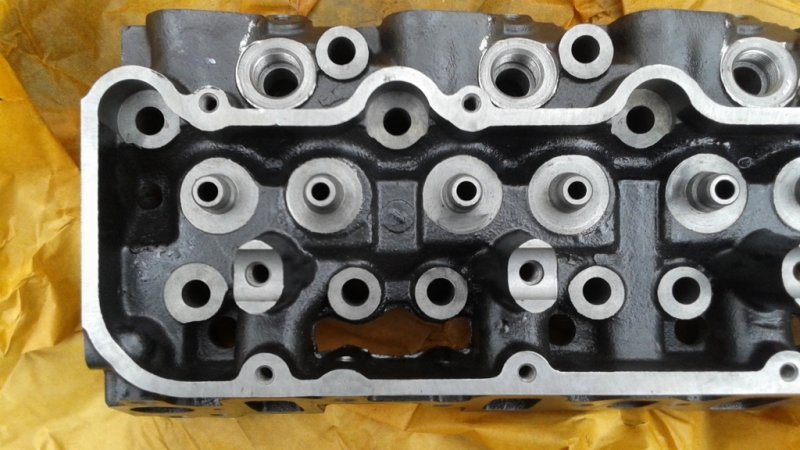
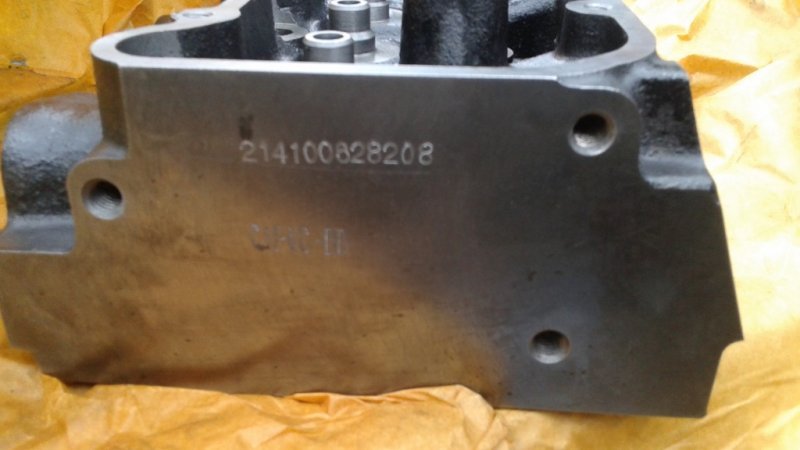
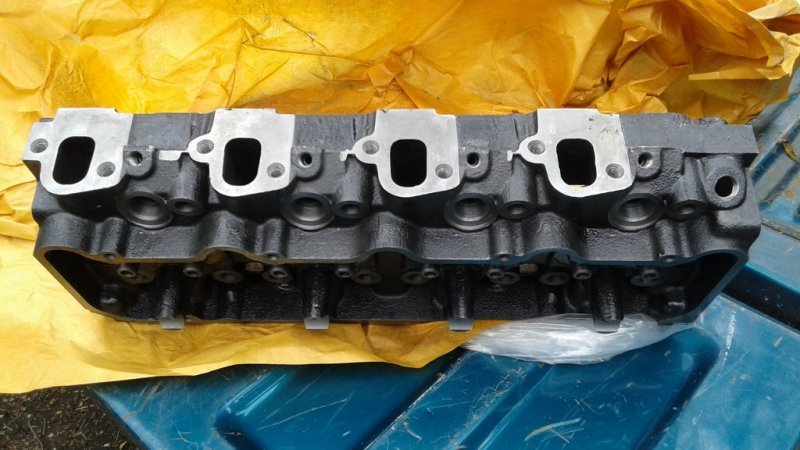
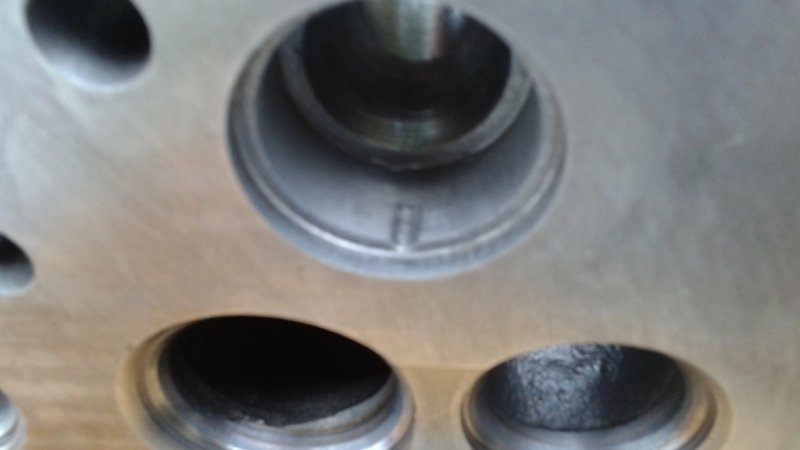
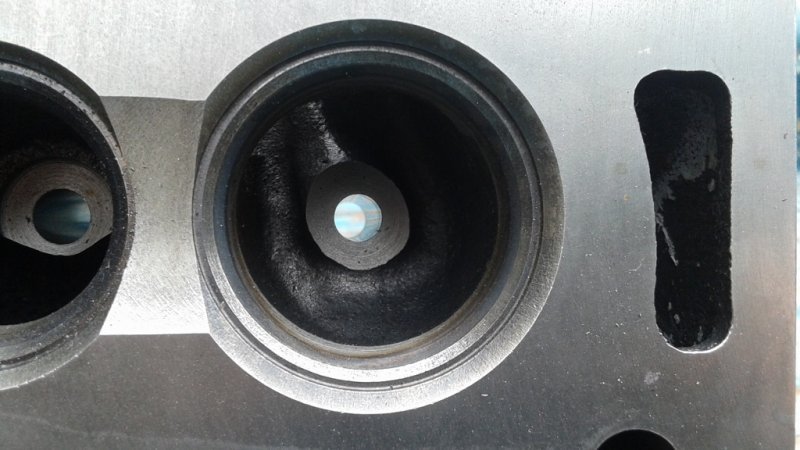
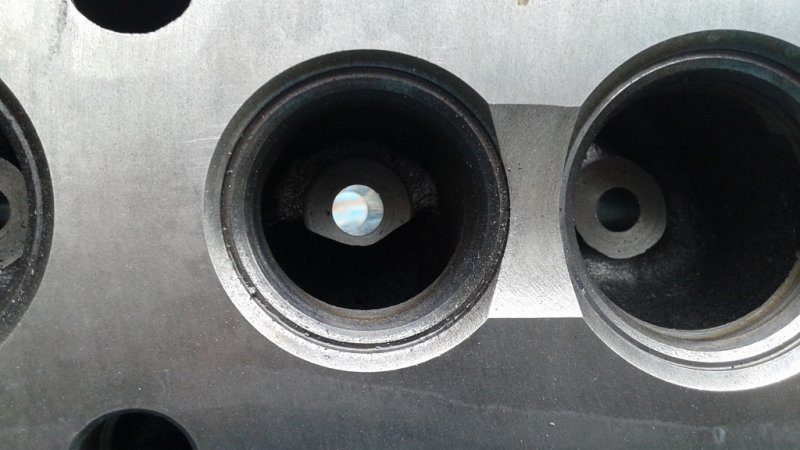
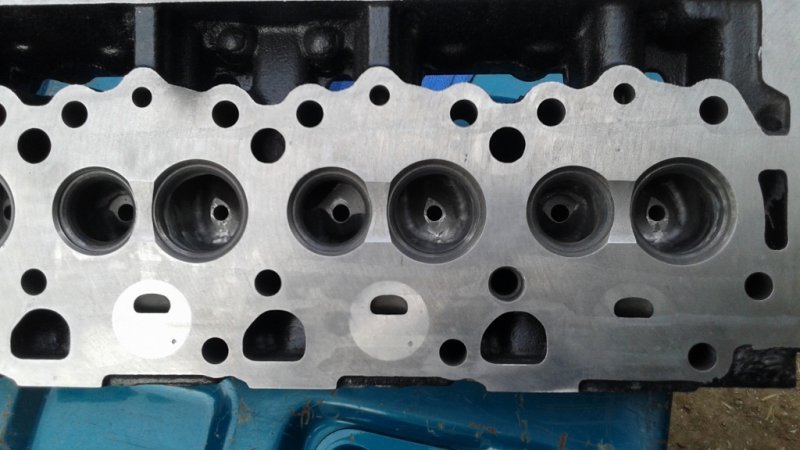
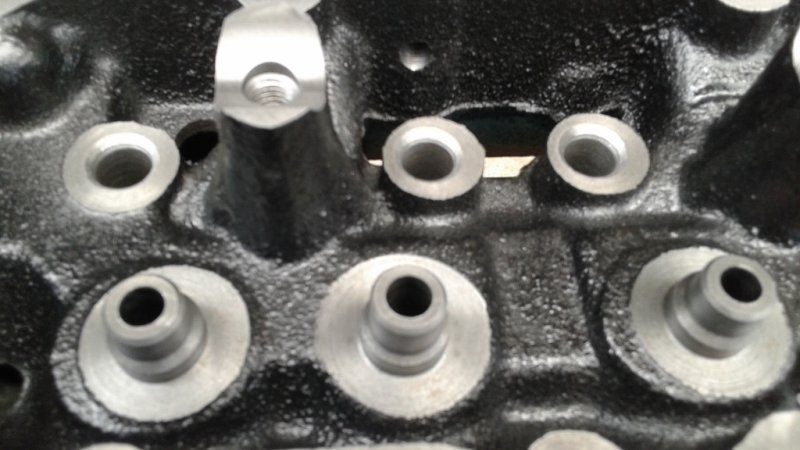
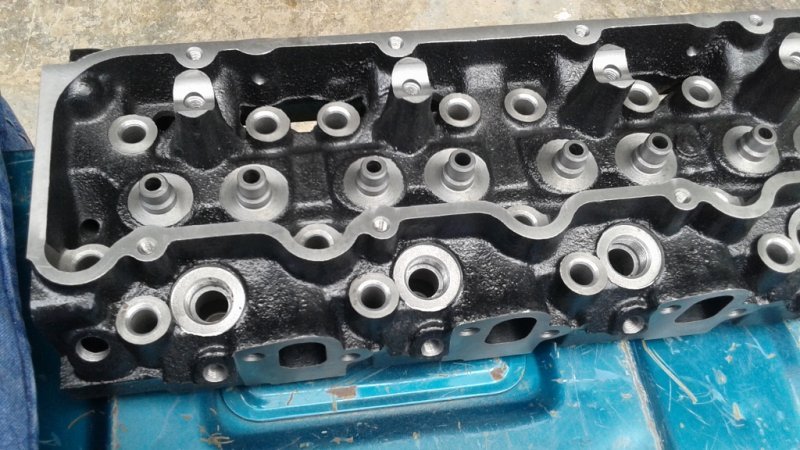
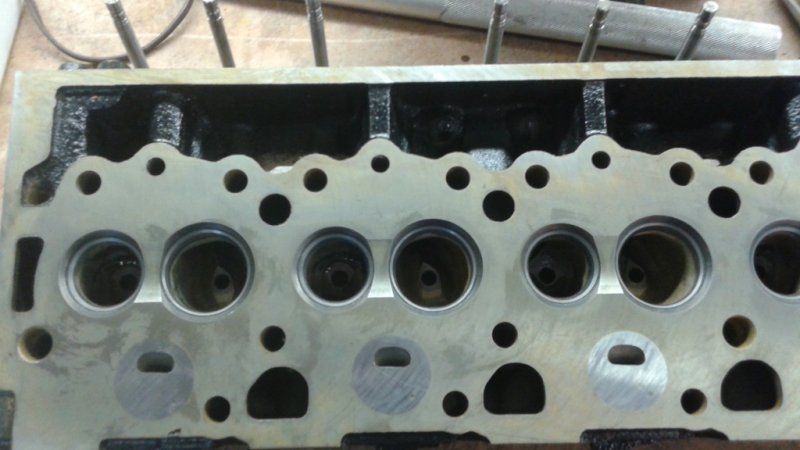
They're here. First impressions. They are a bit rough, and are certainly going to need some cleanup in the bowl area, although there is no cleanup to be done immediately below the valve seats.
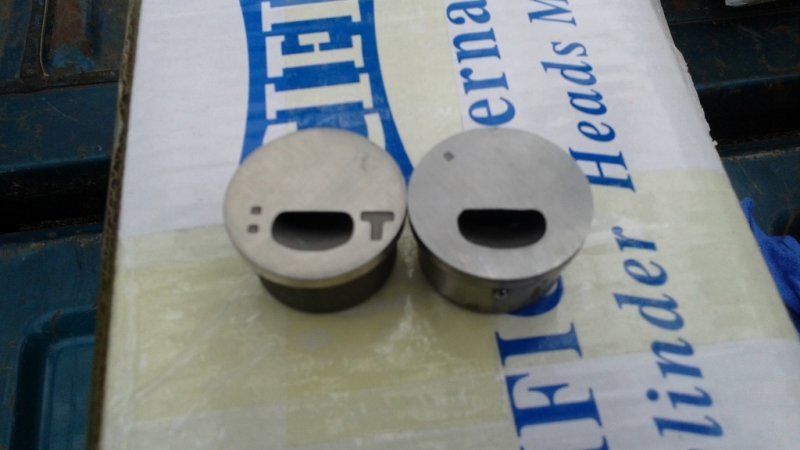
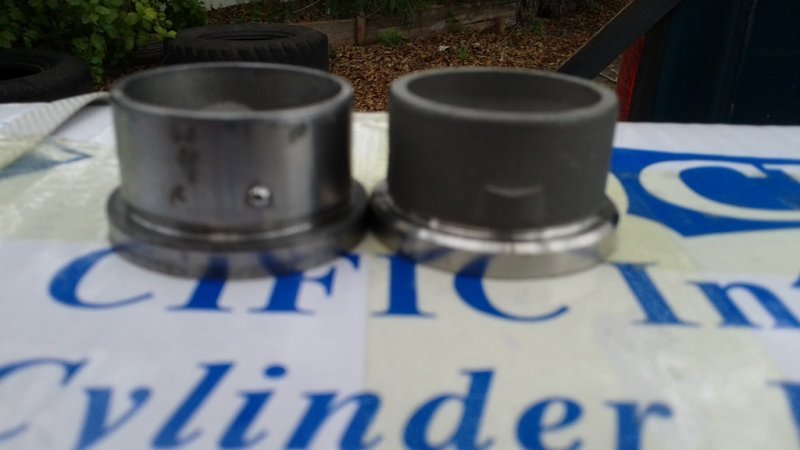
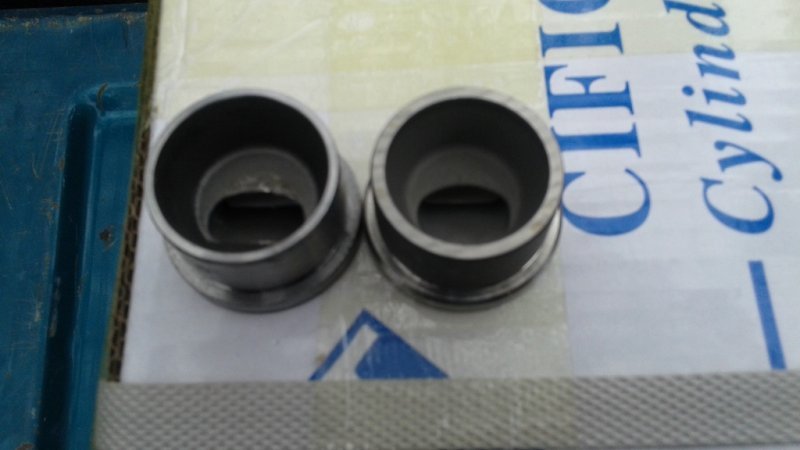
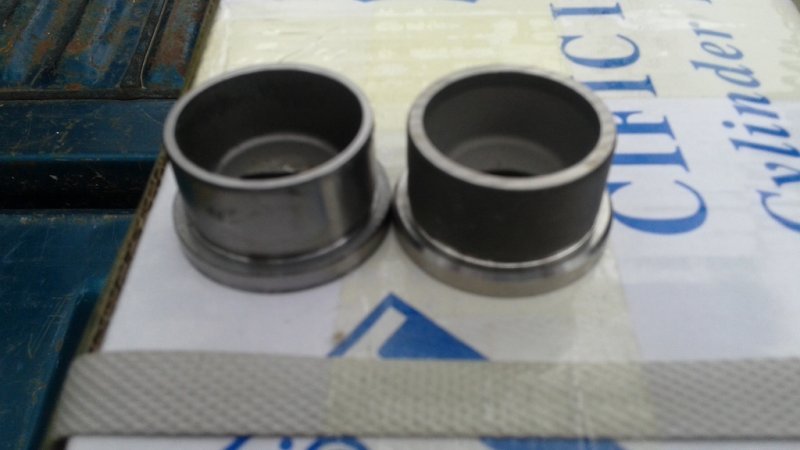
The precups are magnetic. The divots on the cups that keep them from rotating in the head are smaller than the OE cups, so if I wanted to use my T cups, I would have to grind the slot in the head itself bigger, before I could use my T cups. See pics below. Another thing to note. The head surface was machined with the cups in the heads, so there is no protrusion of the cup on the surface of the head. The cups that come with the heads are a very tight fit, and required a fair bit more persuasion to drive one out, than my OE heads do.
I'm not overly impressed, but not real disappointing either. I took some pics, and if there are any pics, or measurements you guys would like, just let me know, and I'll do my best to get them. Thanks

Matt
 

Attachments

  • 20150205_150931 (1024x576).jpg
    20150205_150931 (1024x576).jpg
    51.5 KB · Views: 14
  • 20150205_151028 (1024x576).jpg
    20150205_151028 (1024x576).jpg
    69.2 KB · Views: 13
  • 20150205_151118 (1024x576).jpg
    20150205_151118 (1024x576).jpg
    76.9 KB · Views: 13
  • 20150205_151129 (1024x576).jpg
    20150205_151129 (1024x576).jpg
    73.1 KB · Views: 13
  • 20150205_151203 (1024x576).jpg
    20150205_151203 (1024x576).jpg
    46.4 KB · Views: 13
  • 20150205_151258 (1024x576).jpg
    20150205_151258 (1024x576).jpg
    72.2 KB · Views: 14
  • 20150205_151805 (1024x576).jpg
    20150205_151805 (1024x576).jpg
    45.3 KB · Views: 15
  • 20150205_152741 (1024x576).jpg
    20150205_152741 (1024x576).jpg
    46.3 KB · Views: 14
  • 20150205_153011 (1024x576).jpg
    20150205_153011 (1024x576).jpg
    43.2 KB · Views: 14
  • 20150205_153022 (1024x576).jpg
    20150205_153022 (1024x576).jpg
    42.9 KB · Views: 13
I would make the effort to get your T precups in. The magnetic precups have a bad reputation esp. for the hot rod you are building.
 
I would make the effort to get your T precups in. The magnetic precups have a bad reputation esp. for the hot rod you are building.

I've heard others say the same thing. By any chance, do you have a link or pics or something showing them failing? I hear people say things, and I often wonder if they're repeating what they've heard, or if they've seen proof. I'm one of those "seeing is believing" types.
Not saying I disagree, but I've noticed the inside area on the CKO diamond have a much larger area that would reduce compression some. Just look at the pics I posted of them next to my T cups. The mouth isn't much larger, but the area behind it is. My plan was to use my T cups, but even if I machine the slots in the heads to accept my OE cups, I'm not sure they will fit very well in these heads, I'll put my caliper on them tomorrow, and do some further investigation. Thanks

Matt
 
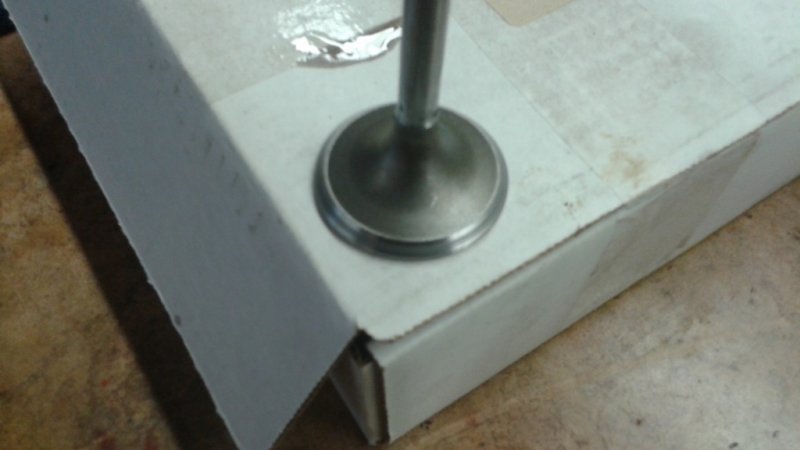
I'll lap the valves, and see what the look like. If they don't have a good contact surface, I do have a Neway valve seat cutter, that will get them straitened out. :)

Matt
 
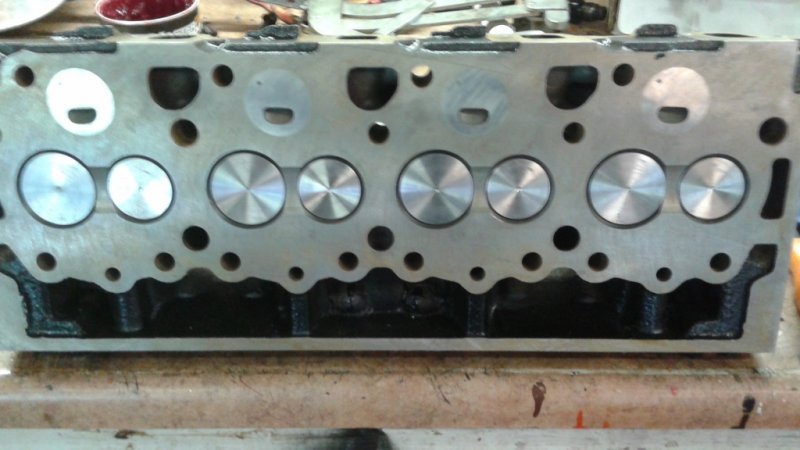
I've started cleaning up the bowl, but I don't have any pics yet. I also lapped a couple valves in to see if they were cut right. So far, the contact patch is perfect on the valves, and should seal well.
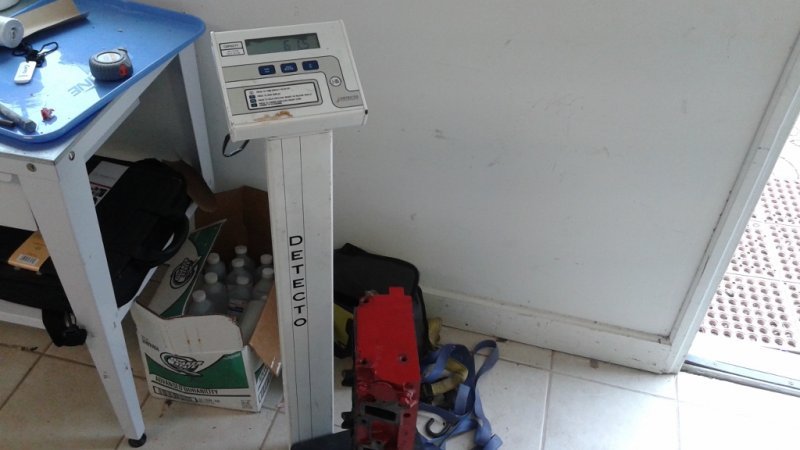
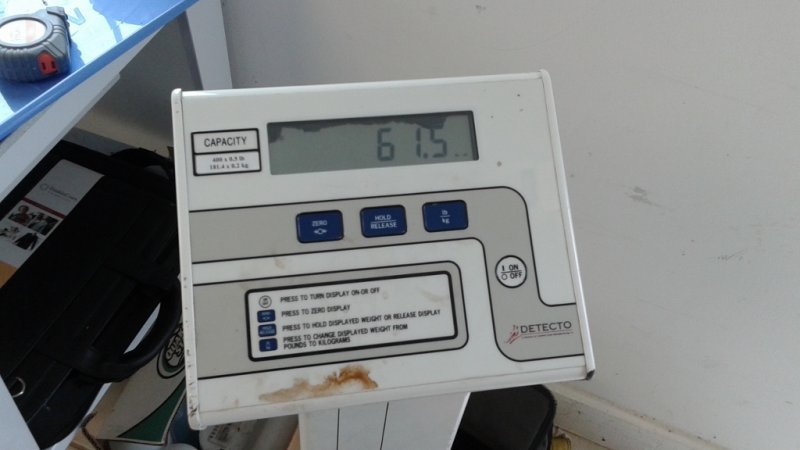
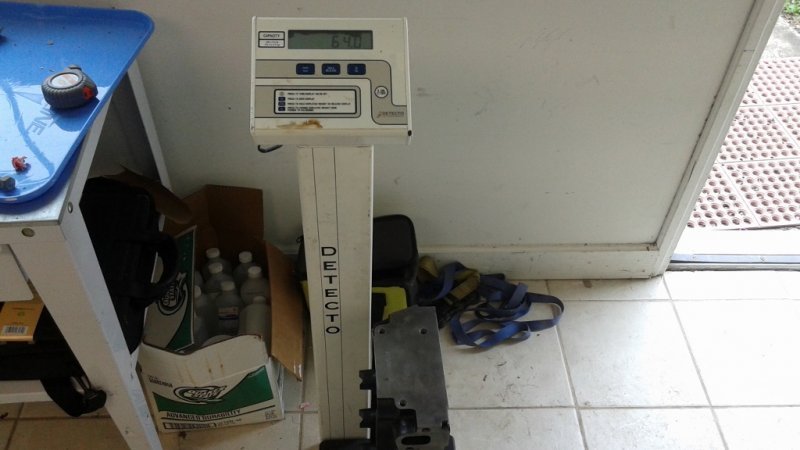
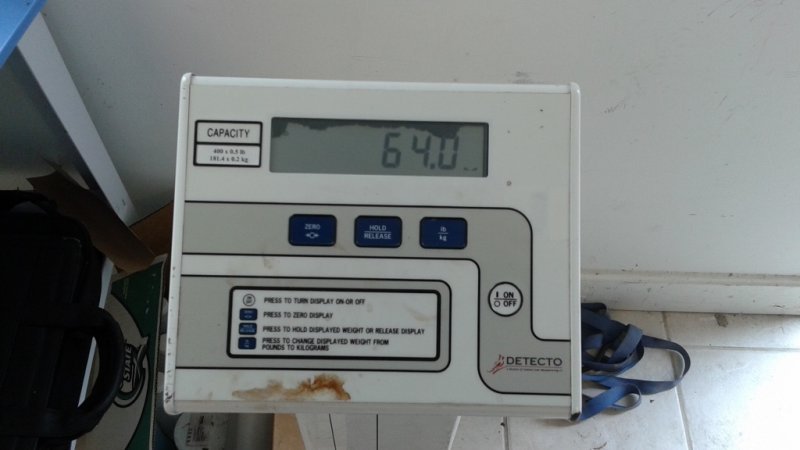
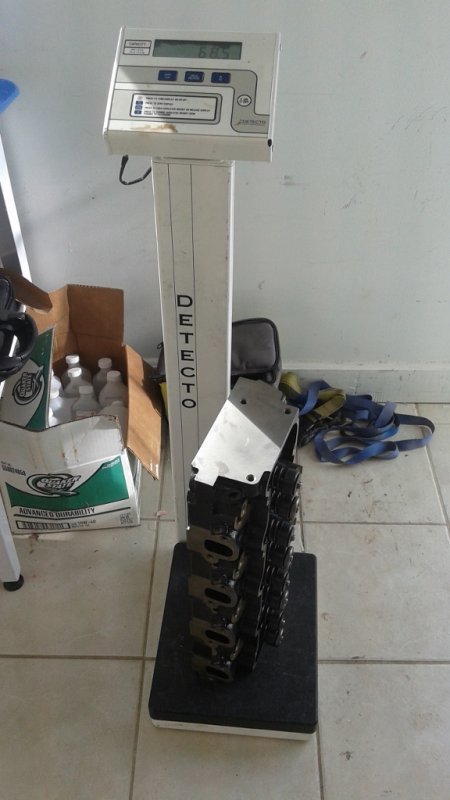
Just out of curiosity, I weighed the heads against the old ones. The OE heads are 61.5 lbs, and the new ones are 64 lbs. The old head still had a water block off plate, and temp sensor on it, but other than that, both heads were bare with pre cups.

Matt
 

Attachments

  • 20150206_105740 (1024x576).jpg
    20150206_105740 (1024x576).jpg
    46.6 KB · Views: 2
  • 20150206_105745 (1024x576).jpg
    20150206_105745 (1024x576).jpg
    44.3 KB · Views: 2
  • 20150206_105916 (1024x576).jpg
    20150206_105916 (1024x576).jpg
    48.8 KB · Views: 2
  • 20150206_105920 (1024x576).jpg
    20150206_105920 (1024x576).jpg
    42.1 KB · Views: 2
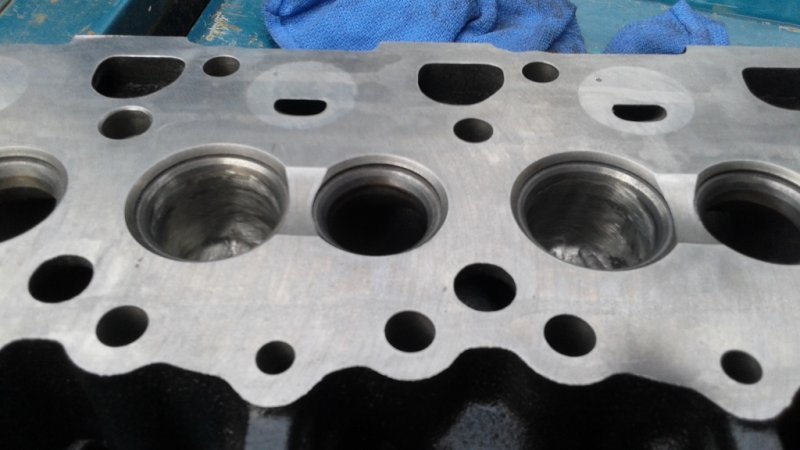
Unfortunately, I had to do some real work today, so I didn't get as much time in on my heads as I would have liked to.:D I got a good start on the bowl cleanup on one of the heads. These castings really are much rougher than OE heads, but they're cleaning up ok. Here are a couple before, and after pics from today. This head isn't done yet.

Matt
 

Attachments

  • 20150206_151713 (1024x576).jpg
    20150206_151713 (1024x576).jpg
    60.4 KB · Views: 12
  • 20150206_151718 (1024x576).jpg
    20150206_151718 (1024x576).jpg
    58.9 KB · Views: 13
  • 20150206_165528 (1024x576).jpg
    20150206_165528 (1024x576).jpg
    48.6 KB · Views: 12
  • 20150206_165623 (1024x576).jpg
    20150206_165623 (1024x576).jpg
    58.5 KB · Views: 13
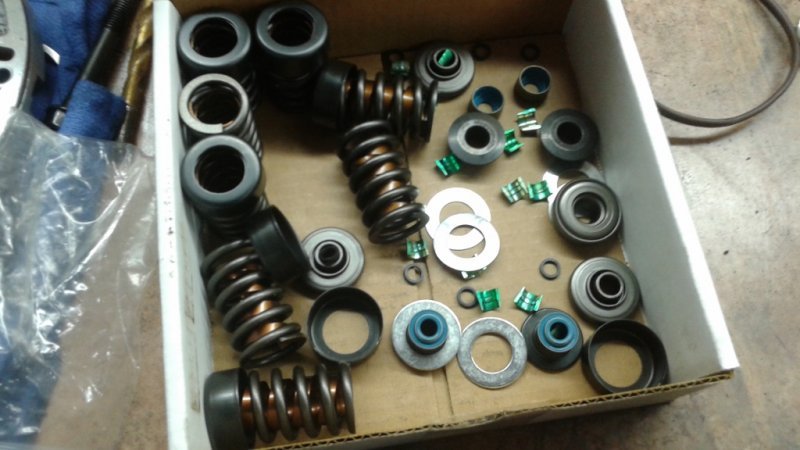
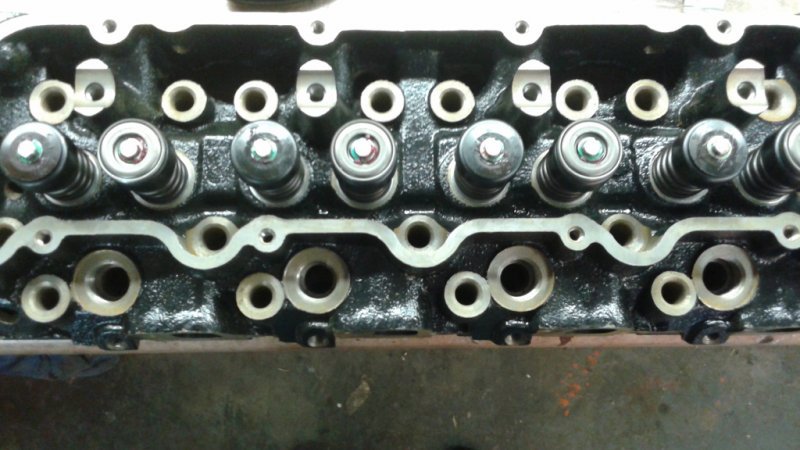
Alright, made a little more progress today. Finished cleaning up the ports, and finished machining the heads for orings. Lapped the valves in, and all of them looked great, with the contact point right in the middle of the valve face. Sorry for the lightly rusted look of the heads, but after porting, and machining for orings, I had to give them a serious bath, which gave them some flash rust, but it makes it very easy to see what the valve seats looked like after lapping.:D The valve assembly kits I'm using came with the valve spring shims, but I also removed the shims from the old heads as well. So, there are two .030 shims under each spring (rather than 1) to add a little extra spring pressure.
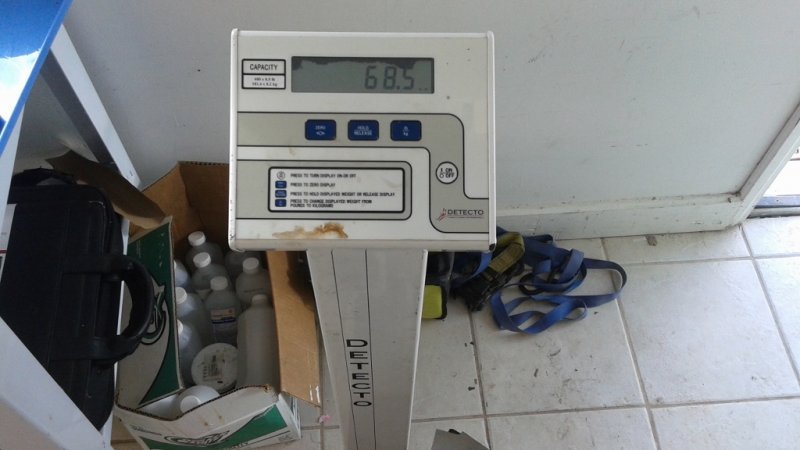
I almost forgot, I weighed the heads assembled, and they weigh 68.5 lbs.
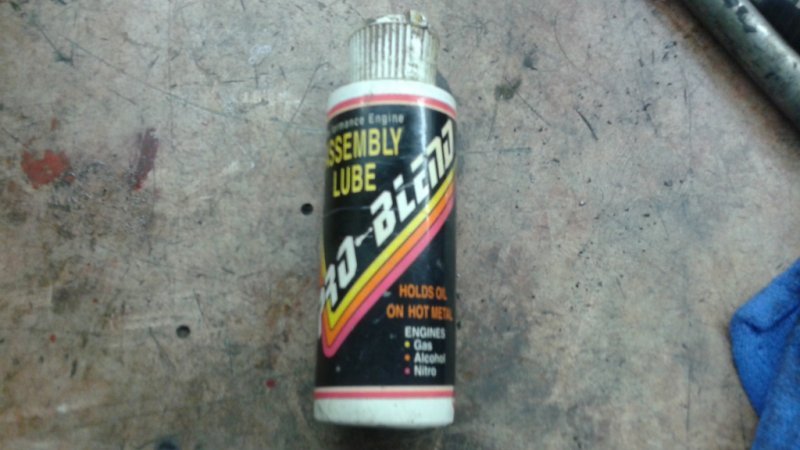
Also a pic of my favorite assembly lube. :D
Matt
 

Attachments

  • 20150207_113439 (1024x576).jpg
    20150207_113439 (1024x576).jpg
    59.9 KB · Views: 12
  • 20150207_113448 (1024x576).jpg
    20150207_113448 (1024x576).jpg
    88.8 KB · Views: 12
  • 20150207_143730 (1024x576).jpg
    20150207_143730 (1024x576).jpg
    38.3 KB · Views: 12
  • 20150207_143818 (1024x576).jpg
    20150207_143818 (1024x576).jpg
    53 KB · Views: 13
  • 20150207_144839 (1024x576).jpg
    20150207_144839 (1024x576).jpg
    61.6 KB · Views: 12
  • 20150207_154447 (1024x576).jpg
    20150207_154447 (1024x576).jpg
    56.7 KB · Views: 12
  • 20150207_154519 (1024x576).jpg
    20150207_154519 (1024x576).jpg
    71.4 KB · Views: 12
  • 20150207_155132 (576x1024).jpg
    20150207_155132 (576x1024).jpg
    46.4 KB · Views: 12
  • 20150207_155143 (1024x576).jpg
    20150207_155143 (1024x576).jpg
    48.3 KB · Views: 12
  • 20150207_144611 (1024x576).jpg
    20150207_144611 (1024x576).jpg
    54.9 KB · Views: 13
Nice work indeed, I wonder if anyone makes a copper head gasket for the 6.5 or if it were even worthwhile to do.
Thanks. I don't know if anyone makes copper head gaskets for them, but I know Cometic makes the MLS (multi layered steel) head gaskets for them, but they are pricey. At this point, I'm just going with the +.010 Felpro's, and hoping that with the ARP studs, I'll be good to go.

Matt
 
I am sure Will can comment again about the best material to make precups out of. The non-magnetic GM precups do crack. What material can handle a constant 1000 degree rapid heat cycle and is magnetic? Just Not an improvement rather it is going backwards and a bad idea for hot-rodding. Yeah the good news is any debris that breaks off is usually just impacted in a piston, head, and ruins the cyl and you maybe keep on trucking till it locks up.

Copper head gaskets:
http://www.thetruckstop.us/forum/threads/copper-headgasket.33293/
 
Back
Top