• Welcome to The Truck Stop! We see you haven't REGISTERED yet.

    Your truck knowledge is missing!
    • Registration is FREE , all we need is your birthday and email. (We don't share ANY data with ANYONE)
    • We have tons of knowledge here for your diesel truck!
    • Post your own topics and reply to existing threads to help others out!
    • NO ADS! The site is fully functional and ad free!
    CLICK HERE TO REGISTER!

    Problems registering? Click here to contact us!

    Already registered, but need a PASSWORD RESET? CLICK HERE TO RESET YOUR PASSWORD!

Rebuilding of a Truck Camper

Sucks the cover didn't last. I tarp mine sometimes but I get lazy about it with as much as I use my camper. I should be more diligent about it.

I'm glad to see you're making some progress, even if it's slow at least you are still at it! This summer I will be tearing mine apart - It's due for a new roof and one wall needs repaired.

I tore it up pretty bad during some of the rebuild. But from my readings most covers last between 1 - 2 years if left outside. here in Texas the sun does most of the damage.
 
I went to lowe's today and picked up some plastic wall panel. I was going to get the fiber glassed wall board but, this stuff was lighter and cheaper. The locations I am putting this stuff will never see the sun. It is also paint-able, if I do not like the color or want to change it. The best part is it is 100% waterproof. Unlike the wood it will replace. I will follow this with a link to what I got.
http://www.lowes.com/pd_72406-44905...s_dollar|1&page=1&facetInfo=Parkland Plastics

If weather cooperates I will do some work on it tomorrow.
 
how are you using that Marty?

It is going under the side to cover the wood supports. I plan on installing it with 3/4 screws with roofing washers. I might use liquid nails on it but have not yet made up my mind.

I also plan on installing it on the back bottom to cover the wood.

It is not being used as a support but as a cover.
 
Thats the stuff I used to redo the bathroom in our old place. Worked great for a cheap shower enclosure. Glued it up with some adhesive, caulked in the corners, and layed in some plastic trim. Made a nice shower for WAY less than a premade enclsure would have cost.
 
the "good" stuff is called FRP. fiberglass reinforced plastic. it's pretty tough, you can bang on it with a hammer and not leave marks on it. I'd be leery of using it on your camper if it needs to be waterproof, even caulking the trim it will probably flex enough (the camper) to break loose the caulk. even Ferms shower will eventually leak.
 
the "good" stuff is called FRP. fiberglass reinforced plastic. it's pretty tough, you can bang on it with a hammer and not leave marks on it. I'd be leery of using it on your camper if it needs to be waterproof, even caulking the trim it will probably flex enough (the camper) to break loose the caulk. even Ferms shower will eventually leak.

This stuff was half the weight of the FRP. I looked at both. I will try this on the bottom below the fridge and propane tanks. If it does not last I am only out $28. If it does, great. This plastic wall board will be held in place by aluminum on the front and outside edges. It will be held in by galvanized metal in the inside edge. I will then screw it in everyplace else. It should not be supporting any weight.

I will agree with you, this stuff does have a bad rap.
 
I got some done today. I wish it was a little warmer. I really dislike the cold.
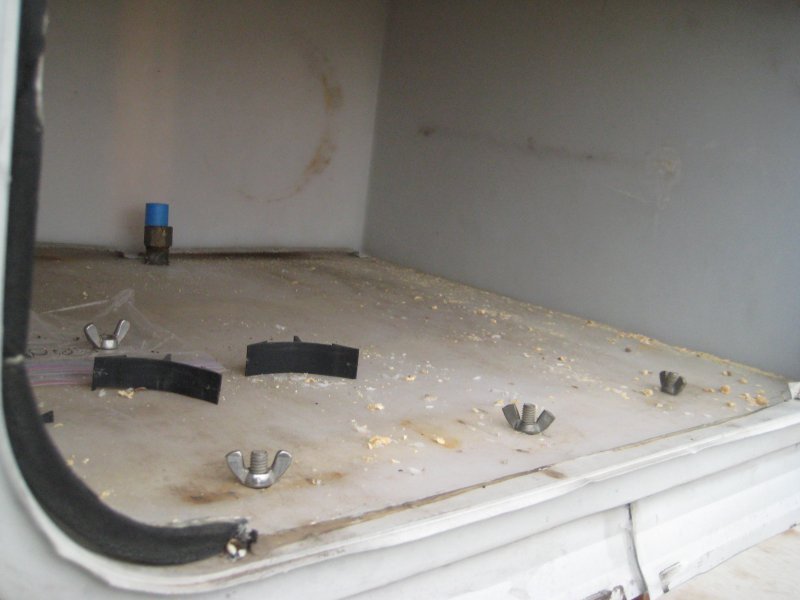
I started working on the camper today. I drilled the holes for the bolts that hold down the propane tanks and regulator.
IMG_1433.JPG
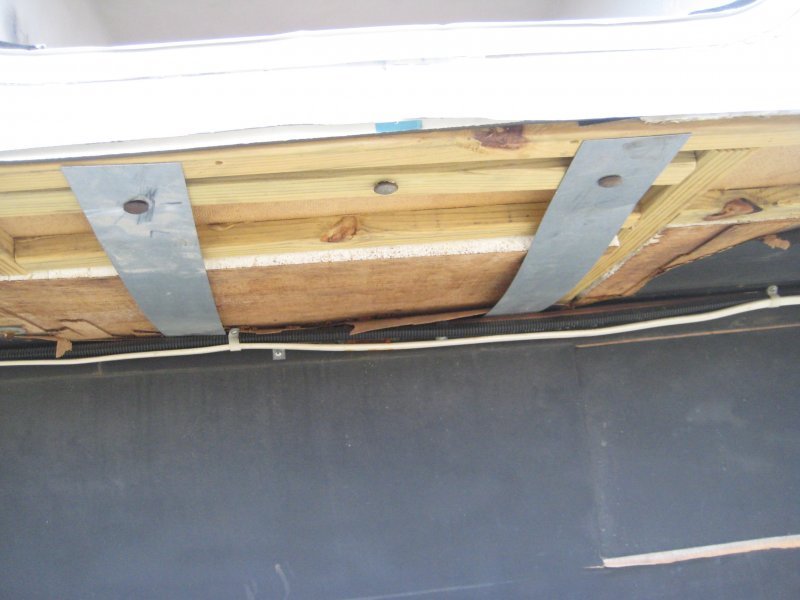
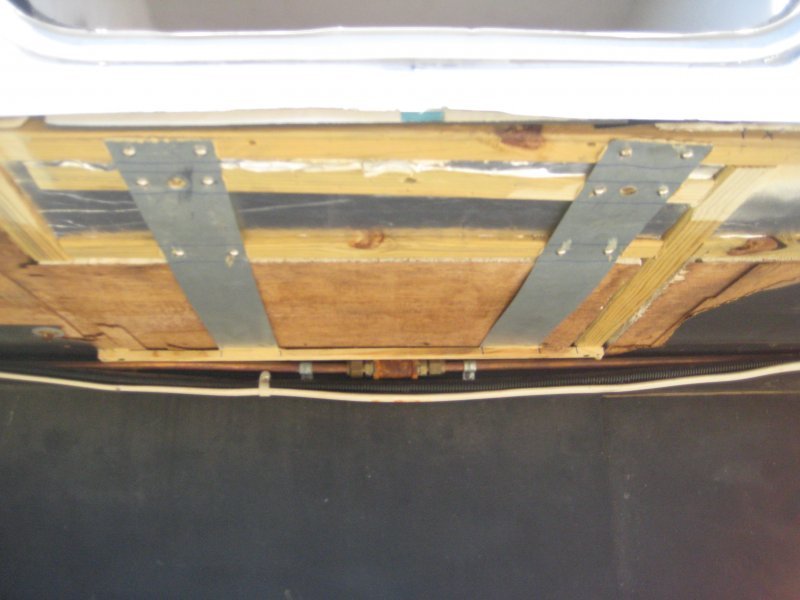
I have been pondering how to add extra support for the propane tanks. I found these strips of galvanized metal a time ago. They seem to work perfect. I just need to finish installing them. I hope they bring up the sagging foam.
IMG_1434.JPG
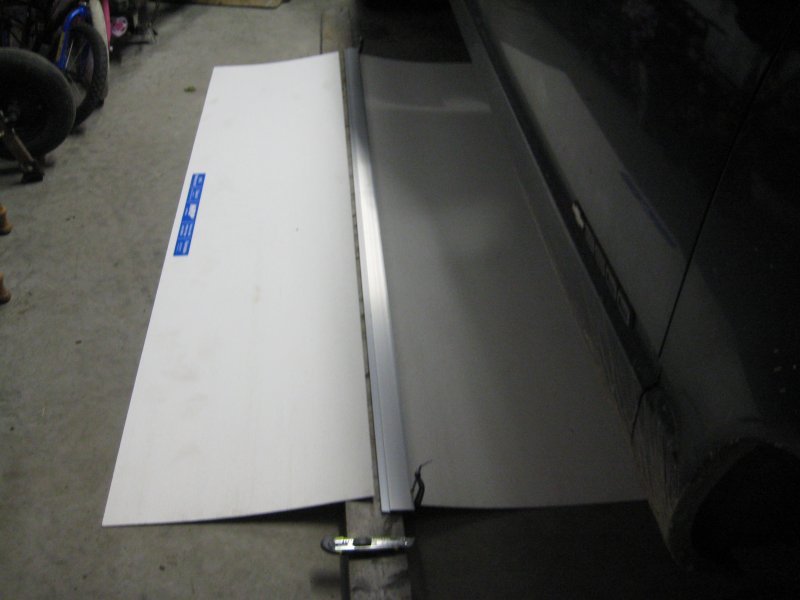
I purchased 8 foot cutting edge to trim the wall board. It worked perfectly.
IMG_1435.JPG
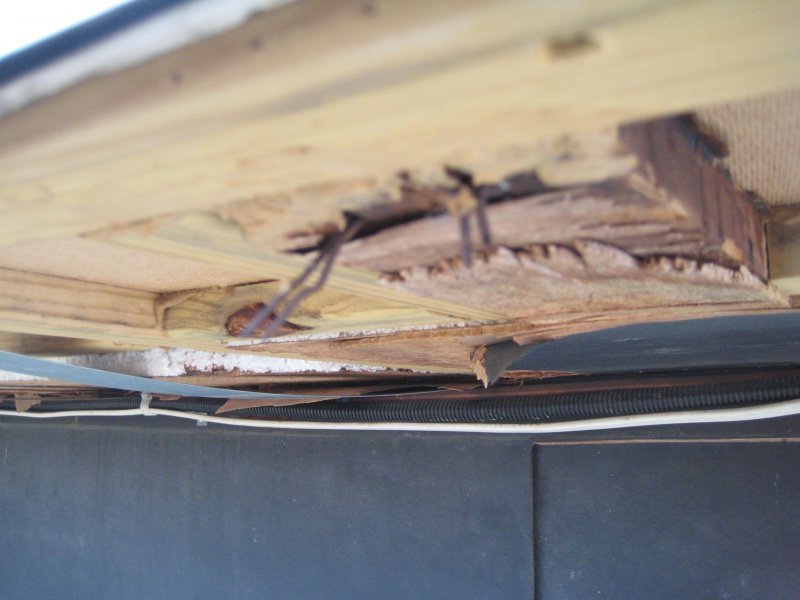
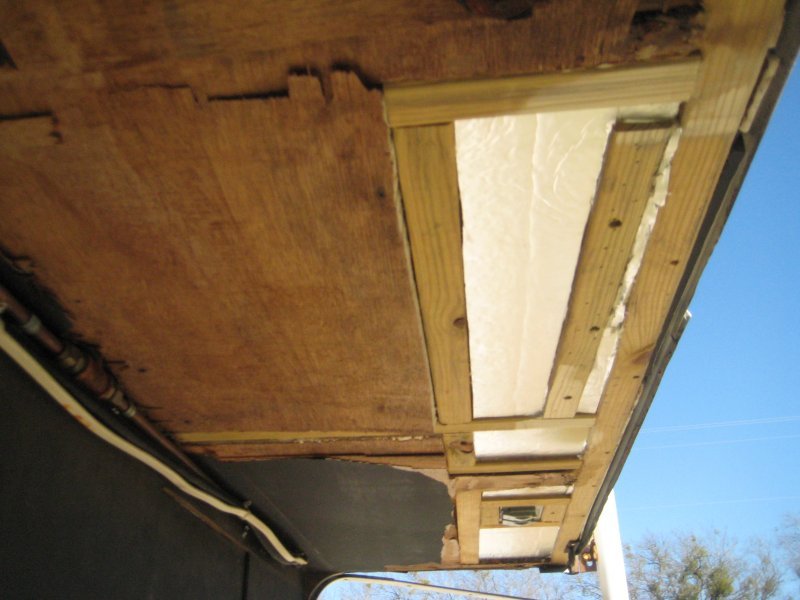
I know need to prep the underside for the wall board install. I will start by using the dremel on the rest of the pesky staples.
IMG_1436.JPG
I will try to do some more work tonight. If not a new day is around the corner.
 
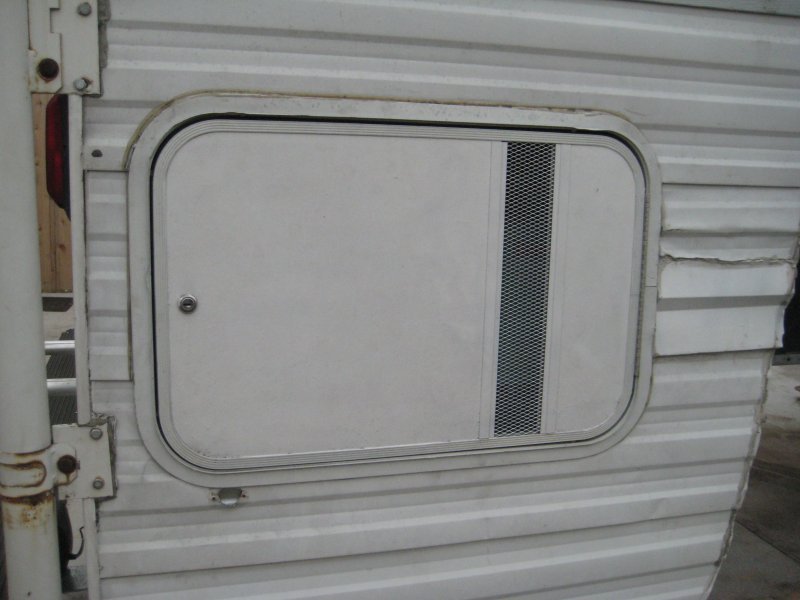
This might be all I do today. I finally got the generator access door back on. It needed a little nudge to get back in the proper place. But, it need that to come off also. Here is what she looks like back in place.
IMG_1437.JPG
If I do anything else today I will post it up.
 
Been working on the camper on and off the last couple of days. Got most of the actual camper work done today. I most of the prep work earlier in the week. I finally got the last board under the propane tanks installed. This board is mainly to support the bolts that hold down the tanks and controls. I also got the insulation up.
IMG_1438.JPG
I then prepared and installed the metal strips. I installed them for extra support of the heavy propane tanks. They seem to tie in the cross boards well. We will find out later this week.
IMG_1439.JPG
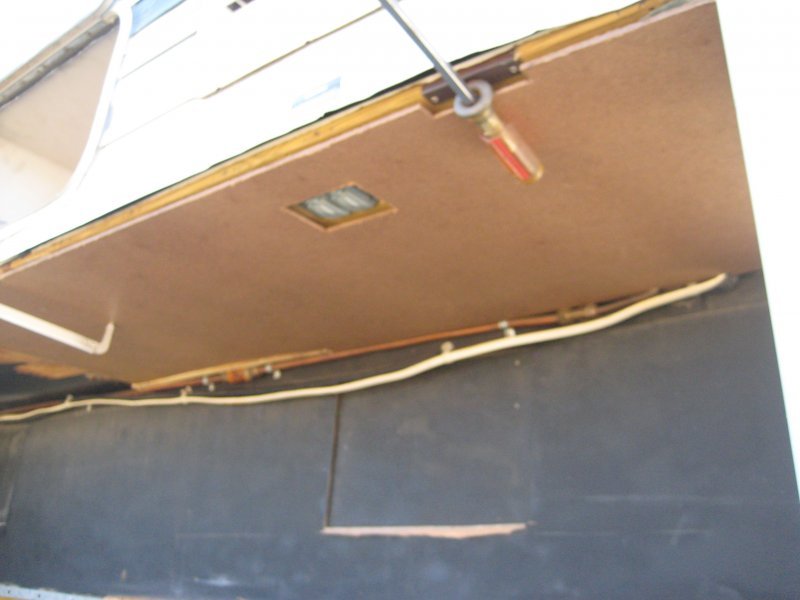
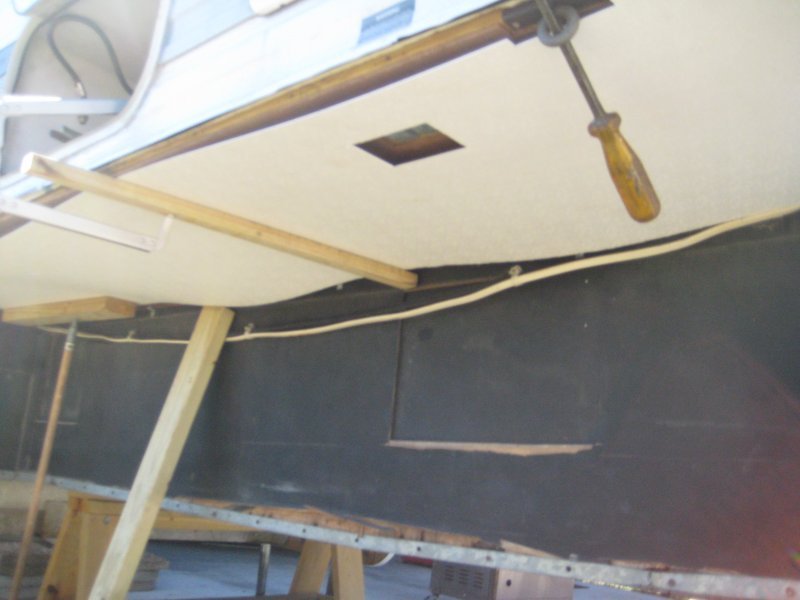
I decided to add extra support under the plastic sheet. I will install the left over fiber board that I have. Here is the first section resting in place. This took a lot of cutting and trimming. This will give the plastic sheet a smoother surface to mount too.
IMG_1440.JPG
Back to work I go!
 
I got the fiber board up finally! I have the next one cut. Just need to install it.
For your viewing pleasure;
IMG_1441.JPG
I got to do some honey do stuff. Be put on hold for a bit.
 
Looks good Marty.:cool:

Thanks!

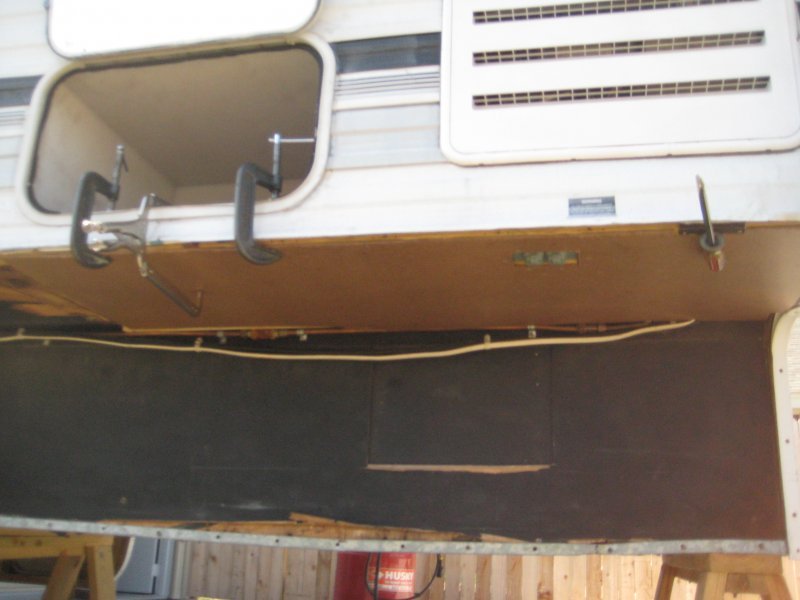
I got some work done, again. The last board is up. It fit perfectly, I think. Here it is up;
IMG_1442.JPG
I starting prepping the plastic sheet. I need two more cuts. The clamps and wood are in the way to be able to measure.
Tomorrow, I shall attempt to get the plastic sheet up.
 
I finally got the extra foam in place behind the fridge. It has very little space back there now. I can always yank it back out if need be. Here is what she look like.
IMG_1443.JPG
and
IMG_1444.JPG
I hooked up the 120V and propane line. Just got to get the 12V and screw here into place.
IMG_1445.JPG
Back to work I go!
 
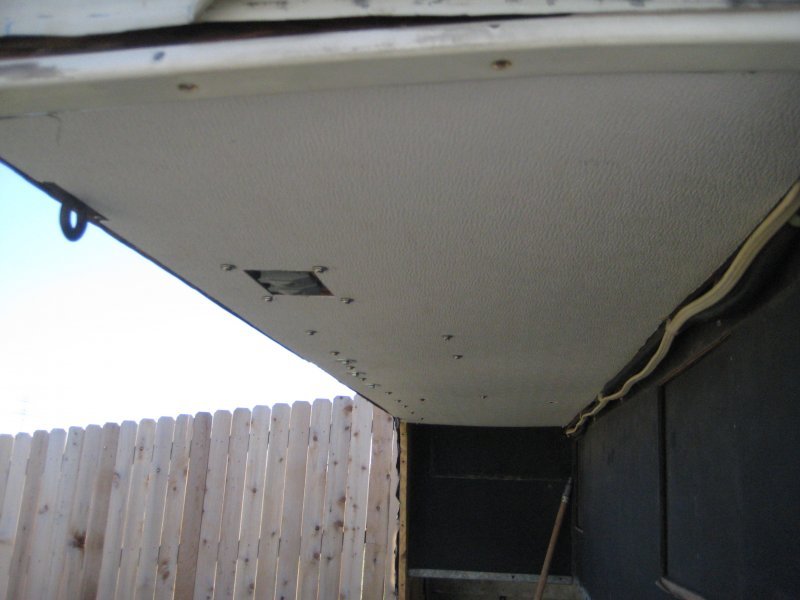
I fit to test the piece of plastic. It went well but, was hard to manage by myself. The difficulty made it to were I had to do two small trims.
IMG_1446.JPG
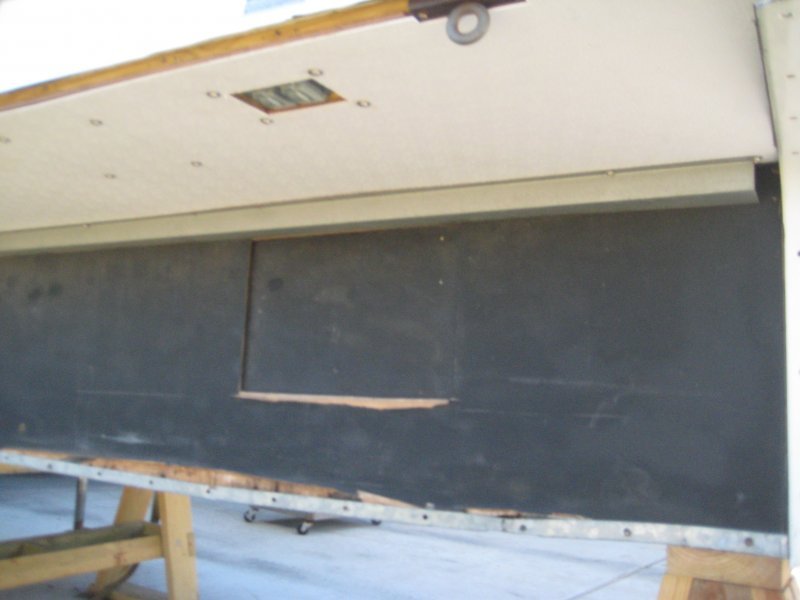
Here it is mounted up, not too bad.
IMG_1447.JPG
I went a head and partially mounted up the galvanized metal that hides all the lines and wires. It is currently only being held up by three 1/2 screws. I need to purchase longer ones.
IMG_1448.JPG
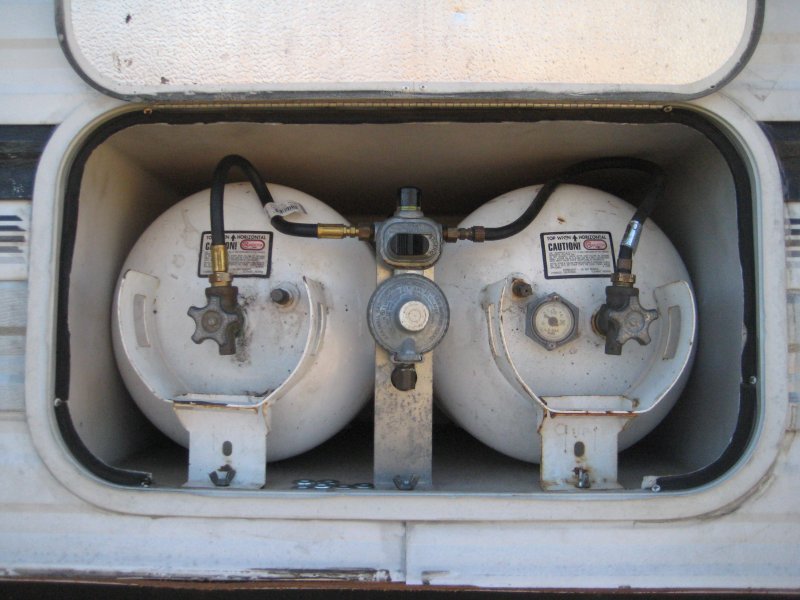
I installed the propane tanks and checked for leaks. Good to go!
IMG_1449.JPG
I attempted to start the generator. It would not start, will have to do some research on it to see what I can do.
 
Back
Top