n8in8or
I never met a project I didn’t like
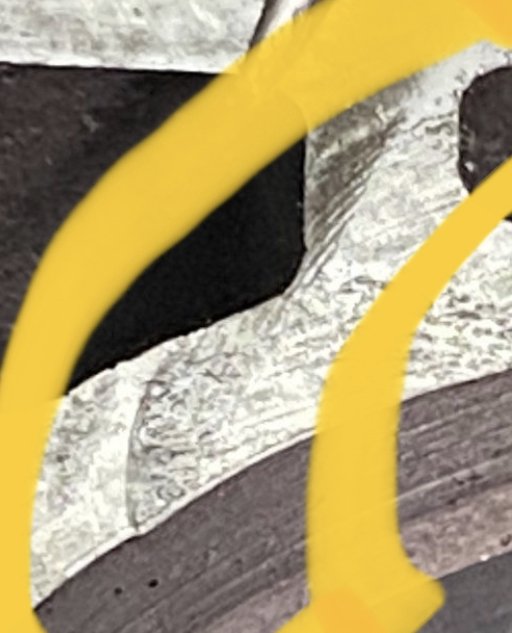
I was in a rush last night and didn’t post part of my build debacle. I had the goal of finishing the transmission this past weekend, which should have been easily achievable. I got a late start Saturday, but I wasn’t concerned. I had a struggle with a bushing I replaced being tight, but finally got it to fit the shaft nicely after some honing. I got the gear train all buttoned up and rotated the trans to start valve body work, only to notice this:
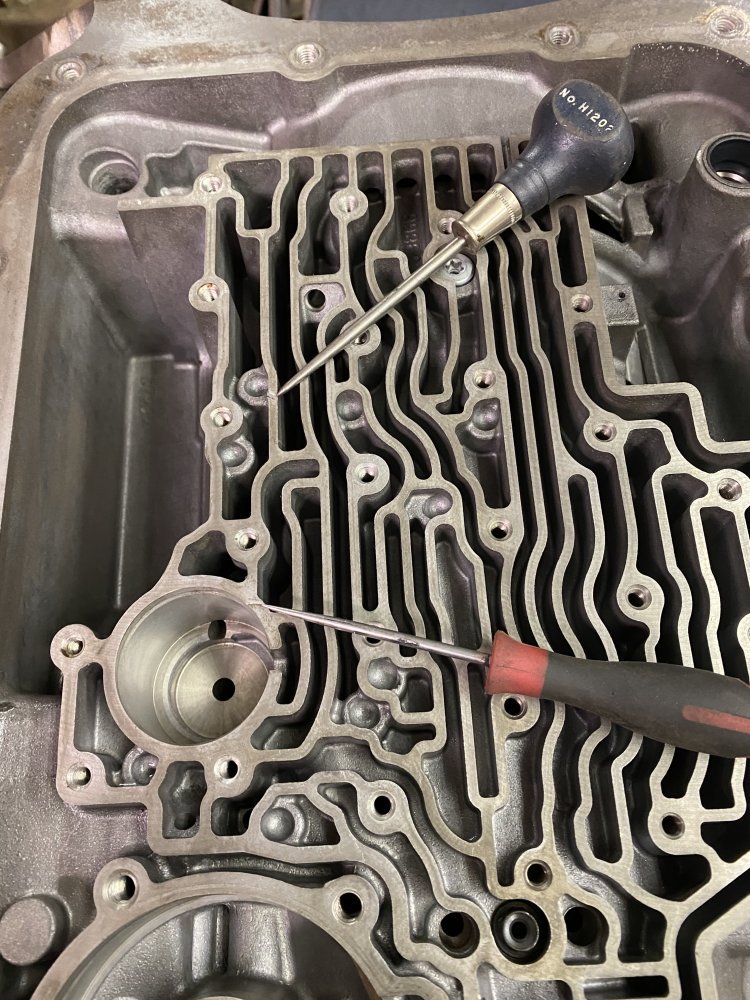
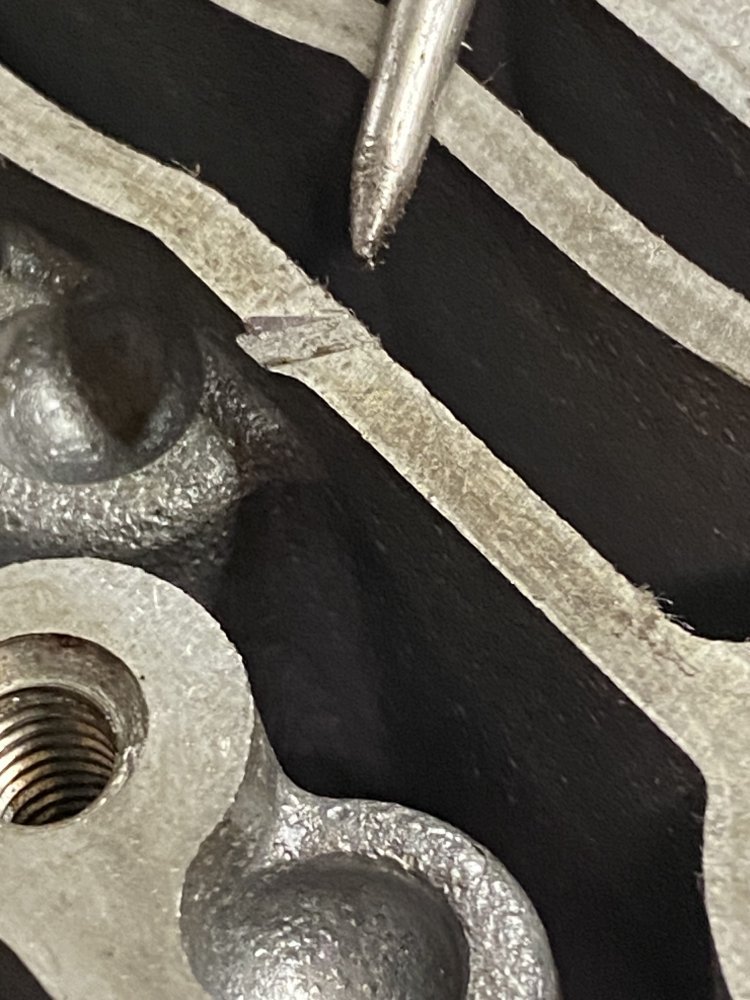
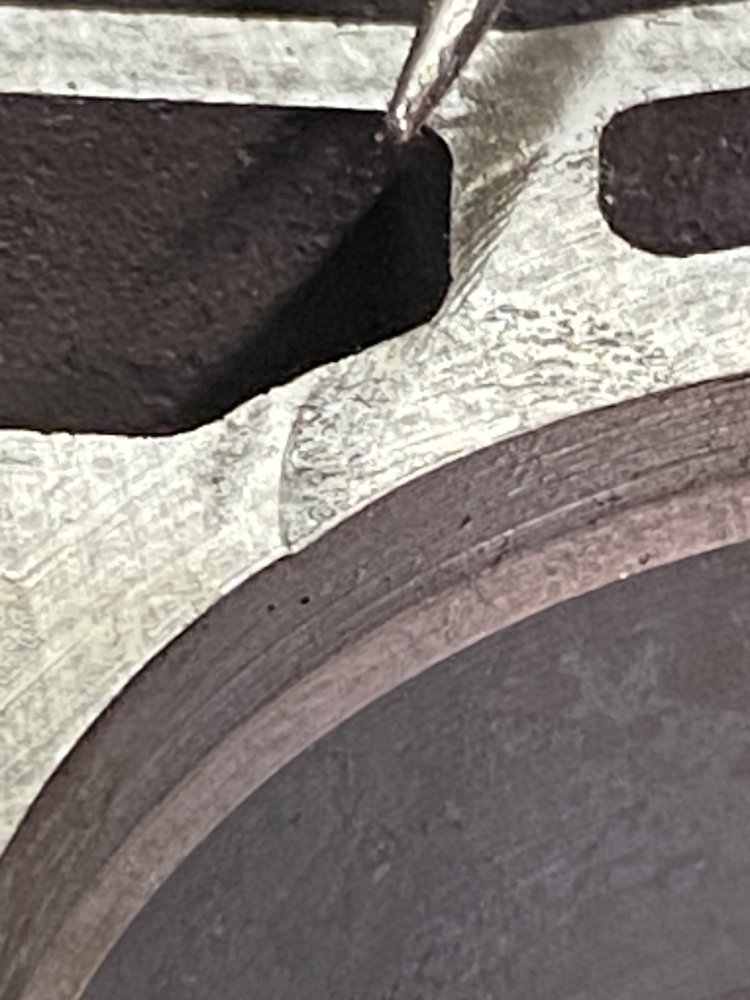
I pooped myself a little. I went to the 4L80e Facebook group and asked how screwed I was. They said I just needed to TIG it or JB Weld it. I don’t have a ton of confidence in my aluminum TIG skills, especially for something so precise, and I also envisioned having to take it somewhere for machining after, so I went the JB Weld route. I researched which one to use on their website and chose some Steel Stik, which I just so happened to have already. First I cleaned the nicks with acetone. Then I used fine sandpaper to clean the nicks. Then cleaned with acetone again. Finally I mixed up the epoxy and smeared it into the nicks with a razor blade so there wouldn’t be so much to clean up. I let it cure overnight.
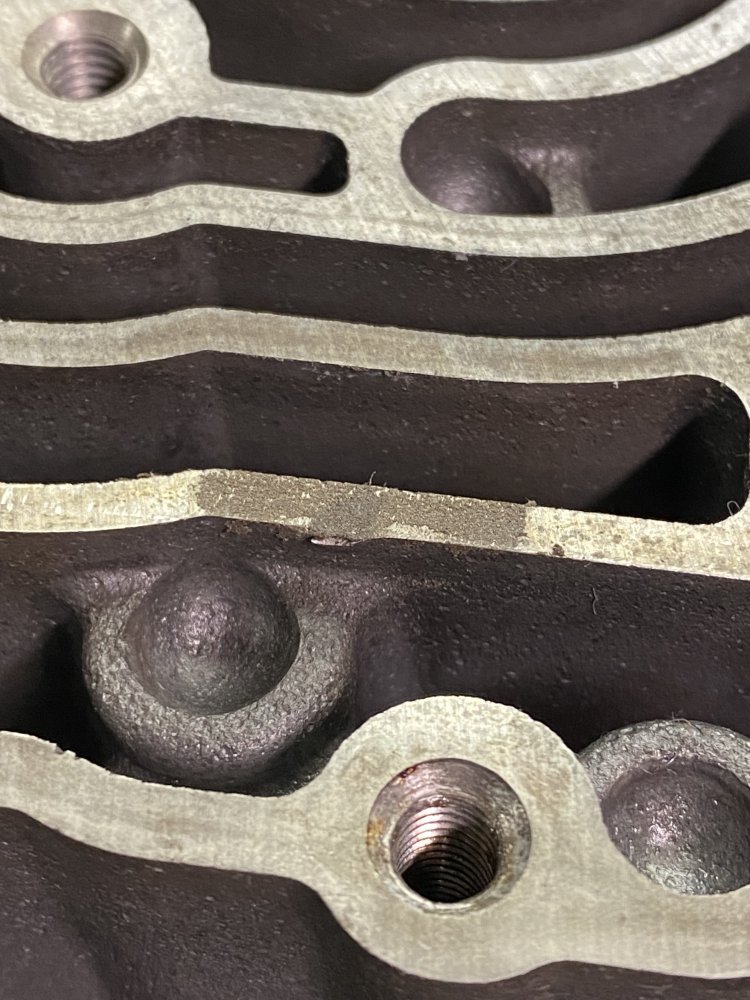
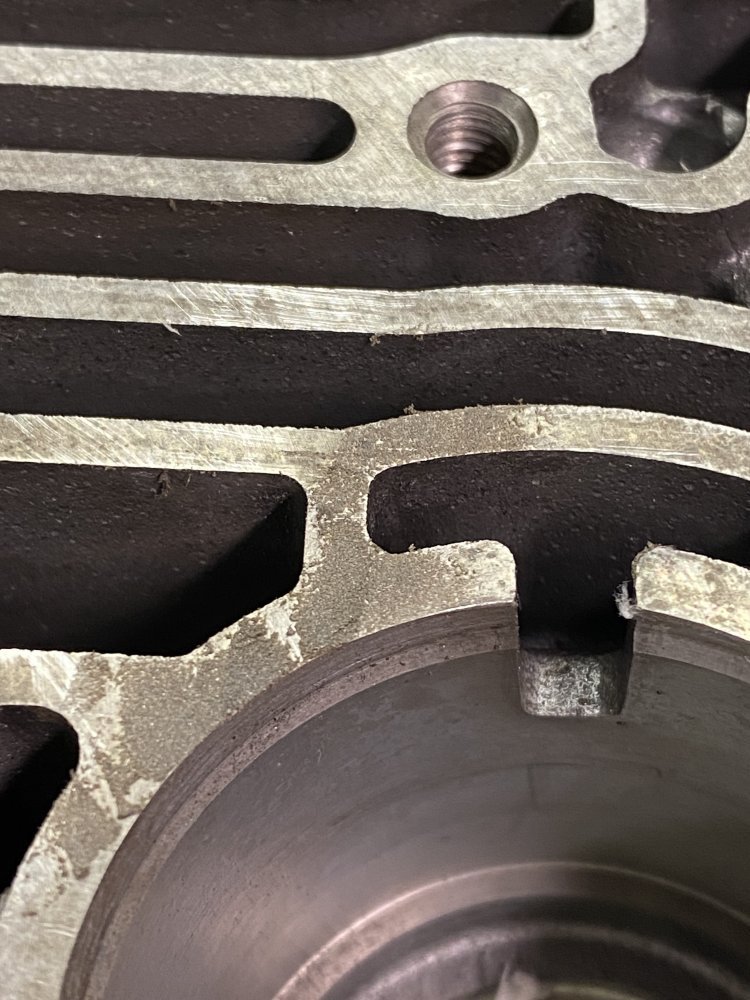
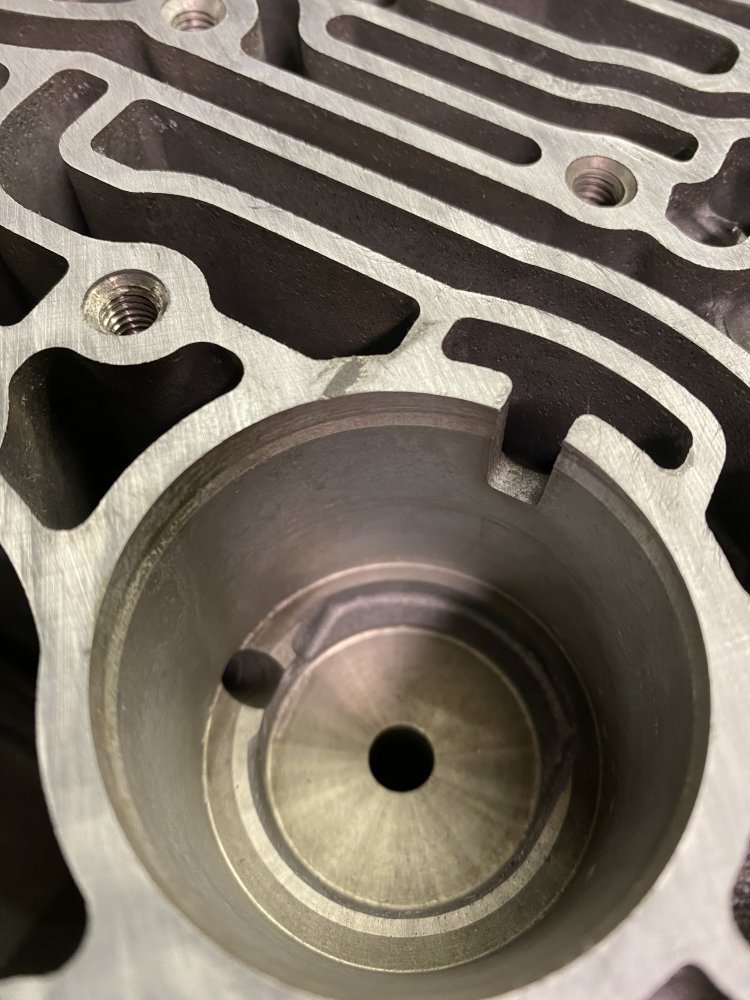
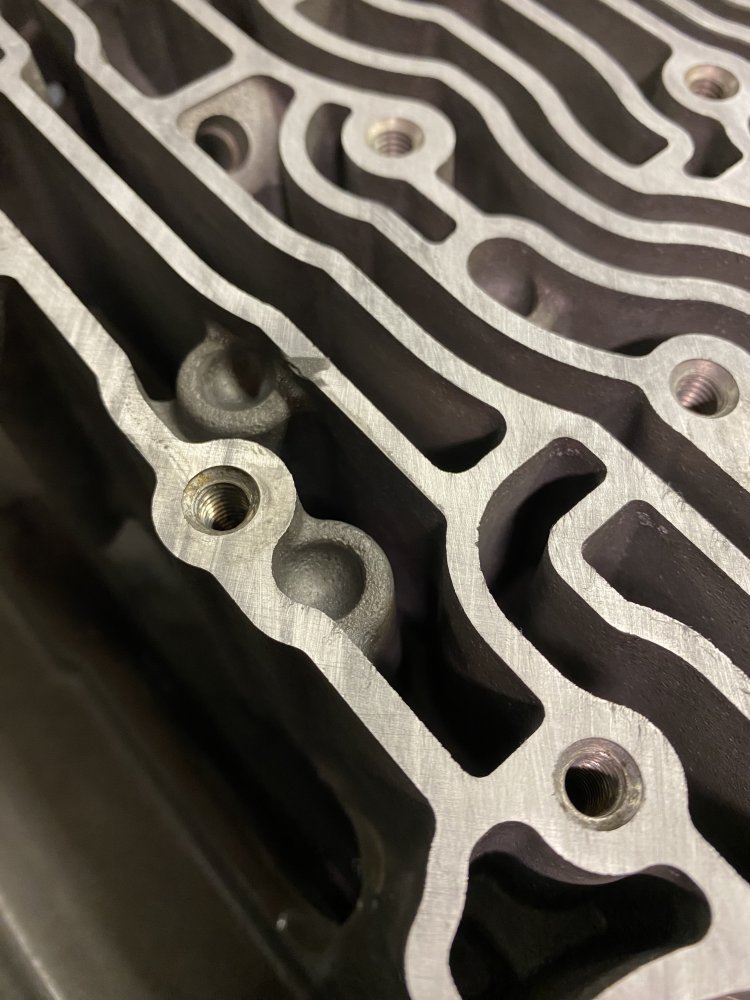
The next day I hit the whole valve body surface with a stone and some light oil. I first did the whole surface with the 1000 grit side of the stone in a criss-cross pattern, then the 6000 grit side in a criss-cross. It turned out nice.
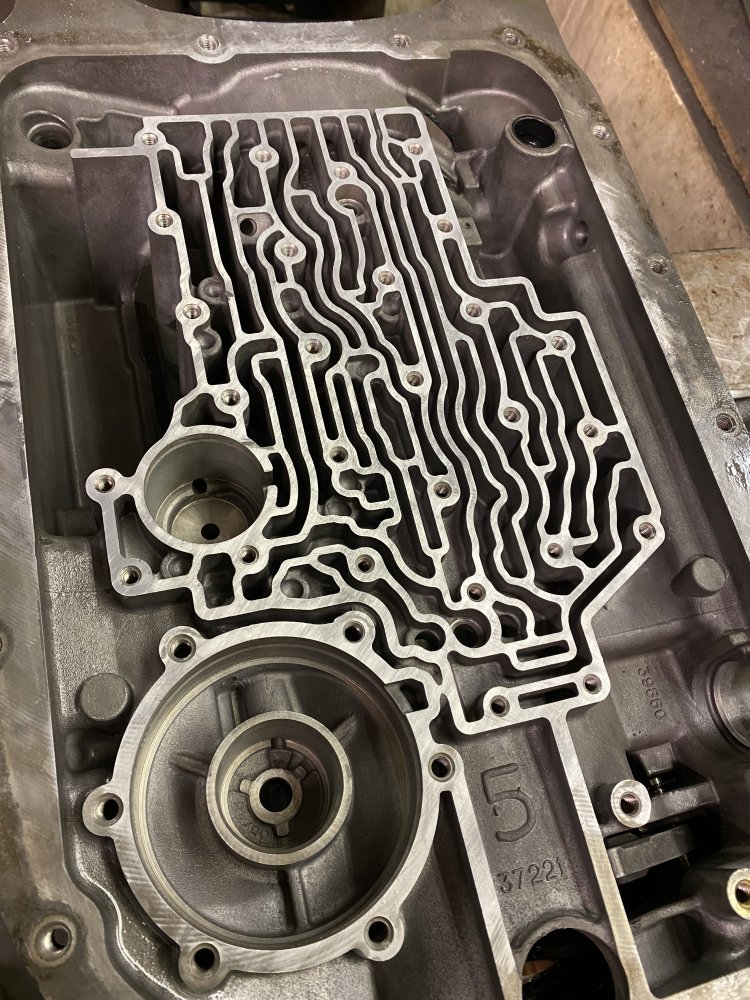
Then I got to start again from basically square one since I disassembled the trans completely while working on this.
So another lesson learned - inspect the case very closely after cleaning. I thought I had, so I don’t know if I just missed this or if it happened while doing the rebuild. Either way, another lesson learned.


I pooped myself a little. I went to the 4L80e Facebook group and asked how screwed I was. They said I just needed to TIG it or JB Weld it. I don’t have a ton of confidence in my aluminum TIG skills, especially for something so precise, and I also envisioned having to take it somewhere for machining after, so I went the JB Weld route. I researched which one to use on their website and chose some Steel Stik, which I just so happened to have already. First I cleaned the nicks with acetone. Then I used fine sandpaper to clean the nicks. Then cleaned with acetone again. Finally I mixed up the epoxy and smeared it into the nicks with a razor blade so there wouldn’t be so much to clean up. I let it cure overnight.


The next day I hit the whole valve body surface with a stone and some light oil. I first did the whole surface with the 1000 grit side of the stone in a criss-cross pattern, then the 6000 grit side in a criss-cross. It turned out nice.


Then I got to start again from basically square one since I disassembled the trans completely while working on this.
So another lesson learned - inspect the case very closely after cleaning. I thought I had, so I don’t know if I just missed this or if it happened while doing the rebuild. Either way, another lesson learned.

