• Welcome to The Truck Stop! We see you haven't REGISTERED yet.

    Your truck knowledge is missing!
    • Registration is FREE , all we need is your birthday and email. (We don't share ANY data with ANYONE)
    • We have tons of knowledge here for your diesel truck!
    • Post your own topics and reply to existing threads to help others out!
    • NO ADS! The site is fully functional and ad free!
    CLICK HERE TO REGISTER!

    Problems registering? Click here to contact us!

    Already registered, but need a PASSWORD RESET? CLICK HERE TO RESET YOUR PASSWORD!

Project Frankensquare

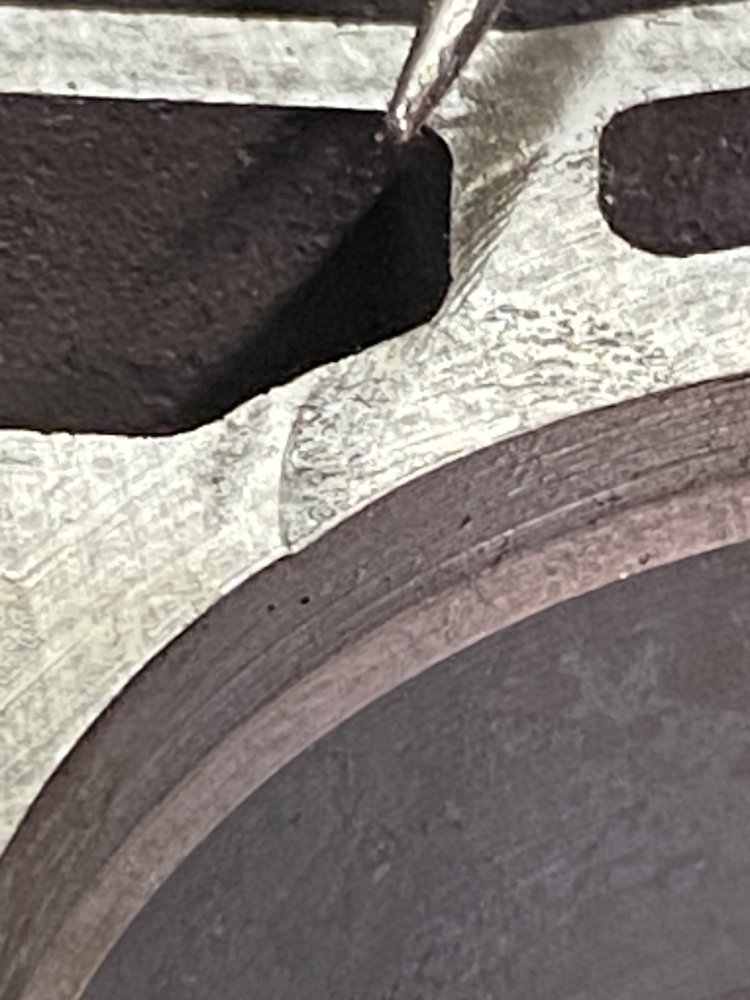
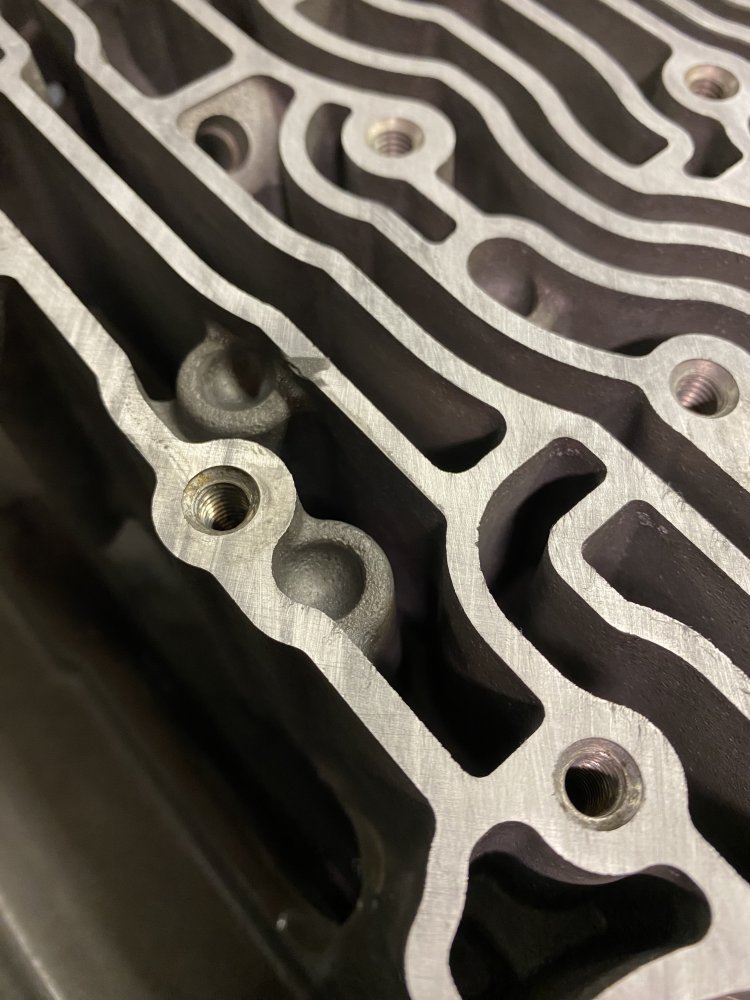
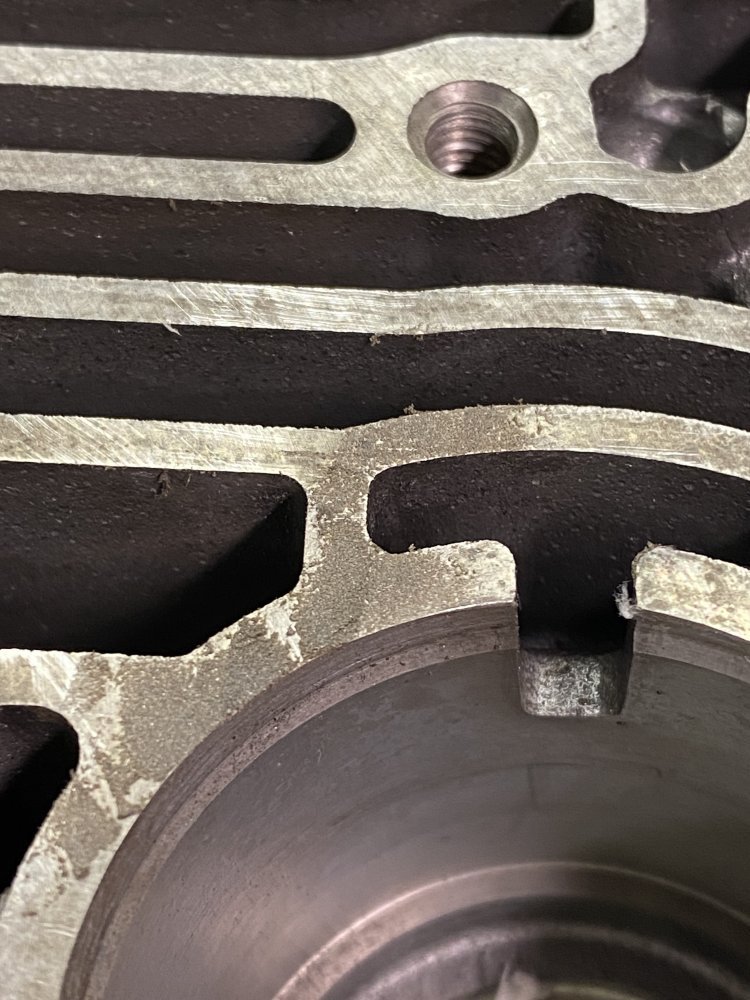
I was in a rush last night and didn’t post part of my build debacle. I had the goal of finishing the transmission this past weekend, which should have been easily achievable. I got a late start Saturday, but I wasn’t concerned. I had a struggle with a bushing I replaced being tight, but finally got it to fit the shaft nicely after some honing. I got the gear train all buttoned up and rotated the trans to start valve body work, only to notice this:
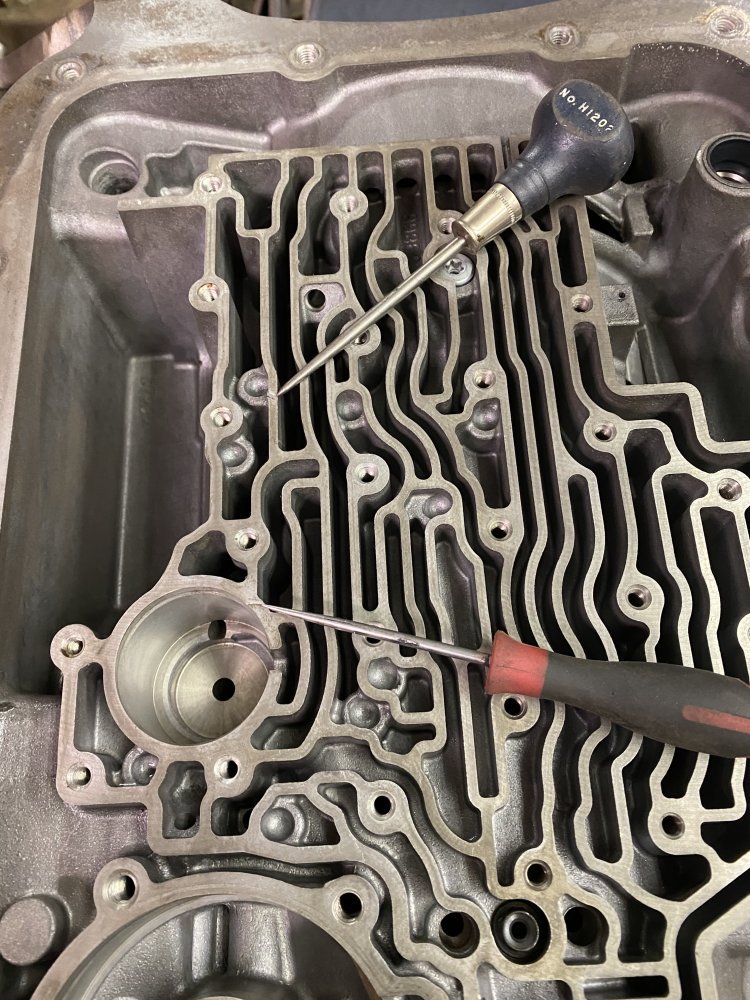
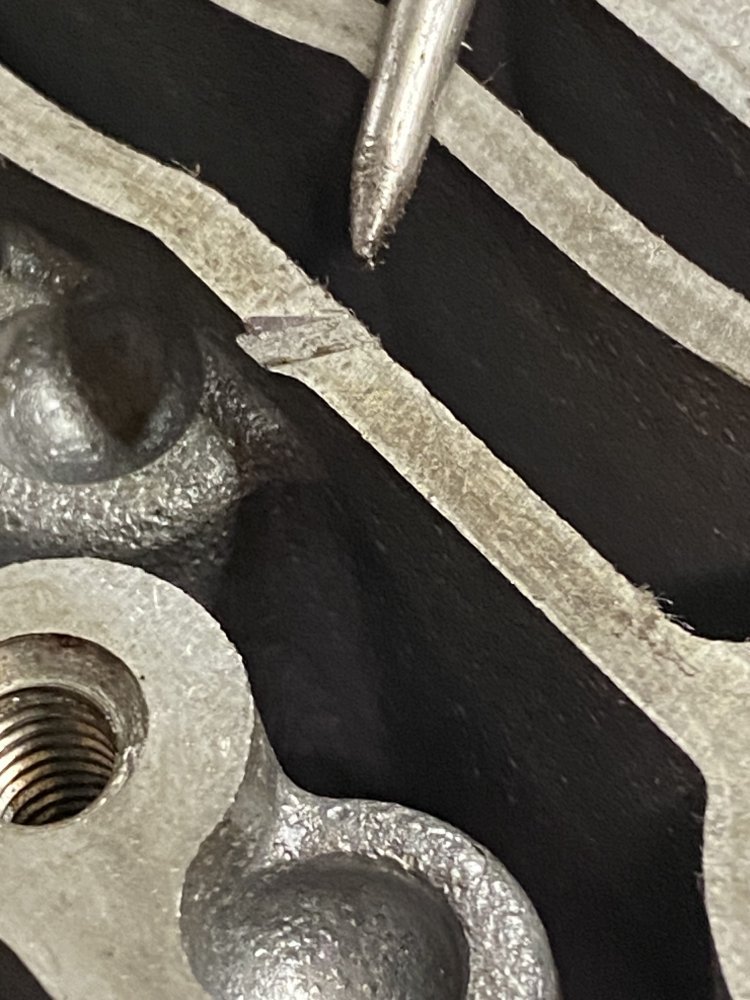
IMG_7140.jpegIMG_7141.jpegIMG_7142.jpeg

I pooped myself a little. I went to the 4L80e Facebook group and asked how screwed I was. They said I just needed to TIG it or JB Weld it. I don’t have a ton of confidence in my aluminum TIG skills, especially for something so precise, and I also envisioned having to take it somewhere for machining after, so I went the JB Weld route. I researched which one to use on their website and chose some Steel Stik, which I just so happened to have already. First I cleaned the nicks with acetone. Then I used fine sandpaper to clean the nicks. Then cleaned with acetone again. Finally I mixed up the epoxy and smeared it into the nicks with a razor blade so there wouldn’t be so much to clean up. I let it cure overnight.
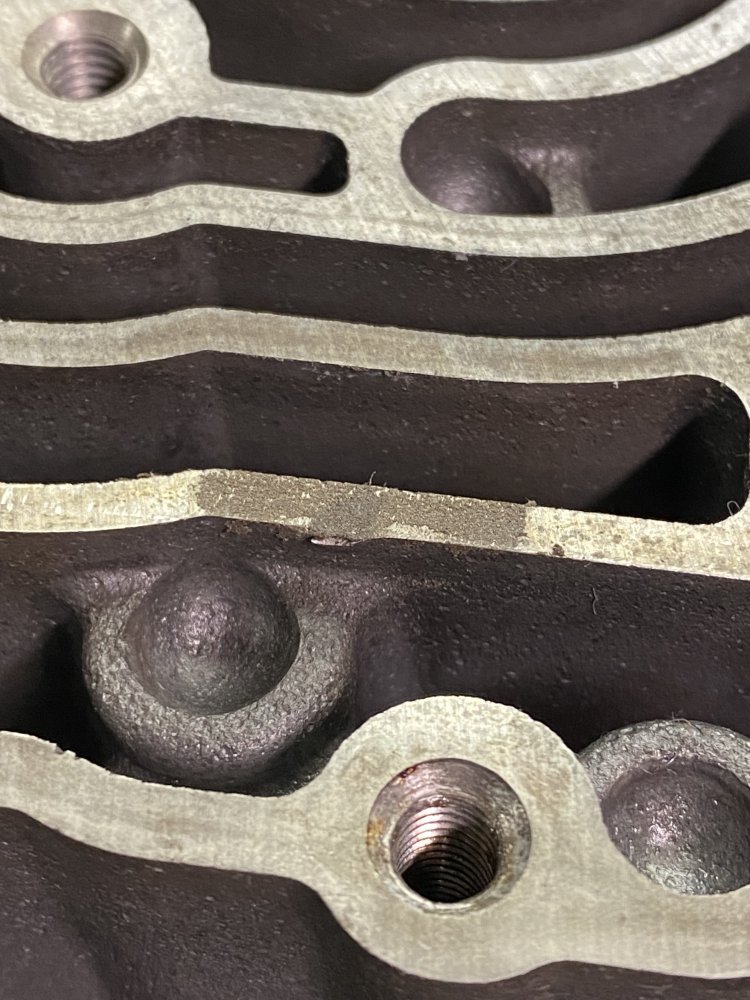
IMG_7143.jpegIMG_7144.jpeg

The next day I hit the whole valve body surface with a stone and some light oil. I first did the whole surface with the 1000 grit side of the stone in a criss-cross pattern, then the 6000 grit side in a criss-cross. It turned out nice.
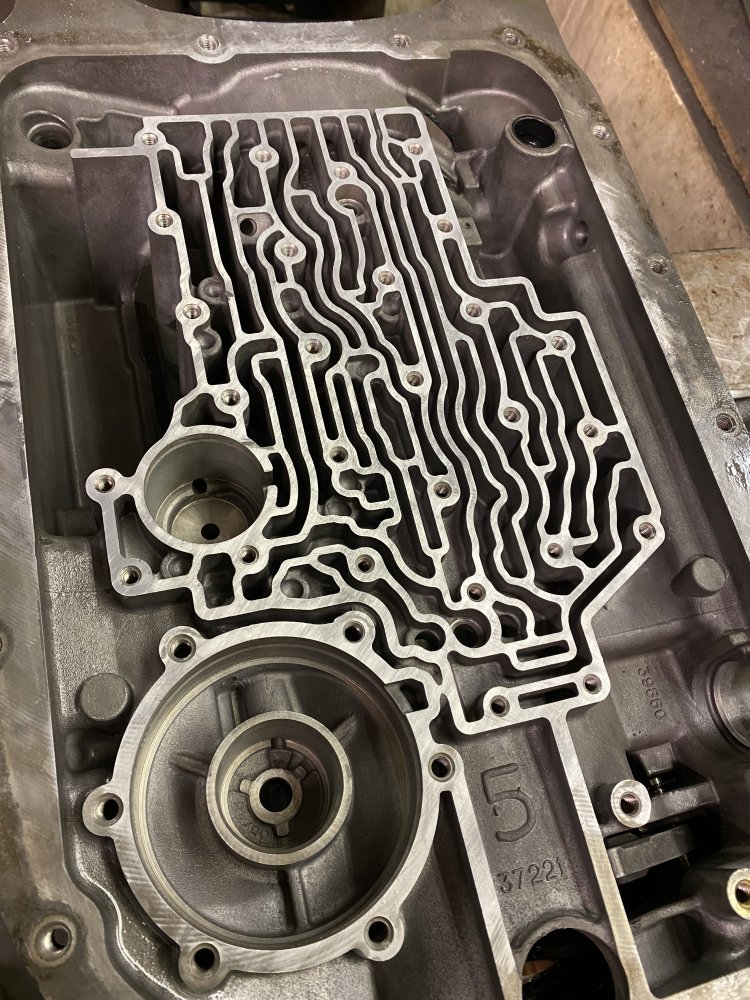
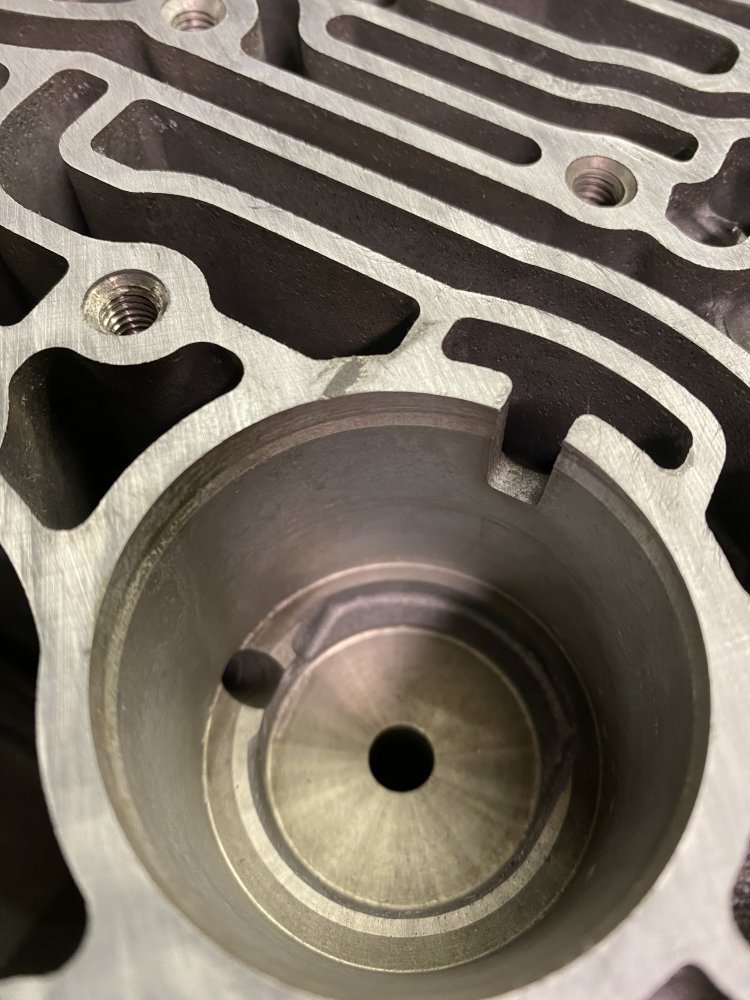
IMG_7154.jpegIMG_7155.jpegIMG_7156.jpeg

Then I got to start again from basically square one since I disassembled the trans completely while working on this.

So another lesson learned - inspect the case very closely after cleaning. I thought I had, so I don’t know if I just missed this or if it happened while doing the rebuild. Either way, another lesson learned.
 
I should also clarify that the Jake's rebuild kit was money well spent, even though I probably won't go that route again for future builds. I wanted their kit because their tricks build strong transmissions and they have good support. The support piece was what I was happy to pay for and used. I already shared the speedy response regarding not having the recalibration kit. Another time I called them was regarding the forward clutch. I installed the modified clutch pack per their instructions and ended up with excessive clearance (.081"). I had a plan to reduce that clearance using a mix of some existing steels I had, but wanted to confirm I'd be ok to do that. I called their support and talked through my situation with them and they agreed I'd be ok to go forward with my plan. I was happy to have that support when I needed it since I was unsure what exactly I could do in that situation.
 
I don’t think you did it unless you used a roloc to clean it
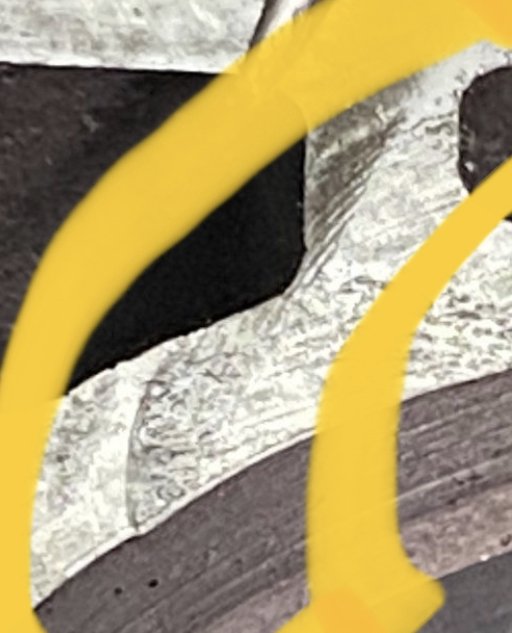
You can see thats what was done- look at both the circular cut and the linear striations.
View attachment 82570
Well look at that. Nope, I didn’t use any rolocs on it. I thought it might have happened when I started to drop the pump, but caught it…..though it did hit the case some (and cut a nice chunk of skin off my middle finger). The damage from that I saw was up by the pan rail, but thought maybe I had missed these others. I guess it still means I need to do a better job of doing an inspection at initial teardown.

Now……can you use your CSI skillz to find the blood spatter from my finger on the case??? 🧐
 
that just shows you guys are smarter than me.

Any special fluid or coolers going in with this one?
I've been using Schaeffer's All Trans Supreme in my performance transmissions since I built the Envoy, so I'll probably use that in this one as well. I'm unsure on coolers at the moment, I need to see what my space looks like with the 73 GMC grill because it's a deeper grill than 75+ grills. It will have a good cooler, just not sure of the exact form factor yet.
 
Sorry- gonna be busy using it to find me some shade this next week- check my post in weather thread- haha
It's not the heat, it's the humidity! I loved it out at the NTC (Ft. Irwin, CA) when it was 115°-117°F and the humidity was like only 5%, didn't feel any hotter than a summer's day here in Nebraska when it was 85°F!

In fact, the day it was 135°F out in the "Box" (the training and maneuver area on the West side of the mountain range that separates it from Death Valley) the only way to tell that it was almost 20° hotter than "normal" that day was either looking at the "dry bulb" thermometer hanging in the shade of the camouflage netting at the Tactical Operations Center, or noticing that you drank 5 gallons of water total from your canteens that day, instead of the "normal" 3 gallons!
 
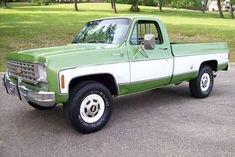
I got back to body stuff this past weekend. I need to paint the inside of the cab soon before I start putting HVAC and wiring in it, so time to pick out paint. When I first conceived this project, I was thinking I’d just do another roller paint job like what I did with my F350 - it was easy, durable and I actually got quite a few compliments on it. Well as this project developed, I really wanted to go with more of a vintage look, and two-tone, and I didn’t think a roller paint job was going to look right for that. Plus the truck is turning out so nice that it deserved a nice paint job…..and, it was a good opportunity to work on painting skills, so it’s going to get an attempt at a good paint job. I looked through pictures online and landed on this one for my inspiration.

IMG_6943.jpeg

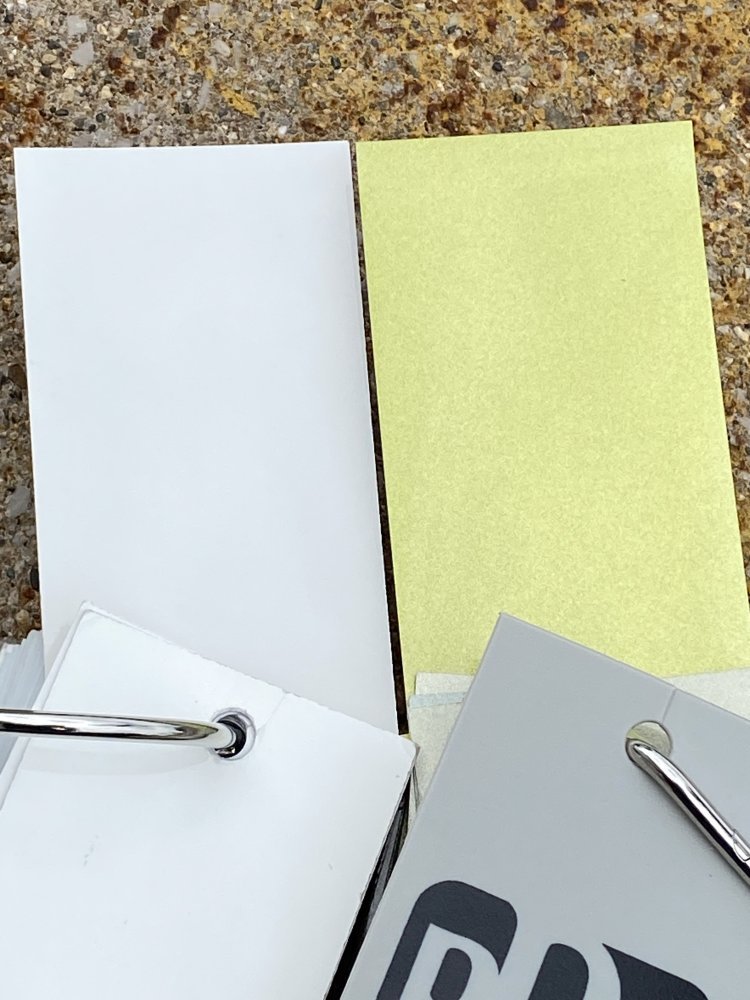
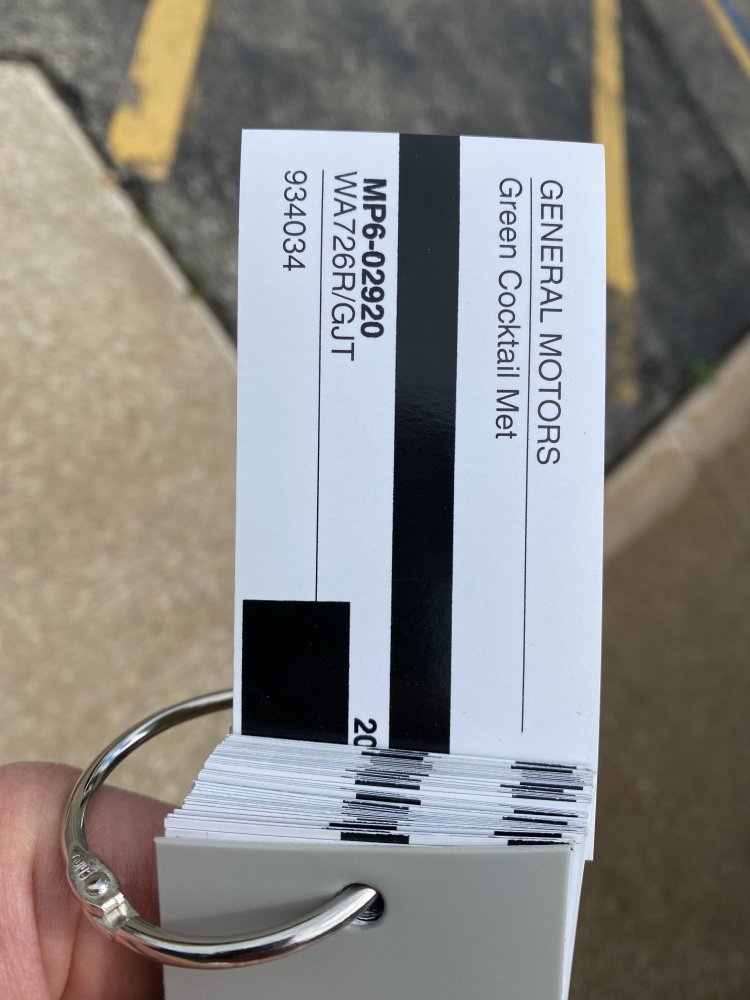
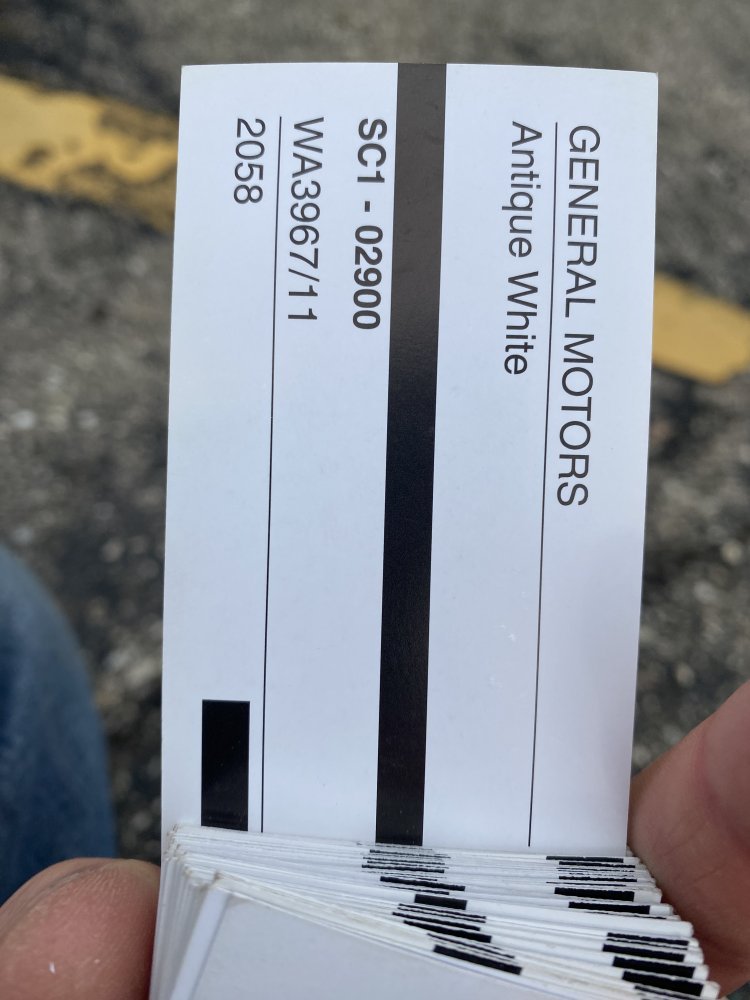
I flipped through chips at the paint store and chose these 2 colors. I really wanted to have a metallic, but was scared I wouldn’t be able to get it even……he assured me I could get it even so I went for it.

IMG_7173.jpegIMG_7171.jpegIMG_7172.jpeg

The picture of the green isn’t a good representation. I thought it was a vintage green, but when he punched the code in he found that it’s actually from a 2014 Chevy Spark! This is more like how that color should look. I think it’s going to be cool.

IMG_7181.png

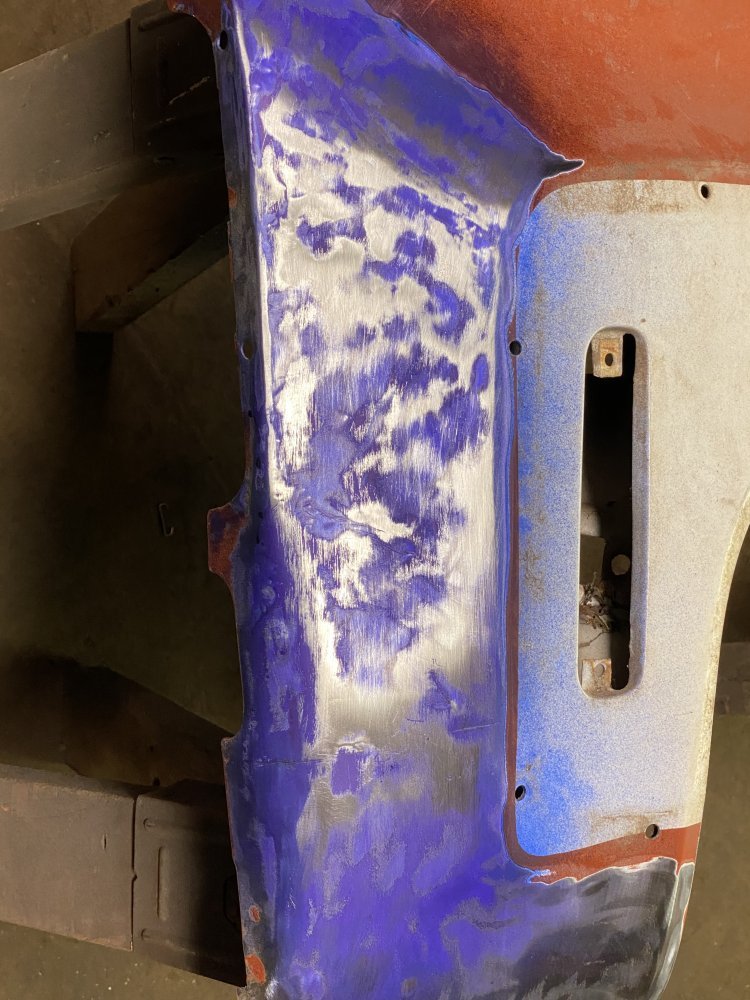
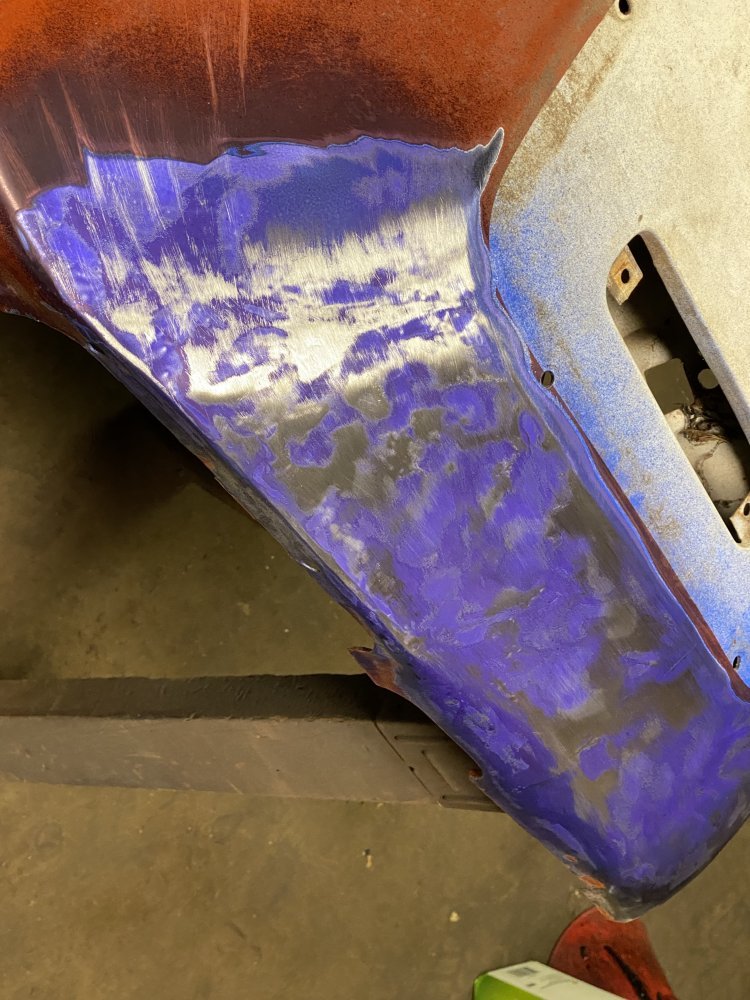
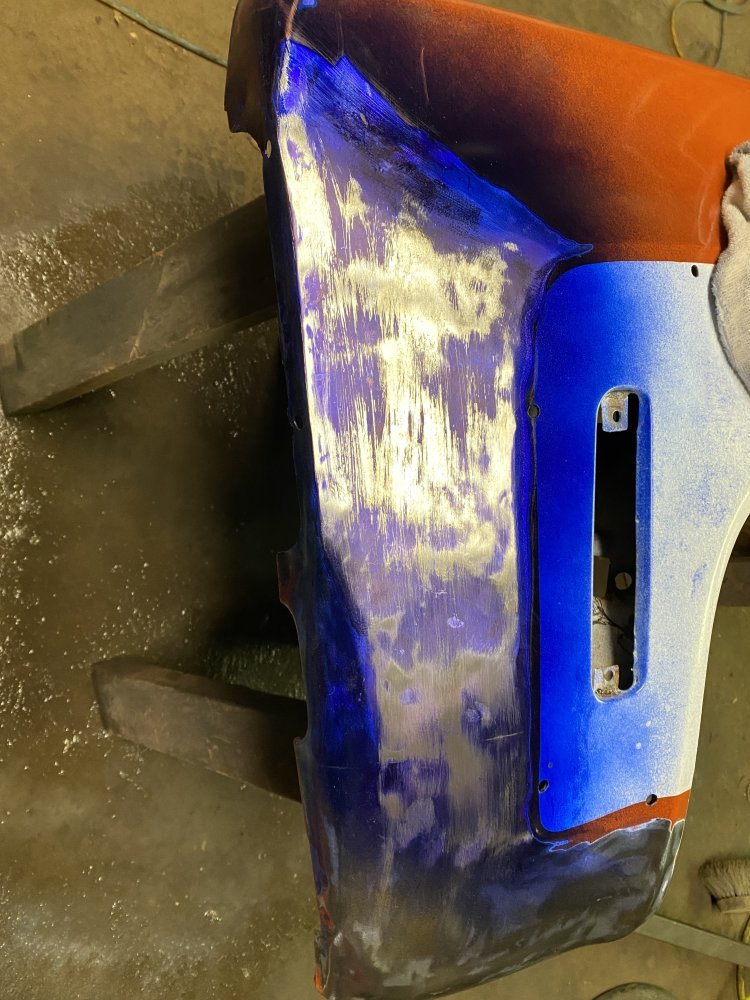
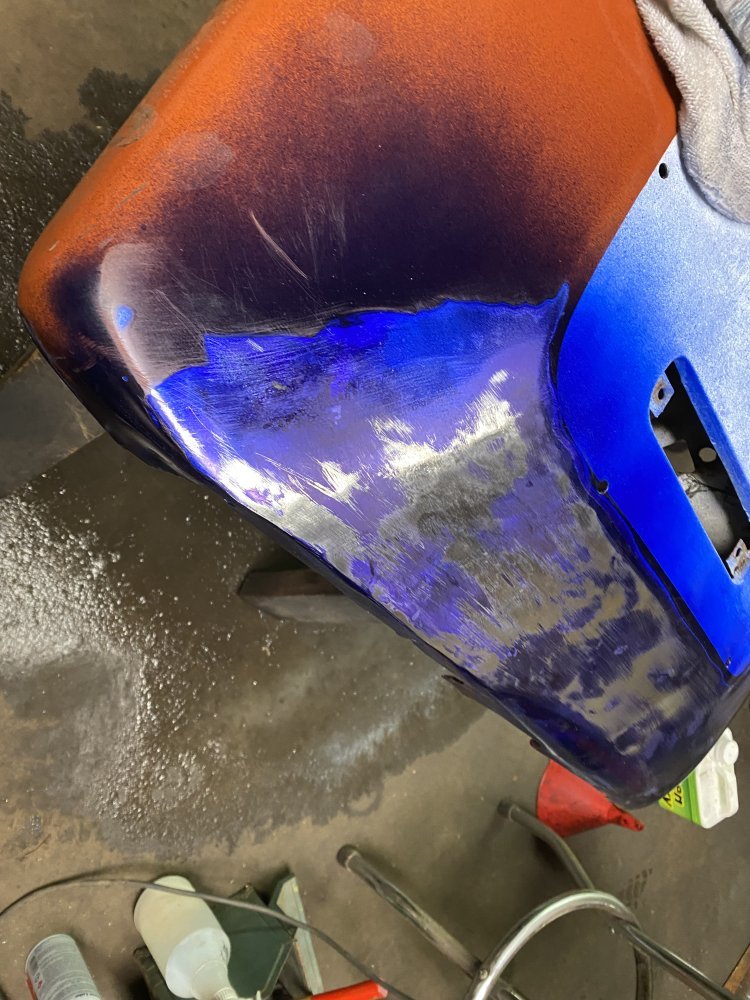
The rest of the weekend was spent trying to improve the work I did on the driver fender. I finally received my shrinking disc from Wolfes Metal Fabrication so it was time to give that a shot. I rewatched a video he posted on using it to fix a dented panel.


I started using it and had some troubles with galling, which caused some scratches and gouges in my panel. The soapy water is supposed to prevent galling, but it didn’t work in my case. What I figured out was that a spray of some light oil on the panel would do the trick - it took just slightly longer to build heat, but it still worked like it was supposed to otherwise.

I spent the rest of Saturday working on the fender. I ended up with a contour I was happy with…..or so I thought. When I went back out Sunday morning to look at my work and compare it to the other fender, I realized I had formed a concave contour where it should have been convex! So I bumped it out with a dead blow hammer and started over. All afternoon Sunday was spent working on the fender. I finally got it to a place where it was “good enough”. Even though I had cut some of the fender’s inner structure out, I still didn’t have great access behind the damaged areas and this prevented me from being able to do good hammer-and-dolly work. It’s definitely good enough to have it turn out well with just a little filler, but I was really hoping to get it even better than I did.

Here’s where I started on Saturday. I used Dykem and a sanding block to show the unevenness.

IMG_7176.jpegIMG_7177.jpeg

Here’s where I ended up on Sunday.

IMG_7182.jpegIMG_7183.jpeg

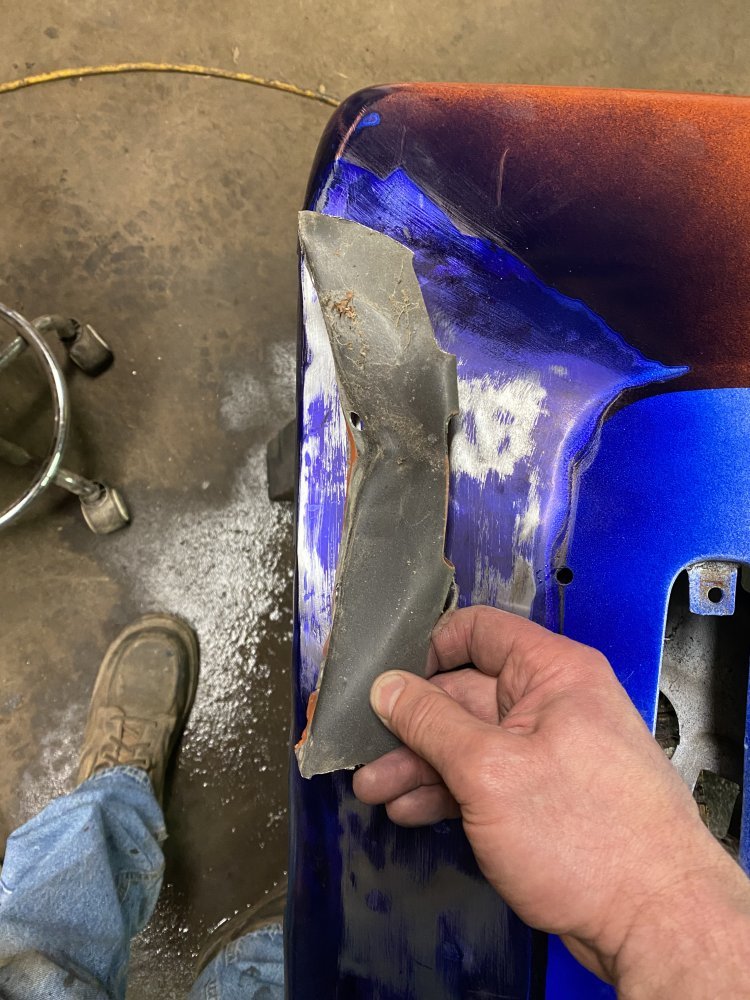
I laid the piece of inner structure that I cut out on top of the fender to show how far it was dented in…..I really moved the metal a lot and should be happy that I was able to get it as close to correct as I did.

IMG_7185.jpeg

After that picture I straightened that inner piece out and welded it in, along with the other 2 pieces I cut out for repair access.

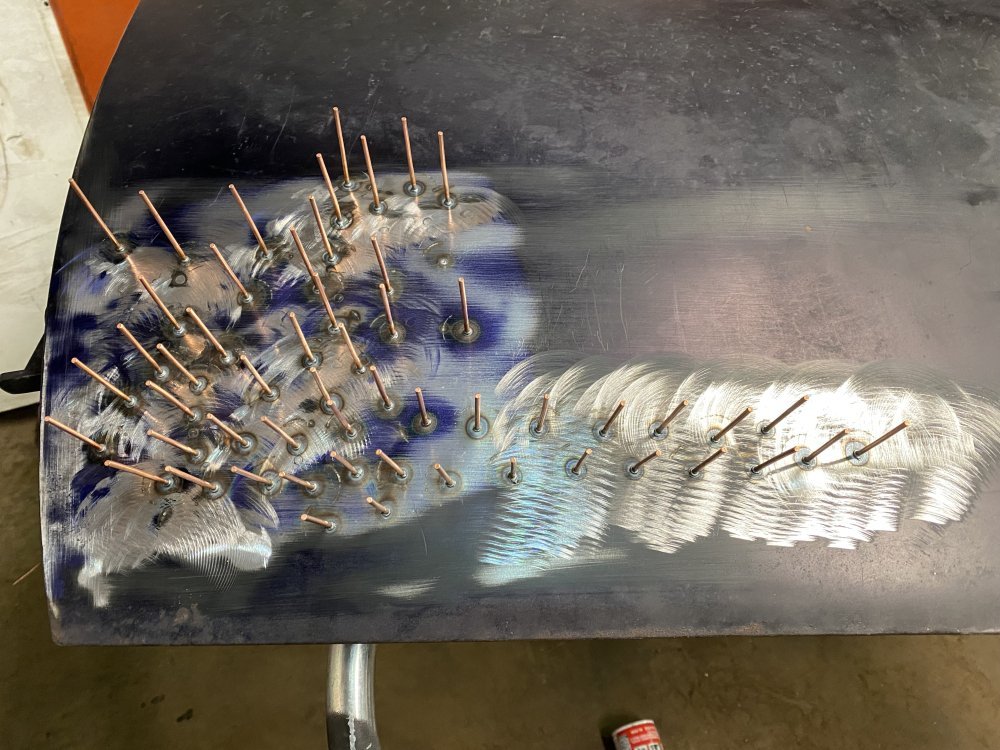
I’ve only had one evening in the barn this week so far. Last night I worked on some small spots on the fenders and then switched to some dents in the driver door. I used hammer-and-dolly, stud welder with various pulling tools and the shrinking disc. I made some good progress on those. I need to work on one of the two hoods I have next and then I’ll be ready to spray primer.
 
The picture of the green isn’t a good representation. I thought it was a vintage green, but when he punched the code in he found that it’s actually from a 2014 Chevy Spark! This is more like how that color should look. I think it’s going to be cool.

"Hey, I like the color of your car there, man. What's that supposed to be? Sort of a cross between piss yellow and puke green, ain't it?" ~ American Graffiti​


"Hey, I like the color of your car there, man. What's that supposed to be? Sort of a cross between piss yellow and puke green, ain't it?" ~ American Graffiti​

Man, Harrison Ford’s everywhere these days……even in my thread! (at least I’m pretty sure that’s who said it and I’m not going to cheat and look it up)
 
It's a porcupine door. once fully decorated with studs it'll keep all the unwanted touching the rig away! same as how that method works for the birds off buildings and signage HAHA!
 
Back
Top