• Welcome to The Truck Stop! We see you haven't REGISTERED yet.

    Your truck knowledge is missing!
    • Registration is FREE , all we need is your birthday and email. (We don't share ANY data with ANYONE)
    • We have tons of knowledge here for your diesel truck!
    • Post your own topics and reply to existing threads to help others out!
    • NO ADS! The site is fully functional and ad free!
    CLICK HERE TO REGISTER!

    Problems registering? Click here to contact us!

    Already registered, but need a PASSWORD RESET? CLICK HERE TO RESET YOUR PASSWORD!

Project Frankensquare

are you planning to use the factory style AC/Heat setup or something aftermarket like from Vintage Air? they make some neat custom setups that are more robust in terms of keeping the cab cool or warm. Plus giving more room and a clean look under the hood.
I’m going factory HVAC. I want to make a bolt-on turbo setup for a squarebody with factory AC since the only thing that exists is the Banks manifold that seems to be hit-or-miss for availability, so I need that to be all factory.
 
That's the idea. I'll probably start with the fixture from the last one, but shift the turbo to where it needs to be to fit in a squarebody.
I want to build headers for the 1959 Dodge W100 Power Wagon. Right side exhaust manifold is cracked and leaks. They are on a NLA list everywhere. I fabbed an alternator mount bracket and the old 194 pound generator no longer bounces on the manifold. 😹😹😹
 
Any interest in a centermount? Given your fab skills and the extra room in a squarebody I'd put money on you making it happen 🤘
I will definitely look at a centermount, but based on @Rockabillyrat 's build, I'm not sure there's enough room between the engine and the cab to fit the up-pipes without mods and I want to make something that someone would be able to install with just bolt-ons. But yeah, I'll definitely look into it for sure.
 
I had to move my cab back 1" and trim the pinch weld on the drivers side firewall to clear the up pipes. I guess you could always move the engine forward 1" to get the same results. But yeah you can't clear the cab with everything in the stock location unless you cut ALOT out of the fire wall. The issue with that is the driver side up pipe is right where the accelerator pedal is at. So you would have to do alot of work to make that happen.
 
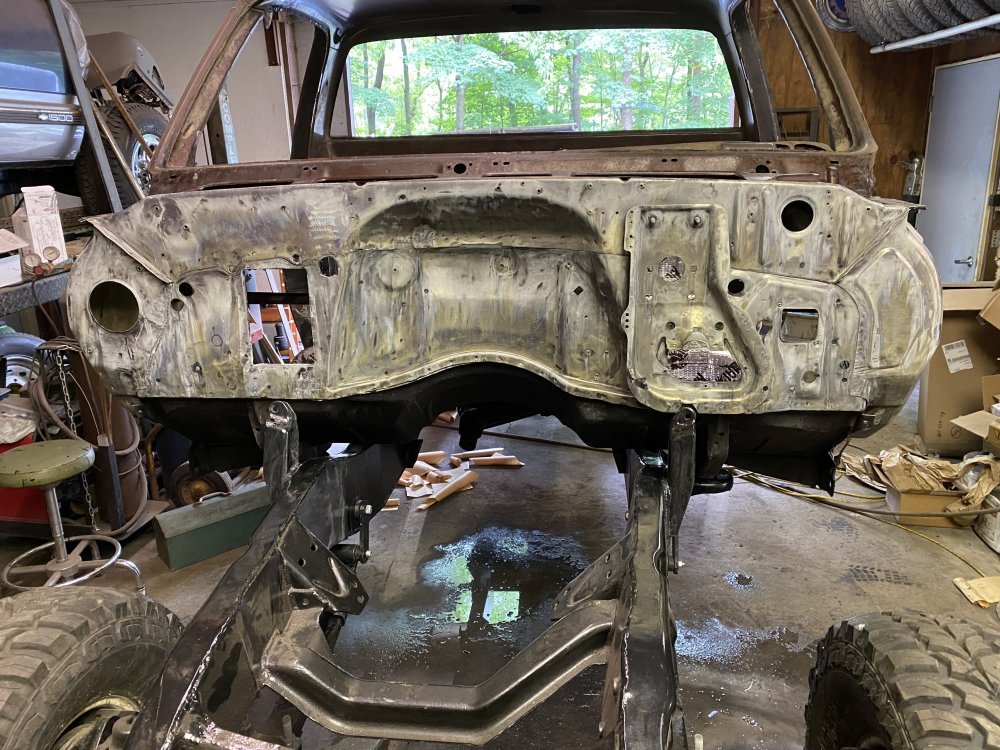
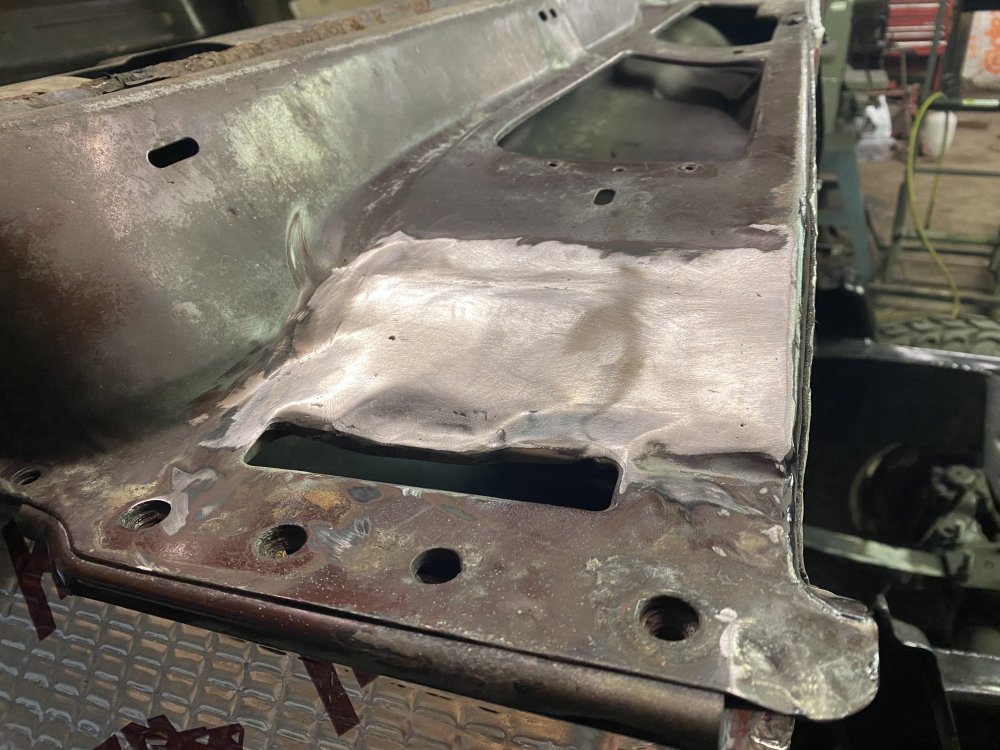
This weekend I got the firewall repair done.

IMG_6940.jpeg

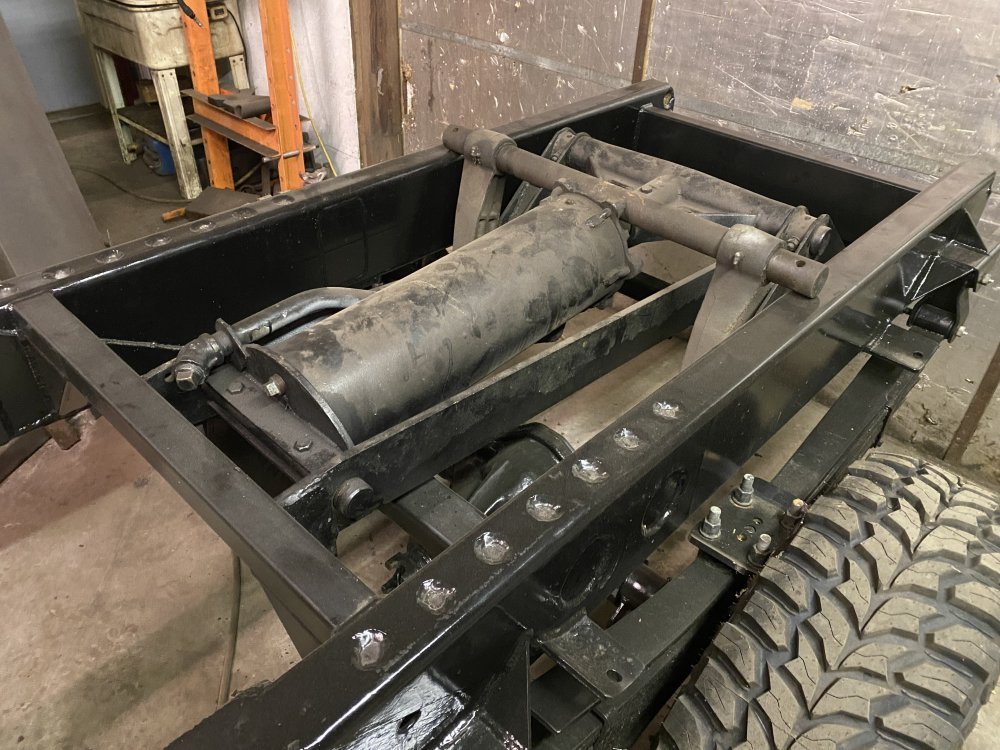
I also got the dump hoist reinstalled.

IMG_6941.jpeg

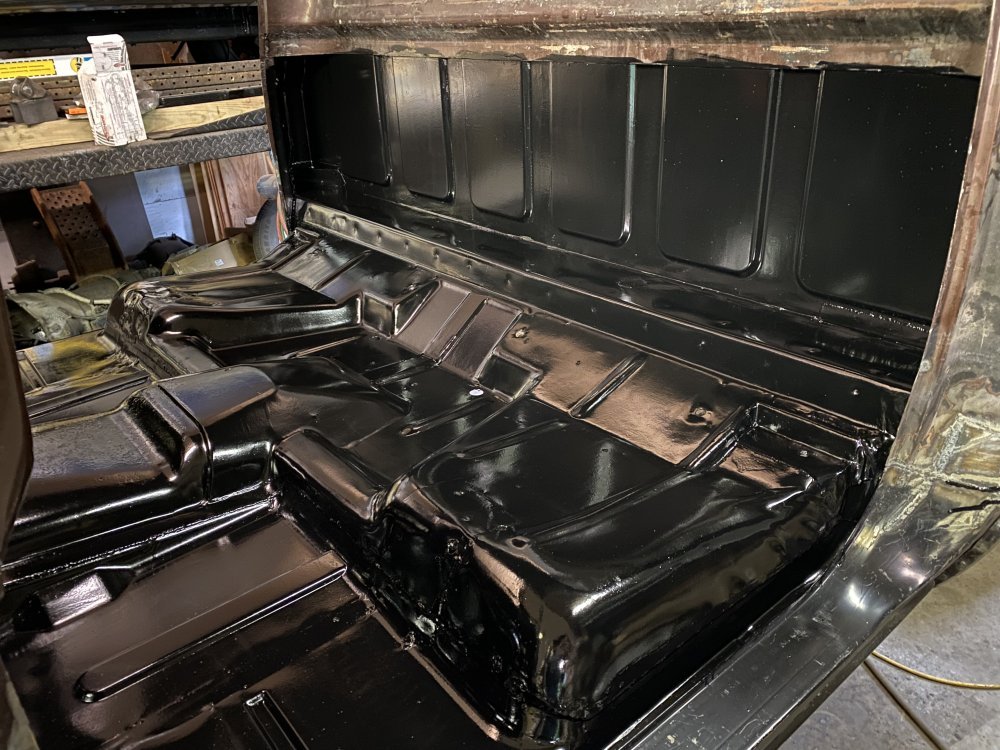
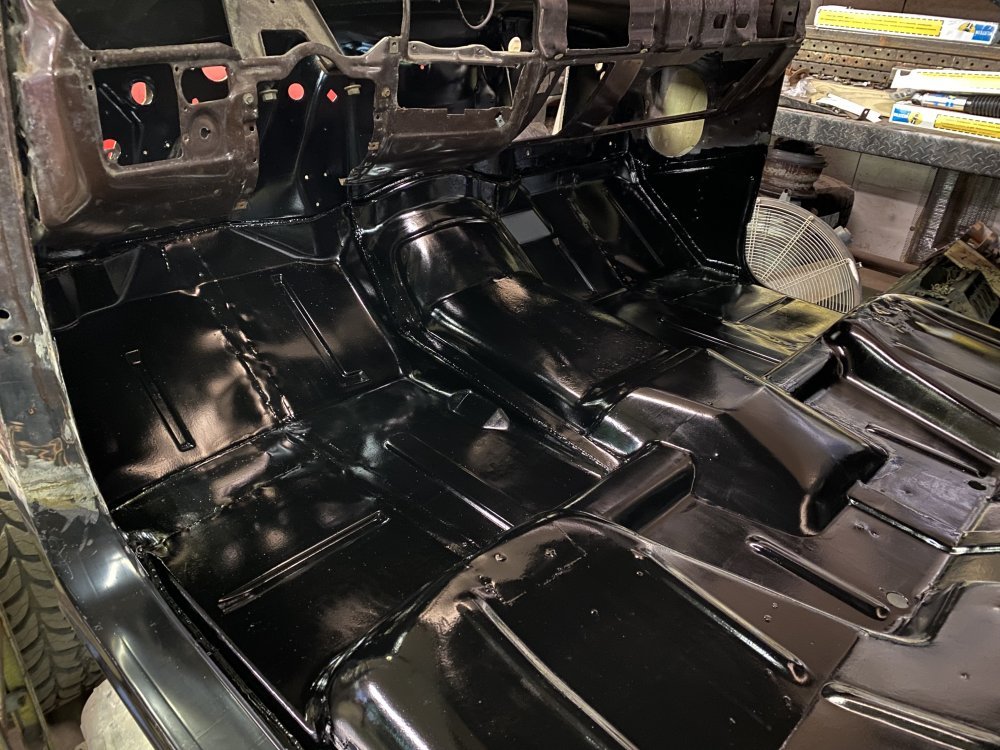
I got the floor painted with 2 coats of Rust Seal.

IMG_6948.jpegIMG_6949.jpeg

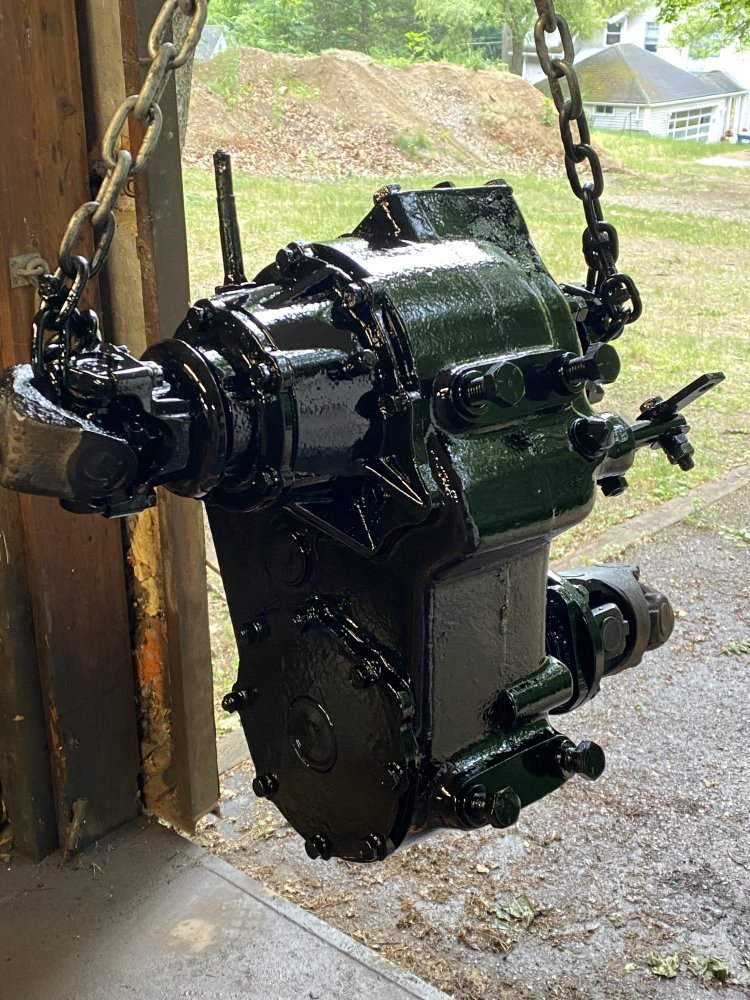
And I got a few coats of Rustoleum sprayed on the transfer case. Before that though I took the PTO cover off the case so I could make sure the insides looked as good as they felt - it looked great inside, but there was a 3/8” thick layer of sludge inside that I had to clean out of it.

IMG_6950.jpeg

Not as much as I hoped to get done this weekend, but some stuff just took me longer than I expected.
 
Looking good. after the floor cures are you planning some dyna mat or some sort of stick on sound deadner in the cab? I have heard there are some good results for both sound dampening and insulation. that's one of the things I want to do to the inside of mine, top to bottom. having a crew cab the ac struggles to keep the inside cool in the middle of the summer.
 
Looking good. after the floor cures are you planning some dyna mat or some sort of stick on sound deadner in the cab? I have heard there are some good results for both sound dampening and insulation. that's one of the things I want to do to the inside of mine, top to bottom. having a crew cab the ac struggles to keep the inside cool in the middle of the summer.
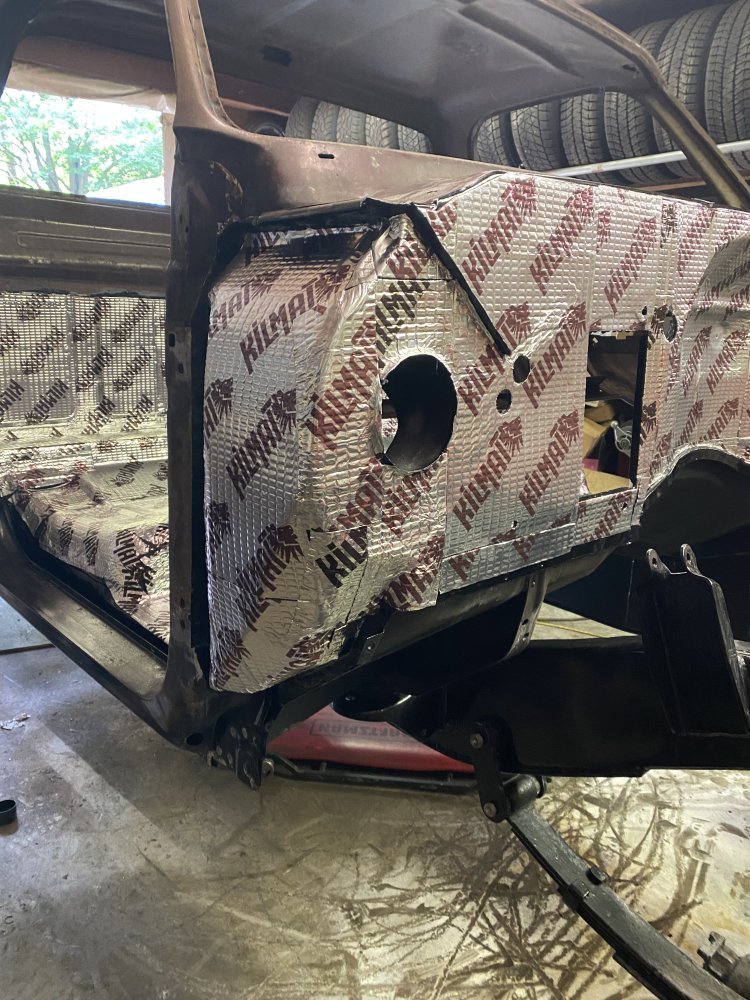
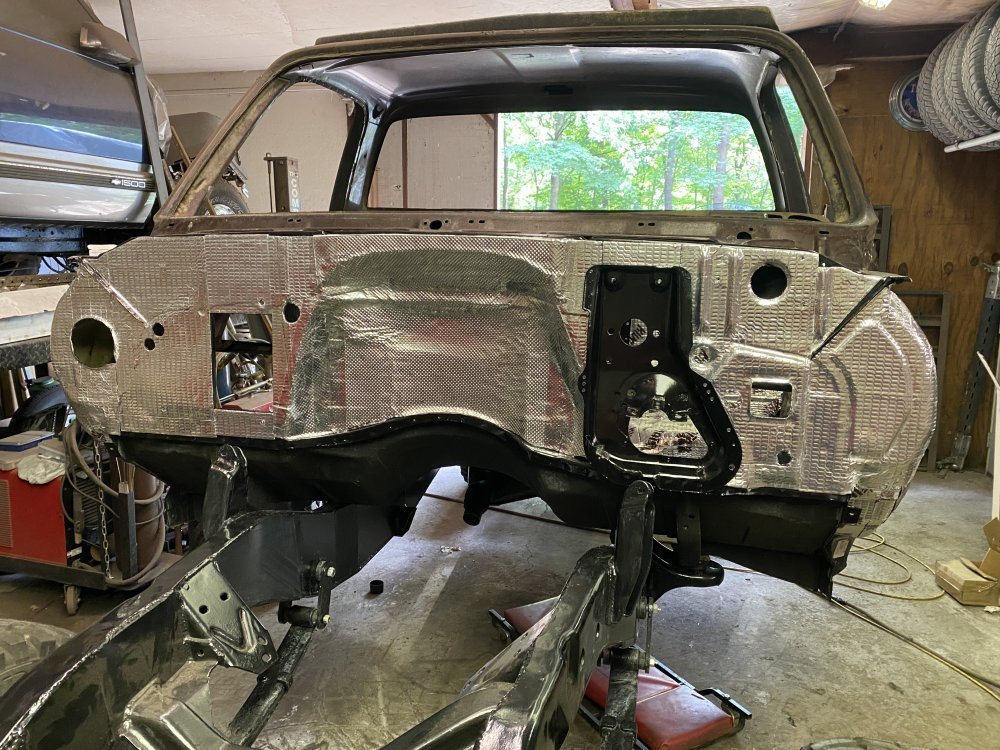
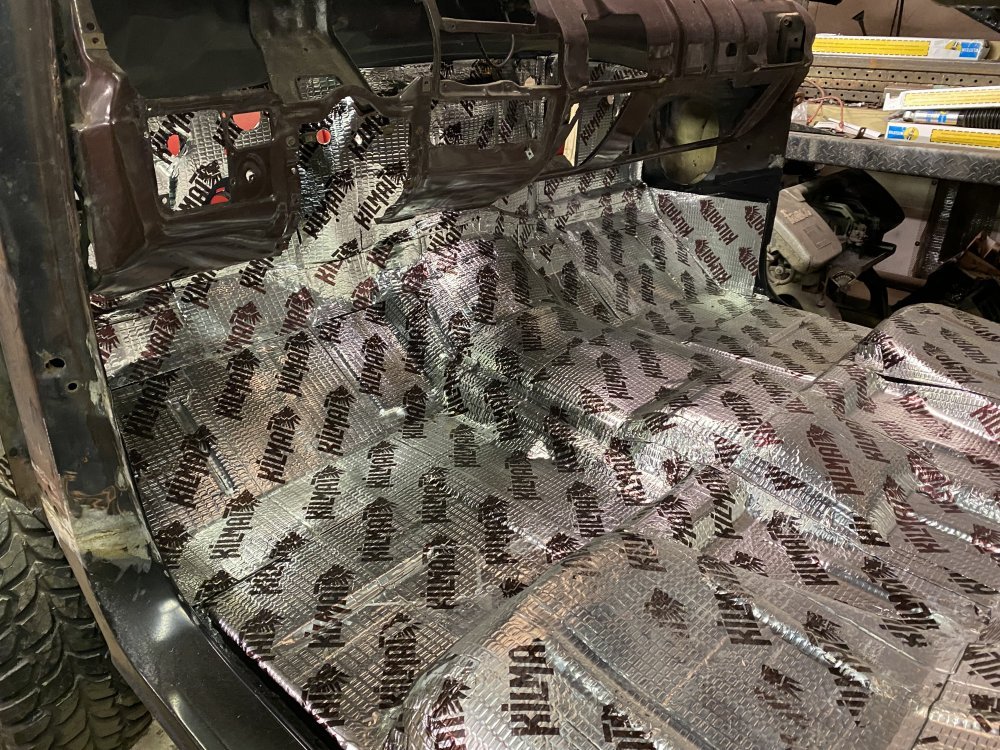
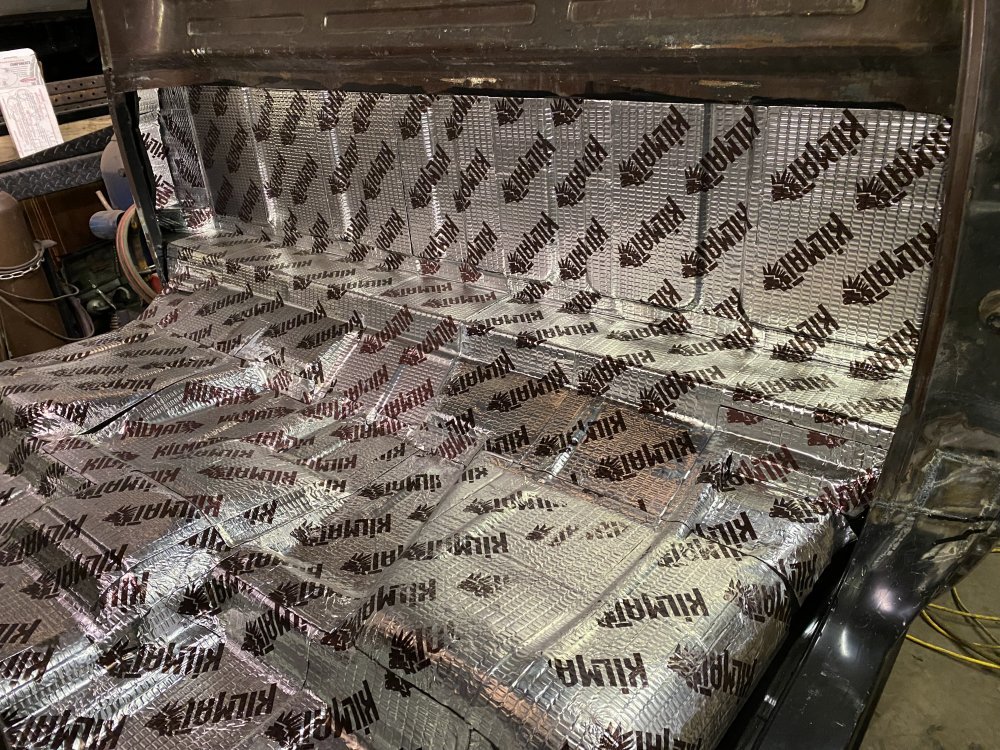
I have some foil-faced butyl rubber stuff that I've been using. It's just some stuff off of Amazon called Kilmat. I did the whole interior, top to bottom, of my extended cab and it seems to work well......however I never drove the truck before installing it, so I can't say how it was before for an accurate comparison. This truck I'll only be doing up to the waistline because it doesn't have a headliner to cover the mat.
 
Killmat is one I have heard of, I forget who actually makes it though. for a headliner, iirc the square body has a rectangular impression with rounded corners that you could cut out a piece of 1/4" floor underlayment board the same shape, maybe cover it with some padding and material of choice creating you a custom headliner.

I personally would vote for the material pattern of the American flag or (for the southerners who know the real meaning, not what society has made it to be) the Confederate flag. Just something decorative that adds a touch of your custom work that's not too flashy. LOL I kinda dig the look of my truck having the mulit-colored panels making it look like something others would think it's a junk beater, then the inside a whole nother story. I'm not there yet, but hopefully some day soon!
 
Some progress over the past week.

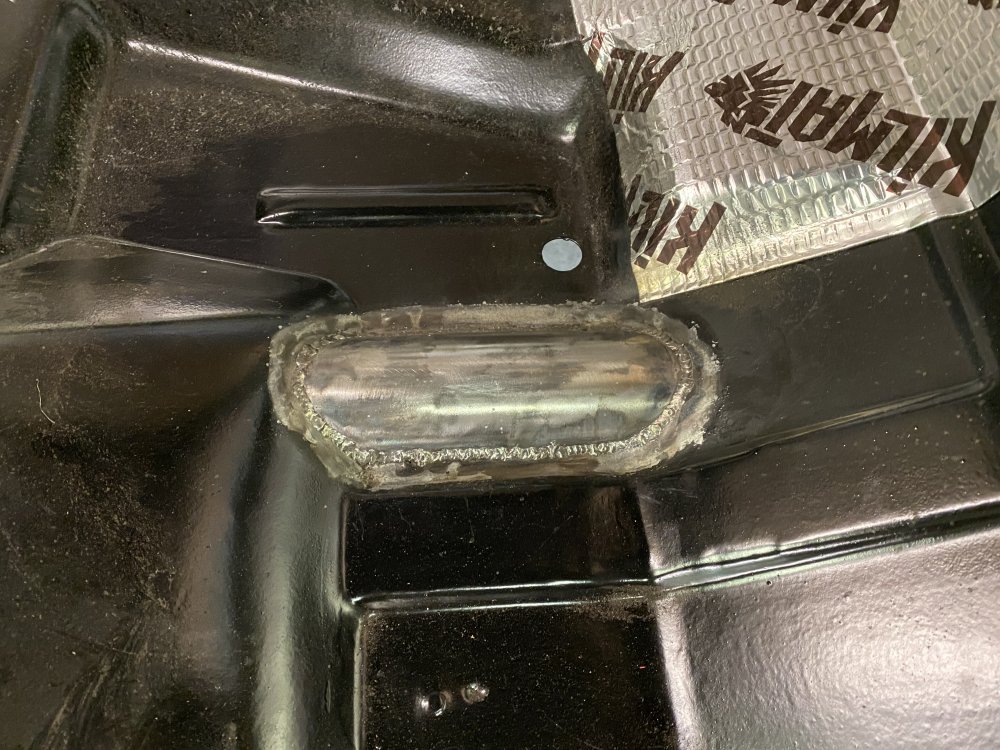
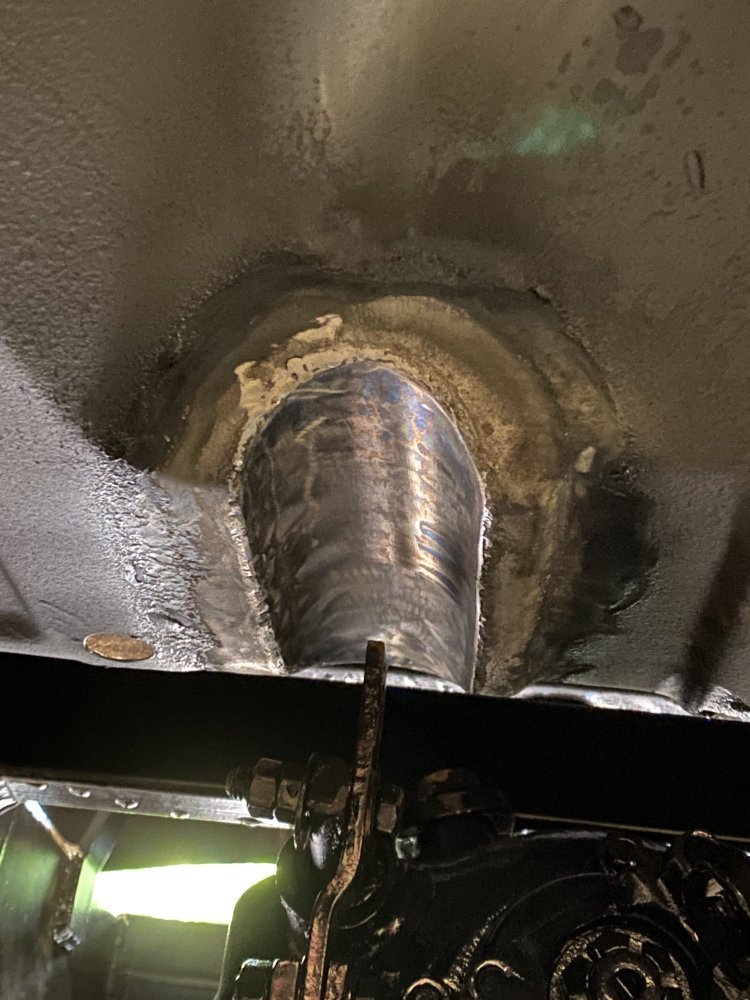
Monday I got the transfer case installed. Unfortunately the shift lever on the case hit the cab floor, so next I had to cut a hole in my freshly painted floor to make a tunnel for the lever and linkage. I made a tunnel out of a piece of 3” exhaust tubing.

IMG_7007.jpegIMG_7008.jpeg

After that I moved on to cleaning up the firewall so it was ready for paint.

IMG_7006.jpeg

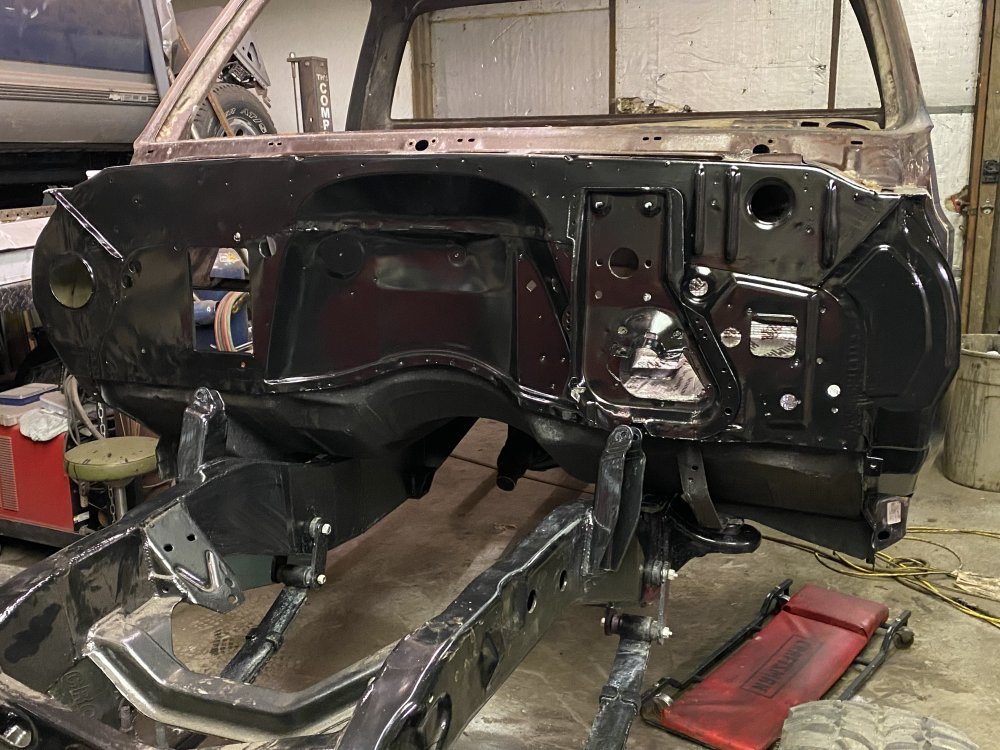
I put two coats of Rust Seal on the firewall and the new tunnel.

IMG_7021.jpeg

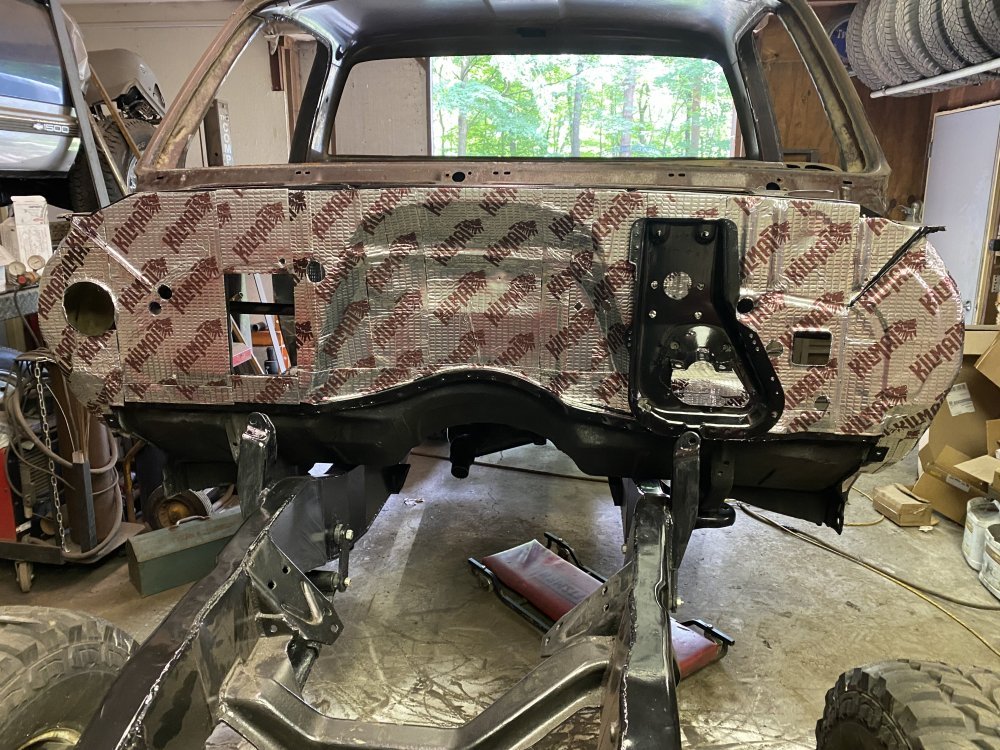
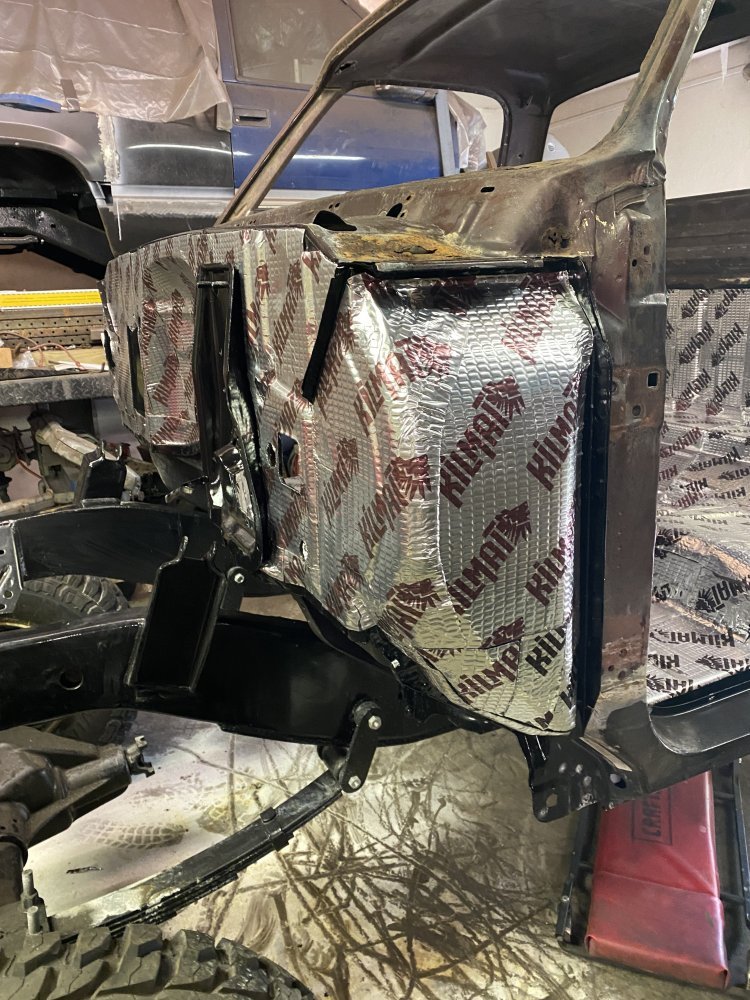
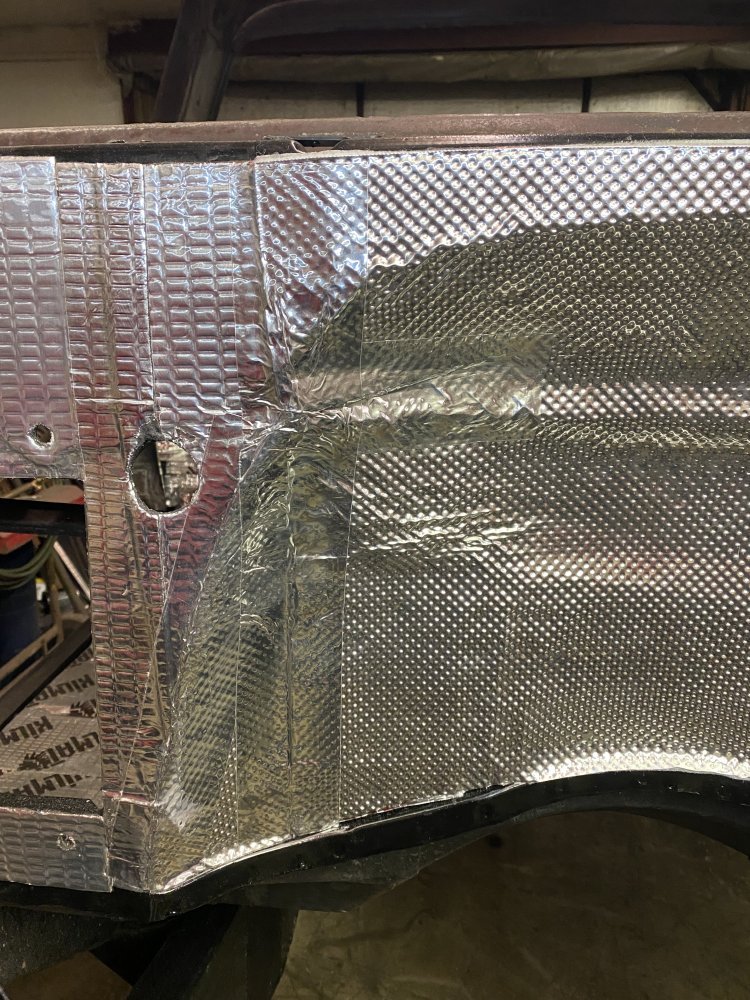
Next I decided to try something new on the firewall. My MO for my previous builds has been a full layer of DEI Tunnel Shield II on the firewall. As I was working with the Kilmat on the cab floor, I was thinking it probably does a better job of sound deadening, but I’m not sure how it would hold up to the heat…..so I came up with a plan to cover the whole firewall with Kilmat and then add a layer of Tunnel Shield II in the middle to protect it from engine heat. This seemed like a good build to try this experiment on. I was able to remove the logos with some alcohol so the firewall looked nicer.

IMG_7034.jpeg

IMG_7035.jpegIMG_7036.jpeg
IMG_7038.jpeg
IMG_7044.jpeg
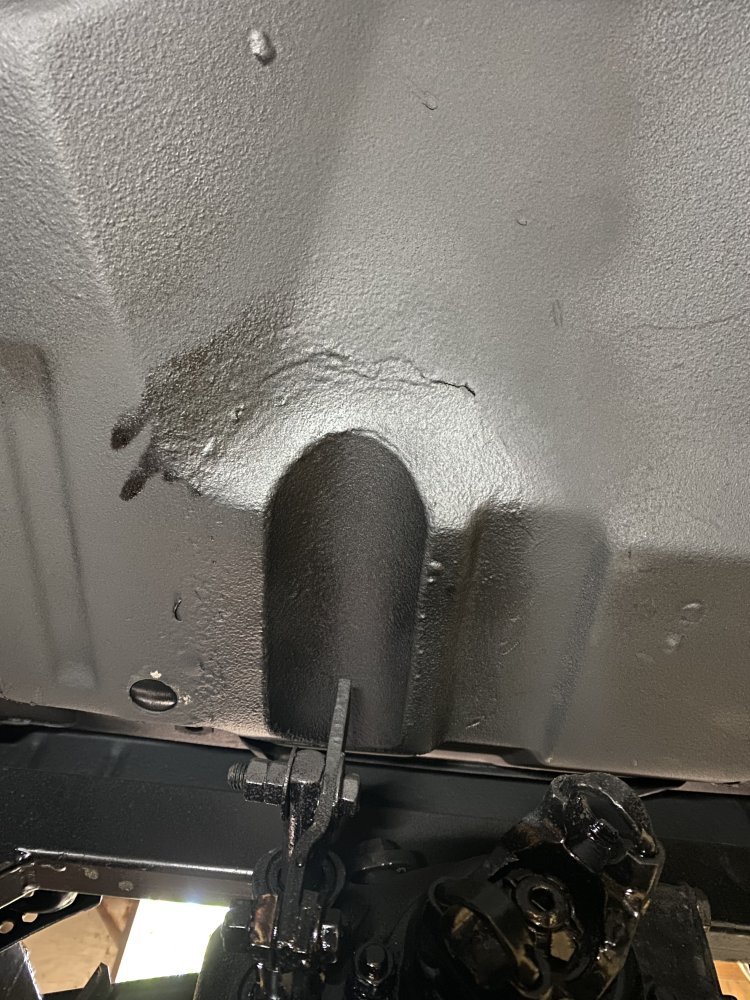
Oh and I also reapplied some undercoating on my shifter tunnel.

IMG_7041.jpeg
 
Back to the aforementioned cab floor….. I think it turned out pretty well.

IMG_7045.jpegIMG_7046.jpeg

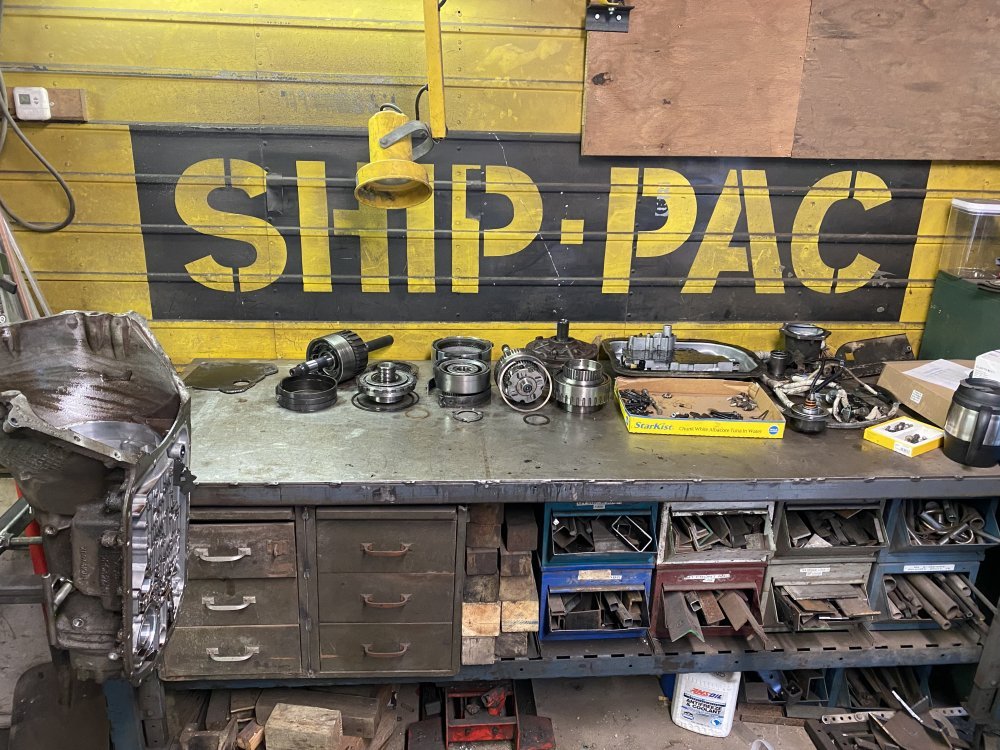
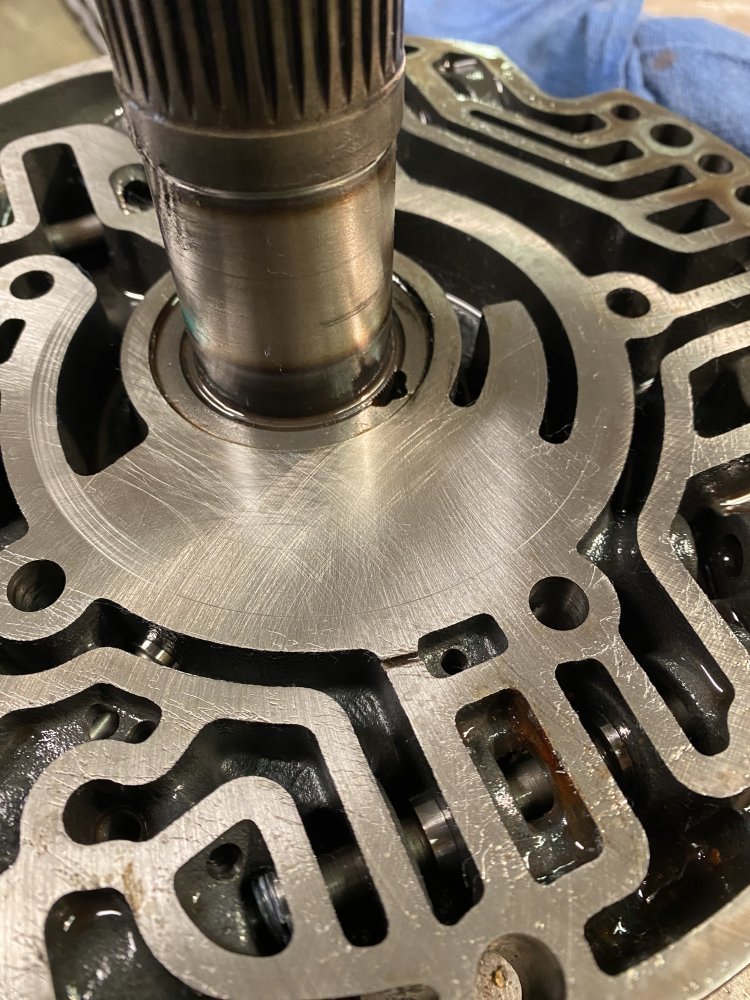
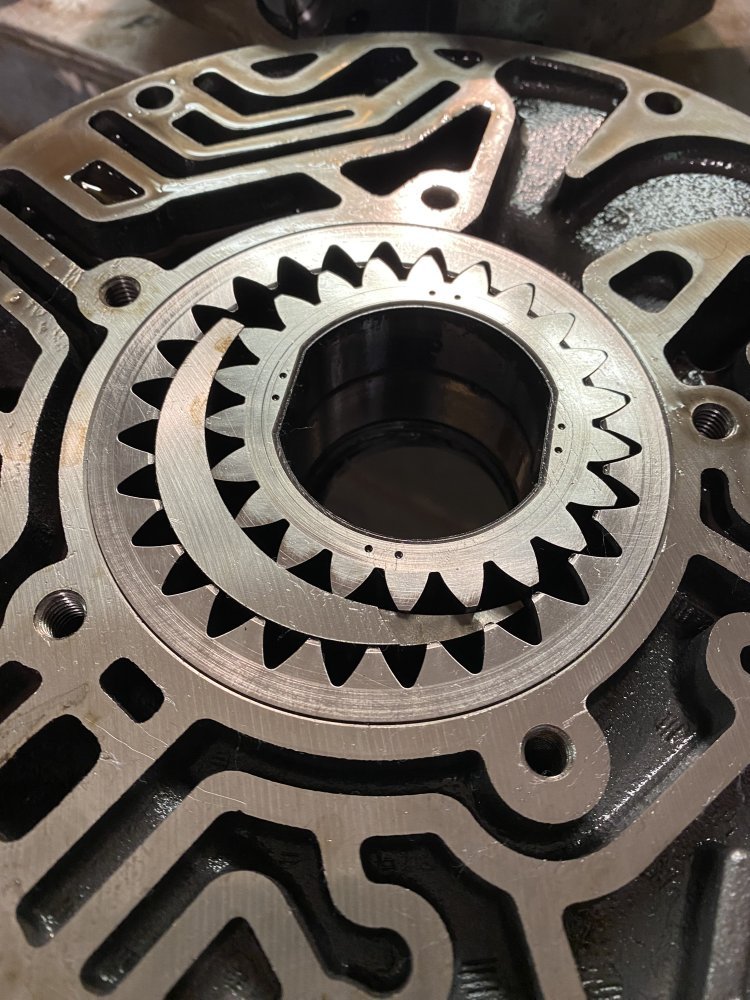
Yesterday I took the transmission apart to see what condition it was in. Fortunately the hard parts were all in good shape except for the stator side of the pump, so I’ll need to address that. This week I’m going to contact Jake’s to get a rebuild kit on order.

IMG_7031.jpegIMG_7026.jpegIMG_7027.jpeg

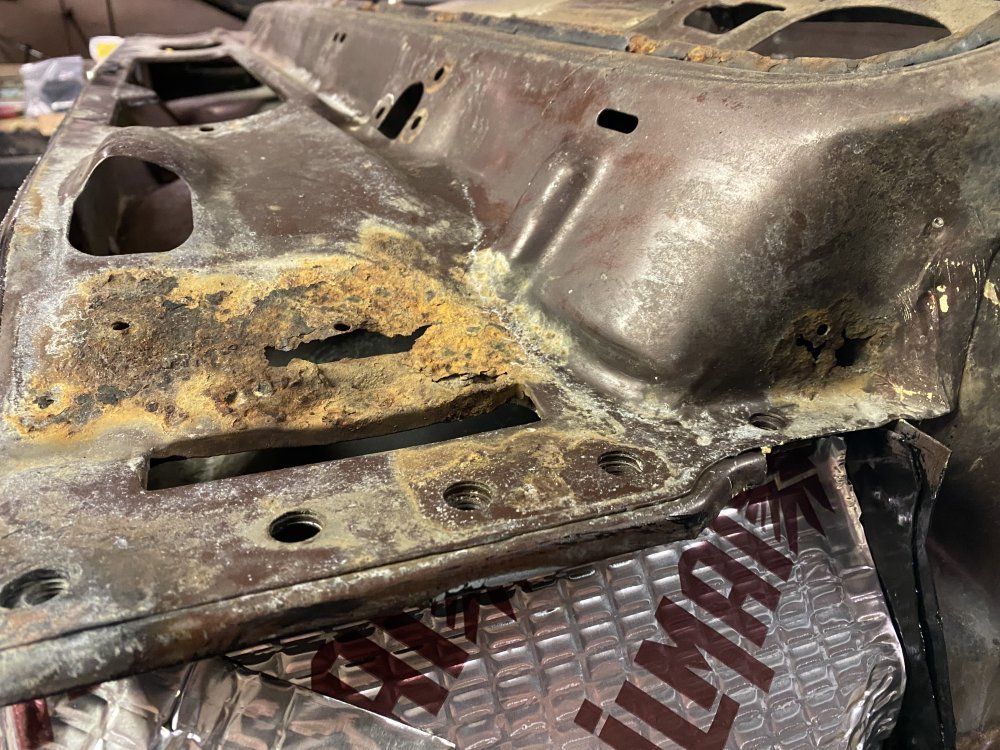
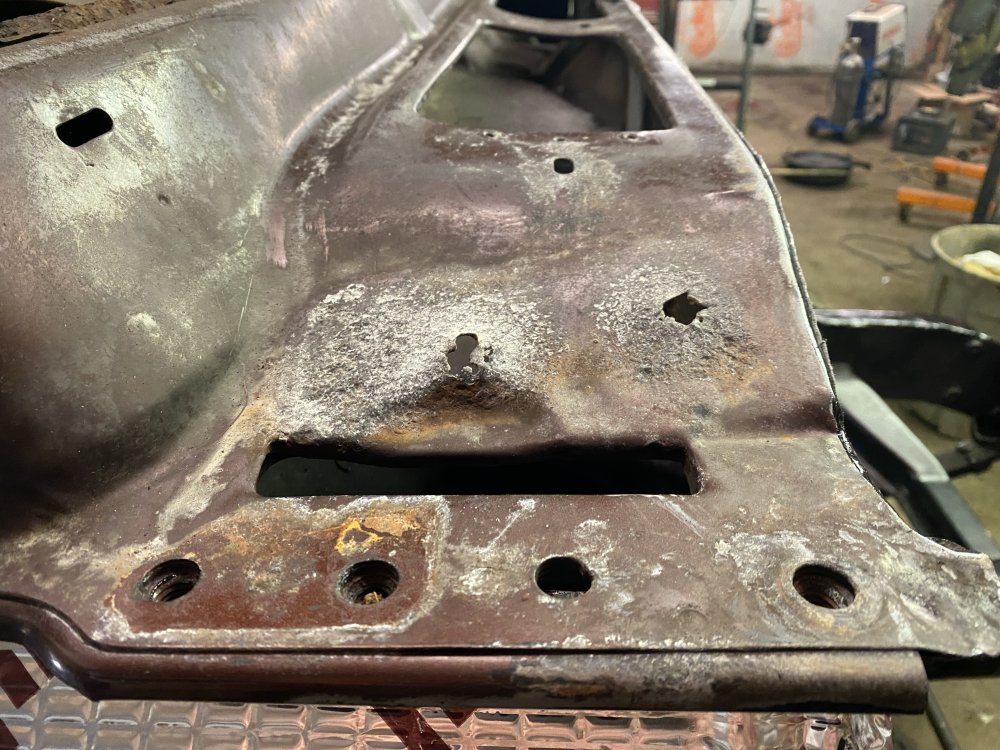
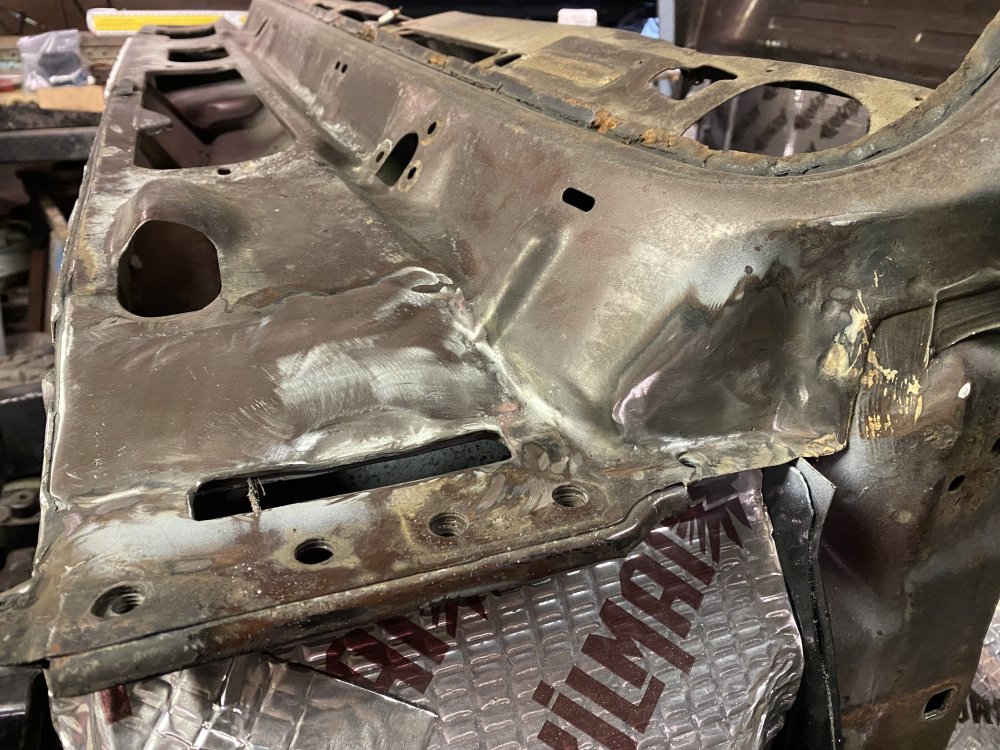
Today I fixed what should be the last of the rust on the cab. Finally.

IMG_7039.jpegIMG_7040.jpegIMG_7042.jpegIMG_7043.jpeg
 
Back
Top