• Welcome to The Truck Stop! We see you haven't REGISTERED yet.

    Your truck knowledge is missing!
    • Registration is FREE , all we need is your birthday and email. (We don't share ANY data with ANYONE)
    • We have tons of knowledge here for your diesel truck!
    • Post your own topics and reply to existing threads to help others out!
    • NO ADS! The site is fully functional and ad free!
    CLICK HERE TO REGISTER!

    Problems registering? Click here to contact us!

    Already registered, but need a PASSWORD RESET? CLICK HERE TO RESET YOUR PASSWORD!

Project Frankensquare

2 lb density closed cell is moisture resistant.
I have it on my foundation walls.

Pink board and blue board will soak up water like a sponge
I didn't know one was made that dense. I was thinking about that foam they use in the hulls of boats. I re-floored an old 70's trihull once. when I ripped all the floor out for replacement I found all the foam inbetween the runners water logged. I had a time carving all of it out to uncover the glass coated runner supports, luckily the glass was still intact well enough those hadn't rotted except for the entire transom. nothing left of it other than the layers of glass and hull!

you couldn't tell the foam was wet until you stuck a knife into it cutting a slice. then all the water started showing.
 
I'm sure once he's done with it, the strength it will have it could function at a battering ram on wheels!
Not sledge as a hammer, but sledge as in a snow country winter vehicle consisting of two heavy, wide runners with stout crossmembers between them meant to haul heavy loads across the snow with a team of draft horses pulling it. But yes, with that frame, he could probably run into a concrete wall and, while doing some body damage, the frame would remain untweaked.
 
Not sledge as a hammer, but sledge as in a snow country winter vehicle consisting of two heavy, wide runners with stout crossmembers between them meant to haul heavy loads across the snow with a team of draft horses pulling it. But yes, with that frame, he could probably run into a concrete wall and, while doing some body damage, the frame would remain untweaked.
I’m glad you explained because I was lost, but now that you explained it I like it!
 
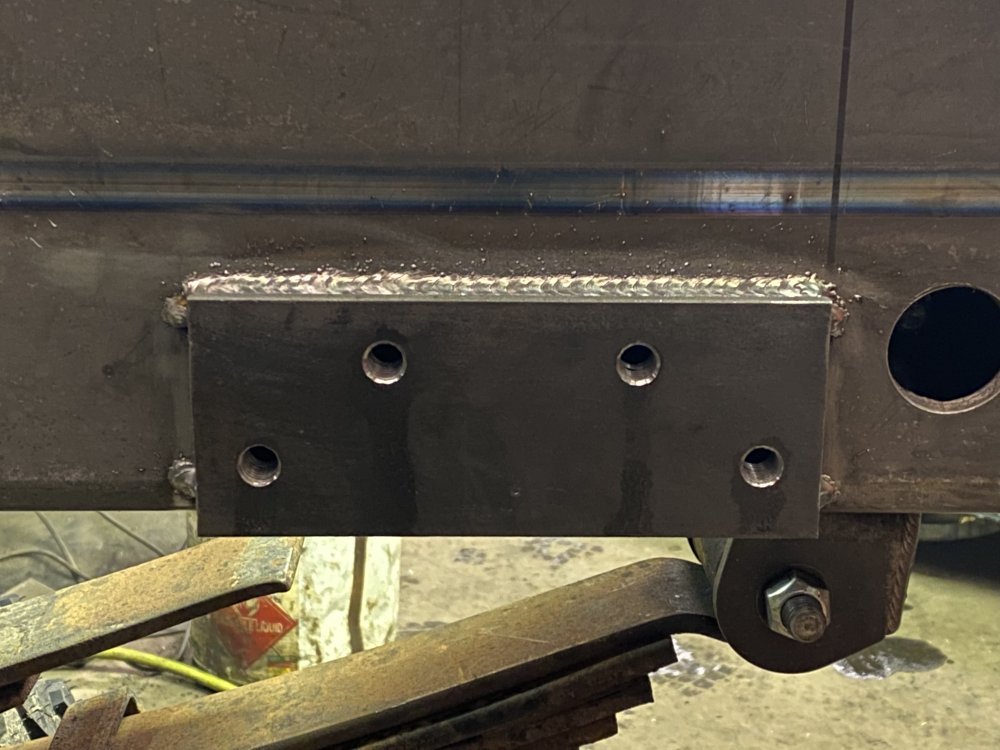
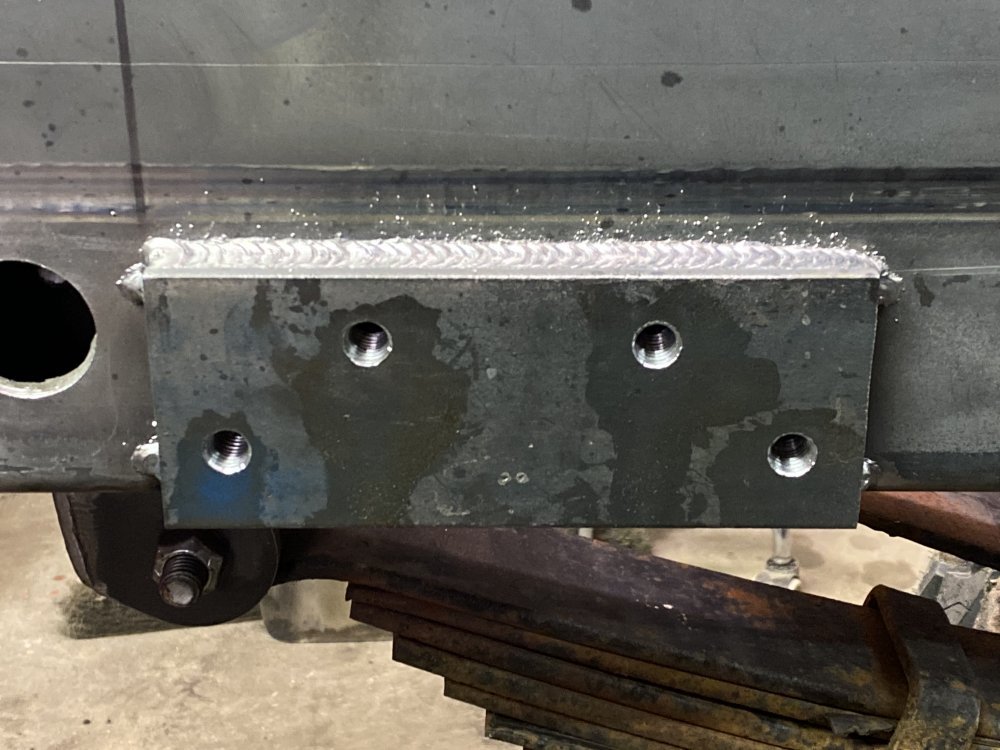
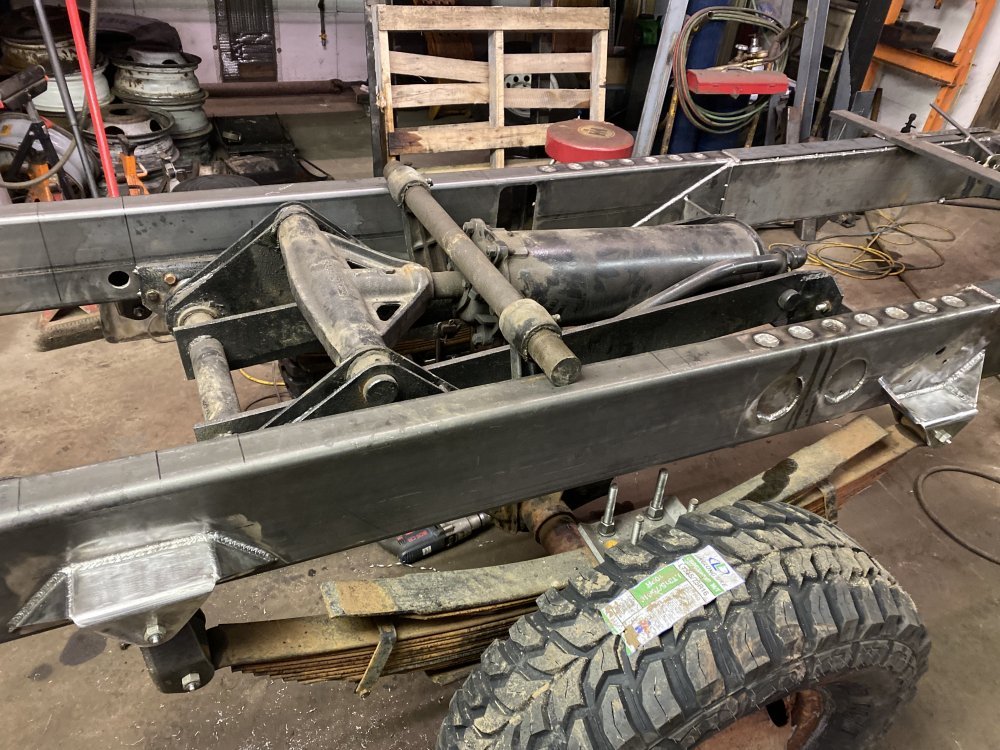
I started today making the rear mounting pads for the dump hoist. I welded them to the frame where I wanted them and then drilled and tapped the mounting holes.

4FCD156F-4D09-4DEE-BE90-74696B71F9A8.jpeg22680B84-83BF-4309-A05D-C389FBB34CDF.jpeg

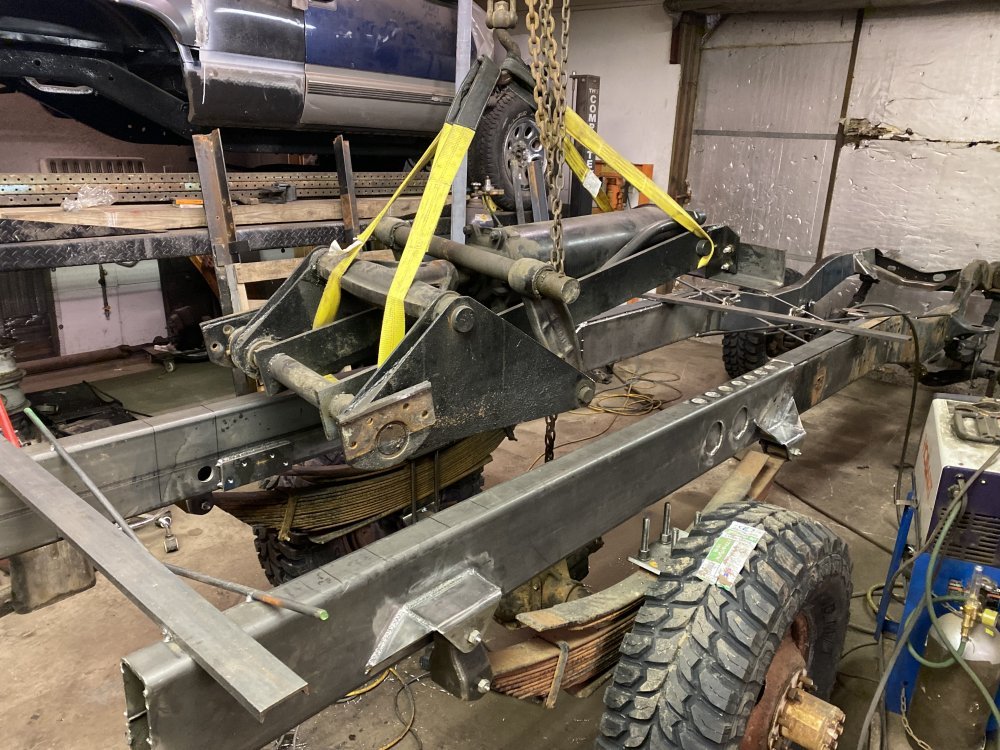
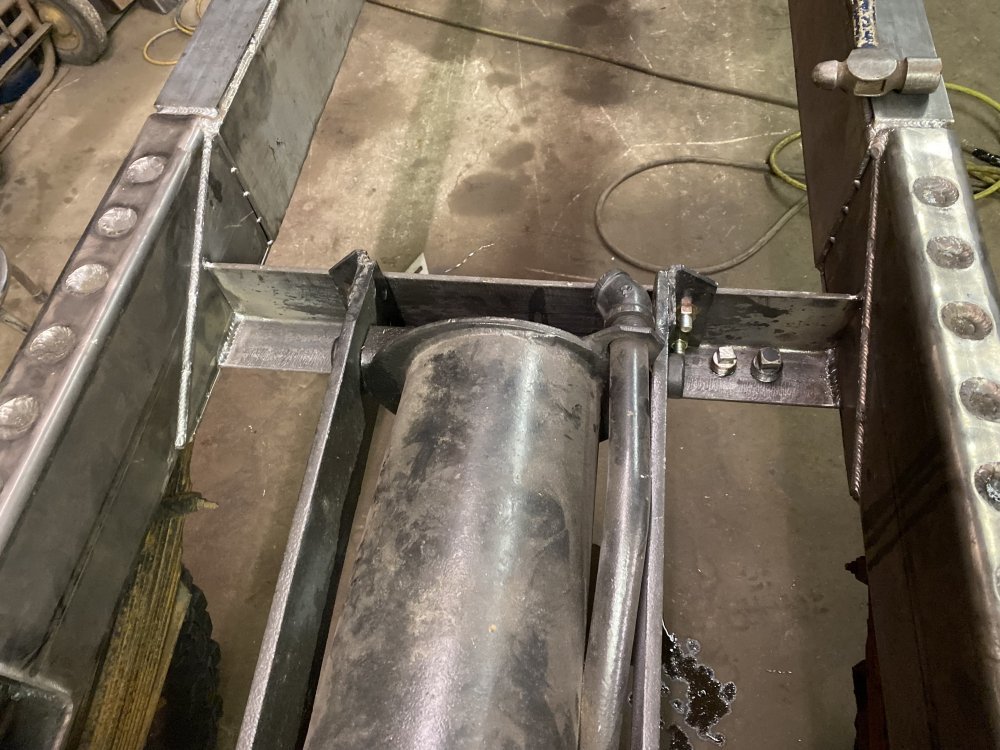
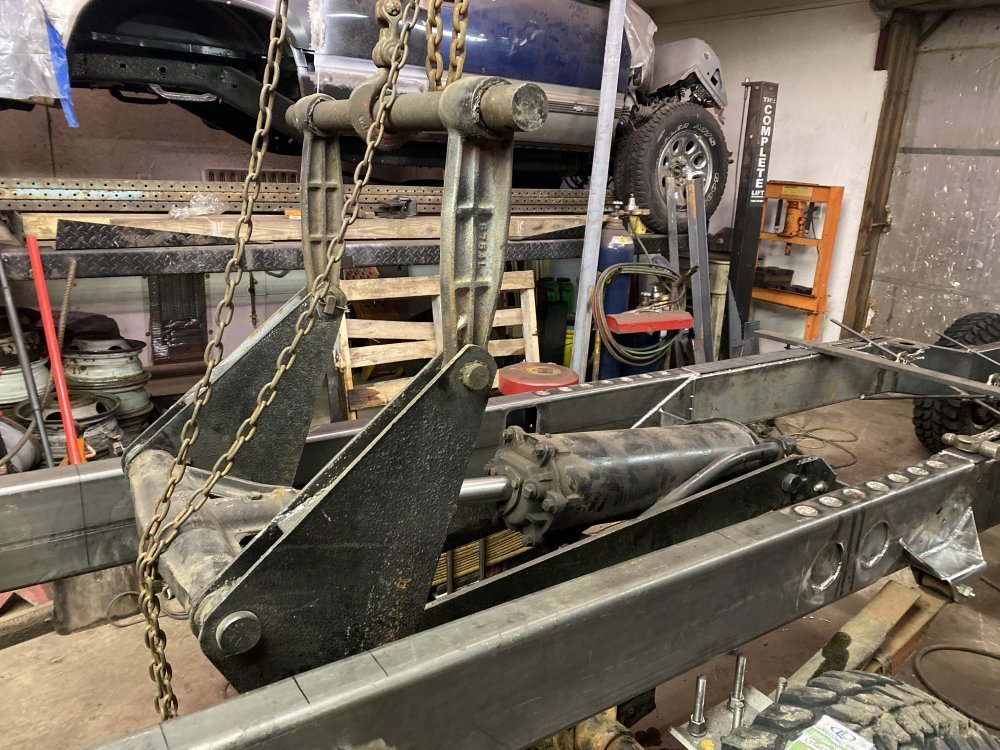
Next I made the front crossmember out of angle iron. I bolted it to the front of the hoist and lowered it into place.

0FC23405-9C06-4458-B5F4-1BB71CDFEBD8.jpeg

Once down I welded the crossmember to the frame.

B176801A-2A44-4779-95CB-F1D0AD585B27.jpeg

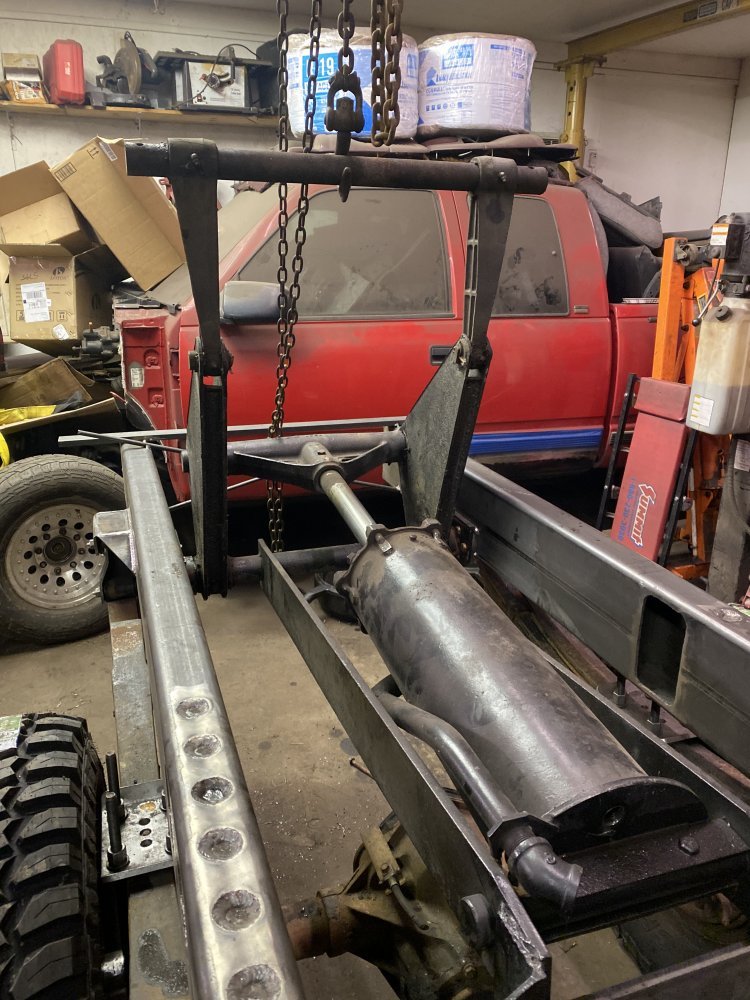
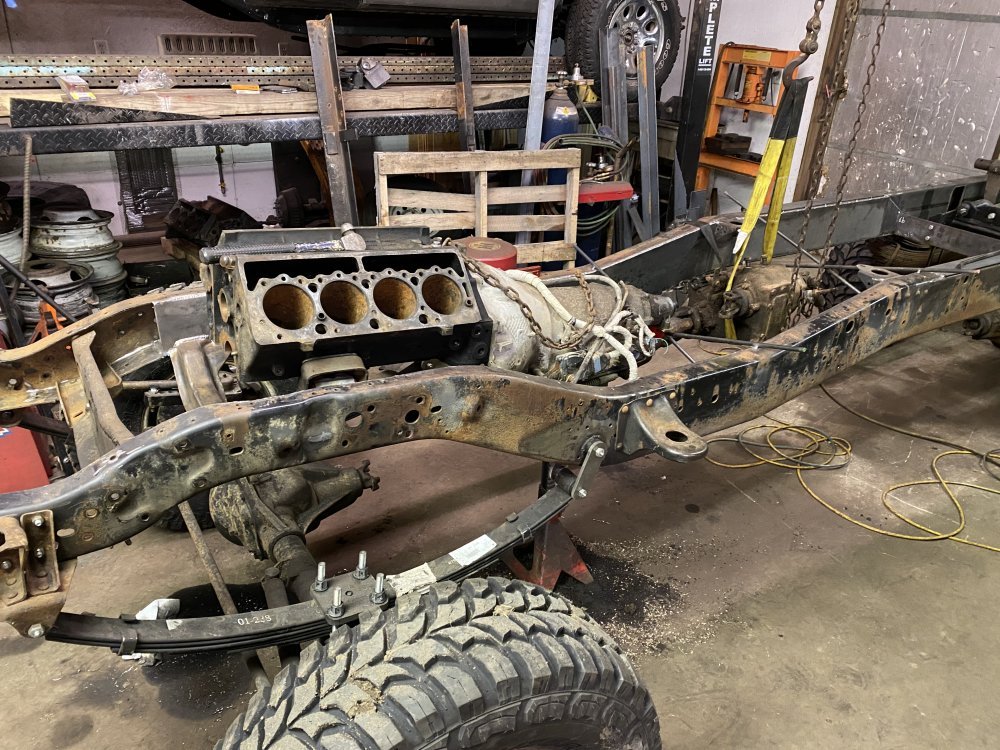
Now the dump hoist is in place. I also raised the dump hoist with the chain hoist just to play with it.

DB112776-254C-4D0F-98E5-F0F8BC74AE7D.jpegD750B563-2C9E-43A4-AA9F-083931C8D546.jpegFE072194-0BDC-4512-9E99-1262E26D9861.jpeg
 
ok, I saw a camper outside in one of your pictures and I've got to ask. How in the world do you make time to do all the fab work and still have time to camp?!?

Off topic - sorry...
Well.......we hardly use it, and in fact we're planning on selling it this year. It seems every time we use it I have some kind of vehicle trouble that ruins the experience. Plus camping is hard on my girlfriend's back, so that's also a bummer. Camping seems to be a lot of work to try to relax, at least for us.
 
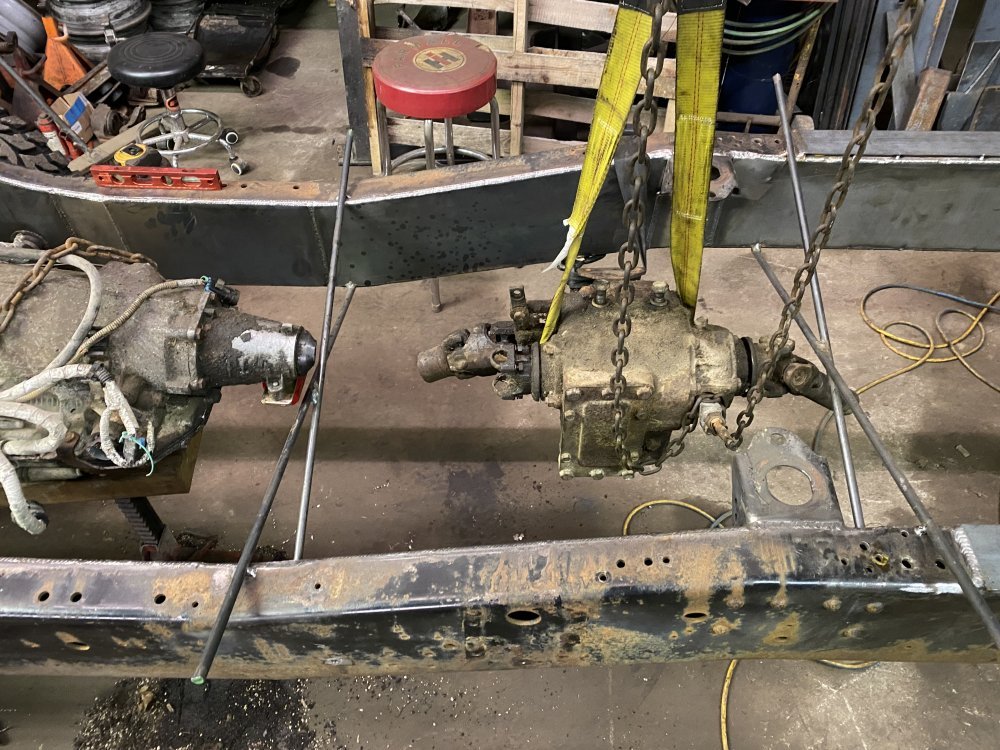
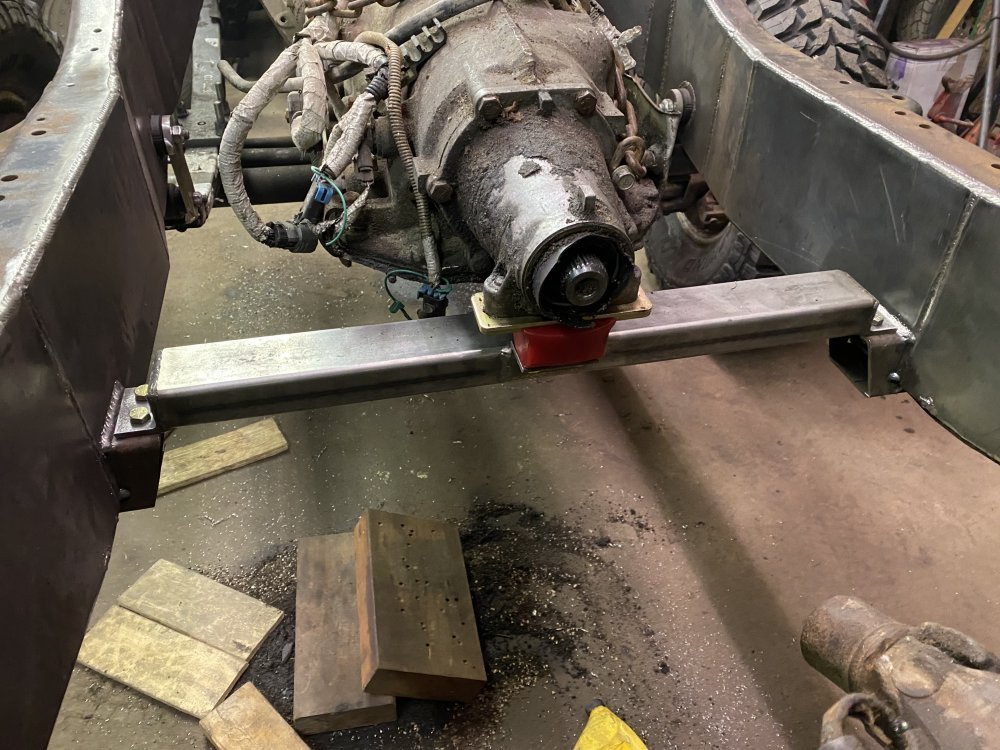
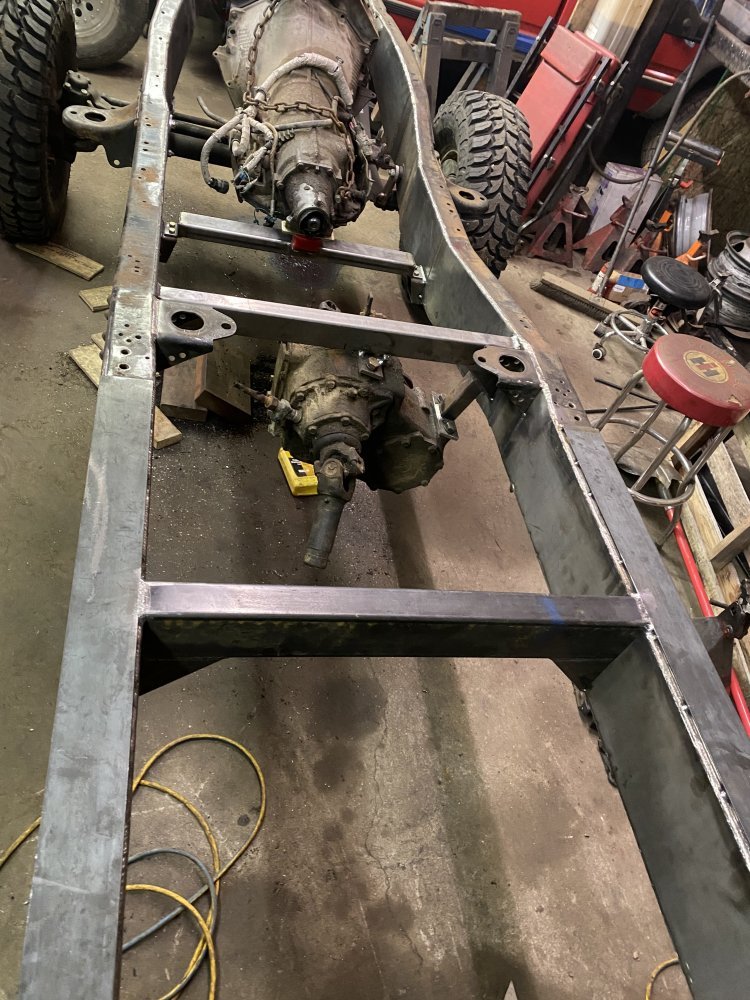
Today I got the crossmember for the transmission done.

87857290-5D9D-4E2D-9E18-AF30BAC590BB.jpegD27E1E7F-5F67-4462-80B5-665B96F8ACBC.jpeg

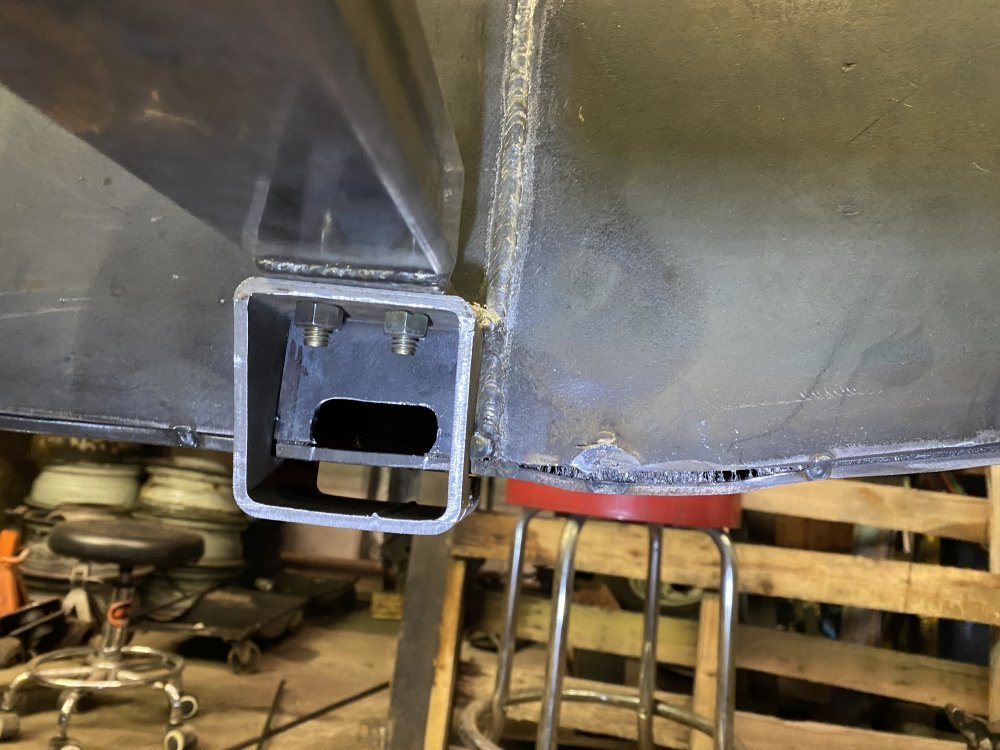
I added frame rail drain holes in the cavity inside the frame mount.

7D3F5E32-559E-437B-83E6-A43410FE2F6C.jpeg

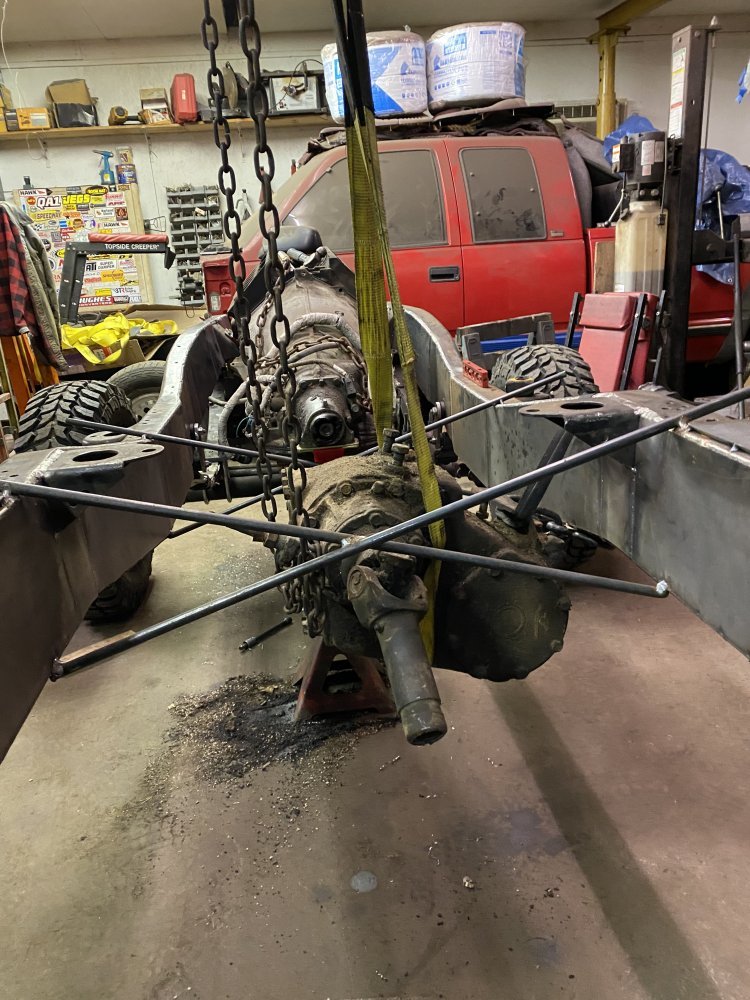
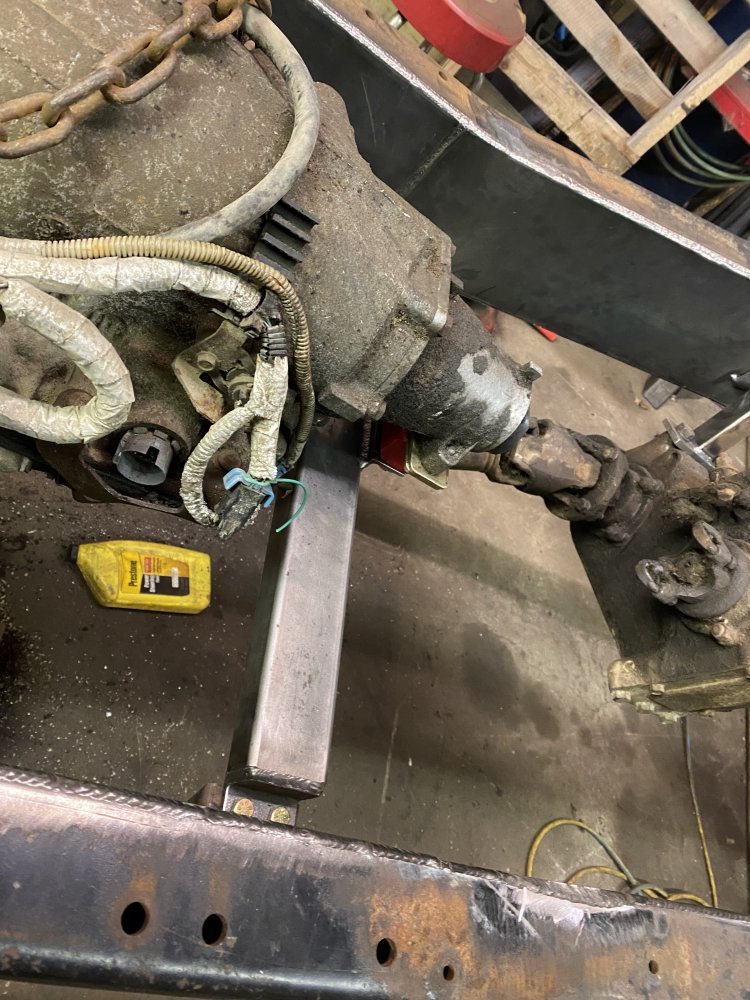
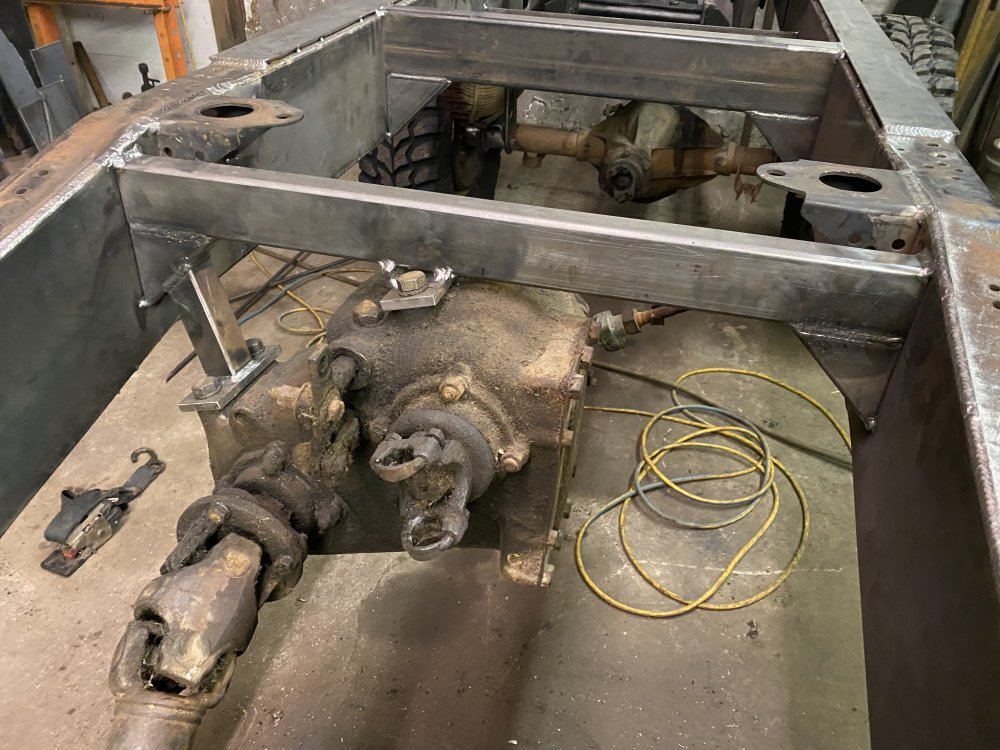
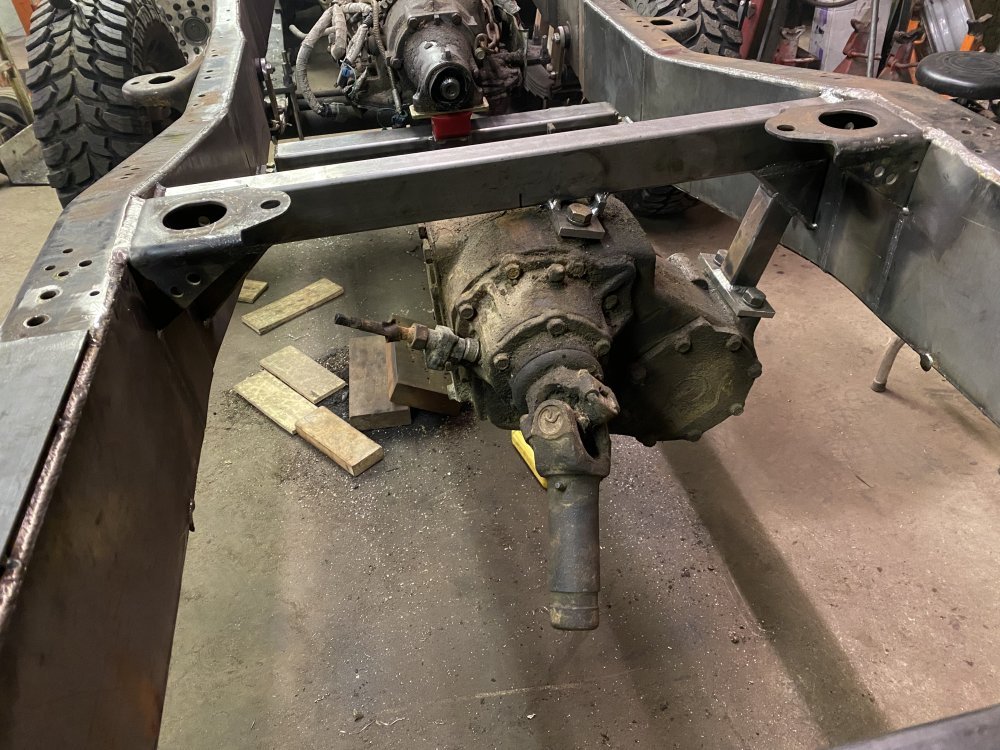
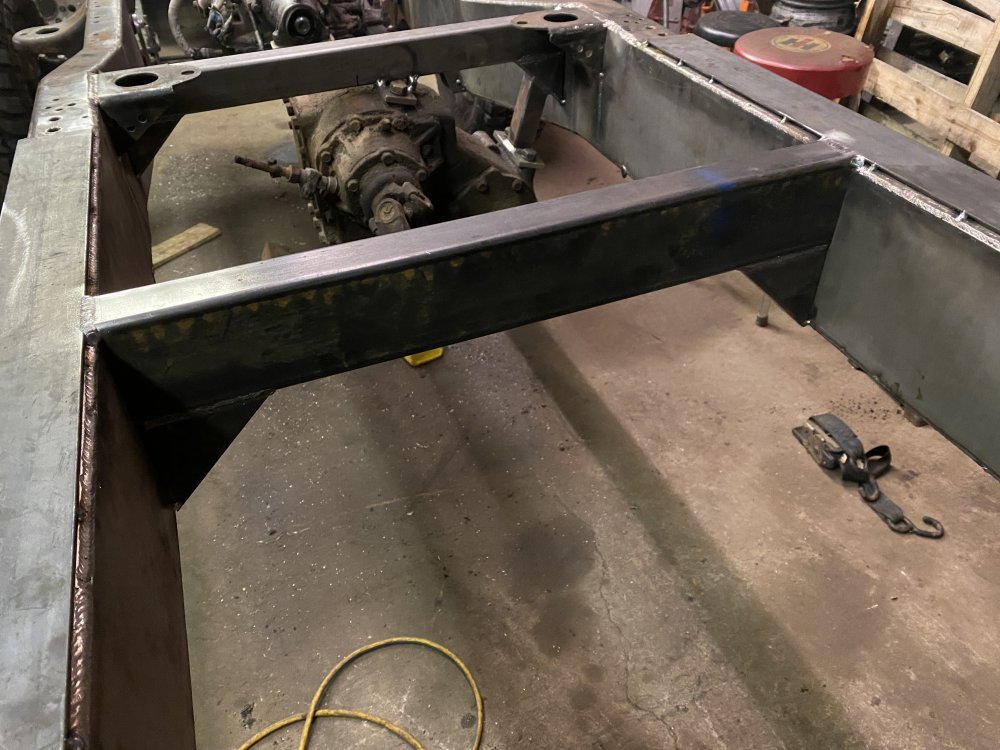
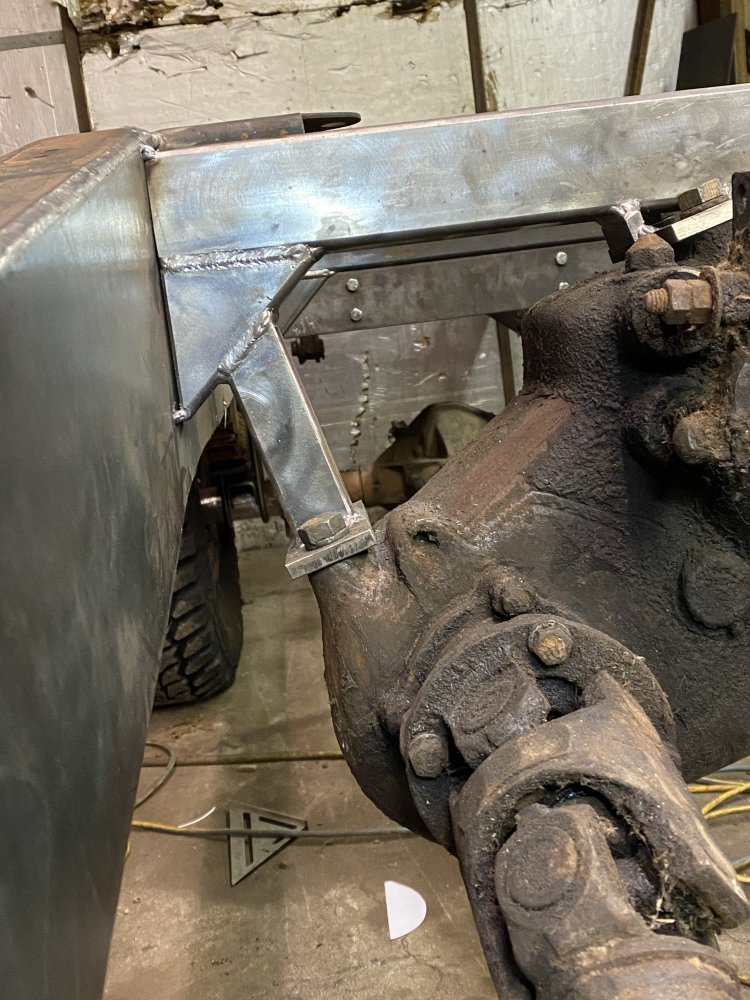
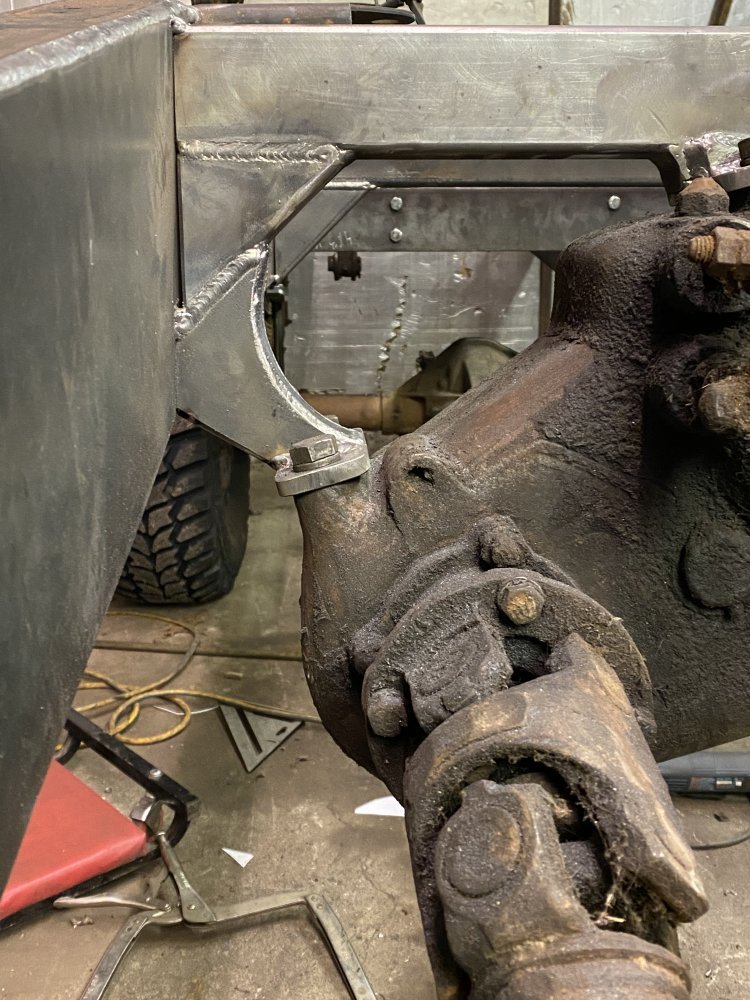
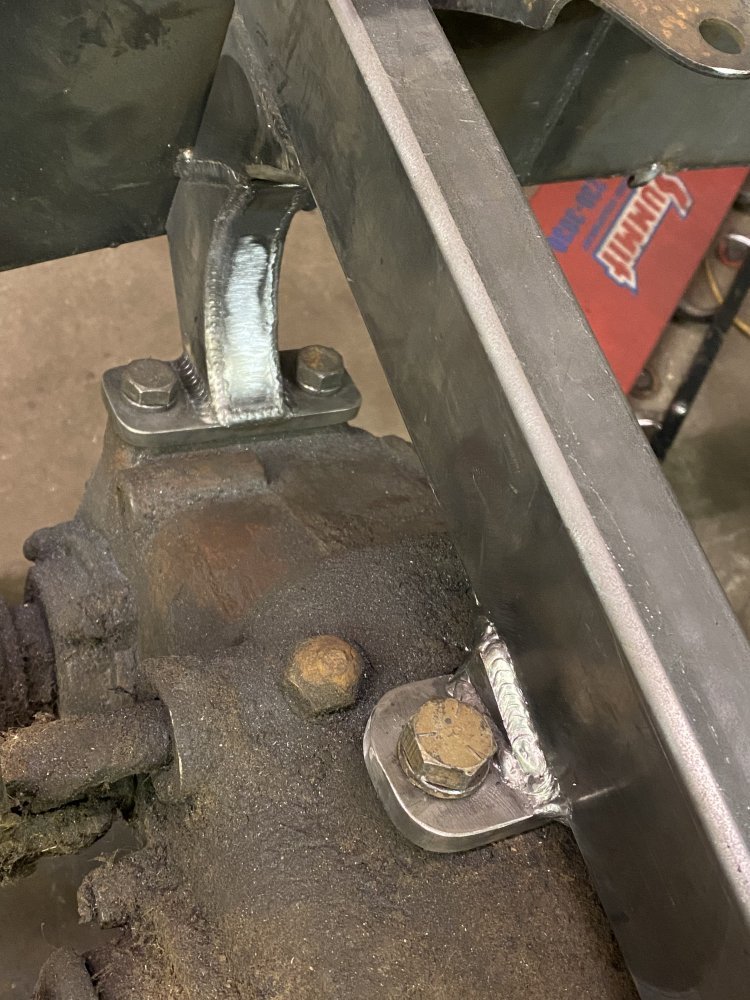
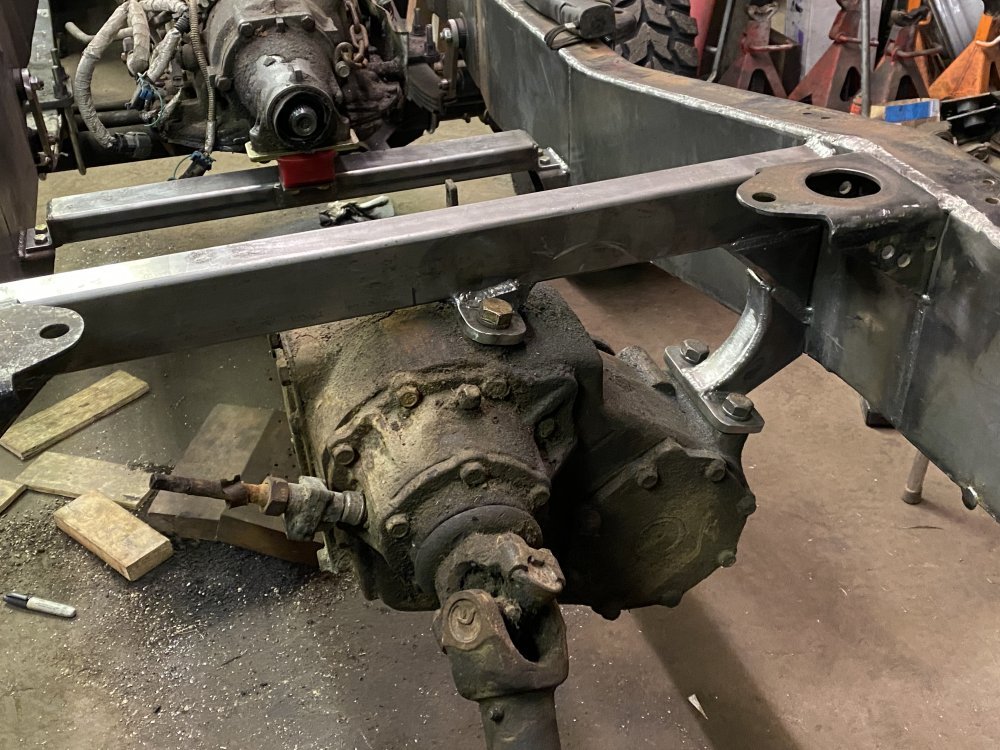
I also got the transfer case crossmember done. It is going to work fine, but it looks a little awkward so I may rework it if I come up with a nicer idea. One nice thing about how it’s done is that there’s plenty of room for the exhaust to run through the opening.

E16FDA7D-ED5D-47F3-8897-CDC1F03D3FCF.jpeg28E1C4A1-9009-41CF-AC45-D0D08BA0009F.jpeg

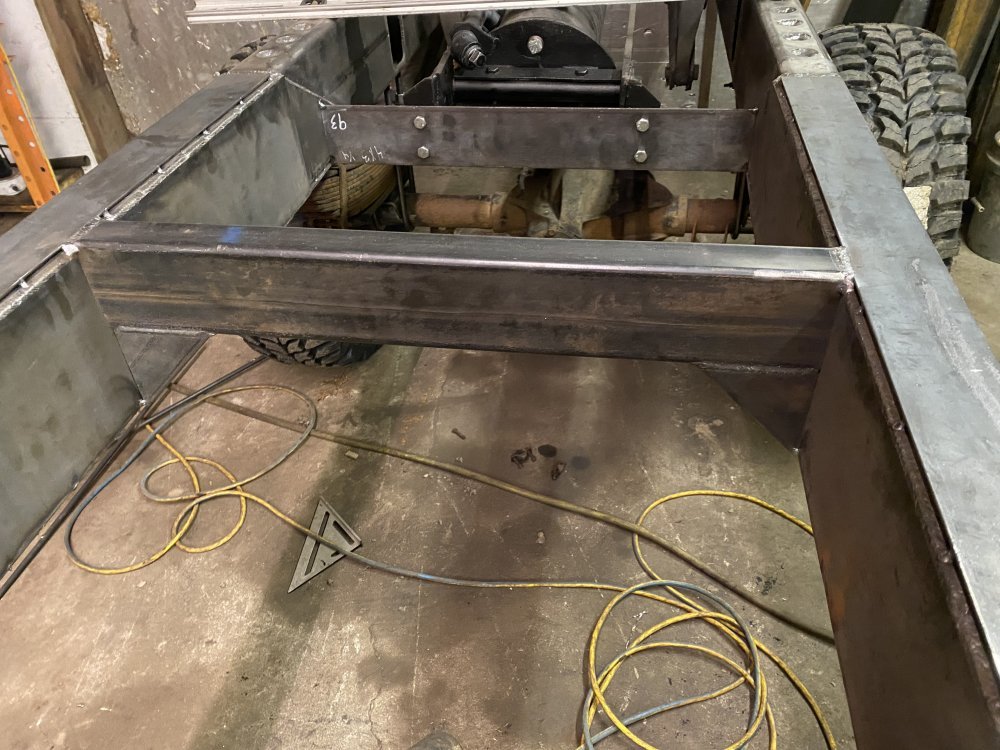
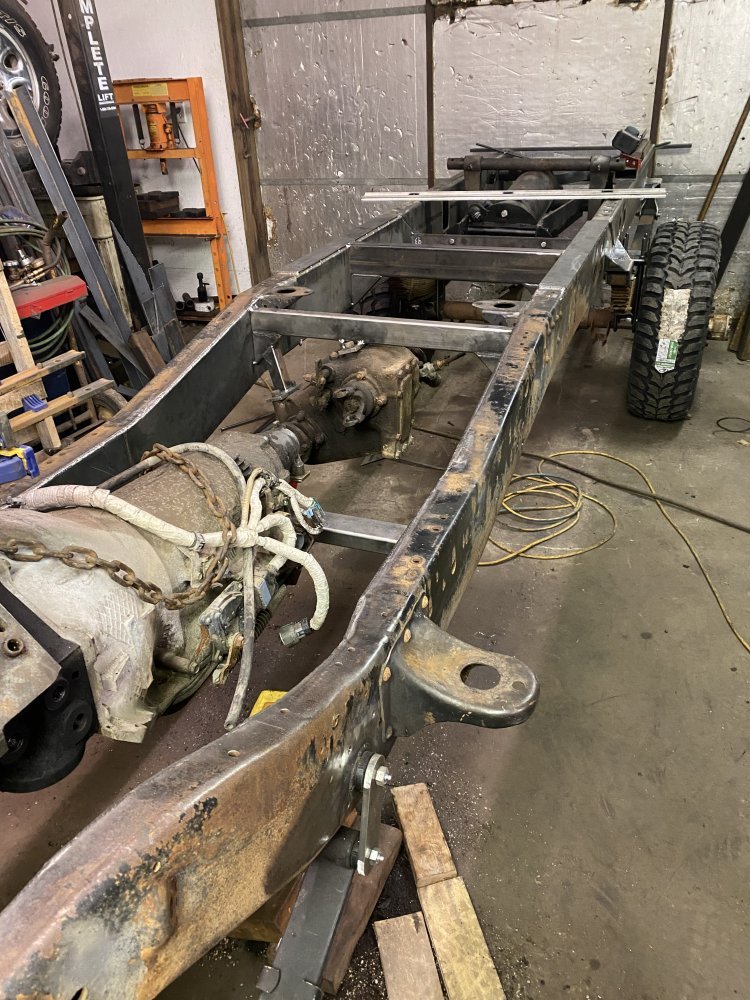
The last thing I did was make a crossmember in the rear between the transfer case crossmember and the crossmember for the lift hoist.

EAB744C9-82A6-4D3B-A720-65E08996359E.jpeg0117A8D6-CDEC-4A9B-B4D9-921083630C13.jpeg

After that I was able to remove the temporary crossmembers so it looks nicer now.

C7C44737-D122-46D8-9BD0-1D78F709CDD3.jpeg0ACF15DD-EA9A-44DB-B758-94DD963FC113.jpeg
 
Back
Top