• Welcome to The Truck Stop! We see you haven't REGISTERED yet.

    Your truck knowledge is missing!
    • Registration is FREE , all we need is your birthday and email. (We don't share ANY data with ANYONE)
    • We have tons of knowledge here for your diesel truck!
    • Post your own topics and reply to existing threads to help others out!
    • NO ADS! The site is fully functional and ad free!
    CLICK HERE TO REGISTER!

    Problems registering? Click here to contact us!

    Already registered, but need a PASSWORD RESET? CLICK HERE TO RESET YOUR PASSWORD!

Project Frankensquare

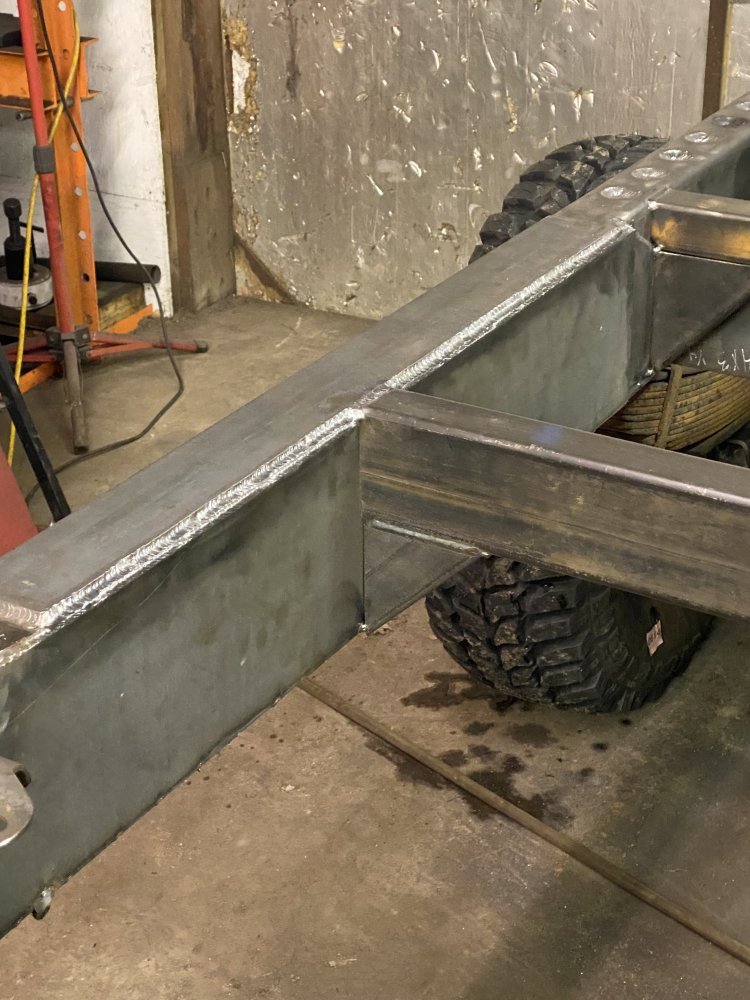
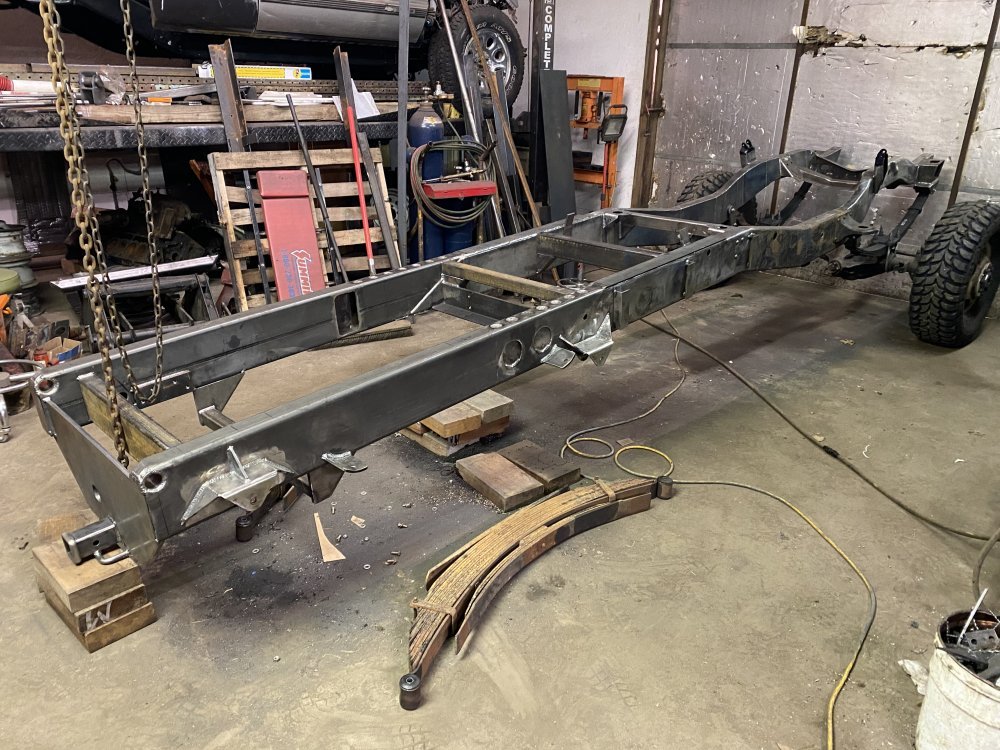
Today I welded the inside of the 1/4 x 3 strip I had laid on the original frame in the rear. I originally planned to weld that when I had the frame on its side, but as I looked at it I came to the conclusion that the chamfer I had ground into it, along with the offset to the edge of the frame, lent itself to welding in this position so I just tackled it now.

F20FF886-9701-4D63-BE06-3E733A6737AA.jpeg

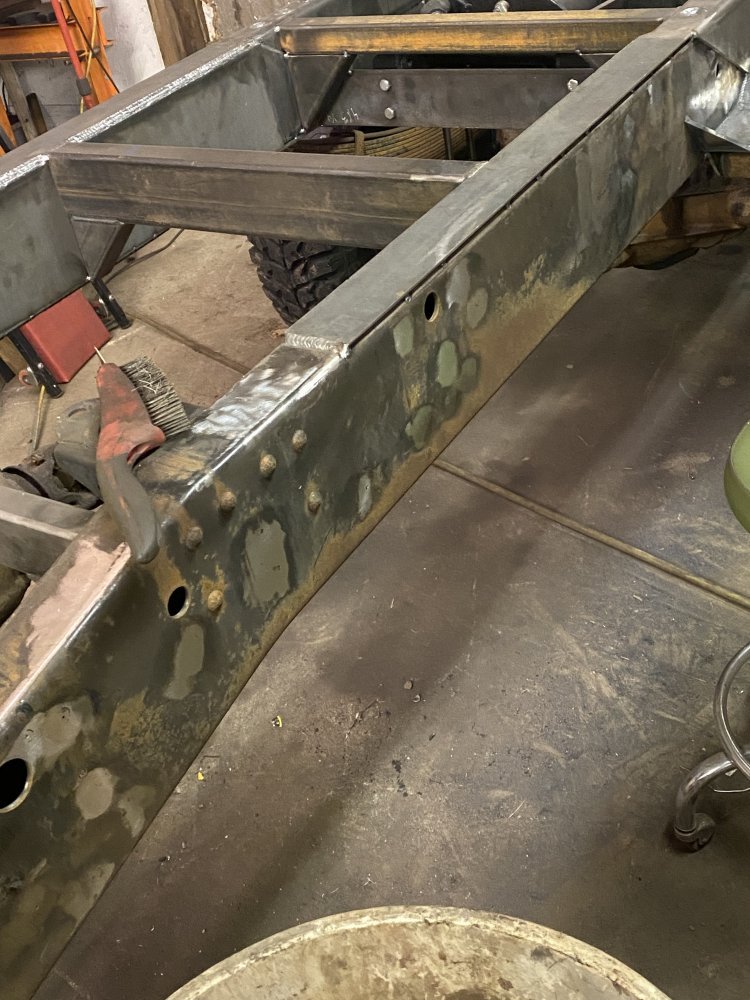
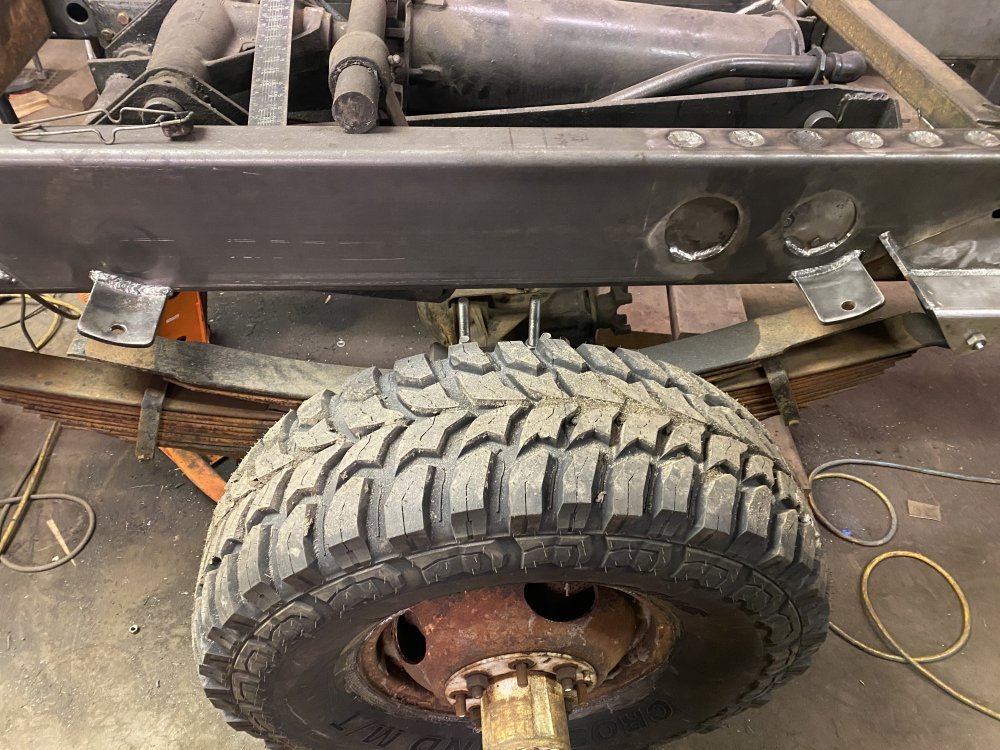
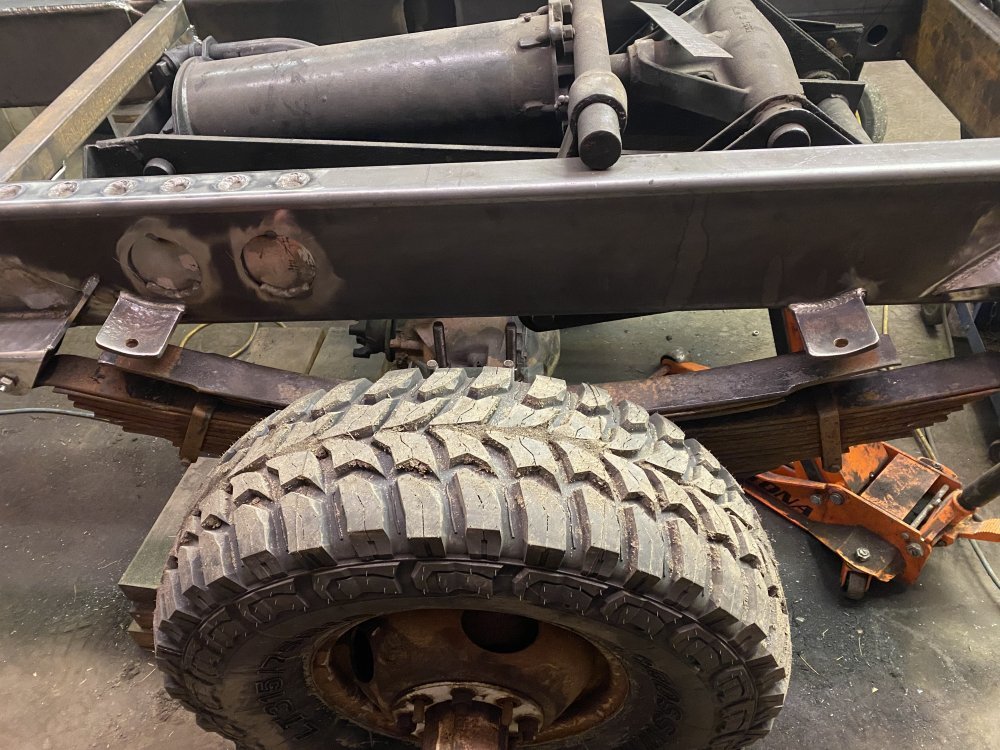
After that I welded up almost all of the holes in the frame rails. I left the really large holes because they would be harder to plug, but I also had a good use for them - I can use them to spray the cavity wax inside the rails. I will plug them with plastic plugs after spraying the wax.

6E0336F6-4706-44B7-AF41-D63CCB60D0AC.jpeg

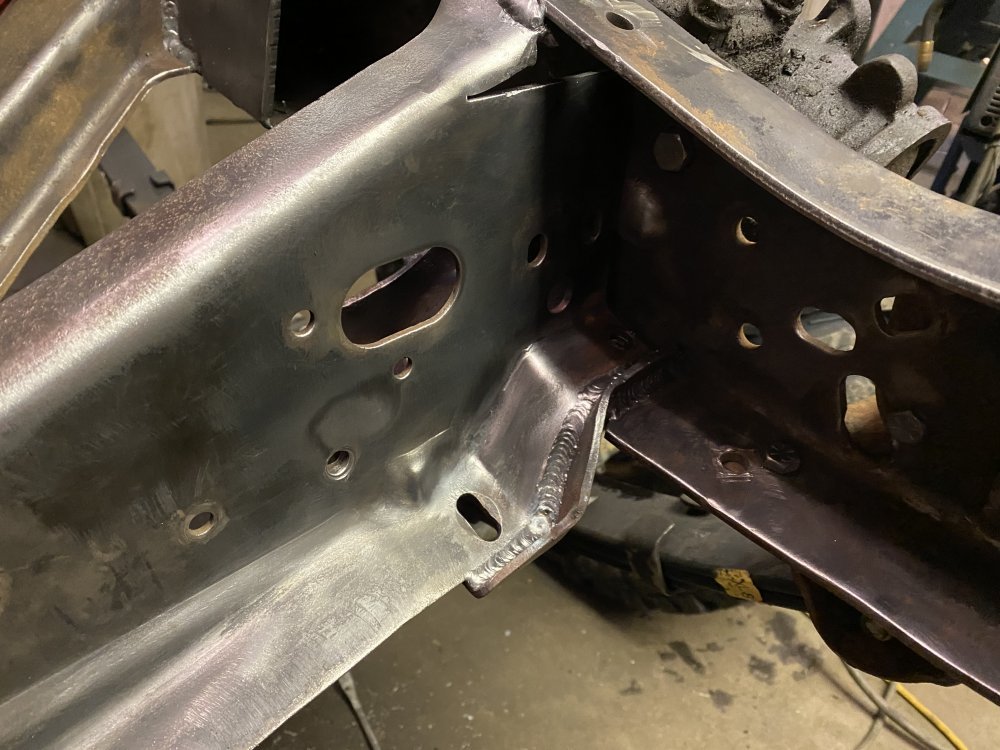
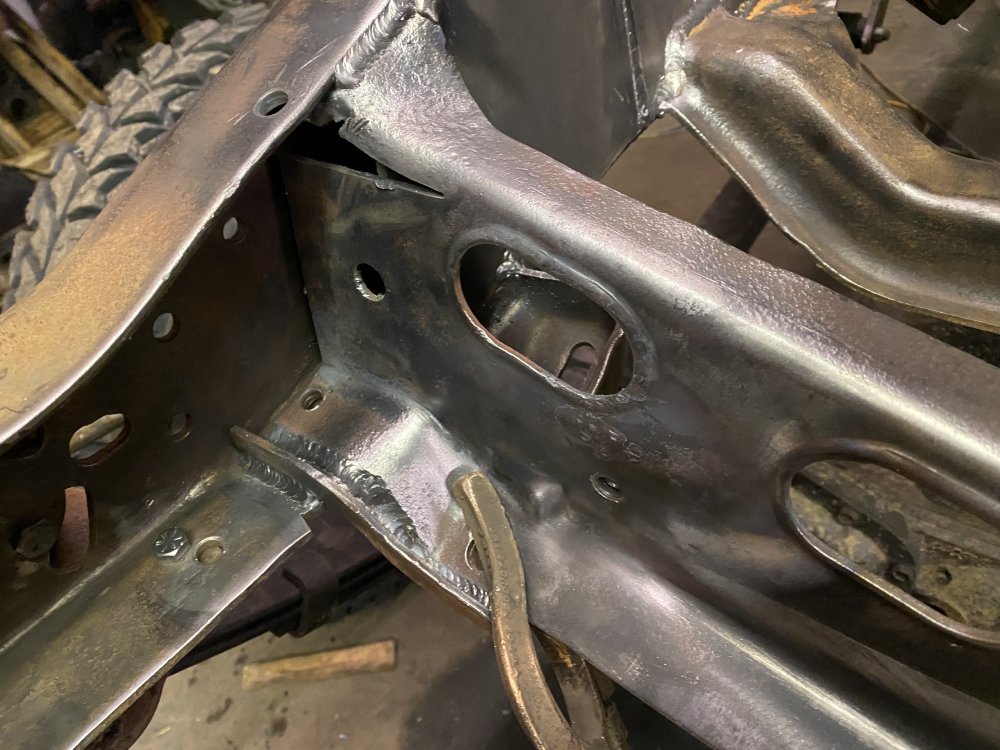
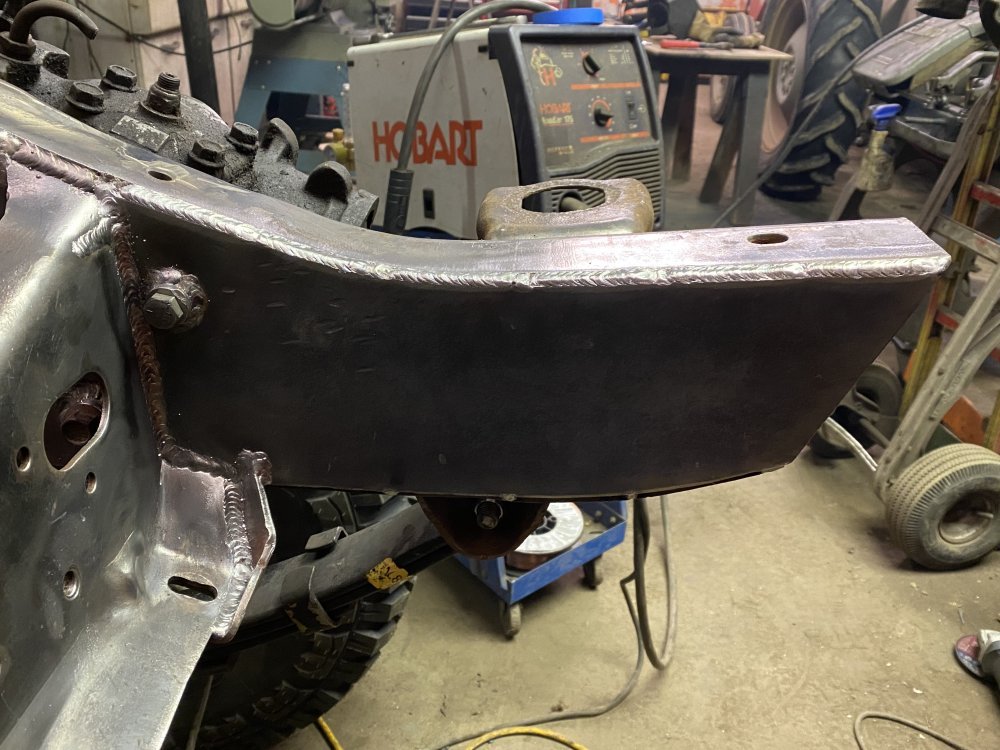
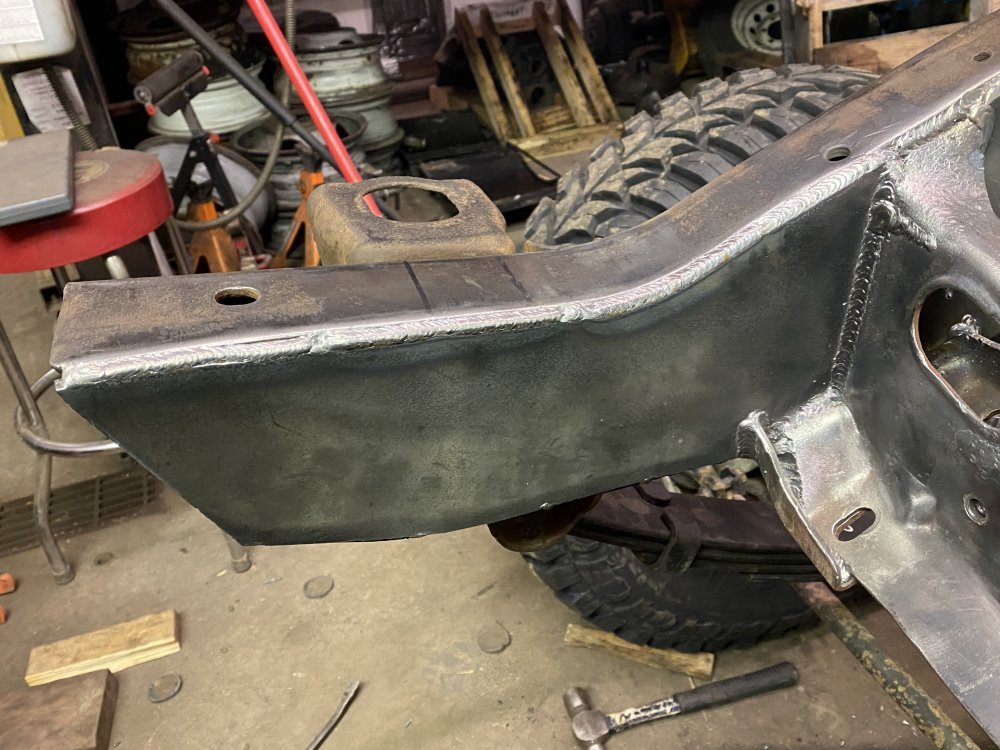
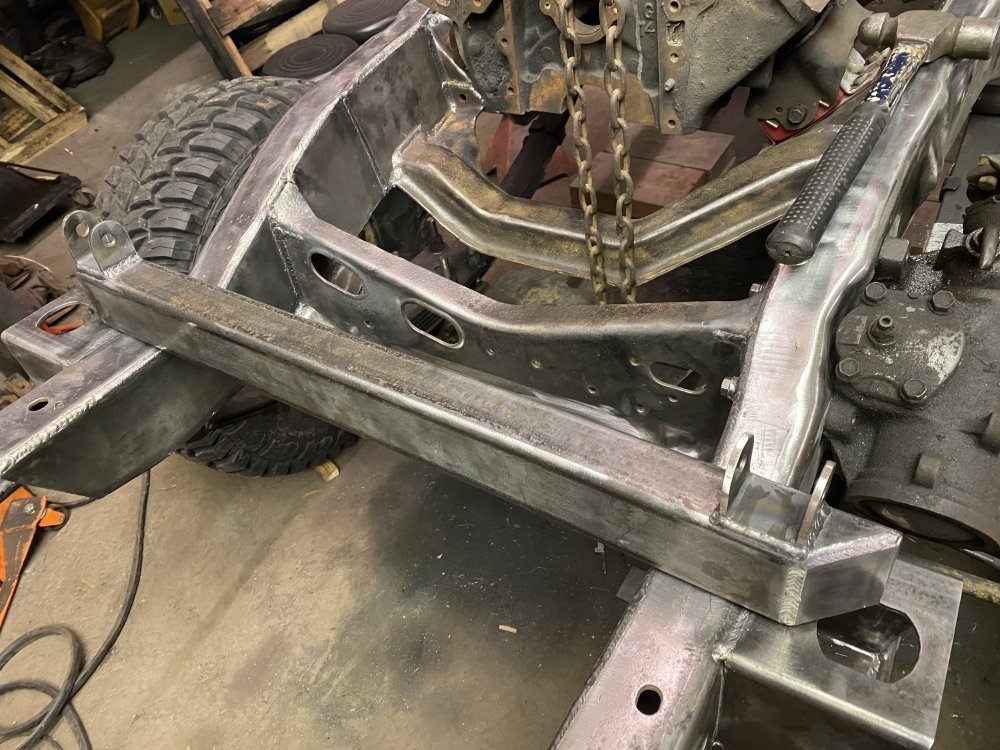
Next I welded the front crossmember to the frame to prep it for boxing the rails up front. It took a lot of torch work on the passenger side to get it so it fit correctly before I welded it in.

F0C49D2B-D9AC-4538-99C8-E85767B9F325.jpeg98A7E34E-89A0-4004-B5E5-642F14952122.jpeg46EEE561-550C-44EB-95FF-12D278B1D450.jpeg

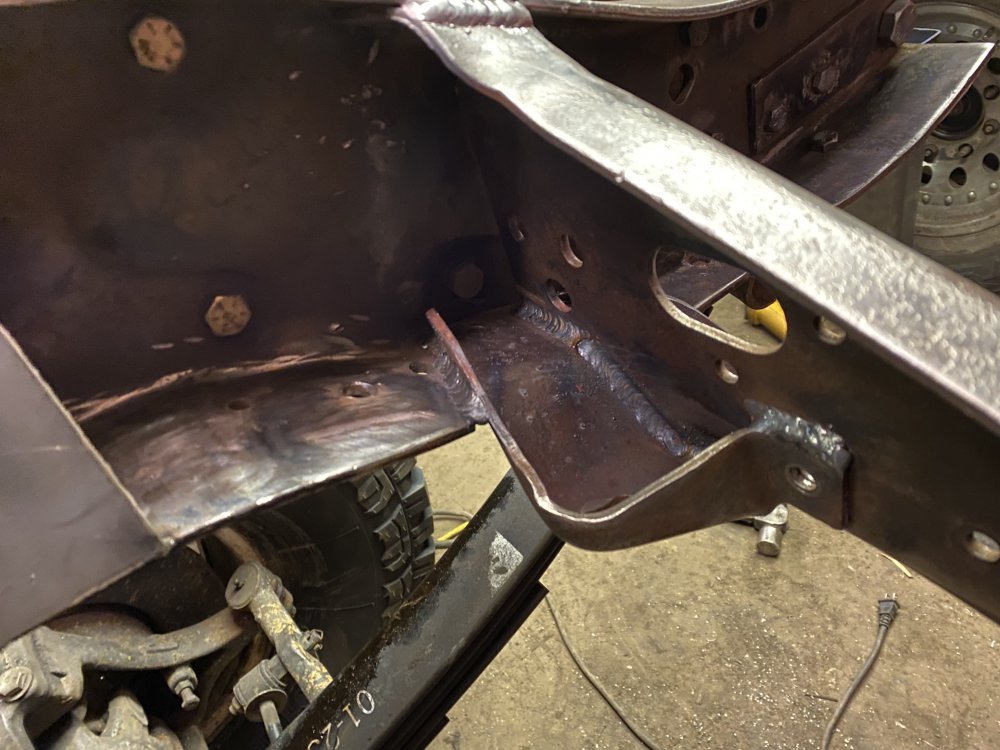
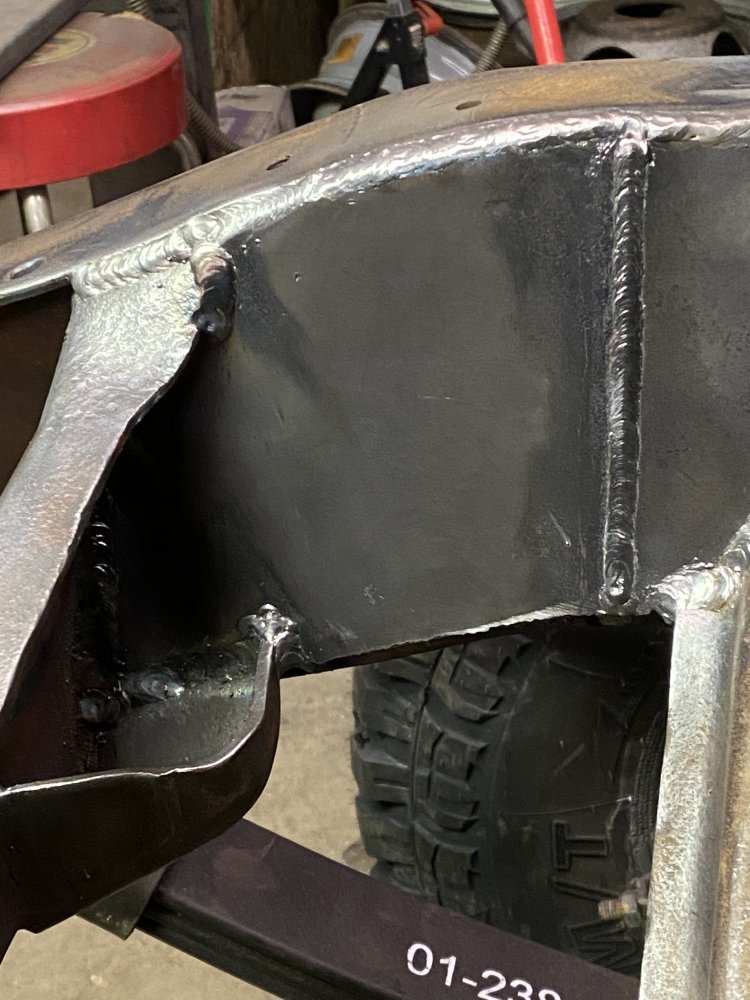
Last thing I did was continue the boxing to the front crossmember on the passenger side. This one was a little tricky to figure out, but will be much easier than the driver side one since I’ll have to incorporate the steering box fasteners on that side. That will be tomorrow’s fun.

B804320F-F8F4-406F-940C-E1DABD846260.jpeg
 
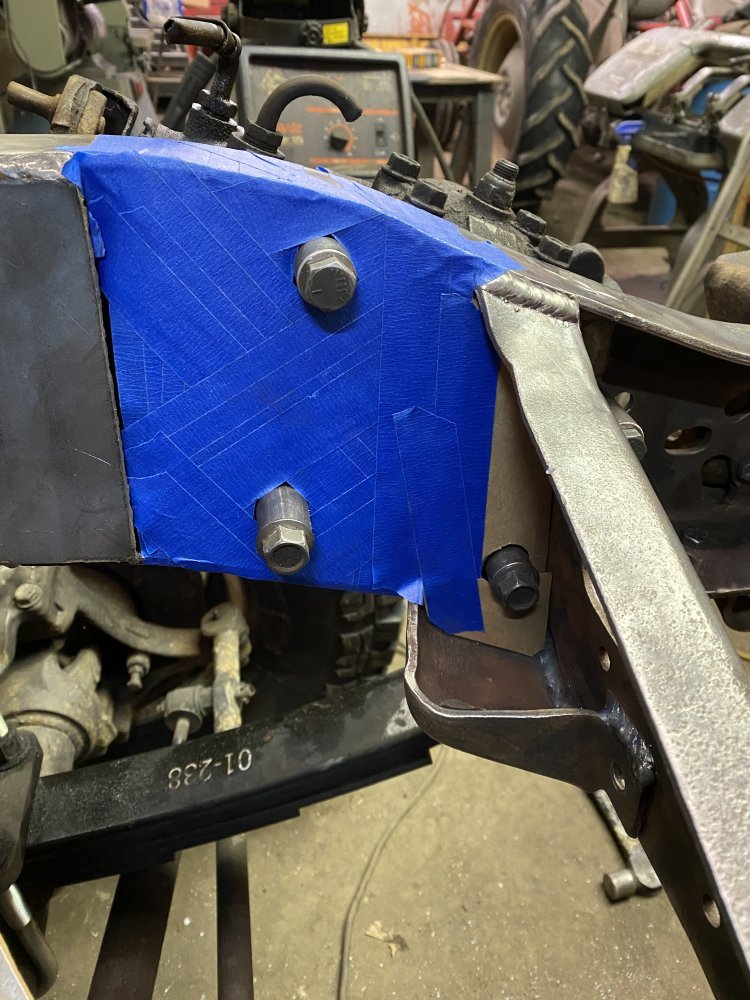
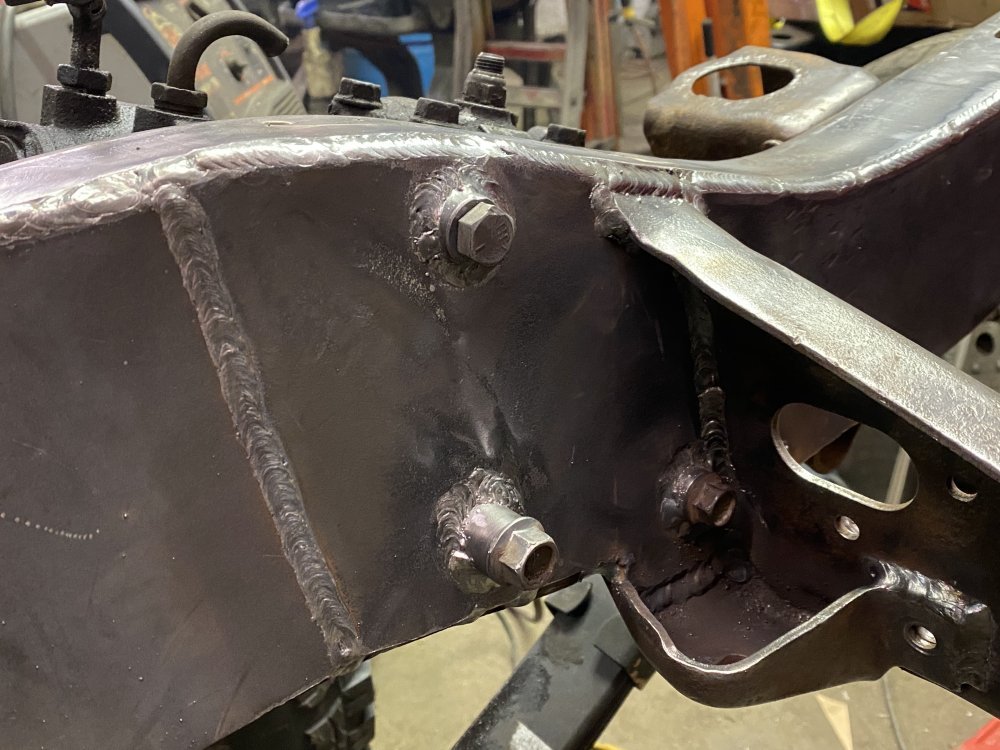
Today I started by making steering gear bolt spacers out of 1/2” ID DOM. Once I was happy with them I welded them to the inside of the frame rail. After that I started working on the boxing plate for the rail. I mostly used masking tape to make it because that was easier for figuring out the holes needed for the spacers.

4742A733-3894-427B-BB79-A0E233789B8D.jpeg

Then I welded it in.

1726EE8E-E317-4216-8CC9-2F76B66D3454.jpeg

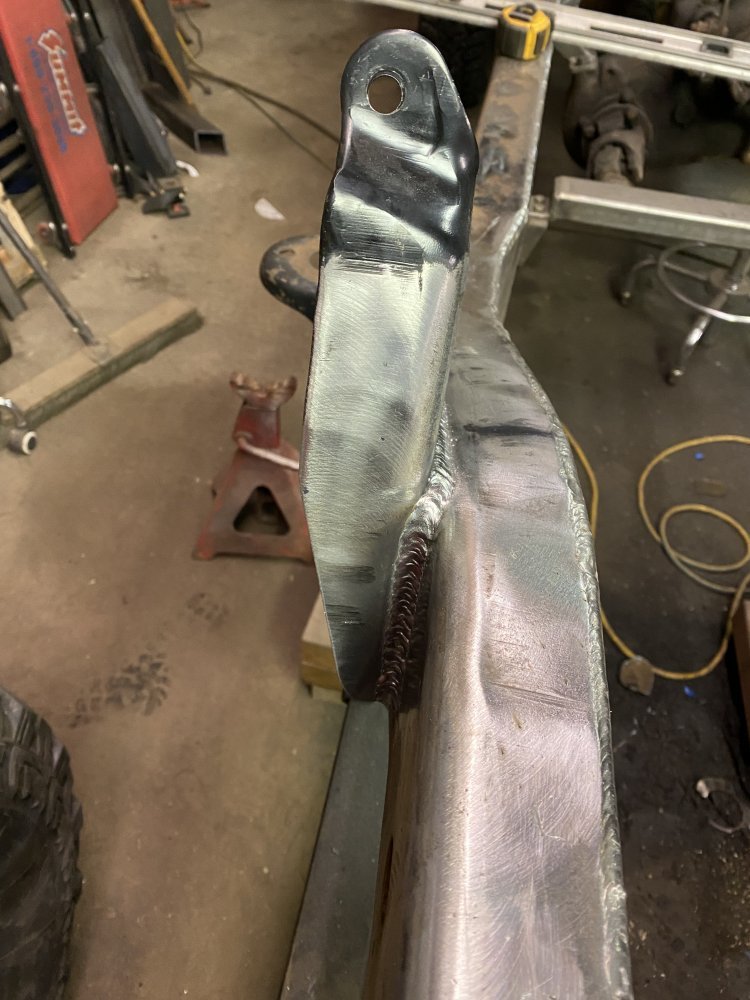
After that I made the plates for the front frame horns.

704D821E-3937-4E39-BD58-1A442C53A693.jpeg03487EAA-0FEE-48F1-A0B0-23944C9E01DE.jpeg

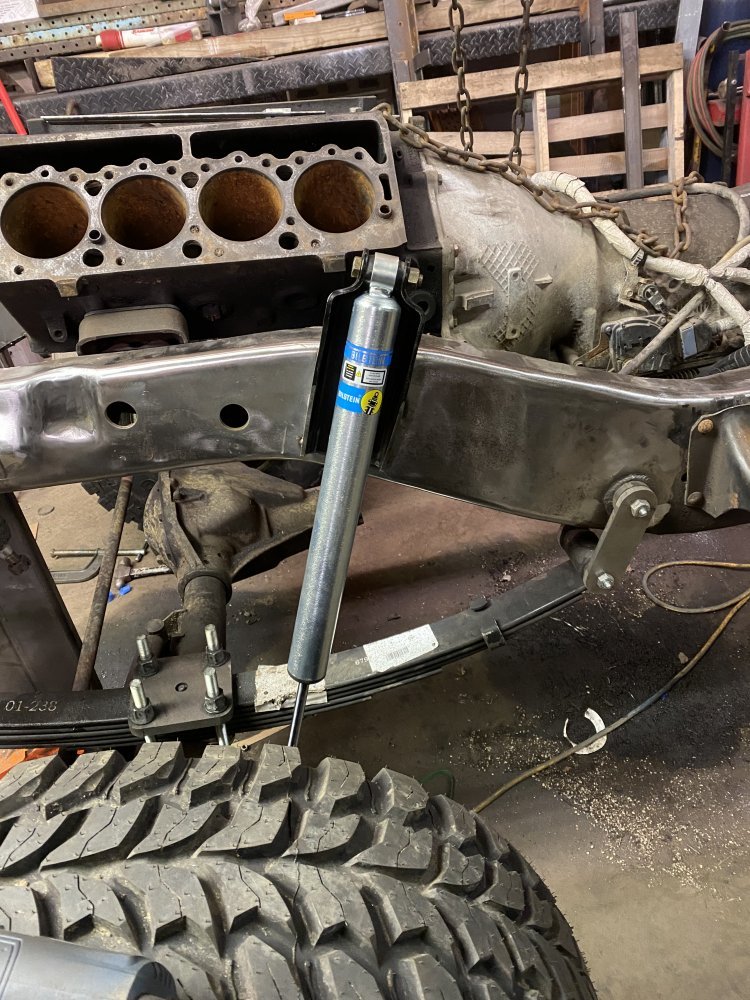
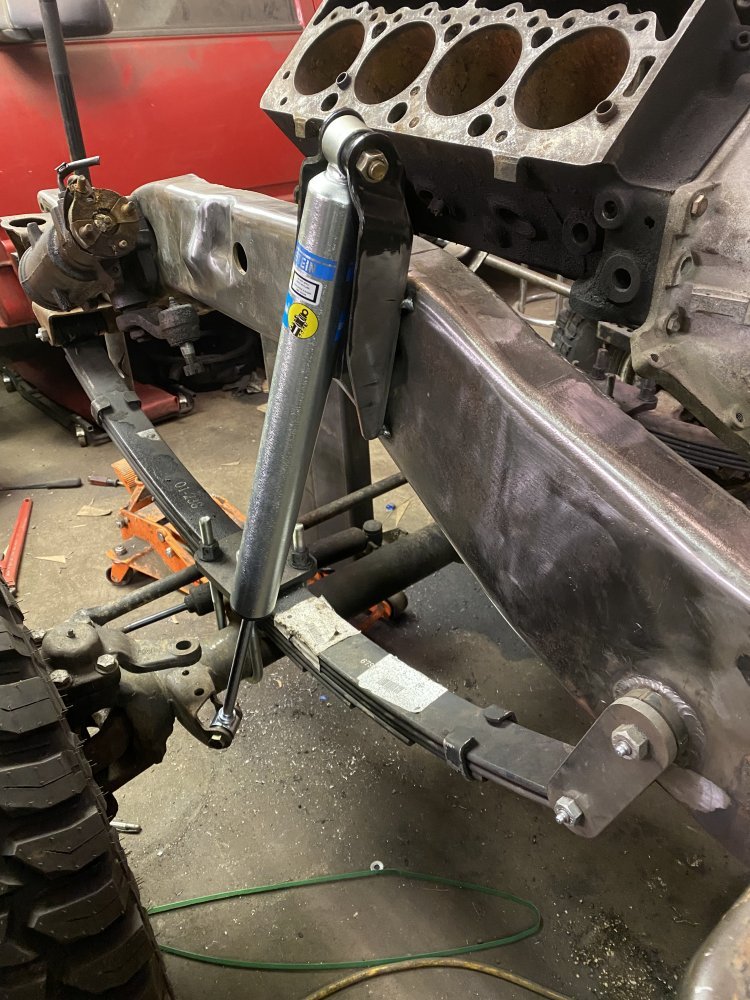
I ended today working on the front shock mounts. I had been looking for different ideas since I wouldn’t really be able to use the factory mounts and stumbled on the extended upper mounts that ORD offers. They looked just like the OBS Ford F250/F350 mounts, so I decided to just get a pair of those. After I figured out what I wanted to do, I cut the first one to the length I wanted and then tacked it in place. I’m going to look at it some more tomorrow before I decide it’s exactly what I want.

7B23EC7E-5C0A-417E-9405-8D944AE3659E.jpeg444B0B00-BBA2-42C7-B8C1-BAA8AE822B02.jpeg
 
Today I started by making steering gear bolt spacers out of 1/2” ID DOM. Once I was happy with them I welded them to the inside of the frame rail. After that I started working on the boxing plate for the rail. I mostly used masking tape to make it because that was easier for figuring out the holes needed for the spacers.

View attachment 80212

Then I welded it in.

View attachment 80213

After that I made the plates for the front frame horns.

View attachment 80214View attachment 80215

I ended today working on the front shock mounts. I had been looking for different ideas since I wouldn’t really be able to use the factory mounts and stumbled on the extended upper mounts that ORD offers. They looked just like the OBS Ford F250/F350 mounts, so I decided to just get a pair of those. After I figured out what I wanted to do, I cut the first one to the length I wanted and then tacked it in place. I’m going to look at it some more tomorrow before I decide it’s exactly what I want.

View attachment 80216View attachment 80217
Possibility of interference with the inner fenders ?
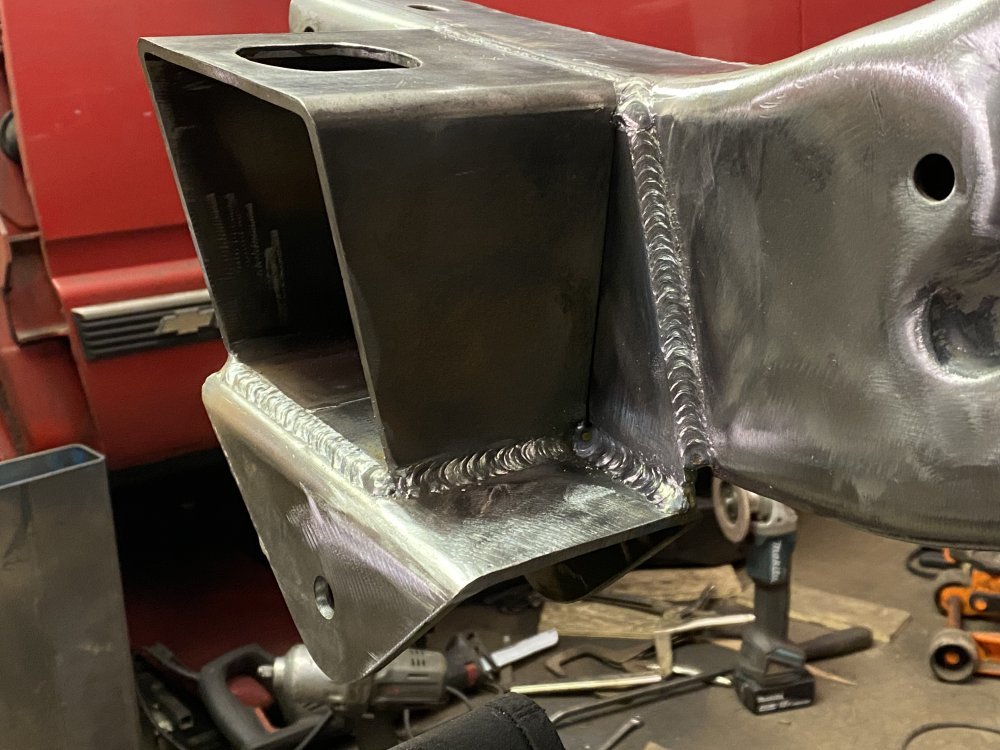
 
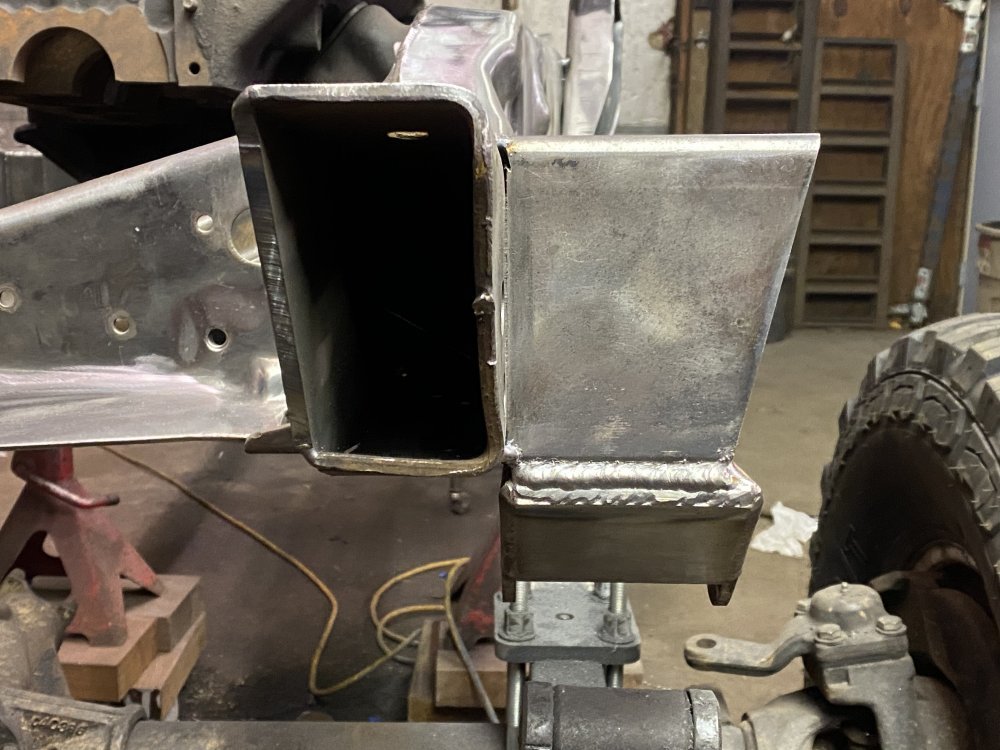
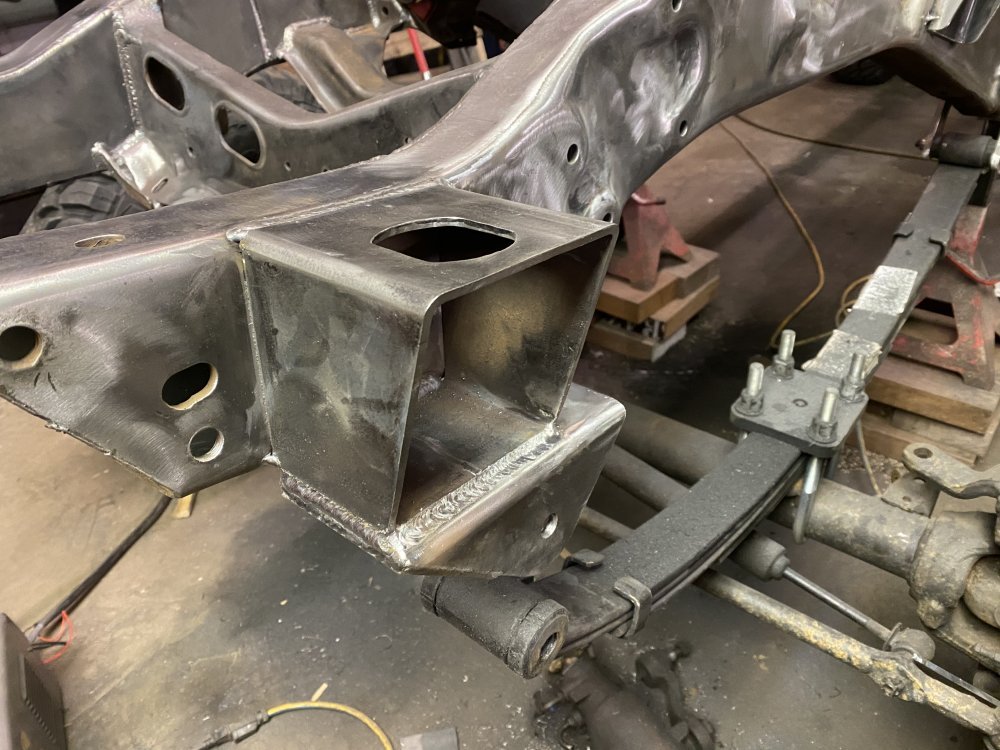
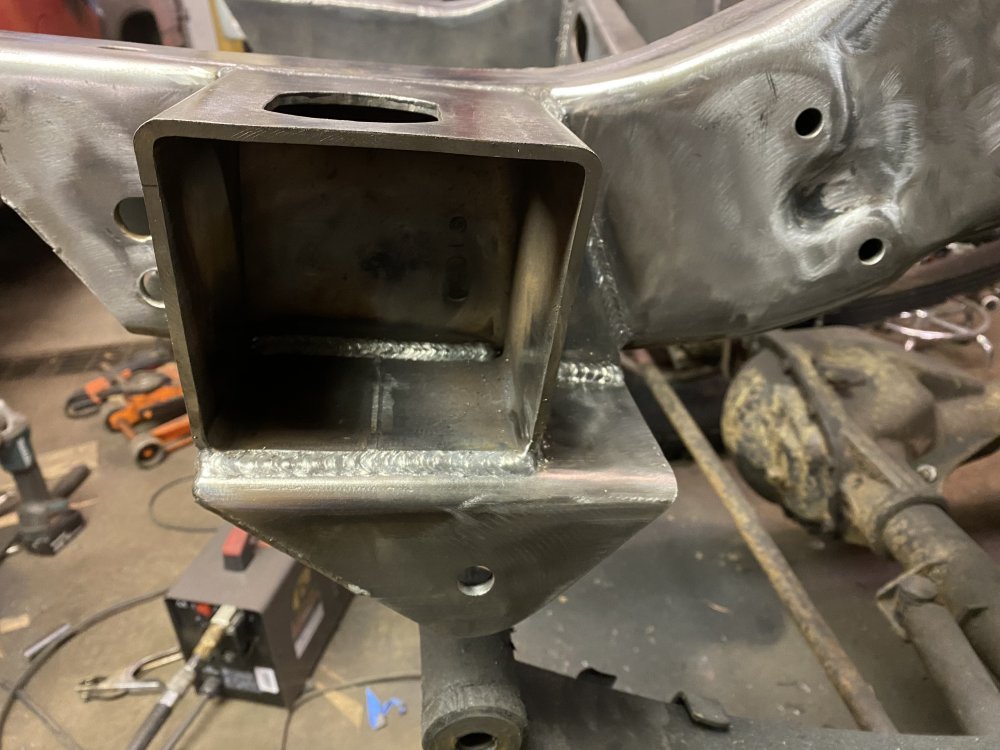
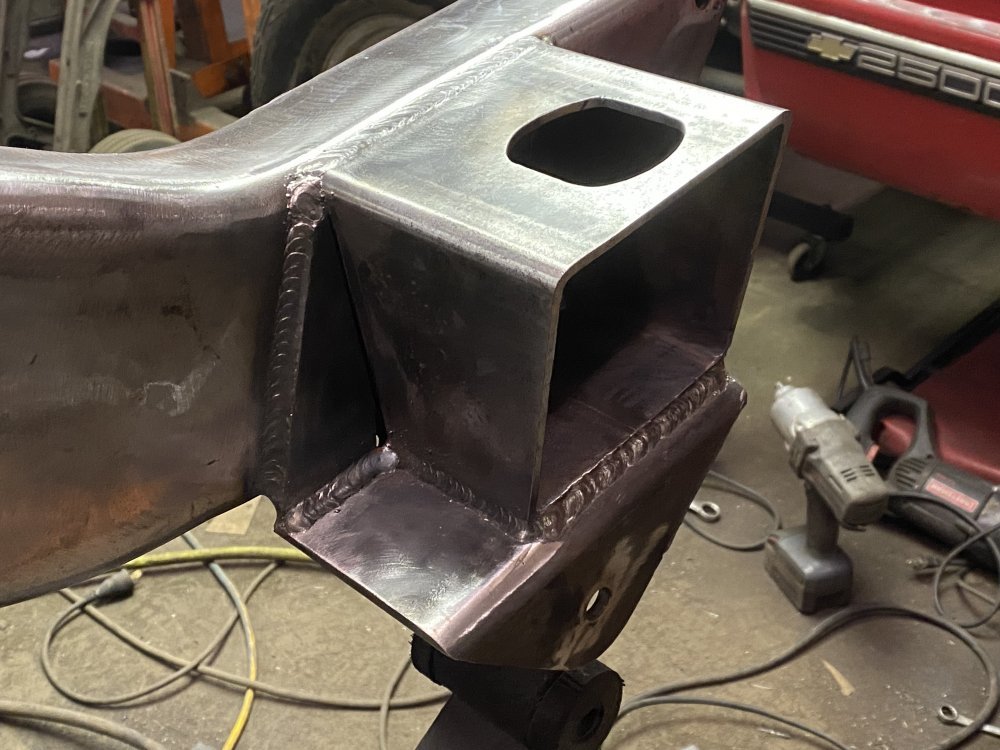
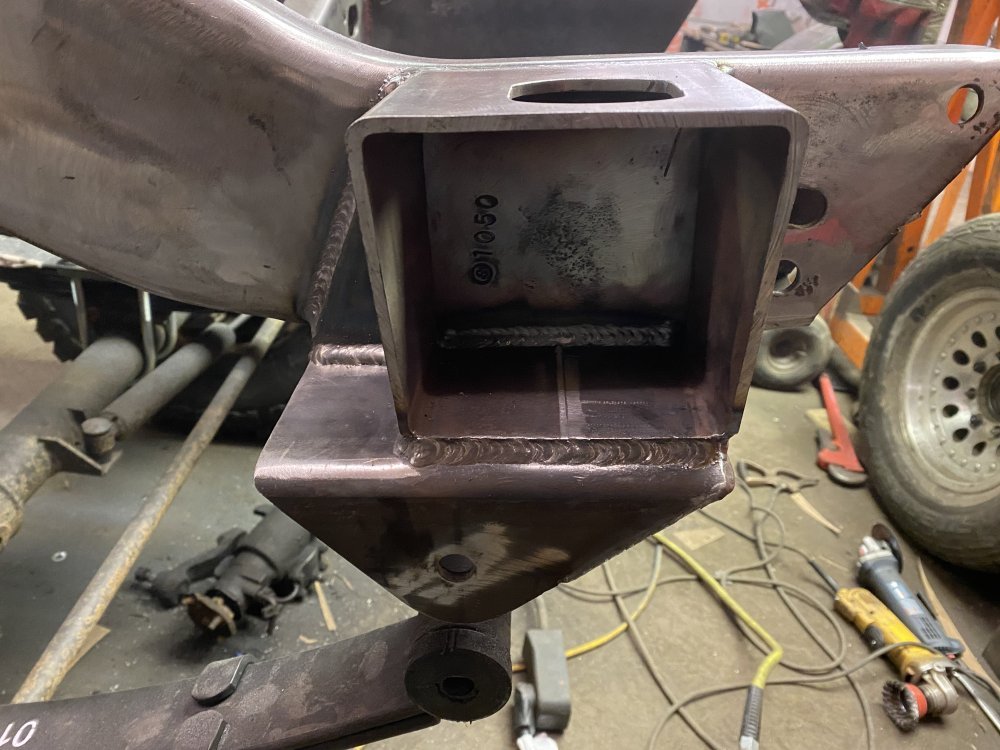
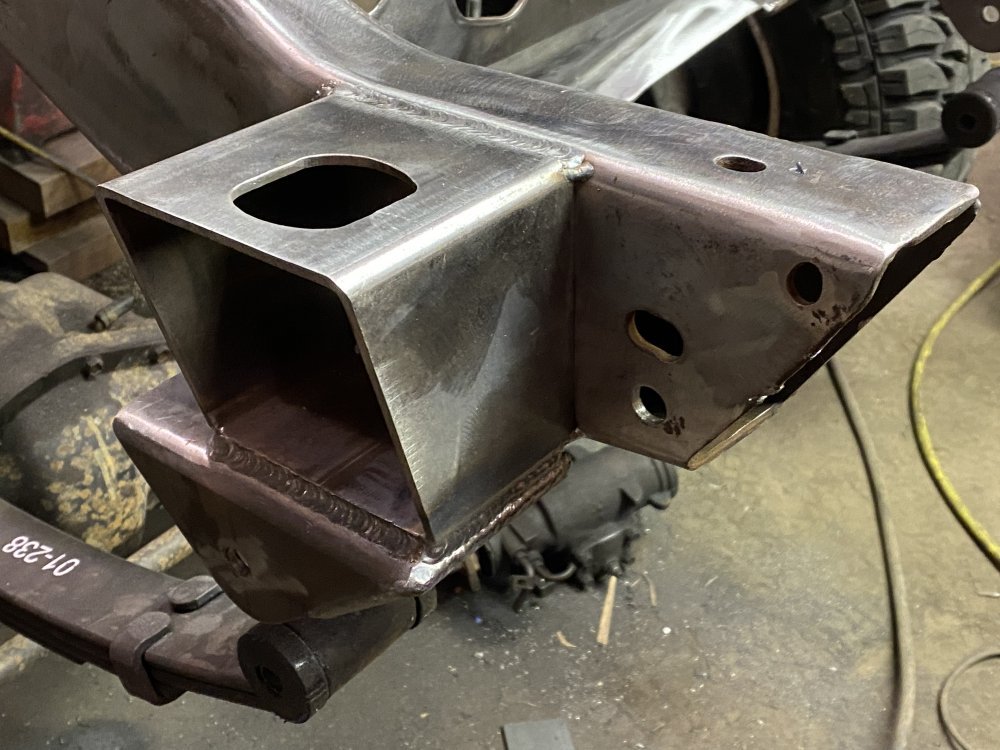
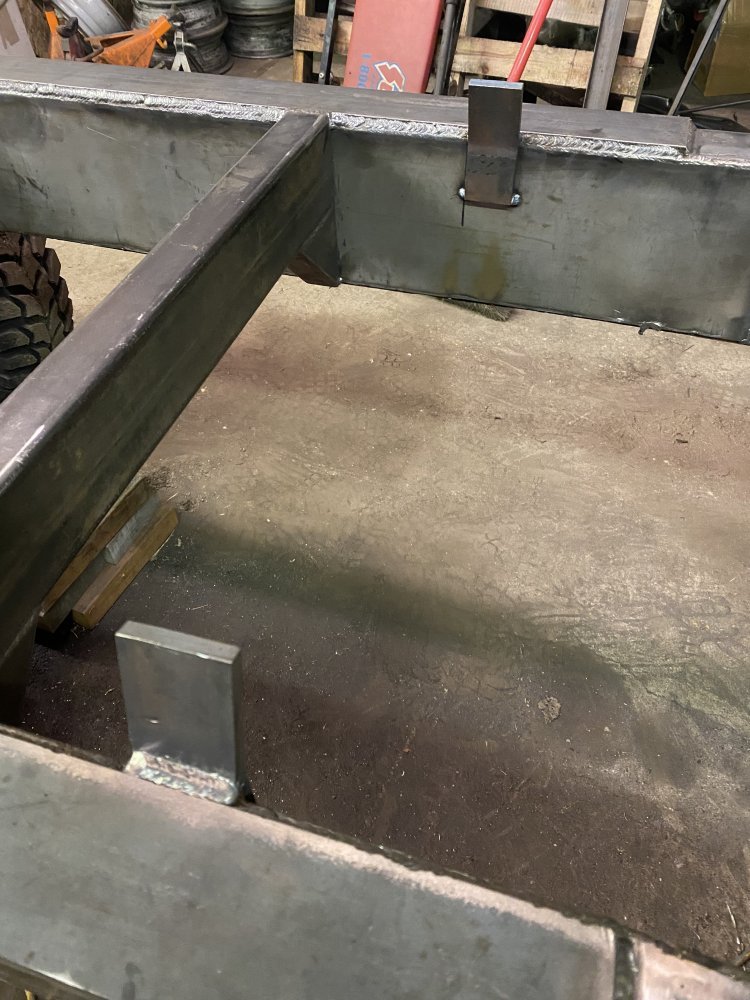
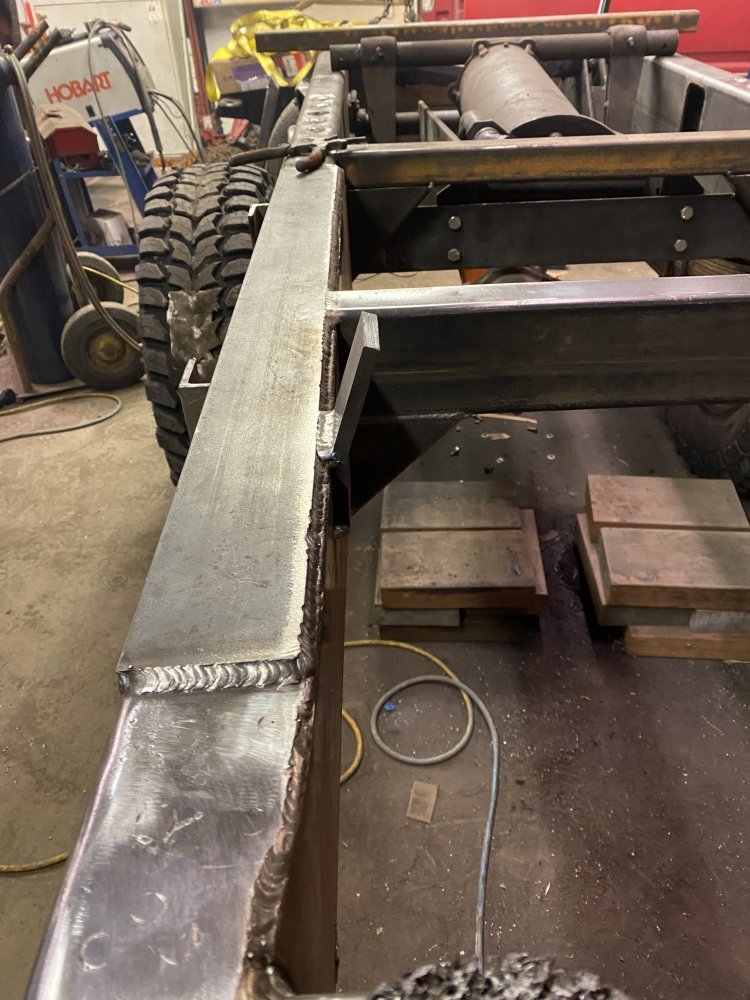
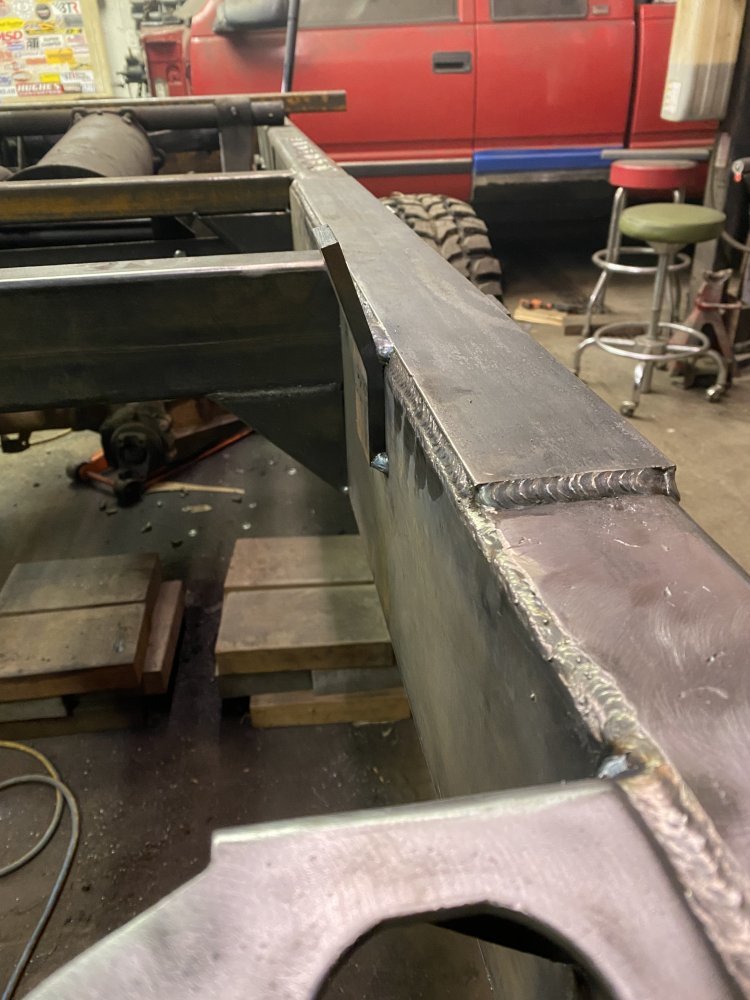
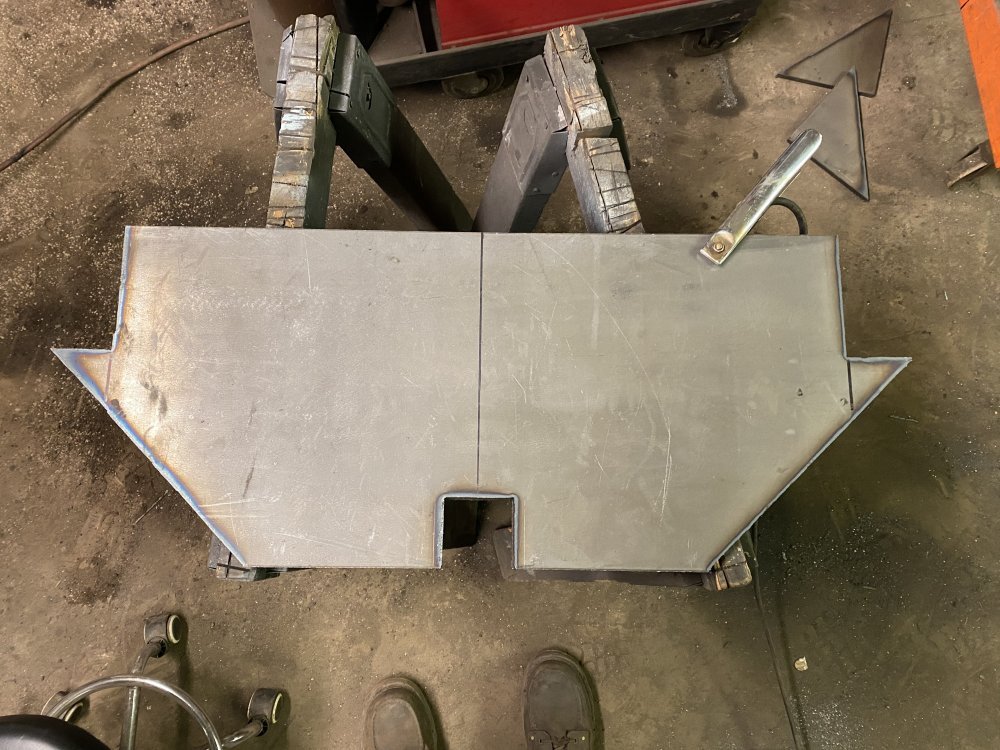
I spent this week working on fabricating front spring hangers/core support mounts. The more I looked at the factory ones that were bolted on, the more they bothered me - they didn’t look the same as most everything else on the frame and getting the bolts bolted once the frame horns were boxed would be trickier. ORD makes a set of heavy duty mounts made out of 1/4” plate for $195. I almost pulled the trigger on them, but decided that was a lot of money and I should just make my own. I bought some 4” square tubing and 5” square tubing to make the parts. They were trickier to make and install than I anticipated, but the effort was worth saving $150. I’m wrapping up things left to fab on the frame and I’m hoping to put paint on the frame next weekend.

5CD7DB3B-DE01-4ADE-87DF-695E953C4055.jpegFF37B823-F6D9-424D-89C3-997792992F15.jpegAF02056D-650F-4372-BDD8-F676A32DBA15.jpeg66114446-42FF-42B9-90E5-0D45A2083C20.jpeg717E1B9C-829F-48E6-BB28-535F5DB1544B.jpegF92D1FC3-CCED-4E33-88FE-0A21641FBBAD.jpeg25D3DD3D-00E3-4D29-86BB-628FB12A58AB.jpeg4CAD974E-FFB9-4EF6-A753-DB1A7FF0EEED.jpeg
 
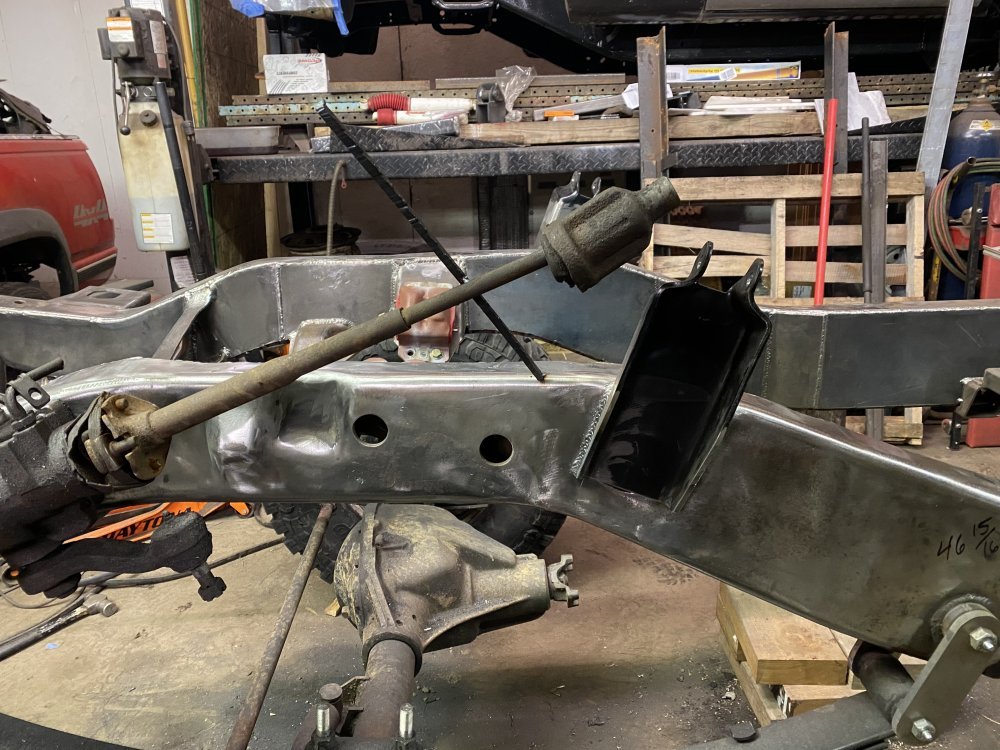
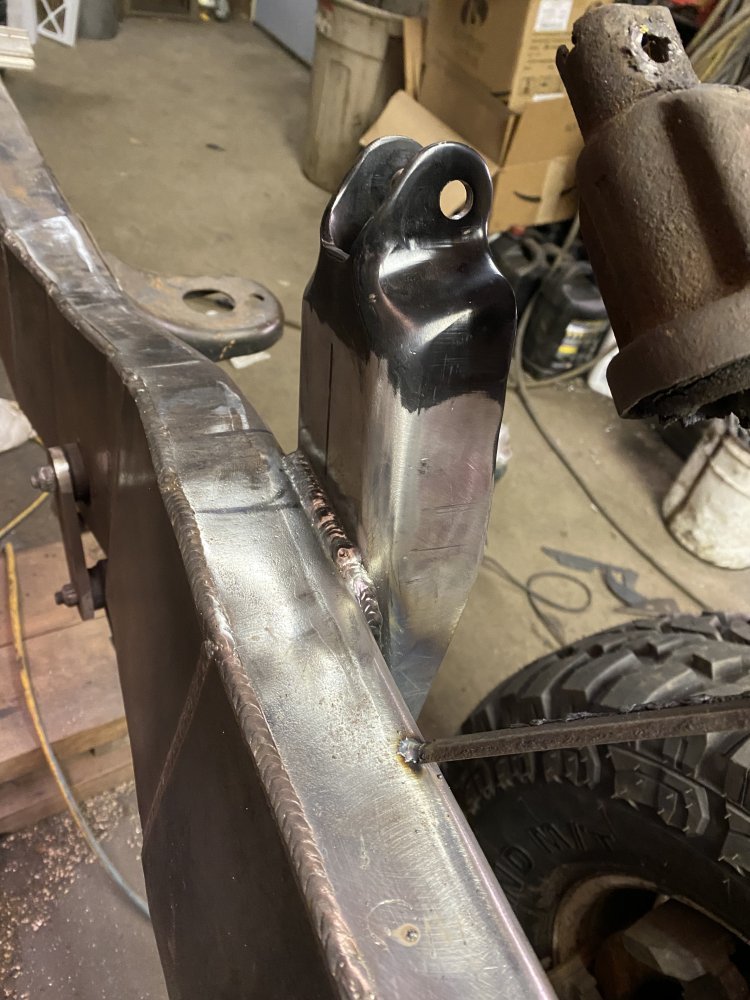
I got the front shock mounts positioned and welded in place. I decided to mock up the steering column to double-check clearances. I had plenty of room so I actually moved the mounts up a little higher so I could take advantage of the length of these shocks.

D6310047-FC5E-40A2-8D17-2E60E2138838.jpegE23590E8-DB1B-4871-9A67-0365F07438E5.jpegB1AFA587-F639-4273-811B-A2829E46C366.jpeg

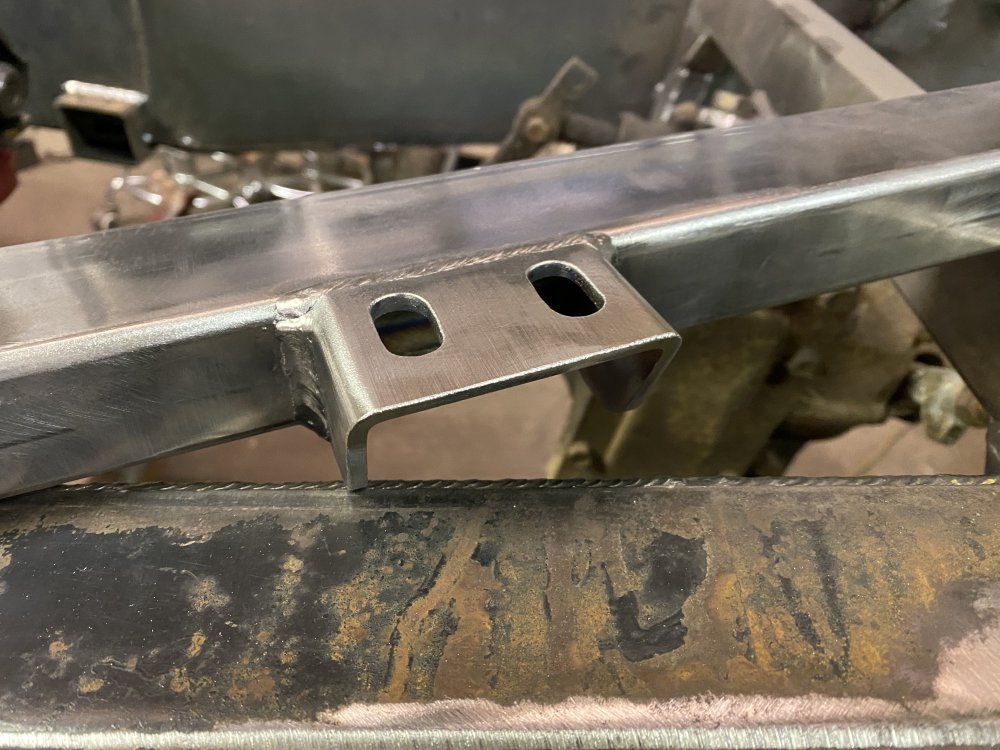
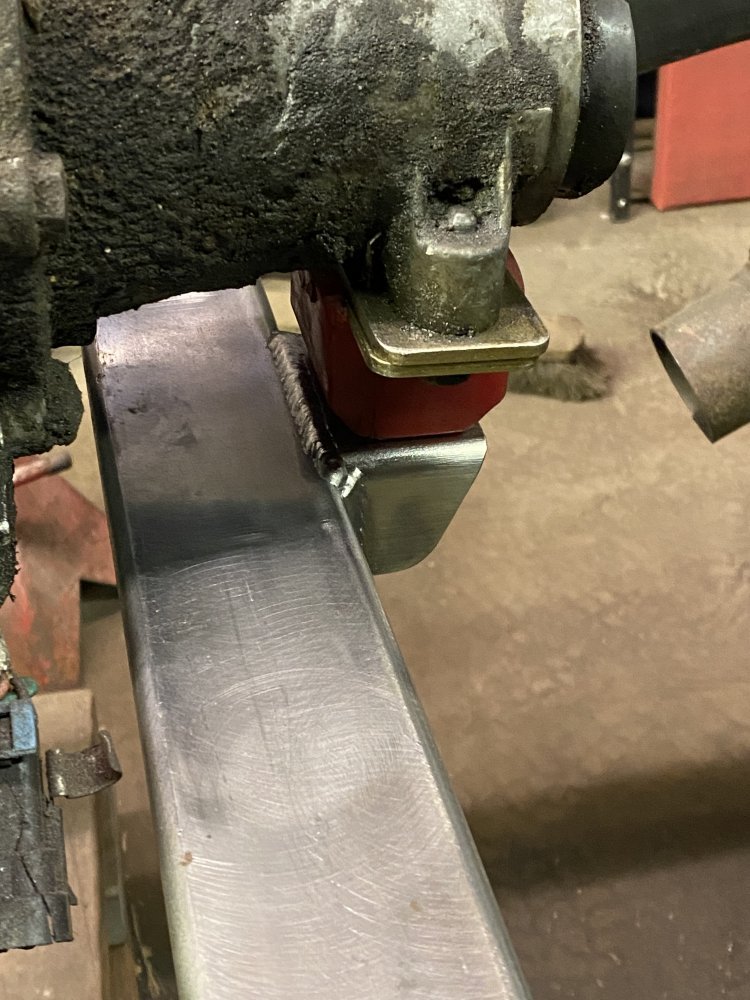
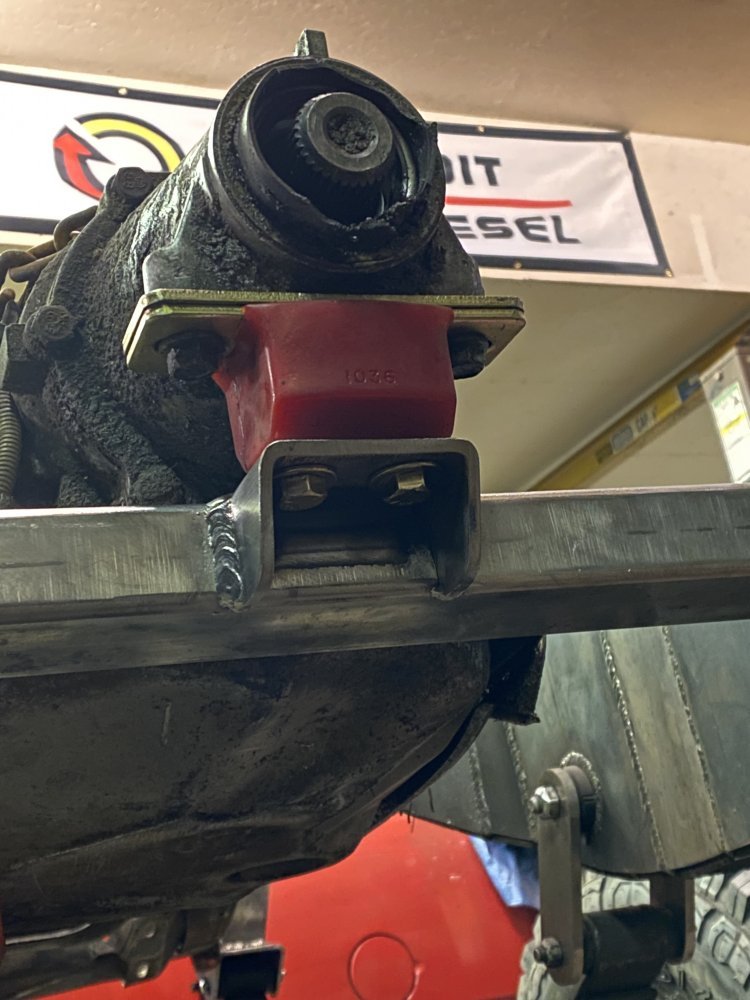
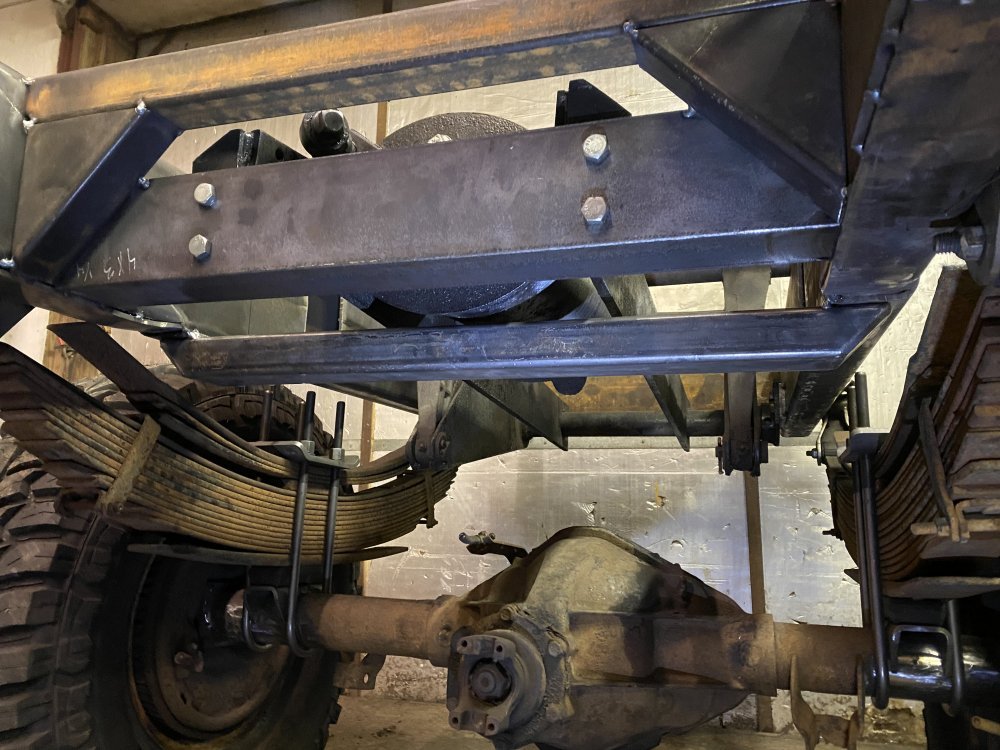
Next I reworked the transmission crossmember - I wasn’t loving what I had done before, so I cut the previous piece of angle off and made a new piece out of 1/4” wall rectangular tubing. Much better.

91178EEF-771F-4C8D-BE6E-562E31CB9FB0.jpegC55F40FE-AA6D-45CE-823B-B61525A50D02.jpegDFF7E45B-F4F1-4CD6-975E-A2C496AC2235.jpeg

Finally I made the crossmember for the rear upper shock mounts.

CE2A90E2-7A34-46D3-A0C8-141ECA3E2780.jpegE47A727E-6F00-4778-9F5B-F2F75F6319DB.jpeg374A282F-2B52-4278-AAAD-D09B41C924ED.jpeg
 
He aint got time for that! Busy man there- he aint a slacker like me.

With the skillsets he has- what is needed is a trainee helper… An intern basically.
A feller would learn more as a helper to him than at any normal shop hands down.
9 months of weekends and evenings and a kid would have serious skills, far better than 4 years of highschool shop classes. Combine that knowledge with then going to an automotive tech school for a couple semesters for the classroom side of it and there is the career, tools not included.
 
Today’s progress:

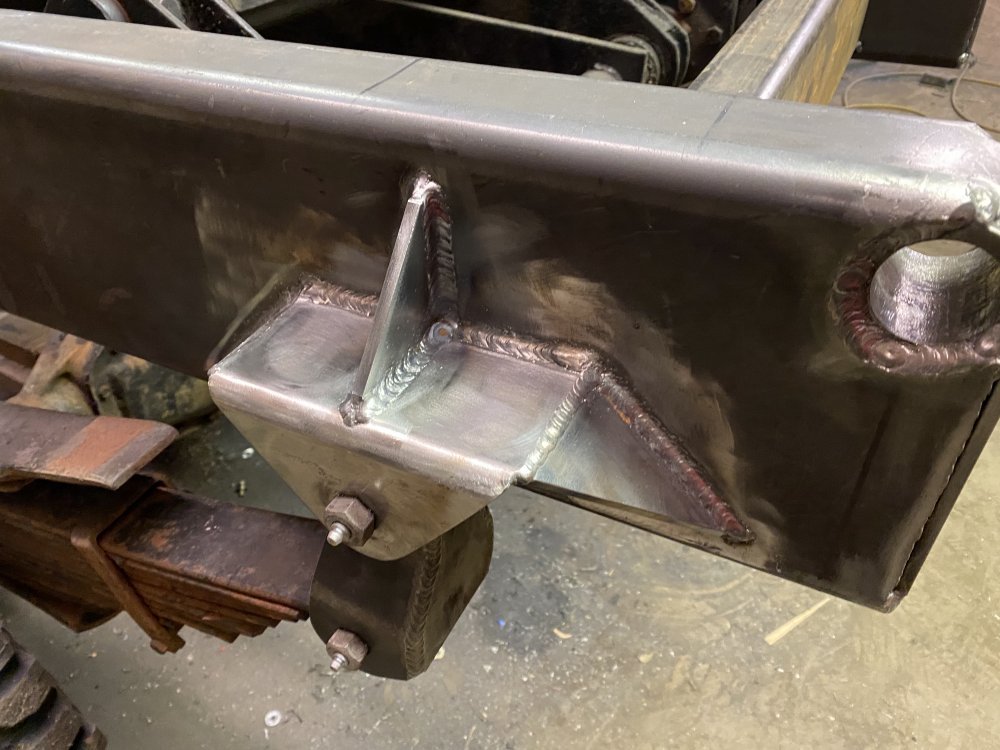
I added a third gusset to the rear spring mounts.

85EF0E1E-6736-4683-801F-37AC6BD3275E.jpeg645AFB9A-E75C-4EE9-A90C-1DF969C9CC1E.jpeg

I forgot I had to add reinforcements to the bottom of the frame rails before I welded the rear shock crossmember in place, so I had to cut that back off.

I made some guides for the front of the dump bed main beams to keep it aligned when lowered/lowering.

88992752-1EE3-4657-BD27-EAA2AAFF46A7.jpeg38949004-A8D5-4148-8026-76E7D26AF916.jpeg32BE8635-3BC7-4289-BCEB-BE1EB69DE6B2.jpeg

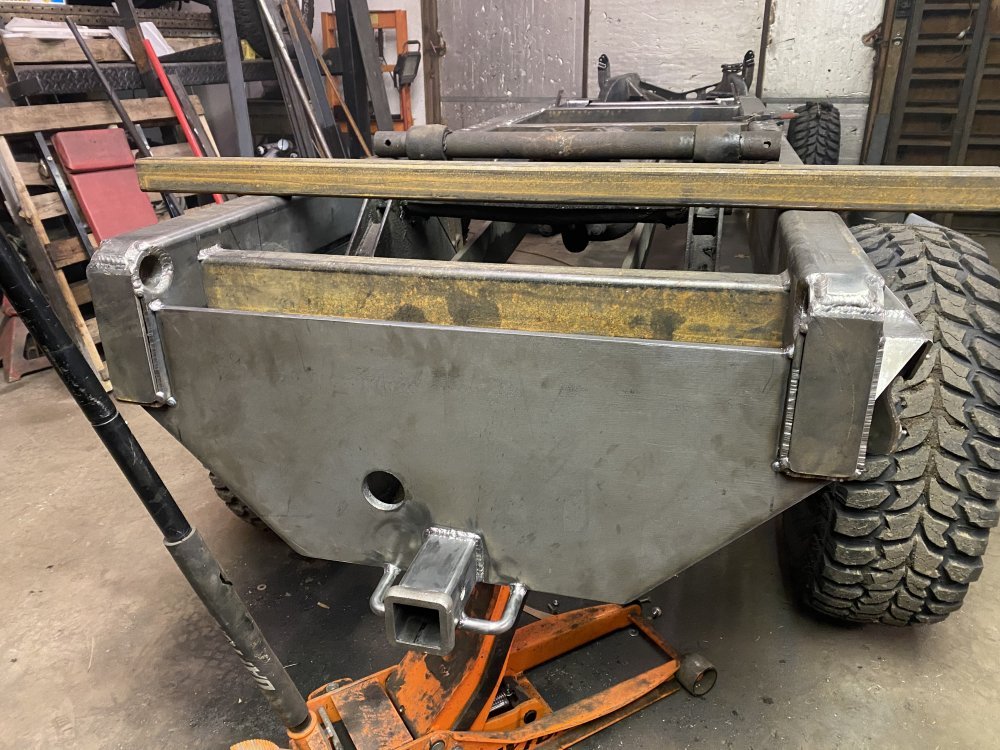
I started working on the rear hitch. I tried cutting some 1/2” plate with my plasma cutter for the first time and it worked well.

3770CB11-36F5-432B-8088-E8FBA4936DA8.jpeg

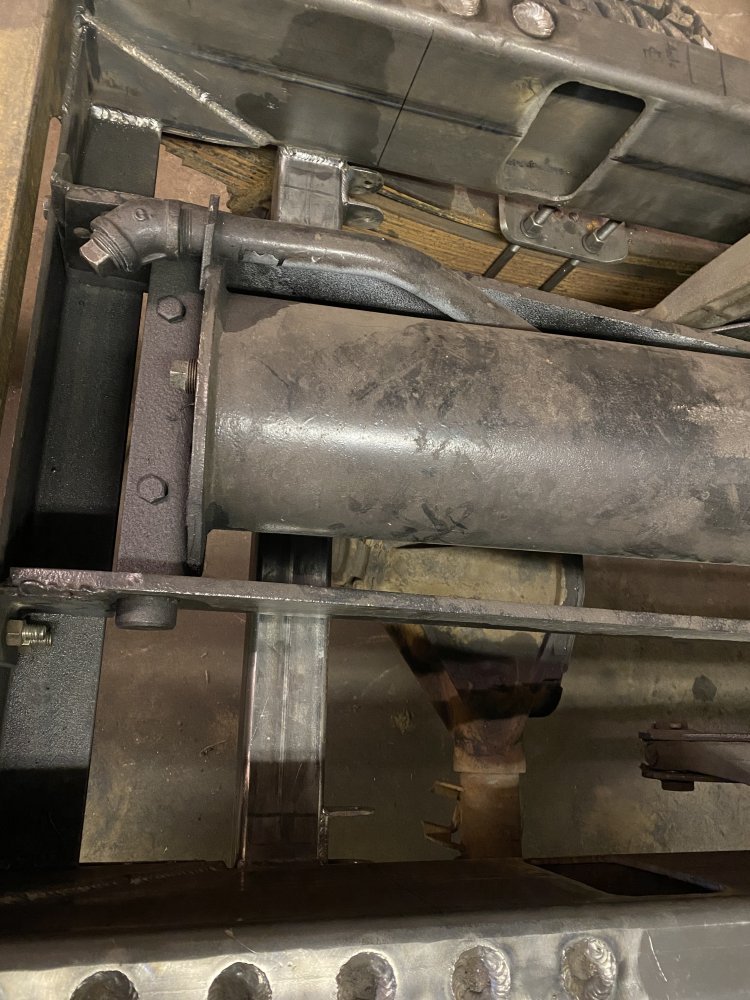
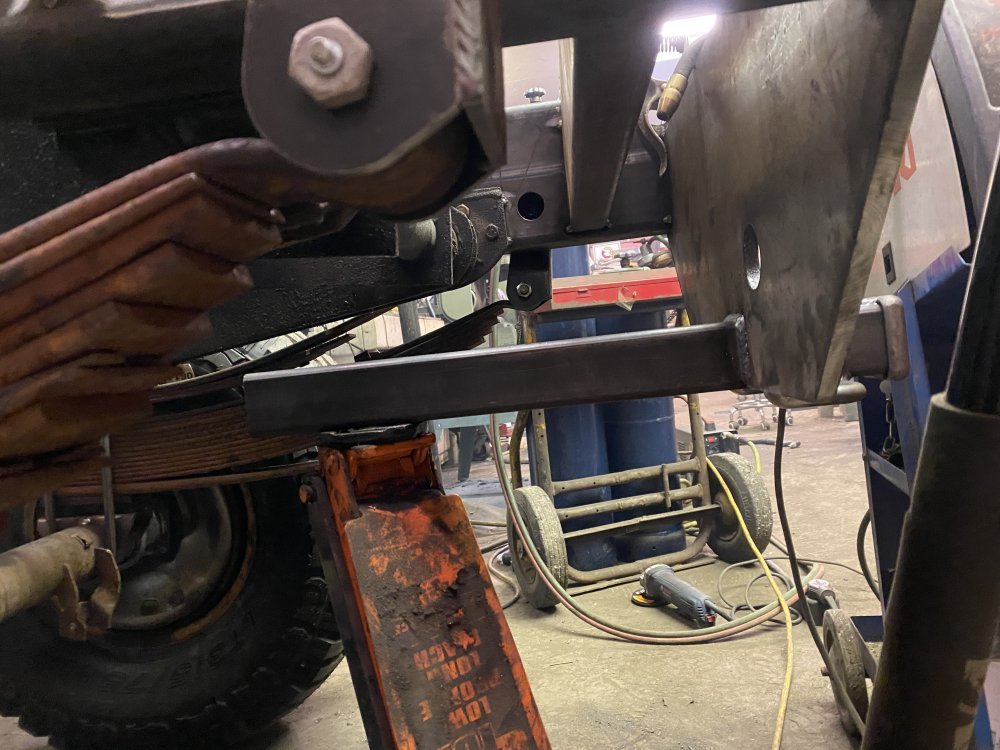
Once cut I drilled a hole for the plug, made a loop for the safety chains and then welded the hitch tube and chain loop to the plate. Once the subassembly was welded I welded it in place in the frame. Unfortunately I didn’t have material I was happy with for the support for the front of the hitch tube, so I’ll have to go get some tomorrow so I can finish it up.

FEF7AEA5-7FAF-4E2C-A6B4-B3215A589BD3.jpegFE034385-8CA6-41EE-9E2D-1872934CCEEB.jpeg

Last thing I did was cut the overload spring pads off the stock rear frame rail remnants and weld those onto this frame.

364A1305-08C3-48E4-A5CE-C2CD4795356F.jpeg3CFD6B2A-CE2C-4783-9DB4-C49170FC2678.jpeg

I was really hoping to have the dump hoist and axles removed today so I could be ready to start welding the bottom of the frame, but I just wasn’t able to get that far. Even so, I think there’s still a path to me painting next weekend if I keep pushing.
 
Oh and I forgot that I also added some pieces of angle iron to the outside of the frame for future mounting - I know I’ll have to mount a fuel tank and maybe the hydraulic power unit and/or some steps, and I wanted to make it easier to mount these things with the frame being boxed now.

1C864FDF-F52B-47A0-832B-B4701A131205.jpegC4AE7C61-9DC4-4B4D-BD9D-97357012BB93.jpeg
 
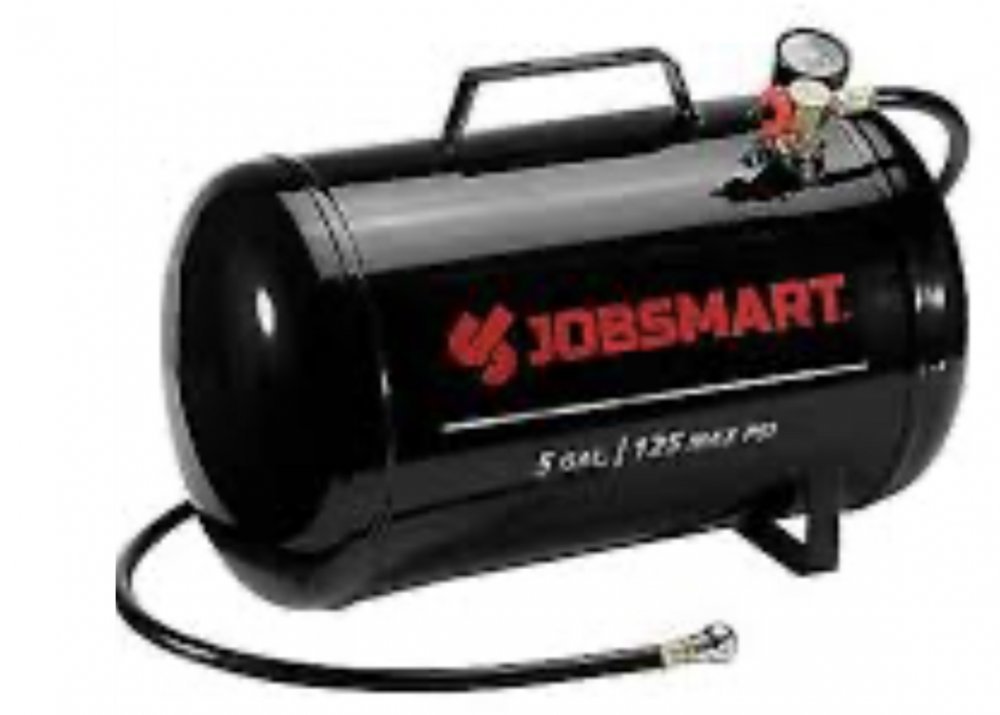
Ya know, making an airtank that is plumbed with QD like your air tools use that comes off to carry over to something is a convenient thing at times. I have a couple aluminum propane tanks that are beyond re certification and cost more to certify than is worth it. So that was the plan for those. Aluminum tank is nice and light.
B1B2B8B7-5597-46D8-B217-AE11AF6F75B8.jpeg
 
Ya know, making an airtank that is plumbed with QD like your air tools use that comes off to carry over to something is a convenient thing at times. I have a couple aluminum propane tanks that are beyond re certification and cost more to certify than is worth it. So that was the plan for those. Aluminum tank is nice and light.
View attachment 80395
How about a REAL truck air tank designed for the job, like off a wrecked semi?
 
I would think as heavy as your probably going to load this truck that those overload pads might need some reinforcement
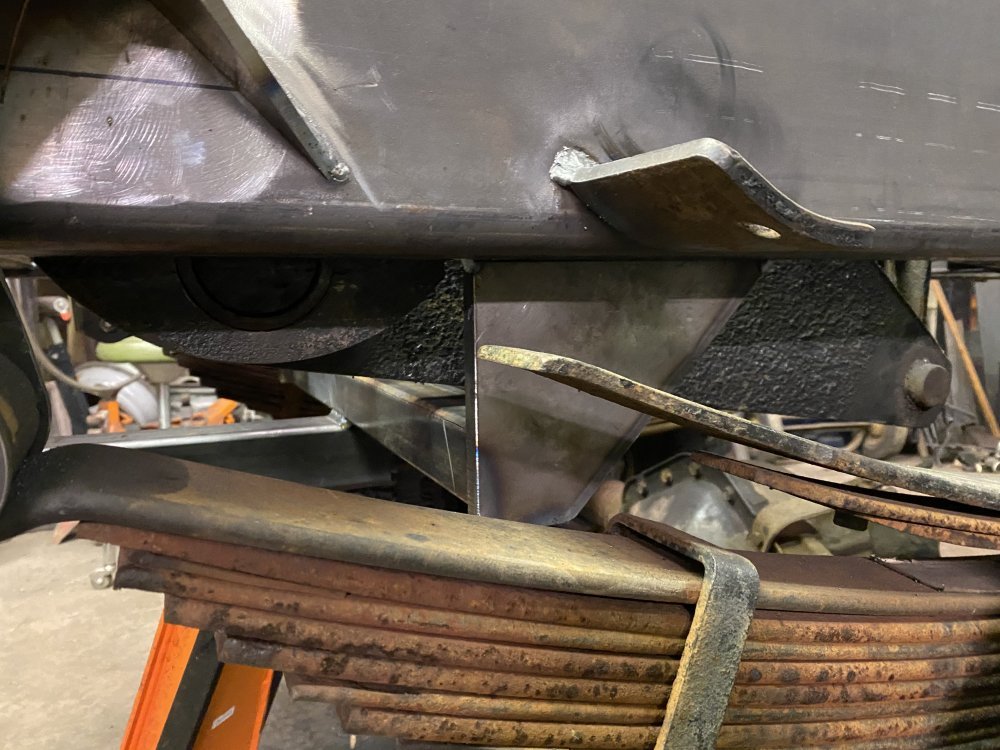
I was thinking the same thing until I thought about how they were done from the factory - they didn't have any additional reinforcement from the factory, they just relied on the radius formed into the pads to strengthen them. I would have added gussets for additional peace of mind, but the rubber pad wraps all the way around them so I can't do that.
 
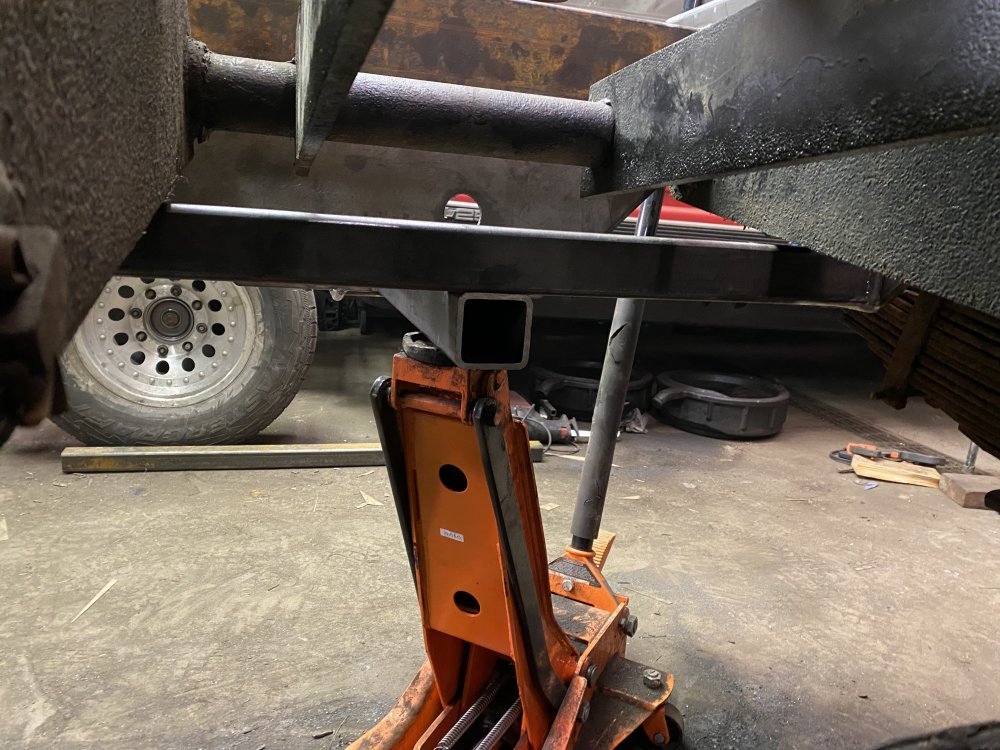
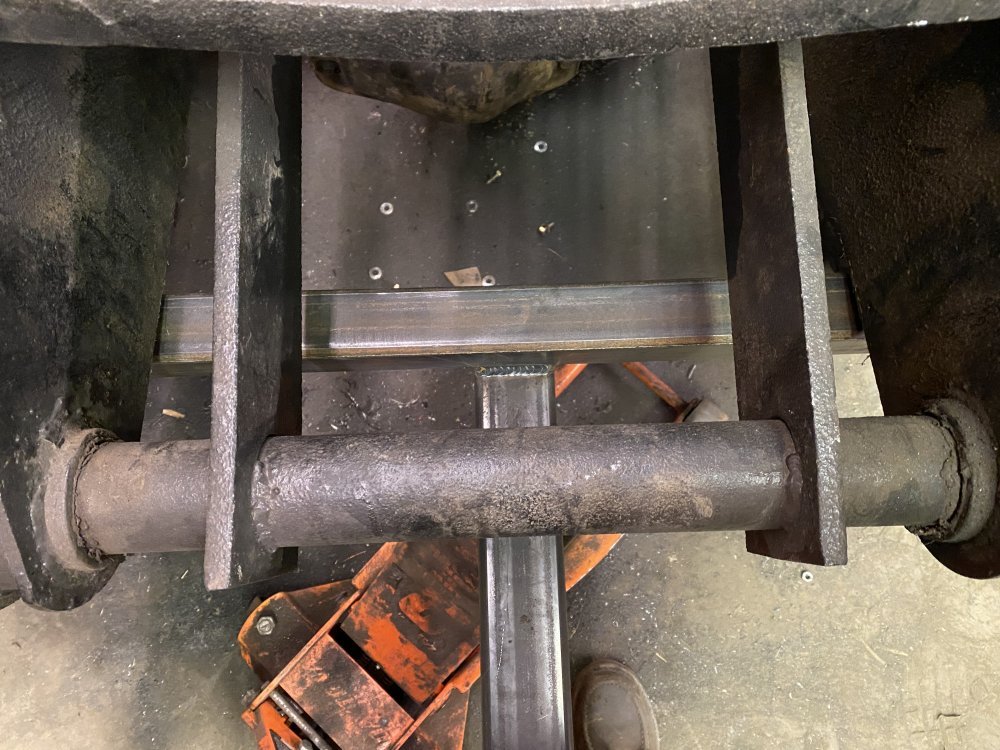
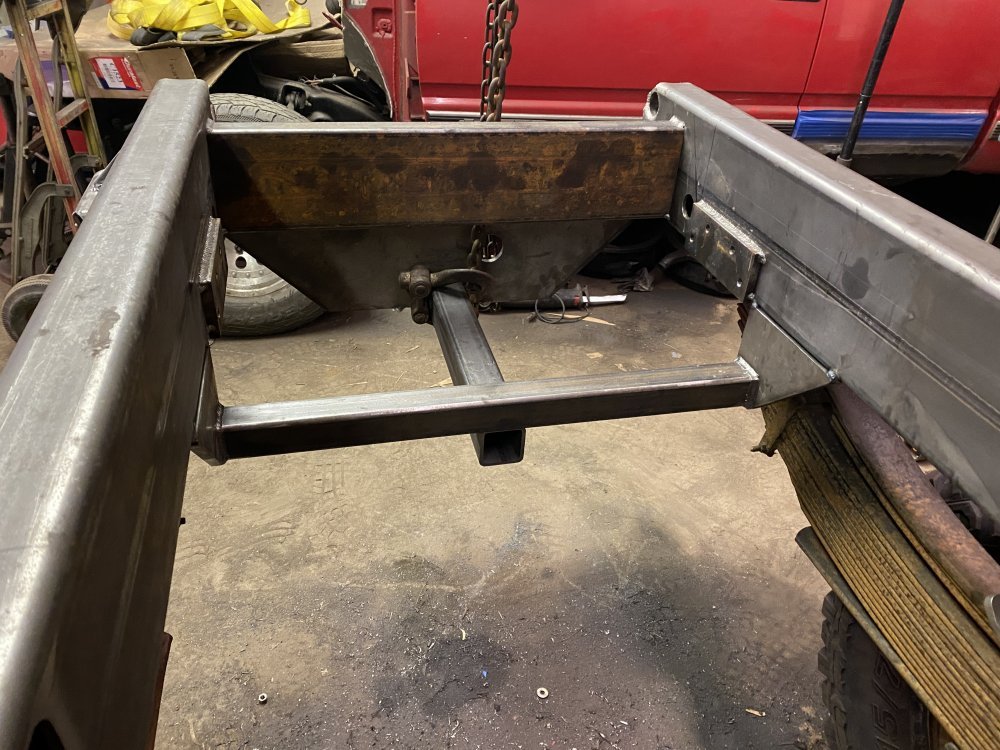
I realized last night that I DID have some metal I could use to mount the front of the hitch - the miters I had cut off the hitch plate. I had looked at them yesterday, but I had a different design in my mind and they wouldn’t work that way, but then I reconsidered how I could build it and then those would work great….and they were free, bonus! So tonight I sanded the edge I cut with the plasma and then welded the cross tube to them. Turned out pretty decent.

BC014233-DA67-4986-89FB-FD09F23A3599.jpeg83B9909D-2630-41F6-8AA3-C4AAC050025D.jpeg2B15977A-934D-4259-93CB-0973EFBA210D.jpeg

Here’s a better pic I took after removing the dump hoist.

A3842B91-5848-47C0-9A97-1CC01F13A969.jpeg

After the dump hoist I yanked the rear axle. Tomorrow I should have it fully stripped and be working on the bottom of the frame.

A76C5137-0F3A-4E00-8F20-FC6583015FFE.jpeg
 
Back
Top