• Welcome to The Truck Stop! We see you haven't REGISTERED yet.

    Your truck knowledge is missing!
    • Registration is FREE , all we need is your birthday and email. (We don't share ANY data with ANYONE)
    • We have tons of knowledge here for your diesel truck!
    • Post your own topics and reply to existing threads to help others out!
    • NO ADS! The site is fully functional and ad free!
    CLICK HERE TO REGISTER!

    Problems registering? Click here to contact us!

    Already registered, but need a PASSWORD RESET? CLICK HERE TO RESET YOUR PASSWORD!

My Water to Air intercooler install

n8in8or

I never met a project I didn’t like
Messages
4,419
Reaction score
8,887
Location
Kalamazoo, MI
I am finally ready to install the water-to-air intercooler on the Tahoe. I decided to go with WTA rather than air-to-air for a couple reasons: 1) it should be easier to package a WTA intercooler because the radiator can be remote mounted and wherever I put it I only need to try to connect it to the intercooler with flexible water hose rather than aluminum piping and 2) the typical place for the ATA radiator is under the truck in the front, and it seems very vulnerable to road damage in that position so I wanted to avoid that. I know some people have been able to shoehorn them in front of the radiator, but I didn't want to add more heat to the already marginal cooling capacity of the factory cooling stack. I plan on mounting the radiator underneath the truck, kind of under where the back seat is. Hopefully I get enough heat transfer in that location, especially with enough fans on it.

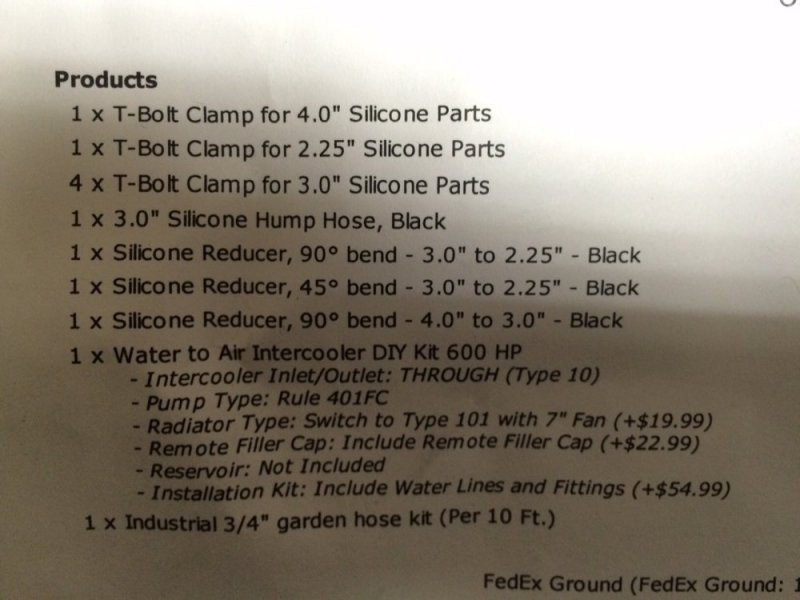
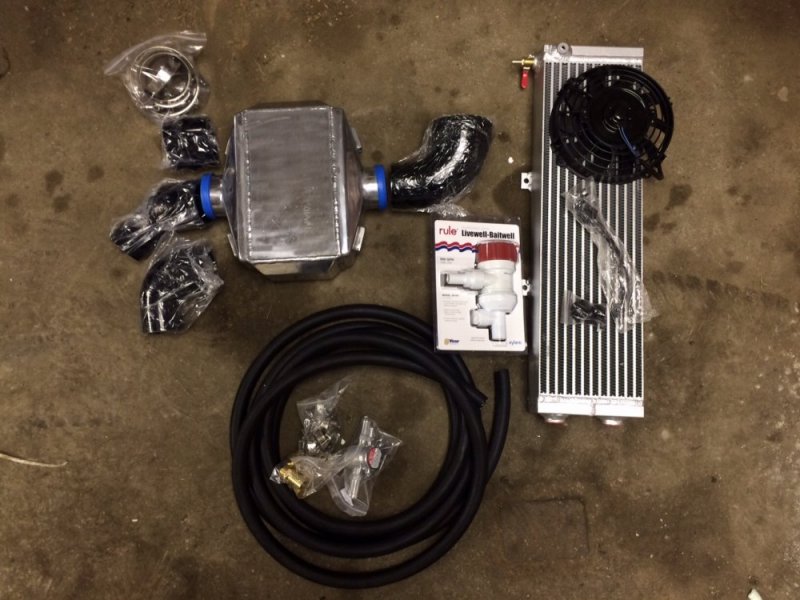
I went with a kit from Frozen Boost. I went for a kit rated to around 700 cfm, so it should have more than enough cooling capacity. The options I selected are:
Type 10 intercooler which is 3" In/Out straight through
Type 101 radiator with 7" fan. This is their highest rated radiator and I liked the size of it (long and skinny), which I figured would work well where I intend to mount it
Remote filler cap
Water lines and fittings (I also ordered an additional 10' of hose since I'm mounting the radiator so far away)
4" to 3" 90* reducer
3" to 2.25" 90* reducer
3" to 2.25" 45* reducer
3" hump hose connector
T-bolt clamps to go with the silicone connectors

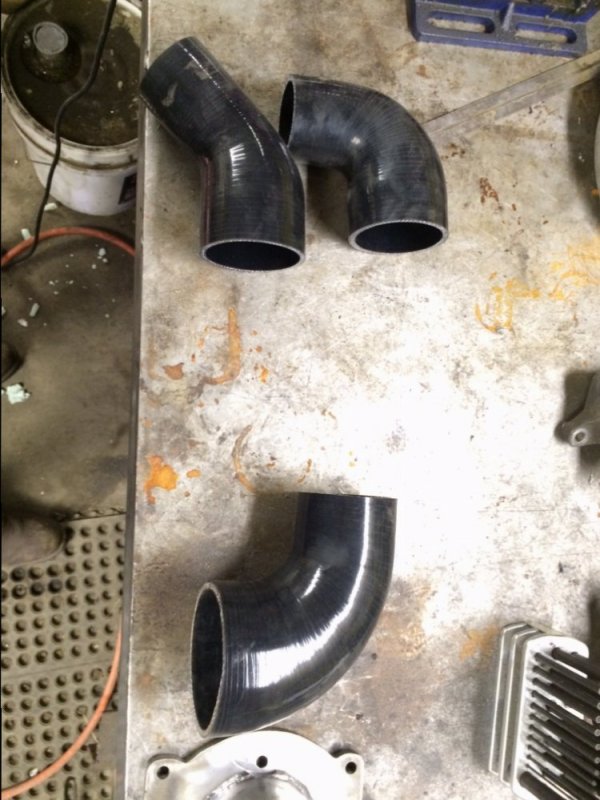
I ordered more silicone couplers than I need, but I wanted to have options for when I actually started installing so I didn't get stuck later.

Later I ordered a second fan once I saw how little of the total surface area the 1 included 7" fan covered. I could eventually use 3 fans if I really wanted, but I'm going to start with 2 and see how it does.

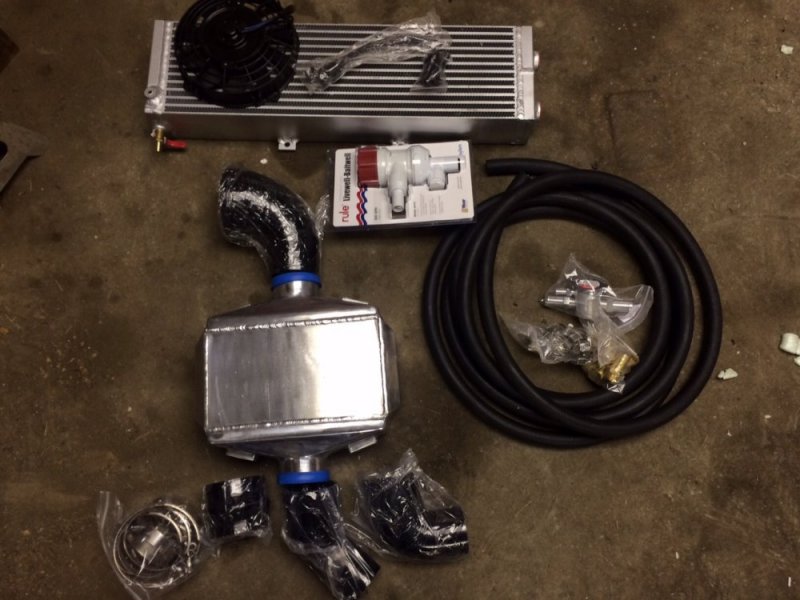
Here's what the kit looked like when I received it.
Intercooler kit 1.jpg Intercooler kit 2.jpg Intercooler kit list.jpg

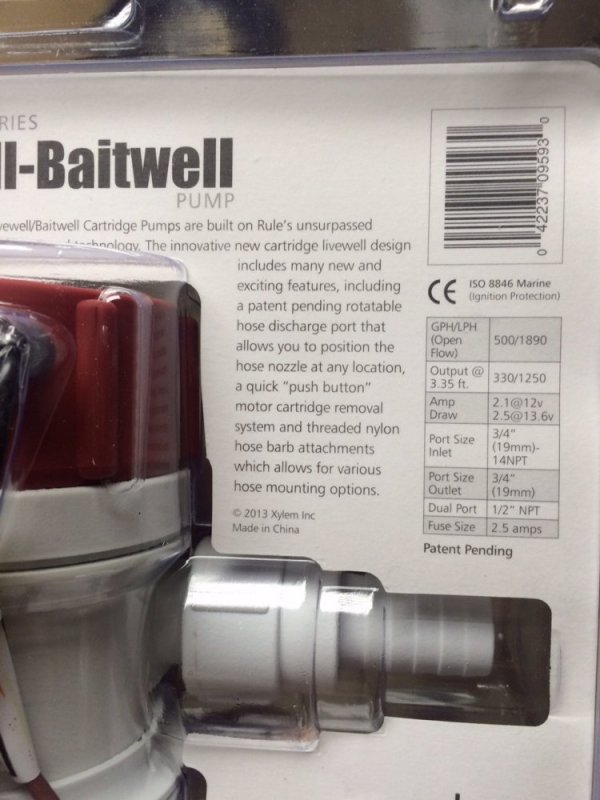
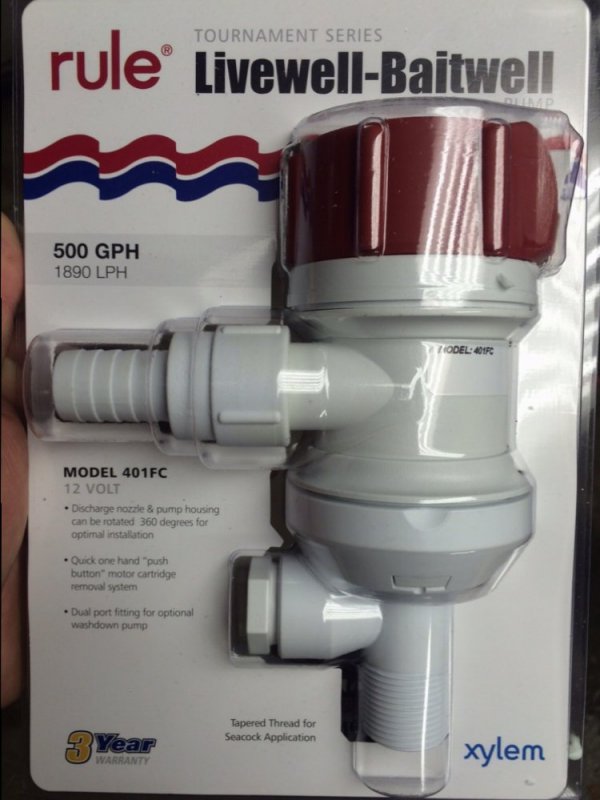
This is the pump they provide with the kit
pump 1.jpg pump 2.jpg

I'm really impressed with how heavy the intercooler and radiator are. They seem really well made.
 
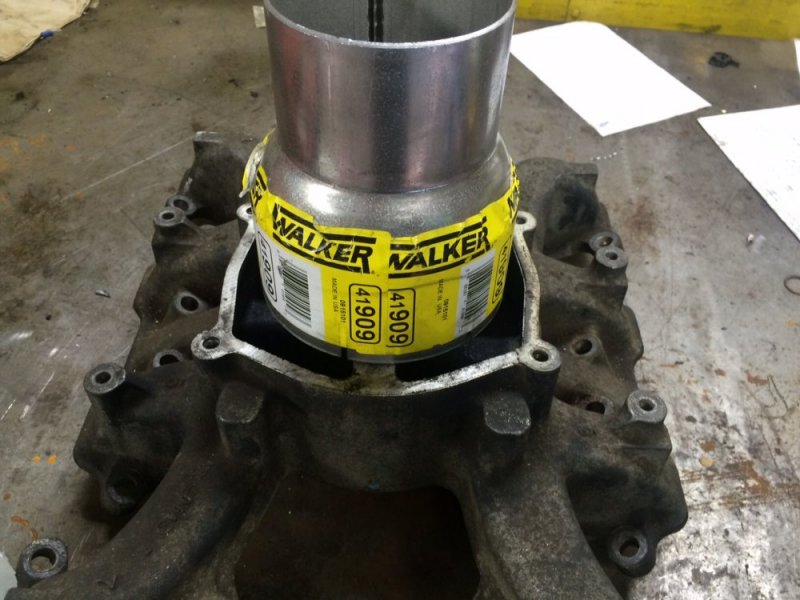
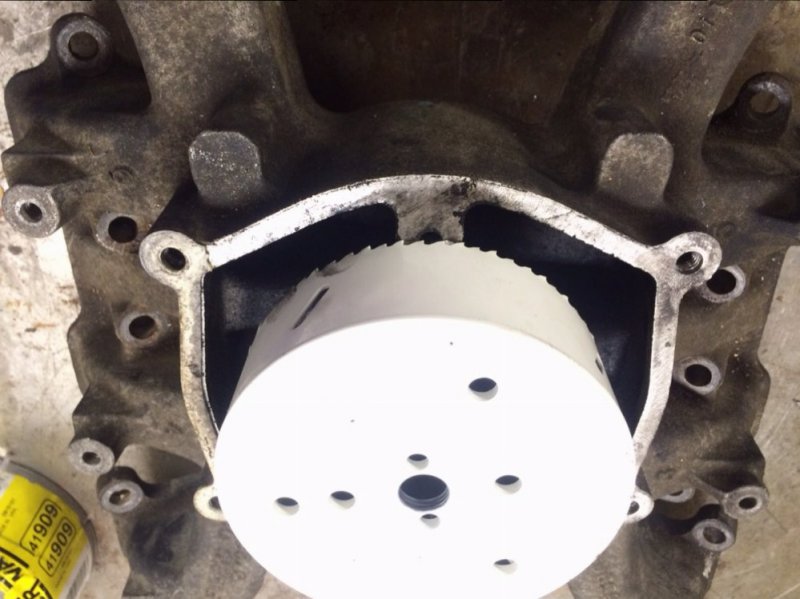
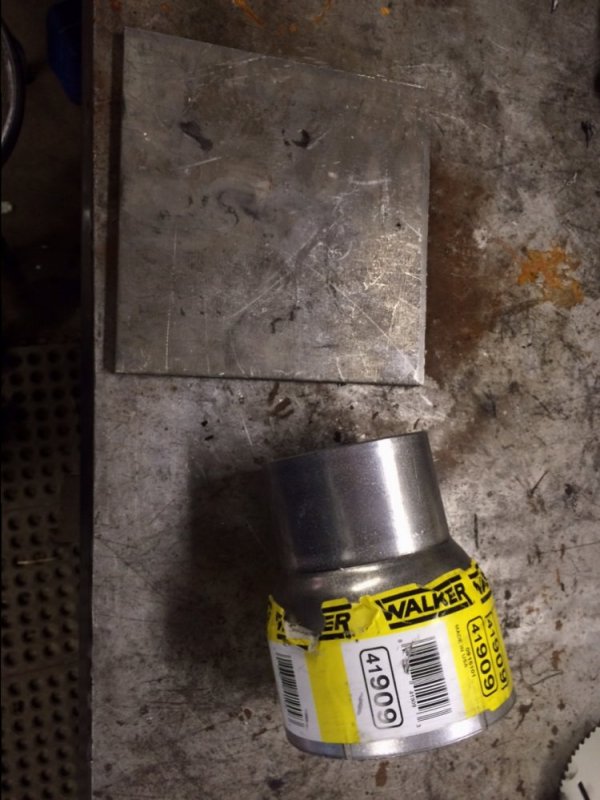
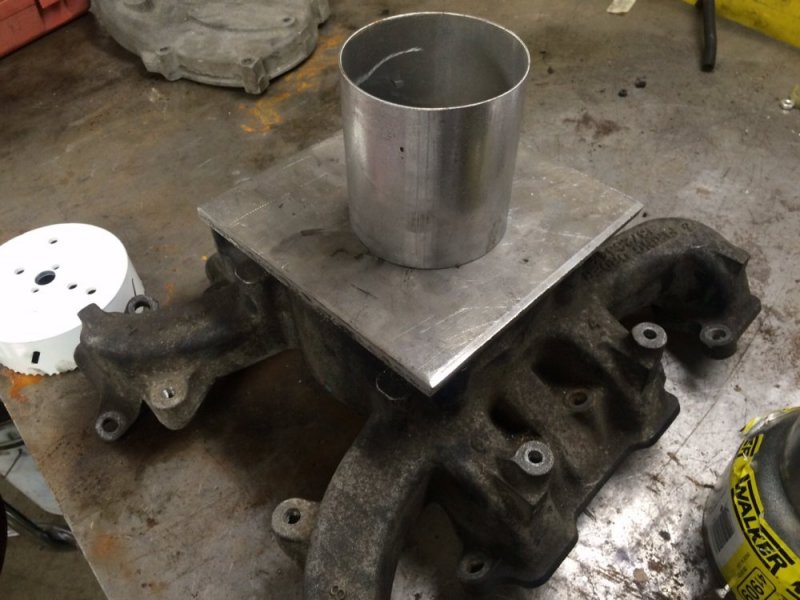
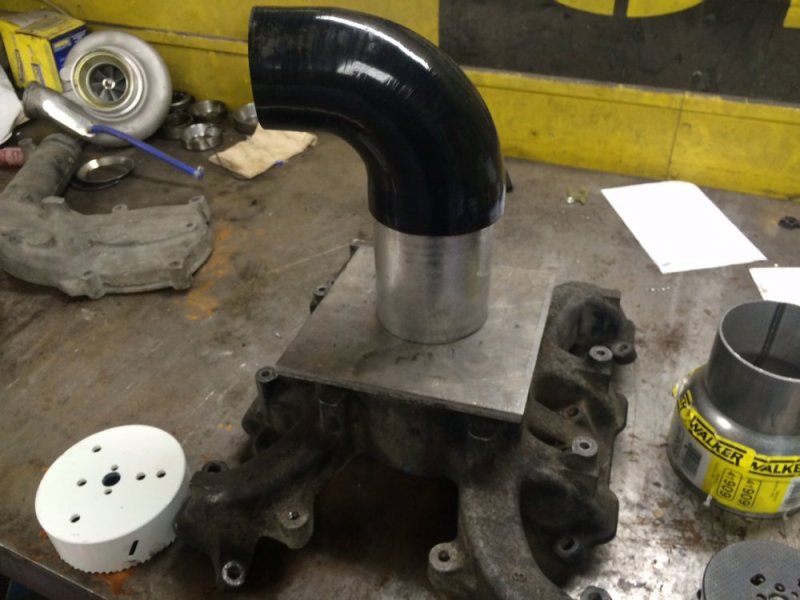
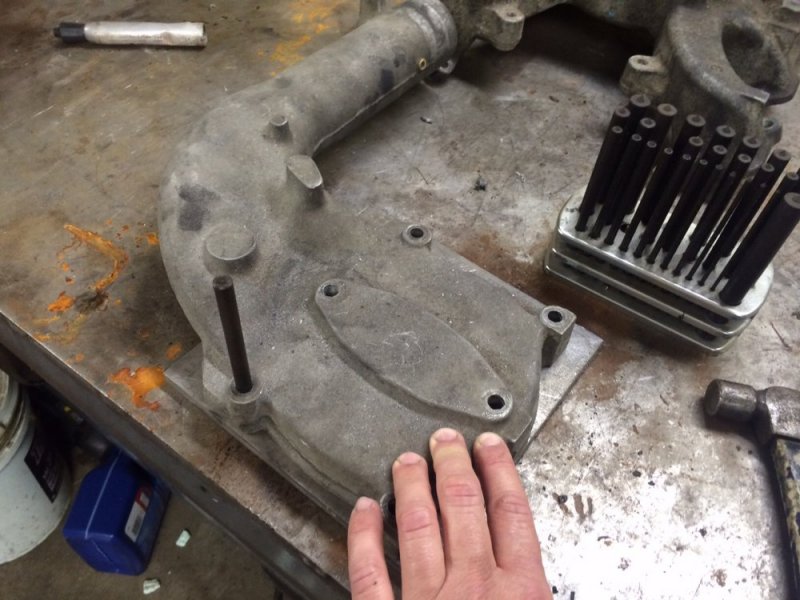
I have started making the new upper intake that will help with the installation of the intercooler. I used a piece of 3/8" thick steel plate and a leftover piece of 4" exhaust pipe. My initial plan was to use a 5" to 4" exhaust reducer so I could open up as much of the intake as possible, but it was going to crash into the 2 middle mounting bolts. I don't have the ability to weld aluminum at home so I don't want to try to move those mounting lugs to the outside of the lower intake....it could be done, I just don't think the extra effort is worth it. The 4" opening should be more than sufficient.
5 reducer on intake.jpg 5 hole saw on intake.jpg

I can't get this picture to not load upside down, sorry, but you get the idea.
plate and reducer.jpg plate 4 pipe on intake.jpg plate 4 pipe and elbow on intake.jpg

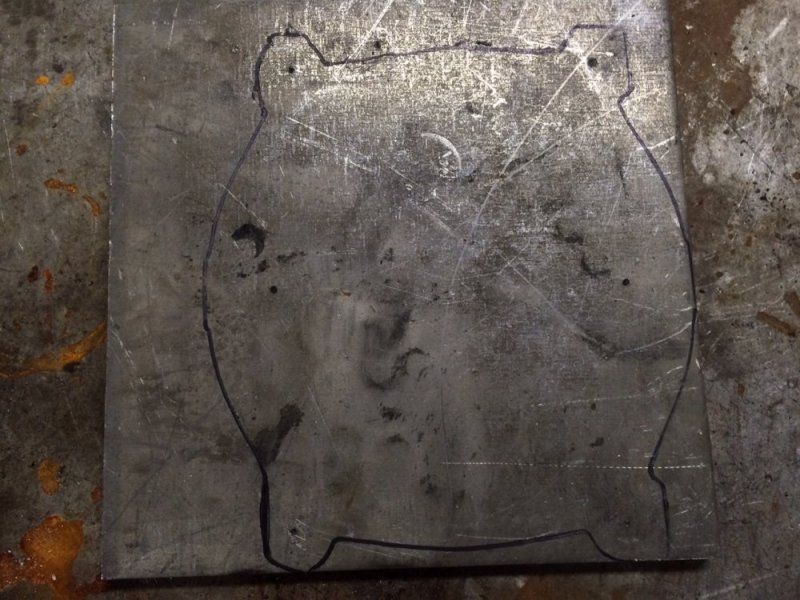
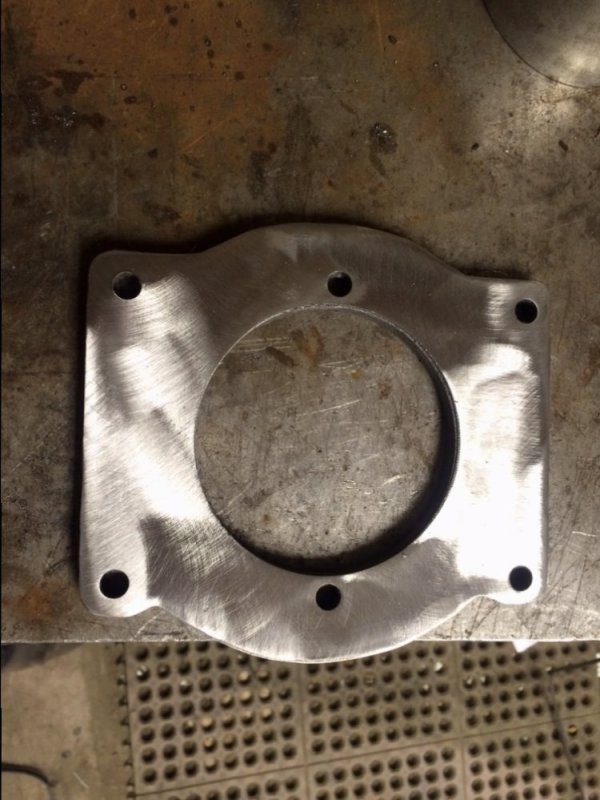
I used an extra upper intake to layout the mounting holes on the plate and then cut the 4" hole with a hole saw.

upper intake on plate.jpg upper intake layout on plate.jpg drilled plate.jpg

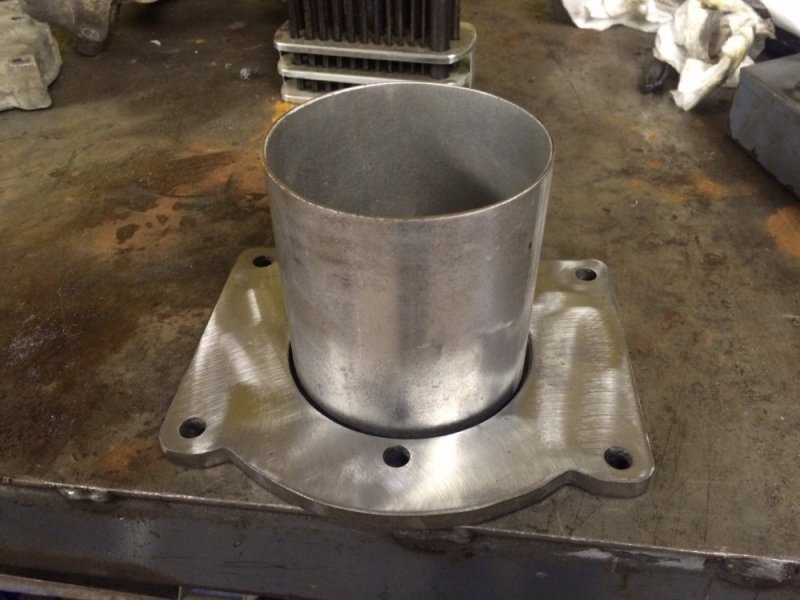
Before welding here is what the mockup looks like
drilled plate and 4 pipe.jpg
 
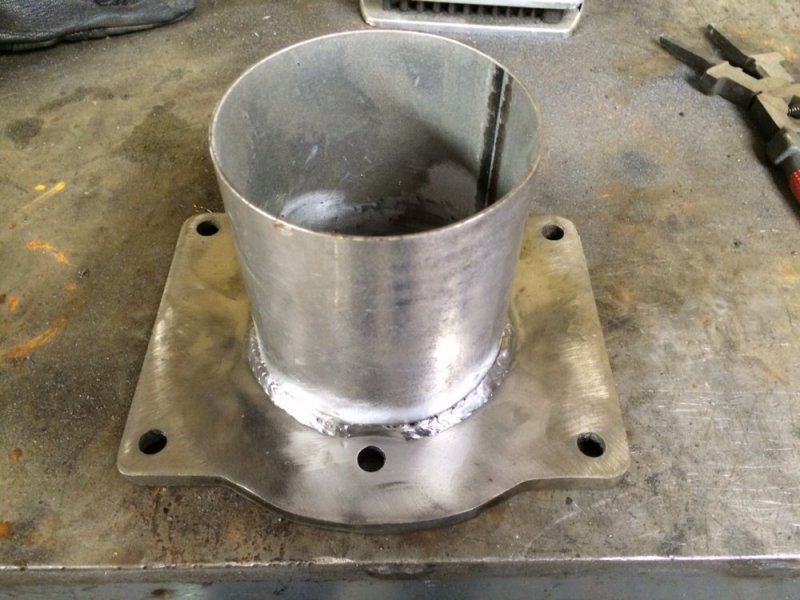
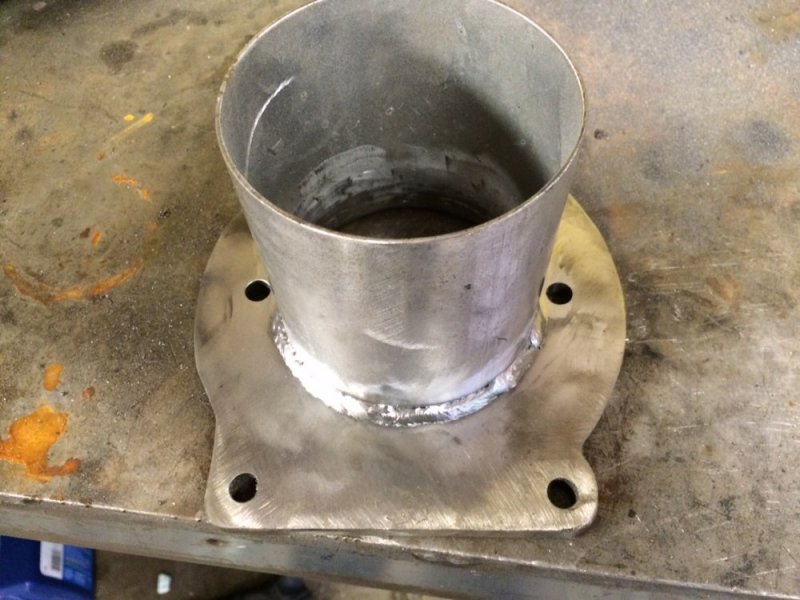
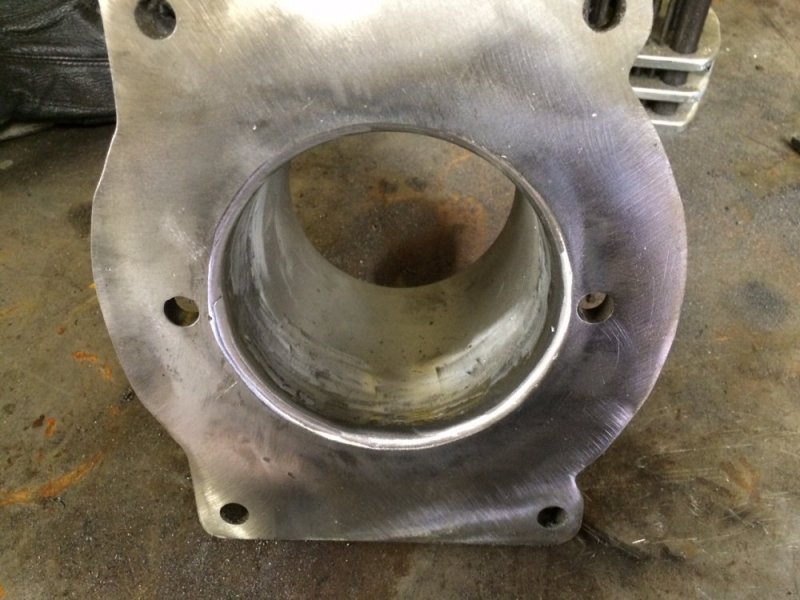
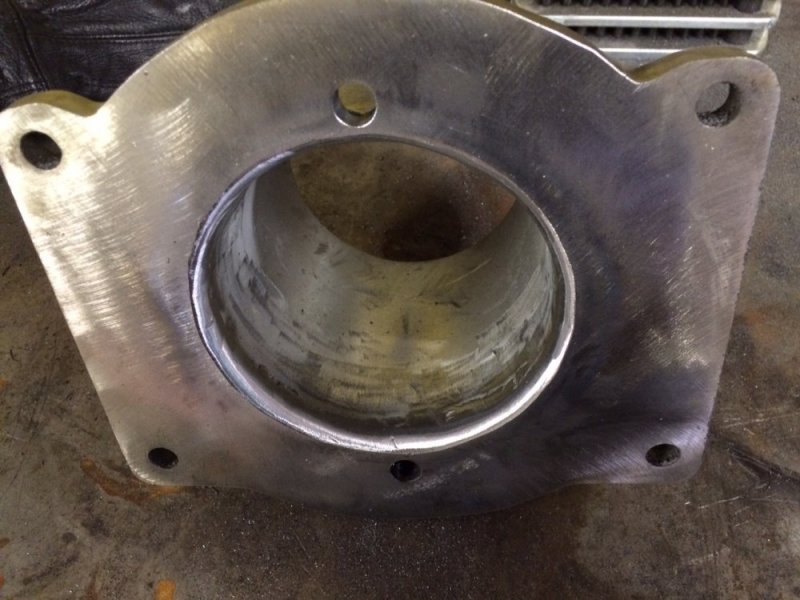
Here is the upper intake after welding. It's pretty much complete in this state, but I still need to drill and tap ports for the IAT sensor, MAP sensor and boost gauge. I will also trim the height of the 4" tube once I get everything in place and figure out what the final height should be in order to fit the best.
upper intake welded 1.jpg upper intake welded 2.jpg upper intake welded 3.jpg upper intake welded 4.jpg
 
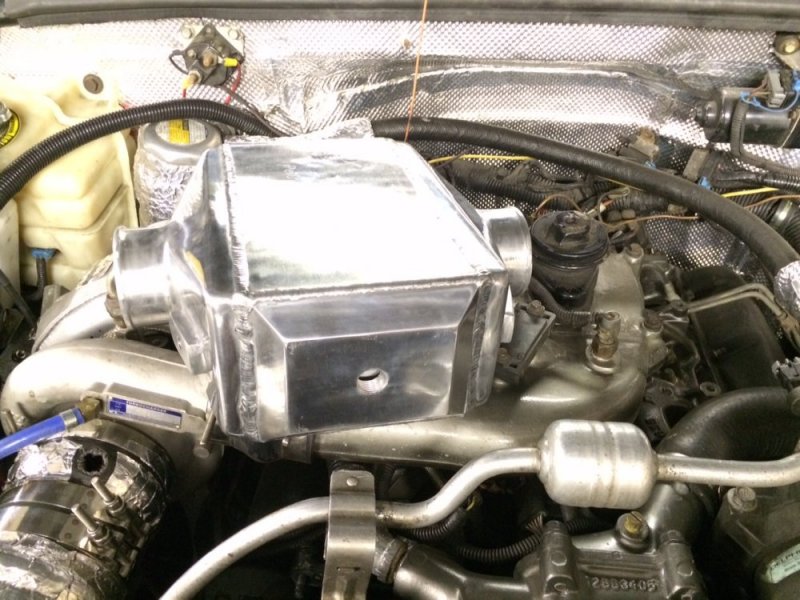
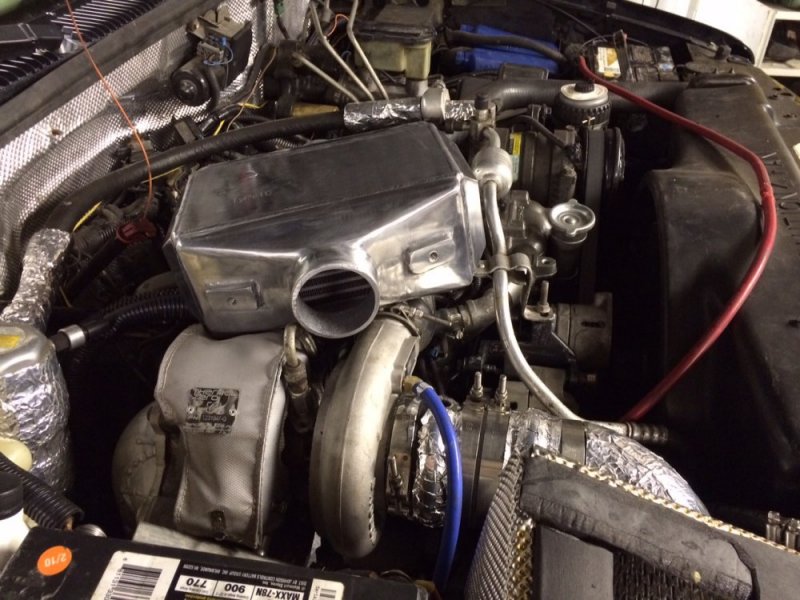
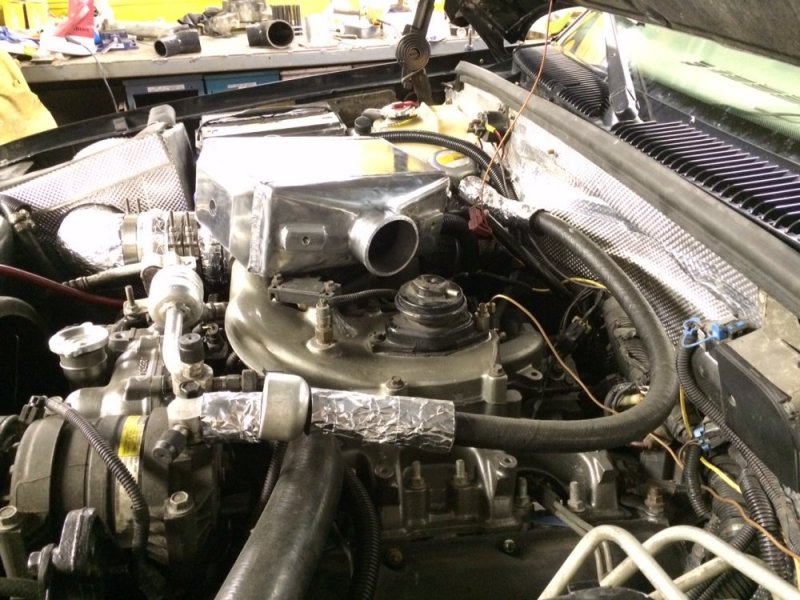
I laid the intercooler on top of the engine so I could start to see how it will fit. I think it's going to fit well with the couplers I have - they'll need a little trimming to get the fit perfect, but that is to be expected. I won't be able to work on it for a couple days due to house projects, but when I do I will post more updates.
IC mockup 1.jpg IC mockup 2.jpg IC mockup 3.jpg silicone couplers.jpg
 
Nice, I have also thought of this approach. Fab up a fan shroud for the 2 fans, they should be more efficient.
 
I remember reading the whole thread, I just missed the whole part of that I guess Leroy.

I work with wet heat exchangers all the time, the biggest concern is a failure usually causes contamination, not a hydrolock. That's the only scary part.
 
No problem Will was just adding my $.02 I know I like to see lot of pictures when getting into something new. (not unlike a new girlfriend! Yes I said it :D )
 
I remember reading the whole thread, I just missed the whole part of that I guess Leroy.

I work with wet heat exchangers all the time, the biggest concern is a failure usually causes contamination, not a hydrolock. That's the only scary part.
Good point, I hadn't considered a failure in that regard. Something to be wary and mindful of for sure.
 
That's going to be sweet. I wish someone near me had a WTA setup. I would like to test and see if there's a big difference in temps towing between the 2. I bought my truck in 2005 and towing our 9000lb toyhauler up I80(Sierra Nevada Mountains) I knew I needed something after watching IAT's with my scanner and seeing them at 210 on flat ground, and then when I would get a a hill watch them go to 304 and stay there. So I bought an ATA intercooler off ebay for $120. A couple buddies said I was nuts mounting it there. Well 9 years later it's still there. My IAT's went from 304 on a 95 degree day towing the Blue Canyon grade to about 210 tops. And empty on a 100 degree day cruising down I-5 I see 110 instead of 175-200 like I did before. That was with the GM8. I haven't checked since I did the ATT. The charge air coolers seem really well built and I figured if something happened to it while traveling I'd just pull it out and connect a 3" piece of pipe to bypass it and roll on. I mounted mine so it was above the frame. So I figured if I hit something to take out my intercooler, it would have gone most likely up into the oil pan anyway.
 
Back
Top