• Welcome to The Truck Stop! We see you haven't REGISTERED yet.

    Your truck knowledge is missing!
    • Registration is FREE , all we need is your birthday and email. (We don't share ANY data with ANYONE)
    • We have tons of knowledge here for your diesel truck!
    • Post your own topics and reply to existing threads to help others out!
    • NO ADS! The site is fully functional and ad free!
    CLICK HERE TO REGISTER!

    Problems registering? Click here to contact us!

    Already registered, but need a PASSWORD RESET? CLICK HERE TO RESET YOUR PASSWORD!

My HX40 install

n8in8or

I never met a project I didn’t like
Messages
4,387
Reaction score
8,722
Location
Kalamazoo, MI
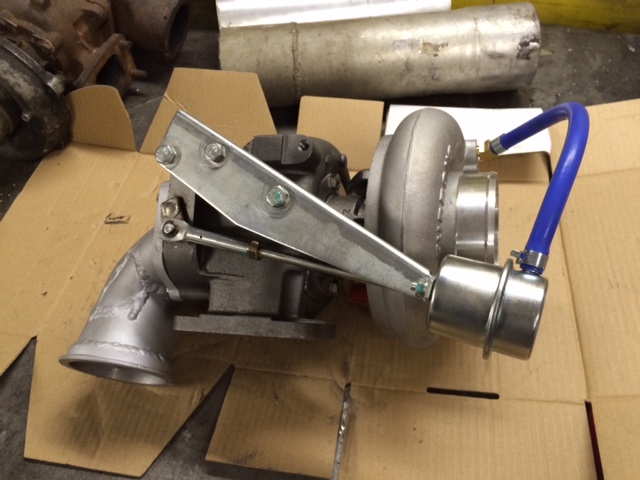
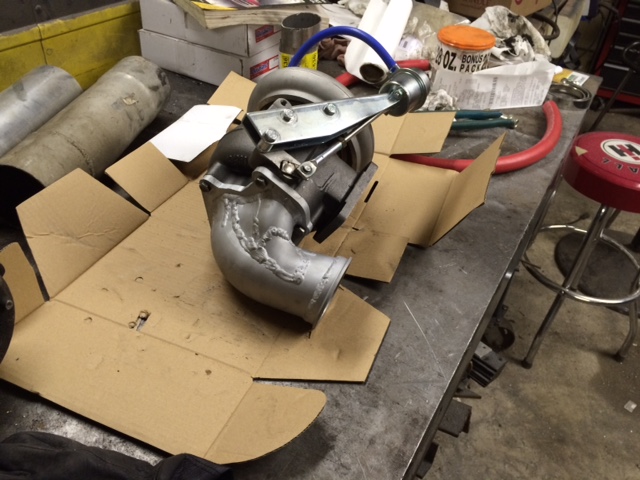
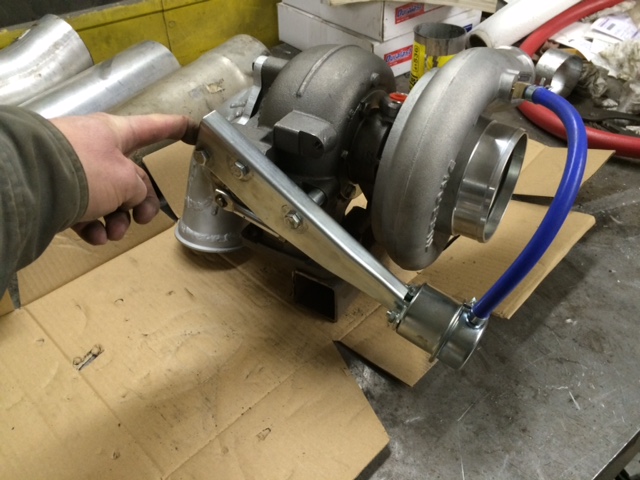
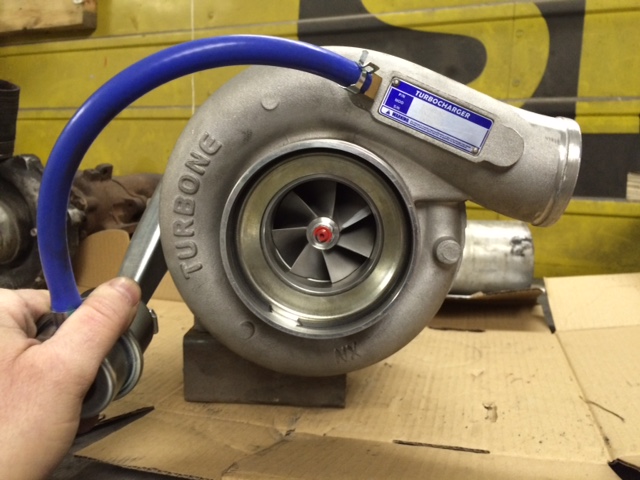
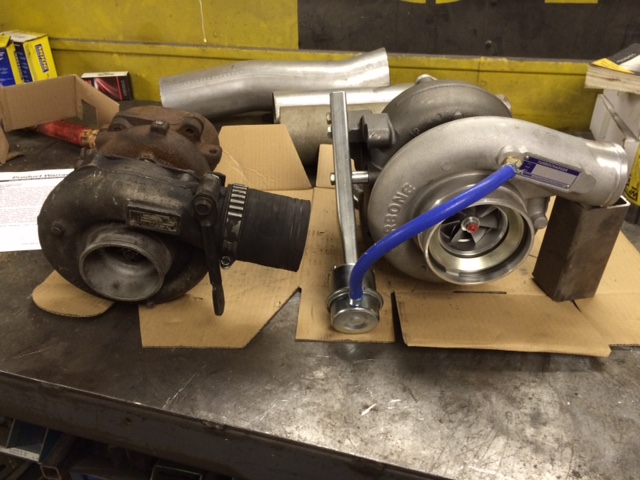
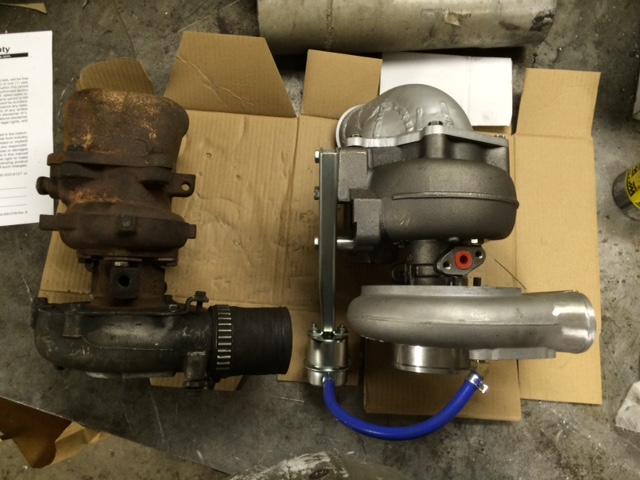
Here is a detailed thread showing the installation of a CKO HX40 on my 6.5. I recently rebuilt my GM8 in the hopes that my oil smoke problem would go away. At first it did kind of go away, but then it was back. Even though it still smoked, it seemed more intermittent....so I hoped that it was still a turbo problem. I had no desire to put more money in to the small turbo, and since I planned to upgrade for power and durability reasons, I went ahead and did it now.

I chose the HX40 based on some other installations I had read. Based on my combination, and intended use, it seemed that this was going to be a good match. I deliberately chose a different brand with apparently the same specs as the one that FellowTraveler bought so we would have more data available to us: 2 turbos, same basic specs, different manufacturer (or vendor anyway?) so we can gauge consistency.

As I am writing this, I just drove it around for the first time last night. This project started about 2 weeks ago once I received the parts. I've been prepping parts for installation in the meantime, as time allowed. I will do my best to remember details. I took plenty of pics along the way, so hopefully that helps anyone wanting to do the same thing, or wanting more info than words alone can tell.

Here we go!!
 
First off is the initial teardown of the turbo.

Here's a link to the turbo I bought (mods you can remove the link if it isn't appropriate to post, and sorry if it isn't right to do so)
http://www.ebay.com/itm/131388551303?_trksid=p2059210.m2749.l2649&ssPageName=STRK:MEBIDX:IT

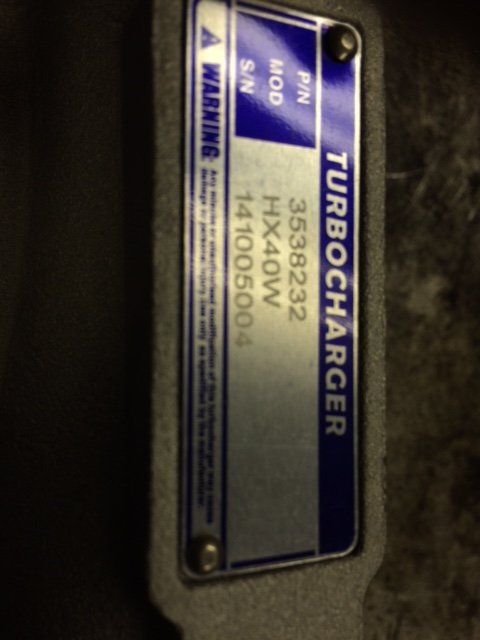
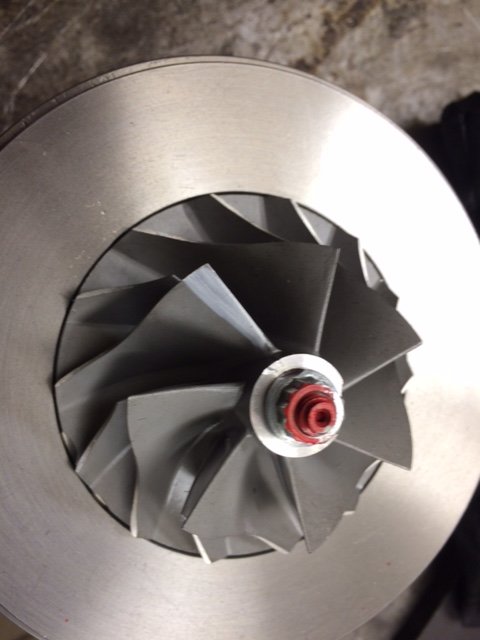
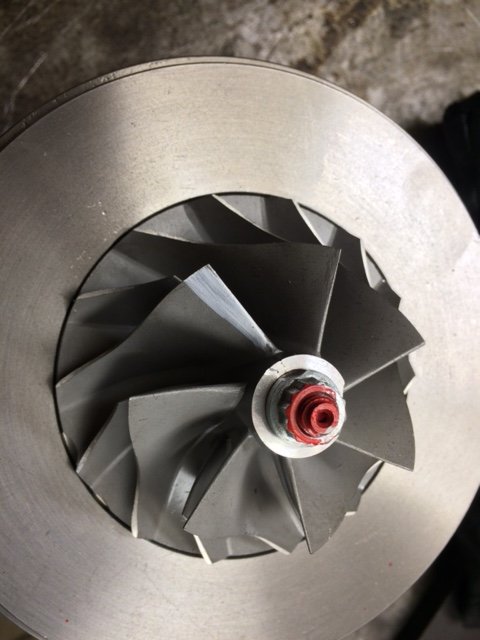
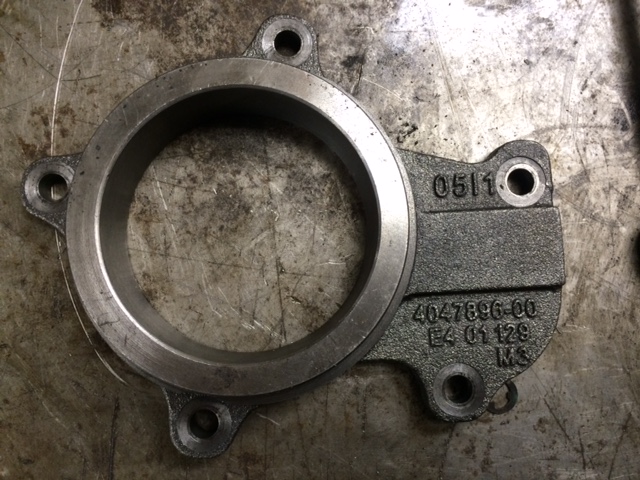
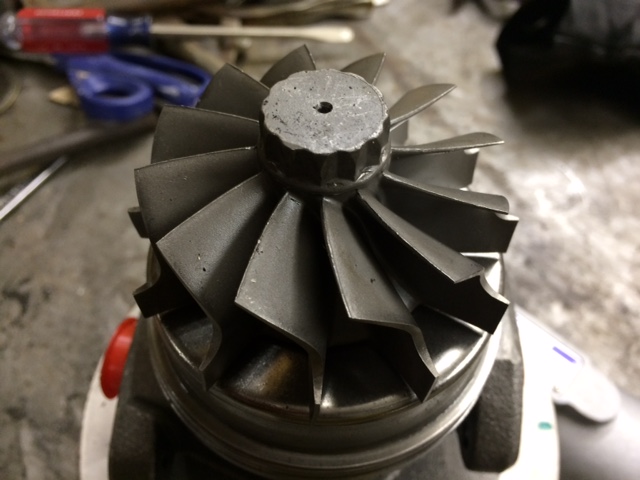
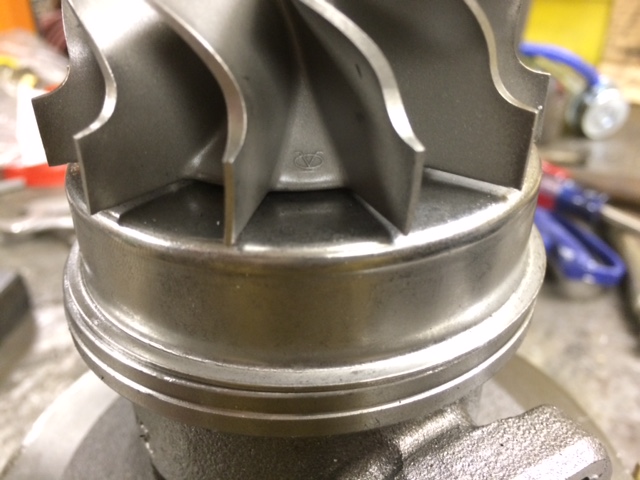
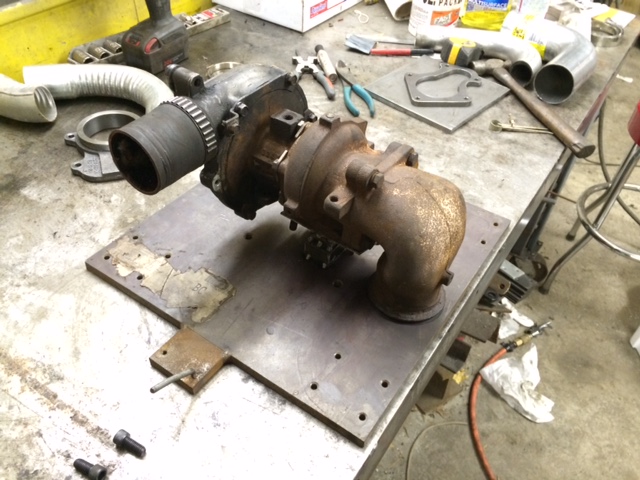
There weren't advertised specs on the wheel sizes in the ad, but based on cross-referencing it seemed like the one I wanted that I had seen some others use. Below are pics of the disassembly of it to document sizes, gauge the condition of it as-received and so I could modify it and use it for mocking up my downpipe adapter without damaging the cartridge.

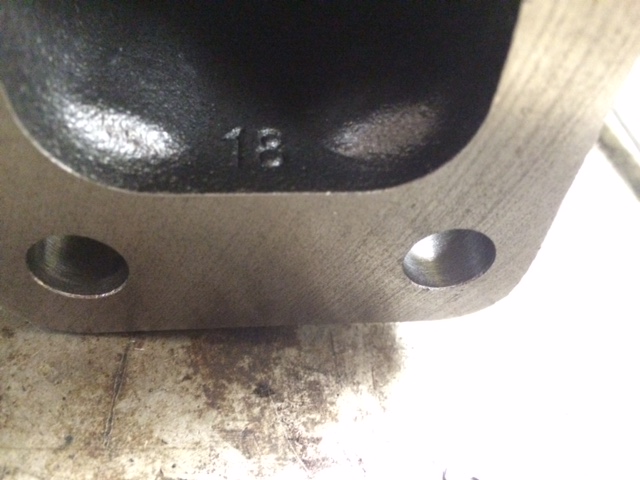
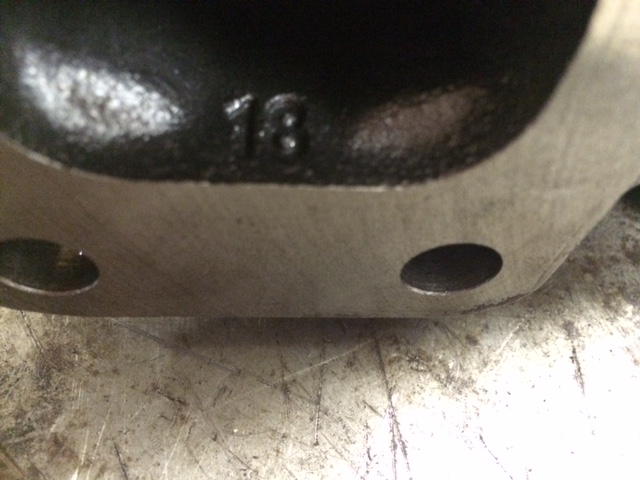
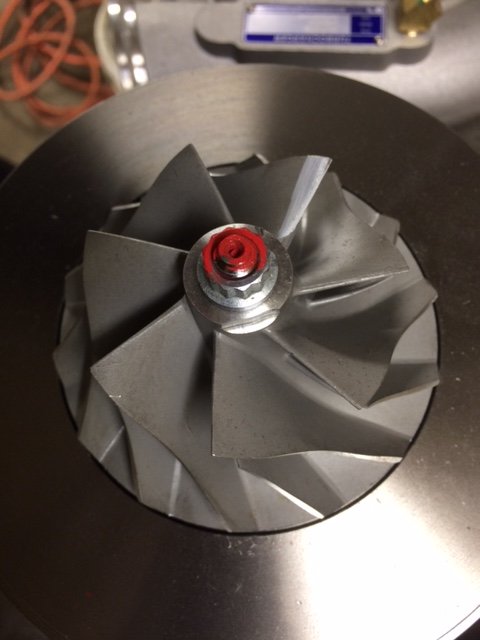
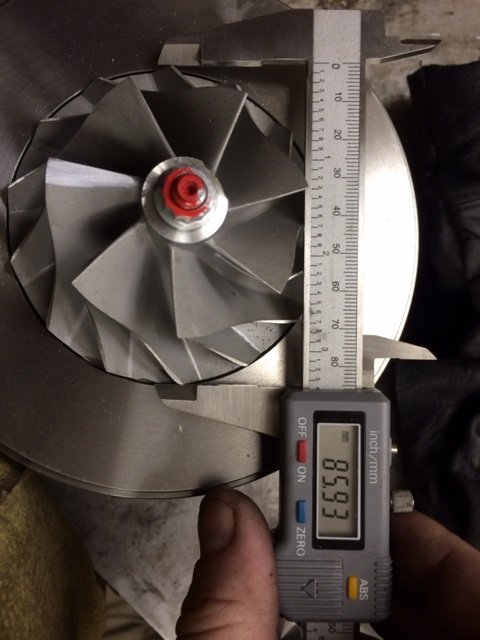
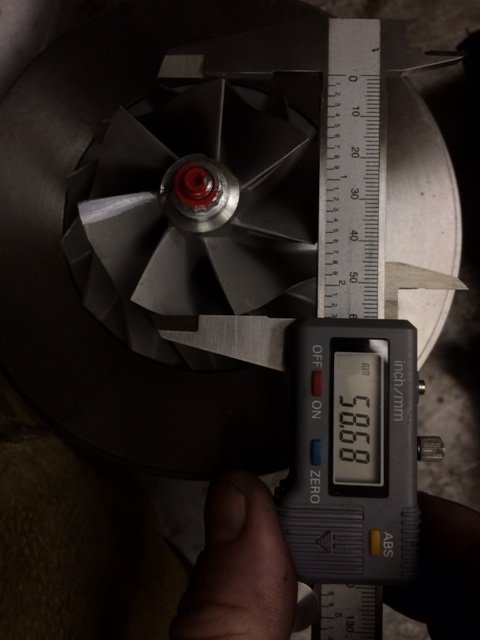
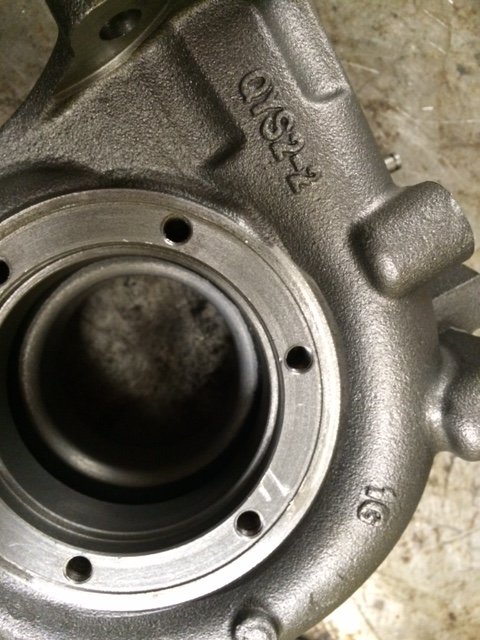
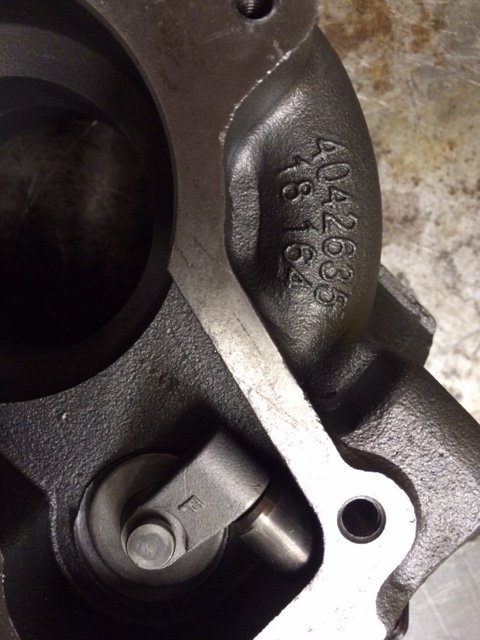
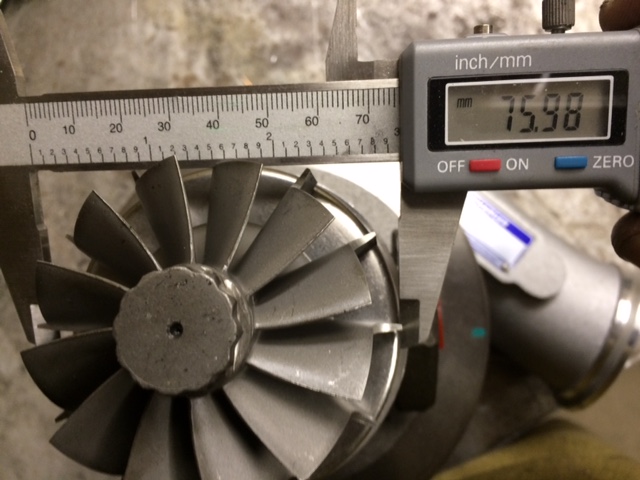
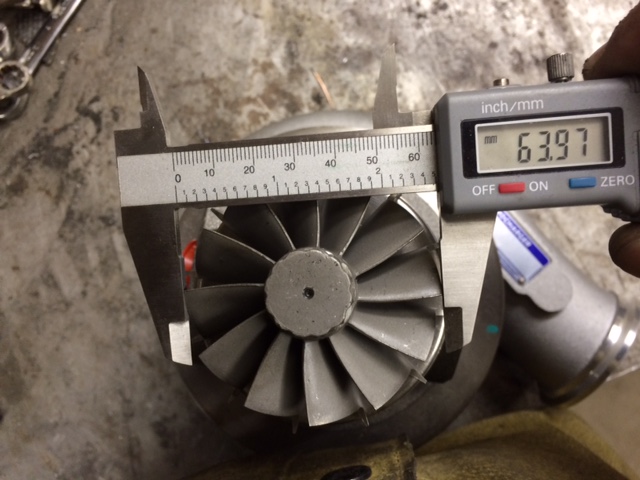
Advertised it said it had a 7 blade compressor wheel and 12 blade turbine wheel. Those specs are correct. Wheel sizes weren't given. In the pics you can see my measurements. Sorry I don't know the turbo "lingo" so I will use basic descriptions. The turbine wheel measured with a large diameter of 76mm and a small diameter of 64mm. The compressor wheel was more difficult to measure due to the odd number of blades - because of this, I didn't get a super accurate measurement of the small diameter...it may be 60-61mm? Not sure. The large diameter was 86mm. I was hoping for a 16cm2 housing, but based on 2 places where "18" is cast into the exhaust inlet, it appears to be 18cm2.

18stamp1.jpg 18stamp2.jpg compresshoustag.jpg compresswheel1.jpg compresswheel2.jpg compresswheel3.jpg compresswheellargedia.jpg compresswheelsmalldia.jpg exhaustoutletflange.jpg t3flange.jpg
 
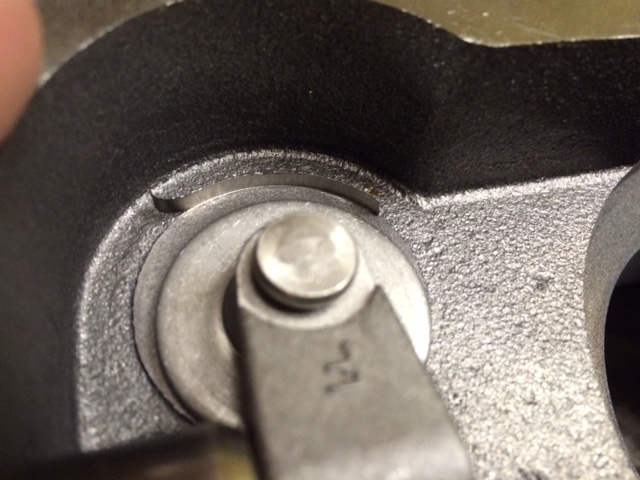
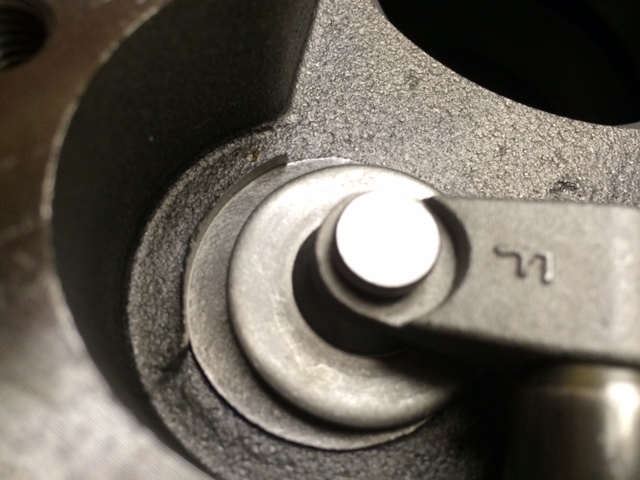
The internals were clean, no machining chips like I had heard about, but there was some casting flash around the wastegate port.

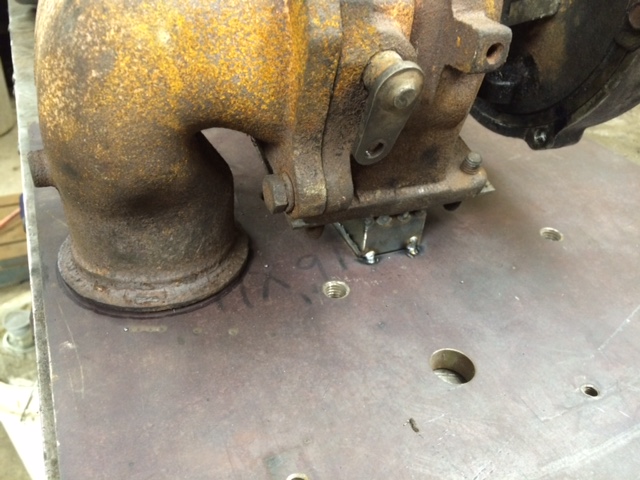
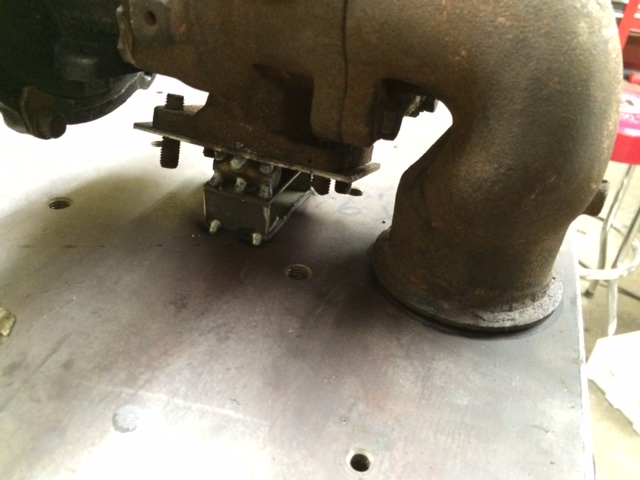
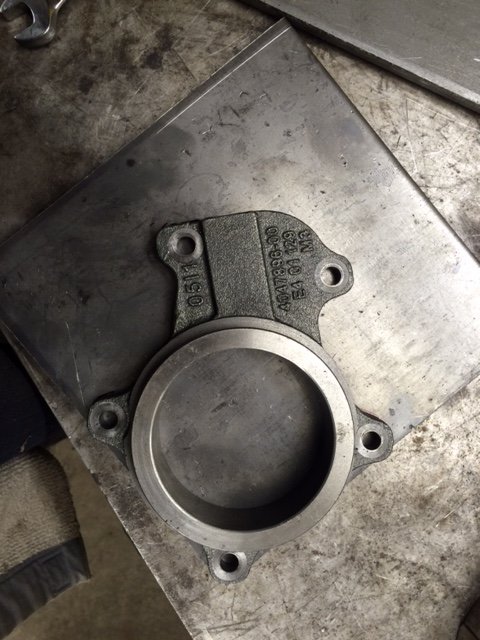
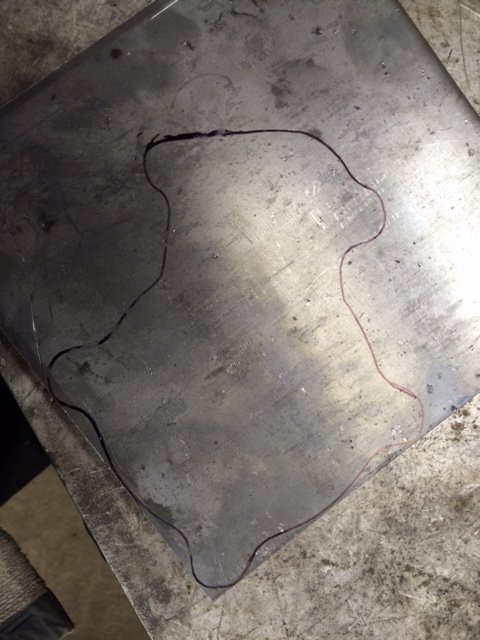
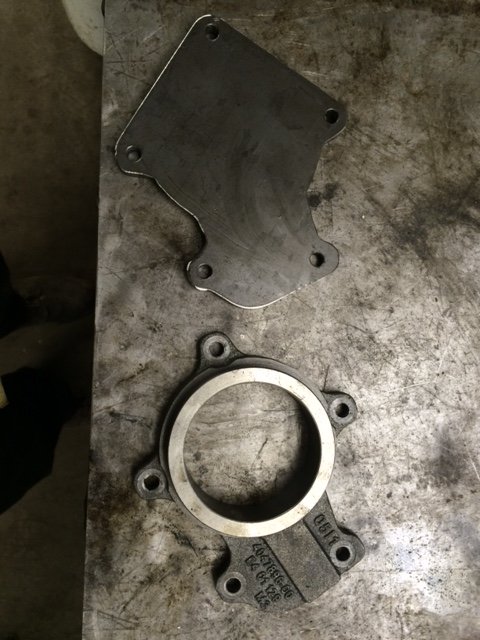
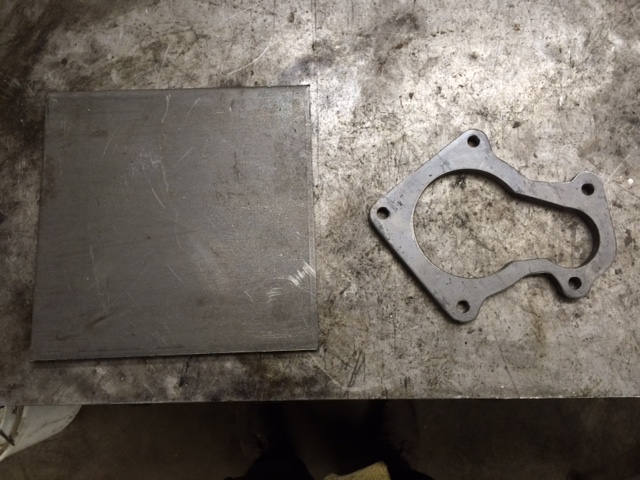
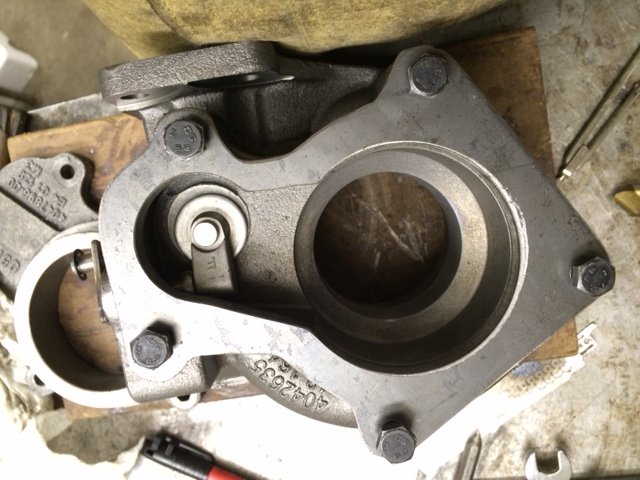
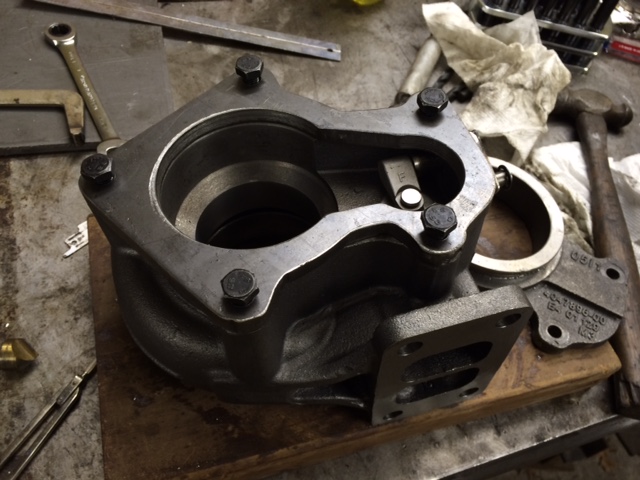
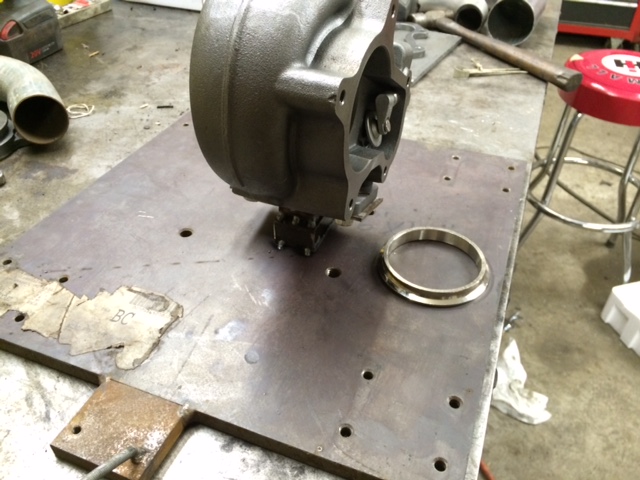
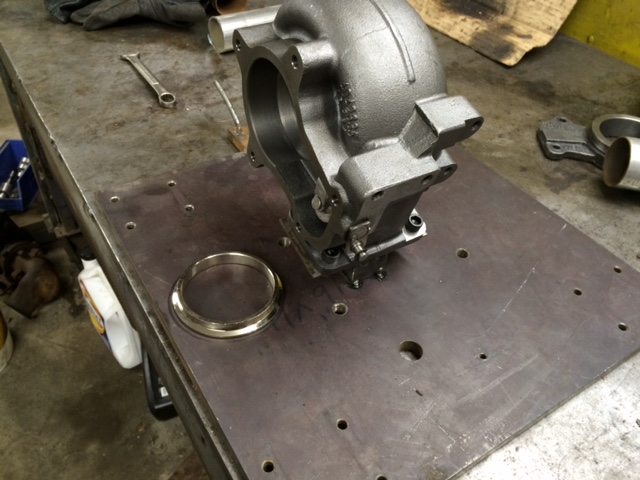
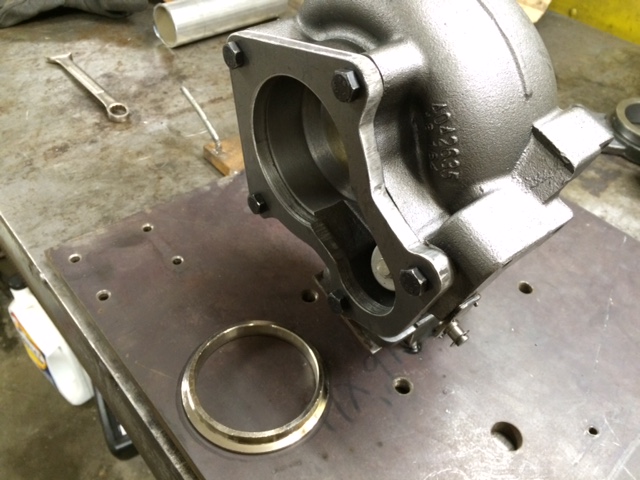
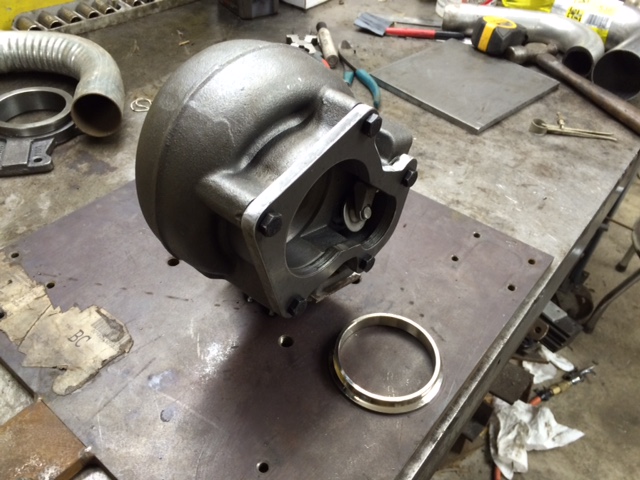
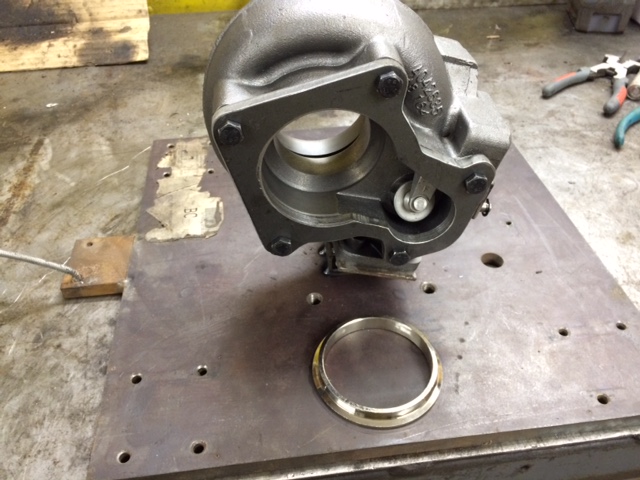
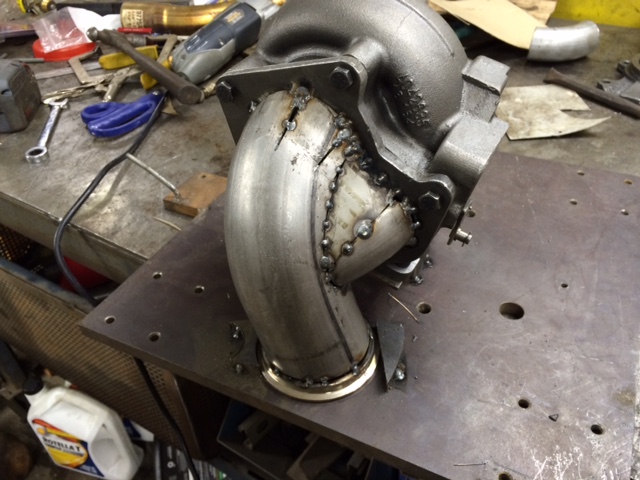
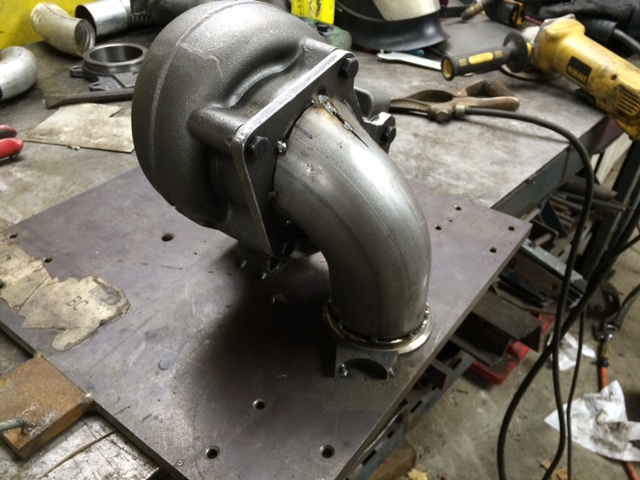
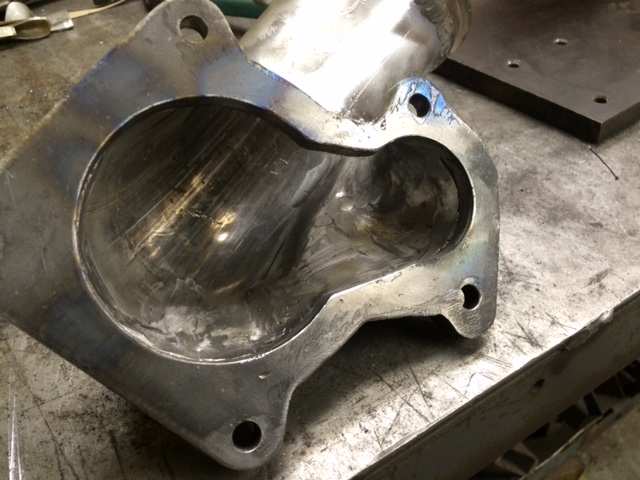
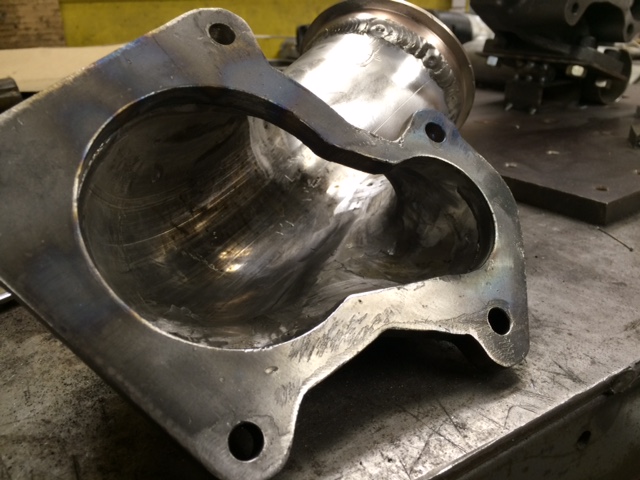
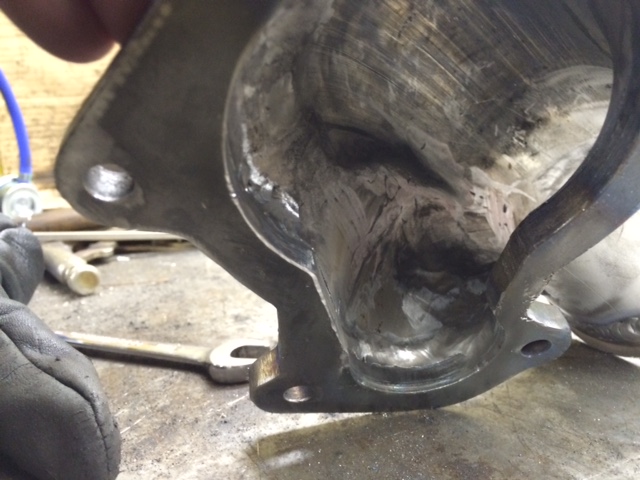
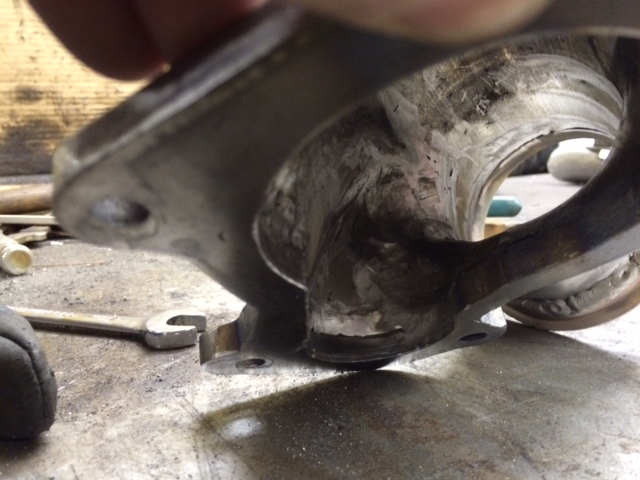
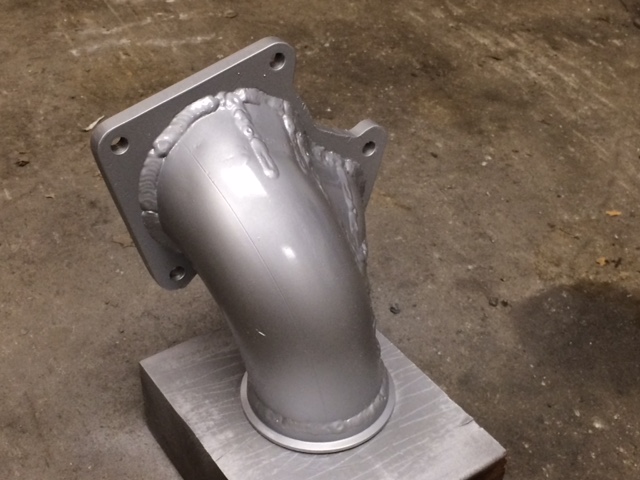
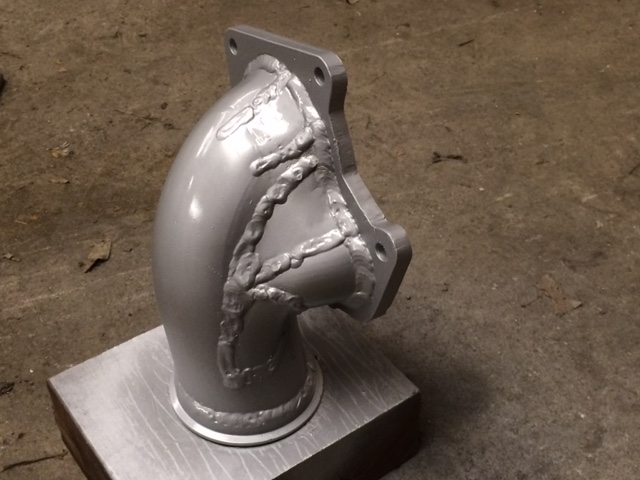
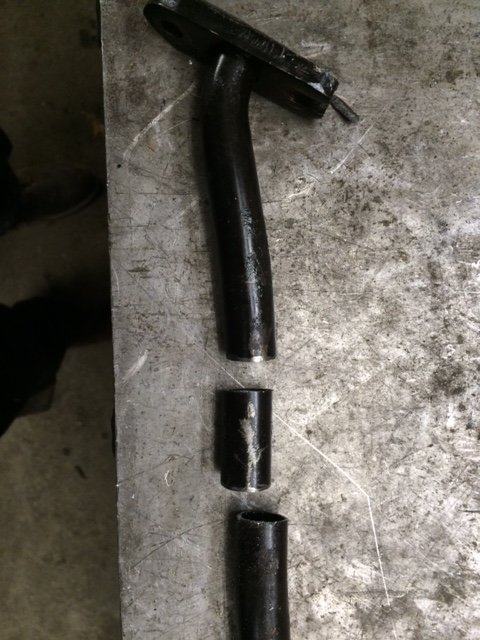
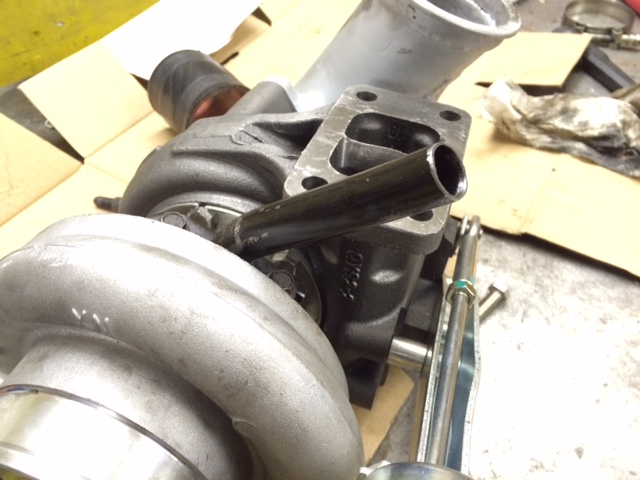
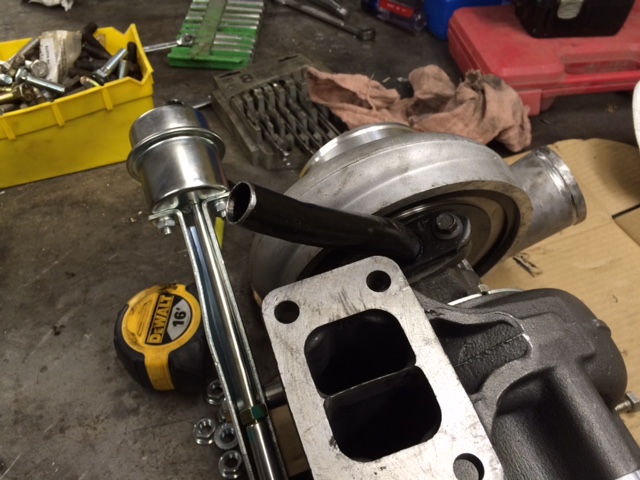
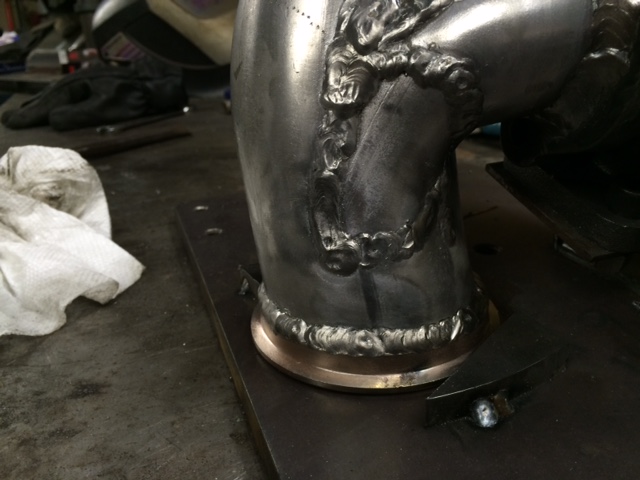
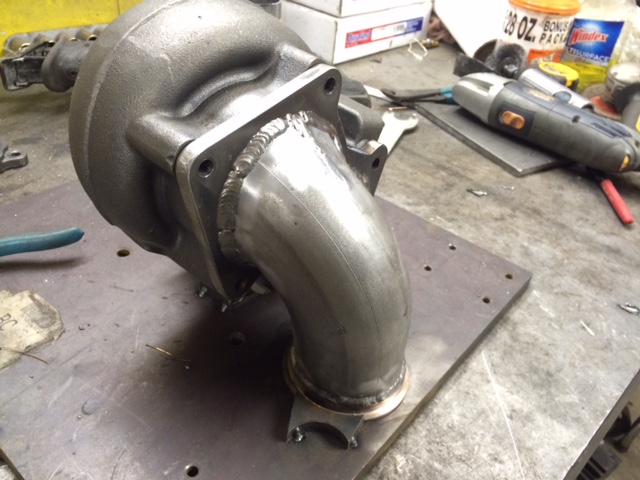
Next it was time to fab the downpipe adapter. I chose to create a whole new outlet for 2 reasons: 1) by making a new flange I figured that I could better make the downturn to the downpipe and 2) I wasn't really keen on the outlet of the wastegate being obstructed in stock form.

I made a simple fixture off of a core GM3 that I picked up so I could make sure that my alignments would be correct. I bought a piece of 3/8" thick steel plate to make the new flange out of and a piece of 3" diameter exhaust pipe in a mandrel 90 degree bend. I also had some 2" diameter exhaust pipe lying around that I used for the wastegate portion. It also required some flat sheet metal to finish up, which I also already had. I also bought a new 3" v-band flange for the connection to the existing Diamond Eye downpipe.

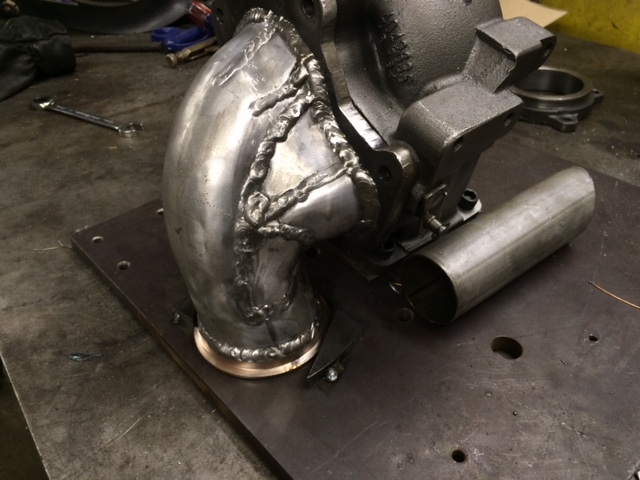
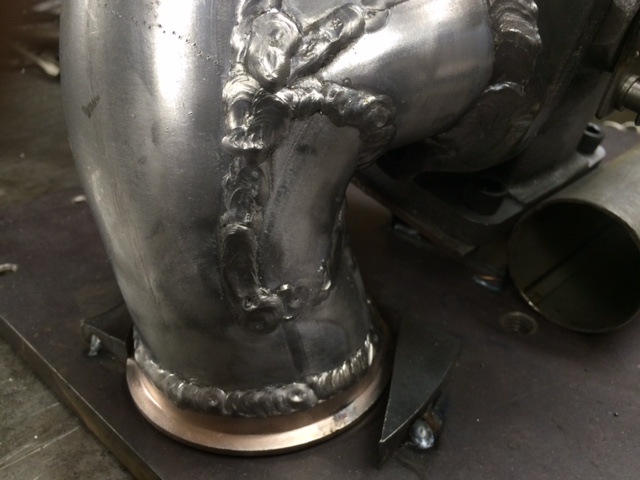
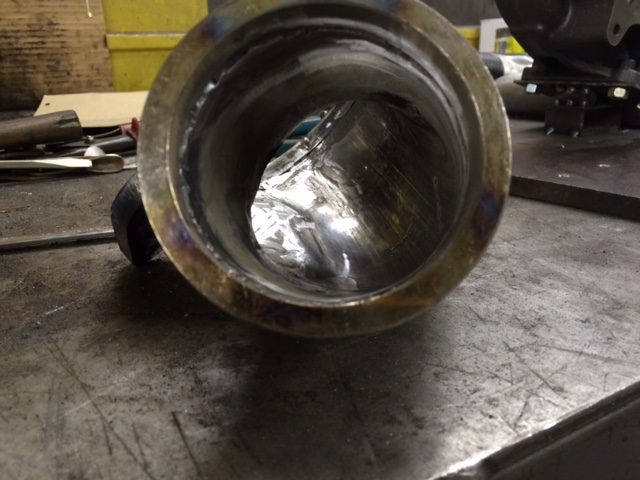
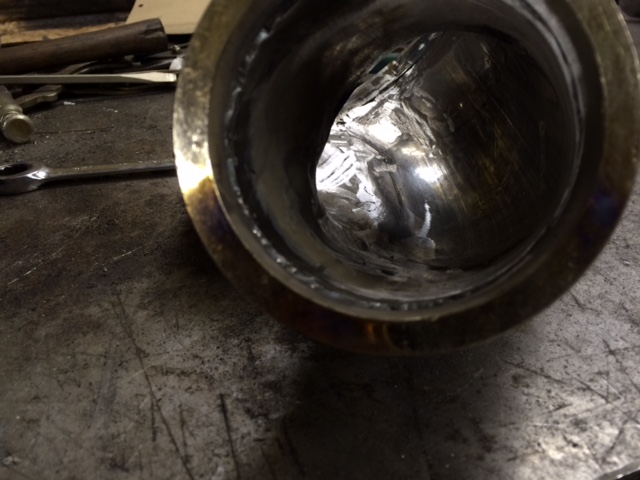
The welds aren't as pretty as I usually try to shoot for, but that is because of the gaps I sometimes had to bridge due to imperfect part fitups. I also wanted to make sure I had plenty of weld in place so I could make sure that the inside of the adapter was smooth - which I figured was the most important thing to achieve.

The fab of this was really fun! All told, I think I have about 7 hours into the fab of this, but it was worth it. Except for the visual quality of some of the welds, it was exactly what I wanted. If I was to do it again, I could probably perfect some of my tubing cuts, but it's not too bad for a first attempt, if I do say so myself. :)

fixture1.jpg fixture2.jpg fixture3.jpg flangeonplate1.jpg outlineonplate.jpg flangeouterprofile.jpg finishedflangenexttoplate.jpg finishedflangeonhousing1.jpg finishedflangeonhousing2.jpg
 
That was how I ended the downpipe adapter the first day. Overnight, the sharp 90 degree junction of where the pipe for the wastegate connected to the main exhaust kept haunting me so I decided to fix that. You can see in the finished result the radiused patch that I put in place to address that.

I'm really happy with how smooth the inside of the adapter turned out. It should be flowing quite nicely when the wastegate is either open or closed.v2pipe1.jpg v2pipe2.jpg v2pipe3.jpg v2pipe4.jpg pipeinside1.jpg pipeinside2.jpg pipeinside3.jpg pipeinside4.jpg pipeinside5.jpg pipeinside6.jpg
 
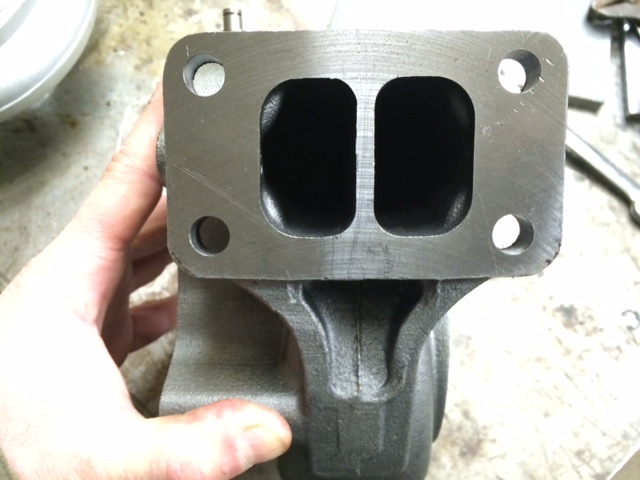
I did a couple small things to the turbine housing - I removed the casting flash from the wastegate and I knife-edged the inlet since the 6.5 doesn't have a divided manifold.
 

Attachments

  • knifeedge1.jpg
    knifeedge1.jpg
    41.2 KB · Views: 16
  • knifeedge2.jpg
    knifeedge2.jpg
    43.3 KB · Views: 18
  • knifeedge3.jpg
    knifeedge3.jpg
    32.9 KB · Views: 19
  • wastegateflashremoved.jpg
    wastegateflashremoved.jpg
    51.4 KB · Views: 18
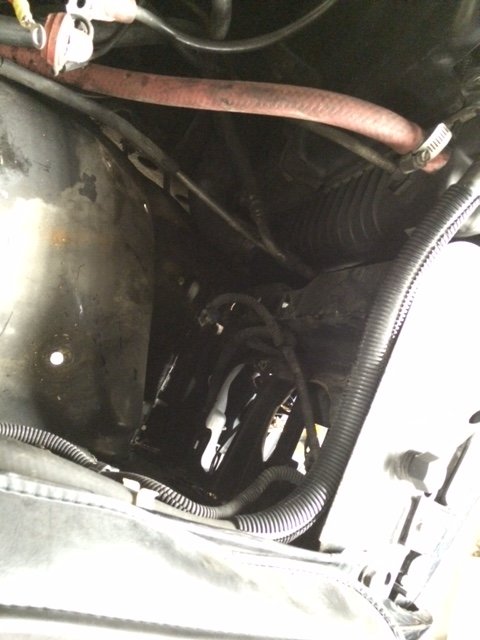
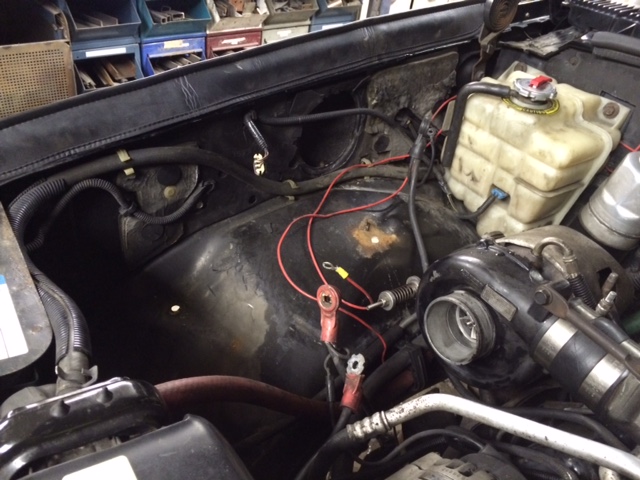
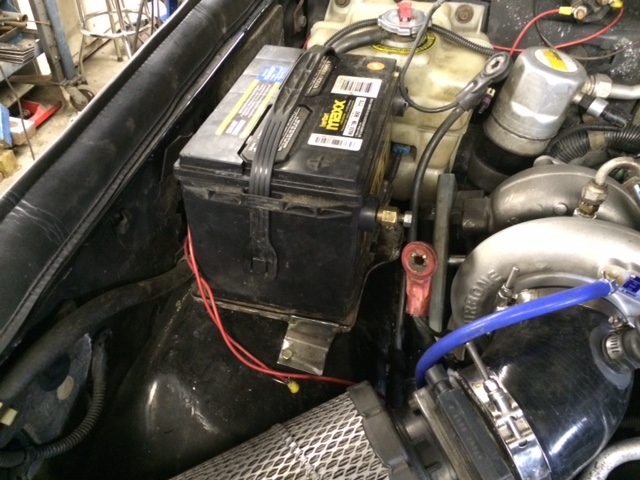
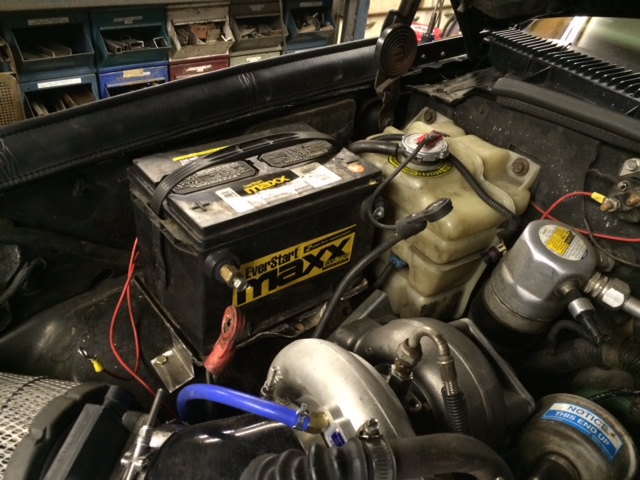
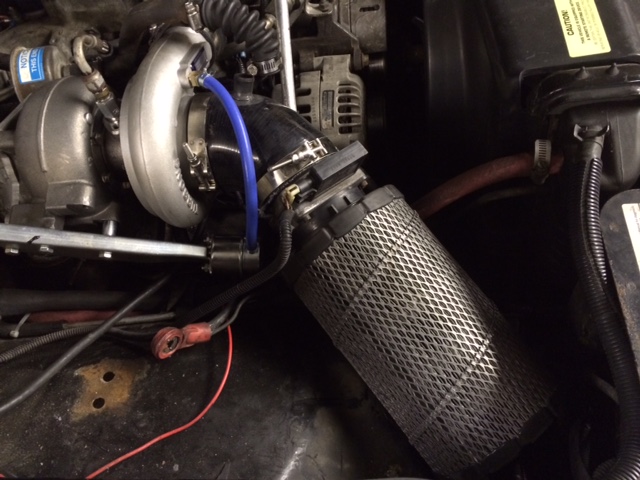
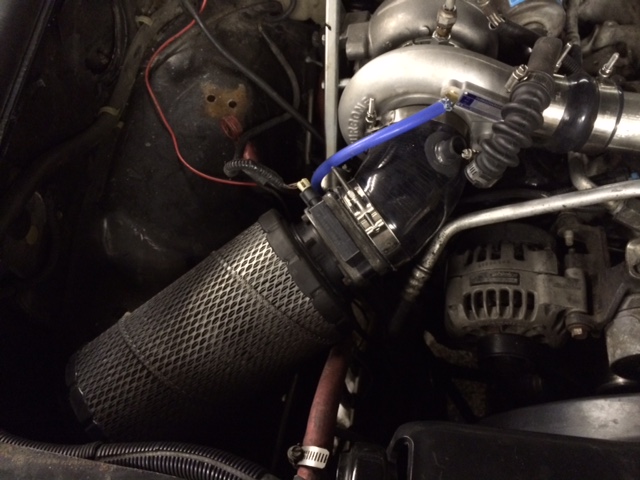
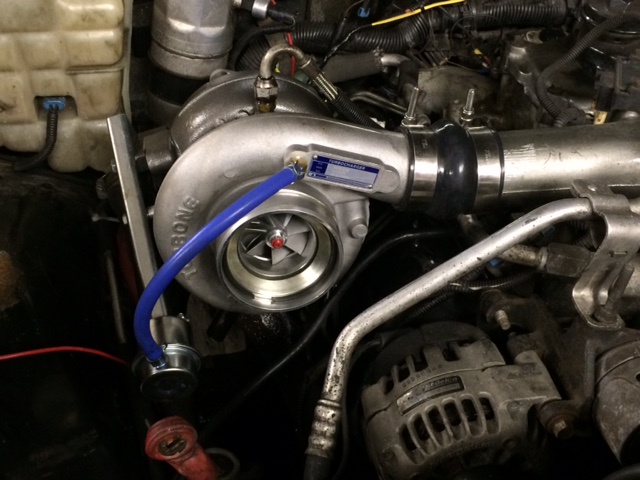
Installation time!! The first step was to remove the old battery tray because I was going to swap the locations of the battery and air intake for better routing. I wanted to do that eventually, but since I still have a MAF meter on my truck it was going to be difficult to impossible to route it with the existing configuration. Even with the battery moved, the MAF still proved troublesome and made me change my intake routing plan...though it turned out ok in the end. I intend to make a fully enclosed and insulated airbox in the old battery location later this year.
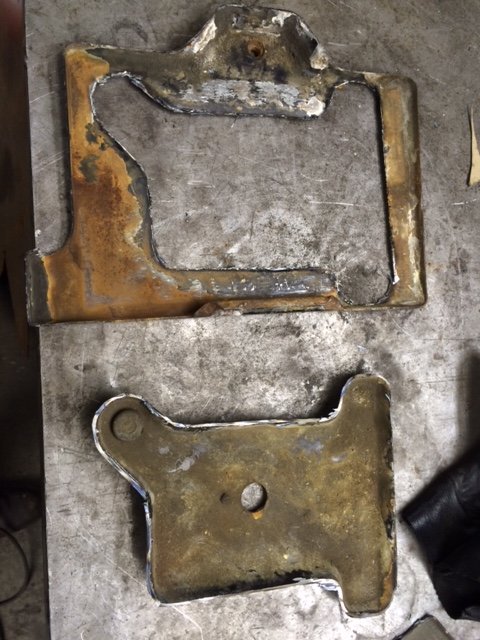
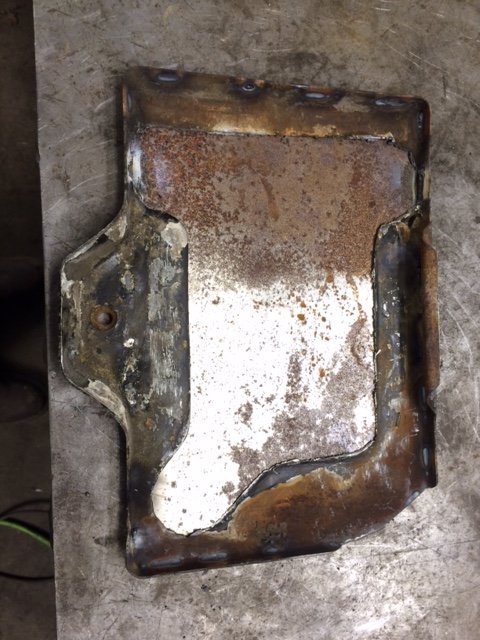
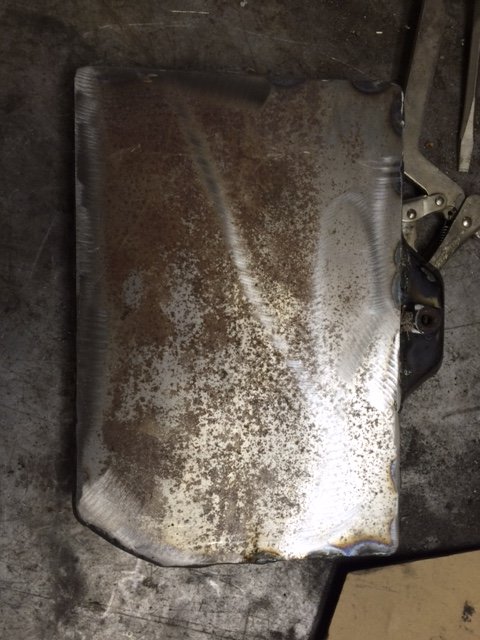
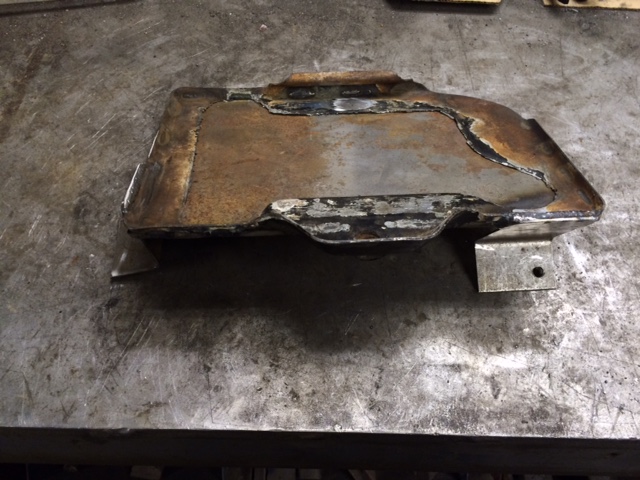
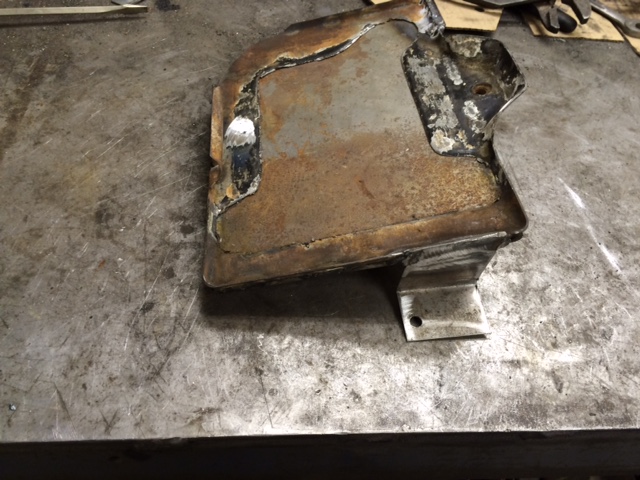
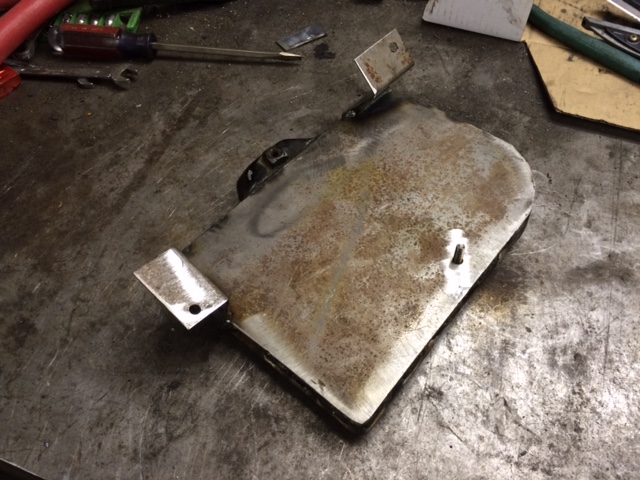
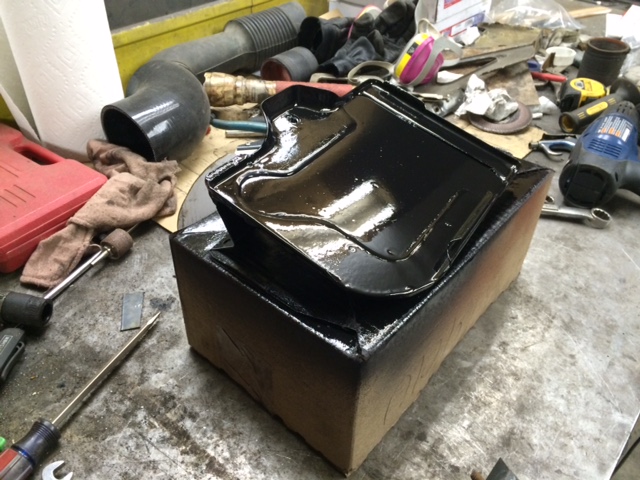
The battery relocation was much more difficult than I expected. Using the stock battery tray didn't work as I hoped because it was too tall. So I had to cut the indentation off the bottom of it and weld a flat 11 gauge piece of steel on the bottom. It turned out ok in the end, but not what I planned.batteryremoved1.jpg batteryremoved2.jpg batterytray1.jpg batterytray2.jpg batterytray3.jpg batterytray4.jpg batterytray5.jpg batterytray6.jpg batterytray7.jpg batterytray8.jpg
 
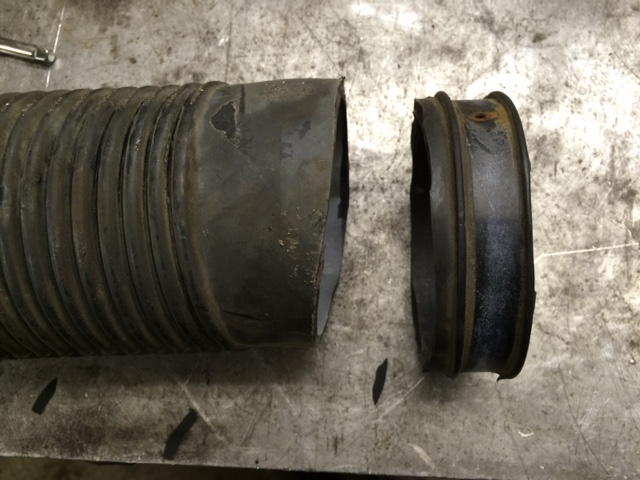
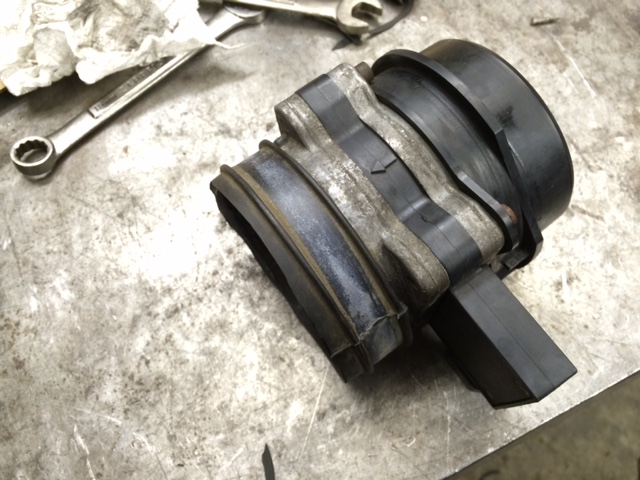
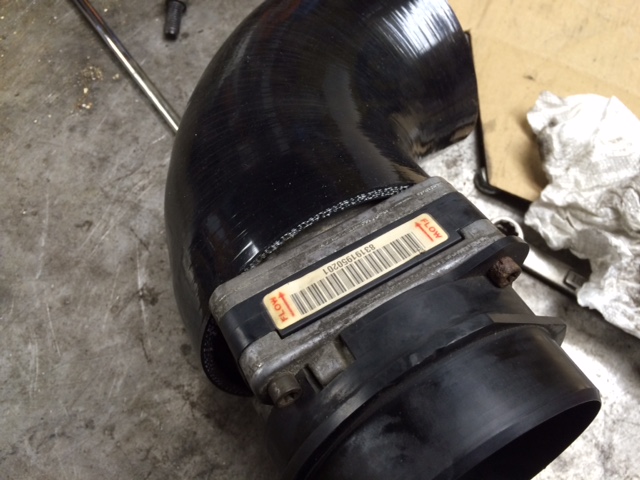
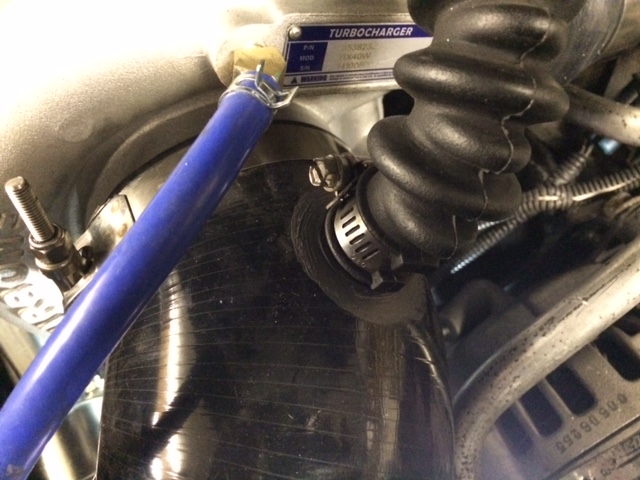
To make the intake work, I needed to cut a piece off an existing piece of intake tube that I had in order to take up the space between the smaller MAF meter and the new 4" silicone tube. I also had to cut the BRAND NEW 90 to make the routing work, which ticked me off, but oh well, it worked. I was going to use 2 90s with a short section of 4" exhaust pipe in the middle that I was going to weld a bung to for the attachment of the CDR pipe. You can see what I ended up with instead. It works ok, just not what I intended. Also, here is the painted battery tray.

batterytray9.jpg oldintakecut1.jpg oldintakeonmaf1.jpg siliconeonmaf1.jpg intakeinstalled1.jpg intakeinstalled2.jpg cdr1.jpg
 
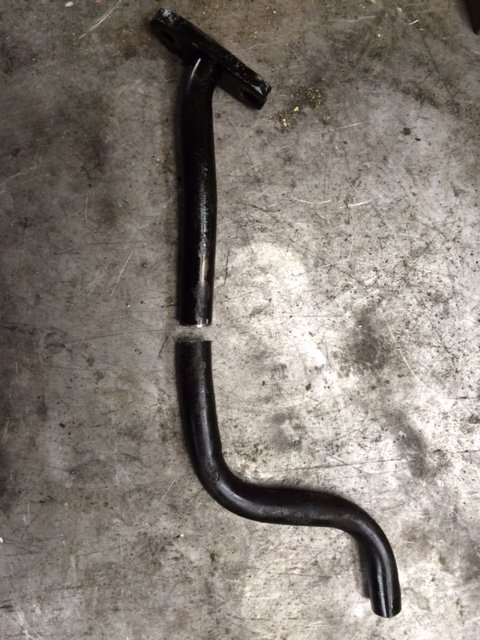
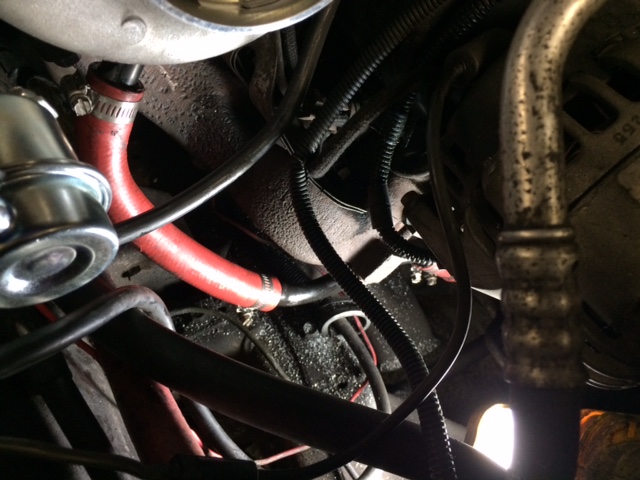
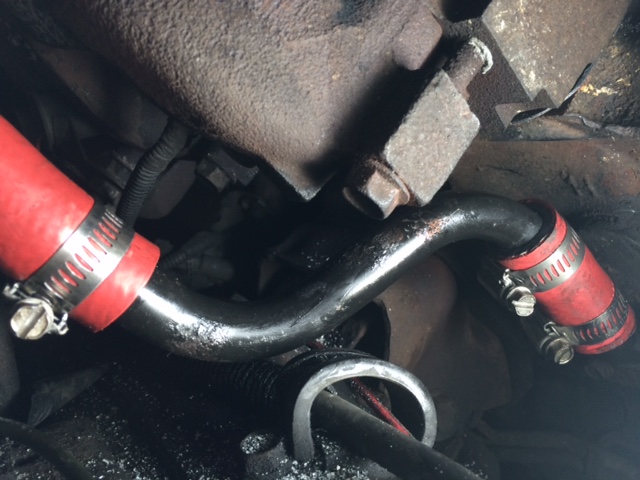
I made the oil drain work by cutting the existing tube and using Gates multi-purpose hose from NAPA. I flipped the tube around at the turbo and used the rest of the tube to route it around the manifold.

oilpipecut1.jpg oilpipecut2.jpg oilpipeonturbo1.jpg oilpipeonturbo2.jpg oildrain1.jpg oildrain2.jpg turbonointake1.jpg
 
The only part of the install I didn't get a pic of was the cutting of the intake. I just cut it at the boss that the connecting brace bolts to. It was the perfect length then. I have a few more pics of the install that I haven't uploaded yet, but what you've seen so far basically shows all of it.

Driving it last night was FUN!! It boosts quickly up to 17 pounds when you get on it while driving around with no noticeable lag. When you stomp it from a stop it does lag with a huge cloud of black smoke, but that just takes an adjustment of driving style. When I build the engine this winter/spring, I will have a new tune done and make sure it takes into account the HX40.
My EGTs are more normal now - before I would have to get out of the throttle at about 70 mph when getting on the highway because I was at 1200F, but now I'm only at 1000F at 70....and beyond. :cool:

A benefit I didn't expect was that my exhaust was quieter in the truck! That is a nice thing. Something I was hoping for and didn't get though was a bunch of whistle. It whistles a little but not more than the GM8. Hopefully as it breaks in, it will whistle more. Also when I can finally get rid of the darn MAF, that should help.

I will post more pics and driving impressions soon. Time to go drive!!
 
Fantastic work Nate! I really love the downpipe you made, as it looks like it will be very nice flowing even with the wastegate open. Very nice job of documenting your turbo, and its different measurements. This is great info for those who are looking at doing an upgrade like this. I'm headed out the door to get to work on my truck, or I'd have more to say. I look forward to hearing all about your overall impressions of your turbo. :)

Matt
 
AWSOME! The whistle will get louder w/full 4" ID MAF. My whistle is awful loud it has me thinking about reinstalling the silencer ring but the boss lady says she does not mind it and I'll get use to it.

Great fab work, I'm going with the same spiral setup you have on your exhaust as it surely flows more cfm than my big SS muffler.
 
Fantastic work Nate! I really love the downpipe you made, as it looks like it will be very nice flowing even with the wastegate open. Very nice job of documenting your turbo, and its different measurements. This is great info for those who are looking at doing an upgrade like this. I'm headed out the door to get to work on my truck, or I'd have more to say. I look forward to hearing all about your overall impressions of your turbo. :)

Matt

Thanks Matt! I definitely used your turbo install thread as an example of how to document the process and the details of the turbo itself.

Great job. How does that 6.5 run now?

Thanks Jorge! It runs pretty great. I've only driven it about 100 miles so far, but it is a lot stronger than it was before. What's cool now is that the faster you're going, the harder it pulls, which is an interesting sensation. I imagine that with a better tune it will work better down low too. I have no complaints right now though, for sure!

AWSOME! The whistle will get louder w/full 4" ID MAF. My whistle is awful loud it has me thinking about reinstalling the silencer ring but the boss lady says she does not mind it and I'll get use to it.

Great fab work, I'm going with the same spiral setup you have on your exhaust as it surely flows more cfm than my big SS muffler.

Thanks FT! Yeah I figured the puny MAF was affecting the whistle. I drove on the highway for about 80 miles yesterday and I could hear a faint, high-pitched whistle in the background....so maybe I don't want it to whistle that much more after all, ha. Once I can delete the MAF and make a nice air box then I'll be able to truly judge the whistle.

If you're having troubles with drone right now, then I DEFINITELY recommend the resonator I have. I have absolutely no drone at all....it does a pretty good job of taming exhaust noise too. I think you'll like it.

Nate, I notice you left your silencer ring on your turbo. Remove it, and it will whistle more.

Matt

Yeah I left the silencer ring on because I didn't want too much whistle, not knowing how much I would get. For now I'm just going to leave it on...if after I get the air intake figured out it still doesn't whistle enough, then I'll take the ring out to see if I can get some more out of it.
 
I forgot to include a final tally of costs for my install: $387. This doesn't include shipping or tax. Also there are some small things that will be needed like hose clamps for the oil line that I already had. I also already had a portion of 2" OD exhaust pipe for the wastegate portion of the downpipe adapter. Not too bad for what it got me. From what I can tell so far, besides the original tune from Heath, this is the single biggest change in the performance of the truck that I have installed. Of course everything works together as a package, so it probably wouldn't work nearly as well without the other parts that I have already installed.

I also forgot the mention the oil fitting. I was able to get it from a local hose supplier in town. It's an adapter fitting with M12x1.5 threads on the male end and 1/4" NPT on the female end. They normally stock it, though they just happened to be out when I went in to buy one. They had it for me the next day though, so not bad at all.
 
Here is a quick video I took yesterday. I was on the highway pulling a small utility trailer with a 6.2 diesel long block in it. I'm estimating the weight at about 1200 pounds. I'm really sorry for the crappy quality, but it's all I have right now. The video starts showing that I'm travelling 60 mph. Then I'm fussing around trying to get my phone to get the brightness right...that's the long delay. Then I floor it and you can see the boost jump. It starts at about 4psi, then jumps to 16, from there it creeps to about 18. EGTs start around 600 and reach about 1000. It was pulling the strongest just before I got out of the throttle at 80. I can't wait to drive it some more and see how it acts in different situations. I'll try to get some better video posted later.

 
Back
Top