• Welcome to The Truck Stop! We see you haven't REGISTERED yet.

    Your truck knowledge is missing!
    • Registration is FREE , all we need is your birthday and email. (We don't share ANY data with ANYONE)
    • We have tons of knowledge here for your diesel truck!
    • Post your own topics and reply to existing threads to help others out!
    • NO ADS! The site is fully functional and ad free!
    CLICK HERE TO REGISTER!

    Problems registering? Click here to contact us!

    Already registered, but need a PASSWORD RESET? CLICK HERE TO RESET YOUR PASSWORD!

1996 K2500 “Krovvy”

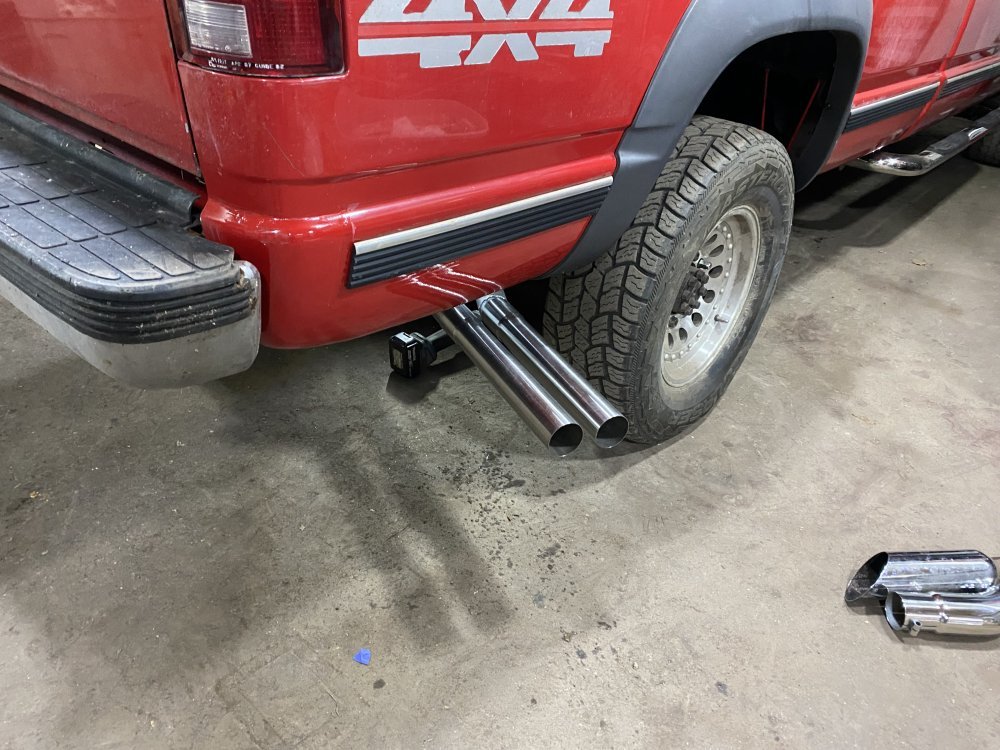
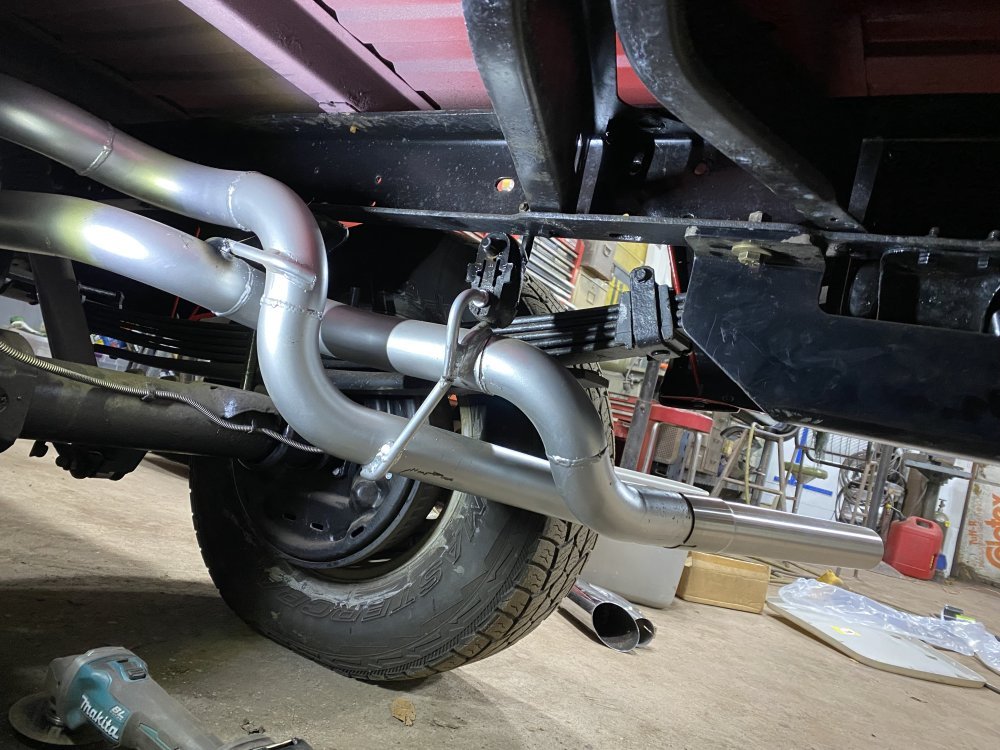
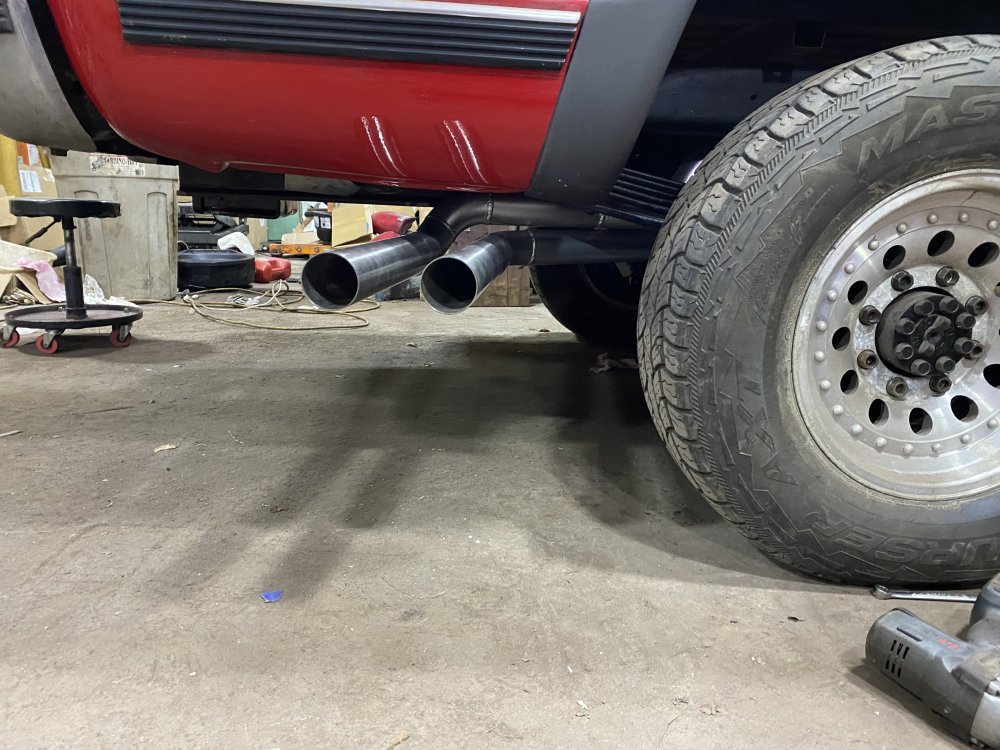
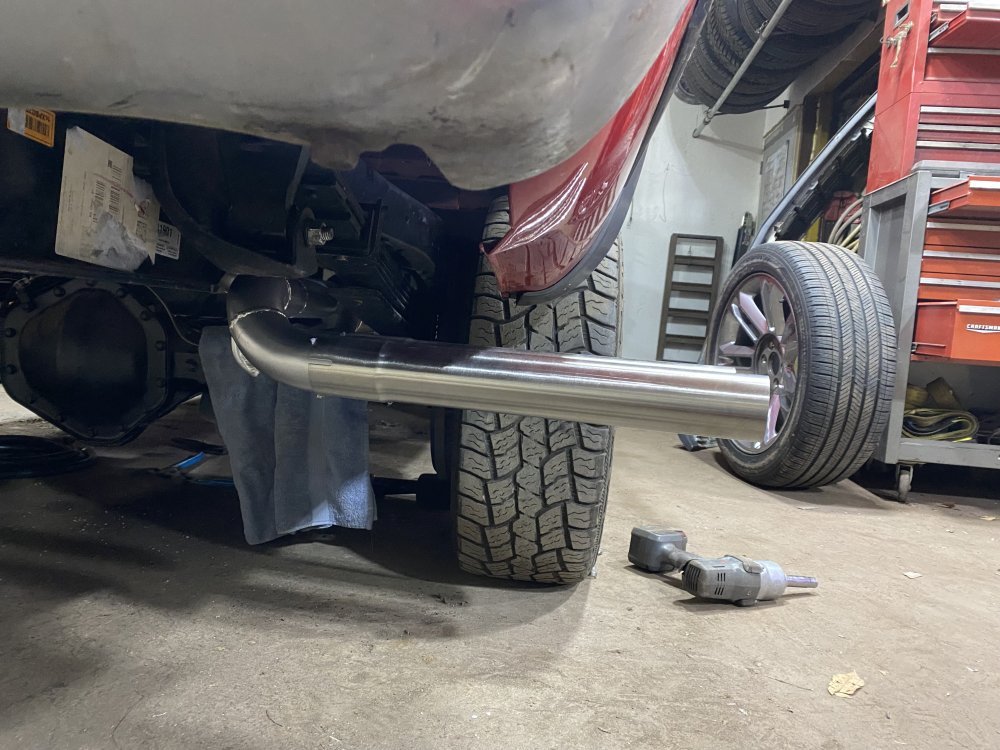
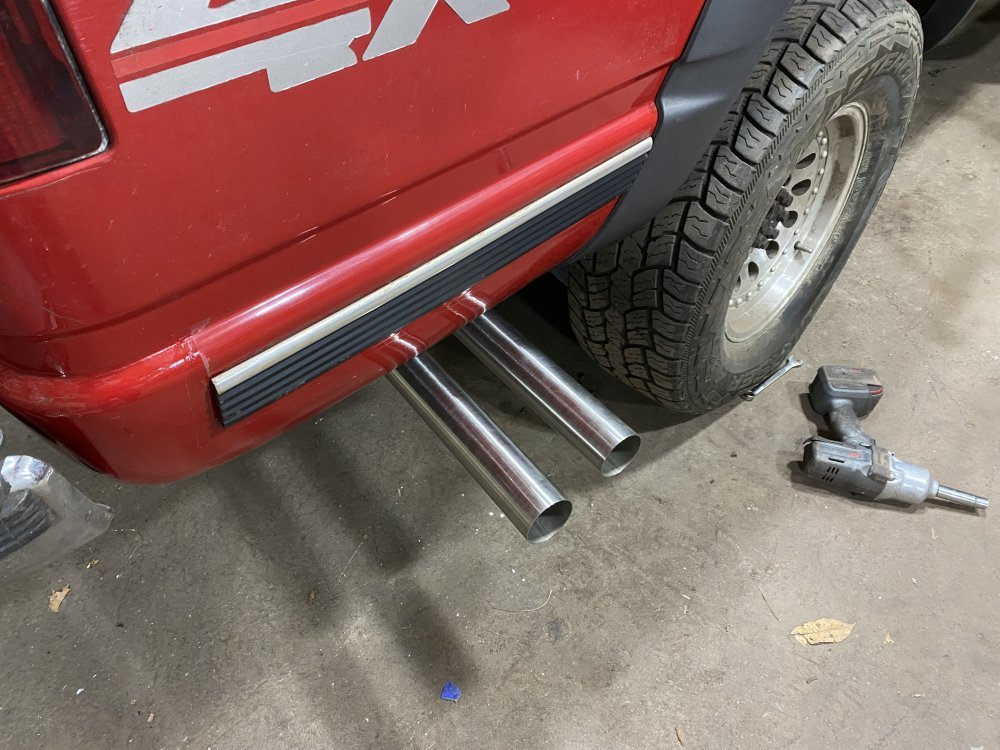
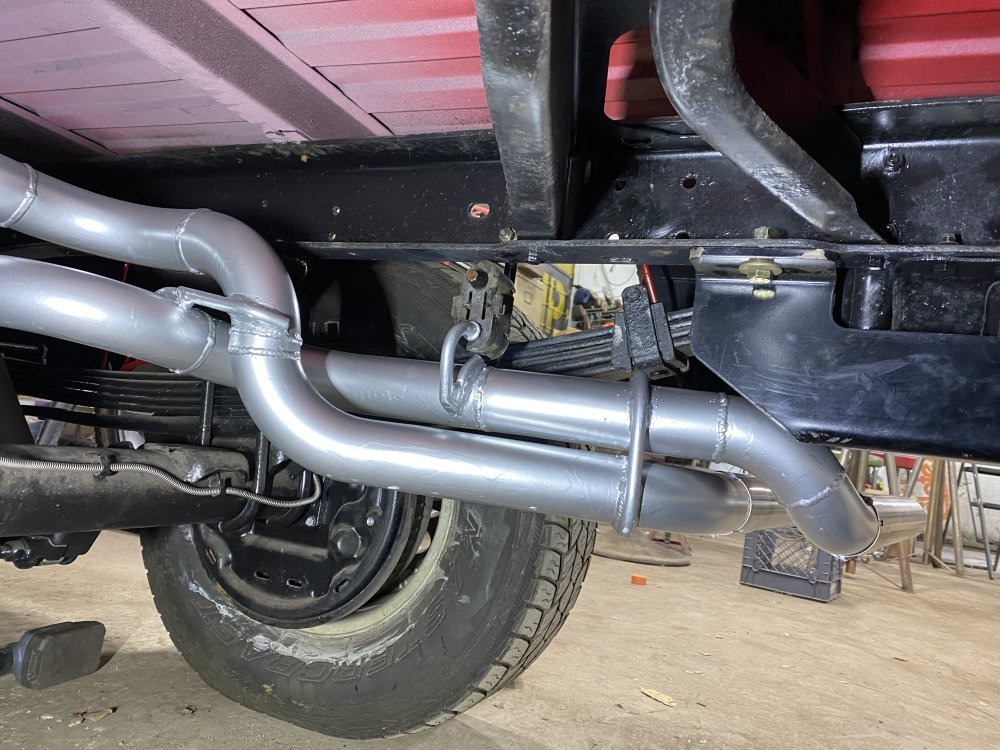
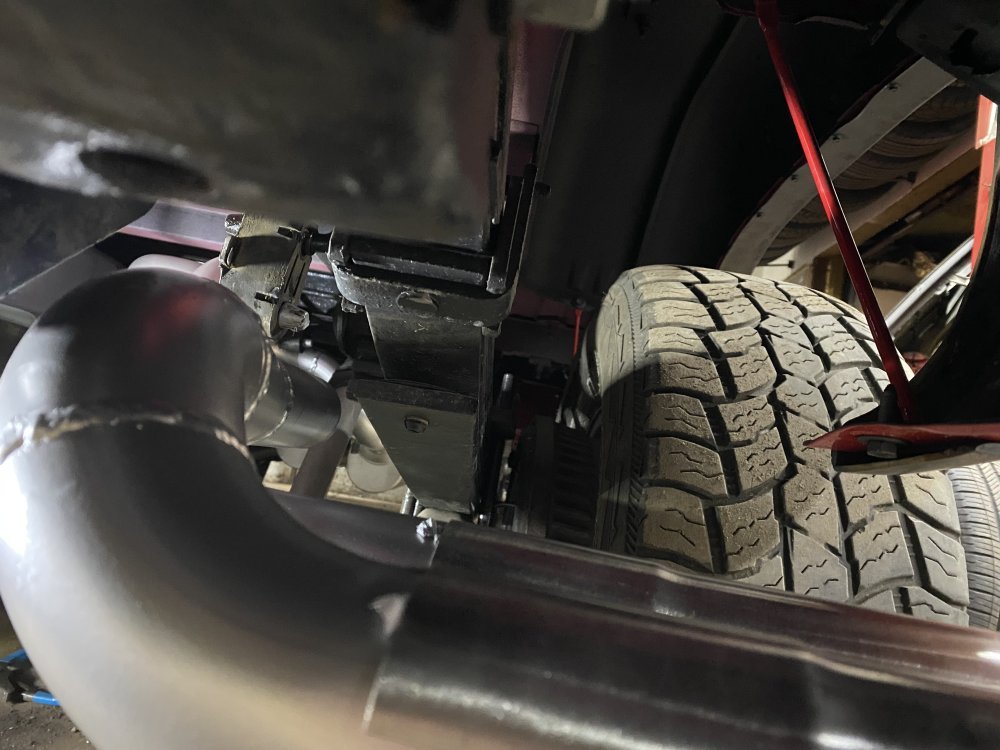
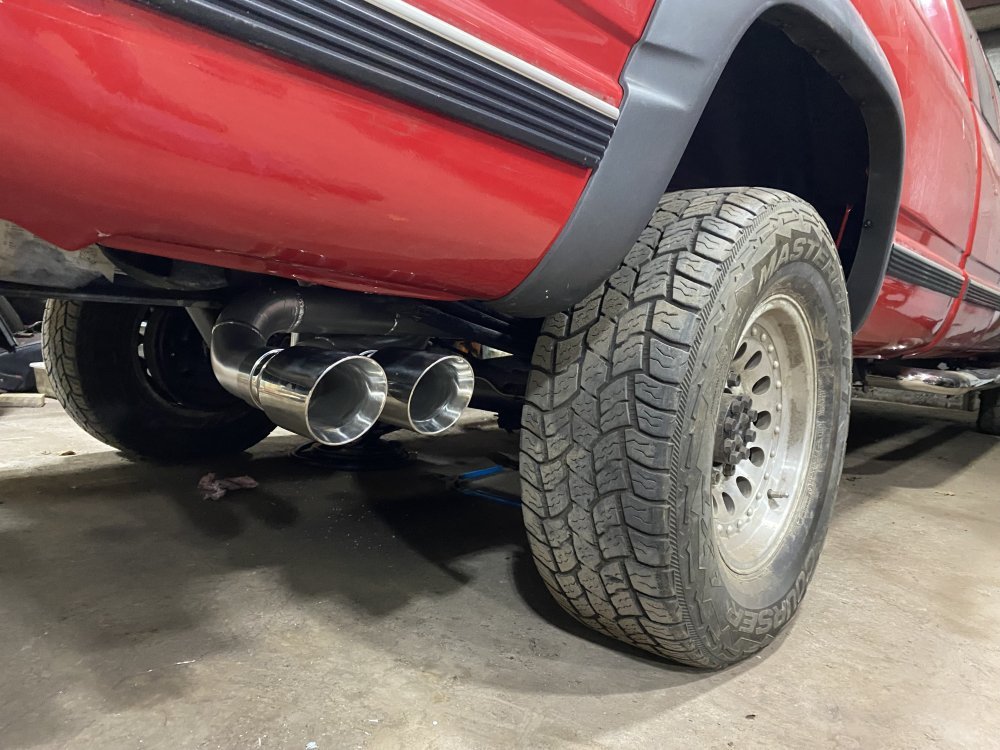
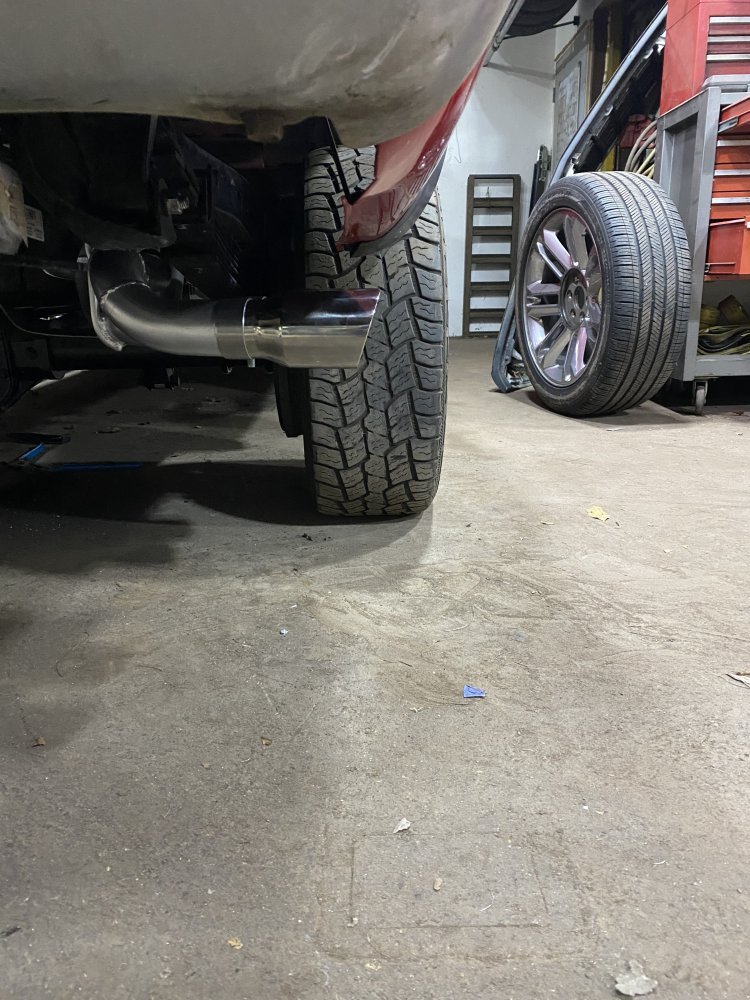
Monday night I was going to make the exhaust tips. My dad had bought some 2.5” stainless slip-on tubing, and the idea was I would cut them to length and clamp them on once the bed was installed. I slid them on and realized I was very unhappy with how far from the bed that the pipes were. Though I didn’t like it, I also didn't want to rework the exhaust, so I figured I could probably find some larger tips to make it look better. But then I decided to check the clearance between the exhaust and the spring when the axle drooped to see if that would sway my thoughts. Holy crap, this axle droops a TON and the spring was resting on the tailpipe big time. Damn. So that clinched it, time to redo the tailpipes. Here are some shots of the exhaust as it was Monday night. The stainless pipes are installed to help judge heights/distances.
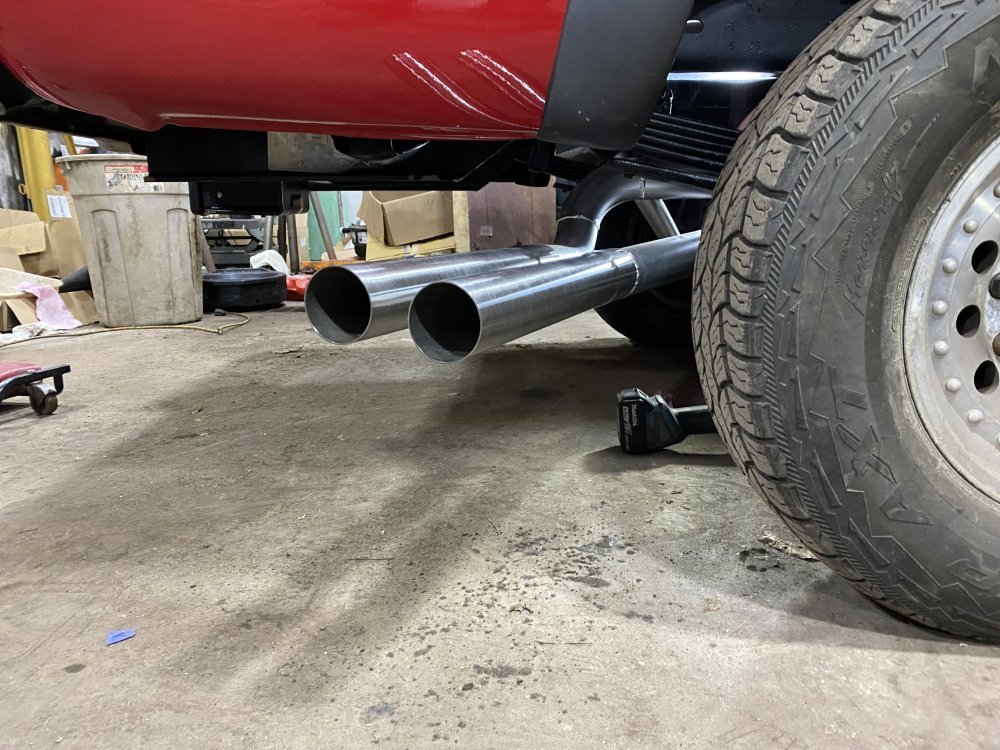
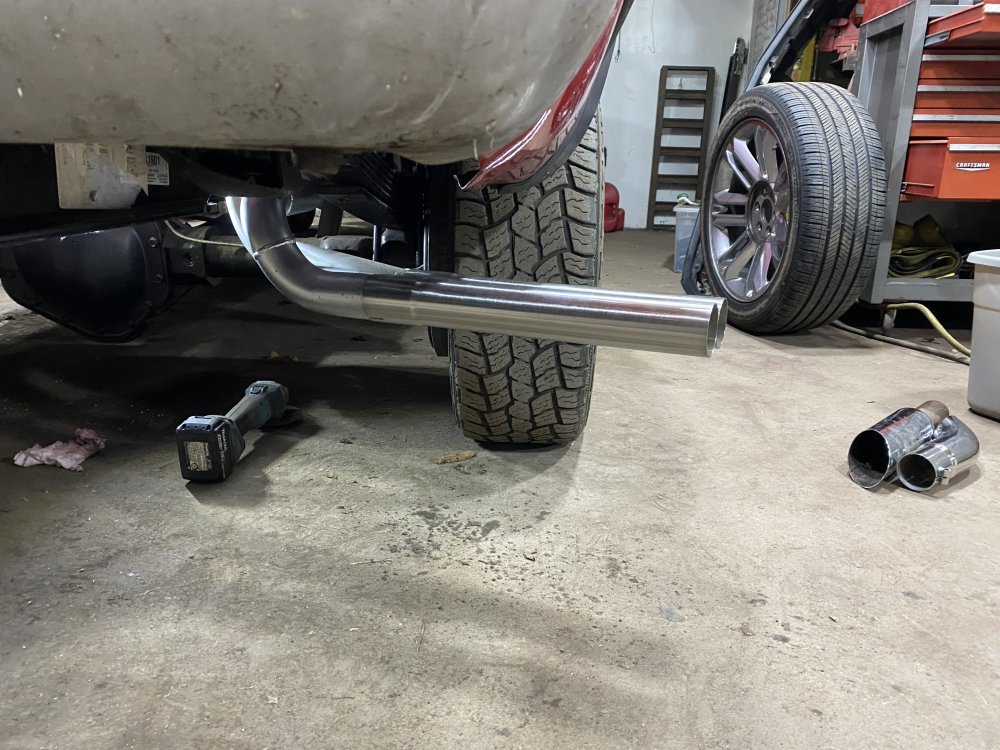
IMG_0706.jpegIMG_0707.jpegIMG_0708.jpegIMG_0709.jpeg

I’ll show the final results in the next post.
 
I got the pipes finished up the other night and finished painting them today. I managed to raise the pipes just shy of 2 inches. I would have liked to get them a little higher still, but it was challenging just to do what I did with all that was going on in that space. Good news is the spring no longer hits the exhaust and it looks much better than it did. Here are pics with the stainless pipes on for comparison purposes.

IMG_0726.jpegIMG_0727.jpegIMG_0728.jpegIMG_0729.jpegIMG_0730.jpeg

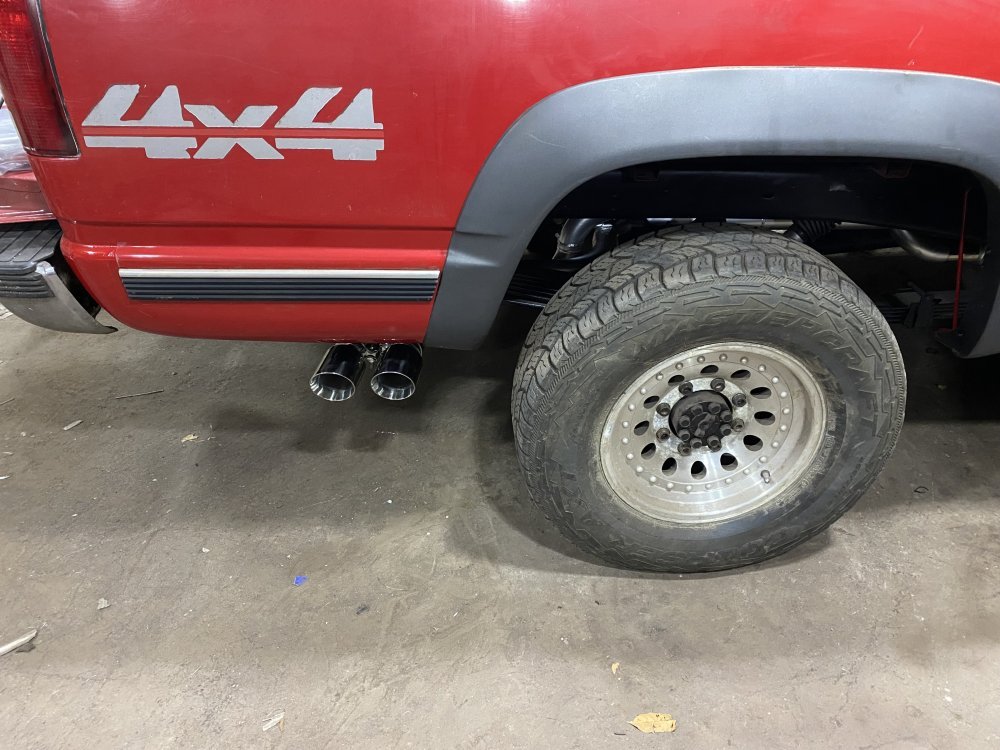
And here’s the finished product with some 3.5” tips off Amazon that help fill the gap a little nicer. I’m happy overall.

IMG_0731.jpegIMG_0732.jpegIMG_0733.jpeg

It sounds pretty decent, too. Gotta love true duals.

 
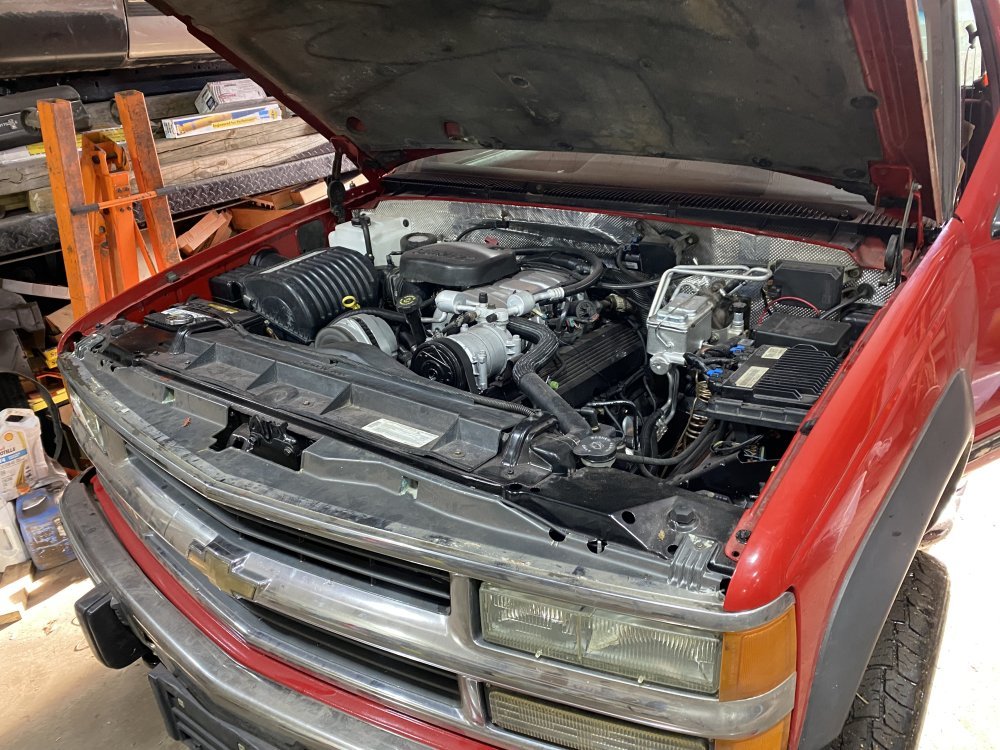
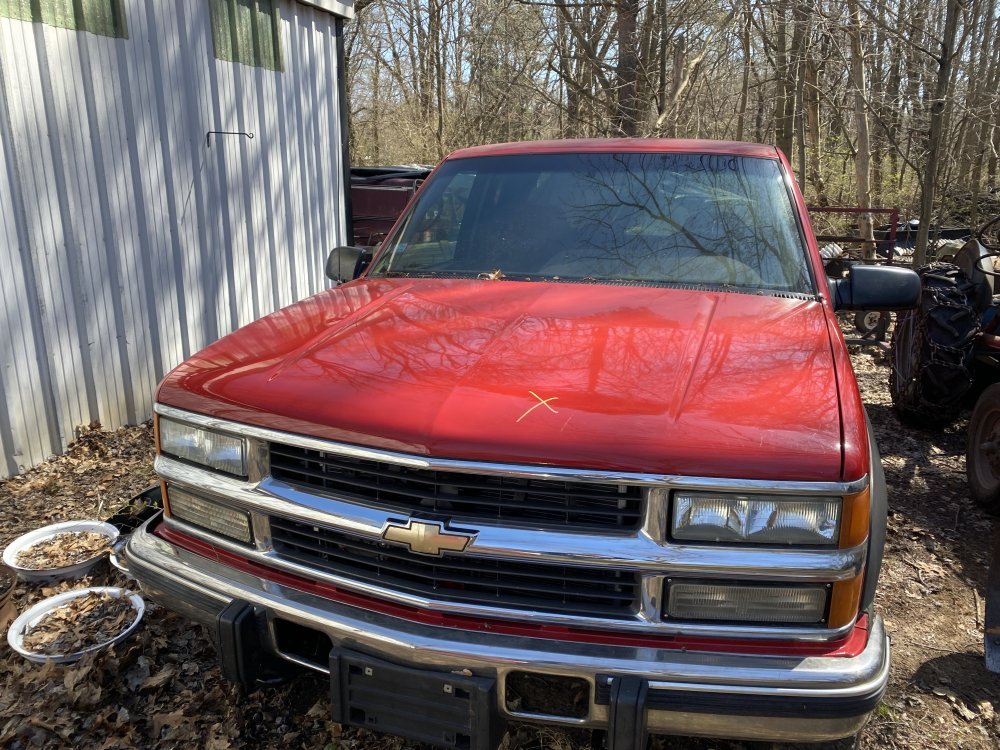
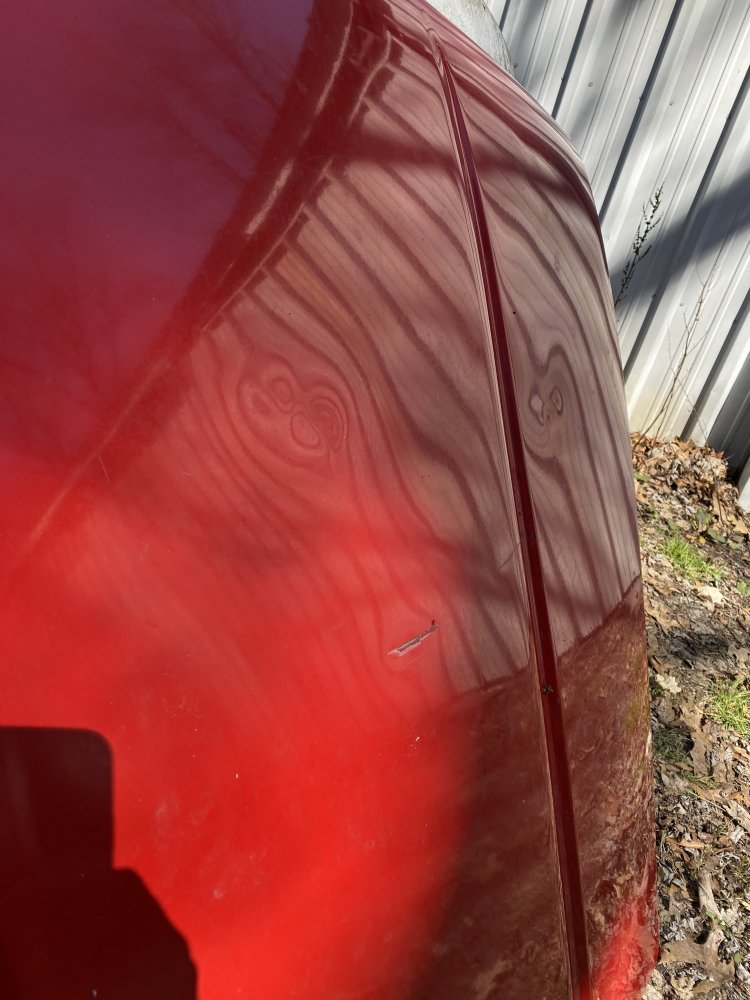
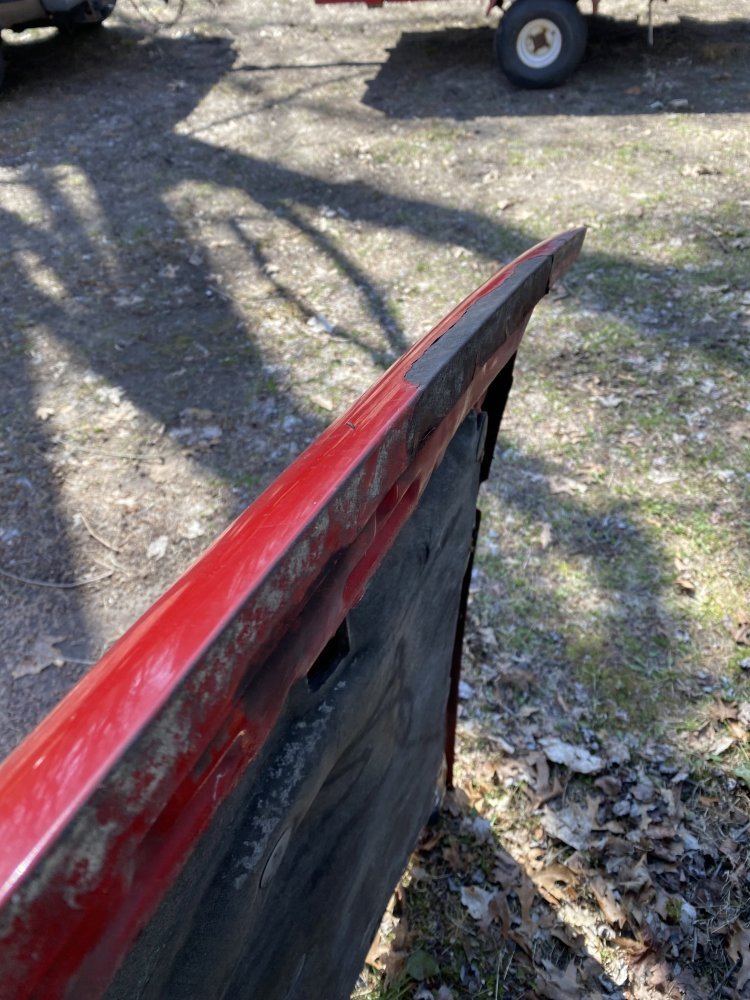
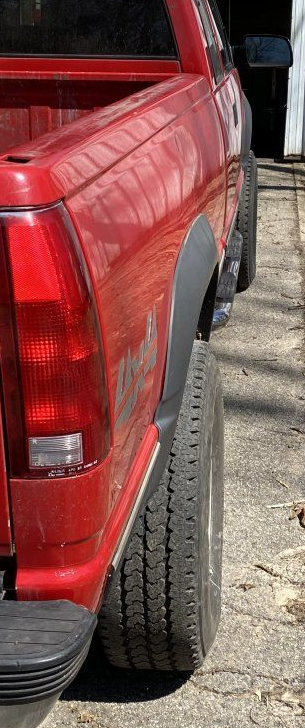
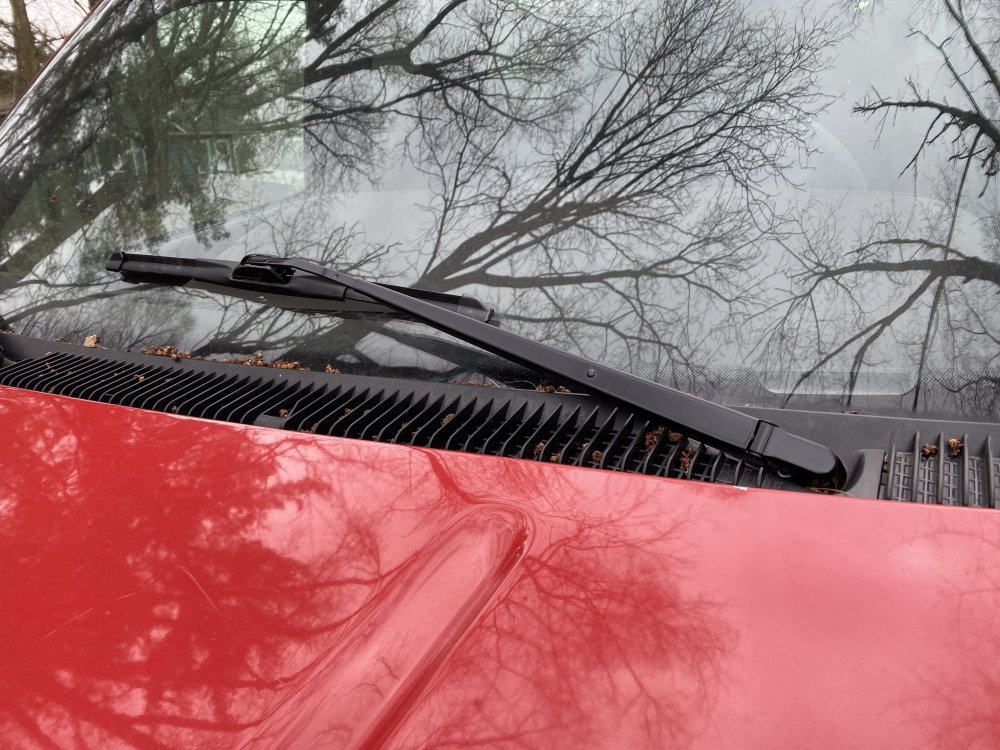
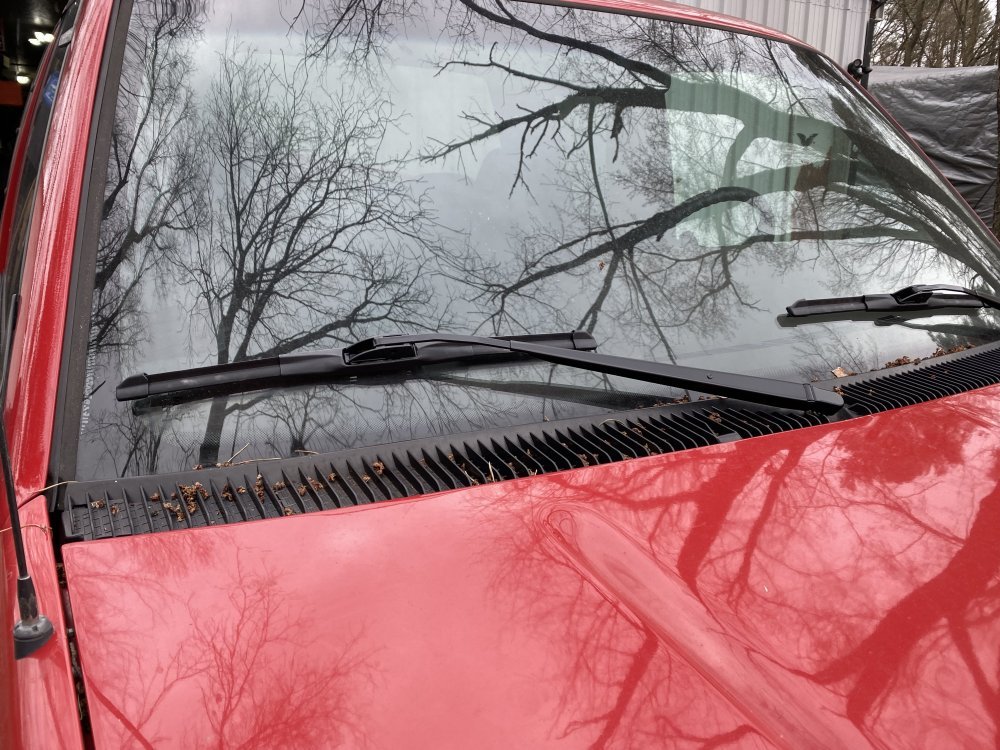
Thanks guys! I dug out the hood and put it on. I need to find a new one - this one has a rusty substructure and dents - better to just replace than repair. I might have another good one to use, but I’d rather find another red one.

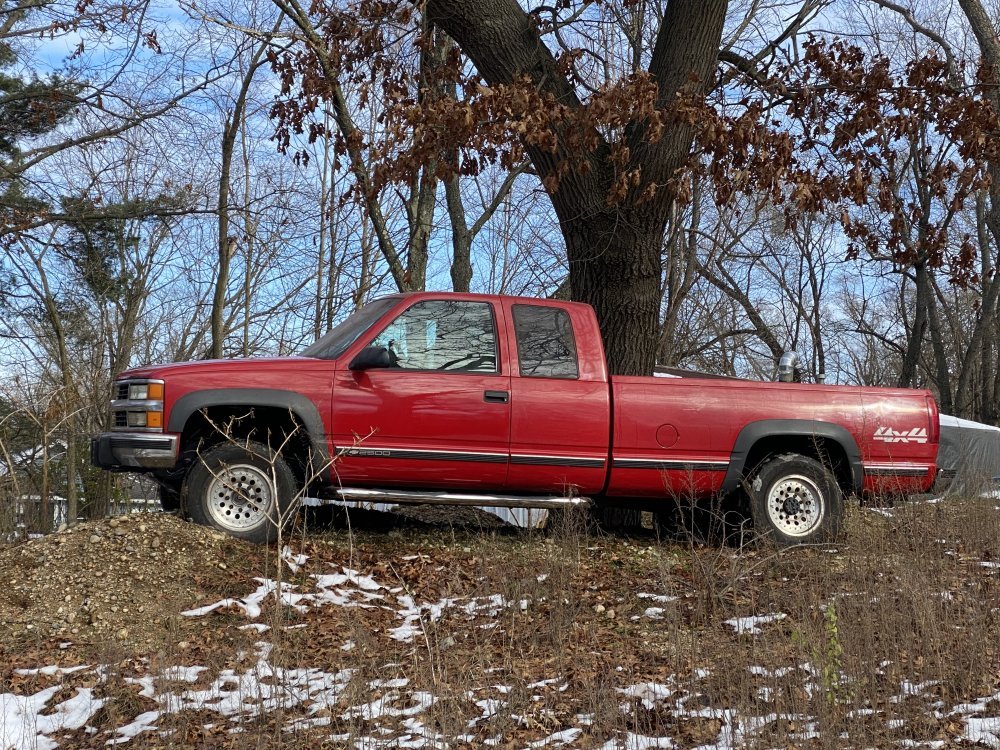
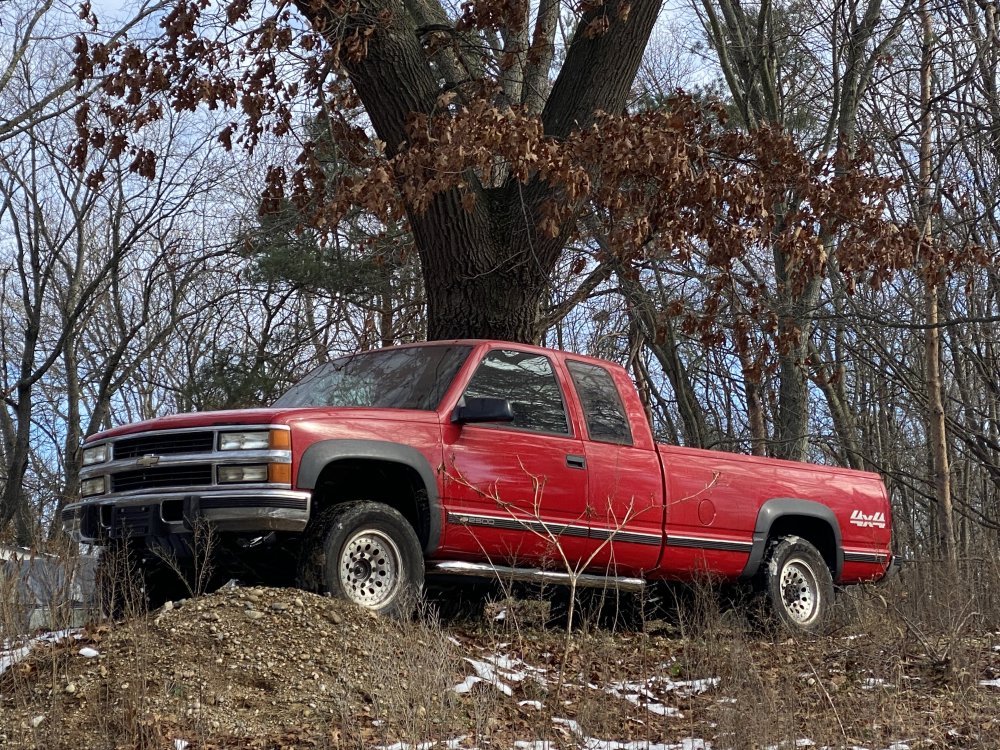
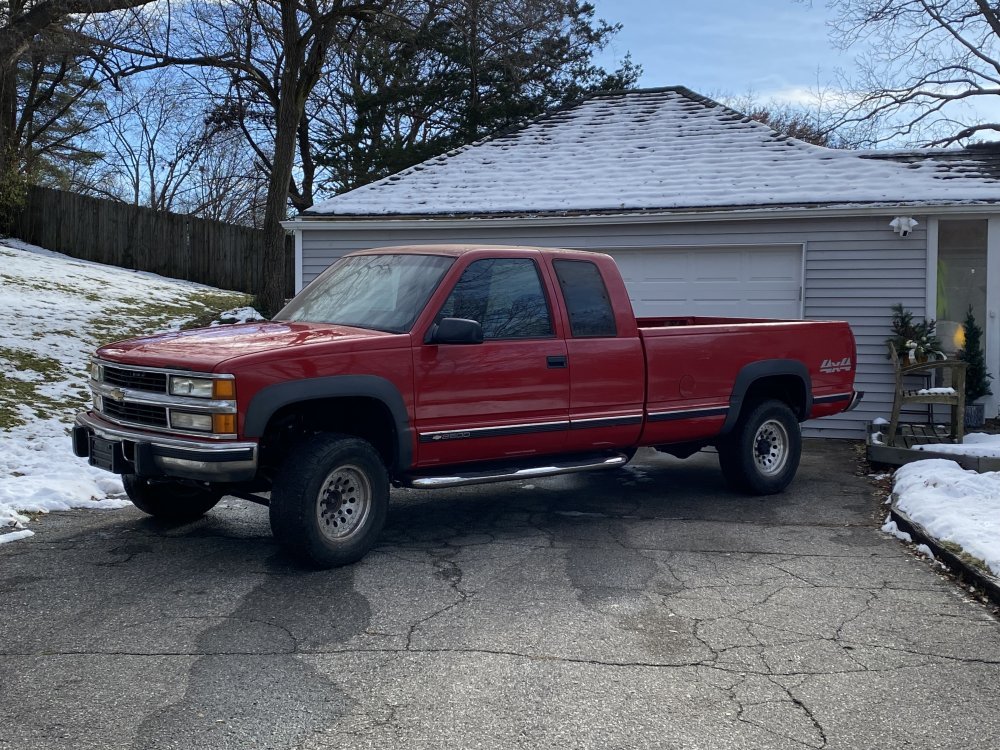
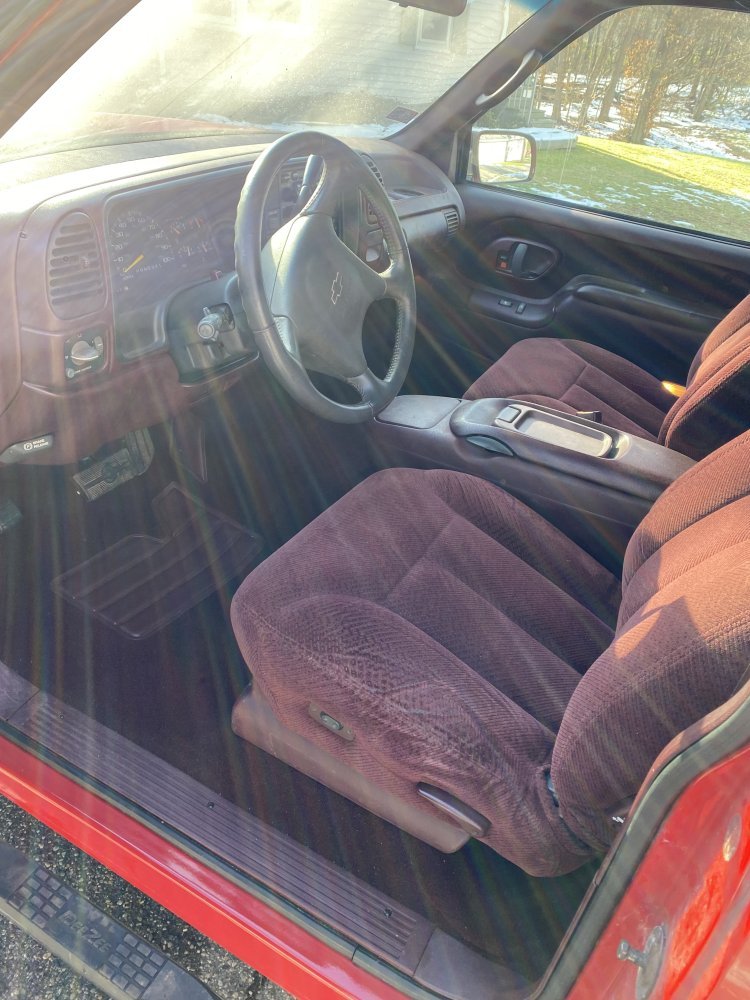
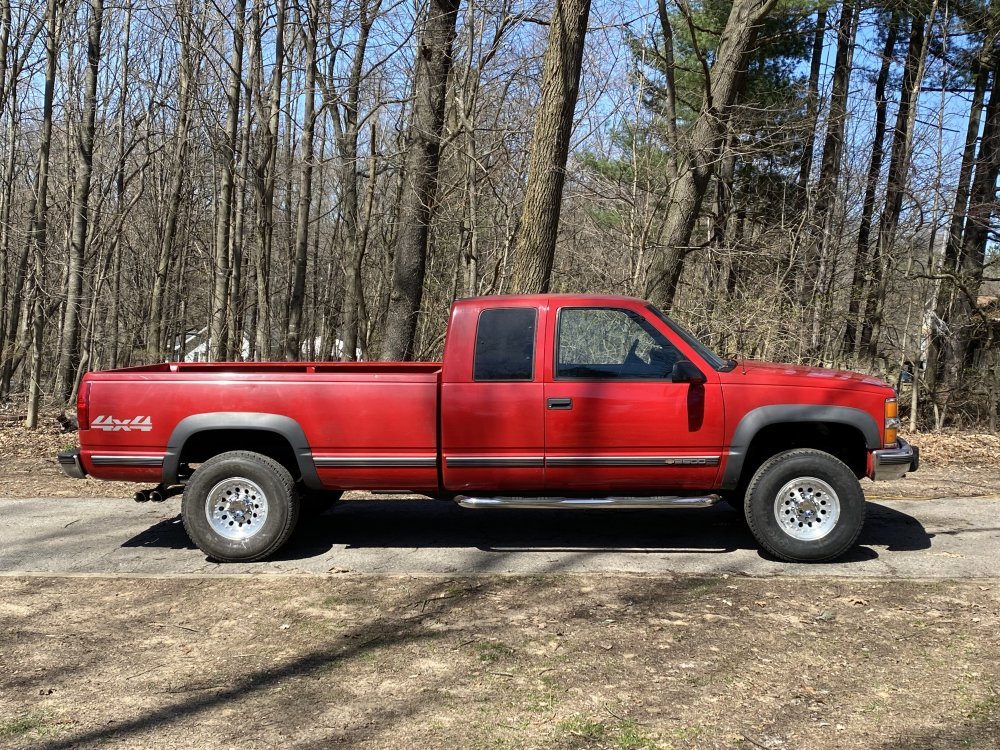
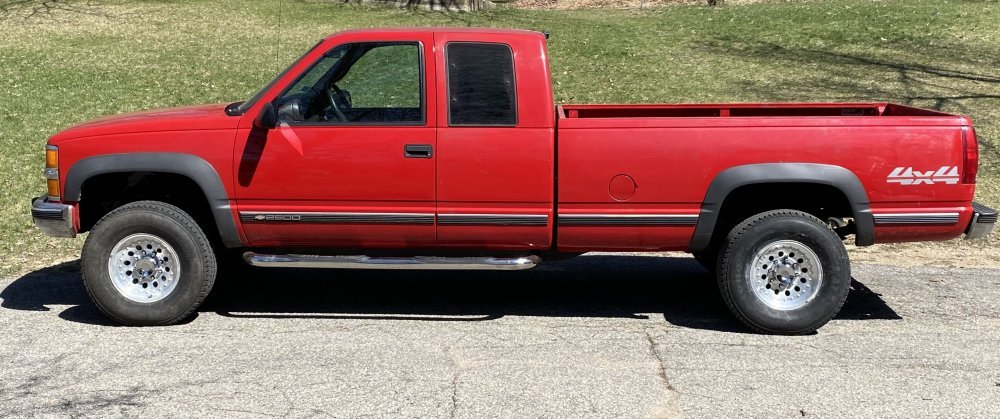
Now it’s done until dad is ready to drive it in the spring - just needs tires, alignment and charge AC. I hope he drives the puss out of it next year.

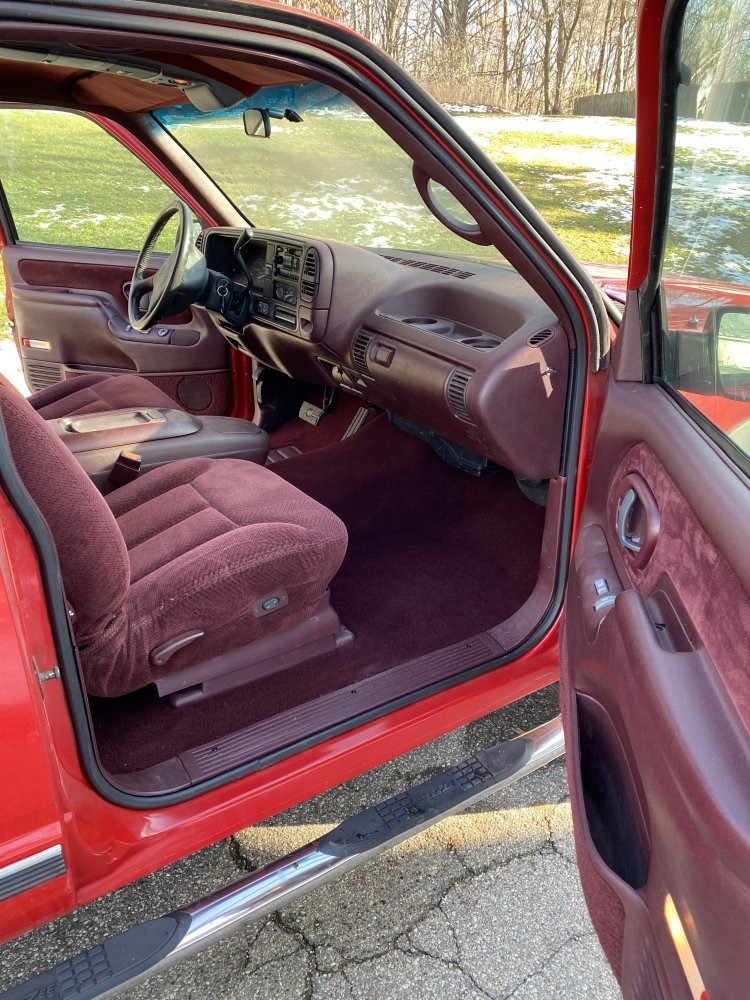
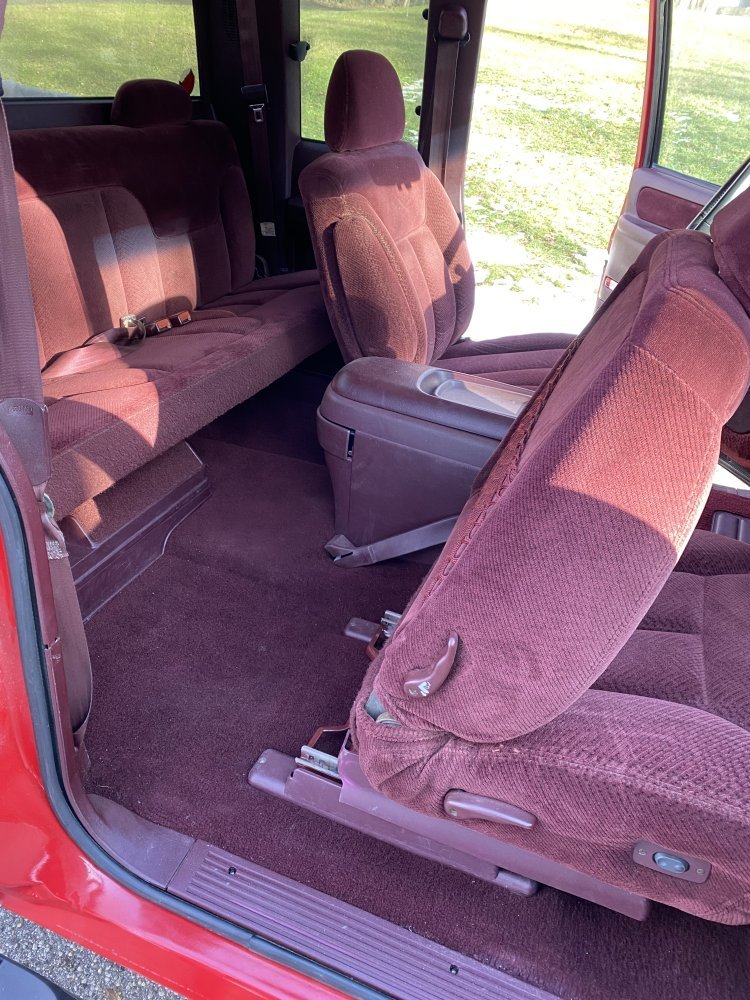
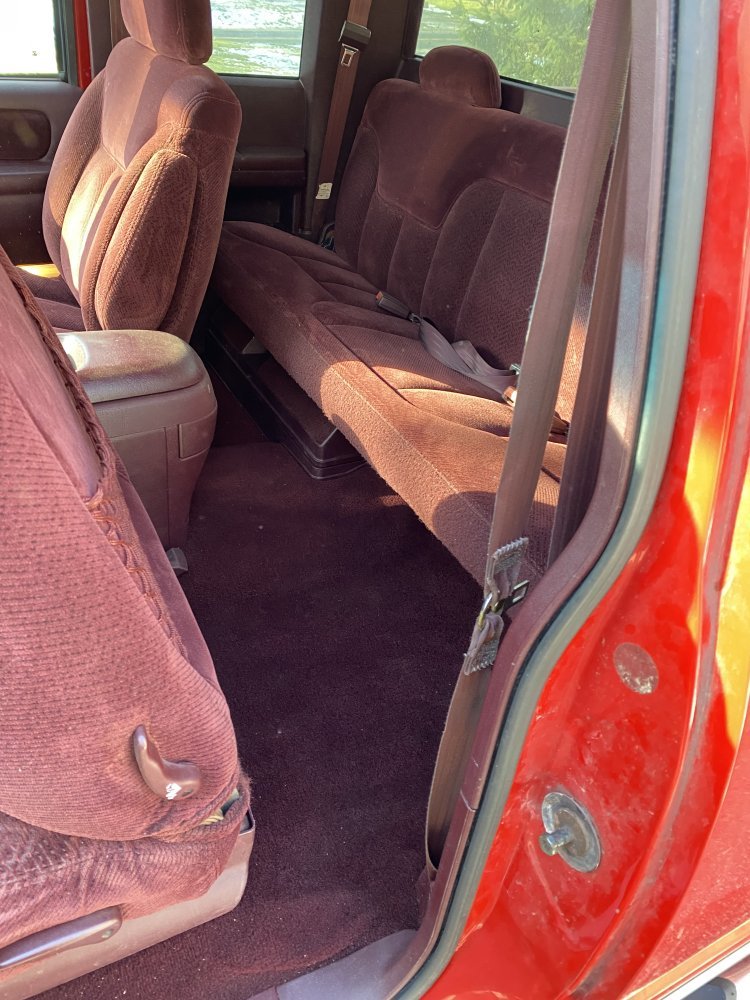
IMG_0740.jpegIMG_0741.jpegIMG_0742.jpegIMG_0743.jpegIMG_0744.jpeg
 
Another showroom piece 🤘 well done!

Since I don't see you opening a school for body work and rust repair anytime soon, do you have any links to articles/ videos on how to do the panel patching and bondo work you seem to have mastered? I've got lots to do on my rigs and have zero idea where to start. I've done a lot of drywall in my years as a contractor and I've heard its similar to working with bondo, but that's about the extent of my hearsay.

Thanks for sharing the process, always an inspiration
Thank you, but I would never claim to be a master of anything, I just try to learn and get better anytime I do anything.

For bodywork, I just started trying. I bought a 72 Chevelle in 1996 that needed some rust and collision repair. My dad had a little experience so he taught me some things and then I just kept trying things myself. From there I just kept trying things and working on them until they turned out (if I finished them).

As far as someone to learn from, I’ve watched a bunch of videos by a guy on YouTube that calls himself Japhands. He does a good job how to do different techniques - some using expensive tools and some using attainable stuff. Here’s his channel:


I’ve done a little drywall work and the results have turned out well, though I’m not very efficient….kind of how I feel with body filler. I’m guessing your drywall experience will give you a great foundation for body filler.
 
Back
Top