• Welcome to The Truck Stop! We see you haven't REGISTERED yet.

    Your truck knowledge is missing!
    • Registration is FREE , all we need is your birthday and email. (We don't share ANY data with ANYONE)
    • We have tons of knowledge here for your diesel truck!
    • Post your own topics and reply to existing threads to help others out!
    • NO ADS! The site is fully functional and ad free!
    CLICK HERE TO REGISTER!

    Problems registering? Click here to contact us!

    Already registered, but need a PASSWORD RESET? CLICK HERE TO RESET YOUR PASSWORD!

1996 K2500 “Krovvy”

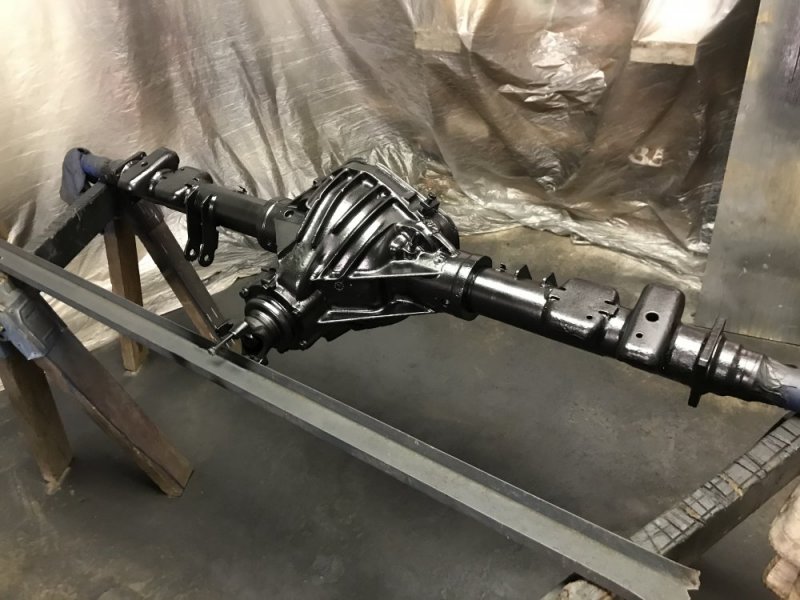
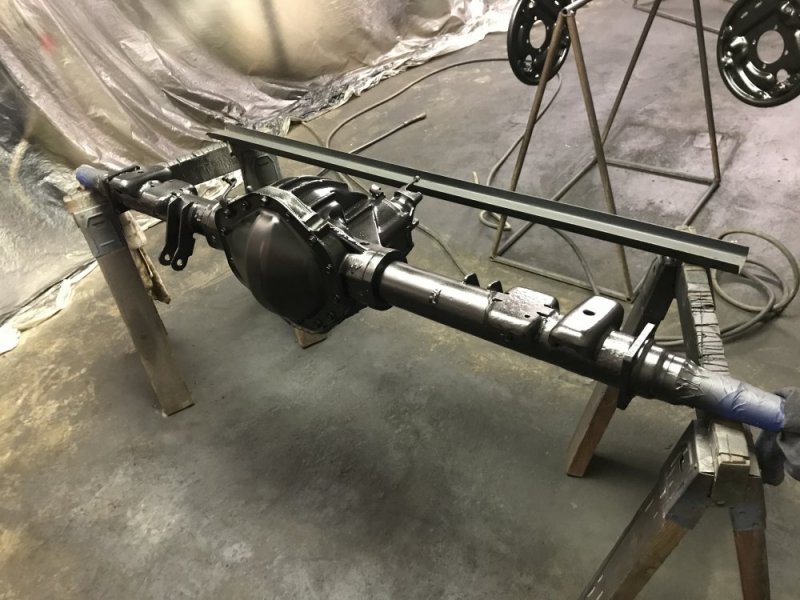
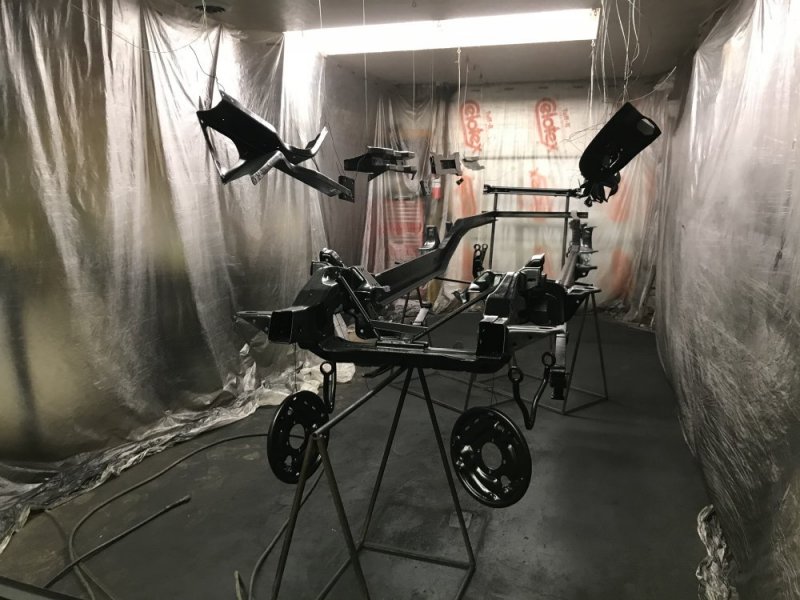
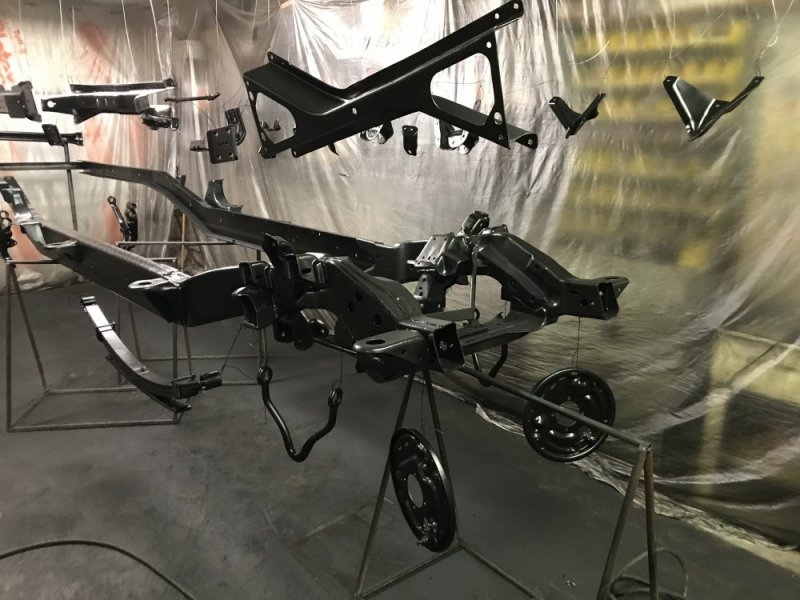
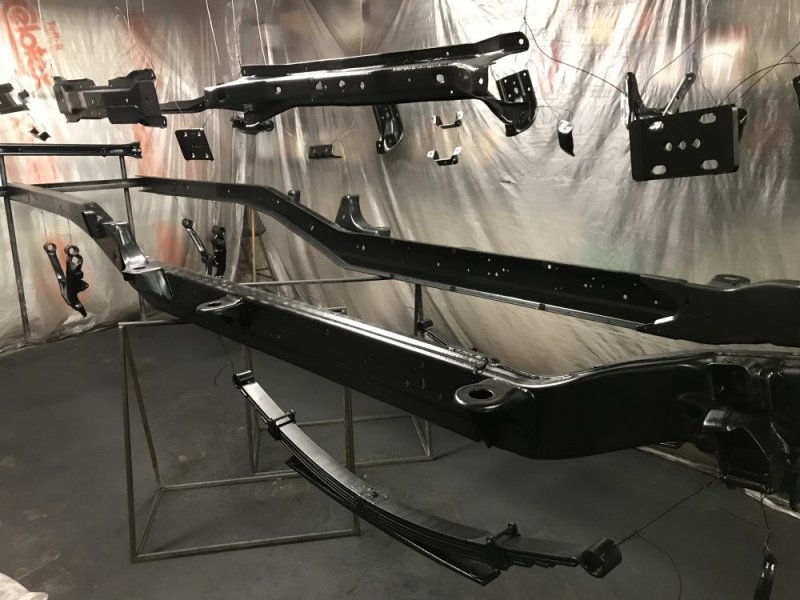
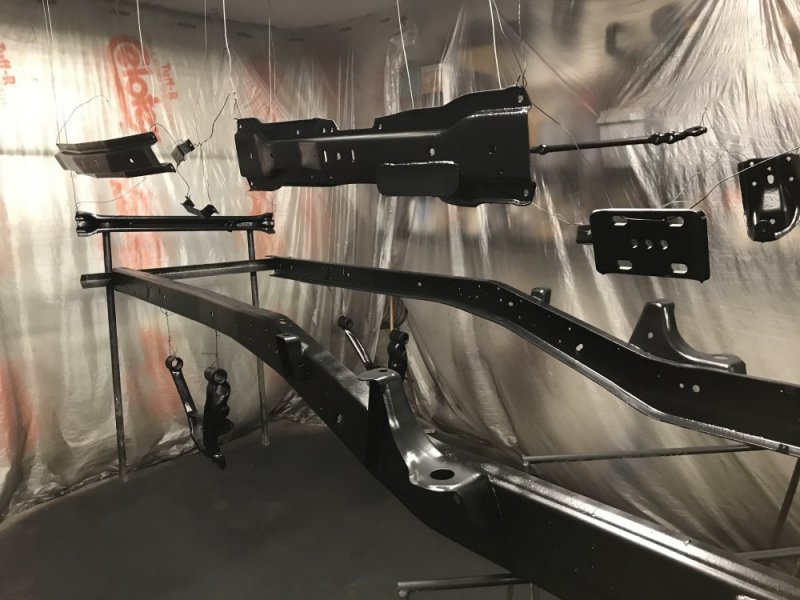
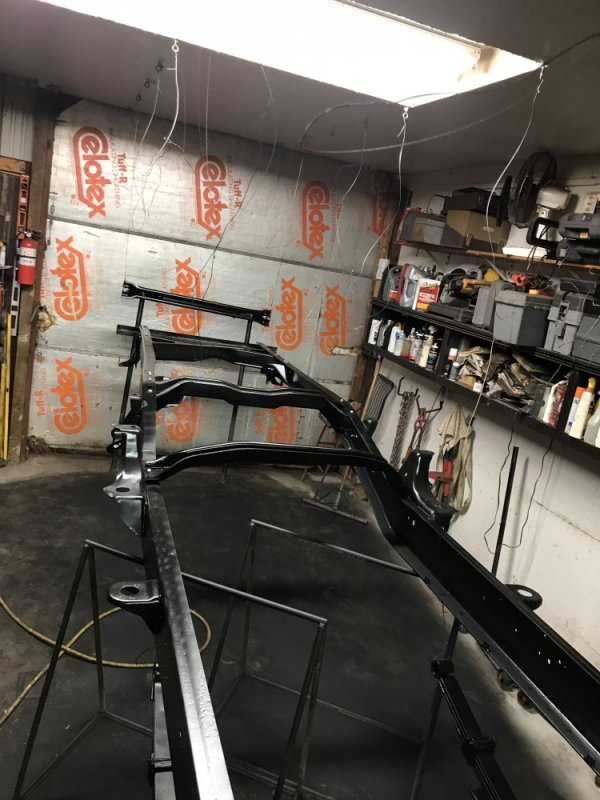
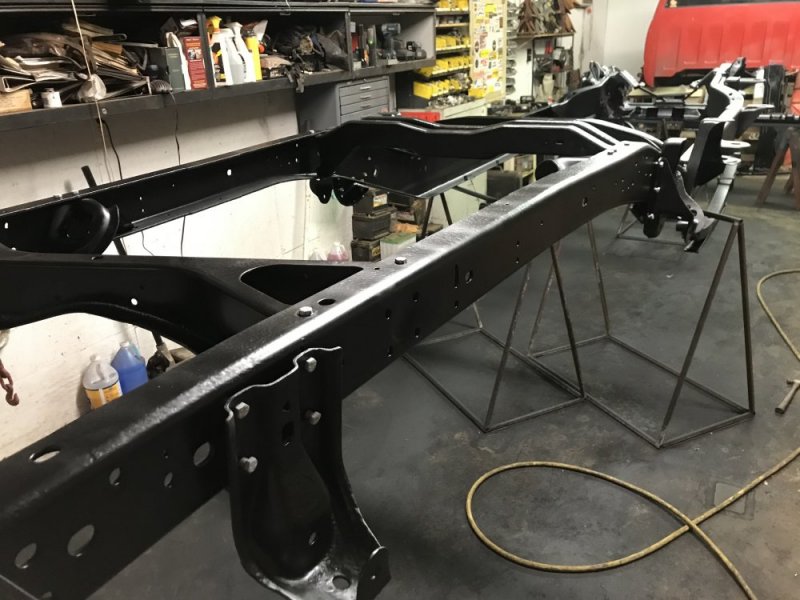
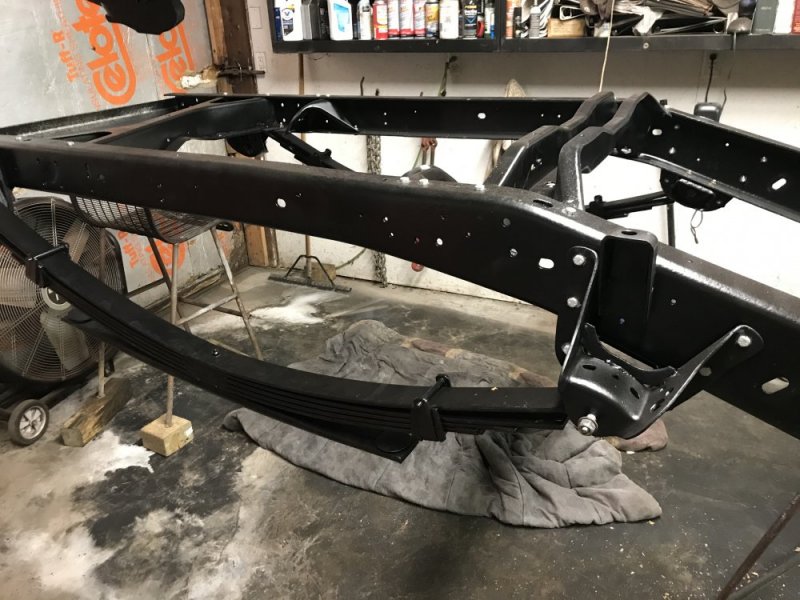
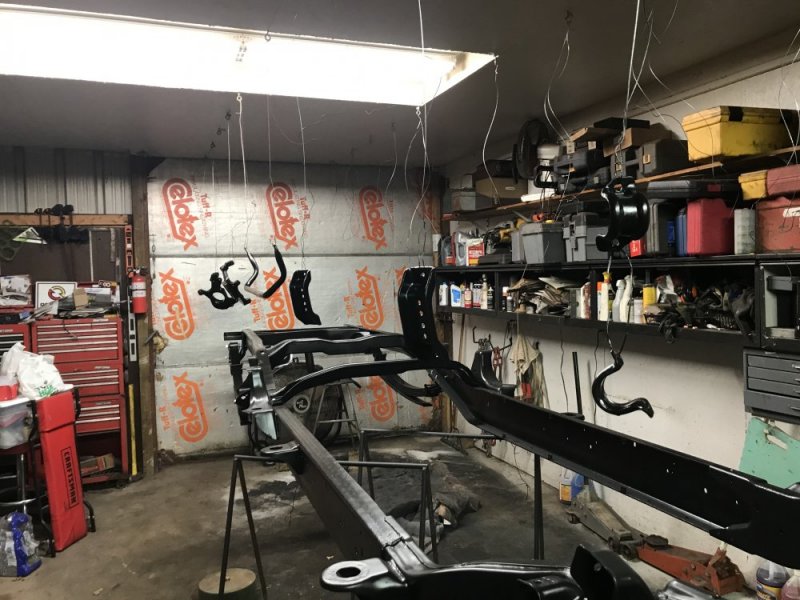
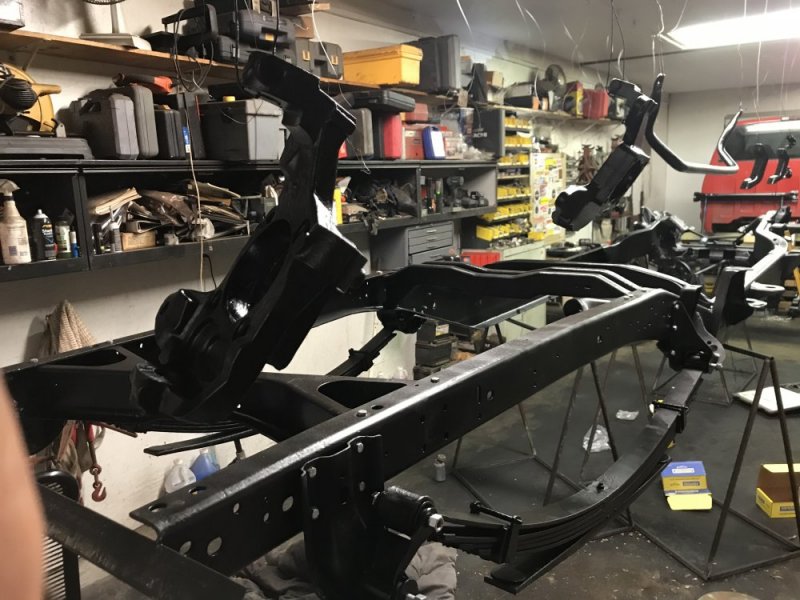
Ok I have a black frame and components. Overall it turned out ok. I had done issues with the gun and paint that gave me runs and unevenness in some spots, but it’s still plenty good for this rig - I just need more time behind a spray gun so I can get better. I look forward to assembling this thing with all new parts! I’m going to let it cure another day before I do that, so tonight I’ll be tearing down the spray booth and then start reaming the holes in the GMT800 knuckles so those can be ready for paint soon.

5B8C7EF9-FDB6-41A4-99DA-8A69E359FA96.jpegF875ADC5-BE1A-423A-9183-382A4F4A1F79.jpegB71DFE10-FC64-4D10-B76A-C945697AFB2D.jpeg42A12EEC-980E-4280-BF00-126043348601.jpegA68E5B7A-1968-487D-A906-C3B9038D5155.jpeg20E368AF-AA29-4081-8519-91E24B66FC36.jpeg
 
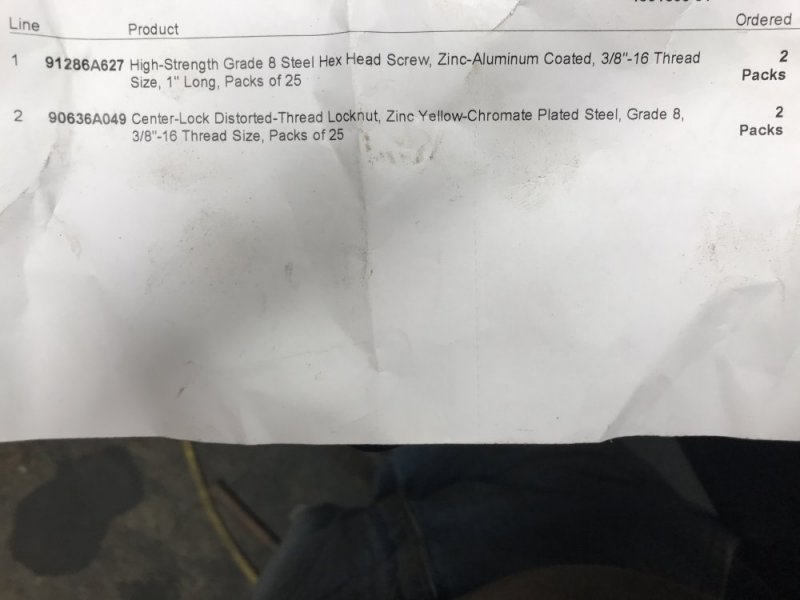
I had to switch off of the GMT800 knuckle swap process for reasons I’ll get to later, so tonight I started putting all the crossmembers and brackets back on. Everything is loosely bolted up and so far I have torqued the rear 2 crossmembers. I am using 3/8-16 x 1 Grade 8 bolts and Grade 8 nuts with a distorted thread locking feature. The bolts have what McMaster-Carr calls “zinc-aluminum” coated.....it’s also known as armor-coat, ultra-coat or magni-coat depending on who you deal with. We use it at work for most of our high-end, commercial-grade outdoor furniture....it’s good stuff and not terribly expensive when done in batches. Unfortunately they didn’t have the nuts in stock in that so I just went with yellow zinc for those. It’s fun putting all these renewed parts back together!

4DB74615-C2FF-4DD4-9FBA-6B2F7B3A663B.jpeg8A8165FD-CF1B-447A-9205-8B71A71866D2.jpegA5E03323-3D43-4331-A997-A54988C0F8E5.jpeg
 
When I swapped out a spring perch I got bolts long enough so the non threaded part went through both layers of metal and then used a washer to make sure that the threads didn't bottom out. Probably overkill but I didn't want the brackets to move if the threads or hole deformed from lack of contact area.
Always nice to be working with clean parts.
 
Slow progress this week. I did manage to get all of the crossmember and bracket bolts installed and torqued so that was good.

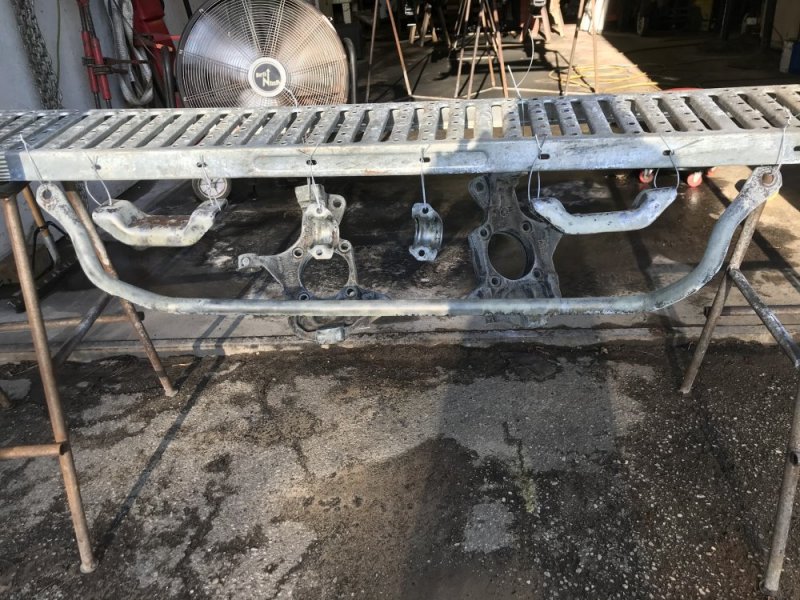
And right now I am finishing the paint prep on the front sway bar, sway bar bushing brackets, rear bump stop brackets and GMT800 knuckles - which is where I thought I would be at the end of yesterday, but I spent all day yesterday working on the lawn tractor so I could mow the lawn. Which was really annoying because I was already behind schedule because I made a boo-boo on the knucklesbut hopefully my error helps somebody else.

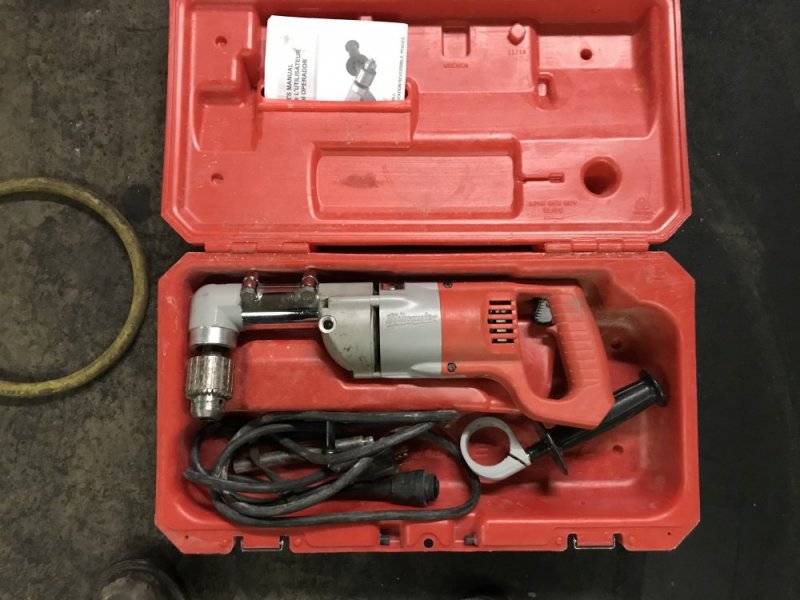
I picked up a 7 degree and a 10 degree tapered ream from Speedway Motors. They had good reviews and were actually some of the cheapest ones I could find (though they still weren’t cheap). I didn’t have a right angle 1/2” drill for doing the bottom ball joint hole, so I asked my dad if he had one. He had an adapter so he brought it over. It appears to be the right angle drive portion of a Milwaukee drill.

I decided to start with the easy holes to start so I did the upper ball mount holes first. It actually went pretty fast, these reams really rip! Even with checking progress you can do a hole in about 5 minutes. If you could just push until you hit a hard stop I bet you could do a hole in leas than a minute - pretty impressive for how big the holes are and how much material you have to remove.

After the uppers were done I decided to tackle a lower. I chucked up the right angle adapter and in addition to it being unwieldy, I also noticed it had a slight wobble. Awesome. Well I decided to push forward and see how it goes. The wobble was making it difficult for sure, but I checked my progress frequently by putting the ball joint in it and it wasn’t making the hole egg shaped so I pushed on. I got both done after a good struggle and then double-checked my work.....which is when I saw my boo-boo - the hole had walked in the knuckle!!! Because of that the stud was now crooked in the knuckle and I could see it would bend and or break when it was tightened down. NOT COOL!! I would never have thought the ream would move the hole in the knuckle, I expected it to follow the existing tapered hole. So now I had junk knuckles. Cool.

So I picked up a new set of knuckles for $55 each at a local yard and found a lightly used Milwaukee angle drill for $100 locally (it’s a $280 drill new so that made me happy!!).

1CC0B792-6FC6-4194-A0D1-1448BF58D716.jpeg

I’m going to post this now so I don’t lose all this typing and then continue the story.
 
So now Thursday night I had everything I needed to begin again. This time I started with the lowers so if I screwed up again I had less labor lost. Wow!! I couldn’t believe the difference the new drill made!! It was smooth and easy to control. I wasn’t sure I was going to like the motor off to the side, but it actually made it super easy to control....and no twisted wrists!! I slowly drilled and checked my work. To my surprise I noticed that if I wasn’t careful I could actually make the hole wander (again thinking they would naturally follow the existing hole.....these reams rip!), so I paid close attention to my progress and how I was guiding the drill. I checked the clearance of the CV to the lower ball joint in the GMT400 knuckle and found it was 5/32” so that was my goal for the GMT800 knuckle. I had to remove a lot of material, but finally got there. I’m going to have to get some washers and grind the end of the taper on the ball joint a little to keep it from bottoming out, but it should work fine.

Here’s how it fit before reaming.

B952754D-14BE-4594-954D-E21ACCC900F2.jpeg

And here it is after.

A3D9882C-E017-42C1-8FD1-86DF046BE94C.jpeg

With 5/32” CV clearance.


08EB6F82-0FB9-40CF-AB6D-4CE62D0D4533.jpeg

Then it was time for uppers. I thought about how far I wanted to ream. I could take out just enough so the nut would thread far enough for the cotter pin to engage.....but was there another measurement that made more sense? So I thought about it and checked the vertical relationship of the ball joints in the GMT400 knuckle. Then I checked where I was in the GMT800 knuckle. I could drop the upper balljoint a bit more and have the same relationship with the GMT800 knuckle as it would have been stock. This seemed like a good move to me for suspension geometry reasons so that’s what I did. It was a lot of material to remove for sure! I’ll also need to run washers in the uppers, but this doesn’t seem like a problem to me. I will get good flat washers from McMaster-Carr that will be true. Oh and I used the angle drill for the uppers even though I didn’t need to....it’s just so easy to control!

Here’s where the upper was to start.

CBFF1F36-6CA5-4081-81F8-4B3EB35C3F8B.jpegADC41C40-B223-41BF-BC88-A401ED1E8143.jpeg

And here’s where I ended up. Yup a LOT to remove!! Even so, it took me like 10-15 minutes, even checking periodically.

D691CDC2-7678-4792-BE22-42CA4EB820DD.jpeg

That is where I ended up early Friday evening.

Today I did the tie rod ends and made a discovery. I’ll share that in the next post.
 
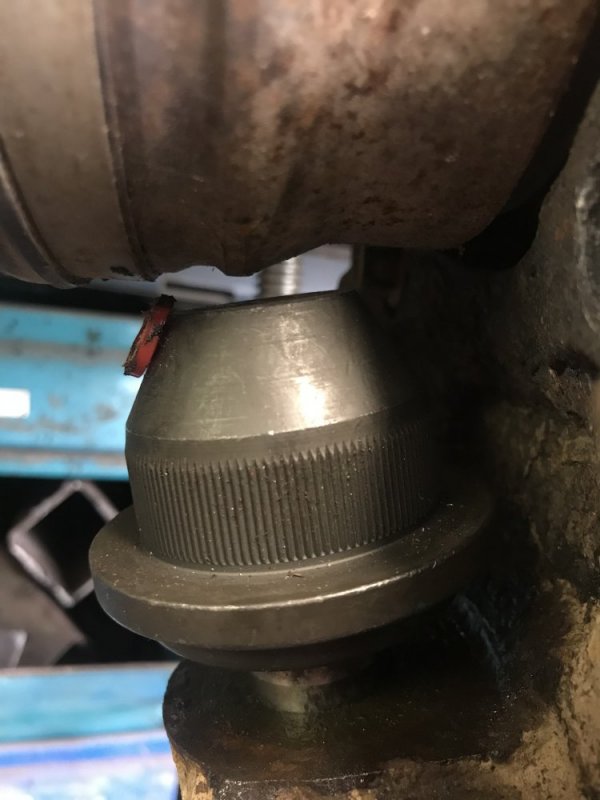
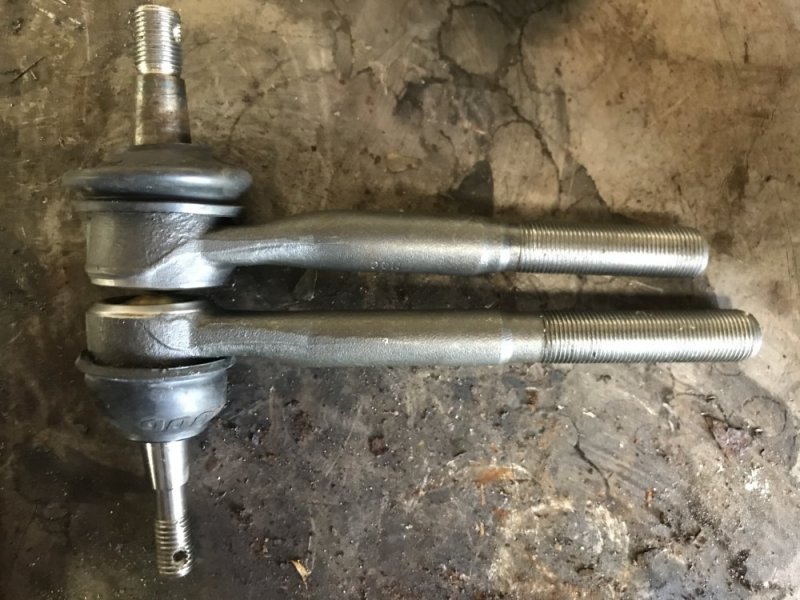
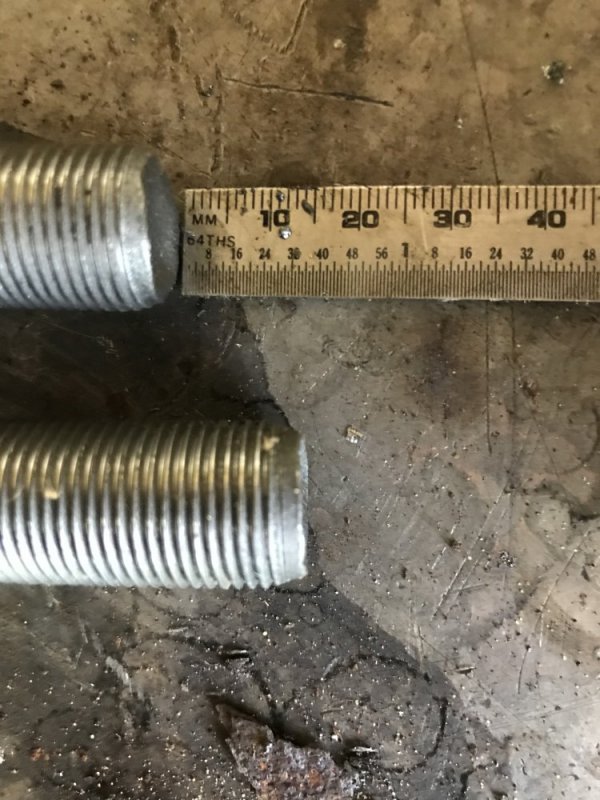
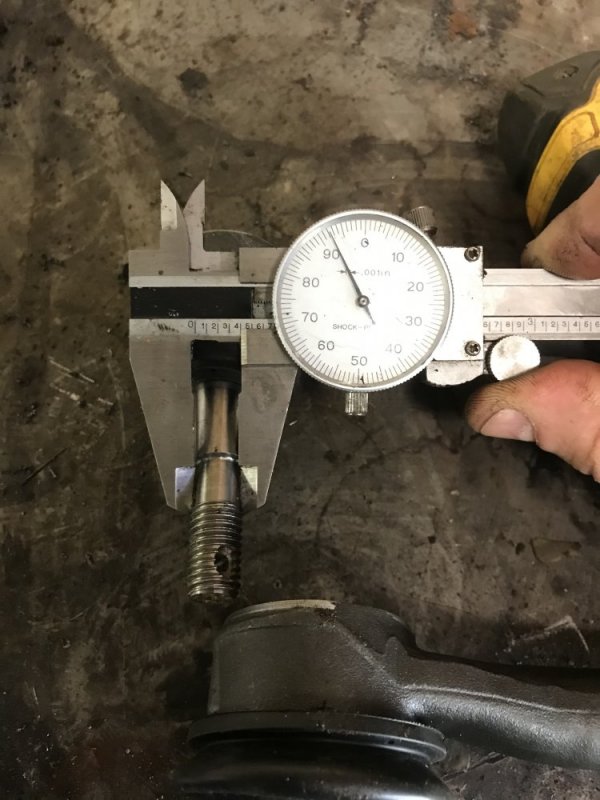
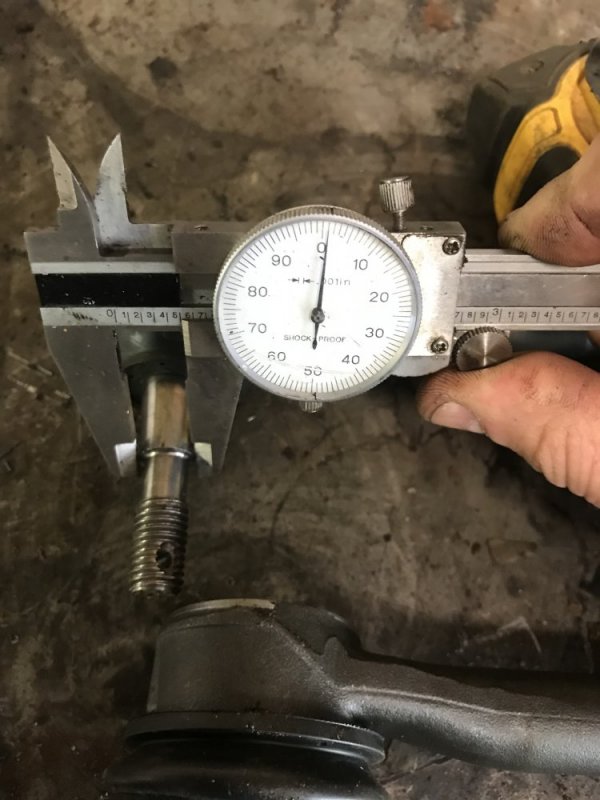
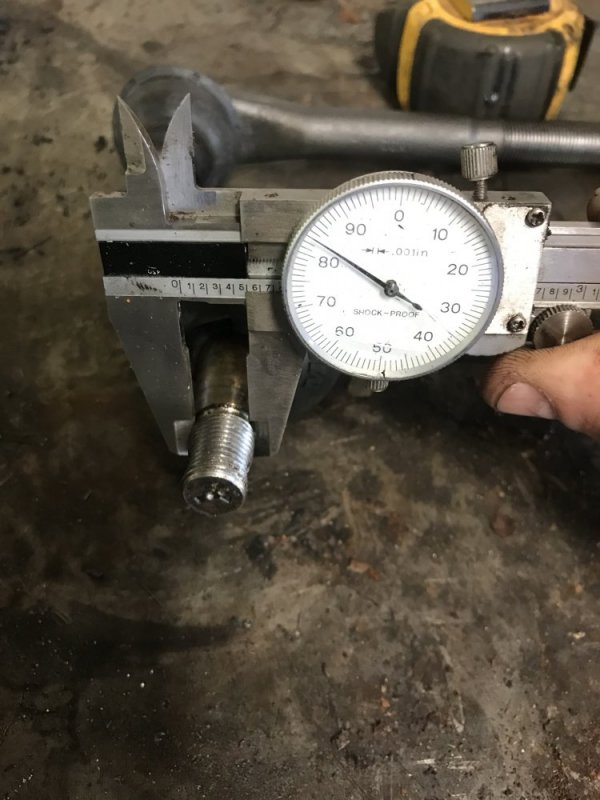
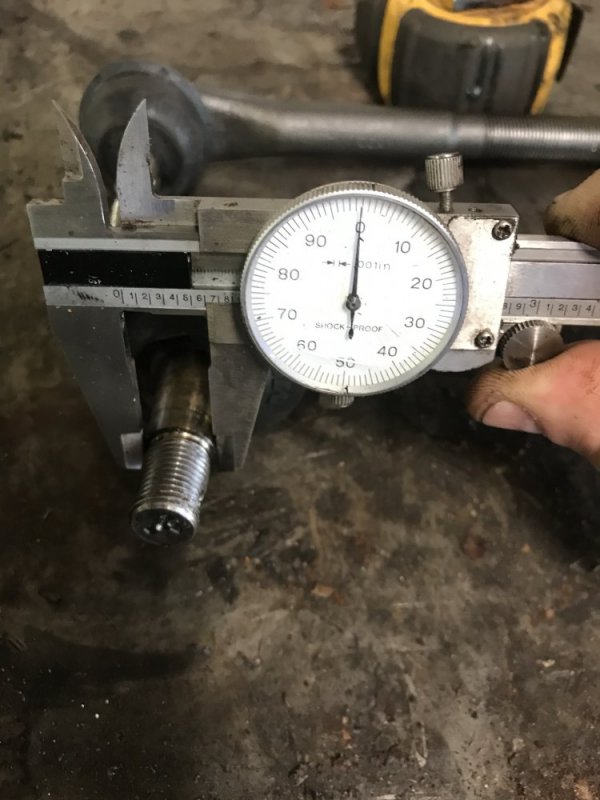
For the tie rod ends, I decided to go with the ES409RT tie rod end that I believe @THEFERMANATOR found would work. I also accidentally ordered a pair of GMT400 tie rod ends one day when I got too excited loading up my cart on Rock Auto....but it ended up being nice having them for comparison purposes. They’re quite a bit beefier than the GMT400 ends, but will still thread into the same sleeves.

F3C7EBB9-B44E-41A4-B0E9-F01C0D7ACDA3.jpeg02622820-E17B-433D-A5C0-1F155DD54821.jpeg14818178-389B-4EC7-9447-390F8ADEFCC3.jpeg27E8BF52-1325-4822-AD60-0AB0922124EF.jpegC81D69B1-CDCD-404A-BD42-A86468235635.jpeg3E90D337-C95D-48C8-8F79-27505C2F4921.jpeg


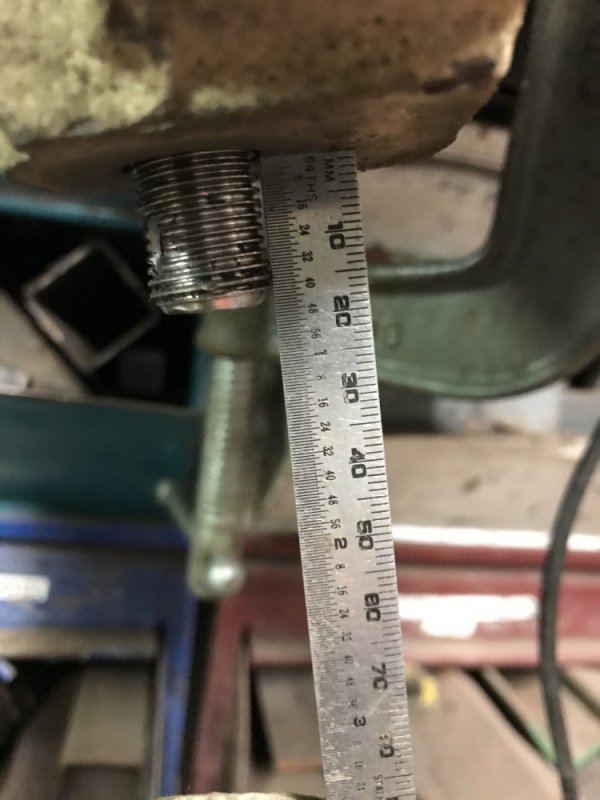
I measured the height of the tie rod arm on both the GMT400 and 800 knuckles and found it to be the same. And both ends come in from the bottom, so all I had to do was ream it enough for the nut to thread on enough for the cotter pin to engage and I would be good to go.

7D010755-63FC-4BFB-B5D6-1E97D0EB38B0.jpeg

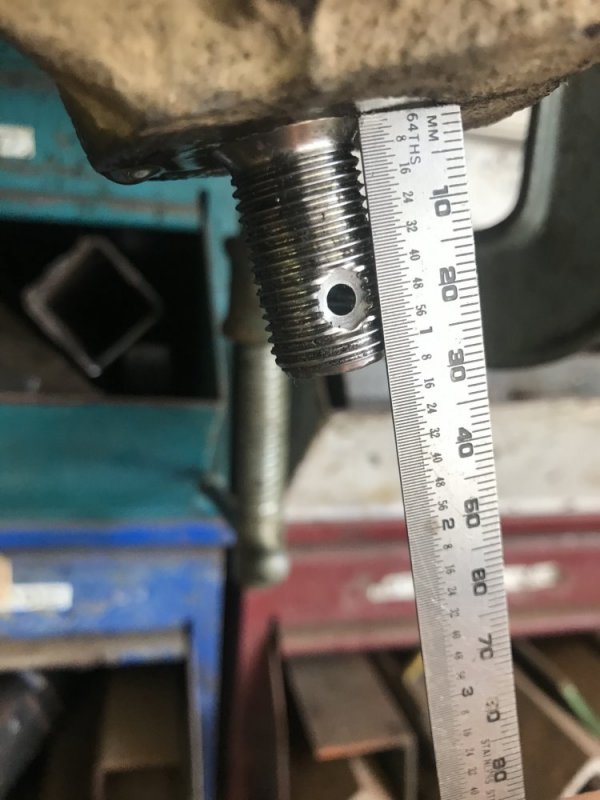
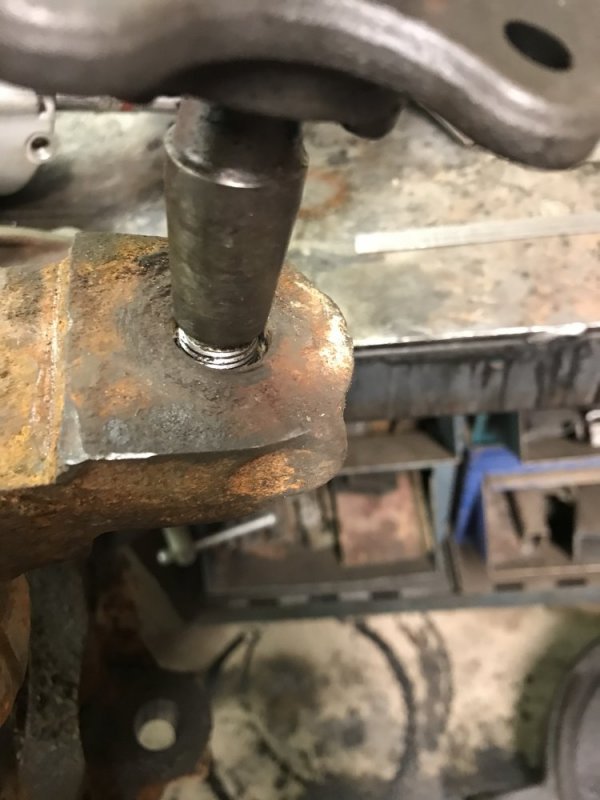
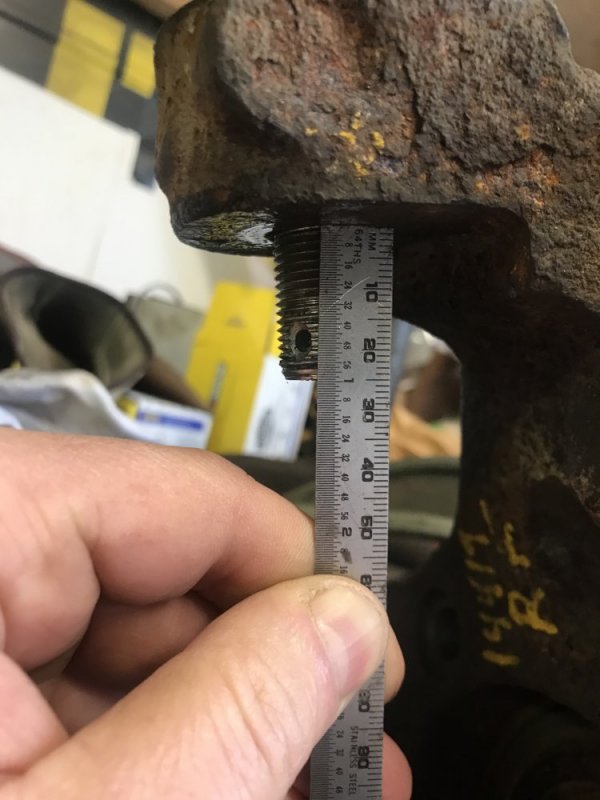
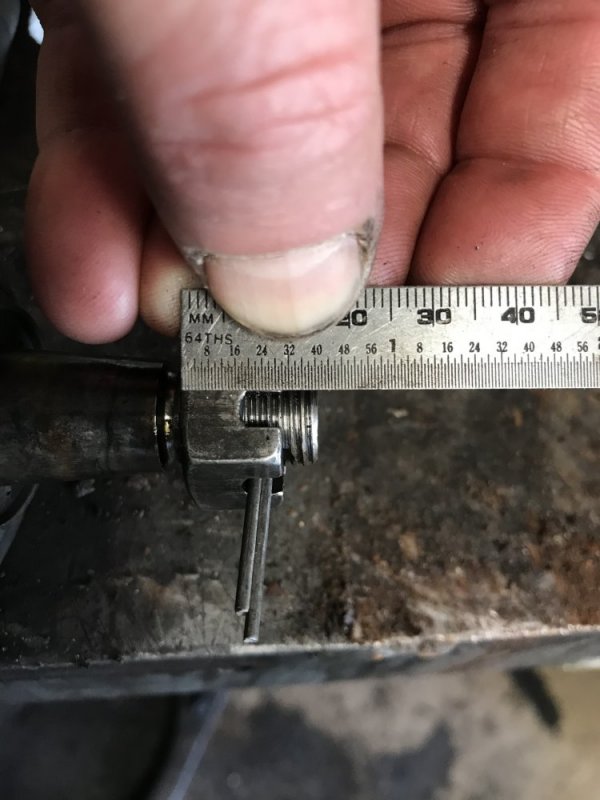
So I chucked up the 7 degree ream and started working. I was almost to my target measurement of 5/8” stickout when I was doing a test fit and noticed I was having to push really hard on the tie rod end to get it to seat - I was compressing the boot a LOT. Hmmm, that didn’t seem great. So I decided to tighten it down with the nut and see what happened. I couldn’t quite fit the cotter pin yet, but I really didn’t want to ream it any further because the the tie rod end already wasn’t articulating fully! Oh man......that doesn’t seem good....if this can’t articulate fully it could damage the end and eventually bust apart!!

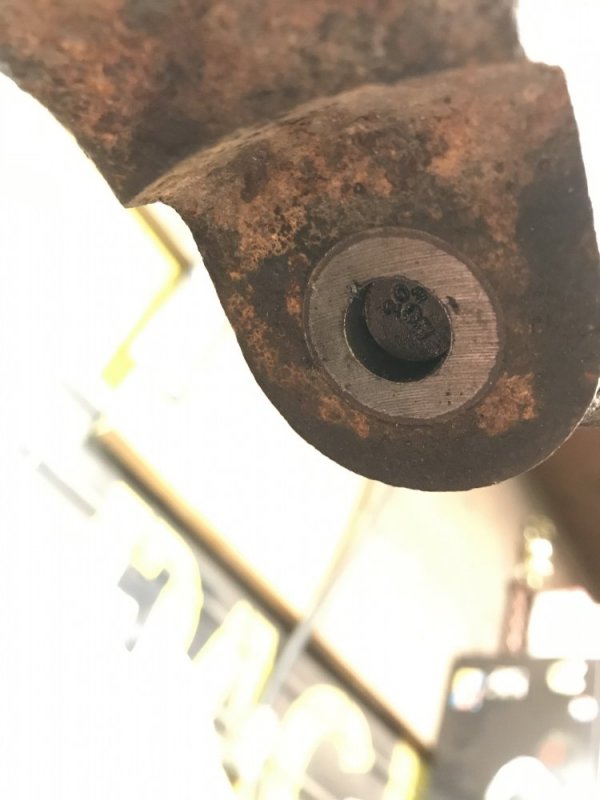
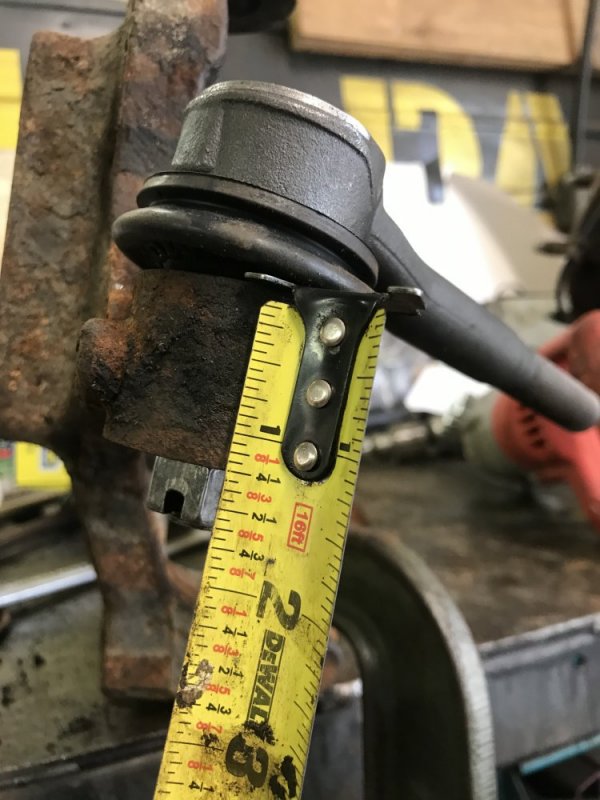
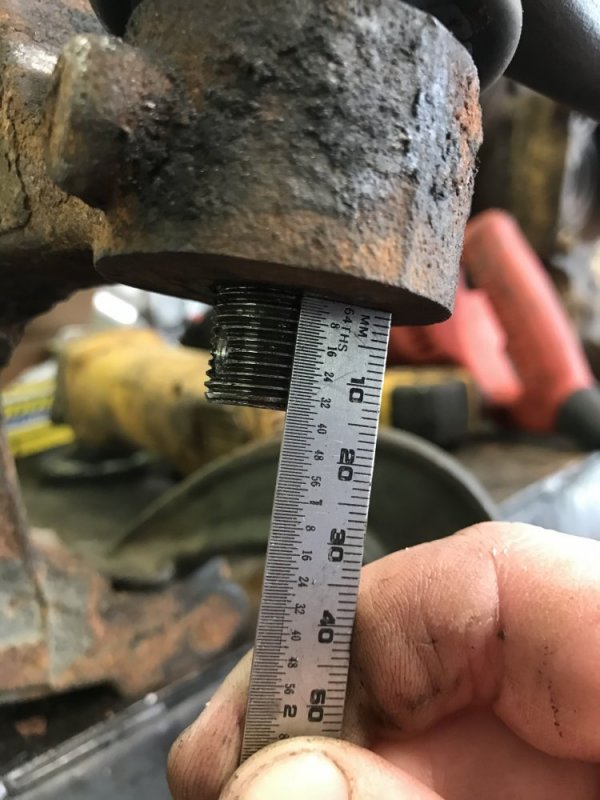
But then I had a thought - when researching parts I found that the ES409RT fit a lot of C20 and C30 trucks. I just happen to have an 85 C30 dually here so I looked it up in the catalog....yep, it fits. I had a hunch that the tie rod boss on the GMT800 knuckle was thicker than the C30 knuckle and that was my issue. So I went out to the truck to confirm.....YUP! The GMT800 is 1-1/4” thick and the C30 is 1-1/8” thick - that 1/8” could make a big difference! I looked at it and noticed the mounting boss on the GMT800 was thicker than the arm on the knuckle so I wouldn’t be losing any strength if it was taken down to 1-1/8”. I also reasoned that I should take the material off the side OPPOSITE of the nut - I don’t have a mill so I wasn’t confident I could get the surface parallel to the face of the nut, but taking it off the other side didn’t have any real consequence. So that was my plan.

986E028C-0509-4F1D-A1F3-C9C610B3CDA9.jpeg


Here is a video of the situation before.


So I took the knuckle to my band saw and cut most of the 1/8” off. Then I finished it off with an angle grinder and a flap wheel.

Here are the results. Very happy!!


In the end this is how much it stuck out.

F37DE55A-4186-40F1-8320-0C0372FAFEAB.jpeg

So that is my GMT800 saga. I don’t know how many have used the ES409RT toe rod end, but I think @Big T did so I hope he sees this and checks his ends. It could be an easy fix on the truck with a grinder to get that extra clearance. Or maybe he did that already in his thread and I’ve forgotten.

Tomorrow I should be putting paint on the rest of the parts and then I can continue chassis assembly.

85D1E848-4E91-4470-8F22-DA37F58D9DAC.jpeg
 
I feel your pain. I lost my whole week / weekend to fixing my mower and doing yard work. Gotta get it done why the weather is good.... for once.

Nice job on the knuckles!!
I think for my next place I need to get a big building to live and work in that is surrounded by 10 acres of concrete. Then the only maintenance I’m doing is on the building to do my work....none of this house repair and yard work BS. I doubt Kelli would dig that though. 😅😅😅

Thanks!!
 
On the ‘99 I kept the gnt400 ends and used the adapter sleeves, which I purchased from a member here. On the ‘94 I used the 409 ends. Can’t remember the issue. I do remember spending a lot more time reaming.
That’s what I was remembering, that you did adapters on one and 409 ends on the other one.

I still like the 409 ends and they would be my first choice on the next one, just not without modifying the arm to make sure they have full movement.....or maybe getting a thinner nut so you don’t have to ream so deep, but honestly modifying the arms was one of the easiest parts of the whole conversion so I feel that is the way to go and not compromise the nut.

Have you been under the trucks to inspect the suspension and steering since doing the conversions?

Been under the truck many times and no issues. I would go with the 409 ends too. There is an ever so slight bit of play in the machined adapter sleeve on the driver’s side. Too slight to impact alignment, tire wear, or steering feel.

Now that you’re done, what do you think of the brakes?
 
Been under the truck many times and no issues. I would go with the 409 ends too. There is an ever so slight bit of play in the machined adapter sleeve on the driver’s side. Too slight to impact alignment, tire wear, or steering feel.

Now that you’re done, what do you think of the brakes?

I'm glad to hear you haven't had any issues.

Oh I'm not that far yet. I put the first coat of paint on the knuckles this morning and the frame is still missing all of it's suspension......oh......and a body..... I'm really looking forward to having a great brake system when I get it back on the road though!!

Those are some crusty steering knuckles. You’re in Kalamazoo, MI? That is rust belt central.
I can get them for $27 apiece when the pick a part yard has a sale. CA units not crusty. As you’ve learned, the knuckles are the cheapest part of this upgrade.
 
Those are some crusty steering knuckles. You’re in Kalamazoo, MI? That is rust belt central.
I can get them for $27 apiece when the pick a part yard has a sale. CA units not crusty. As you’ve learned, the knuckles are the cheapest part of this upgrade.
Yes. Rust Belt Central indeed! My first set was around $30 each including the hub at the pick a part yard. With the current Covid situation and my desire to keep moving as fast as I could I opted for a pair already pulled when I needed to replace them. The second pair (the ones in the pictures) were actually nicer looking than the first pair I had. Yep, the knuckles are the cheapest part for sure. It should be worth it though!
 
Yesterday I got 3 coats of paint on the pieces parts - 2 coats of Rust Seal and 1 coat of Blacktop.

11627DD3-7F28-4982-8FFB-E485FD9E6B6F.jpegBB668855-2DD3-4284-BE49-3F77E3BA1617.jpeg

Tonight I spent some time on the press. First I pressed new bushings into the leaf springs and then hung them with new shackles.

FA246351-1FD5-4AEE-90D4-6CE7FD82795B.jpeg

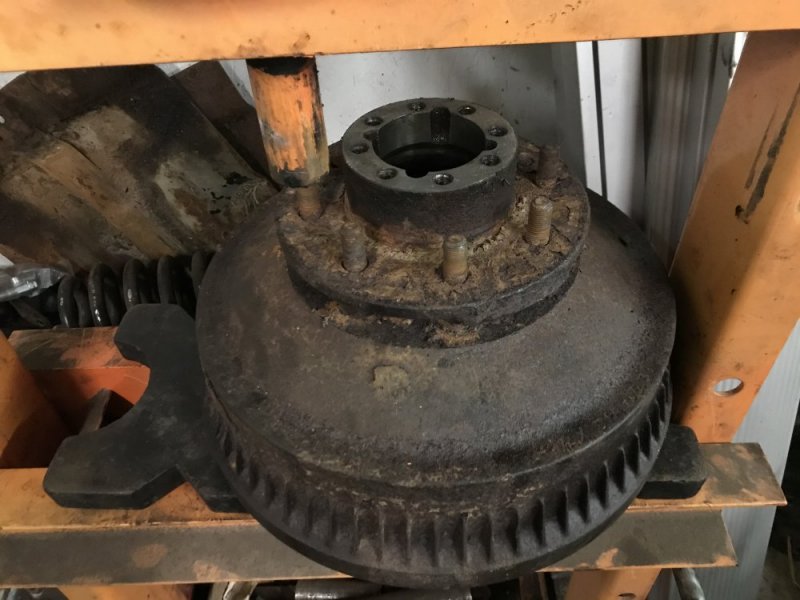
After that I took the drums to the press and knocked the wheel studs out. What a dumb design....so much extra work just to replace drums.

6DF9F7F0-89C2-4567-9312-AD8EFA1C8B51.jpeg
 
Back
Top