• Welcome to The Truck Stop! We see you haven't REGISTERED yet.

    Your truck knowledge is missing!
    • Registration is FREE , all we need is your birthday and email. (We don't share ANY data with ANYONE)
    • We have tons of knowledge here for your diesel truck!
    • Post your own topics and reply to existing threads to help others out!
    • NO ADS! The site is fully functional and ad free!
    CLICK HERE TO REGISTER!

    Problems registering? Click here to contact us!

    Already registered, but need a PASSWORD RESET? CLICK HERE TO RESET YOUR PASSWORD!

1990 F350 4x4 7.3 IDI

It will, but the difference between hot roll and cold roll steel is much more. We used to build side panels on work trucks like tree trimmer bodies or landscaper bodies, and that is exactly how you get it straight and fit.

We would actually use water fire extinguishers that are basically charged with air pressure oike a big squirt gun.
Water not having carbon to donate into the metal like oil quenching so it keeps the hardening down.
I like the fire extinguisher idea! Huh, I hadn't thought about the chemistry of the hardening.....oil contributing a Carbon atom..........that's cool!

I bought a Chevelle 20 years ago that had a big dent in the rear quarter. This car was my first real attempt at body work. I started going after the dent with hammers and dollies and got it pretty straight, but I just couldn't get the last bit out because the metal had stretched - it was oil-canning. That is when my dad taught me the metal shrinking trick. I was pretty amazed at how well it worked. I was able to get the panel straight enough that it only needed a skim coat of filler to make it straight again.
 
We used to use a grinder and a wet rag but I do remember it getting somewhat brittle. I was wondering if the torch method made it more brittle?
 
We used to use a grinder and a wet rag but I do remember it getting somewhat brittle. I was wondering if the torch method made it more brittle?
Did you do this to sheet metal or a thicker piece? If that was done to sheet metal I would think it would get weaker using a grinder just because the thickness of the material had been made significantly thinner. The torch/rag technique for sheet metal is an established body-working technique.
 
Grinder takes way too long to heat the area. The idea is rapid heating and rapid cooling. The faster you do both the better it will work. Slow heating will allow for more expansion. Also large areas there is no way with something like a grinder. We would do 4' x4'steel panels on the side of a utility box or enclosed trailer. Even 52' semi trailers with riveted aluminum panels. You just have to use acetylene only (no oxy) so you don't distort the aluminum.
 
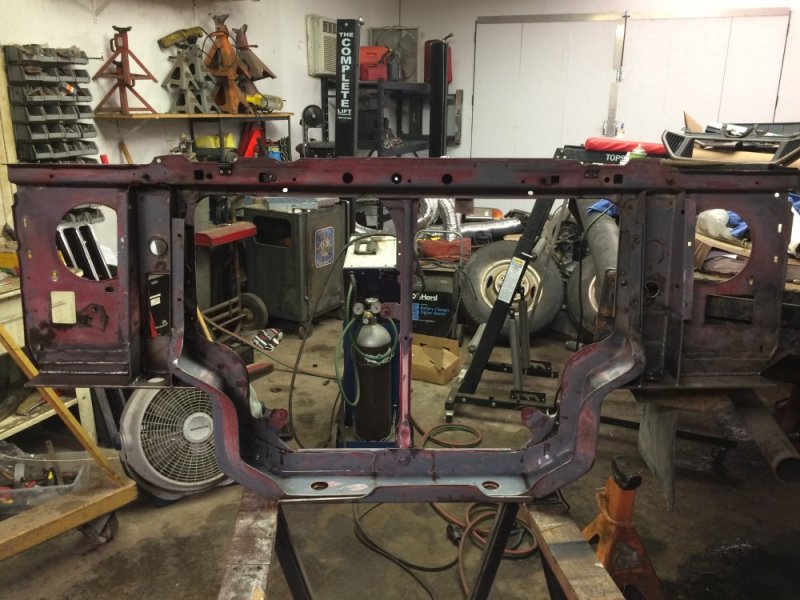
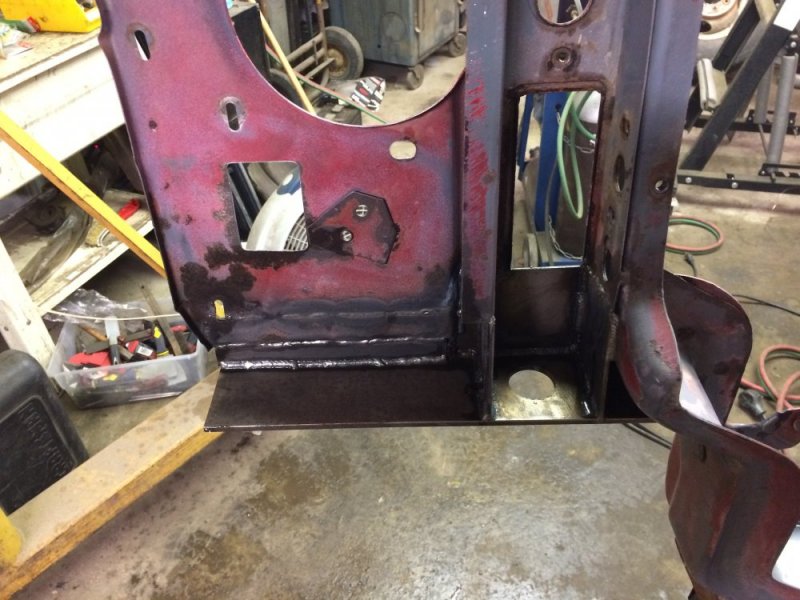
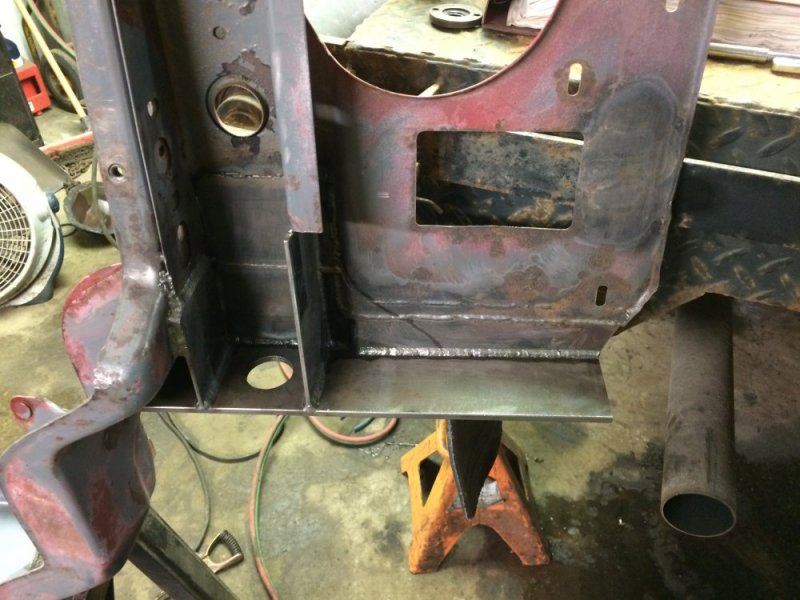
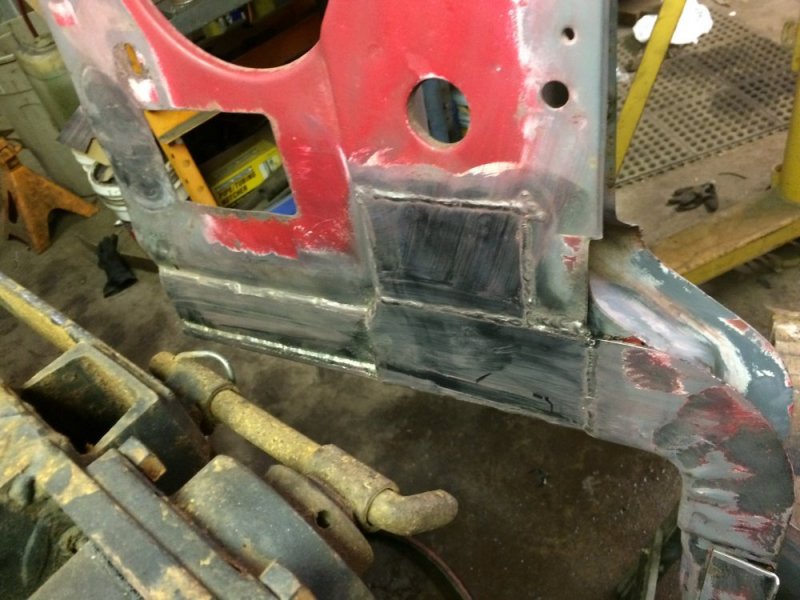
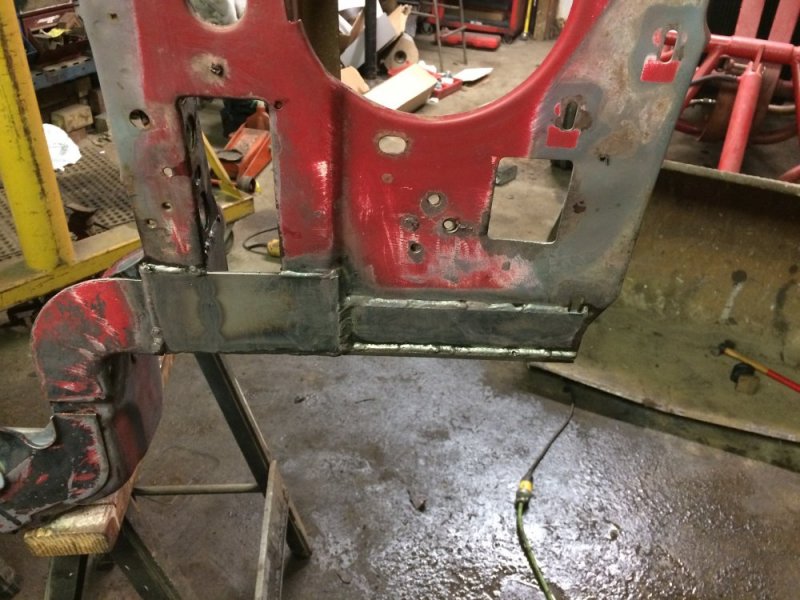
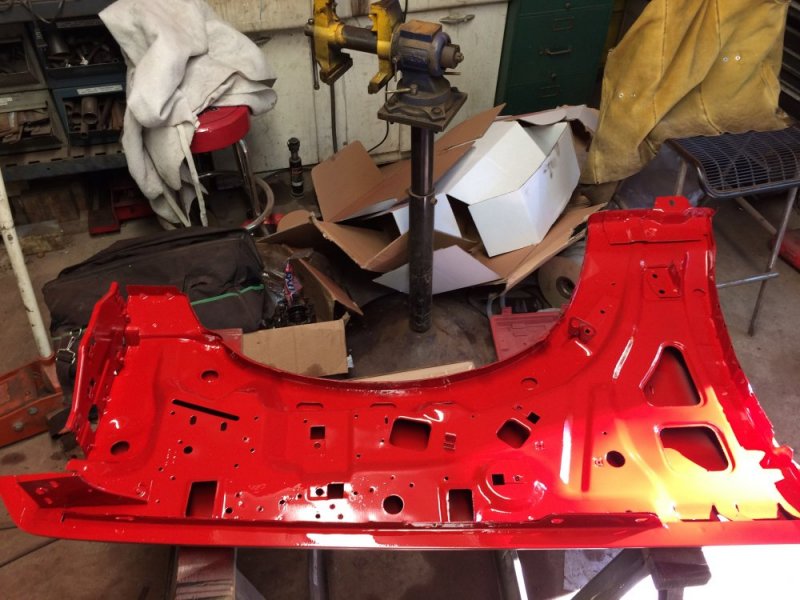
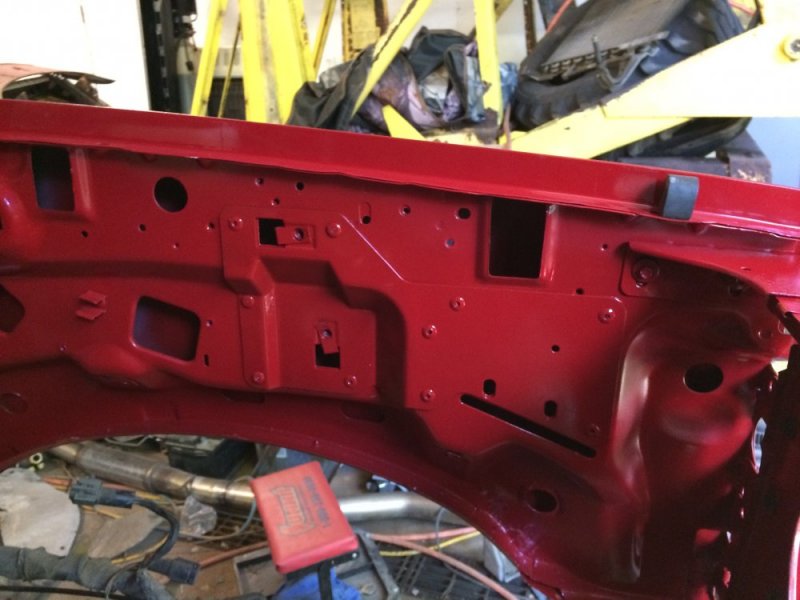
The rust-out is repaired. I wiped it down with xylene to do some heavy cleaning and then took it to the pressure washer for a good rinse. Tomorrow I will hit the rusty spots with Rust Encapsulator and eventually spray some red paint on it. IMG_8925.JPGIMG_8926.JPGIMG_8927.JPGIMG_8929.JPGIMG_8928.JPG
 
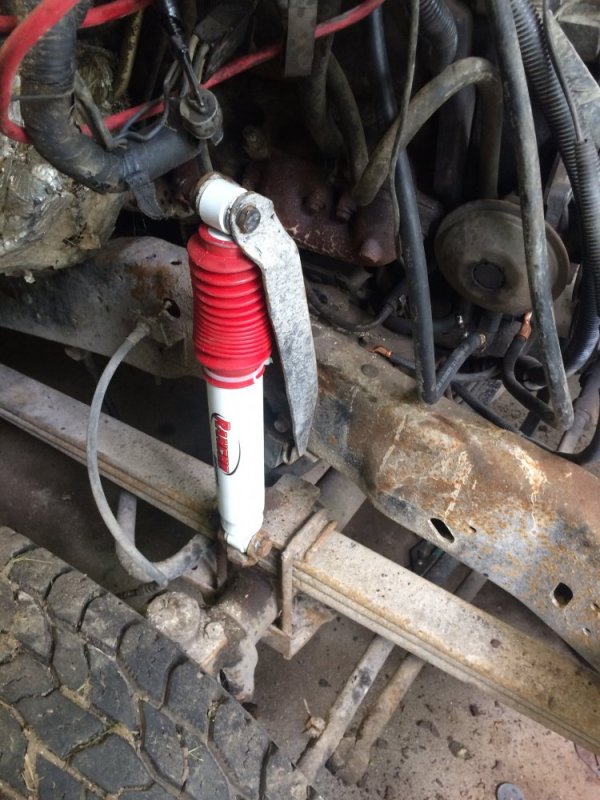
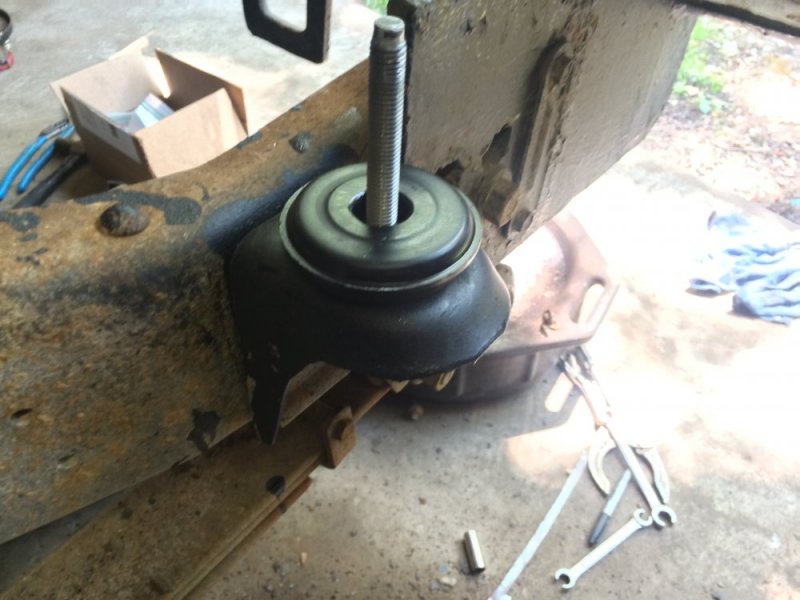
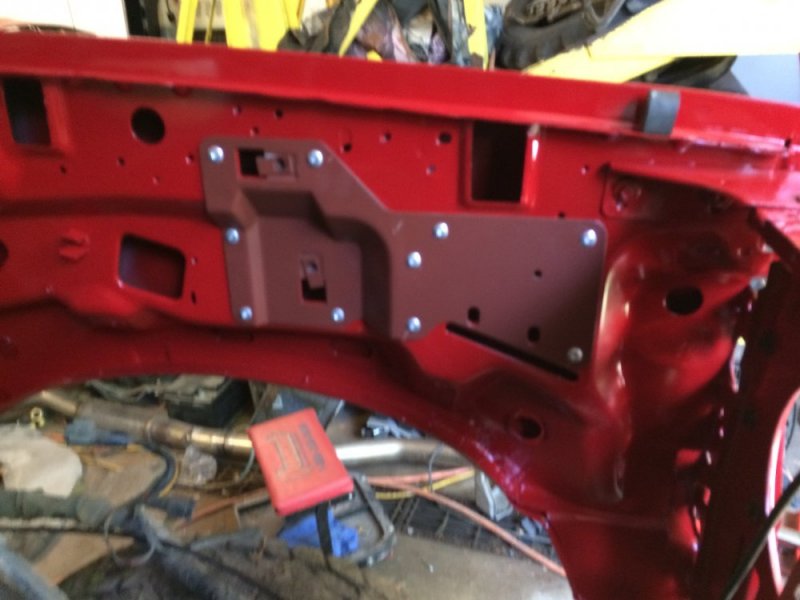
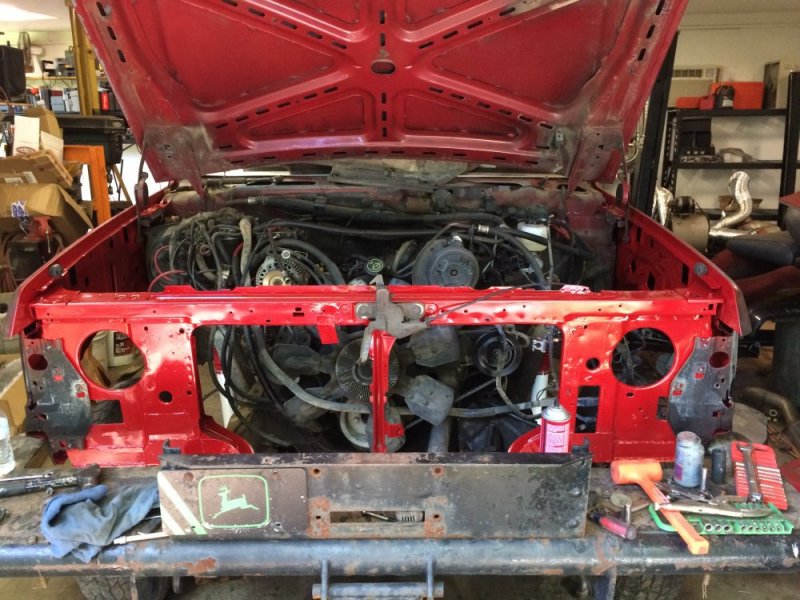
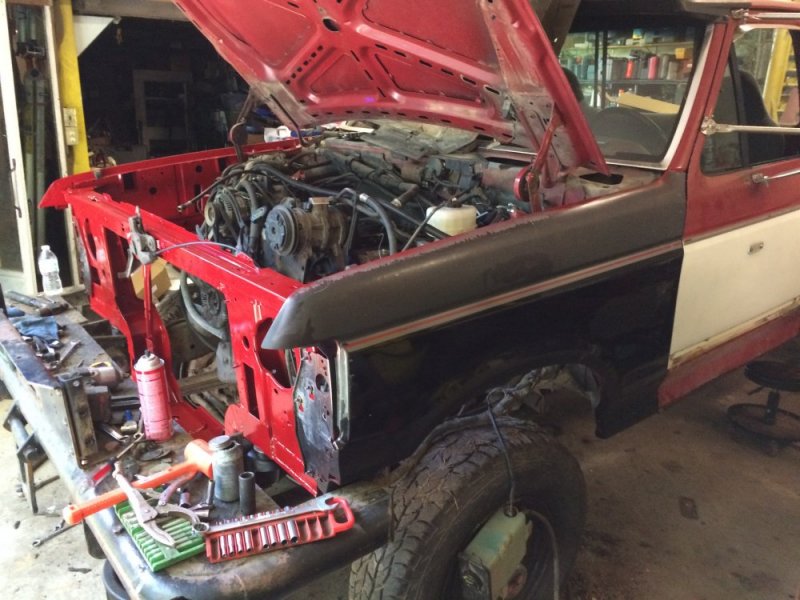
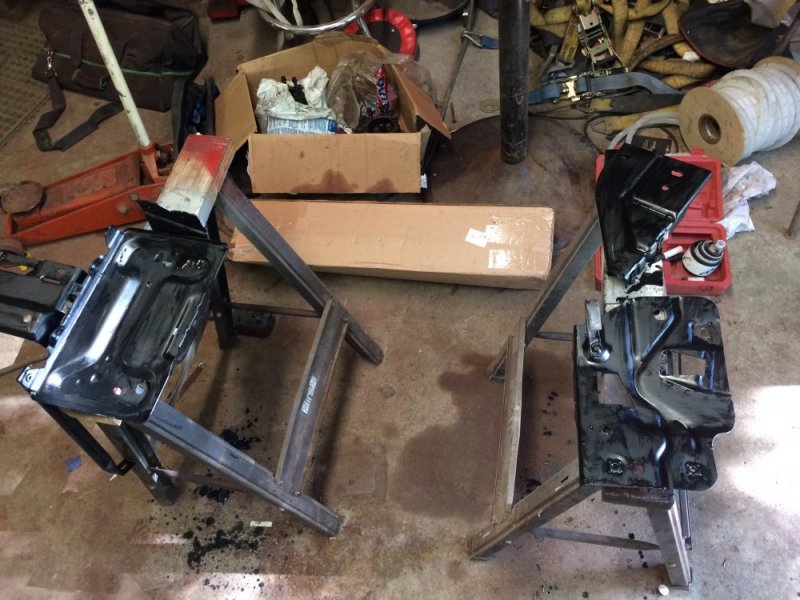
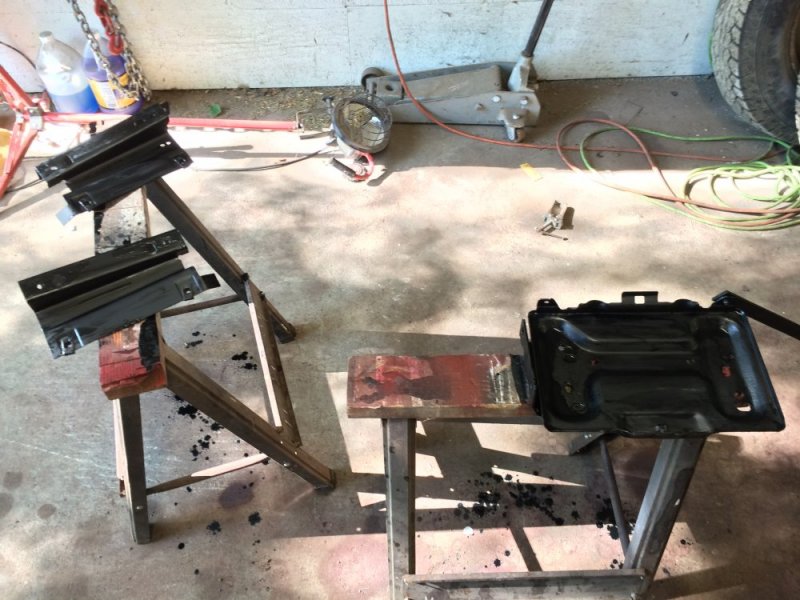
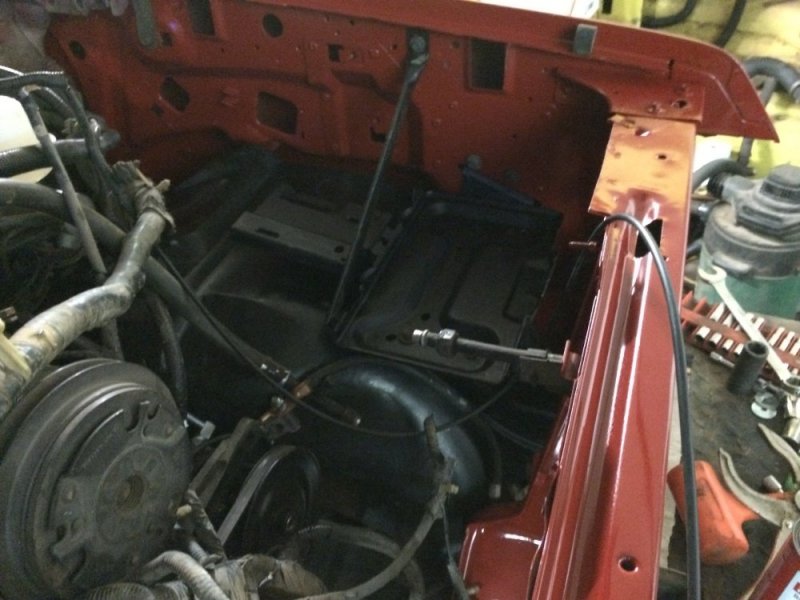
Good progress today. I got the main parts of the front clip reinstalled including new mount bushings from Jeff's Bronco Graveyard. I had to swap a reinforcement bracket from the old fender since the new fenders were off a gasser truck. Today I also got the bolt-on brackets and battery trays wire wheeled and painted with Rust Encapsulator. I also took the nasty jute insulation off the inner fenders and cleaned them up so the engine compartment will look cleaner. Over the next few evenings I should have it all back together and then the next task will be to finish up the brakes. Not much left to do after that besides paint. Can't wait to drive this thing! Oh and I almost forgot the shocks....it needed new front shocks and I found a good price at Rock Auto plus a $50 rebate off a set of 4 from Rancho, so I went for some RS5000s.

IMG_8972.JPG IMG_8974.JPG IMG_8976.JPG IMG_8977.JPG IMG_8978.JPG IMG_8979.JPG IMG_8982.JPG IMG_8984.JPG IMG_8985.JPG IMG_8986.JPG
 
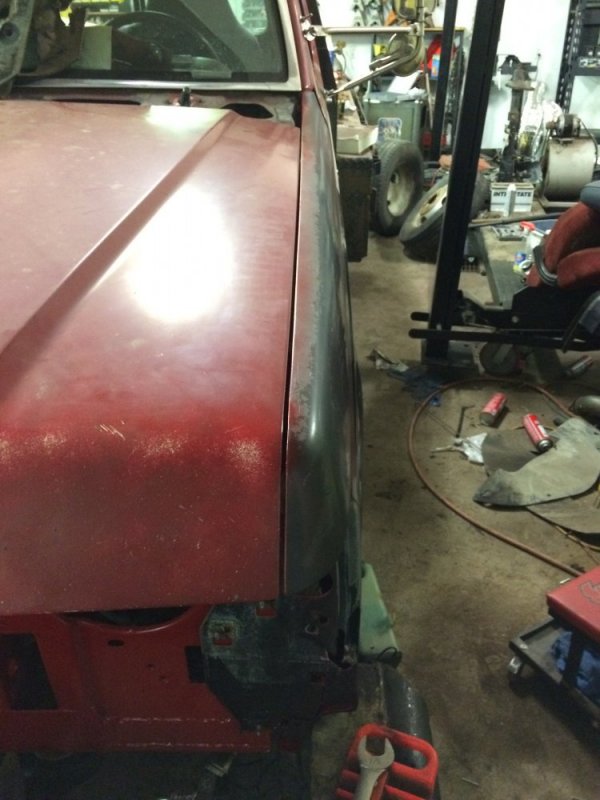
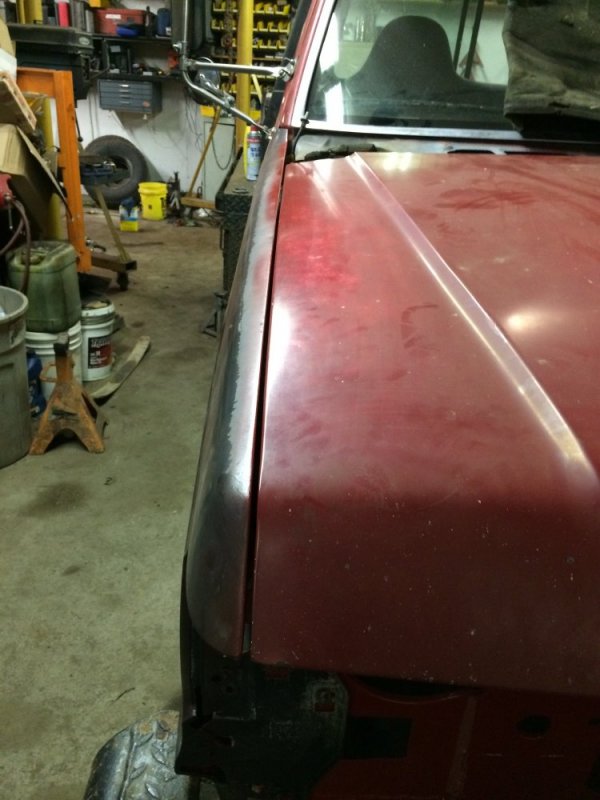
Tonight I got the inner fenders reinstalled and most of the brackets back in place. Just a little more positioning and then I can final tighten all of the bolts. IMG_8987.JPGIMG_8988.JPGIMG_8989.JPG
 
Dude, your progress is making me hate my waiting for the hummer. I'm fixin to kidnap your ford and put my hummer infront of you! Haha.
 
Dude, your progress is making me hate my waiting for the hummer. I'm fixin to kidnap your ford and put my hummer infront of you! Haha.
Hmmm, what do they say, "possession is 9/10ths of the law"? Sure Will, bring it on over...........I'll work on it for you! ;)

I do appreciate the compliment though. I guess if I stand back and think about it I have gotten a good amount done. Unfortunately I never planned on having a project that was this in-depth this year.....or wait, yes I did......I should have been putting all of this effort into that New Holland skid steer I was working on! The truck and the skid steer are needed for the same project, so I guess I can justify it, but still.....so much more money and labor have been put into this thing than I thought it would need. I am enjoying it though, and it will be cool when it's on the road, so I guess I shouldn't complain too much.
 
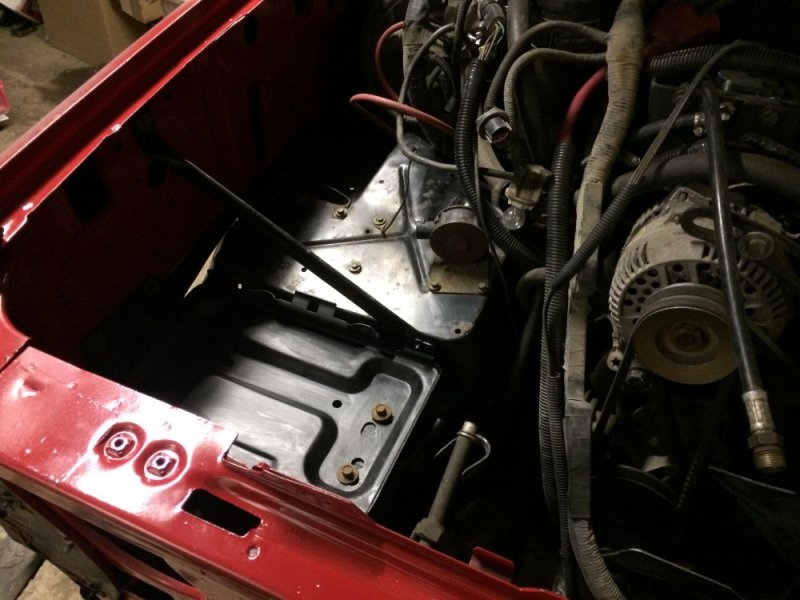
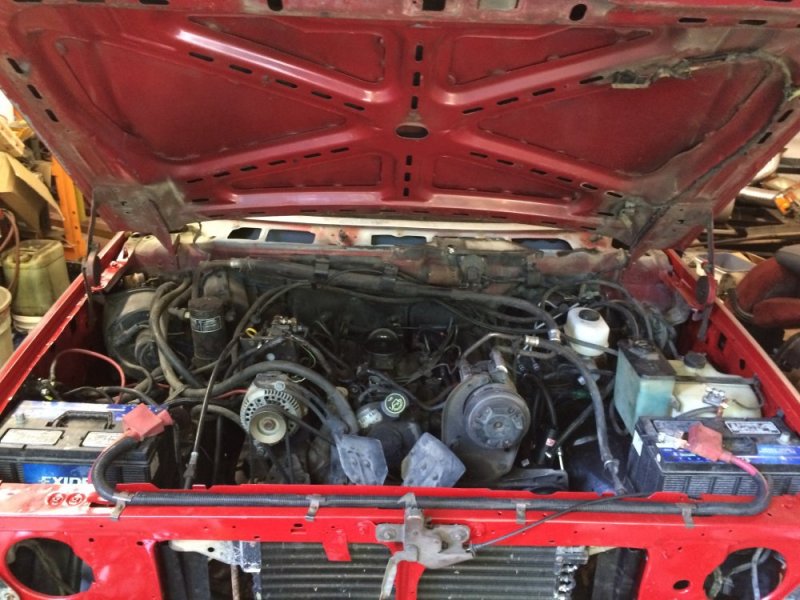
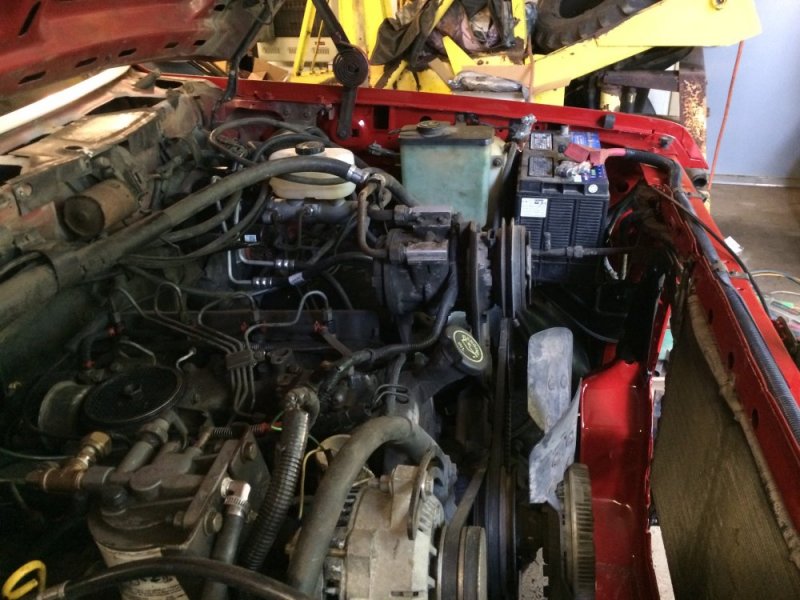
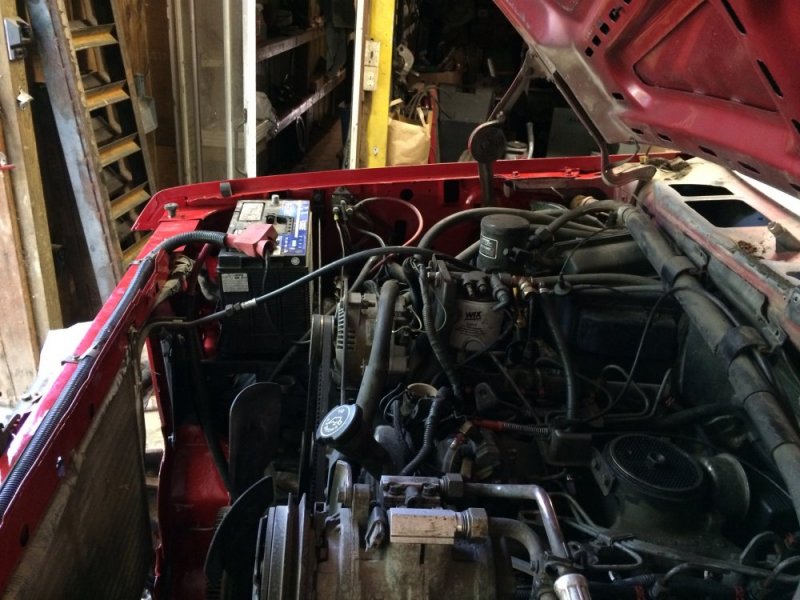
Except for a couple odds and ends it's all back together. One nice thing about having it all apart was that I was able to reroute some wiring so now the big 31 series batteries actually sit in the trays like they're supposed to. IMG_8991.JPGIMG_8992.JPGIMG_8993.JPG
 
I finally got to get back at it today. I spent a whole day on it though there's not much to show for it.

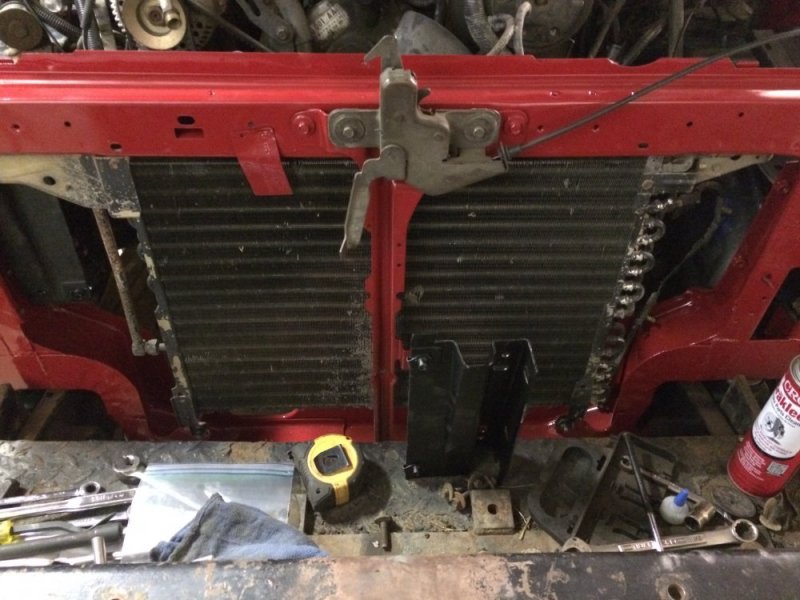
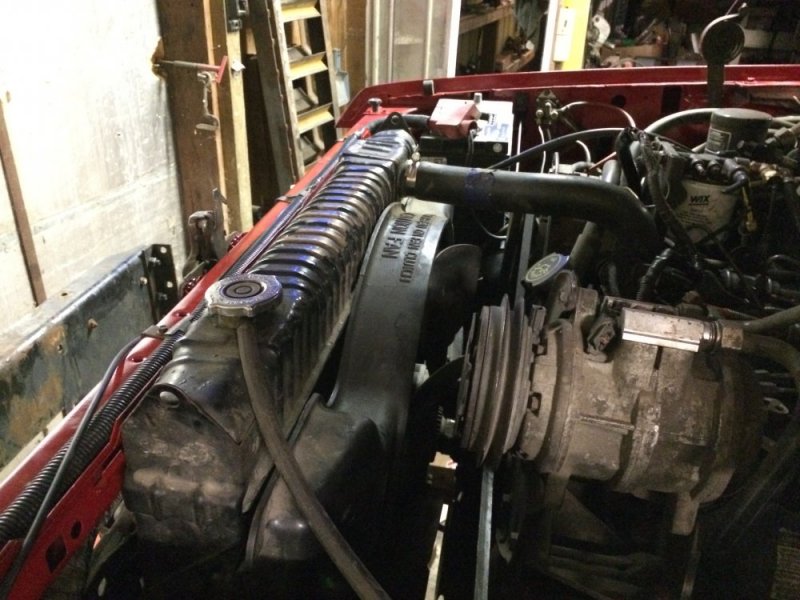
First I got the radiator back in. So now the last part of the front clip reinstall is to put a couple screws in the inner fenders. IMG_9024.JPG

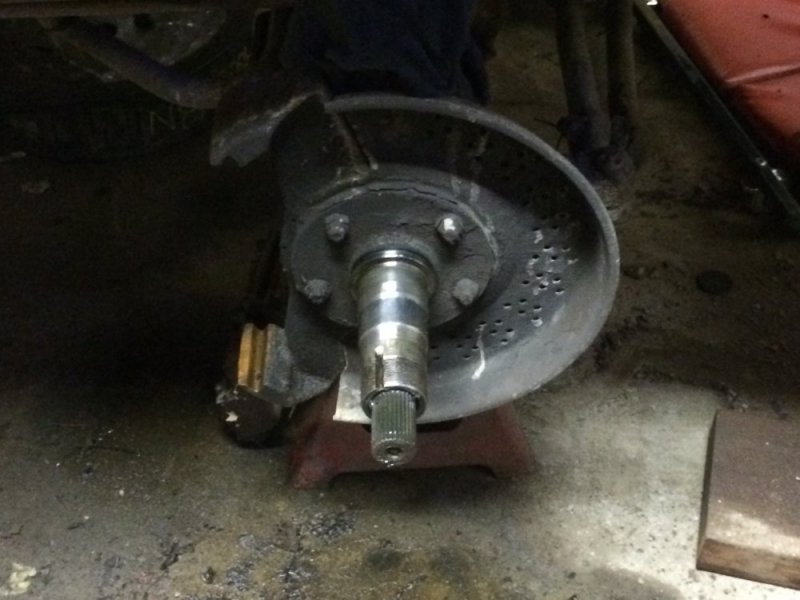
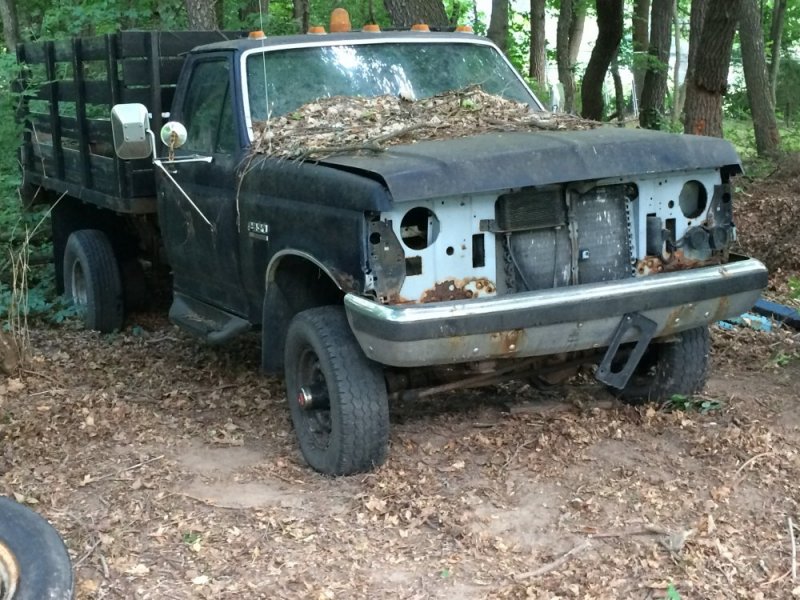
After the radiator I switched my attention to a task I have been dreading since I started this project - swapping the front hubs for dually hubs. The reason I've been dreading this is because I do already have some dually hubs, but they're currently installed on my old stake truck that's sitting outside and immobile. Well I finally made myself do it and it wasn't too terrible but it was time consuming. The stake truck is back on 4 wheels and the dually hubs are soaking in degreaser so they can be installed on the flatbed. Once the hubs are installed I can finish the brakes.
IMG_9025.JPG IMG_9026.JPG
 
Back
Top