Navigation
Install the app
How to install the app on iOS
Follow along with the video below to see how to install our site as a web app on your home screen.
Note: This feature may not be available in some browsers.
More options
-
Welcome to The Truck Stop! We see you haven't REGISTERED yet.
Your truck knowledge is missing!
- Registration is FREE , all we need is your birthday and email. (We don't share ANY data with ANYONE)
- We have tons of knowledge here for your diesel truck!
- Post your own topics and reply to existing threads to help others out!
- NO ADS! The site is fully functional and ad free!
Problems registering? Click here to contact us!
Already registered, but need a PASSWORD RESET? CLICK HERE TO RESET YOUR PASSWORD!
You are using an out of date browser. It may not display this or other websites correctly.
You should upgrade or use an alternative browser.
You should upgrade or use an alternative browser.
1990 F350 4x4 7.3 IDI
- Thread starter n8in8or
- Start date
79jasper
Active Member
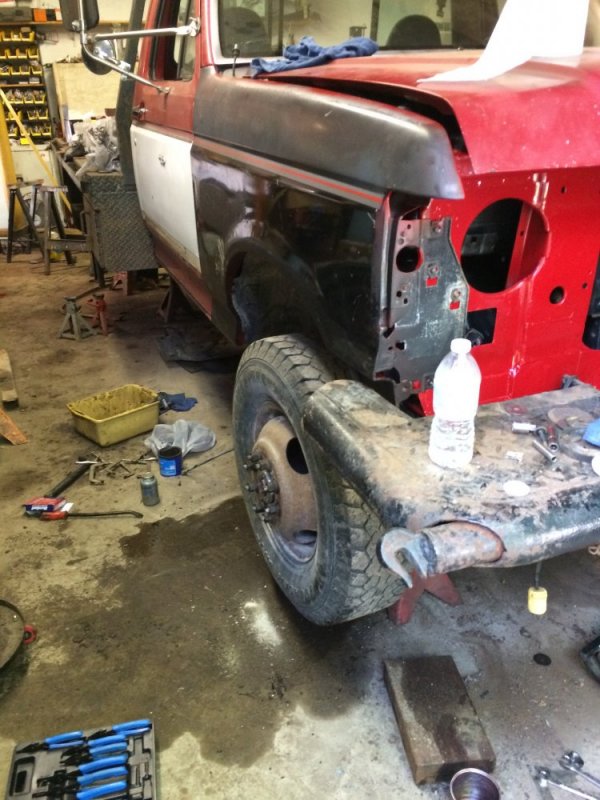
Just noticed it, but what's going on with that front bumper? Do those pipes with the hook slide out?
Sent from my SAMSUNG-SM-G890A using Tapatalk
Sent from my SAMSUNG-SM-G890A using Tapatalk
n8in8or
I never met a project I didn’t like
Yes they do. Isn't that weird!!?? I think it used to be some kind of logging truck, so maybe that was for dragging logs?Just noticed it, but what's going on with that front bumper? Do those pipes with the hook slide out?
Sent from my SAMSUNG-SM-G890A using Tapatalk
Will L.
Well-Known Member
Ya use it to carry long items such as 20' rebar or small diameter pipe. Another on the rear and you tie on the material to secure it. We used to build them all the time for construction companies here.
n8in8or
I never met a project I didn’t like
Good to know!Ya use it to carry long items such as 20' rebar or small diameter pipe. Another on the rear and you tie on the material to secure it. We used to build them all the time for construction companies here.
Jaryd
Extremely Deplorable
Yeah it's for carrying logs or pipe. We had a old chevy that was used just like @Will L. said. It was used to carry pipe from the lay down yard to where the welding stations were on some of our jobs. The owner of our company's son took it home to do something with it and tore it all to hell. Now we use Lulls for transporting pipe back and forth but the truck was much safer.
n8in8or
I never met a project I didn’t like
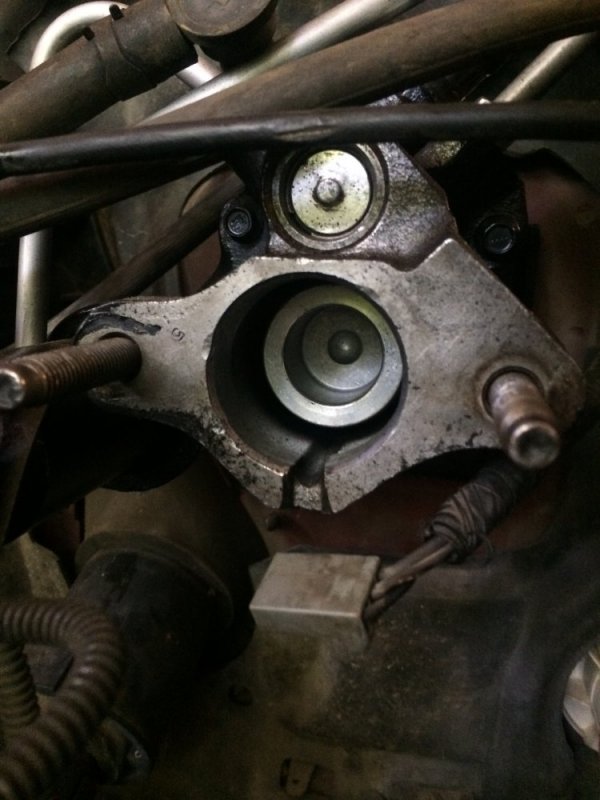
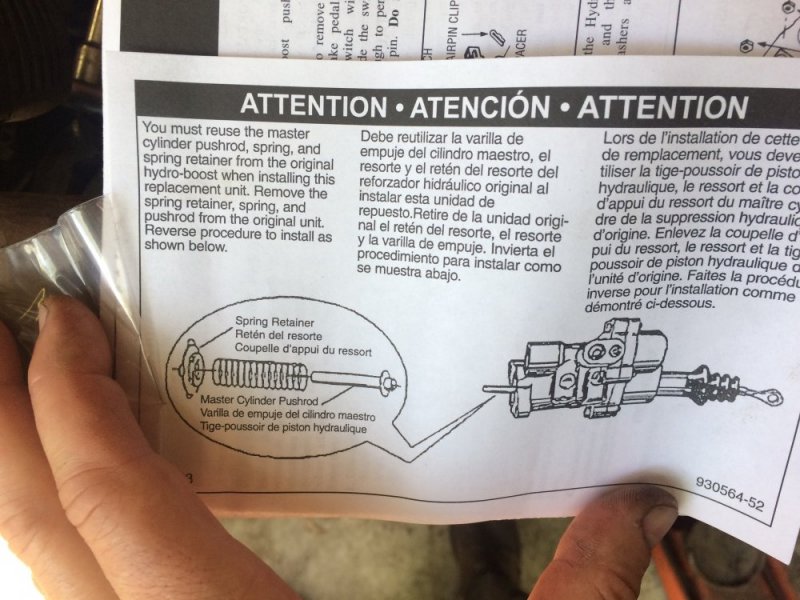
Well, figured out why the brakes don't work. That's what you get for not paying attention to the parts you're installing and reading the directions. Luckily there was a hydroboost at the junkyard that I should be able to rob he parts from, of course they're closed today for the holiday so I'll have to wait until tomorrow to get the missing parts.


Will L.
Well-Known Member
Oops..
n8in8or
I never met a project I didn’t like
You know I don't like doing these the easy way.....That's a PIA job on top of the PIA job to get there. (Hydro booster swap)
n8in8or
I never met a project I didn’t like
Since I couldn't do the brakes I focused on some smaller things that needed doing.
I bench bled the master cylinder.
I added the last of the screws that hold the inner fenders in.
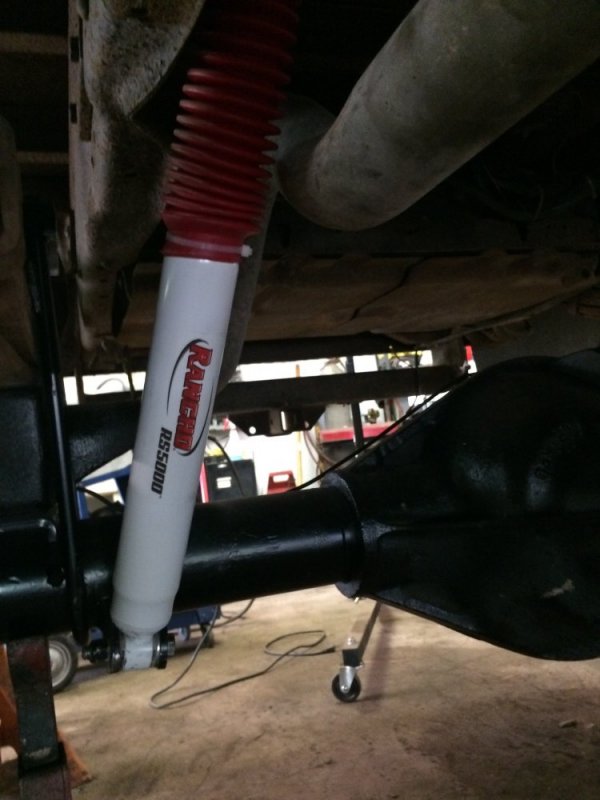
I mounted the new rear shocks.
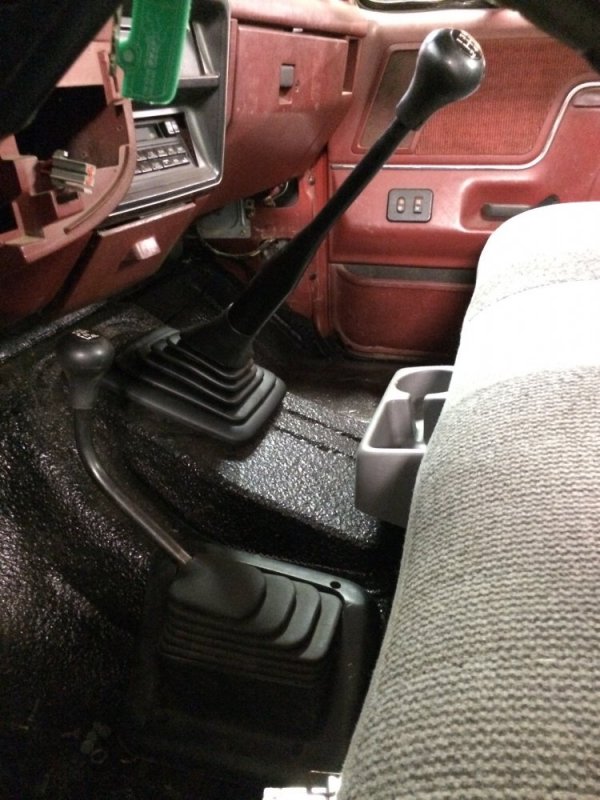
I reinstalled the trans shifter with a new boot and installed the boot on the transfer case shifter.
And then the last thing I decided to do was convert the truck to delay wipers. For some reason this truck had all the power options, but no delay wipers? Luckily the parts truck had power wipers so I snagged the switch and module off of that. The motor itself is the same. It's an easy swap. The delay switch and module are on top and the non-delay switch is on bottom.
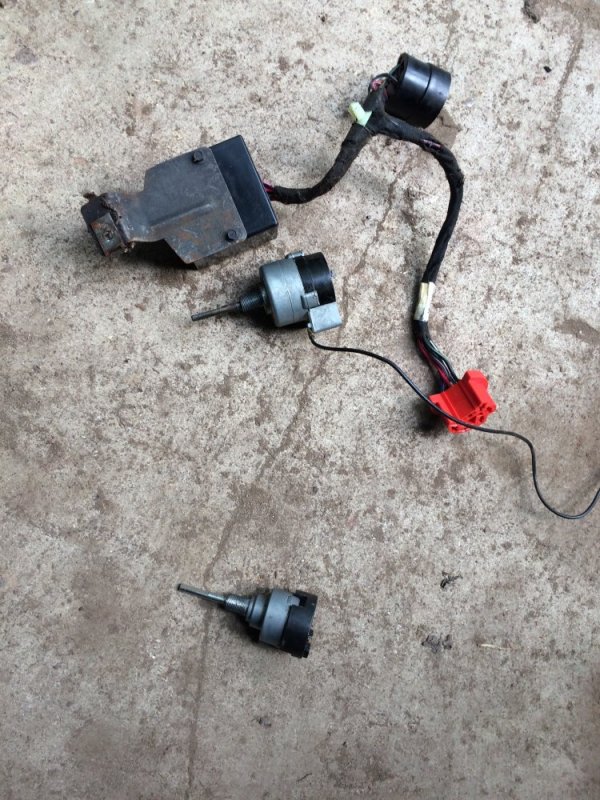
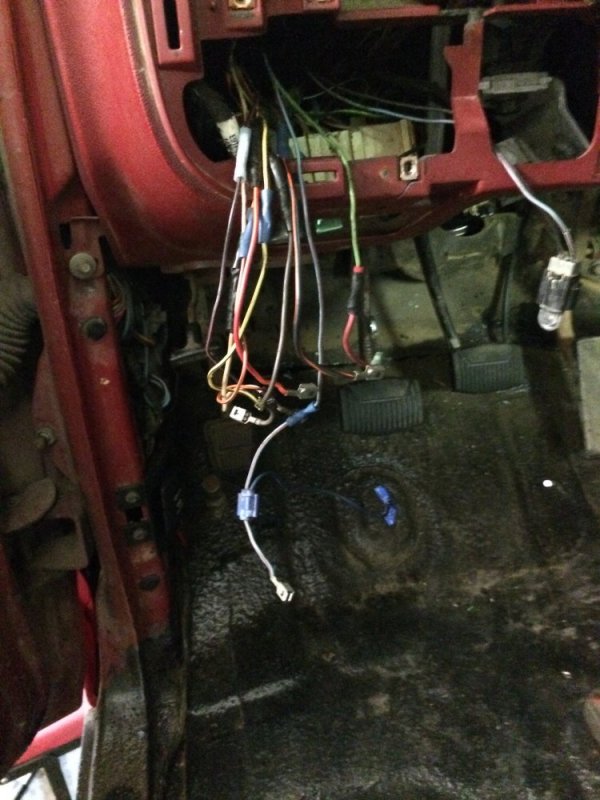
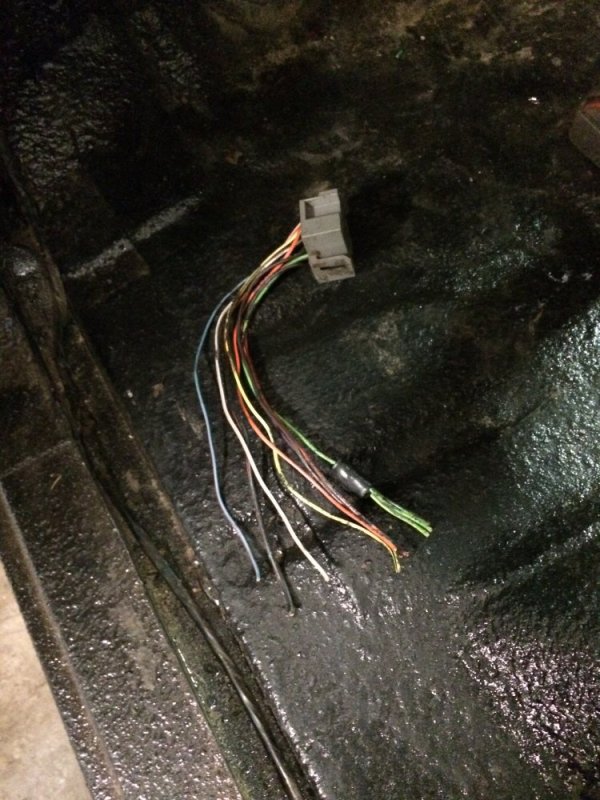
As I was finishing the install of the new switch I noticed the mess of wires in my hand.....what the heck is this mess!!??
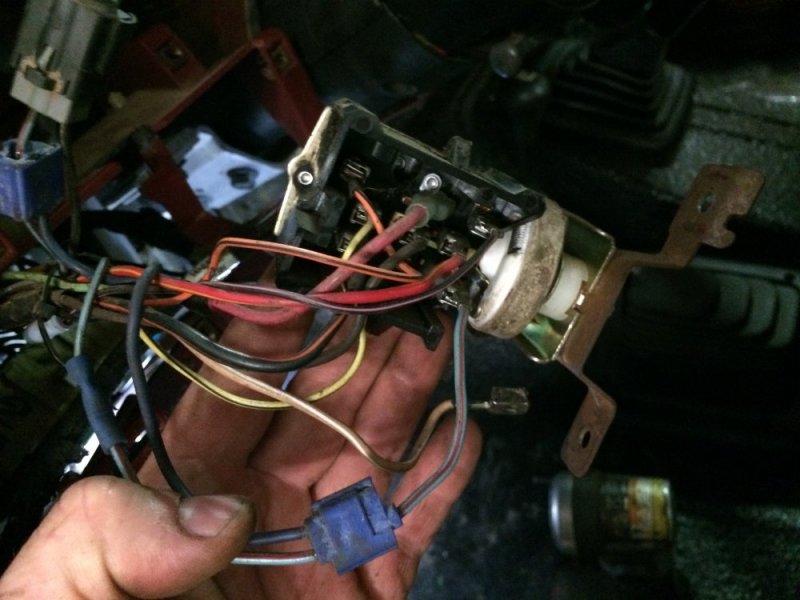
So I cut the harness out of the parts truck so I can fix that. I just hope that once that is fixed everything works as it should - the harness under the dash is all unwrapped, so who knows what all has been messed with under there. People.......I tell ya.
I bench bled the master cylinder.
I added the last of the screws that hold the inner fenders in.
I mounted the new rear shocks.

I reinstalled the trans shifter with a new boot and installed the boot on the transfer case shifter.

And then the last thing I decided to do was convert the truck to delay wipers. For some reason this truck had all the power options, but no delay wipers? Luckily the parts truck had power wipers so I snagged the switch and module off of that. The motor itself is the same. It's an easy swap. The delay switch and module are on top and the non-delay switch is on bottom.

As I was finishing the install of the new switch I noticed the mess of wires in my hand.....what the heck is this mess!!??

So I cut the harness out of the parts truck so I can fix that. I just hope that once that is fixed everything works as it should - the harness under the dash is all unwrapped, so who knows what all has been messed with under there. People.......I tell ya.


You know I don't like doing these the easy way.....
That would be the hard way, the harder way, and "we gets to do this over again". There is no easy way even with power tools. The do over is from other failed parts like a PS pump dusting the system as it eats itself alive. I gifted a homemade snow globe to the parts store manager: Power steering fluid from the dusted system in a jar = snow globe. Replaced entire system: hoses, box, booster, and flush cooler...
n8in8or
I never met a project I didn’t like
Nice! Who doesn't love a homemade present? That's a gift from the heart right thereThat would be the hard way, the harder way, and "we gets to do this over again". There is no easy way even with power tools. The do over is from other failed parts like a PS pump dusting the system as it eats itself alive. I gifted a homemade snow globe to the parts store manager: Power steering fluid from the dusted system in a jar = snow globe. Replaced entire system: hoses, box, booster, and flush cooler...
79jasper
Active Member
For the headlight plug, that's pretty common.
Plenty of trucks burned down from that. And the cruise control cutout switch on the brake master cylinder.
But look into doing the relay mod for the headlights. It's two-fold. One it takes the load off the headlight switch, two the lights will be brighter.
Sent from my SAMSUNG-SM-G890A using Tapatalk
n8in8or
I never met a project I didn’t like
Oh yeah, now that you mention it, I forgot that was a problem. Good thinking doing the relay mod right now. Thanks!For the headlight plug, that's pretty common.
Plenty of trucks burned down from that. And the cruise control cutout switch on the brake master cylinder.
But look into doing the relay mod for the headlights. It's two-fold. One it takes the load off the headlight switch, two the lights will be brighter.
Sent from my SAMSUNG-SM-G890A using Tapatalk
For the headlight plug, that's pretty common.
Plenty of trucks burned down from that. And the cruise control cutout switch on the brake master cylinder.
But look into doing the relay mod for the headlights. It's two-fold. One it takes the load off the headlight switch, two the lights will be brighter.
Sent from my SAMSUNG-SM-G890A using Tapatalk
Yeah I'd rewire the switch to the ignition rather than hot all the time... maybe Ford has a better cure. Forget GM! Ford also has a Blazer!
Friends car a crown vic (towncar or the like) burned to the ground in their driveway, at night, last year from this cruise switch. They have a transport service and the car had like 1/2 million miles on it. Talk about a "fun" insurance claim.
n8in8or
I never met a project I didn’t like
I was able to grab the missing parts at the junkyard today. Brakes work awesome now!!! Amazing how much better they work when there's a direct link between the booster and the master cylinder  The pedal is up where it belongs, too. Also, I fired the engine for the first time in probably 2 weeks and it fired right up!! Feeling very happy tonight.
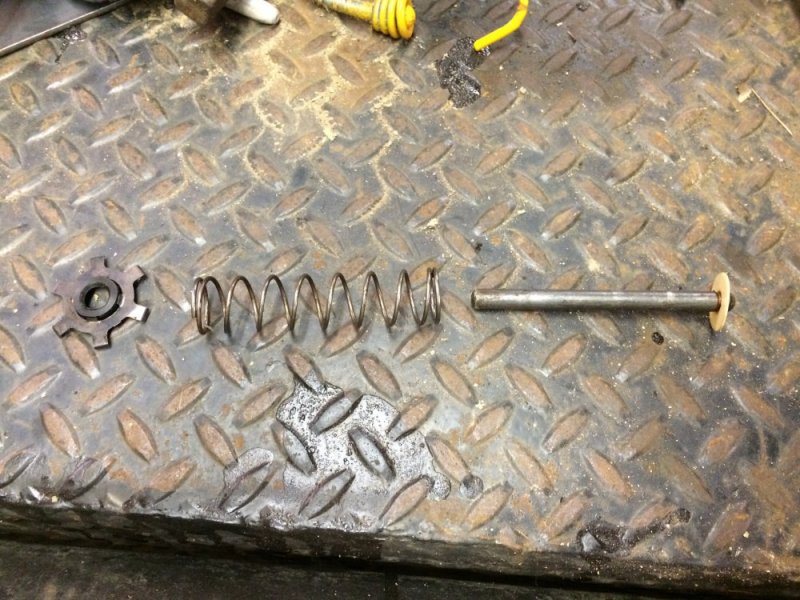
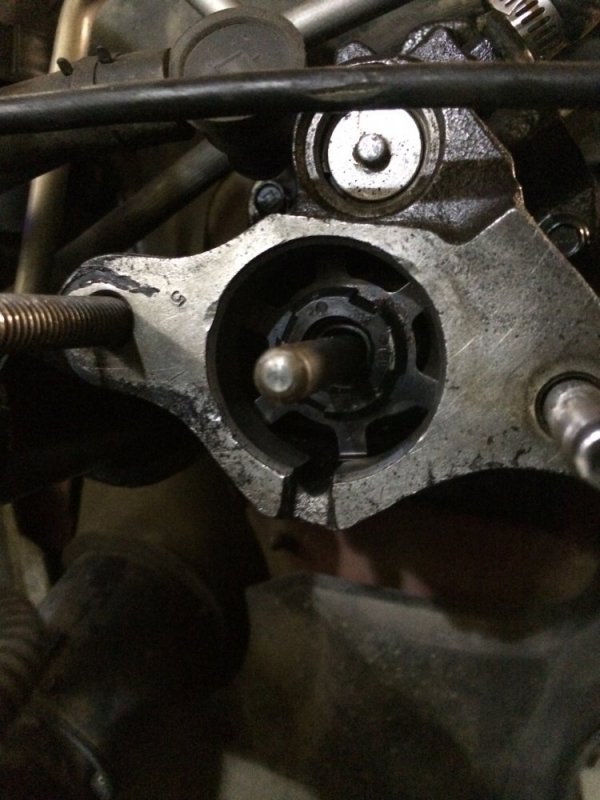
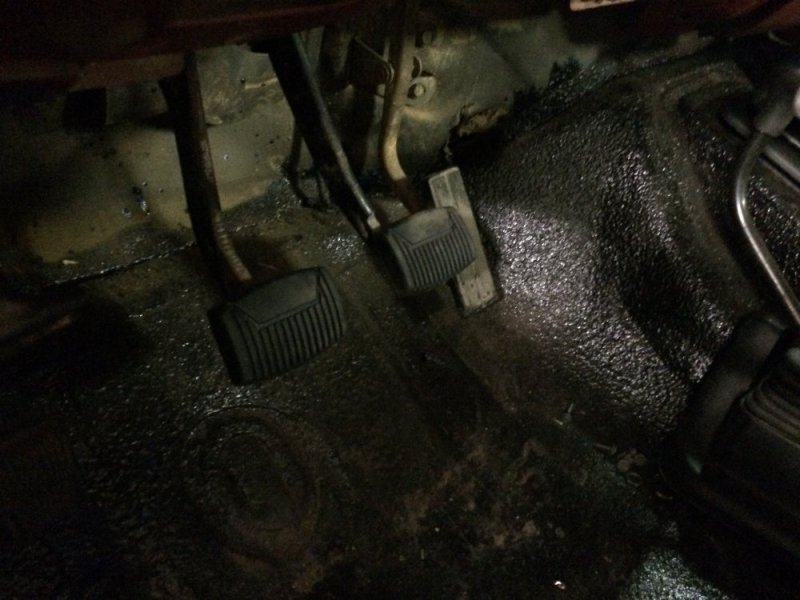
Neither the other 90 F350 stake truck or this truck had a pedal this good before.


Neither the other 90 F350 stake truck or this truck had a pedal this good before.
n8in8or
I never met a project I didn’t like
Weekend update: I got a couple things done. First I got the headlight plug rewired. It all worked except the headlights themselves....I did more digging and found a butt connector that had come apart, so I fixed that too.
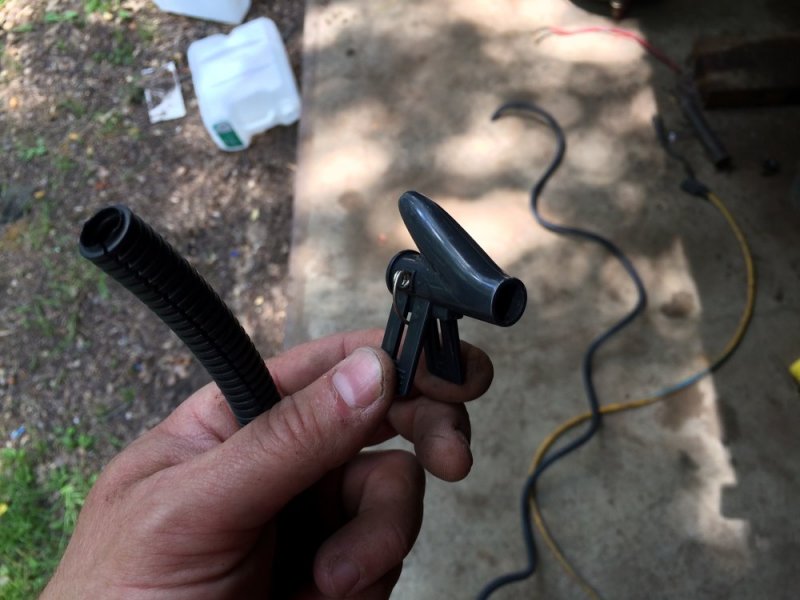
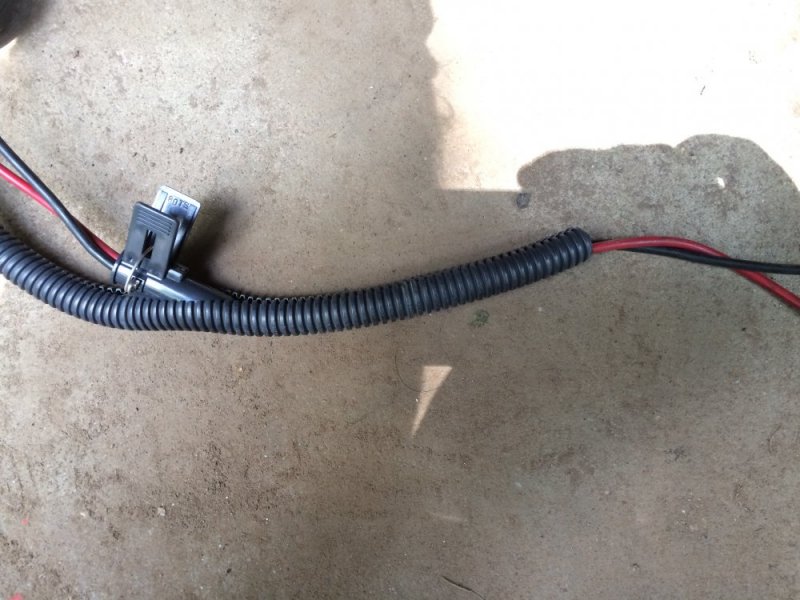
I then added relays to the headlight circuits. I used my wire loom installation tool for the first time and it made looming it a breeze!! That was how I ended the few hours I spent on Saturday.
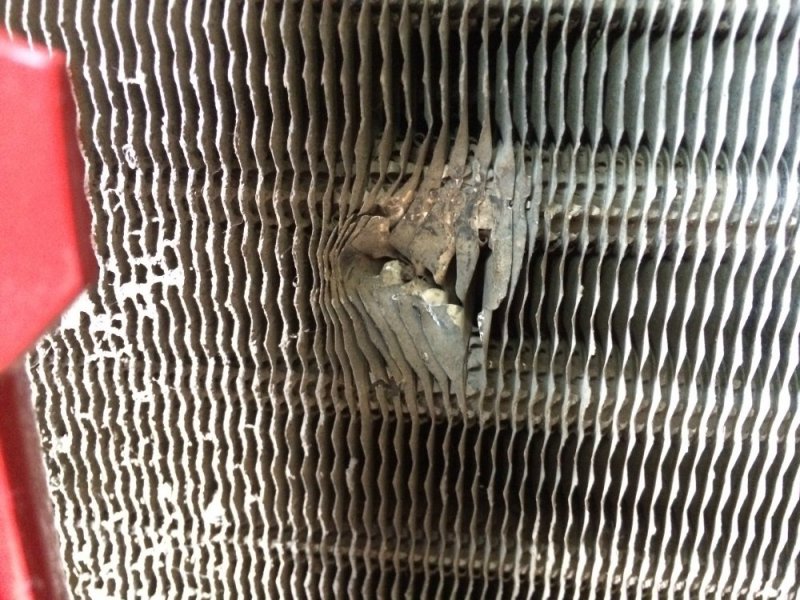
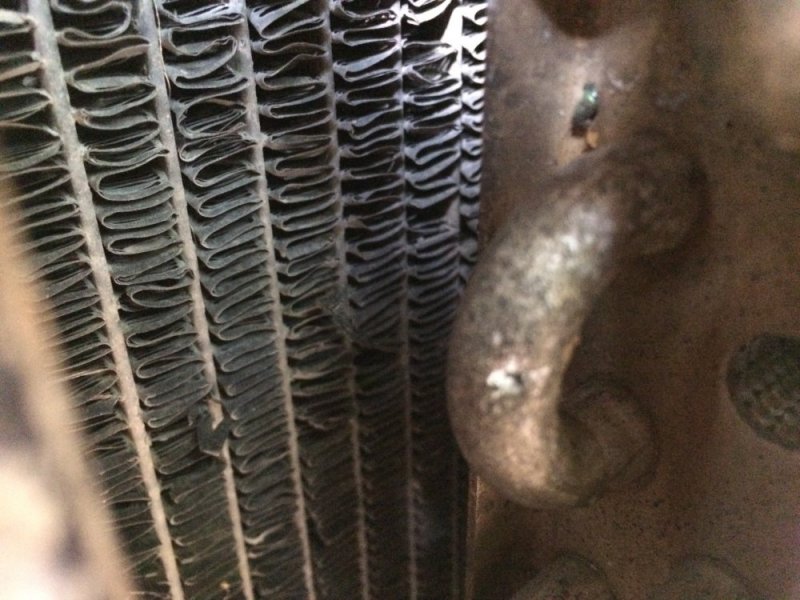
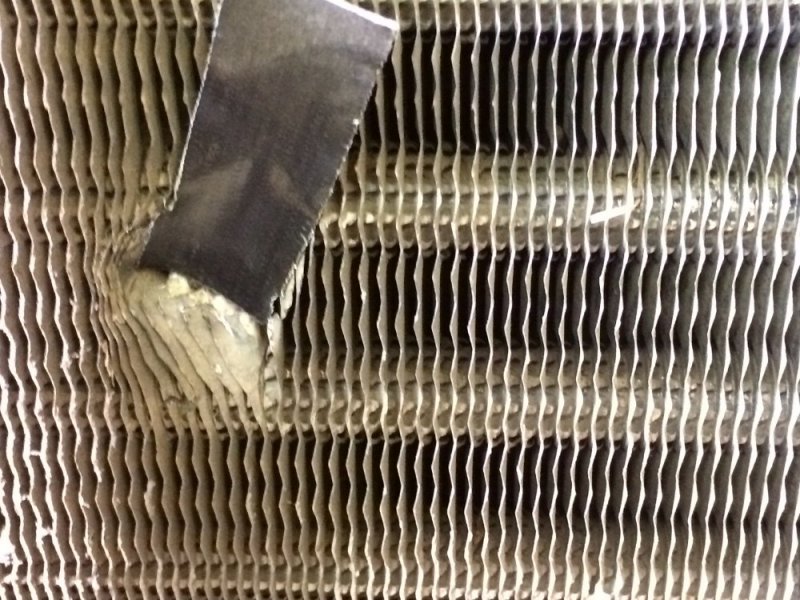
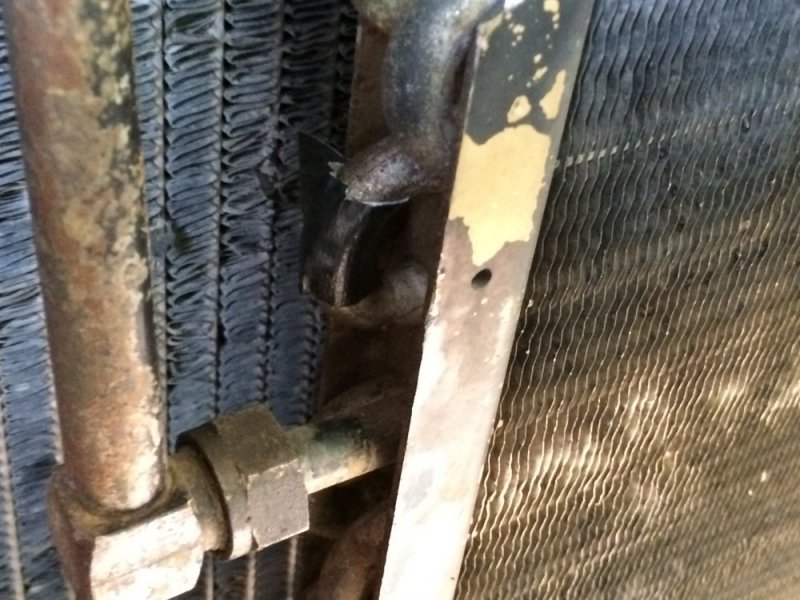
Sunday was air conditioning day. I took all connections apart and installed r134 o-rings. All of the o-rings were hard and crushed so it looked like that was why the system was empty. I also drained as much oil as I could from the compressor. In went a new accumulator, some UV dye, ester oil and then everything else went back together. I drew a vacuum but it wouldn't hold, so I put a can in the system and found 2 holes in the condensor right away. Grrr. Of course the parts store didn't have one in stock so I had them order it.....unfortunately I am out of town until Tuesday, so further progress is going to have to wait until then. I covered the holes with tape and drew a vacuum again - hopefully at least a little vacuum holds until then so the new accumulator doesn't get filled with moisture in the meantime.
I then added relays to the headlight circuits. I used my wire loom installation tool for the first time and it made looming it a breeze!! That was how I ended the few hours I spent on Saturday.


Sunday was air conditioning day. I took all connections apart and installed r134 o-rings. All of the o-rings were hard and crushed so it looked like that was why the system was empty. I also drained as much oil as I could from the compressor. In went a new accumulator, some UV dye, ester oil and then everything else went back together. I drew a vacuum but it wouldn't hold, so I put a can in the system and found 2 holes in the condensor right away. Grrr. Of course the parts store didn't have one in stock so I had them order it.....unfortunately I am out of town until Tuesday, so further progress is going to have to wait until then. I covered the holes with tape and drew a vacuum again - hopefully at least a little vacuum holds until then so the new accumulator doesn't get filled with moisture in the meantime.


Exchange the accumulator. Moisture in the system isn't worth savings on an accumulator. If you are going through all the trouble, and you are, no need to cut corners now. I would draw a deep 30 min+ vacuum on the system with the current accumulator and then bring it to 0 PSI with R134a. (This step makes sure it will hold a vacuum in case there are other leaks.) Then swap the accumulator, vacuum, and charge.
n8in8or
I never met a project I didn’t like
I am going to check it for vacuum when I get home. If it still has vacuum then I'm good, but if it has lost it then yeah, I'll swap it.Exchange the accumulator. Moisture in the system isn't worth savings on an accumulator. If you are going through all the trouble, and you are, no need to cut corners now. I would draw a deep 30 min+ vacuum on the system with the current accumulator and then bring it to 0 PSI with R134a. (This step makes sure it will hold a vacuum in case there are other leaks.) Then swap the accumulator, vacuum, and charge.

