Navigation
Install the app
How to install the app on iOS
Follow along with the video below to see how to install our site as a web app on your home screen.
Note: This feature may not be available in some browsers.
More options
-
Welcome to The Truck Stop! We see you haven't REGISTERED yet.
Your truck knowledge is missing!
- Registration is FREE , all we need is your birthday and email. (We don't share ANY data with ANYONE)
- We have tons of knowledge here for your diesel truck!
- Post your own topics and reply to existing threads to help others out!
- NO ADS! The site is fully functional and ad free!
Problems registering? Click here to contact us!
Already registered, but need a PASSWORD RESET? CLICK HERE TO RESET YOUR PASSWORD!
You are using an out of date browser. It may not display this or other websites correctly.
You should upgrade or use an alternative browser.
You should upgrade or use an alternative browser.
1982 k30, sticking around
- Thread starter red
- Start date
BIGR
Lucky To Be Here
Very nice Red, one needs all the storage they can get.
I notice a couple of thermos bottles on the bed of the truck, I guess that job required more than one cup of coffee?
I notice a couple of thermos bottles on the bed of the truck, I guess that job required more than one cup of coffee?
red
Being a lake bum in Texas
Very nice Red, one needs all the storage they can get.
I notice a couple of thermos bottles on the bed of the truck, I guess that job required more than one cup of coffee?
Haha at that point in the day it wasn't coffee they were holding. I've got quite a few of those Stanley bottles and they've held up well. Their portable press is great.
red
Being a lake bum in Texas
Hmm, have a plan change regarding the bed. Thinking of going with something like this instead
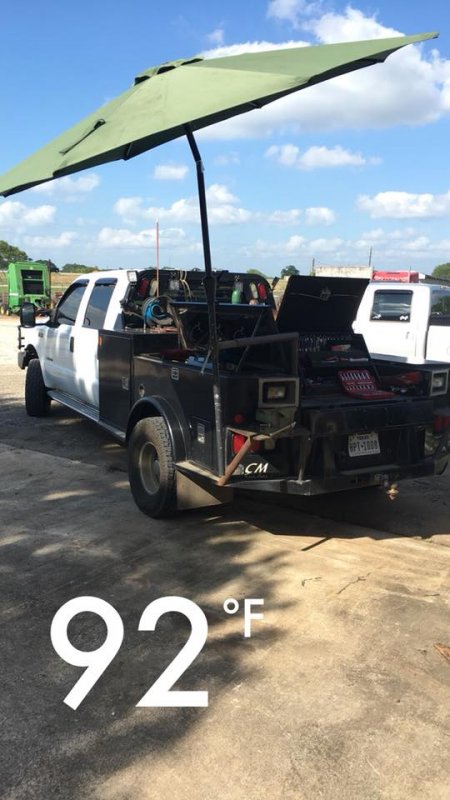
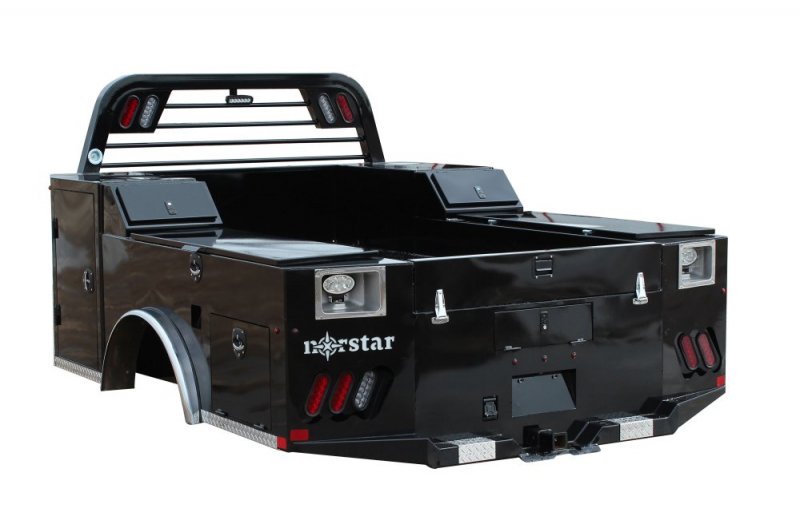
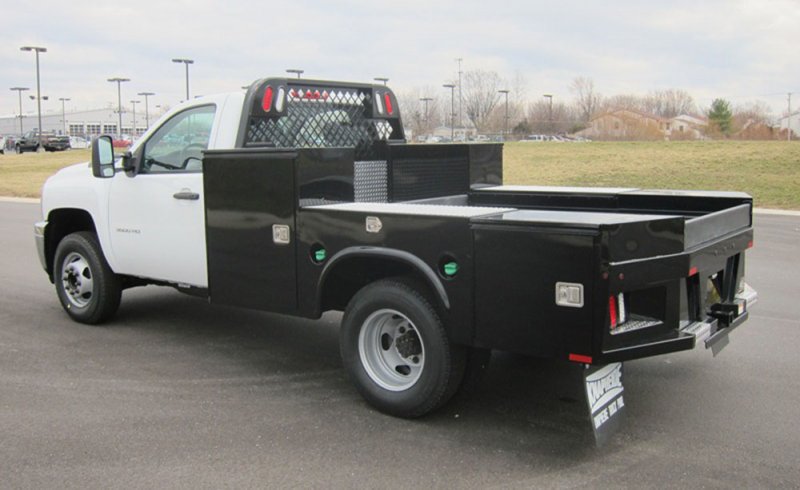
Reasons for the plan change. I'm always carrying tools, have random jobs/tasks pop up, and kind of setting things up to be self employed as a mobile mechanic. I hadn't seen these kind of hybrid gooseneck hitch/service beds until recently and I like their organization as compared to a flatbed with a bunch of boxes attached.
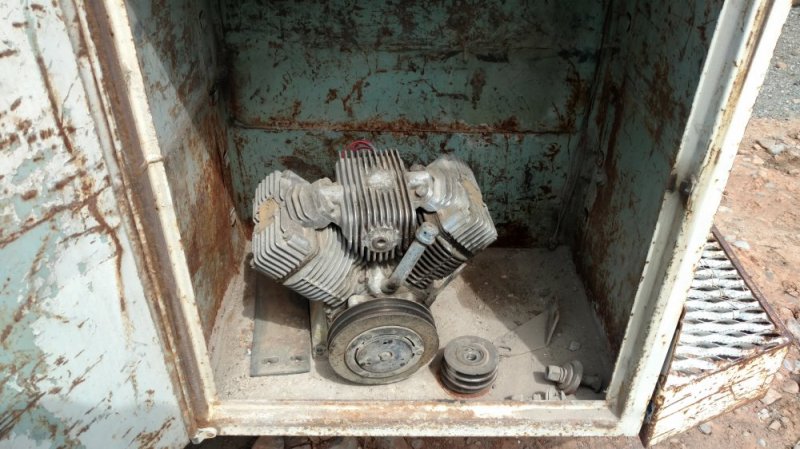
Obviously buying a new bed is out of the planned budget, however I had picked up this knapheide bed a few months ago for $400 with the compressor. Been using it as a temporary box for my tools. If I go this route all the significant rust gets cut out anyways.
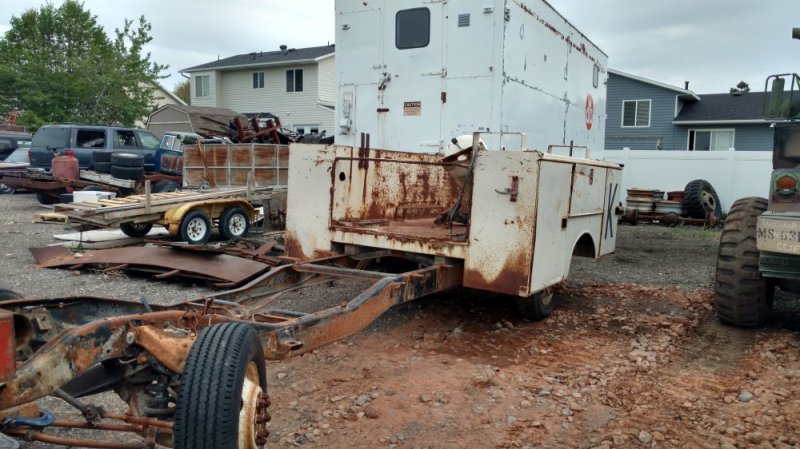
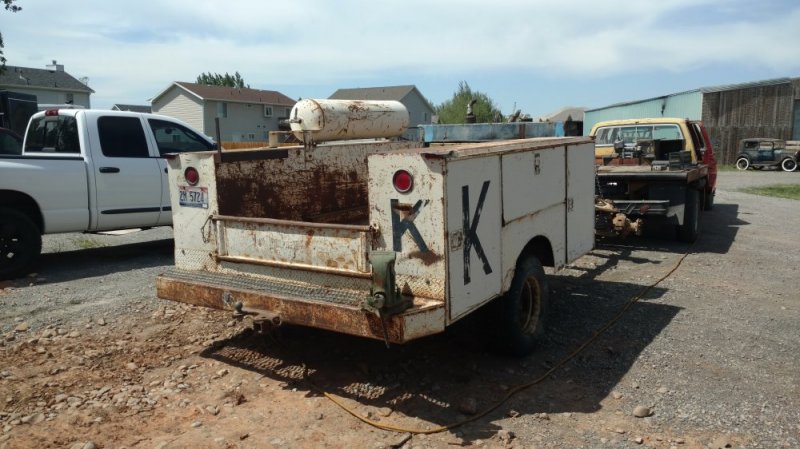
To provide clearance for the gooseneck hitch I'd cut out the middle boxes and chop down the rear boxes to match since it sits 27" over the floorboard of the bed. Cut it down to about 12" over the top of the floorboard. That would leave the front boxes alone and have it match their new model beds (3rd pic from the top of the post). Then turn the remains of the middle boxes and the top few inches of the rear boxes into long shallow boxes that are opened from the top (like the CM bed, 1st pic) and leave the rear box as side opening.
Basically lopping off from the top of the tailgate horizontally up to the front boxes.


Reasons for the plan change. I'm always carrying tools, have random jobs/tasks pop up, and kind of setting things up to be self employed as a mobile mechanic. I hadn't seen these kind of hybrid gooseneck hitch/service beds until recently and I like their organization as compared to a flatbed with a bunch of boxes attached.
Obviously buying a new bed is out of the planned budget, however I had picked up this knapheide bed a few months ago for $400 with the compressor. Been using it as a temporary box for my tools. If I go this route all the significant rust gets cut out anyways.


To provide clearance for the gooseneck hitch I'd cut out the middle boxes and chop down the rear boxes to match since it sits 27" over the floorboard of the bed. Cut it down to about 12" over the top of the floorboard. That would leave the front boxes alone and have it match their new model beds (3rd pic from the top of the post). Then turn the remains of the middle boxes and the top few inches of the rear boxes into long shallow boxes that are opened from the top (like the CM bed, 1st pic) and leave the rear box as side opening.
Basically lopping off from the top of the tailgate horizontally up to the front boxes.
1994ch
Well-Known Member
Looks like a fun project!
btfarm
America First!
Chopping all those box tops might make it difficult for water tightness
red
Being a lake bum in Texas
Chopping all those box tops might make it difficult for water tightness
It could. The idea is to use overlapping angle iron on the top edge so that water would have to travel up, in, then up again to get inside the boxes. The box build is coming up in the next few weeks.
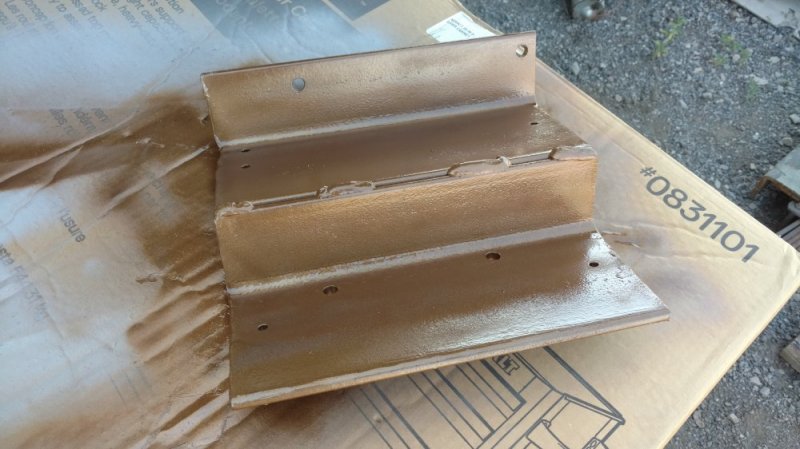
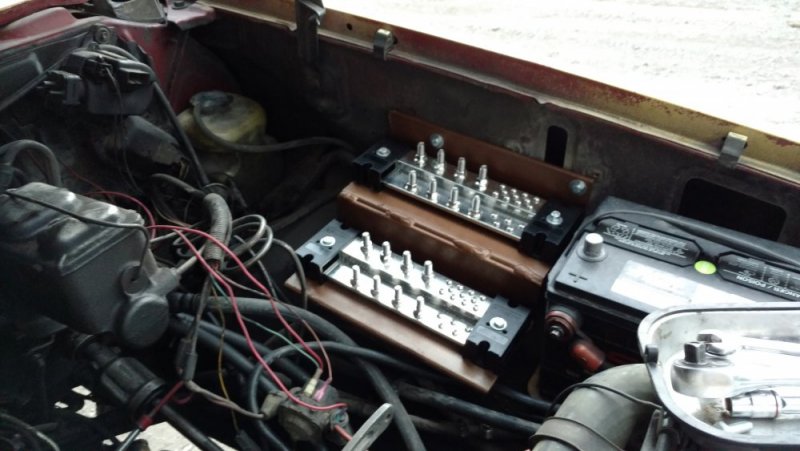
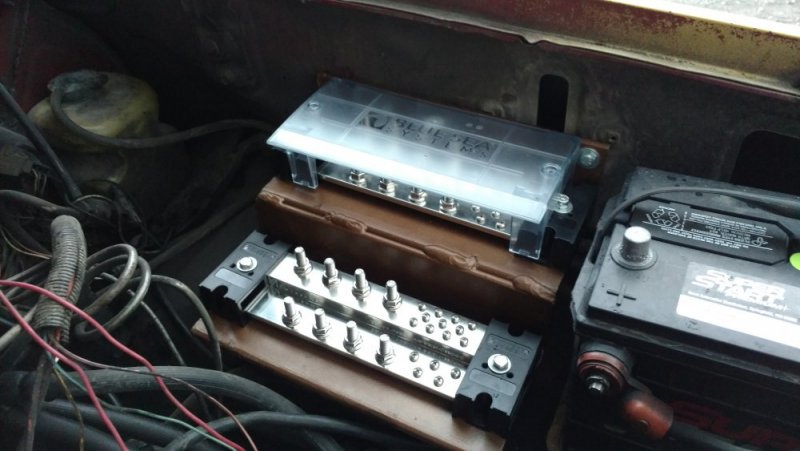
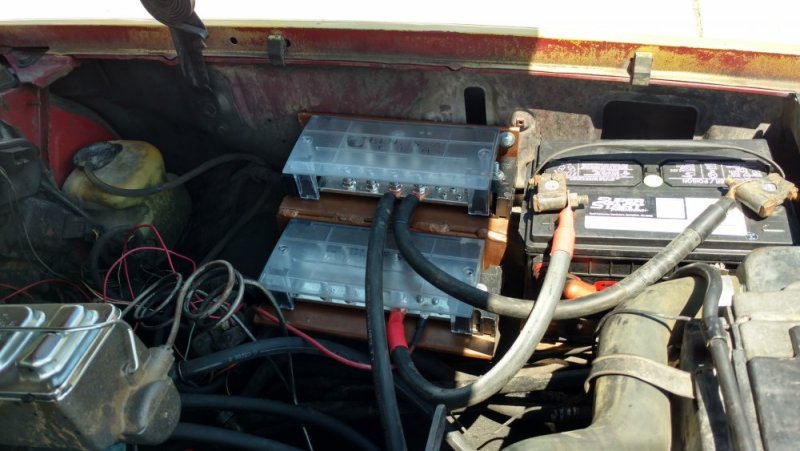
Started on the big electrical stuff today, no wiring yet just deciding where to place the bus bars, prep the area, and build the mount. Should be painted and installed later this week then will wire them up.
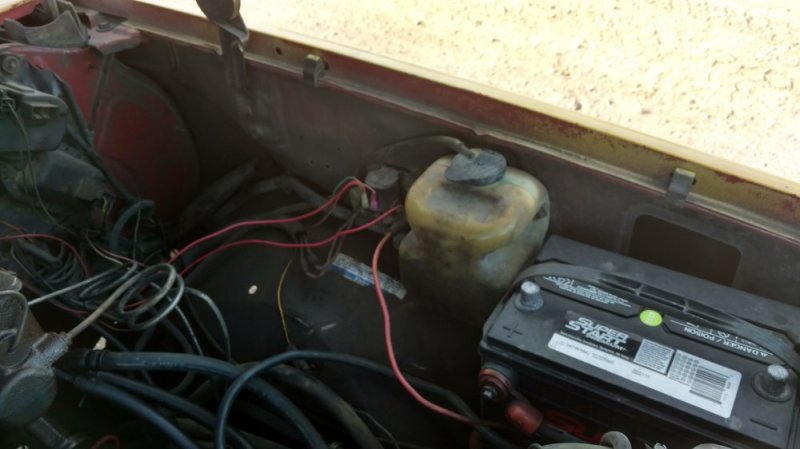
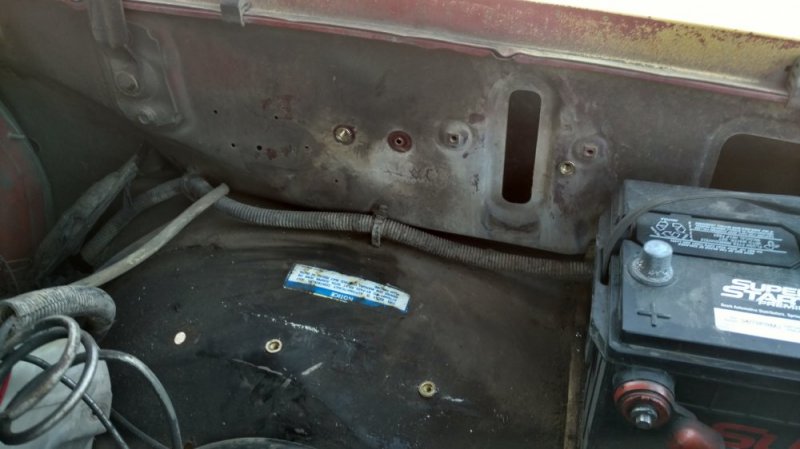
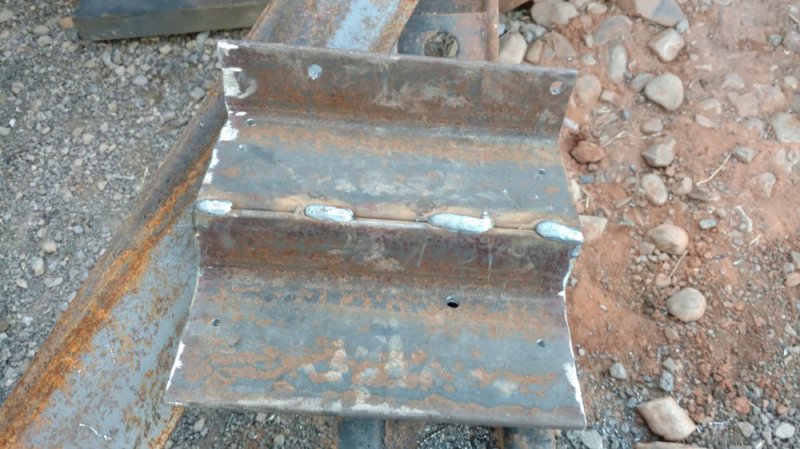
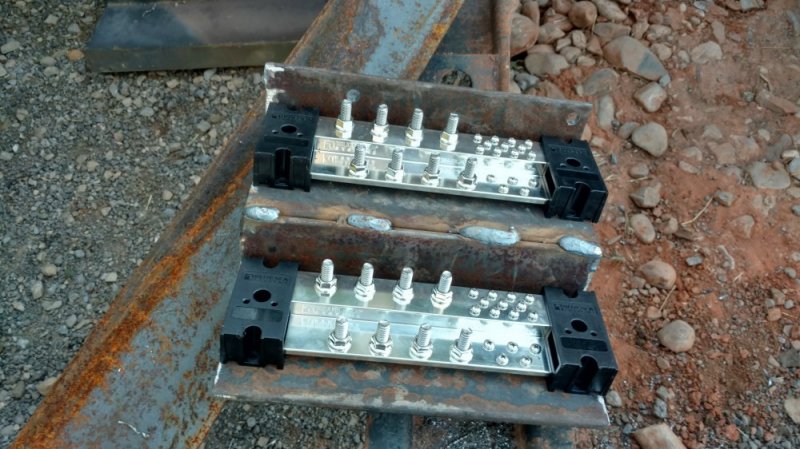
red
Being a lake bum in Texas
red
Being a lake bum in Texas
red
Being a lake bum in Texas
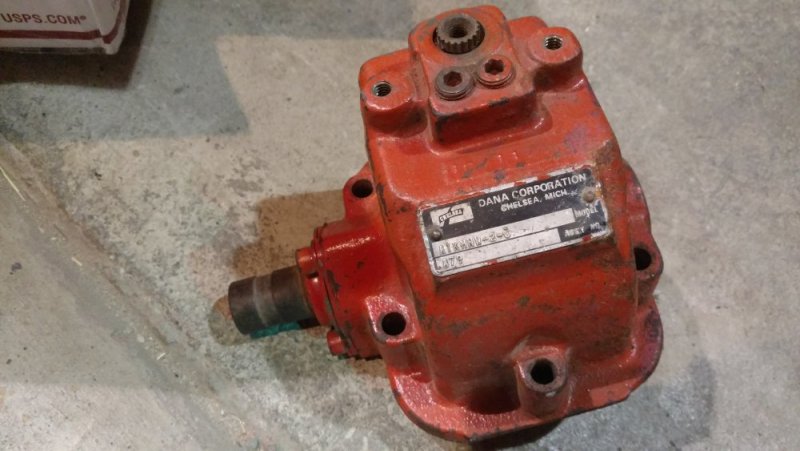
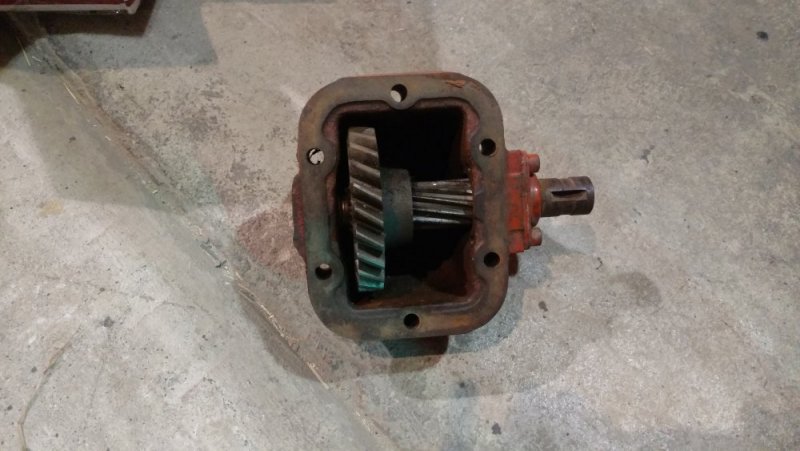
Looks like my PTO plans have an improvement. Rather than having to wait until a different trans with PTO capabilities gets installed, found a PTO for the NP205 tcase. Came off of one of the military CUCV's that had a generator in the bed. Should be here in a week or 2.
Finish the big electrical first, then service bed install, PTO after that.
Finish the big electrical first, then service bed install, PTO after that.
red
Being a lake bum in Texas
depending on the base coat used it has an effect on the final top coat color tone.
The primer used was white. I'd assume that would make it lighter but painting is something new to me.
Speaking of paint, about to start doing that to the front and underside of the service bed.
Started wiring in the buss bars today when I noticed something. The big electrical stuff (starter/alternator) are on the passenger side with the 6.2, but on the 4BD1T they are on the driver side. Meaning that if new wires were made for those right now then they would have to be cut and remade when the engine swap happens. So going to leave those couple things connected to the passenger side battery for awhile then and save the labor/cost of fixing it twice.
Everything from the driver side battery is now transferred over. Need to add the second fuse block power, the big wiring for the rear of the truck. Then secure the glow plug solenoid until the new wiring harness goes in (after the service bed is on). Using 2/0 for the big electrical stuff.
red
Being a lake bum in Texas
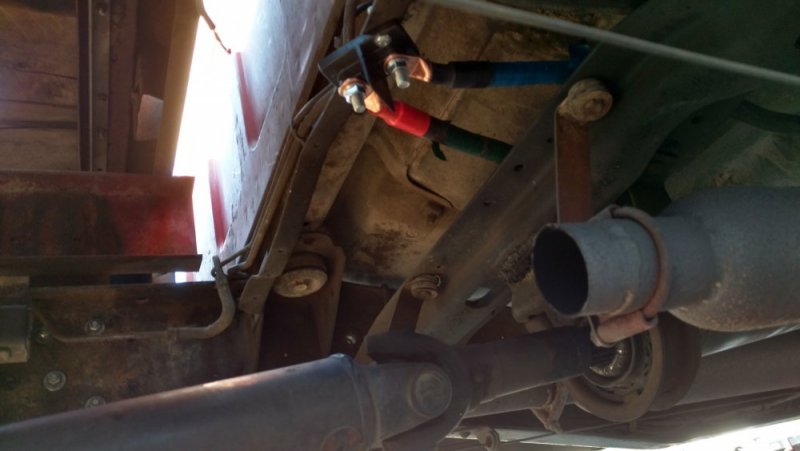
Found a usable bolt hole in the fenderwell for the glow plug solenoid. Also crawled under the bed of the truck and found a spot to mount the insulated dual post. This will be the main wiring spot for the rear winch, bed winch, and any other big electric needs for the rear of the vehicle. Next step, the service bed. Want it on the truck by August.

BIGR
Lucky To Be Here
Is that a Cherry Bomb muffler in that last picture?
red
Being a lake bum in Texas
Is that a Cherry Bomb muffler in that last picture?
yep, 2 of them actually (true dual exhaust). They were on the truck when I got it. The exhaust sounds like a healthy big block when cruising down the road, but at idle you can't hear it over the "plop plop plop plop" of the bypassed mechanical lift pump hahaha.
Started on the service bed this evening. Cut off the Ubolts that held it to the chassis and unbolted the rear bumper from the bed. Nothing else holding it there now.
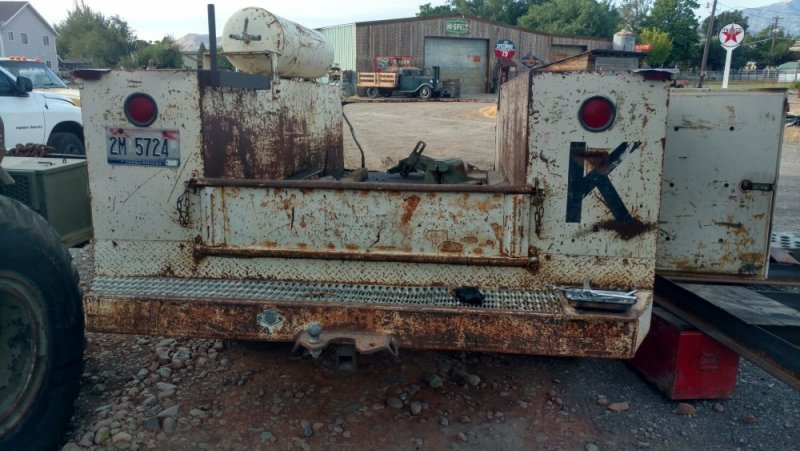
There are a few holes in the bed (such as in the upper part of the K on the back). Thankfully though, most of those and the rust are in parts of the bed that will be getting cut off. Started cleaning up the front end then decided that since I'm going to be doing quite a bit of mods to the bed, really no point in painting it until all those are done.
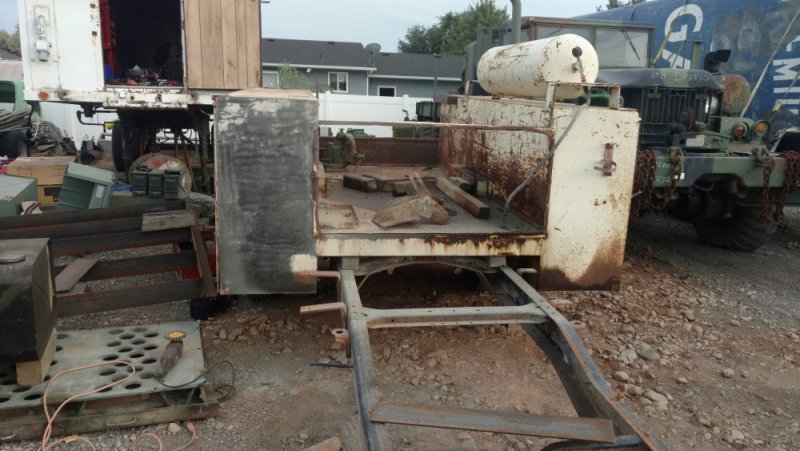
Need to lower the fuel tank a few inches then can start the bed swap. Figure get everything modified as wanted, then pull it off to be sand blasted/painted.
Will L.
Well-Known Member
A service door to the top of the tank if possible isn’t a bad idea.
red
Being a lake bum in Texas
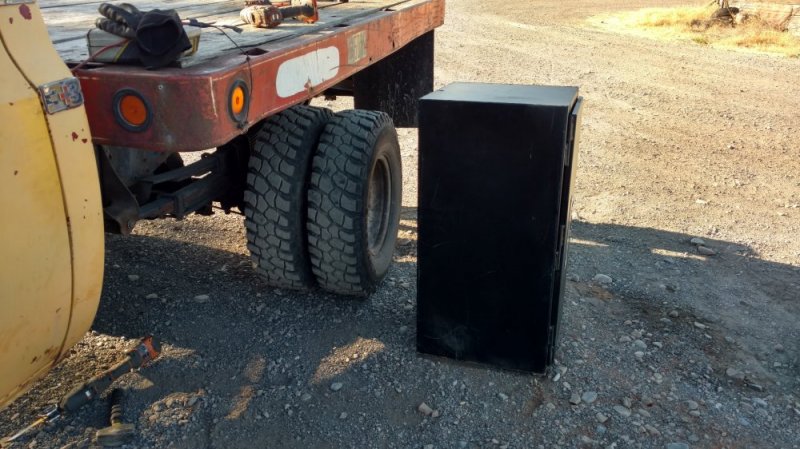
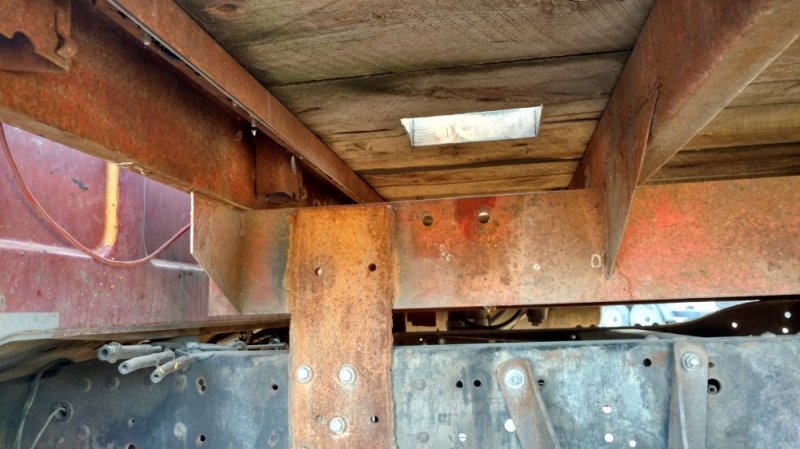
Well the fuel tank service door might not work out. One of the beds main rear cross members sits directly over the fuel tank sending unit. Will see if the tank can be moved some to help that.
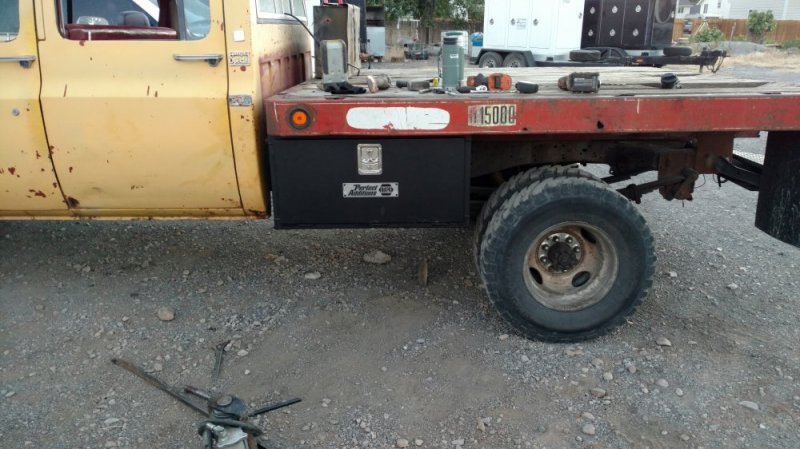
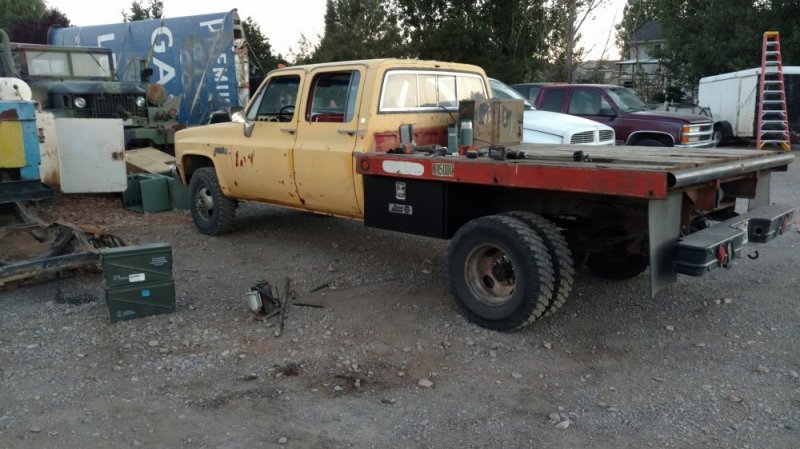
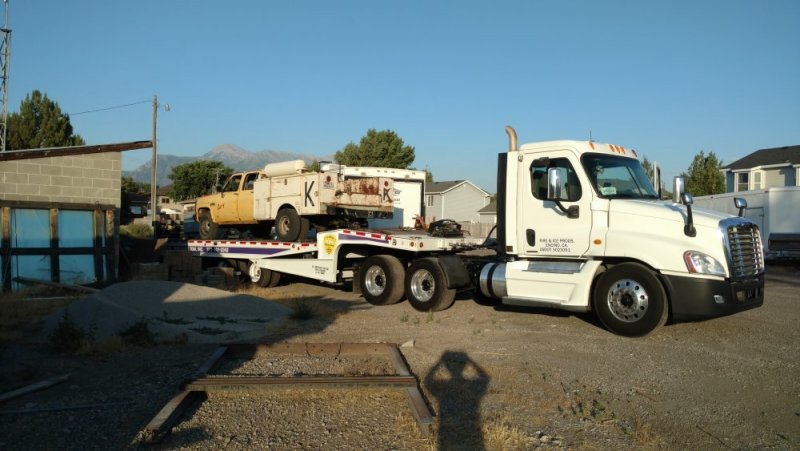
Spent today doing the main parts of the bed swap. Getting the flatbed off was pretty quick other than being delayed by some pissed off hornets who had decided to make a nest in the wrecker boom. Removed the air line connecting the compressor to the tank, removed the bed mounts, and voila.

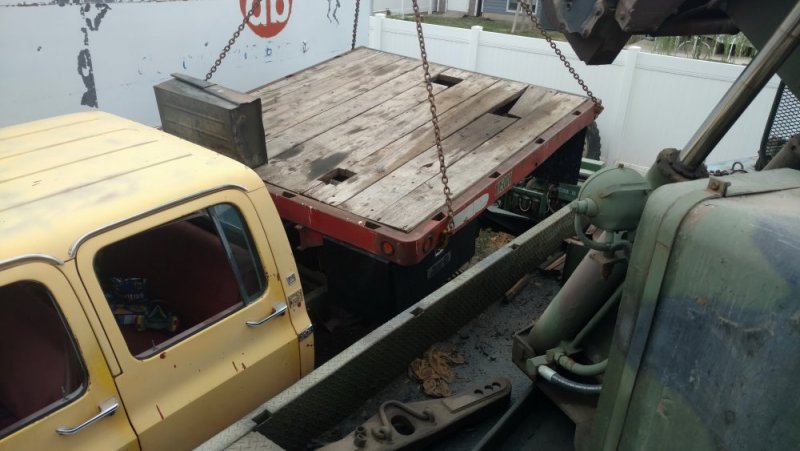

Not going to get rid of the flatbed yet since the service bed will be coming off again eventually for the paint job.
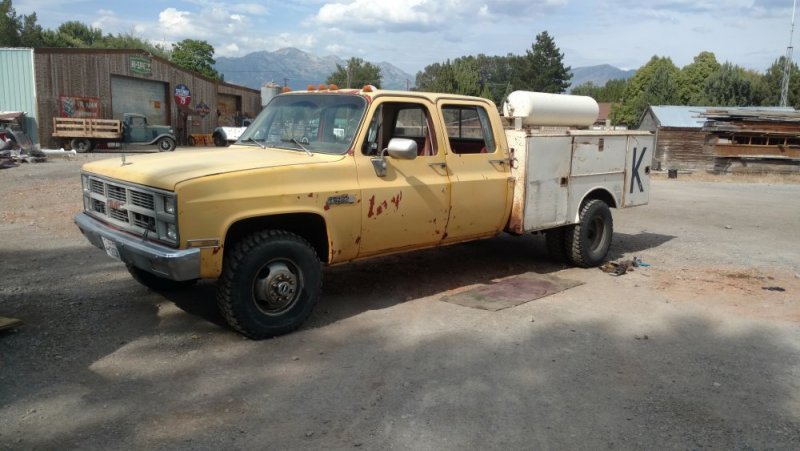
With the bed off removed the rear bumper, then lowered the fuel tank and relocated the fuel pump/filter under the cab since the service bed would have hit them (getting tired of moving those 2 things around). Fuel pump decided to spray some diesel on my crotch during it's reinstall after I'd been out getting sunburned most of the afternoon and fighting with hornets. Decided to say thanks by ripping it off and throwing it across the lot where it landed in the dump bed of another truck. After that it cooperated wonderfully haha.
Fuel system stuff out of the way, set the service bed on the truck. Install is not complete but the main stuff is done. It is a few inches narrower than the flatbed, and the bottom of the front boxes sit roughly 2-3" higher than the bottom of the rocker panels.
Spent today doing the main parts of the bed swap. Getting the flatbed off was pretty quick other than being delayed by some pissed off hornets who had decided to make a nest in the wrecker boom. Removed the air line connecting the compressor to the tank, removed the bed mounts, and voila.


Not going to get rid of the flatbed yet since the service bed will be coming off again eventually for the paint job.
With the bed off removed the rear bumper, then lowered the fuel tank and relocated the fuel pump/filter under the cab since the service bed would have hit them (getting tired of moving those 2 things around). Fuel pump decided to spray some diesel on my crotch during it's reinstall after I'd been out getting sunburned most of the afternoon and fighting with hornets. Decided to say thanks by ripping it off and throwing it across the lot where it landed in the dump bed of another truck. After that it cooperated wonderfully haha.
Fuel system stuff out of the way, set the service bed on the truck. Install is not complete but the main stuff is done. It is a few inches narrower than the flatbed, and the bottom of the front boxes sit roughly 2-3" higher than the bottom of the rocker panels.

red
Being a lake bum in Texas
Oh and with the suspension. it's brought it down some but still not sitting on the overload leaf packs. Sits nearly level front to rear now
red
Being a lake bum in Texas
MrMarty51
Well-Known Member
Let me look around. I used to have a PTO unit looked like that, if the shifting lever is there, I`ll send it to You.

