• Welcome to The Truck Stop! We see you haven't REGISTERED yet.

    Your truck knowledge is missing!
    • Registration is FREE , all we need is your birthday and email. (We don't share ANY data with ANYONE)
    • We have tons of knowledge here for your diesel truck!
    • Post your own topics and reply to existing threads to help others out!
    • NO ADS! The site is fully functional and ad free!
    CLICK HERE TO REGISTER!

    Problems registering? Click here to contact us!

    Already registered, but need a PASSWORD RESET? CLICK HERE TO RESET YOUR PASSWORD!

Time for some rust repair on the Tahoe.

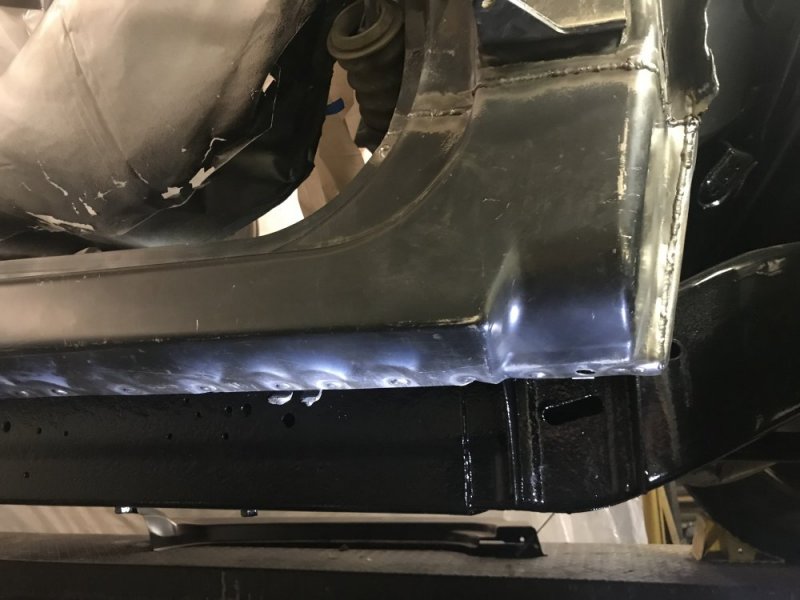
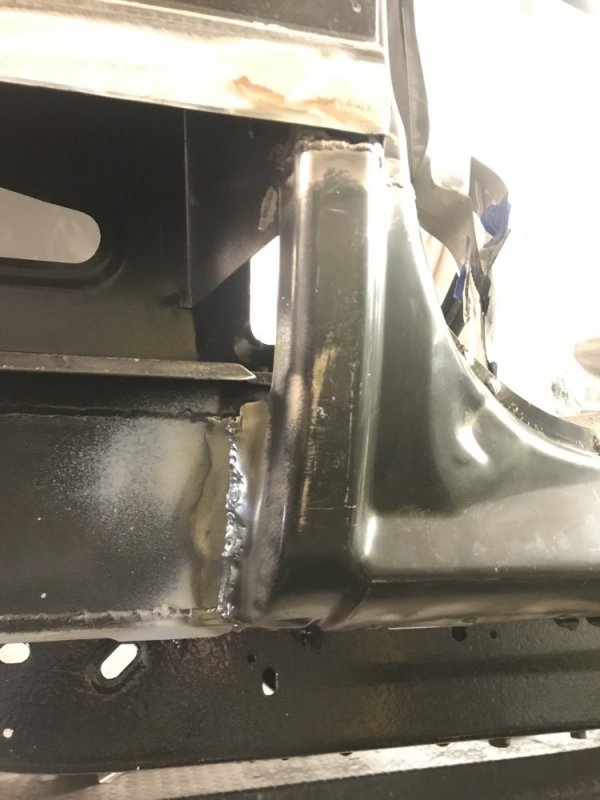
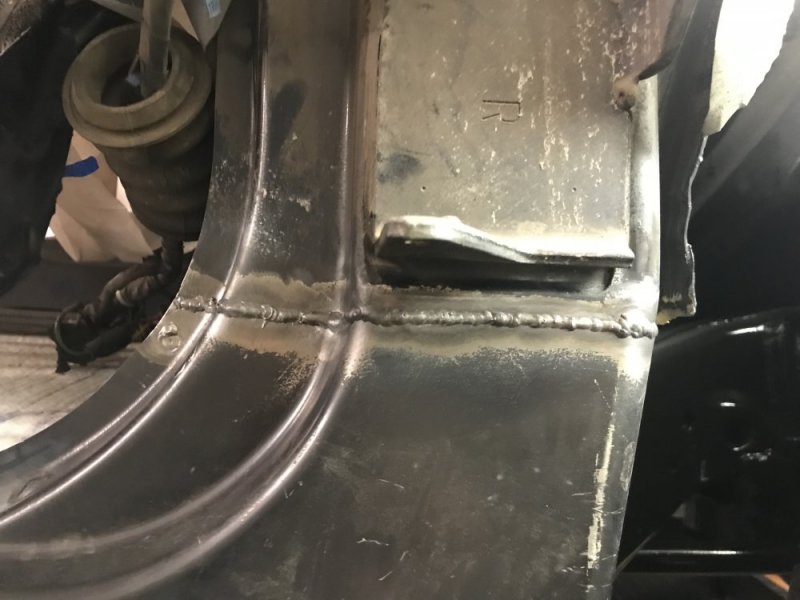
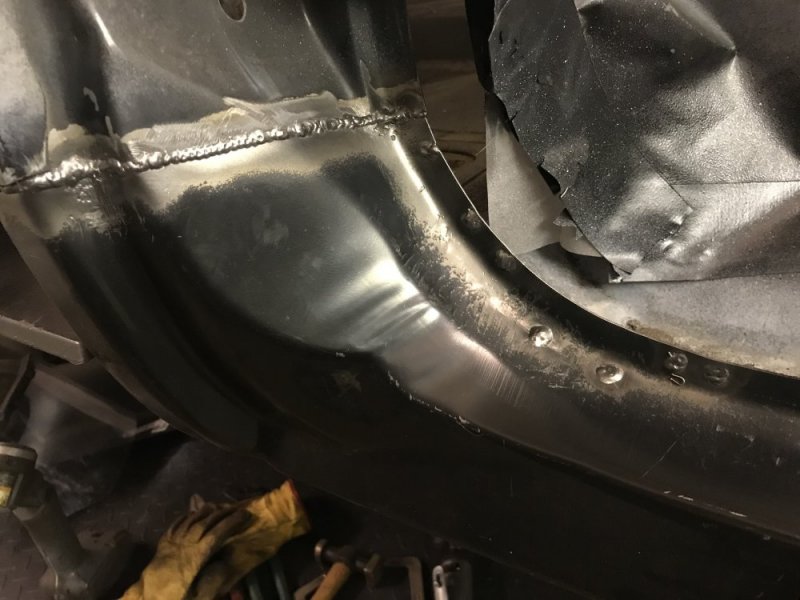
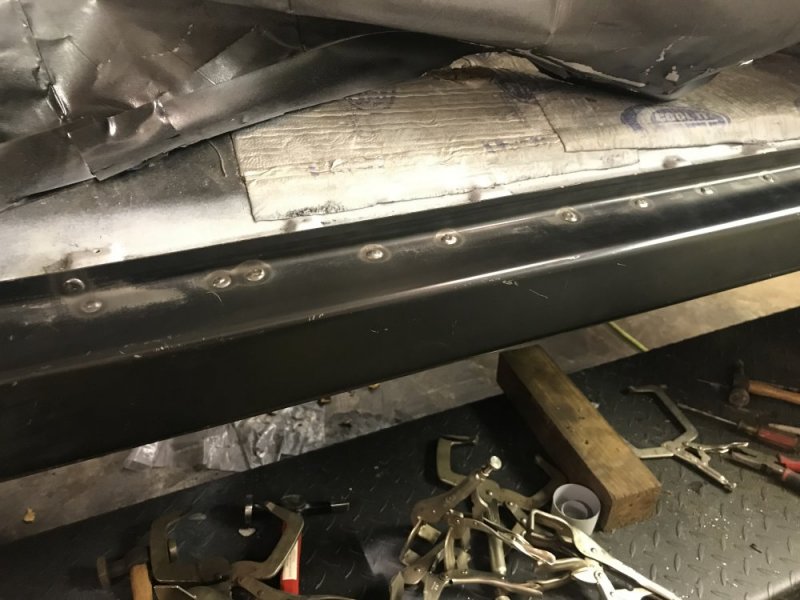
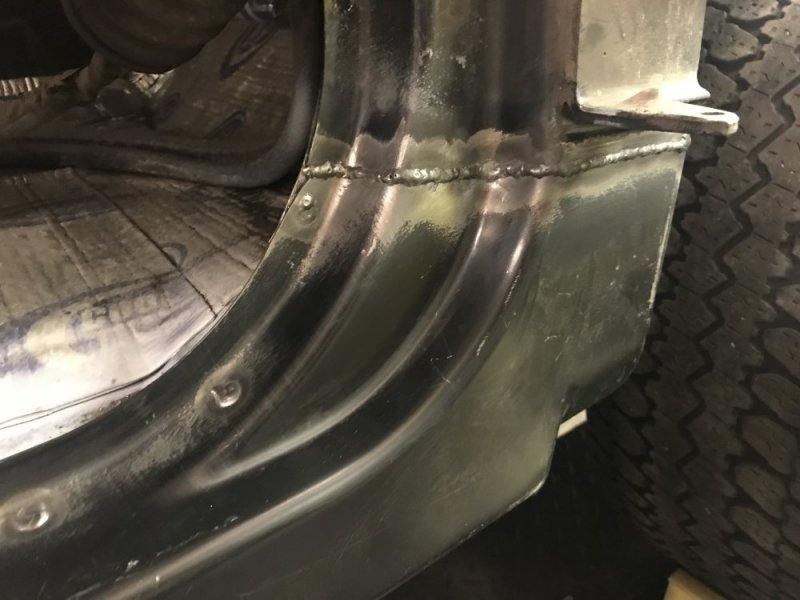
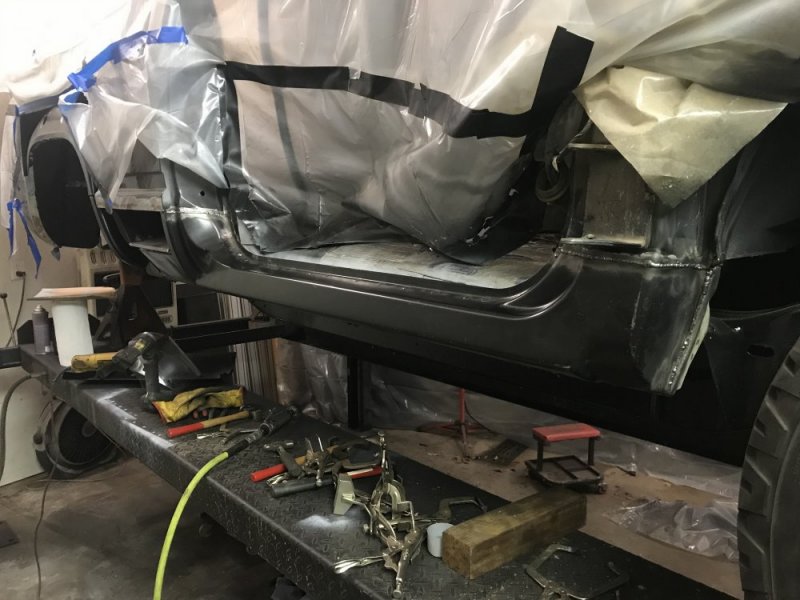
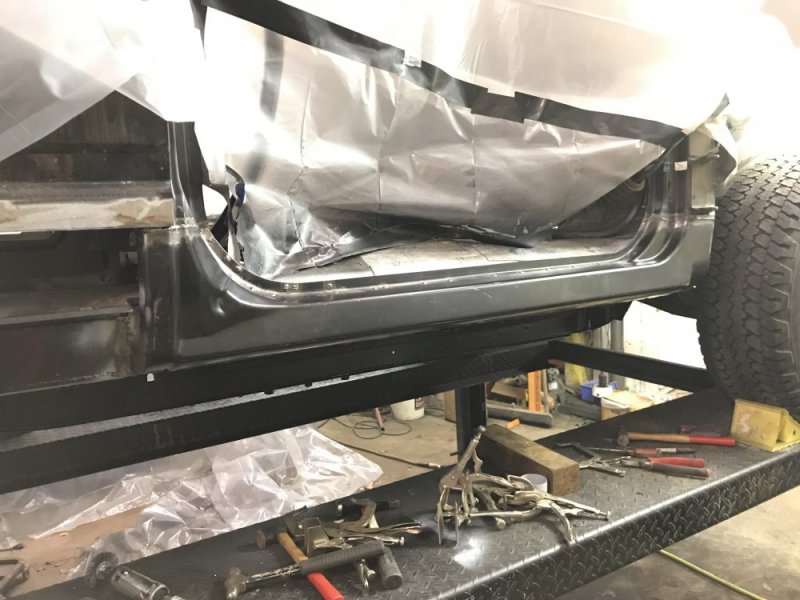
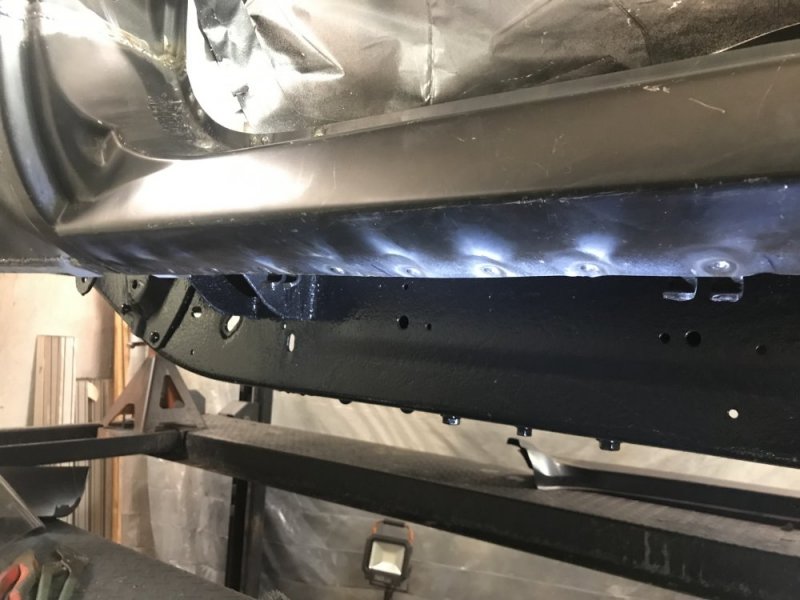
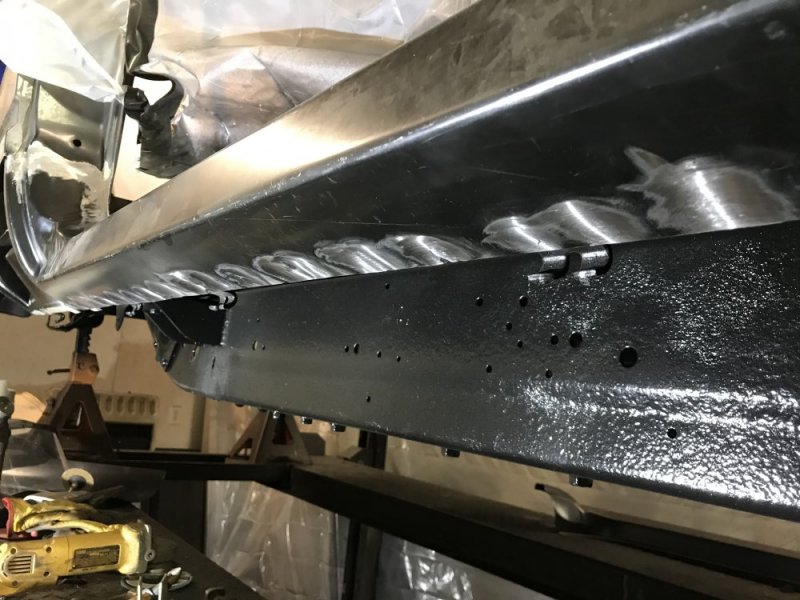
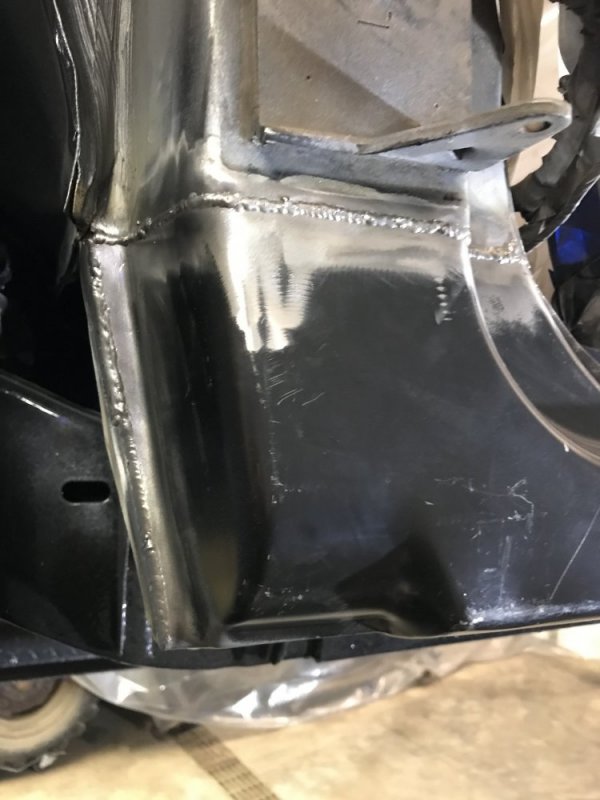
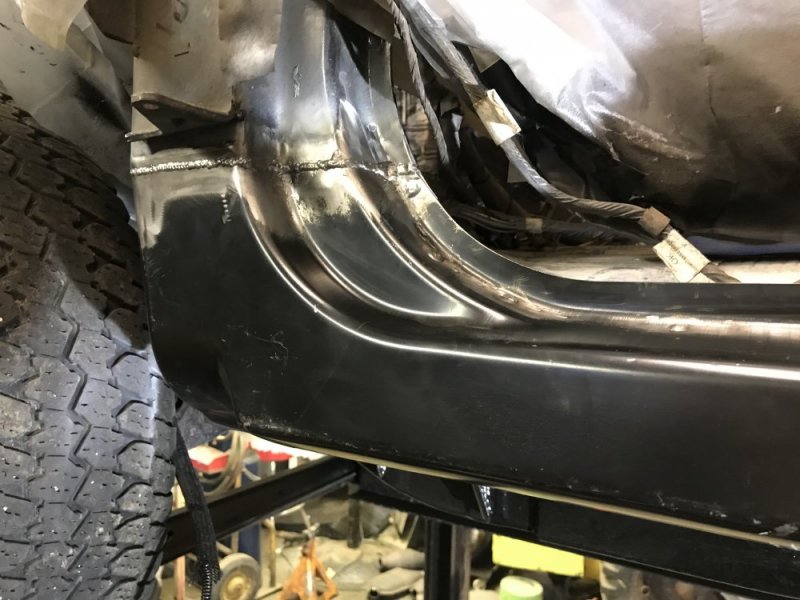
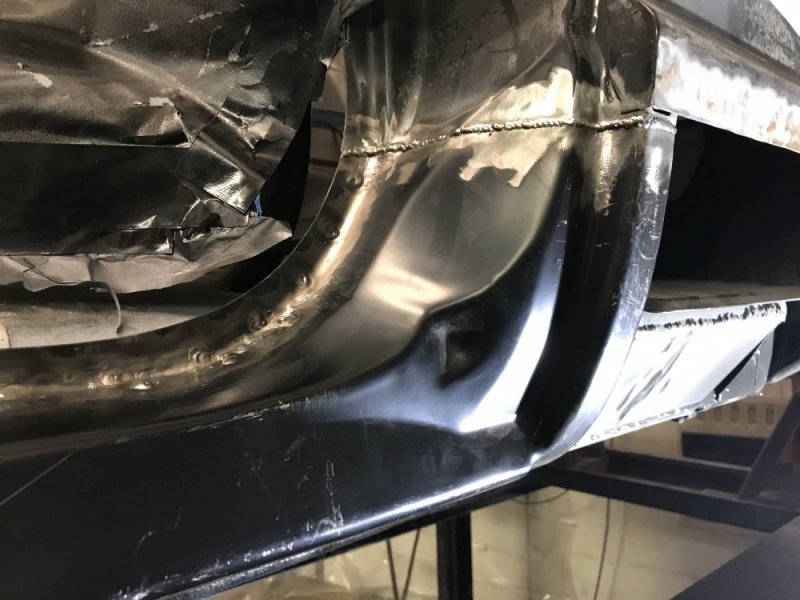
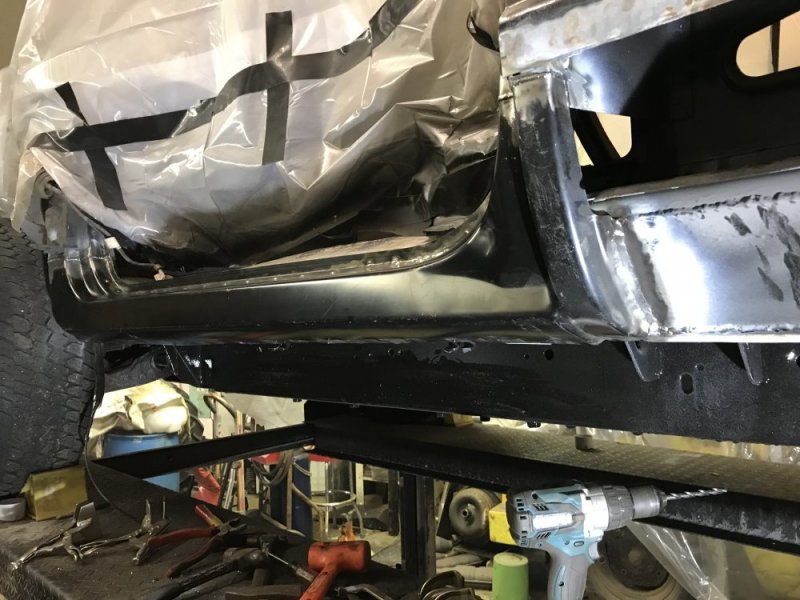
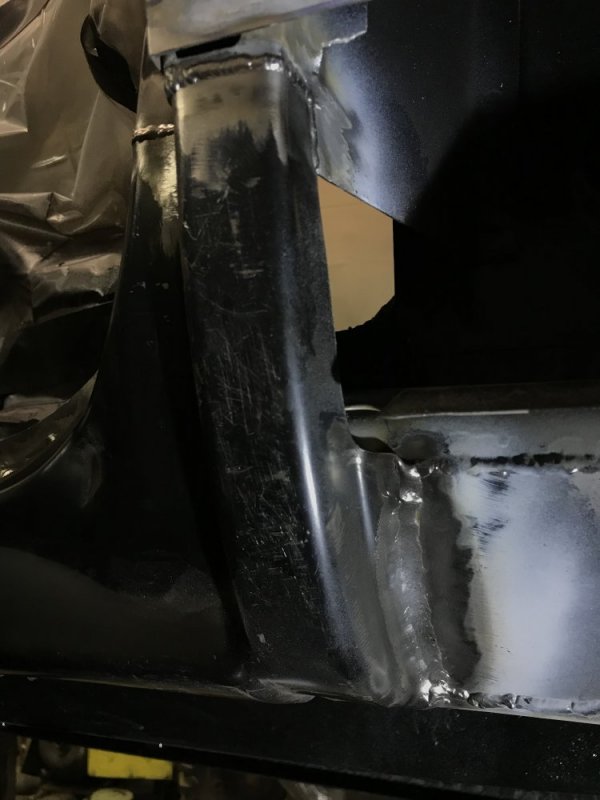
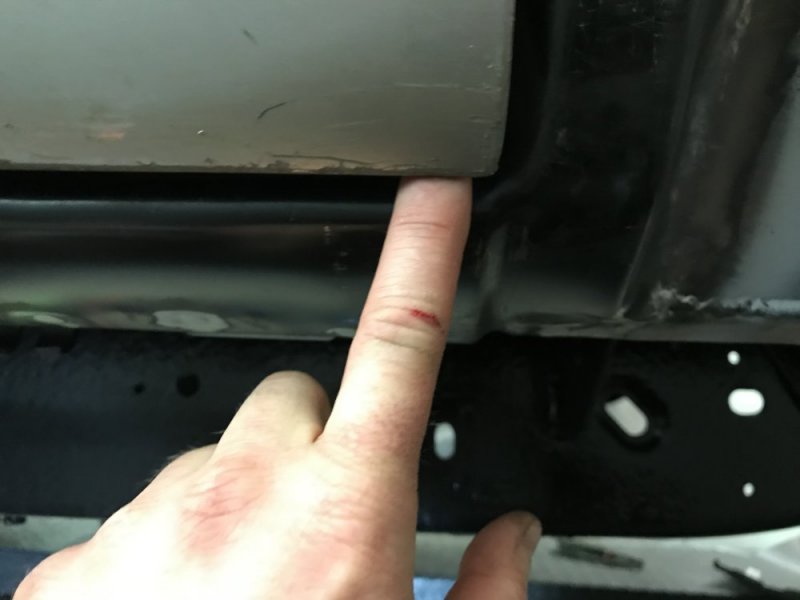
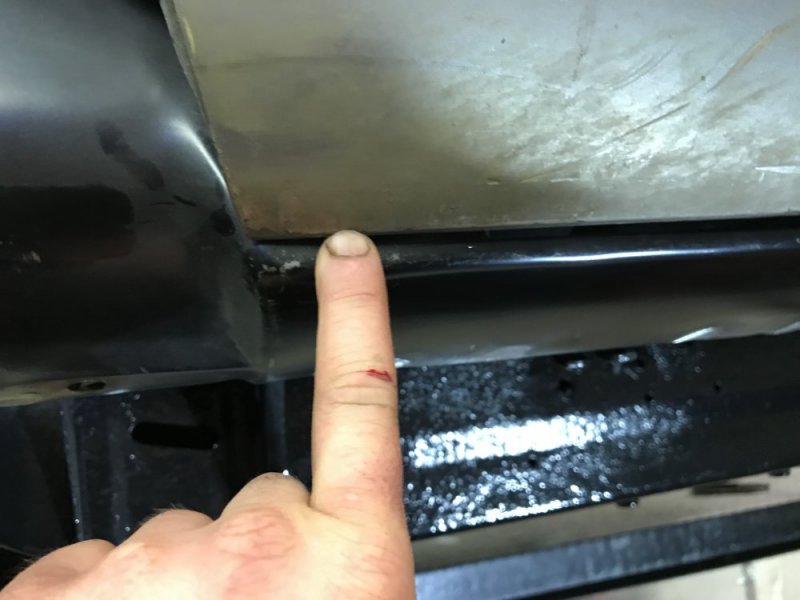
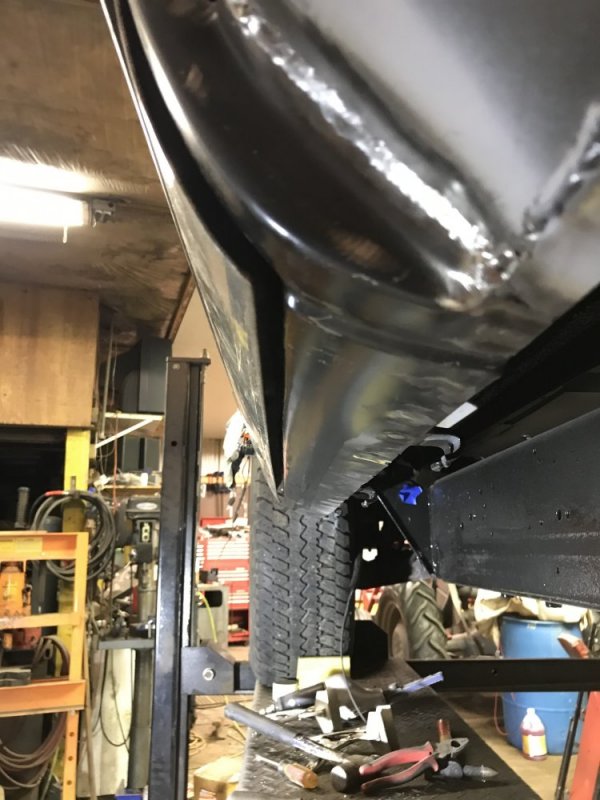
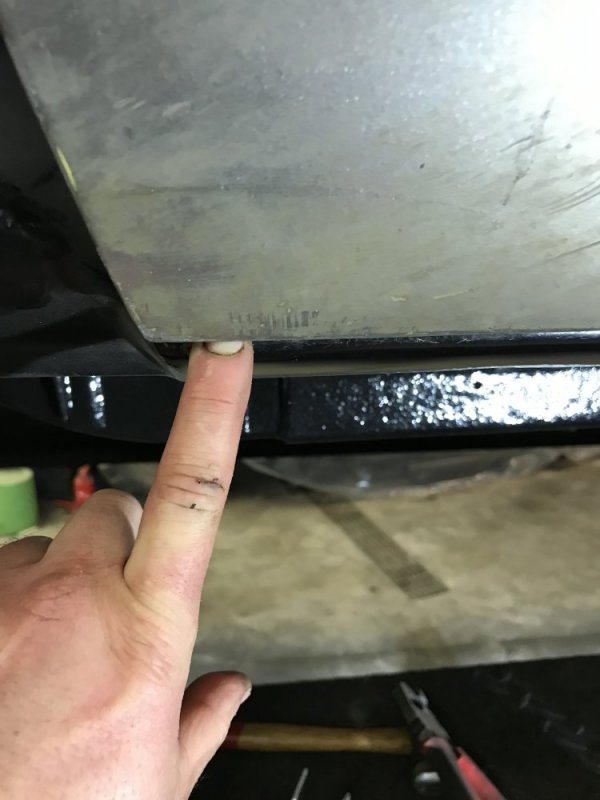
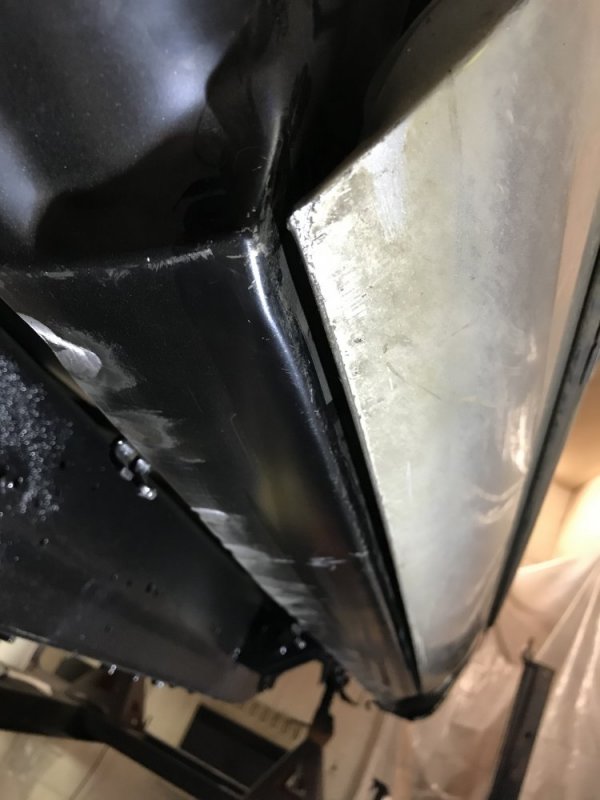
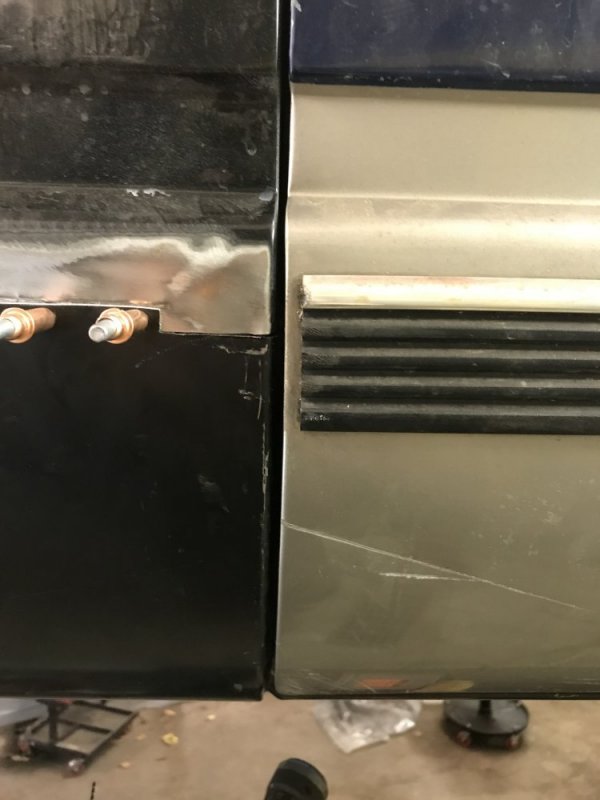
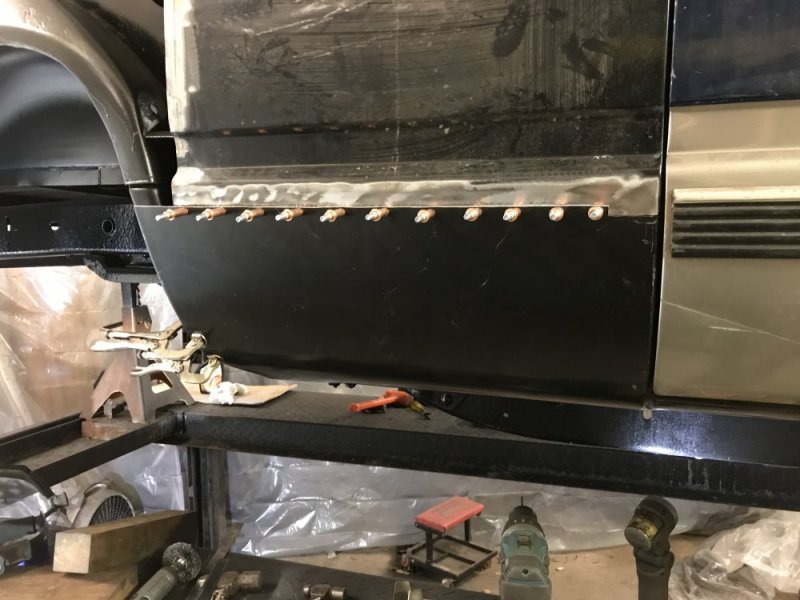
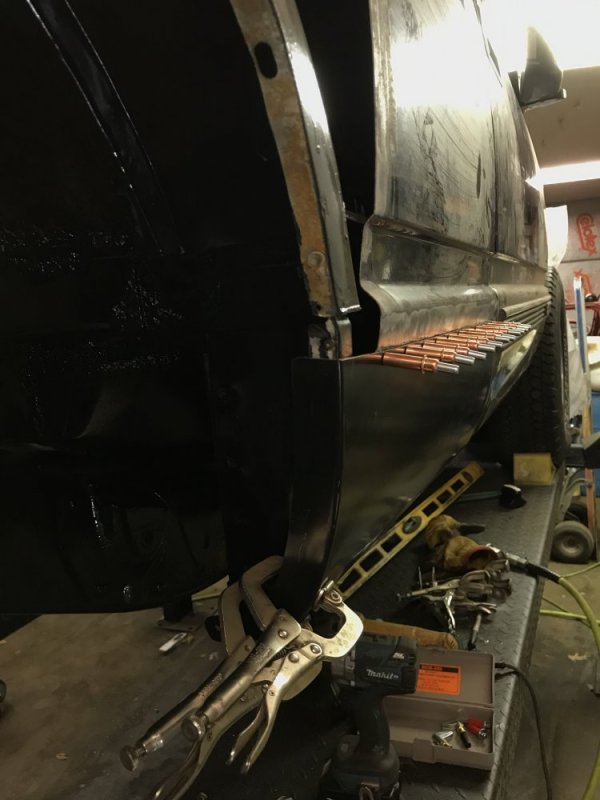
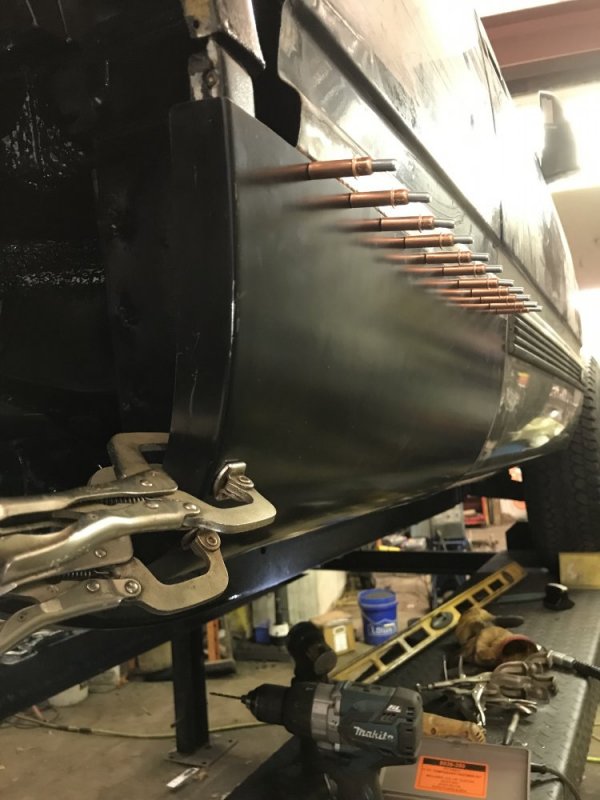
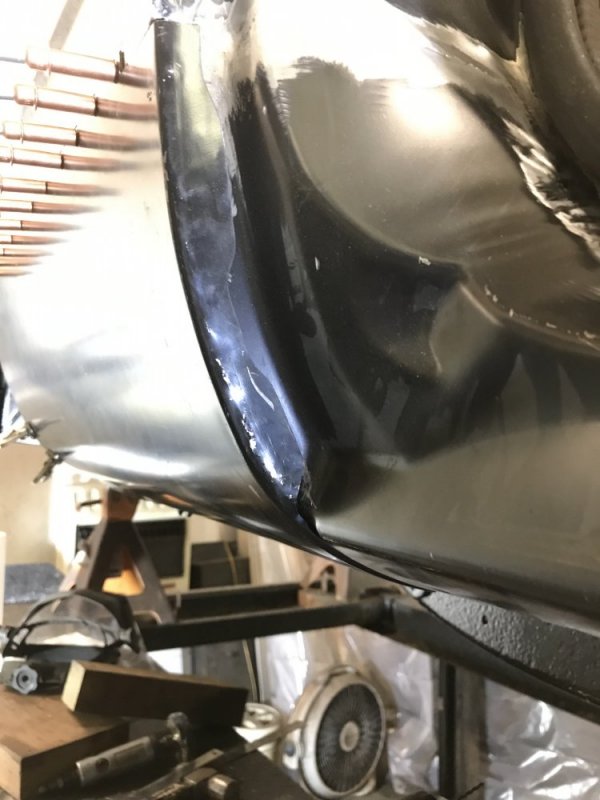
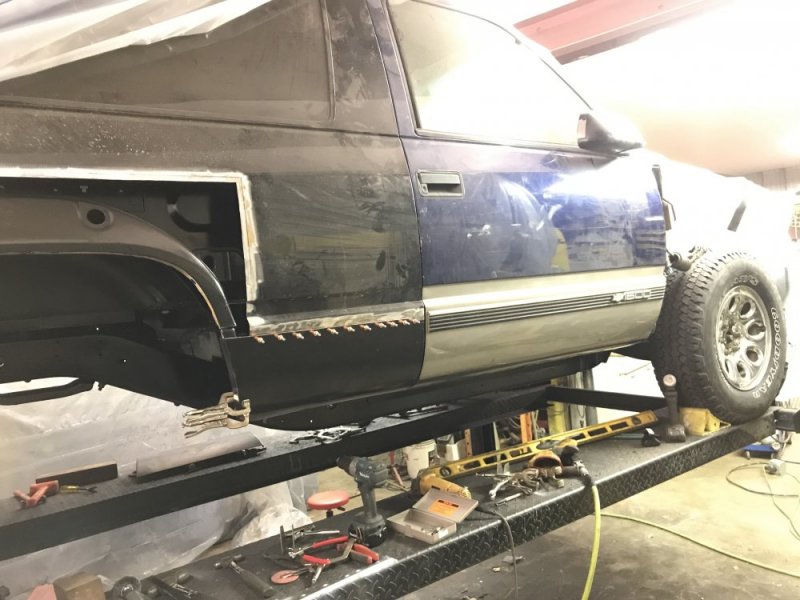
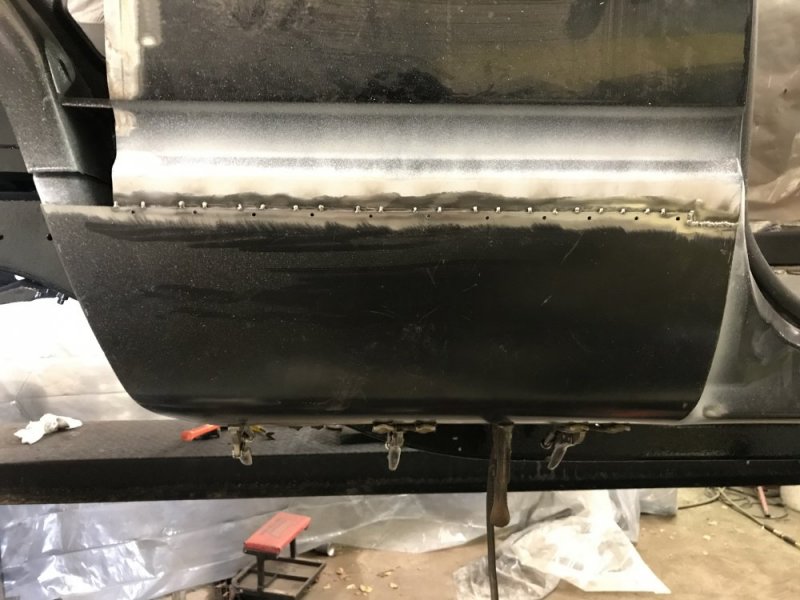
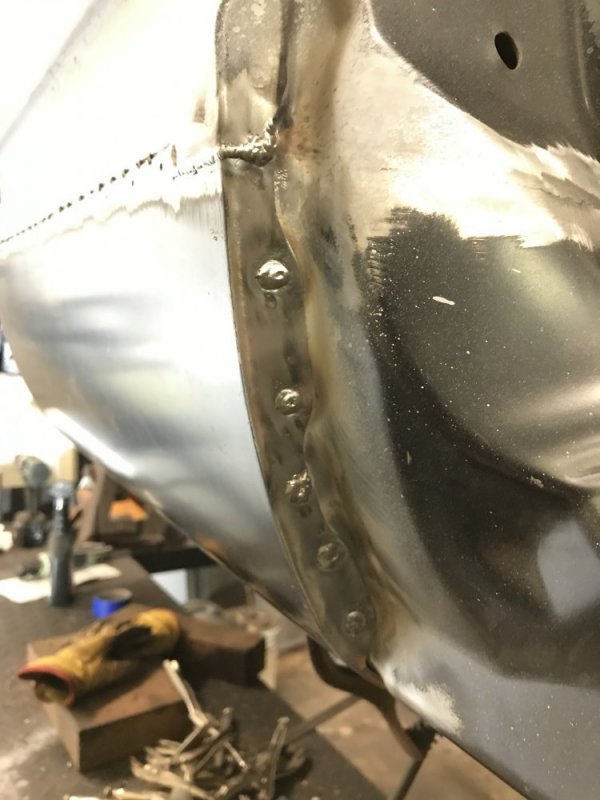
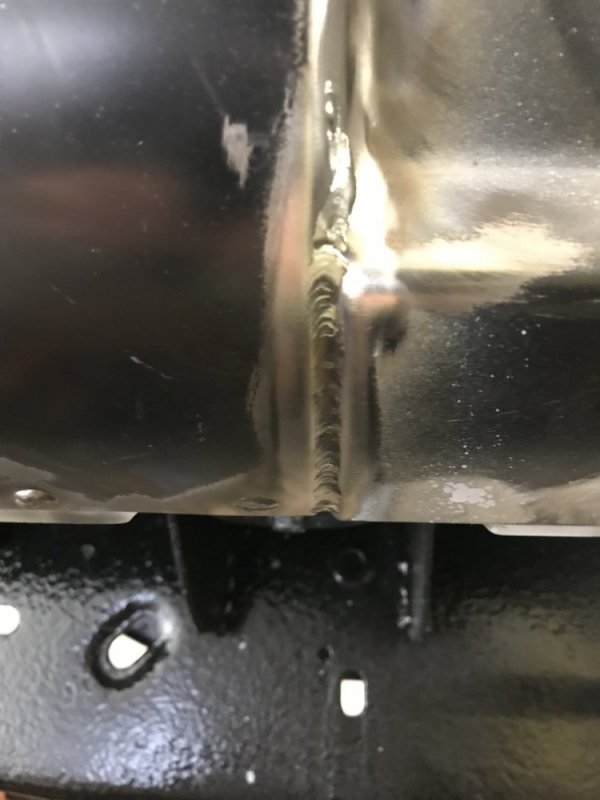
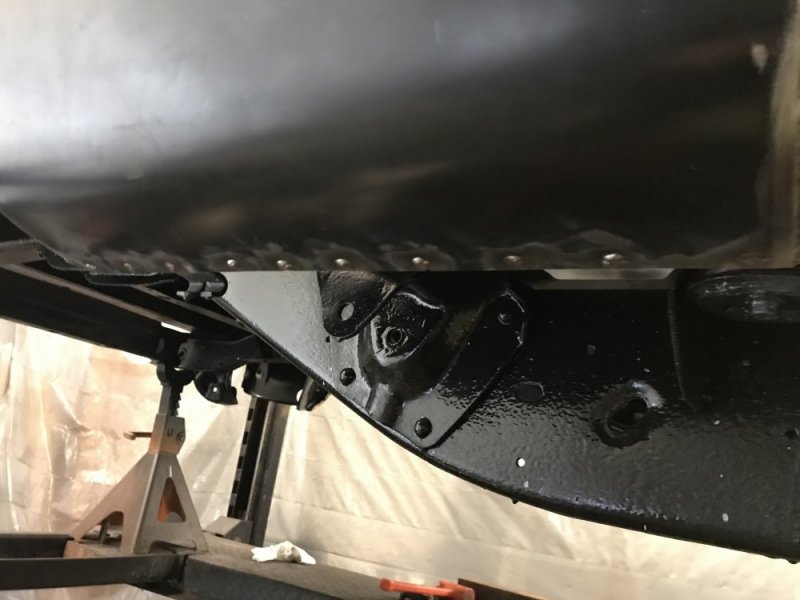
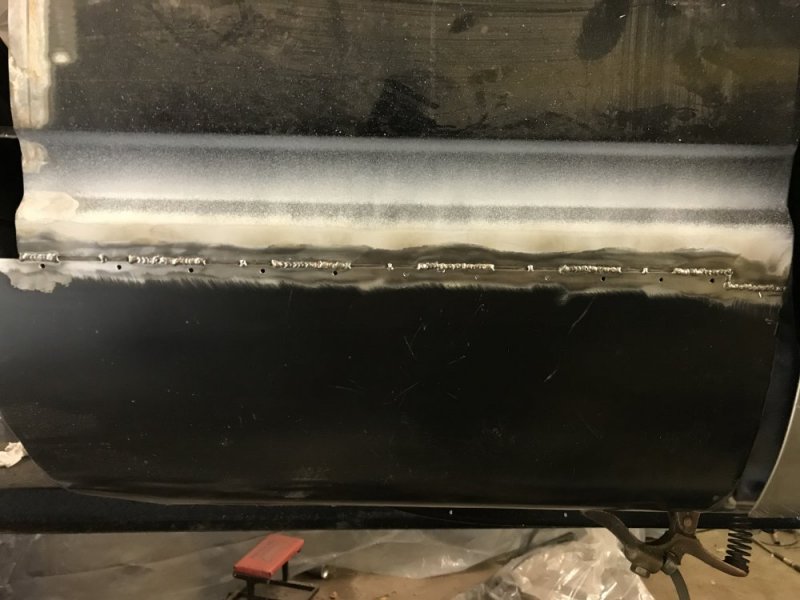
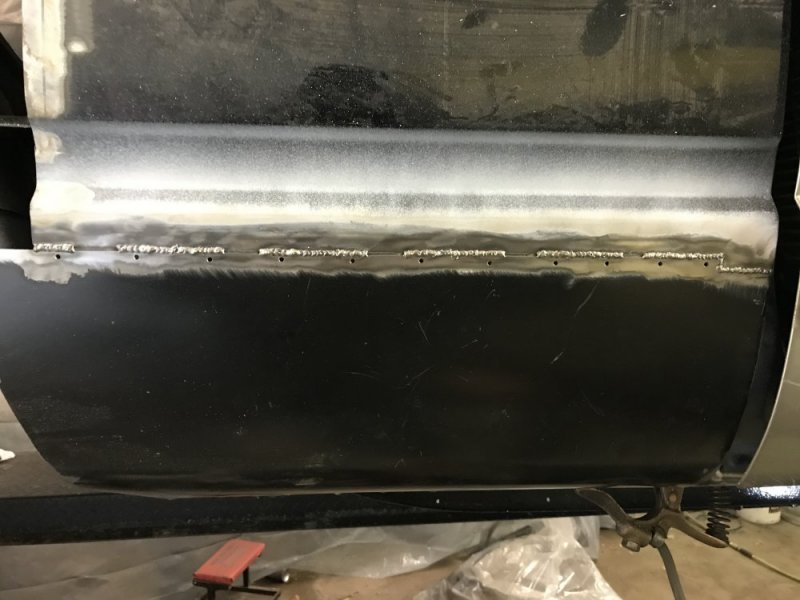
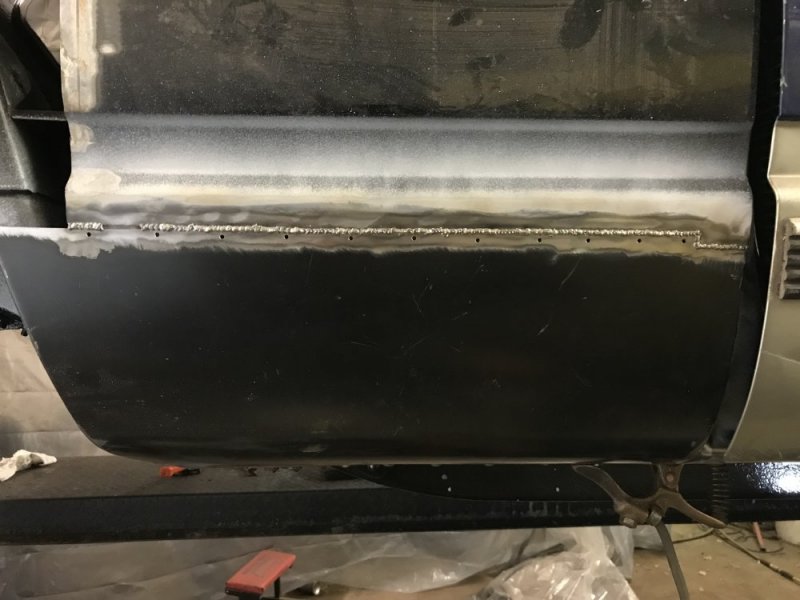
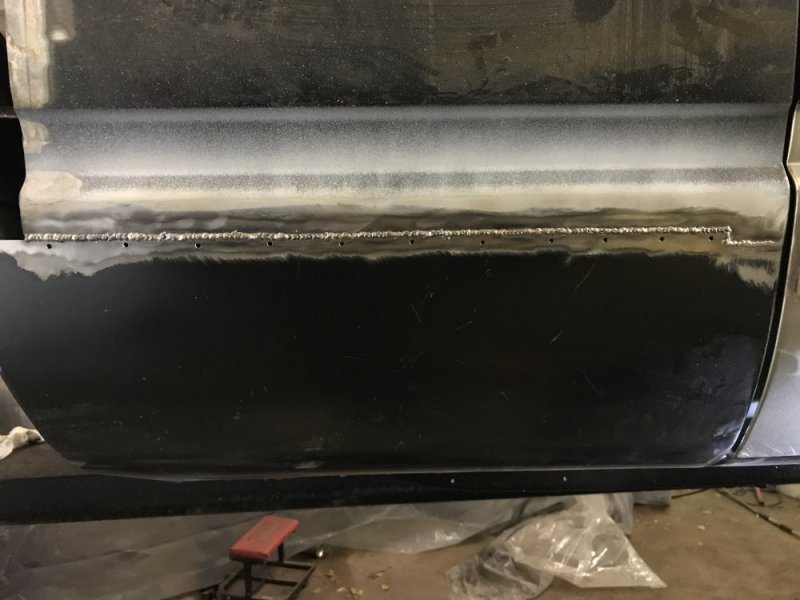
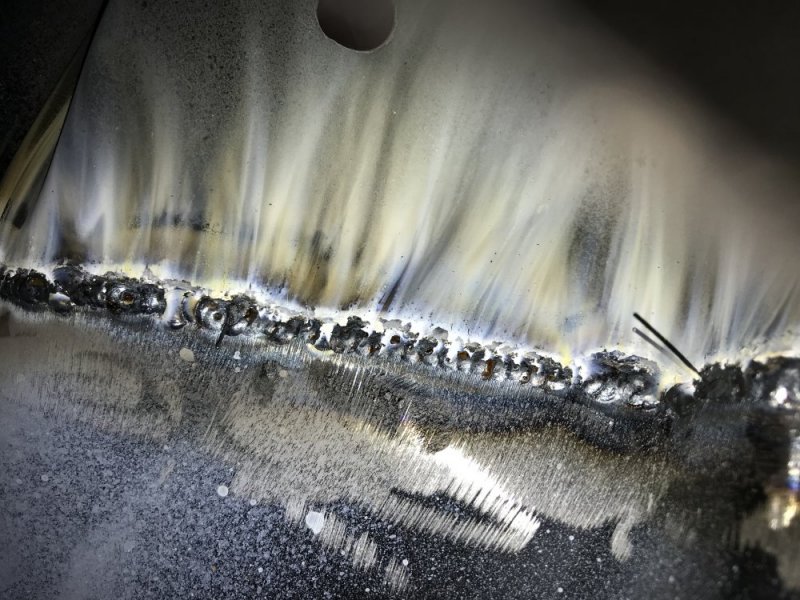
Finally got back at it! Passenger side rocker panel is in place. These aftermarket panels sure take a lot of massaging to get them to fit right, but in the end I got it fitting ok. I still need to decide how much of the welds I want to grind off since the rocker is pretty structural yet it’s also a visible panel. At the very least the faux spot welds will be getting ground flush, but I’m not sure on the rest yet. This is one of those times I wish I had a TIG. Maybe this is the year I finally make that happen....

E0F0606C-58ED-4529-A2CC-F8BD1C0E8DF6.jpeg99B0AC92-1E77-447D-A5EA-108EF236DA93.jpeg2E196641-9FBC-42B9-9172-7AC575F8E5B6.jpegEABC2B74-A260-472E-BFE1-C6DCA96116F8.jpegC08422B2-87F8-4B4C-A320-195F5E281B4C.jpeg247D579D-B73B-45C4-AA03-5DDAEA9051EB.jpegE3527093-3F9B-4642-9826-ADE5329F6382.jpeg5763CADE-CD26-4B6D-AE9C-50F42438DC51.jpeg8DBAFCBE-340C-4189-87B9-05F7A0064985.jpeg
 
Very nice progress, just remember we have some other jobs lined up for you.....:)

Don't suppose you want to move to the South? :D
Thanks! Sure, once I get all of my jobs done we can see what’s left, ha.

This time of year I wouldn’t mind being in the South, but as far as the summer goes I sweat more than I like up here as it is :wtf:
 
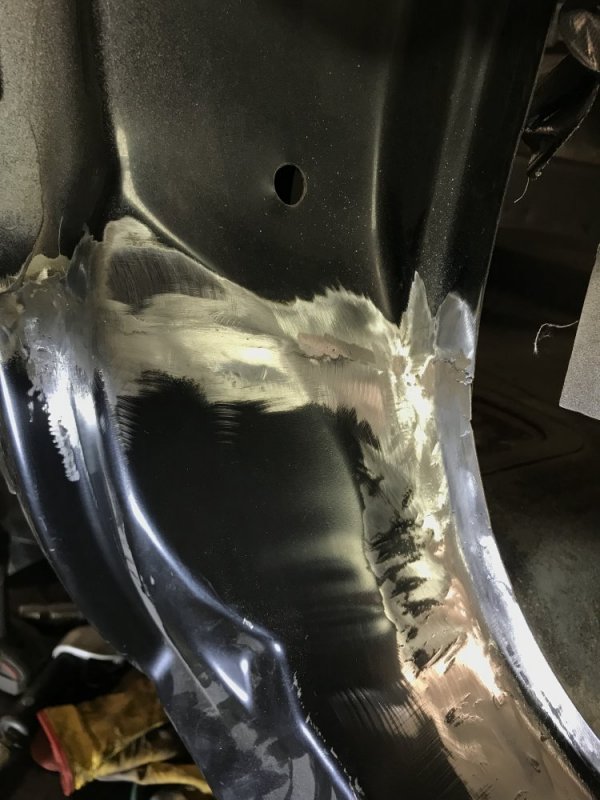
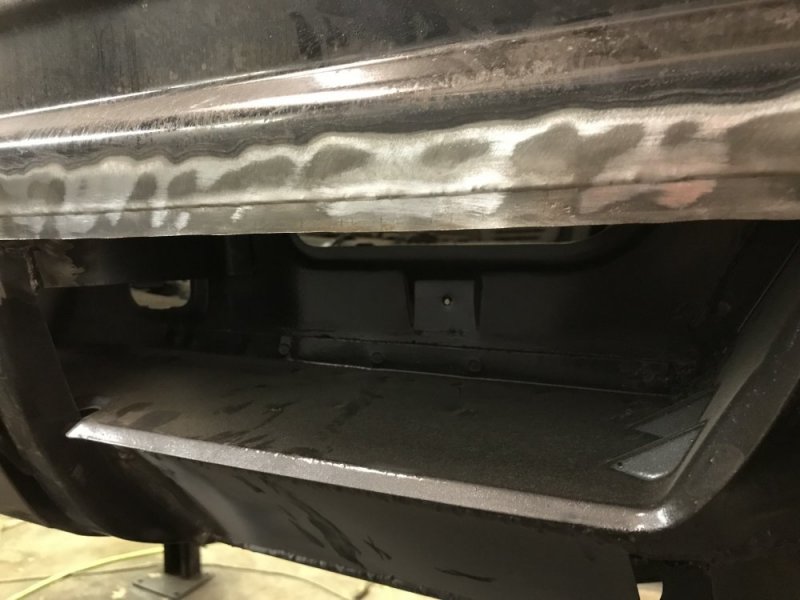
Today I took a look at the backside of the weld and decided I had good enough penetration that I could grind down the welds.

5EF5EA25-3DBD-432C-BA69-31139AB453D4.jpeg

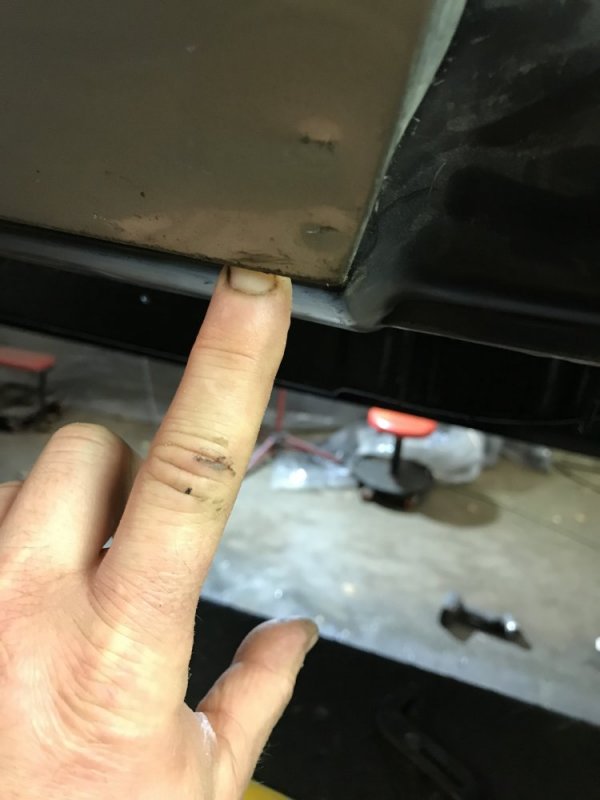
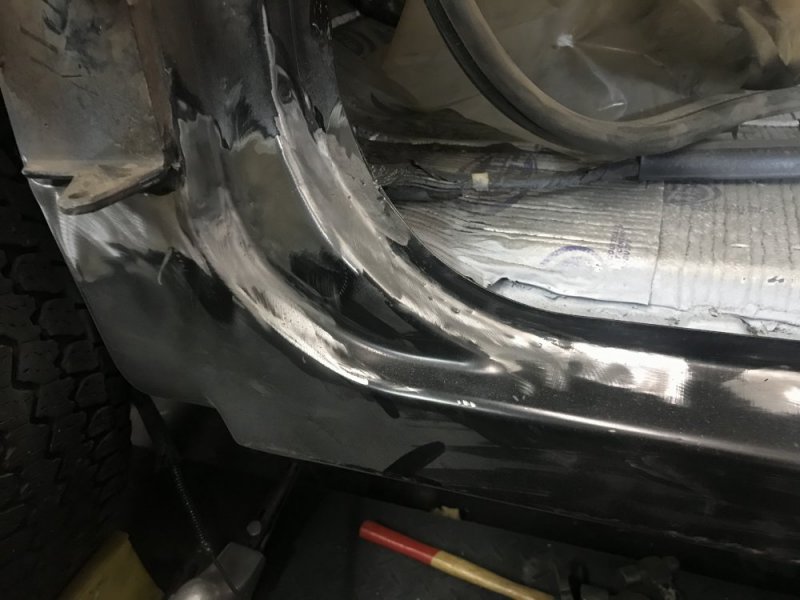
I couldn’t 100% grind them down because I didn’t want to make the surrounding steel too thin, plus even though the panels were aligned well the contours of the panels themselves (thanks aftermarket panels!) didn’t match up great, so even if I did grind the welds down all the way there still wouldn’t be a smooth contour. Because of those 2 factors I’m going to use a little filler to finish the seams off the rest of the way.

99260AE4-C446-445B-842B-5EEFA751330C.jpegBFBE82C3-ECF5-40E4-A90F-77B4EB77A832.jpeg9F1F1046-E44F-4201-972C-A884D482958A.jpegB3E65D5F-2E51-4AD2-AA40-A2F6A902B64D.jpeg

After that I got to work on the driver side. I got it all welded in. This side fought me more than the other side so I’m pretty sure I’m going to have to touch up the welds after I grind them down. Tomorrow will tell.

A4D64F4F-BDB6-46C1-8027-6D2939114D61.jpegE73CA4E4-459E-424C-B31F-4E854370FFBB.jpeg7DF22CB2-F527-46E2-A9ED-EE8516ED0BB6.jpeg9FA3D466-6DDC-4CB4-B164-749F8F320C75.jpeg2CA674E9-119C-4BE0-A053-CAFC3E48C33C.jpeg
 
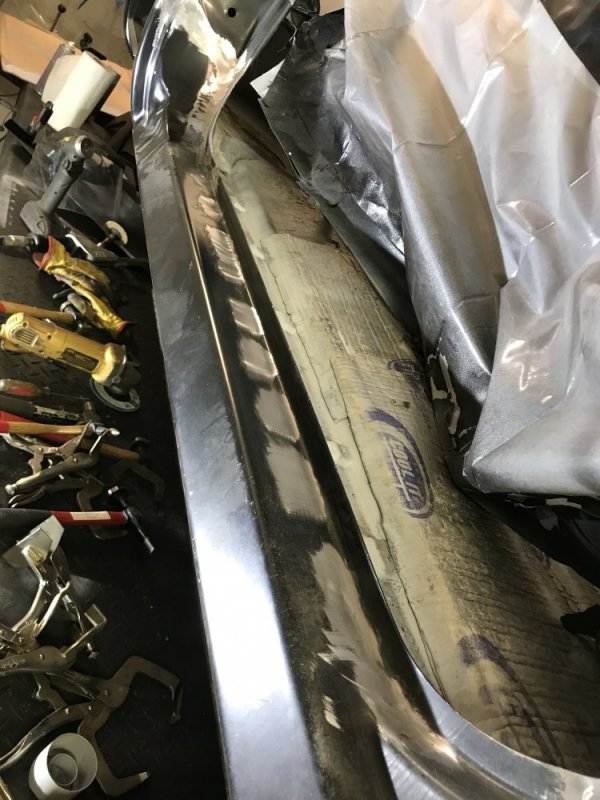
Next I continued with the interior removal. I wanted to get it all out so I could be sure to address all rust not only from the outside, but also from the inside. While I was at it, I also wanted to install sound deadener all over the interior so I decided to remove the headliner as well. This was a good couple hours of work but felt good having it all torn down. I had quite a pile of parts in the end and lots of labelled baggies with fasteners. Note that I already have some sound deadener installed. Earlier this summer I tilted the dash down and replaced the HVAC flapper doors. While doing that, I put sound deadener on the firewall and front floor.

View attachment 53730View attachment 53731View attachment 53733View attachment 53732
You might want to consider closed foam sleeping mats for under the carpet as opposed to that chopped up material commonly used under the carpet.
 
Ya know . . . If you keep spending too much time with the 'projects', the missus might start seeing them in the same light as a mistress ;)

If anything, make sure you clean-up well as she can easily smell when you've been play-in :D
 
Ya know . . . If you keep spending too much time with the 'projects', the missus might start seeing them in the same light as a mistress ;)

If anything, make sure you clean-up well as she can easily smell when you've been play-in :D
Ha! Luckily she’s really good about giving me “play time”. As long as I also make time for her she’s totally fine with me having my project time. :)
 
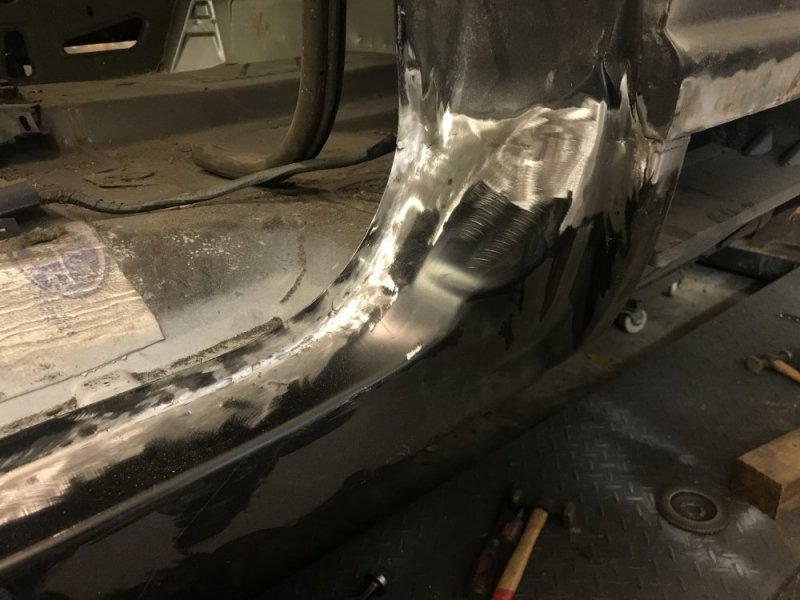
More progress. First I ground down the welds on the driver side rocker. It actually turned out better than I expected and I didn’t have to touch-up any welds.

93079102-B0A4-4554-9541-BFC8907D69A6.jpegC2D5D602-022B-4E2B-9529-6DCCFB2AB04E.jpeg

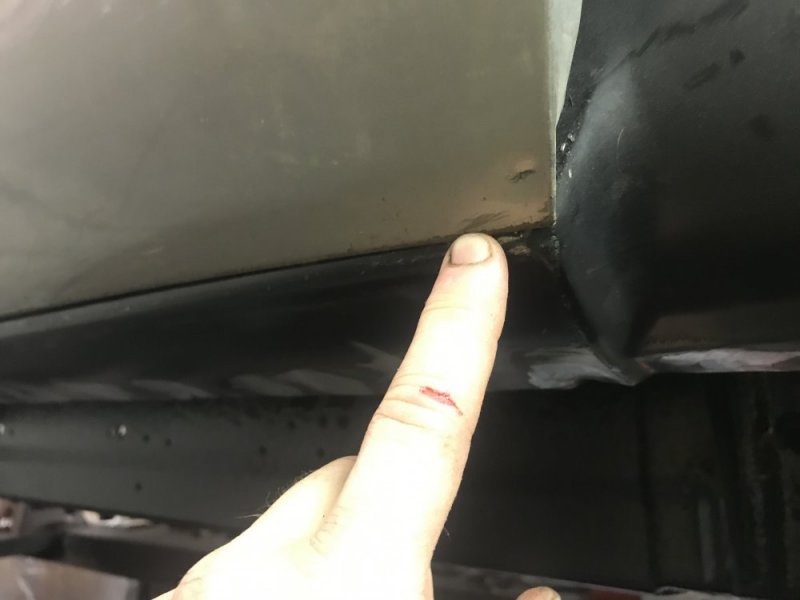
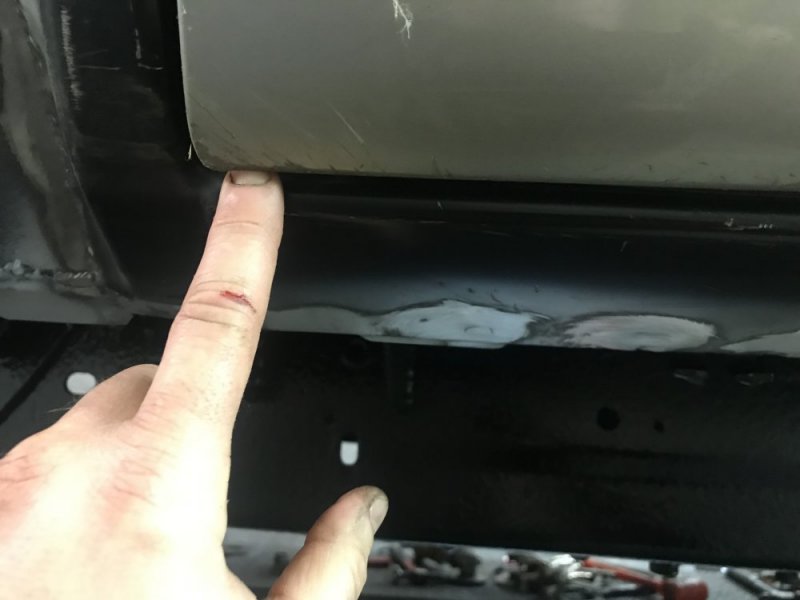
Then I moved on a thought I’ve been having the last couple days: I better get some doors mounted on this thing so I can make sure my panels are lining up ok before I go too far! So on went the Southern doors I bought a couple months ago....it’s weird seeing doors on it again! They fit pretty well except the bottom of the skins were bent from them being transported and stored by the guy I bought them from and probably myself too.

1E4E4EB2-B2C0-4E0D-9F70-A6F6DB4DB37F.jpeg1E88B8D6-14AE-4057-A842-80575F09F340.jpeg1C17B2E8-3C18-4BE0-8FFA-446DAD5C1DE2.jpeg28D1621C-705A-4EBA-9B22-757E628AB4AE.jpeg

A little tweaking with a hammer and they were fitting ok. Not perfect, but good enough for the bottom of the door which nobody’s going to see.....plus it isn’t a concourse restoration truck. I’ll work on them some more when it comes to final fitment, but they were definitely good enough for this phase of the project. Feels like a milestone! :)

A944E0BF-B4B1-46C5-AF65-904A6EFEB448.jpeg5BFBEAD1-ABD6-45E0-BE97-92410616138B.jpeg3BC8CF30-7C7E-4E42-A4C1-D35E0560104D.jpeg7AD70954-04C7-4026-A05D-6CBCDBF17C50.jpeg
 
Next phase: quarter panel repair.

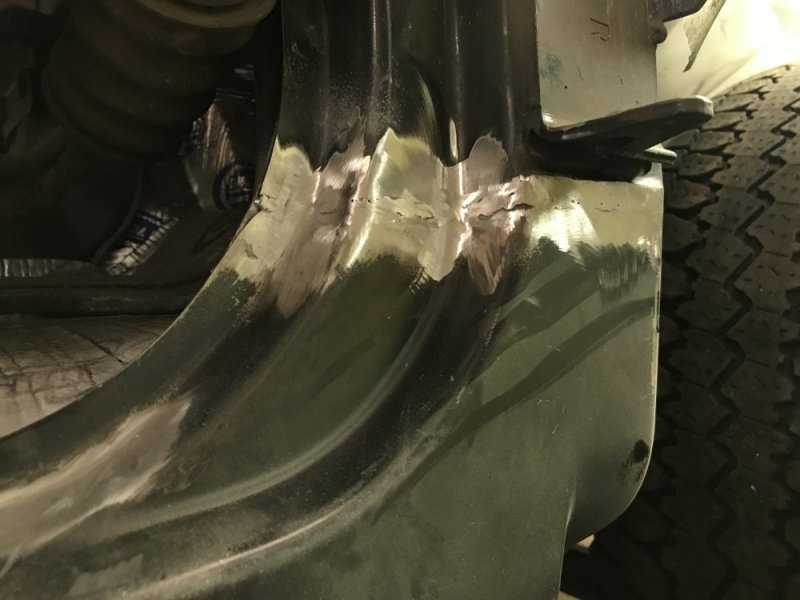
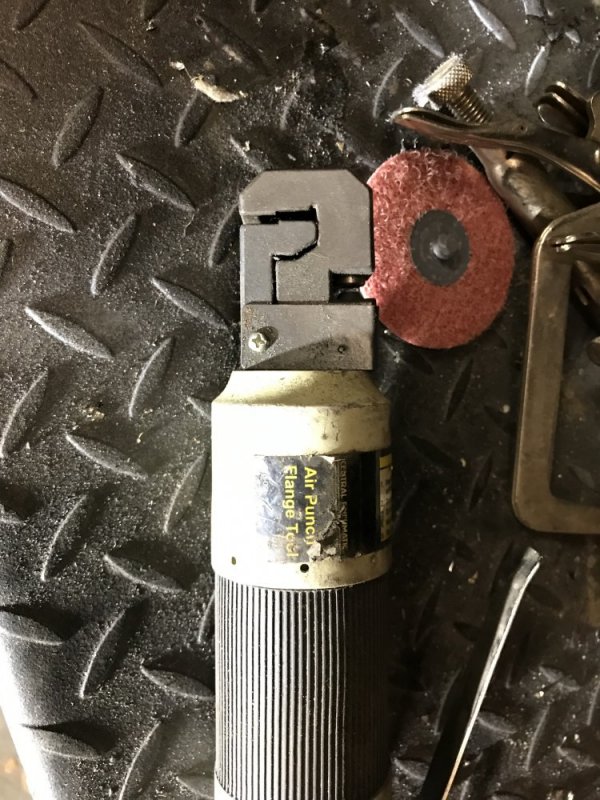
With the doors installed I had a good guide for the lower, front quarter panel patch. I started by using the pneumatic flange tool to prep the panel.

9561B22A-5D39-457E-B4AF-9FACD683F421.jpegD9F16195-3DD9-4FE0-B3EC-12FD505C3174.jpeg

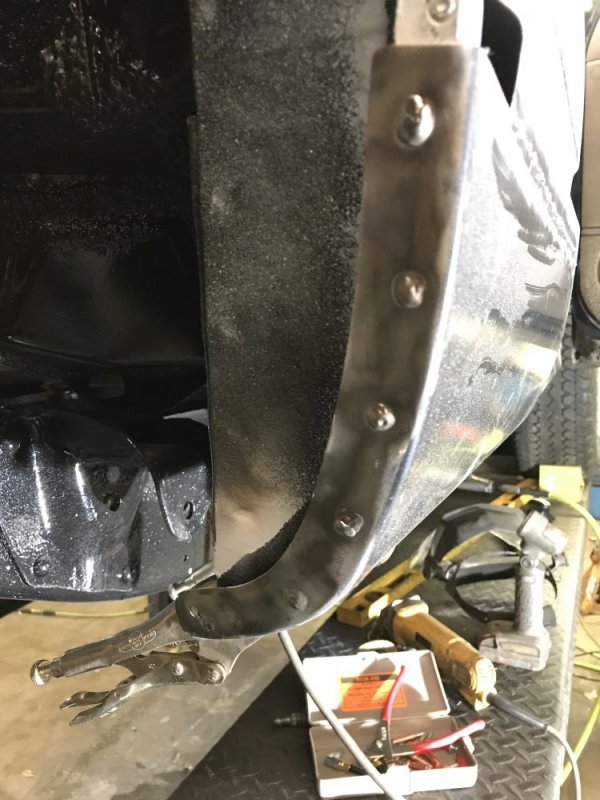
Then I had to fit the panel. It took a little trimming and beating & banging, but I finally got it to go where I wanted. Once I got it close I first installed one Cleco, which worked as a pivot point. Then when the panel was located where it belonged I put a second Cleco. Then the rest of them went along the seam to hold it straight all along the weld seam. A couple vice grips and it was pretty much in place. It just needs a little minor trimming and dressing of weld areas and it will be ready to weld in place.

24BA8566-5D44-4644-8111-E73A02BD2725.jpeg278A4DA1-03C3-4084-9355-B5A364EF7437.jpeg85B42BA4-6B9C-4723-BB2E-CF596EBEA1AA.jpegD2950987-F74B-4197-80AC-AAC7AF4694CA.jpegAF2038A8-F20D-49AF-8F10-6F07698FCFB5.jpeg

Wow.....kinda looks like a truck again! o_O

10F643F2-04D8-4743-BEB9-39840134D20A.jpeg
 
So do you need to treat that flange area to keep moisture from building up in the seam?
Yes, that’s why I’m spraying all of the panels that overlap with the weld-through primer. Additionally, once it’s all welded and painted I will be spraying cavity wax in all of the cavities/back sides of panels and that will give everything an additional level of protection.
 
I was thinking about the inside but it's the lesser of the 2 water issues, I guess either way you lap it you have an seam pointing up.
 
Passenger side panel is installed. After some final adjusting of the panel edges with a grinder I clamped it back in place. I first tacked on either side of the Clecos and did all of the perimeter plug welds so the panel was securely in place. Then I removed all clamps and Clecos.

E387BC8B-79D1-432A-9267-569840B7B325.jpeg154176EE-0150-4B1A-B6E2-5E3A3E1D9D0D.jpegA3FE6687-E8E8-41BA-8DE1-A7359C3663C9.jpegF565A2DA-33B2-4E64-9CD0-5205D1D76406.jpeg
CEAB0DB5-90DB-44CB-A923-3289D8AFCFC9.jpeg

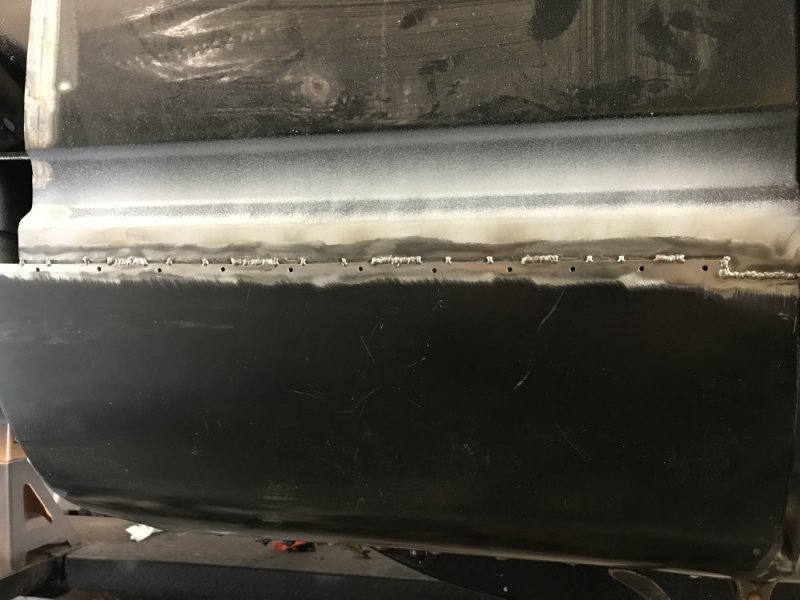
I did that because even though the primer is “weld-through” it still affects weld quality a litte and can make starting tack welds difficult, so once the Clecos were removed I was able to wire wheel all of the weld zones and get to work welding. Here you can see the progression as I welded just a little at a time and let it cool before welding some more. I was waiting until the panel was just barely warm to the touch of my bare hand before starting again.

3D8907AC-84BE-4821-A205-2A54FEF89B0A.jpegA2C28D20-099C-4DFE-AD27-86EC248E7608.jpeg5A0E2EE7-E45D-444A-B7C8-3A901A9F117B.jpeg8F0501F1-1280-41C8-BA41-B83372D11098.jpeg18E6C0F8-DA2C-48E6-896B-E51B415C81FE.jpeg
 
Back
Top