• Welcome to The Truck Stop! We see you haven't REGISTERED yet.

    Your truck knowledge is missing!
    • Registration is FREE , all we need is your birthday and email. (We don't share ANY data with ANYONE)
    • We have tons of knowledge here for your diesel truck!
    • Post your own topics and reply to existing threads to help others out!
    • NO ADS! The site is fully functional and ad free!
    CLICK HERE TO REGISTER!

    Problems registering? Click here to contact us!

    Already registered, but need a PASSWORD RESET? CLICK HERE TO RESET YOUR PASSWORD!

New Optimizer Long Block

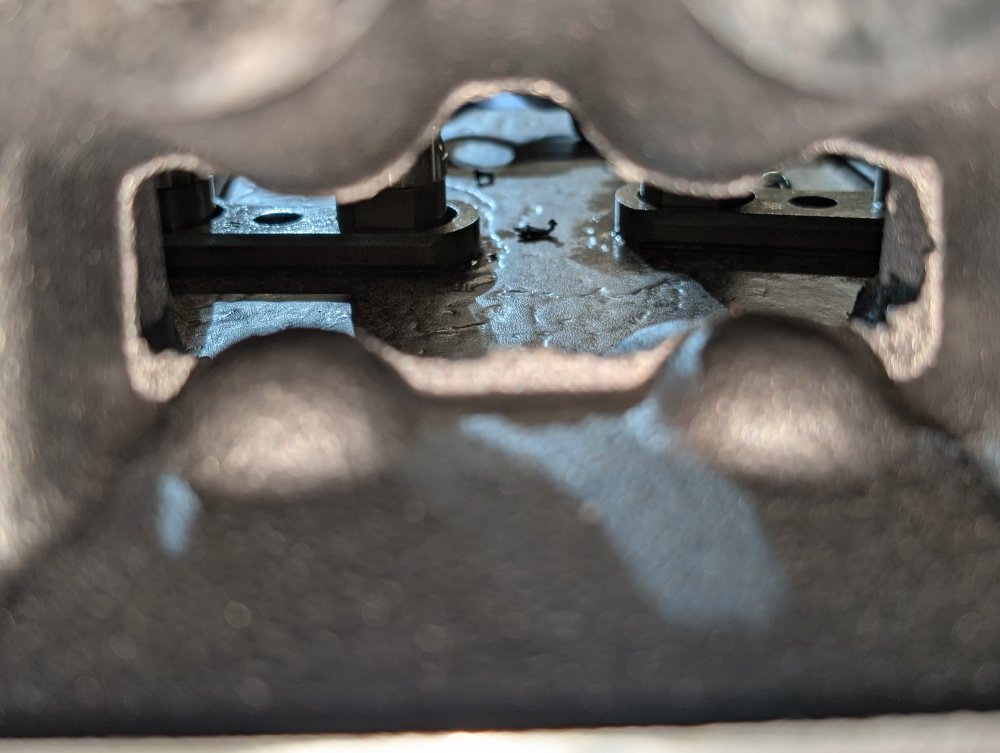
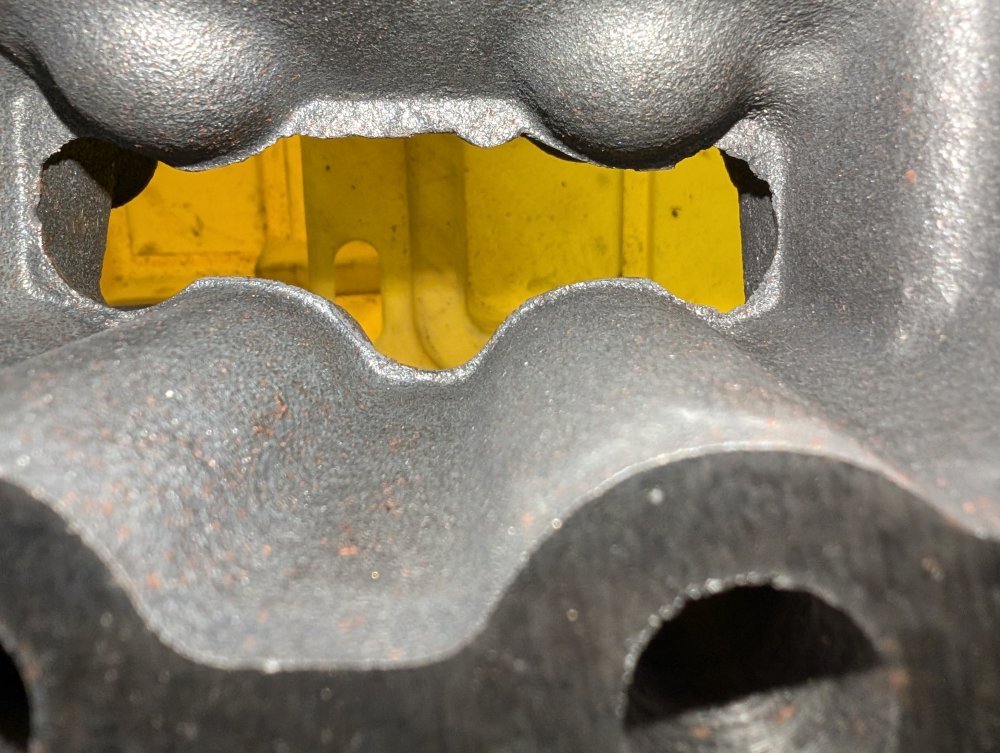
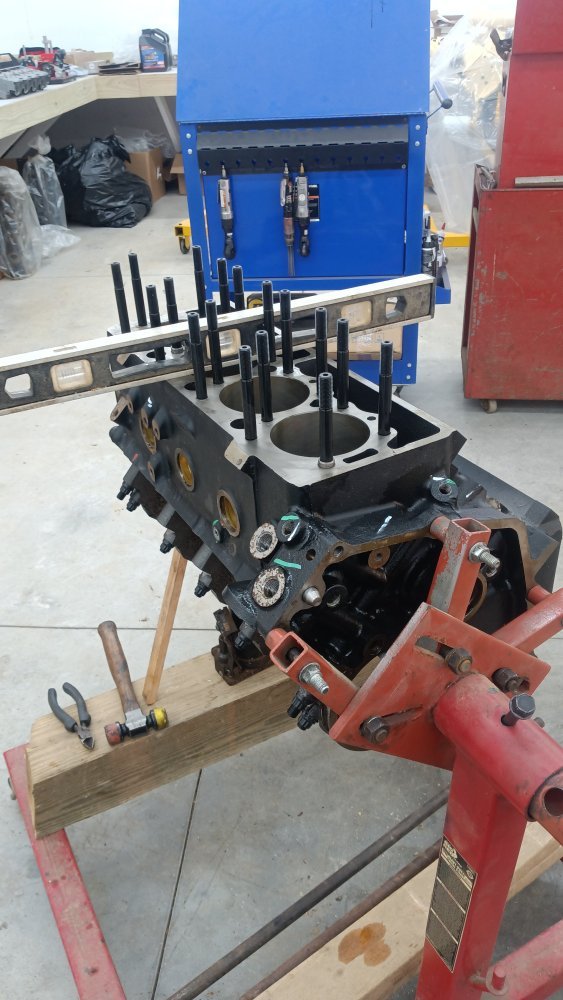
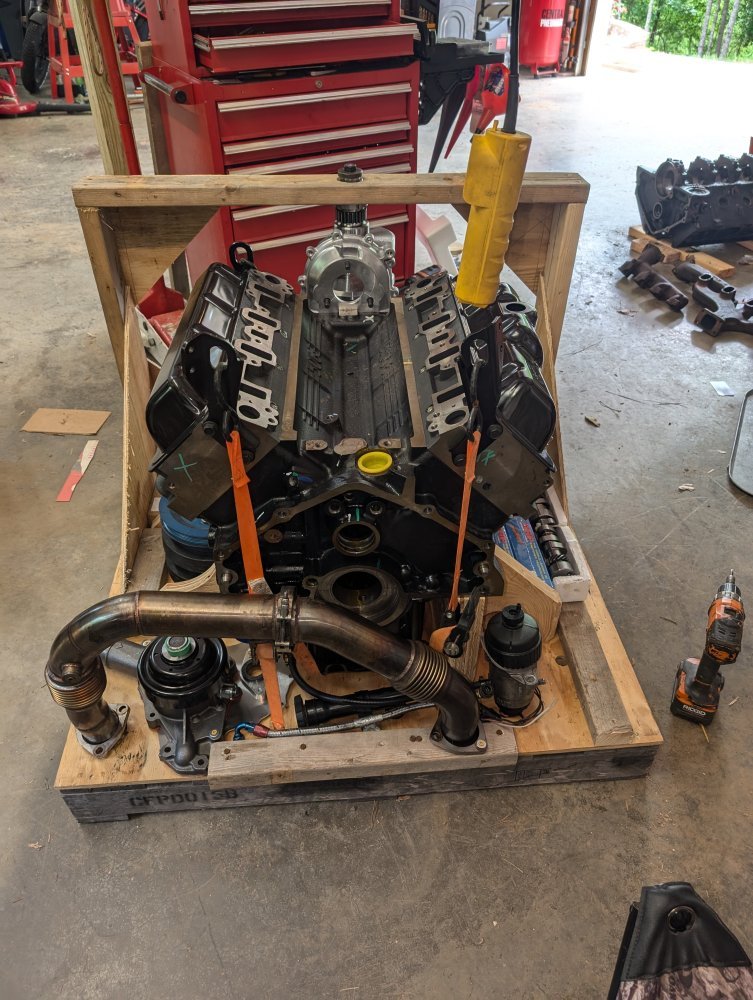
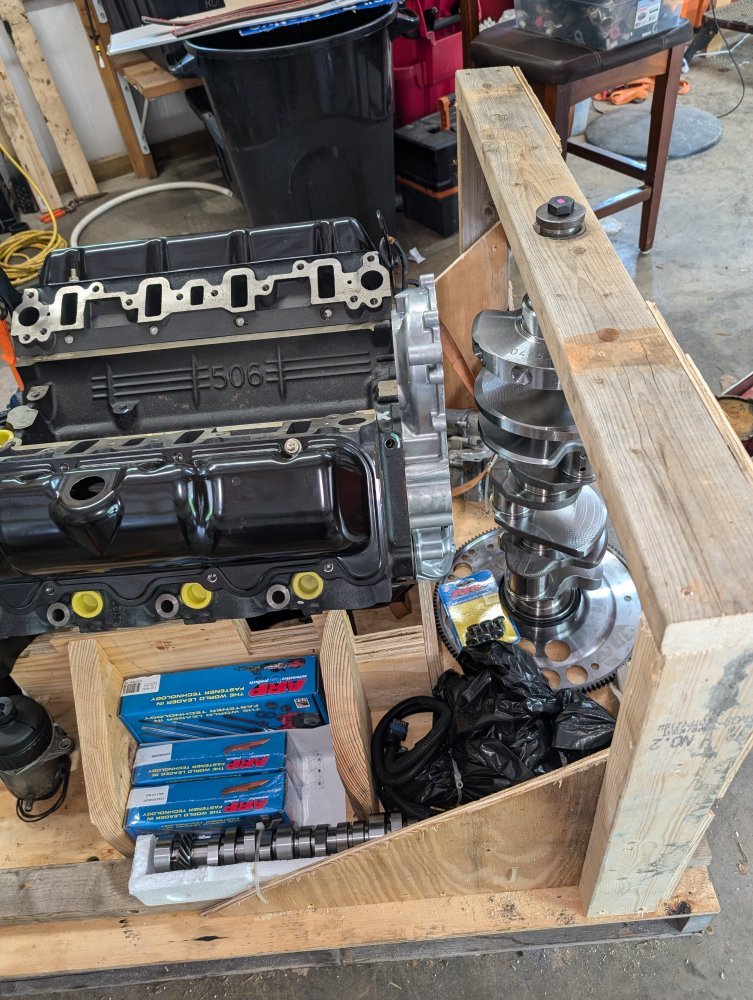
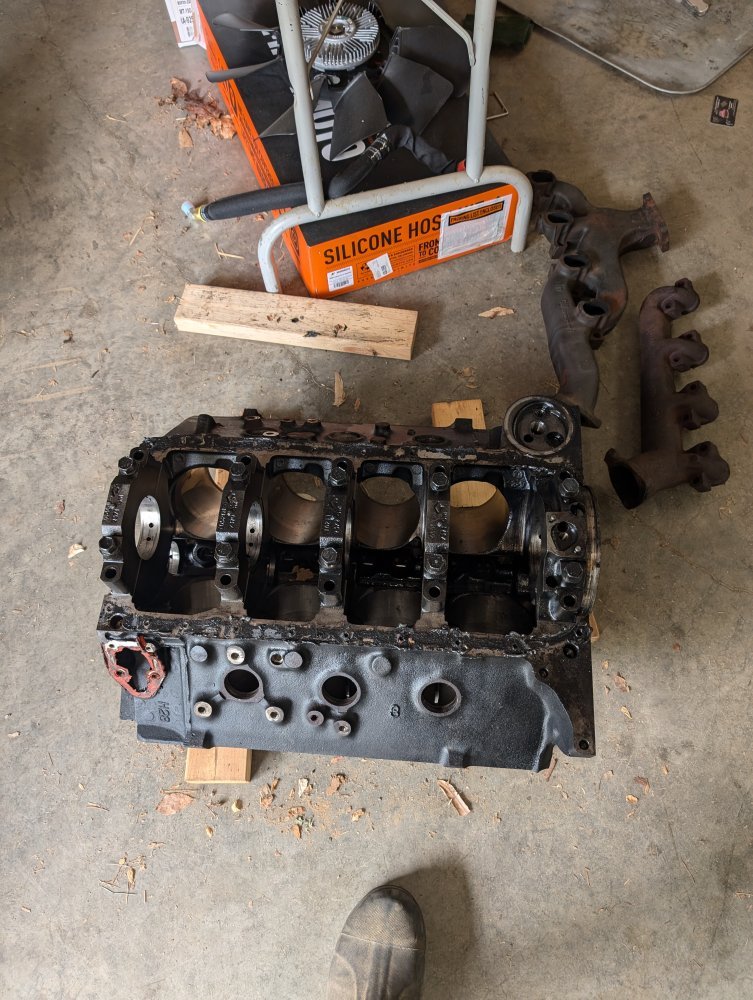
I finally got around to tearing down the bottom end yesterday, I was delayed by good weather allowing me to work on my highest priority project, a retaining wall. Well it got rainy and cold again yesterday so with replenished propane I got to work in the garage. I looked over this whole block and the only flashing I see is in the drain back holes between the lifters, here's one of them, they all have it:
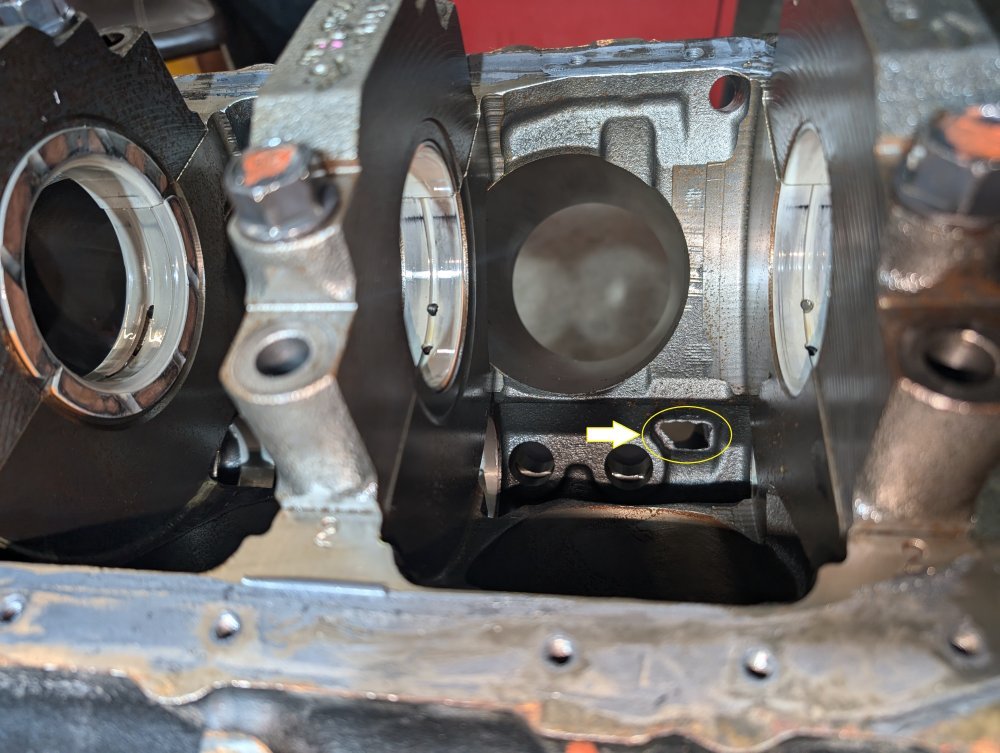
Flashing 1.jpg

There is also a little bit on the end of the center line here, this is the worst one all the others look pretty good:
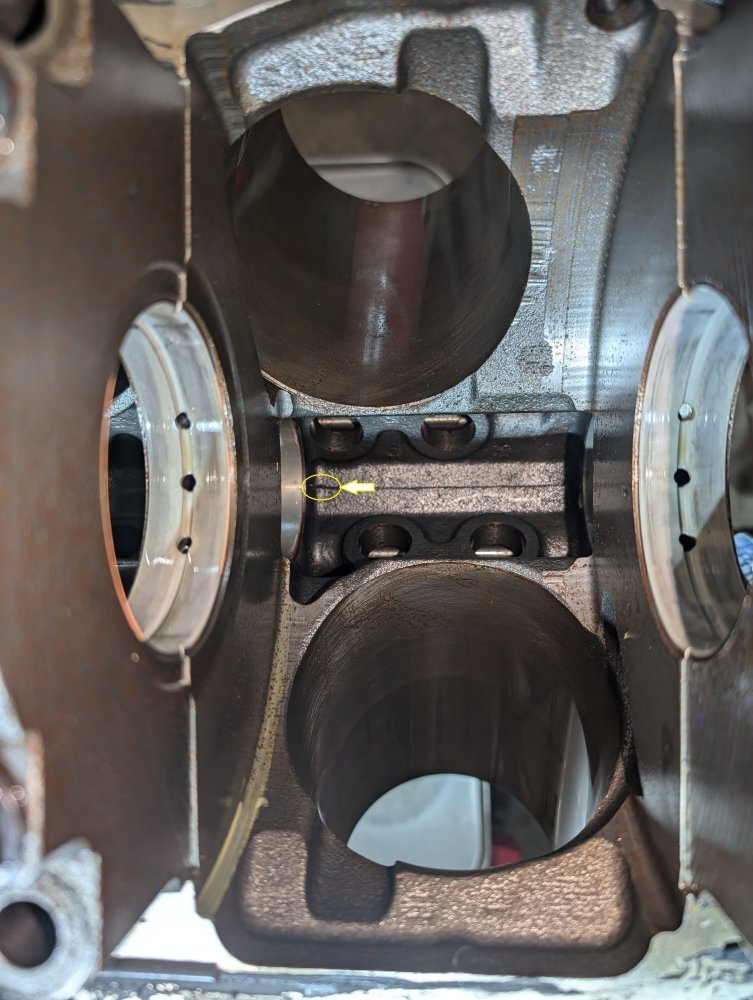
Flashing 2.jpg

Is that all there is or am I missing something. It seems ridiculous to me that they would leave that in there when it causes so much trouble and there is so little to do to remedy it.
 
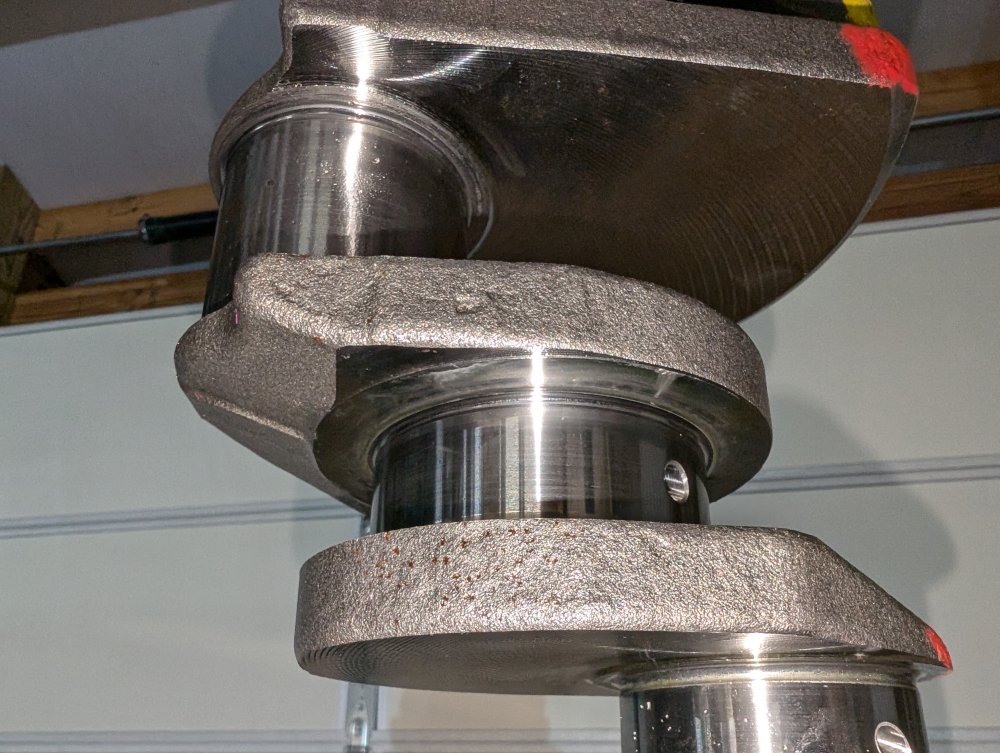
Not to change the subject, but on your bearings. I see the copper showing on the thrust bearing, but am I just seeing things or do I see copper also showing on the surfaces that ride the crank journals too?
 
Yes that is flashing. It costs labor for it to be removed and management can’t tell when it should be 10 minutes or 2 hours on one engine. It just depends on the amount of warranty (lost profit) when they address it and since the military almost never does that- they don’t sweat it.

I will say: yours is a pretty clean cast job. Take pics of all the angles and we can look over if there is anything you missed. You get to show off your finishing skills and we get to play where’s waldo. Haha
 
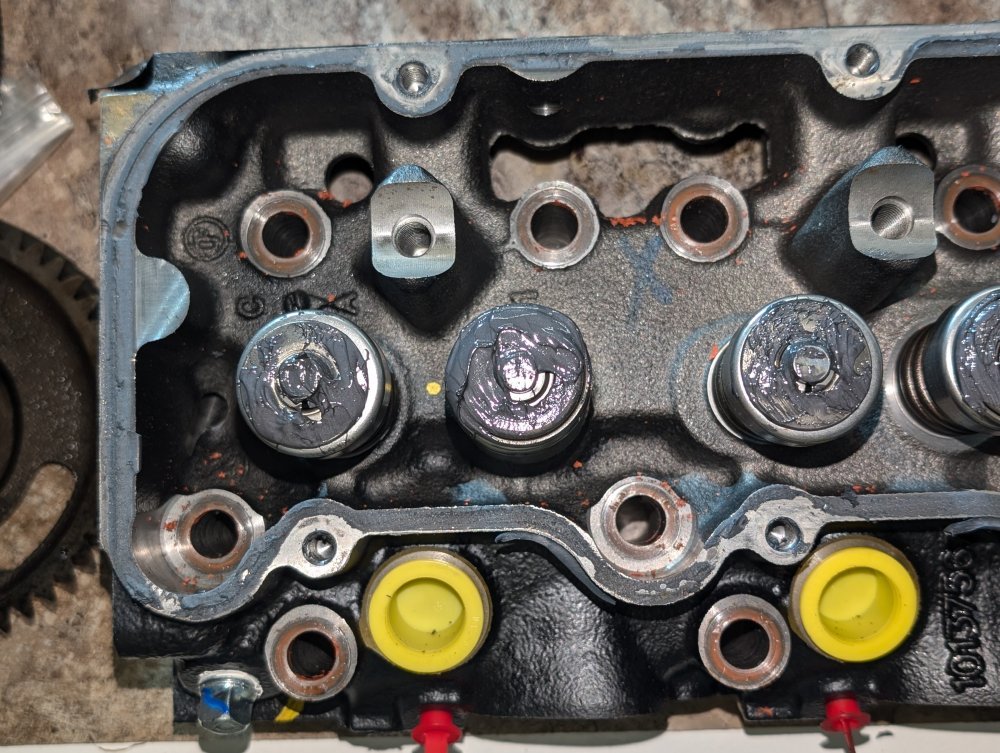
I found a lot more flashing in the heads:
1000001532.jpg1000001536.jpg

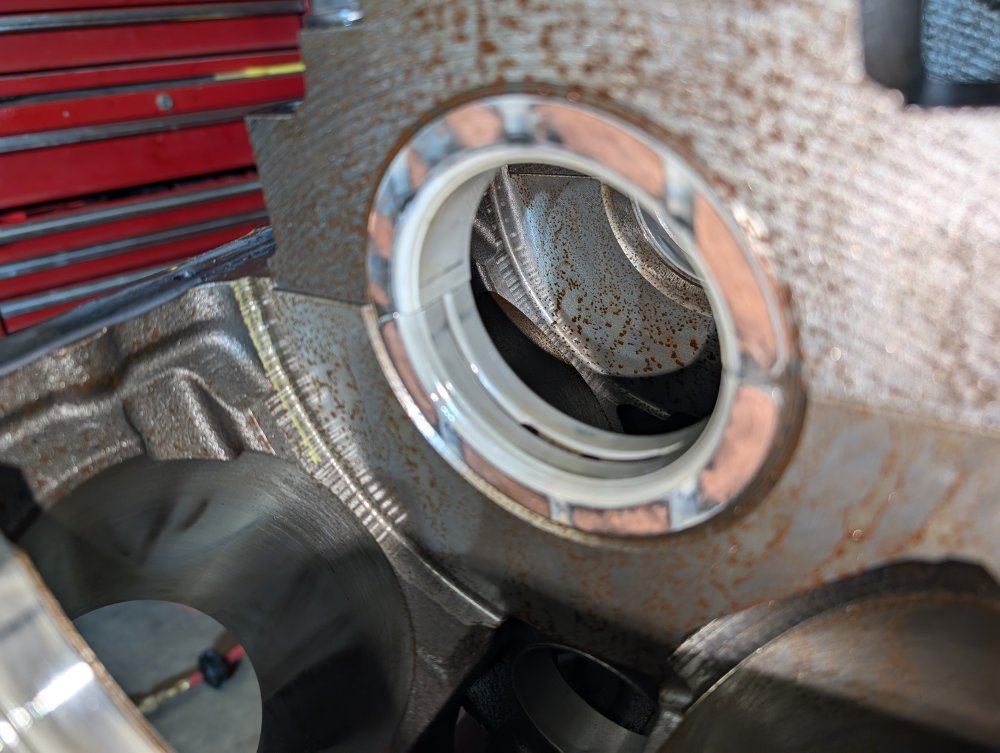
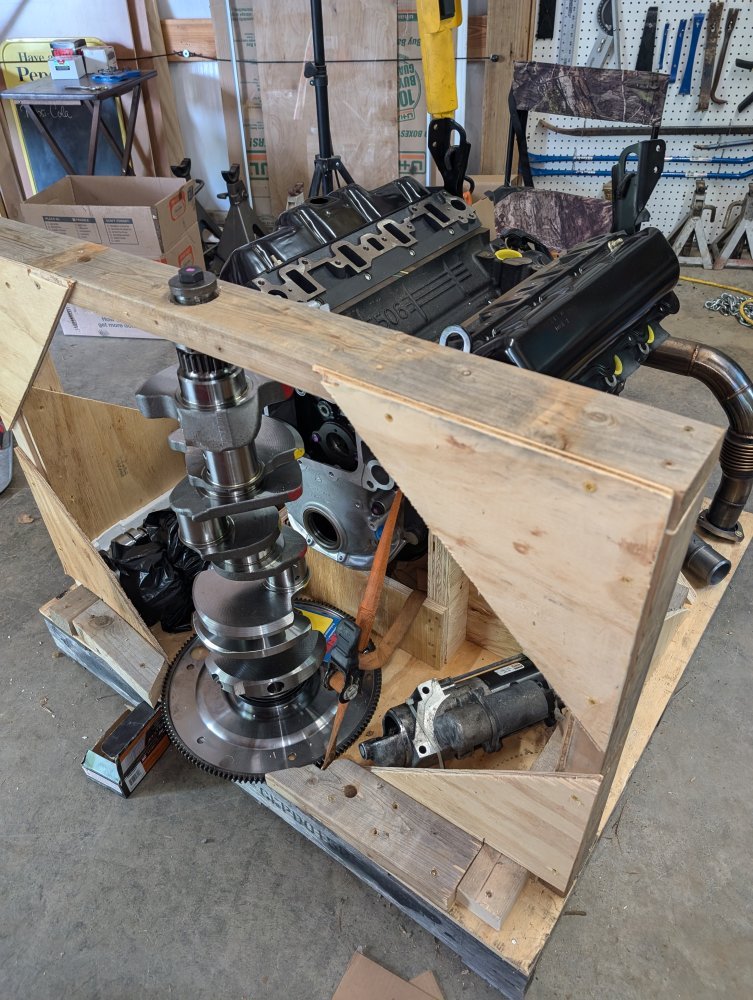
The orange color on the edge of the bearings is a paint marking from the factory, they all have it. The trust bearing definitely has exposed copper:

1000001542.jpg

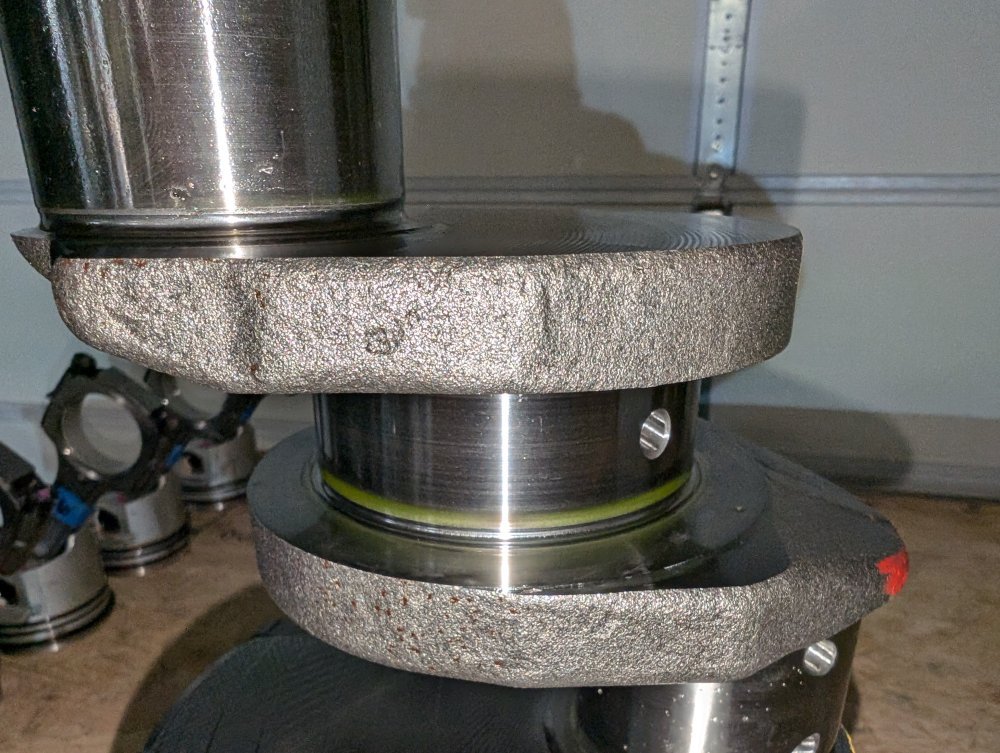
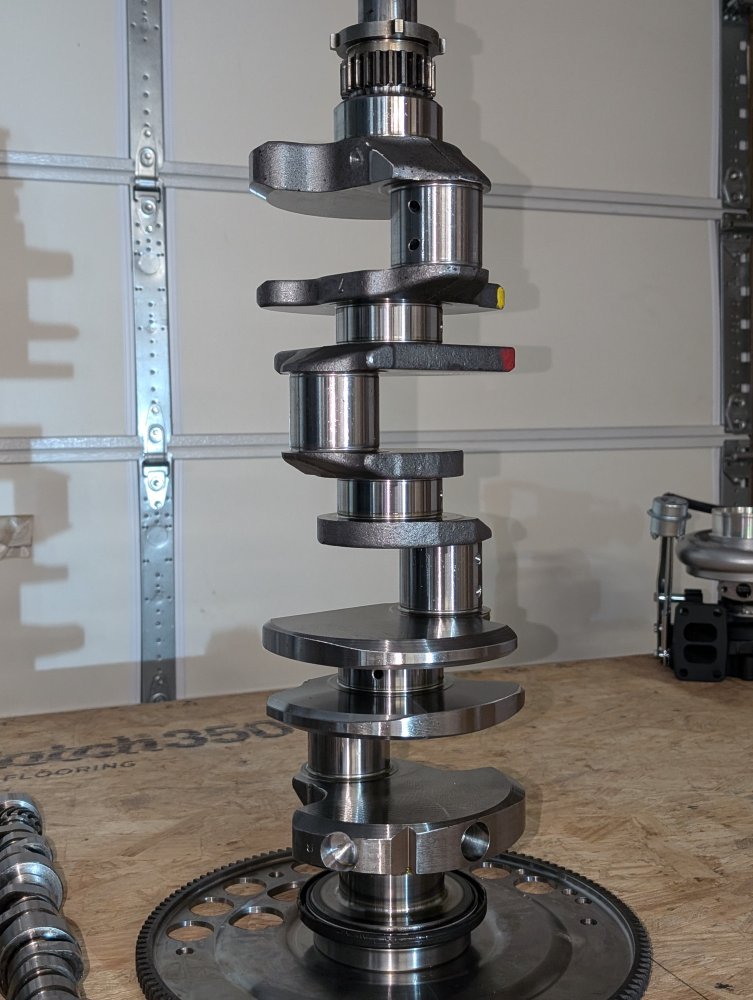
Here's the journal it rides in:

1000001543.jpg1000001544.jpg

The bearing surfaces have no exposed copper.
 
I finally got around to the deflashing this week, the actual work didn't take all that long it was the waiting on tools. I had a nice set of carbide burrs from Northern Tool but they were real difficult to get down into the block drain holes whilst also getting both hands on the die grinder and don't shade the light but get close enough to see what you're doing with these old eyes behind 325s. So I ordered some long shaft burrs but didn't try them for a while because of good weather (the wall), I didn't notice that these were 1`/8" shaft burrs until I was planning to use them, chuck it into the die grinder and give it a spin and they immediately bent over 60°, I ruined 2 of them then tried one in a Dremel it started out wobbly but then balanced itself and I was able to attempt to use it but the Dremel didn't fit down in the block so no go. So I ordered a set of 1/4" shaft long burrs and I deflashed the heads with my short ones while I waited for the next day delivery. Once they got here deflashing the block took no time, the heads took me a while but I'm pretty sure I took off more than I needed too, I always overdo stuff.

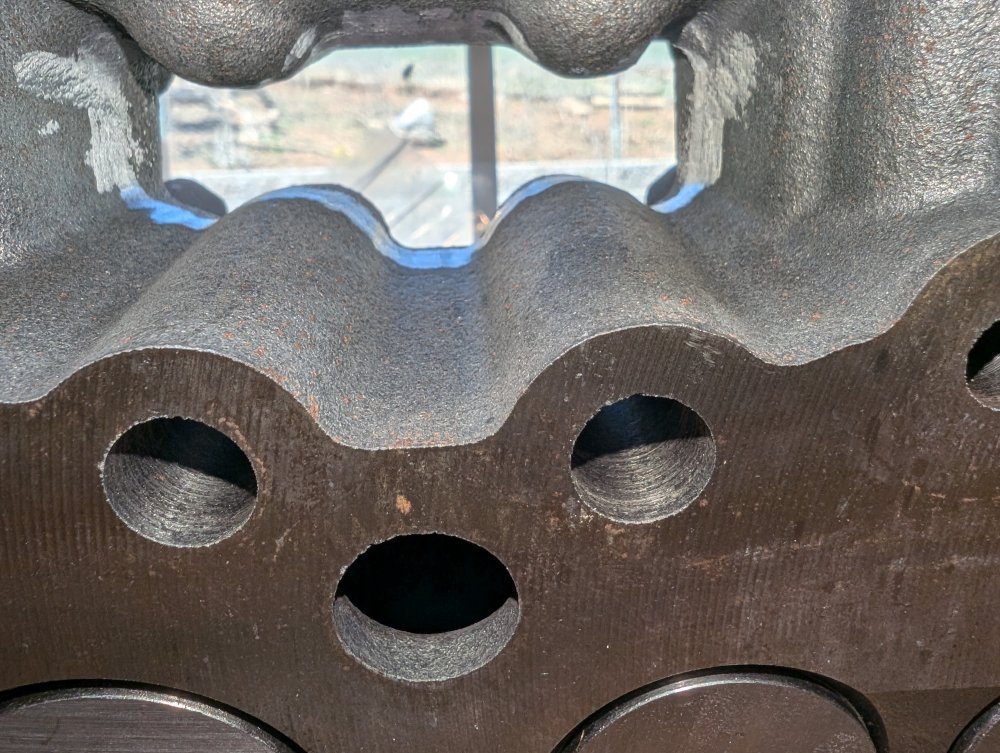
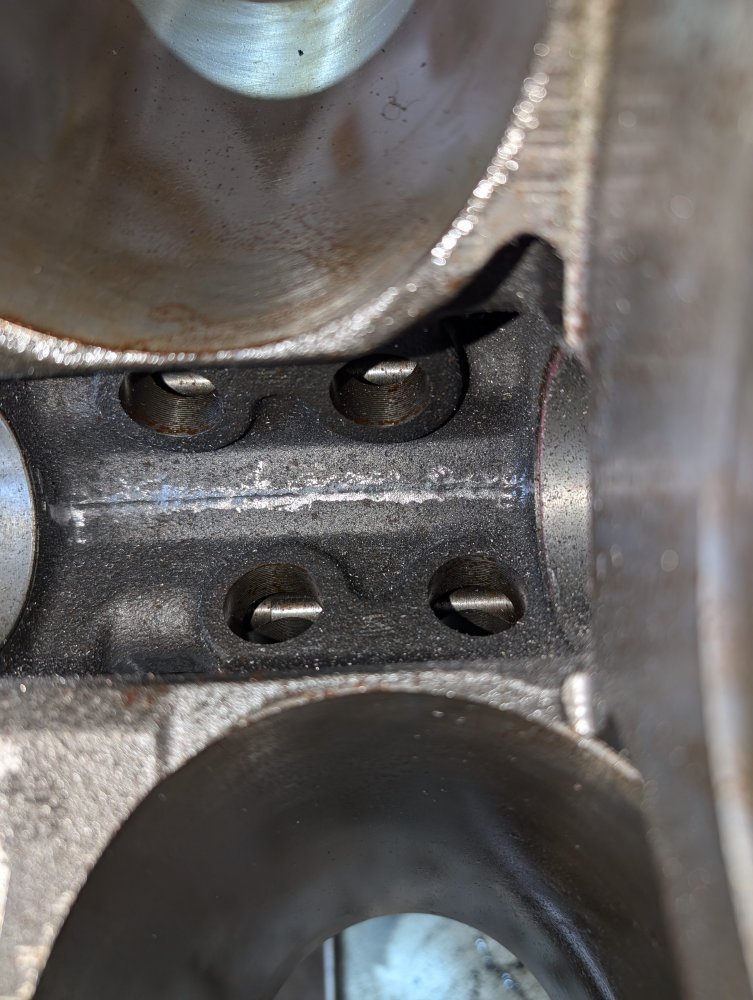
Here are before and after photos of one of the four flashing areas in the heads:

PXL_20250317_181528223.jpgPXL_20250318_171704934.jpg

Here's where that shard of flashing on the center seam in the earlier photos used to be:

PXL_20250319_162331384.jpg

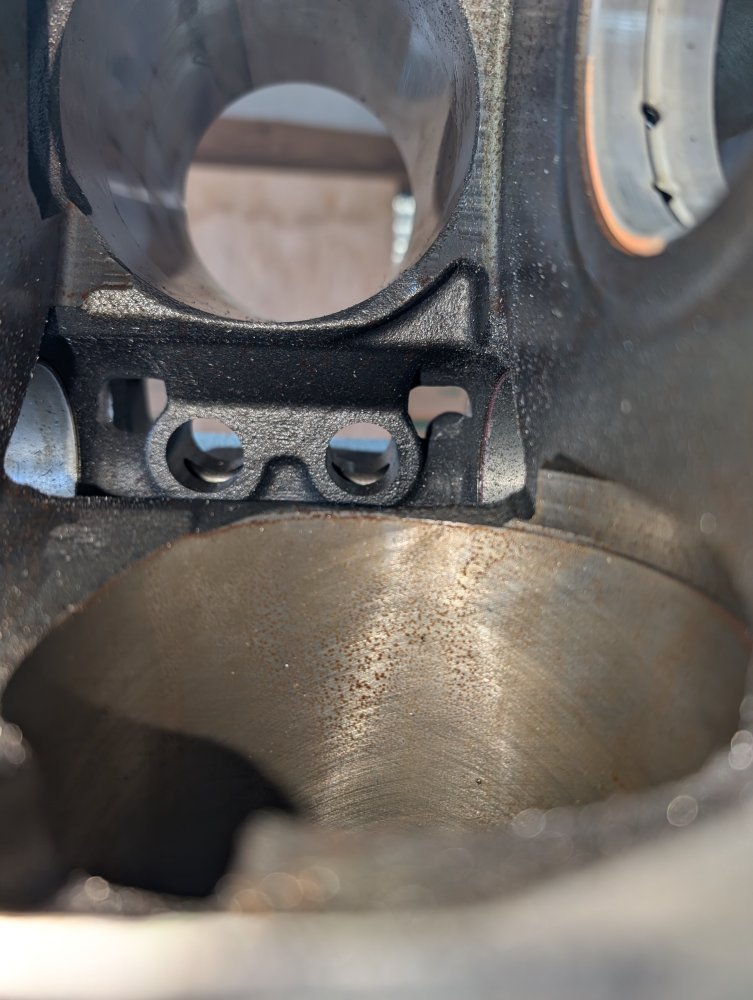
Here are a couple of the deflashed drain back holes in the block:

PXL_20250319_162352225.jpg

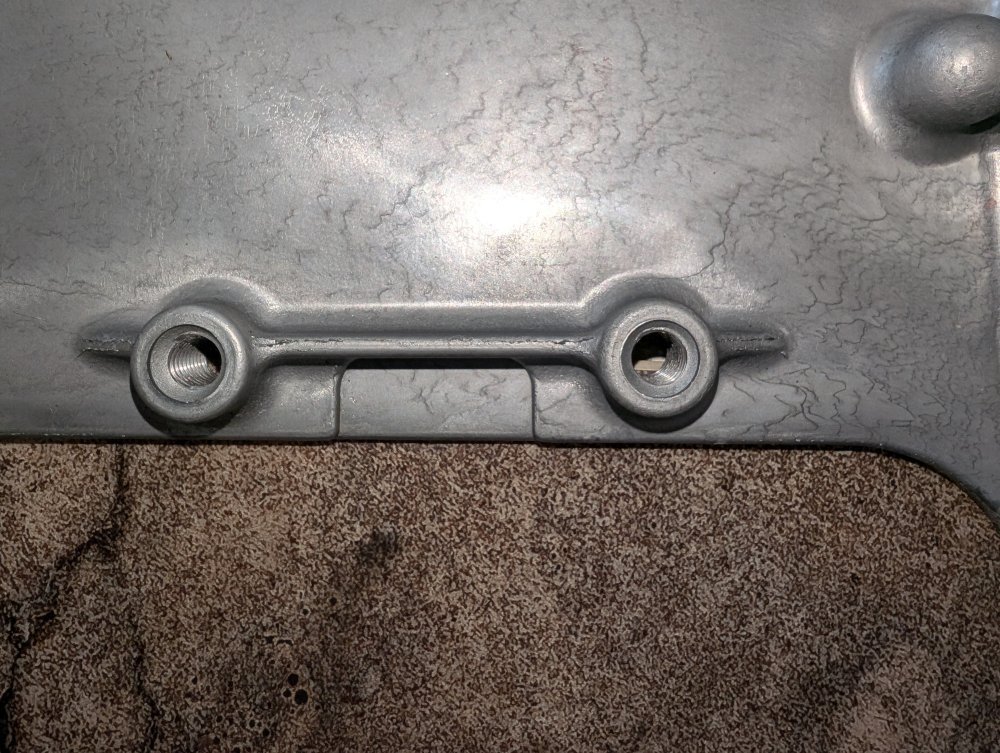
There was no flashing on the block in the timing gear area but I did find a bit on the cover:

PXL_20250319_163006071.jpg

I took a lot more photos but didn't want to overload this post, here is a link to my shared folder with all of them in it if anyone is interested: https://photos.app.goo.gl/juWv2CG4WbCWH9Q99
 
I finally got around to the deflashing this week, the actual work didn't take all that long it was the waiting on tools. I had a nice set of carbide burrs from Northern Tool but they were real difficult to get down into the block drain holes whilst also getting both hands on the die grinder and don't shade the light but get close enough to see what you're doing with these old eyes behind 325s. So I ordered some long shaft burrs but didn't try them for a while because of good weather (the wall), I didn't notice that these were 1`/8" shaft burrs until I was planning to use them, chuck it into the die grinder and give it a spin and they immediately bent over 60°, I ruined 2 of them then tried one in a Dremel it started out wobbly but then balanced itself and I was able to attempt to use it but the Dremel didn't fit down in the block so no go. So I ordered a set of 1/4" shaft long burrs and I deflashed the heads with my short ones while I waited for the next day delivery. Once they got here deflashing the block took no time, the heads took me a while but I'm pretty sure I took off more than I needed too, I always overdo stuff.

Here are before and after photos of one of the four flashing areas in the heads:

View attachment 92868View attachment 92869

Here's where that shard of flashing on the center seam in the earlier photos used to be:

View attachment 92870

Here are a couple of the deflashed drain back holes in the block:

View attachment 92871

There was no flashing on the block in the timing gear area but I did find a bit on the cover:

View attachment 92872

I took a lot more photos but didn't want to overload this post, here is a link to my shared folder with all of them in it if anyone is interested: https://photos.app.goo.gl/juWv2CG4WbCWH9Q99
I've never had long shaft burrs. Do you have a link?

I've used extension with 2 set screws to hold the burr bits.
 
I've never had long shaft burrs. Do you have a link?

I've used extension with 2 set screws to hold the burr bits.

I thought an extension would make it way too out of balance to control. These were a little out of balance but they didn't bend themselves in half like the smaller ones and once they were working they stabilized.
 
As an Amazon Associate we earn from qualifying purchases.

I thought an extension would make it way too out of balance to control. These were a little out of balance but they didn't bend themselves in half like the smaller ones and once they were working they stabilized.
On a quick search. Mine were similiar to these. Not much slop.
 
As an Amazon Associate we earn from qualifying purchases.
Back
Top