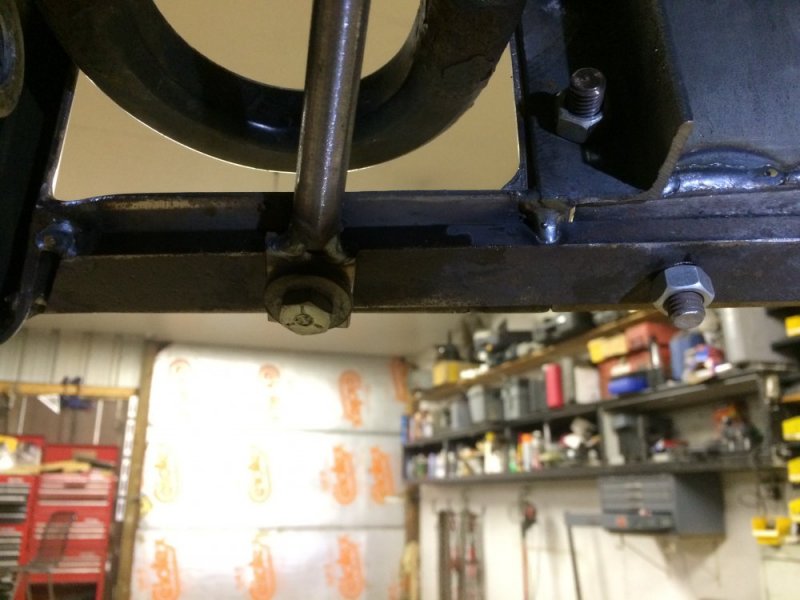
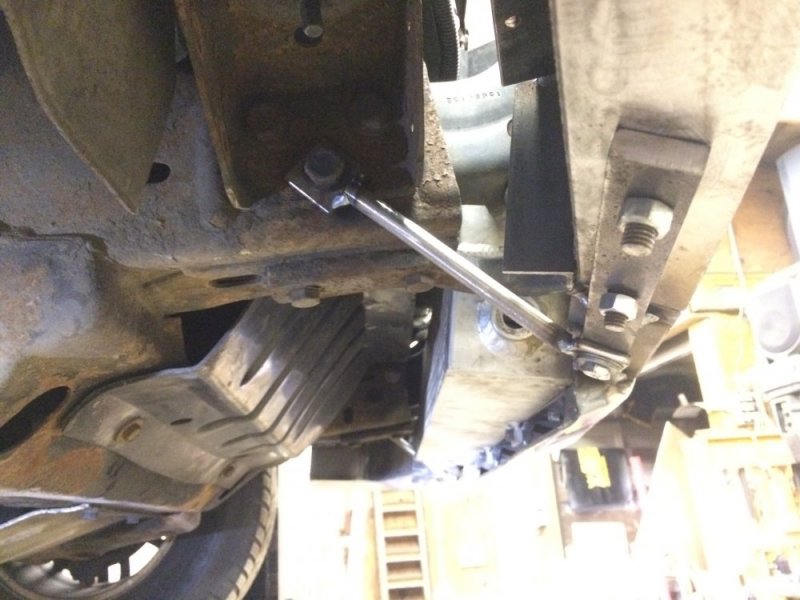
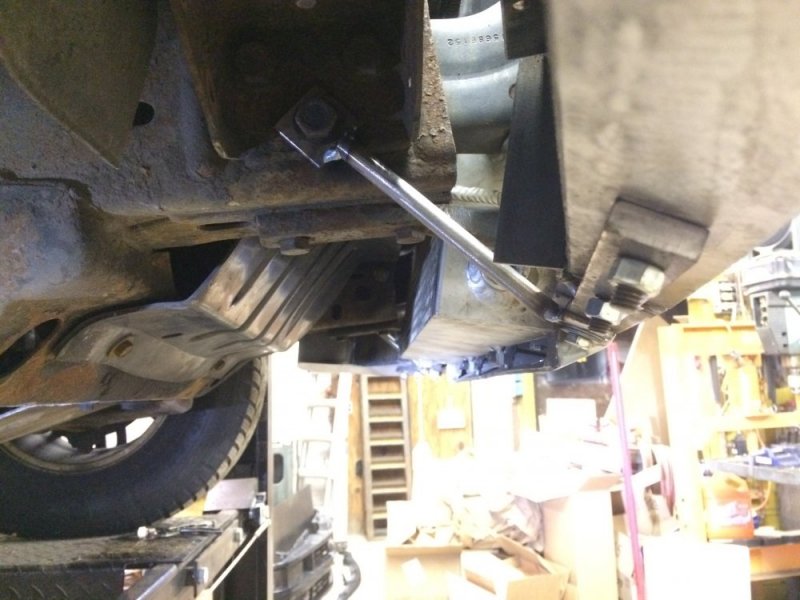
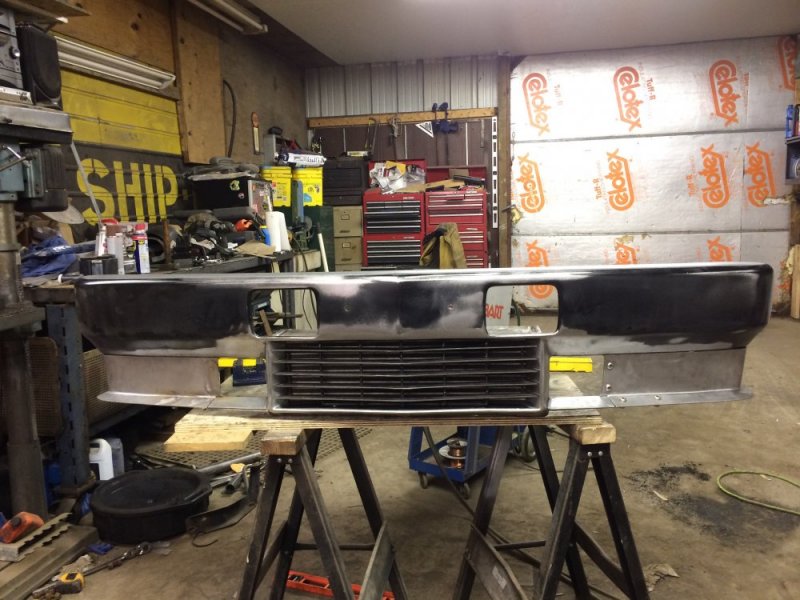
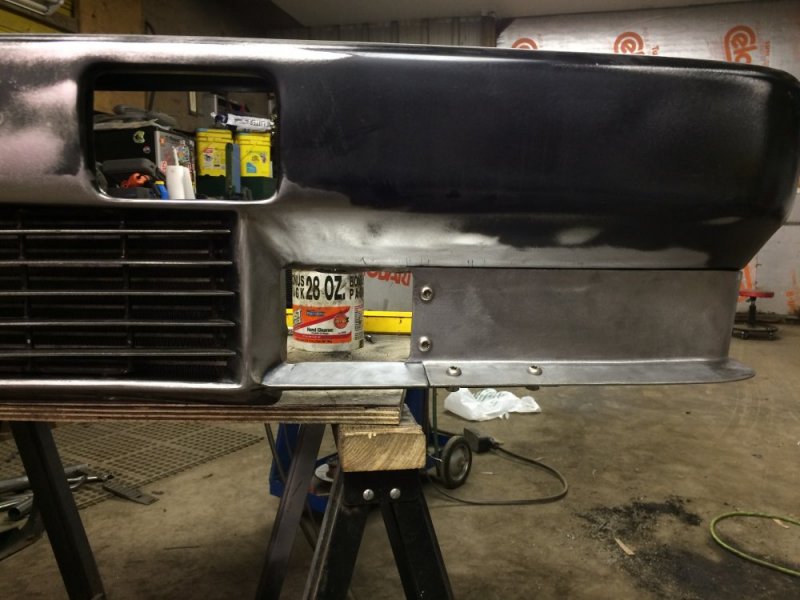
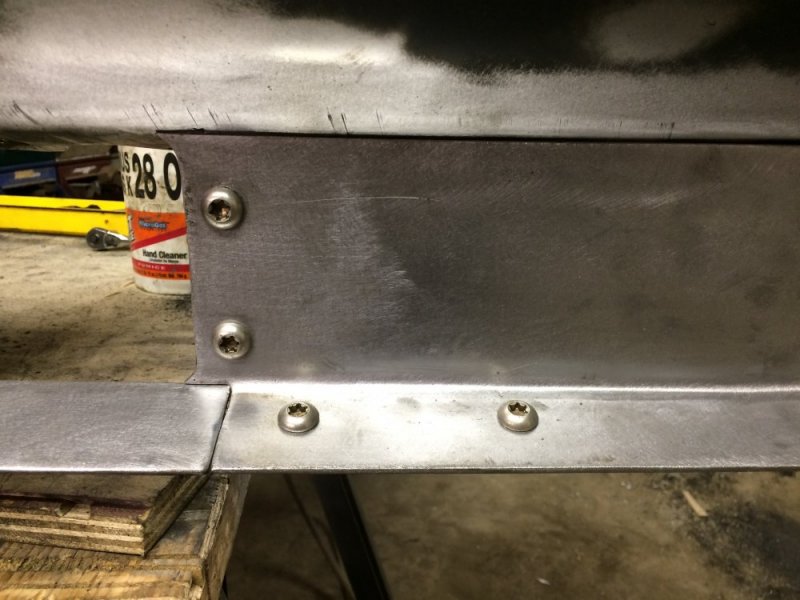
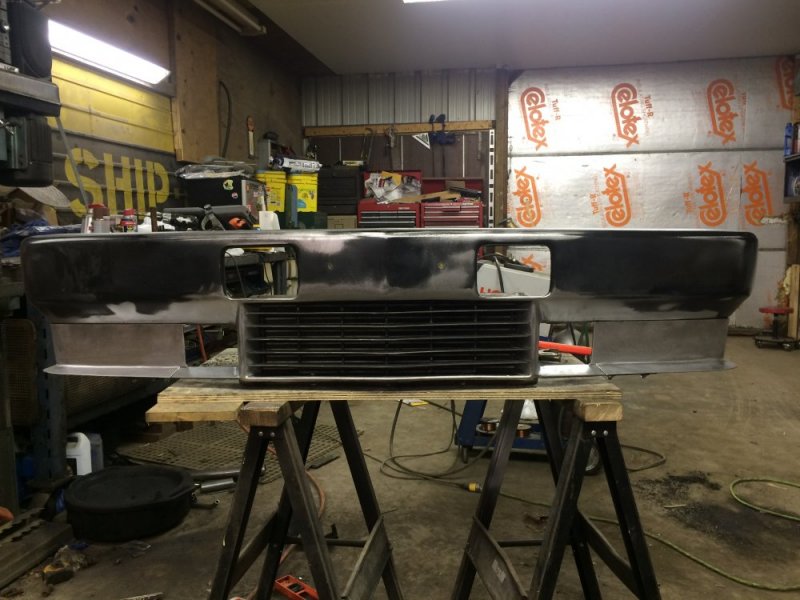
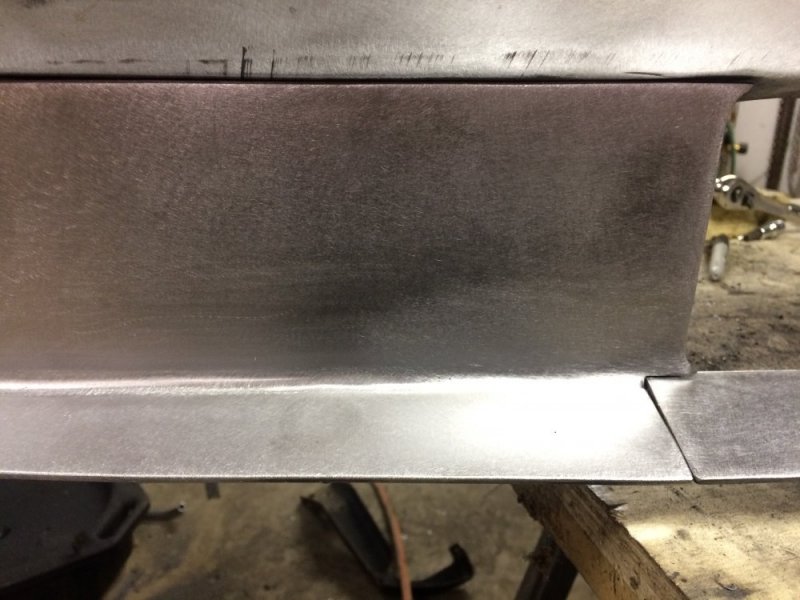
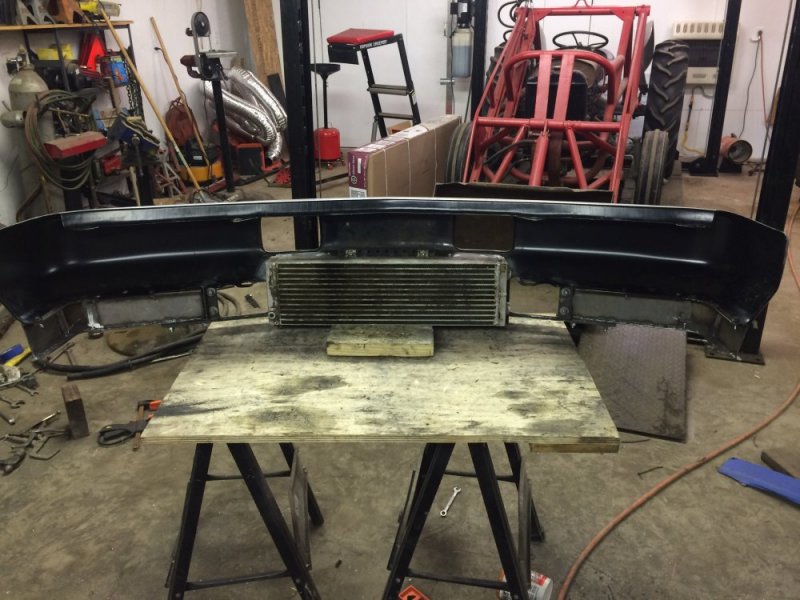
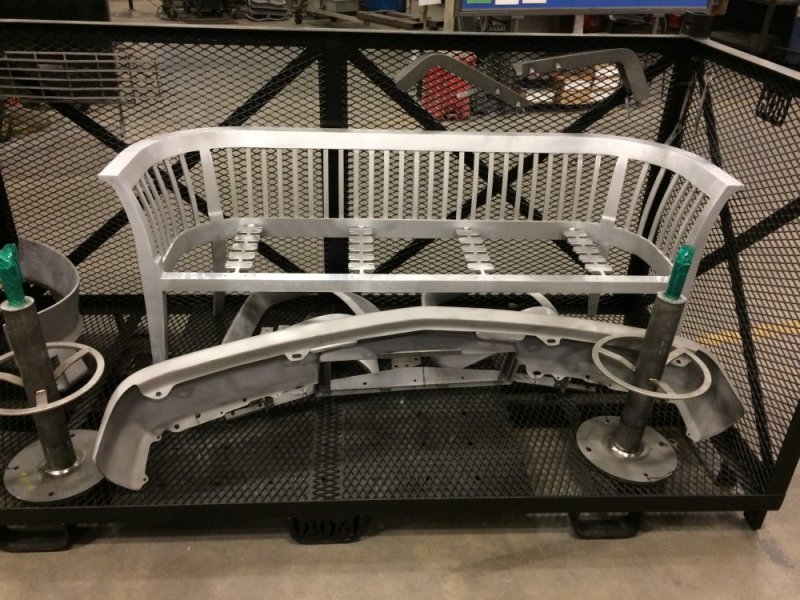
Never heard of them.I think it's called "temporary".
Navigation
Install the app
How to install the app on iOS
Follow along with the video below to see how to install our site as a web app on your home screen.
Note: This feature may not be available in some browsers.
More options
-
Welcome to The Truck Stop! We see you haven't REGISTERED yet.
Your truck knowledge is missing!
- Registration is FREE , all we need is your birthday and email. (We don't share ANY data with ANYONE)
- We have tons of knowledge here for your diesel truck!
- Post your own topics and reply to existing threads to help others out!
- NO ADS! The site is fully functional and ad free!
Problems registering? Click here to contact us!
Already registered, but need a PASSWORD RESET? CLICK HERE TO RESET YOUR PASSWORD!
You are using an out of date browser. It may not display this or other websites correctly.
You should upgrade or use an alternative browser.
You should upgrade or use an alternative browser.
My Water to Air intercooler install
- Thread starter n8in8or
- Start date
Husker6.5
135' diagonal 16:9HD, 25KW sound!
Looking good, Nate! Black and silver, how about polishing and buffing the hell out of it and shooting it with clearcoat?
n8in8or
I never met a project I didn’t like
Too many pinholes that I have decided to not fix...Looking good, Nate! Black and silver, how about polishing and buffing the hell out of it and shooting it with clearcoat?
n8in8or
I never met a project I didn’t like
n8in8or
I never met a project I didn’t like
I chronicled that in an earlier installment.....your oil lines are so strong that when I tried to move them to the side for clearance the oil cooler broke before the lines would budge!Hey! and what kind of engine oil cooler is that
n8in8or
I never met a project I didn’t like
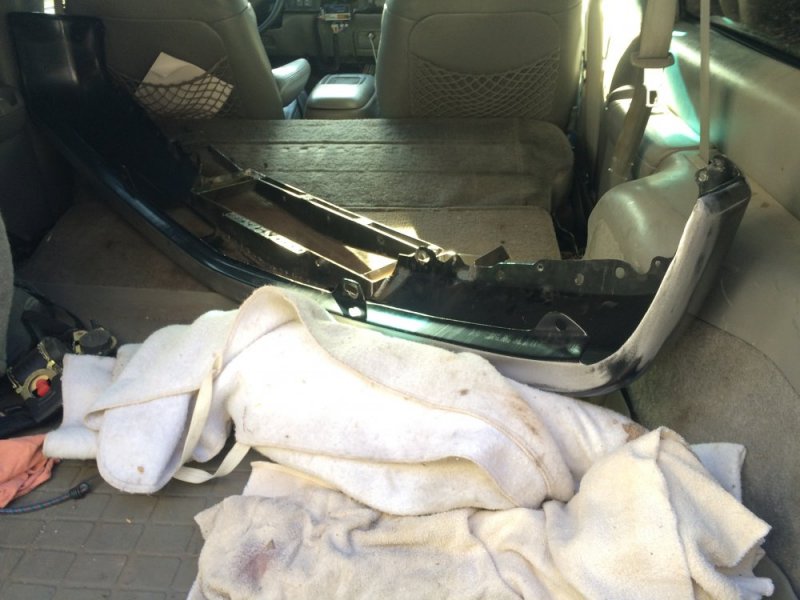
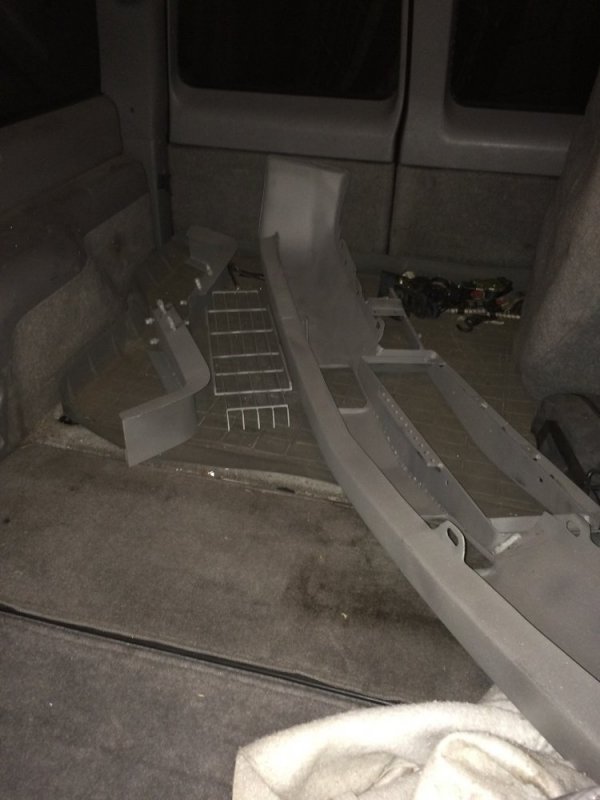
Well I thought I was done. Took pictures and everything. Then I noticed a little dimple in one of the deflector pieces where the welded stud is. So I looked closer and saw a couple more dimples. So I cranked on the nuts and sure enough I was able to get them to pull through. GRRRR. So I pulled them all out. I tried chamfering the holes and grinding the studs to a point. Nope, that's failing too. So now I'm unsure what I'll do....just do some nice stainless button head bolts? Not sure, but it's hard to think after working on it for 6 hours and now being frustrated. So I'll have to let it sink in overnight......

n8in8or
I never met a project I didn’t like
ak diesel driver
6.5 driver
Looks good. Another alternative might be carriage bolts
n8in8or
I never met a project I didn’t like
Yeah I was thinking that too. I have another idea that might work, but it's kind of hard to explain, so I'll try to give it a go tomorrow and see how it works.Looks good. Another alternative might be carriage bolts
IMO go back to shaved smooth. It hurts my eyes now.
n8in8or
I never met a project I didn’t like
I agree. All this work and it should be smooth. I think I can do it still. We'll see....IMO go back to shaved smooth. It hurts my eyes now.
Jaryd
Extremely Deplorable
I work with metal for a living and you made that look easy. I wish I had the patience you have when I'm working on my stuff around the farm or on my truck. Good looking bumper for real.
n8in8or
I never met a project I didn’t like
Thanks Jaryd! The hours and hours I've spent working on this thing sure haven't felt easy....I work with metal for a living and you made that look easy. I wish I had the patience you have when I'm working on my stuff around the farm or on my truck. Good looking bumper for real.
n8in8or
I never met a project I didn’t like
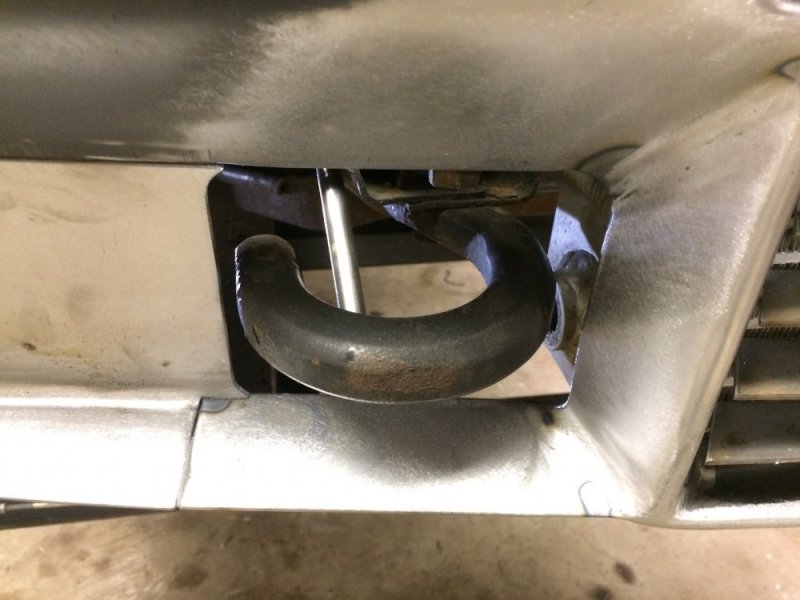
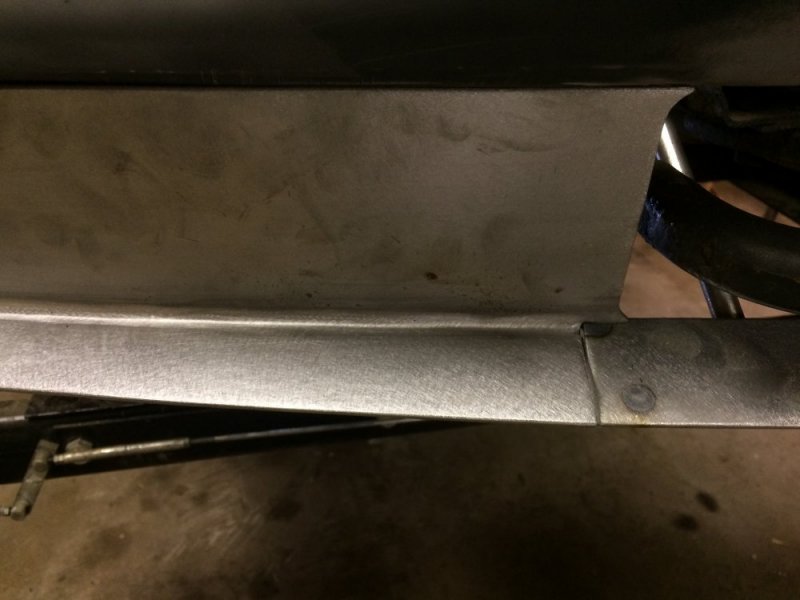
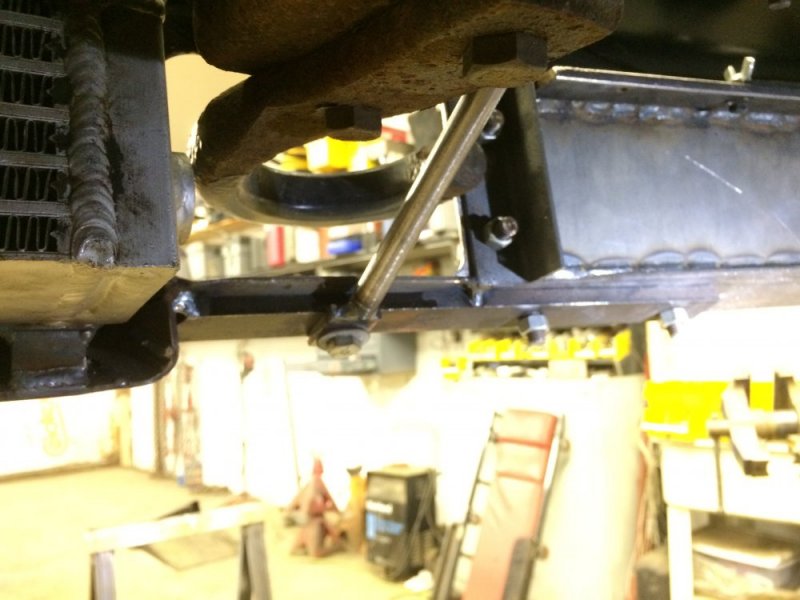
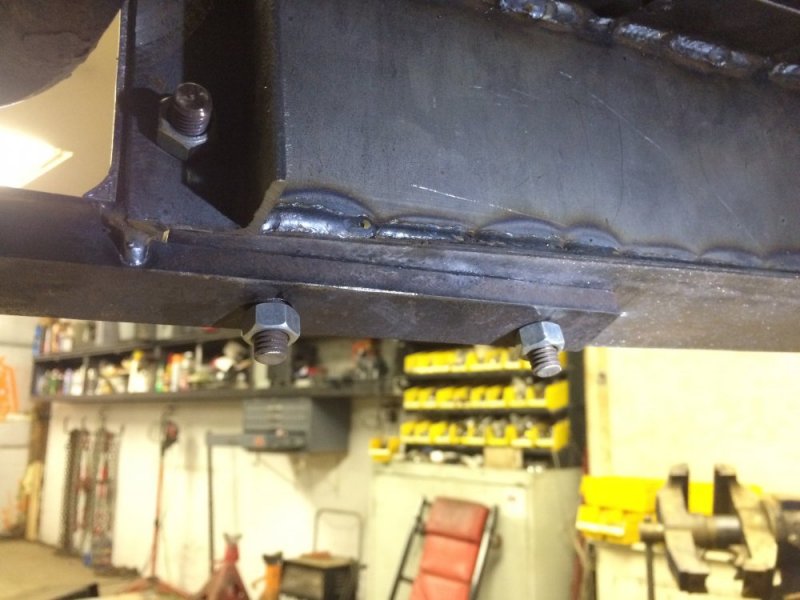
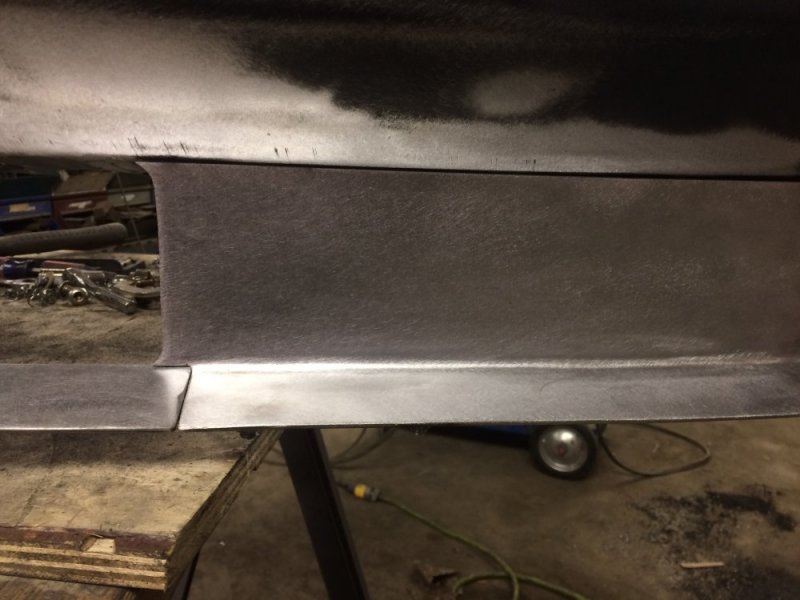
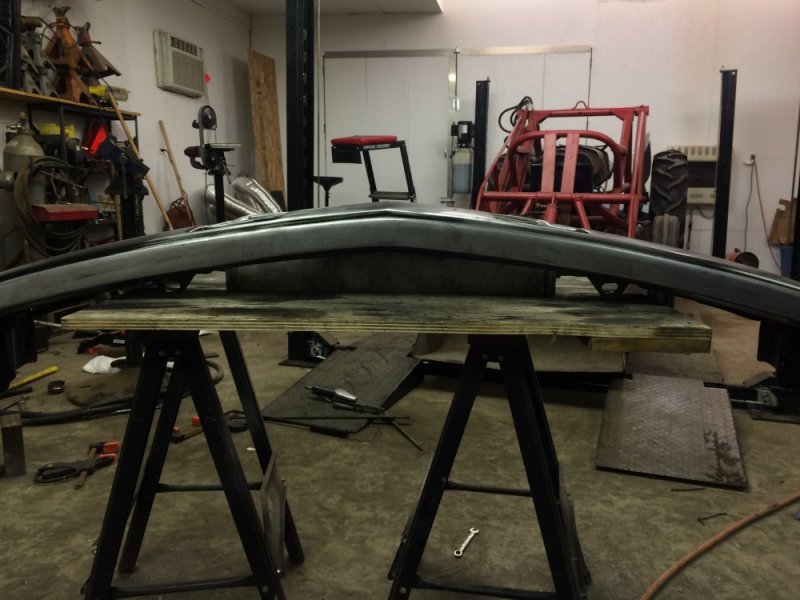
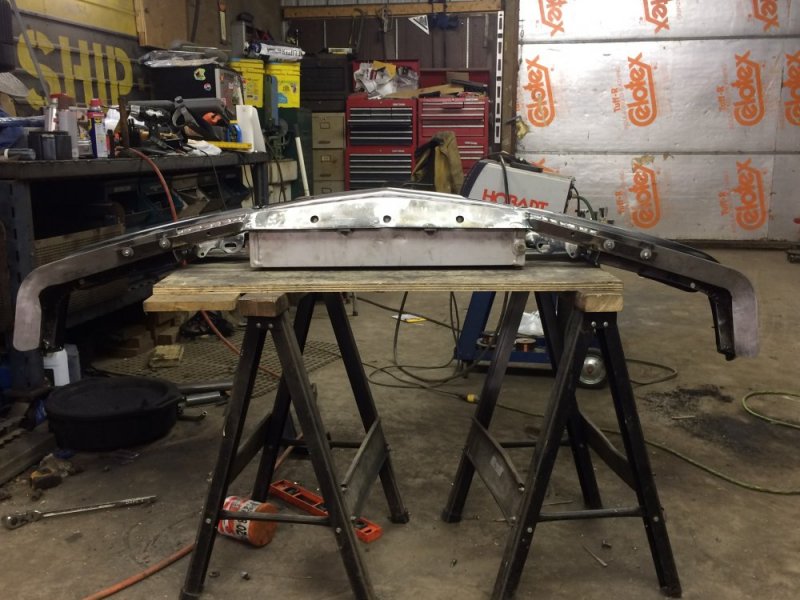
Ok I found a solution. If I had executed it properly it would have been a fantastic solution, but I struggled a little and had to do some rework.....but in the end it turned out ok.
First thing I did was drill out the holes to 15/16". And no....that didn't freak me out one bit .
.
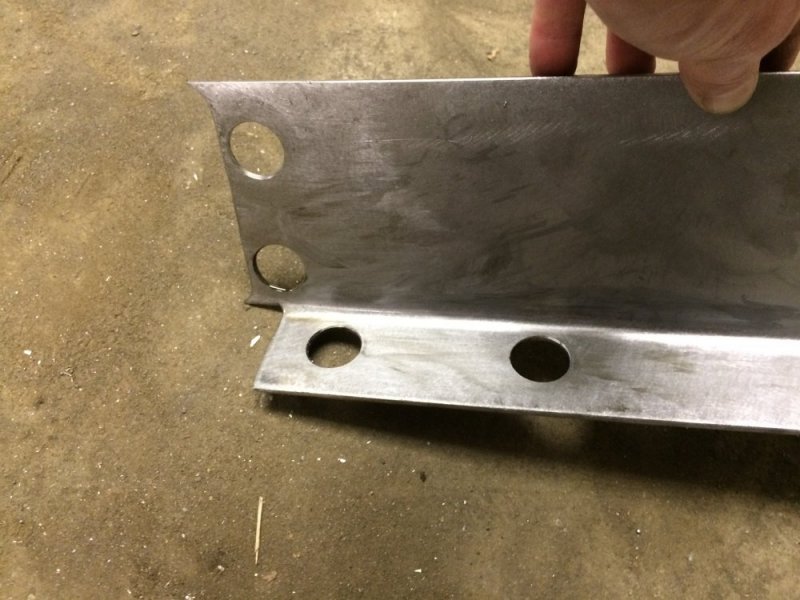
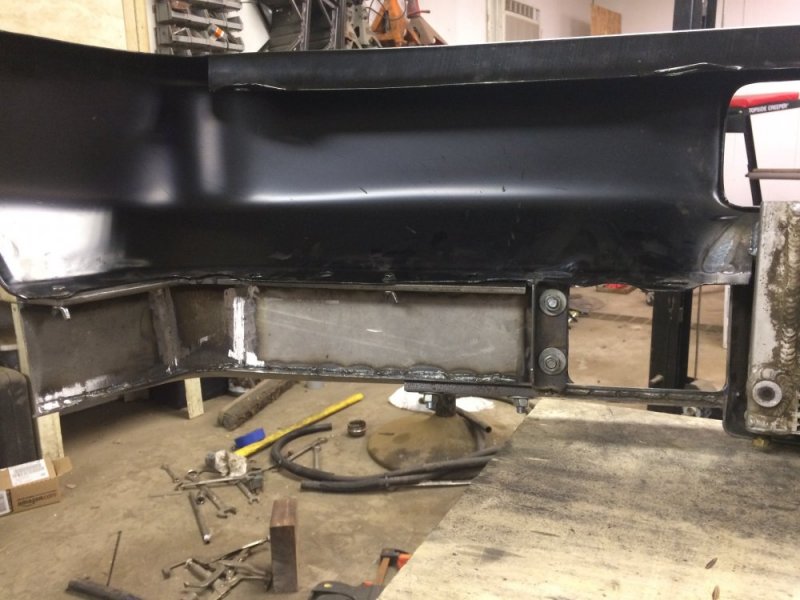
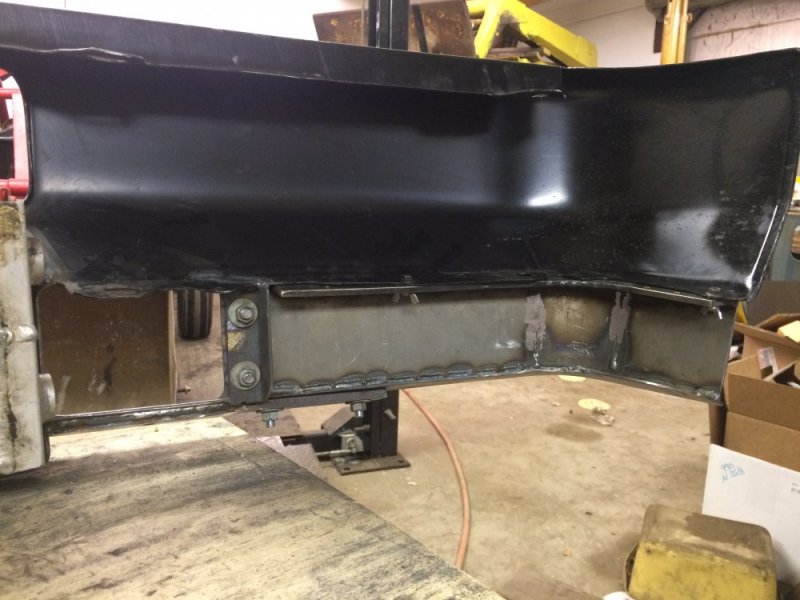
Then I installed carriage bolts in the bumper braces. After that I installed the deflector over the bolts.
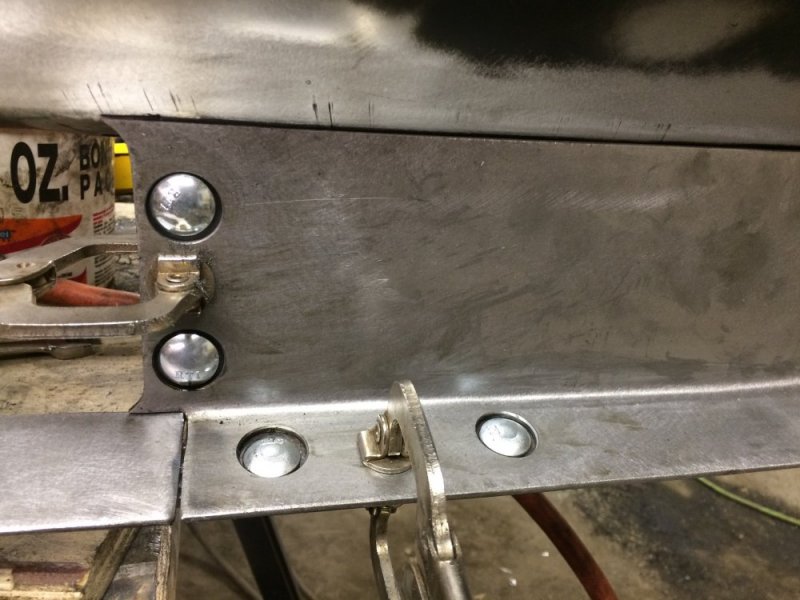
Next was welding. I was able to lay some nice beads since I had so much real estate to work with.
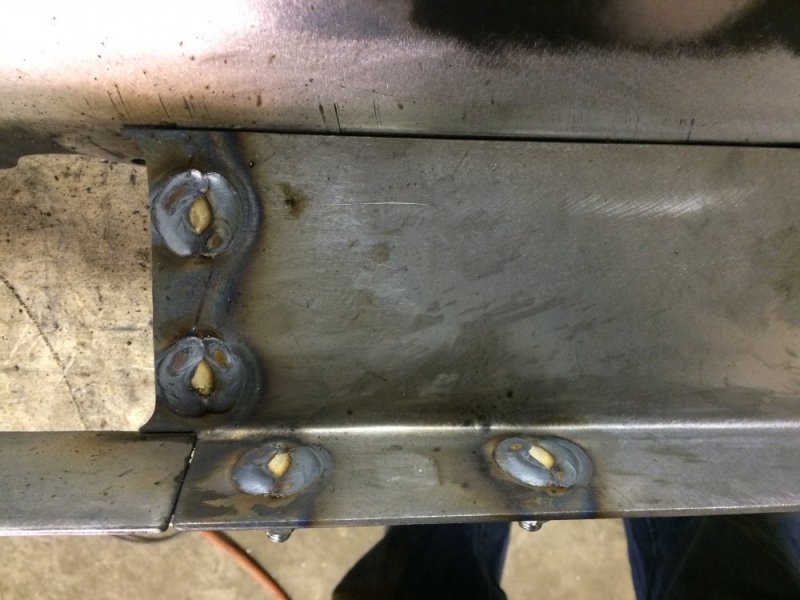
Then I ground the welds and bolt heads down.
After that I reinstalled the deflector. This is when I found out that I had screwed up earlier. I got dimples again!!! But I couldn't pull the bolts through like before...which made sense. What I did wrong is I had only finger tightened the nuts before, not wrench tightened. So when I reinstalled the deflector and tightened the nuts with a wrench it drew the bolts in a smidge and voila....dimples!
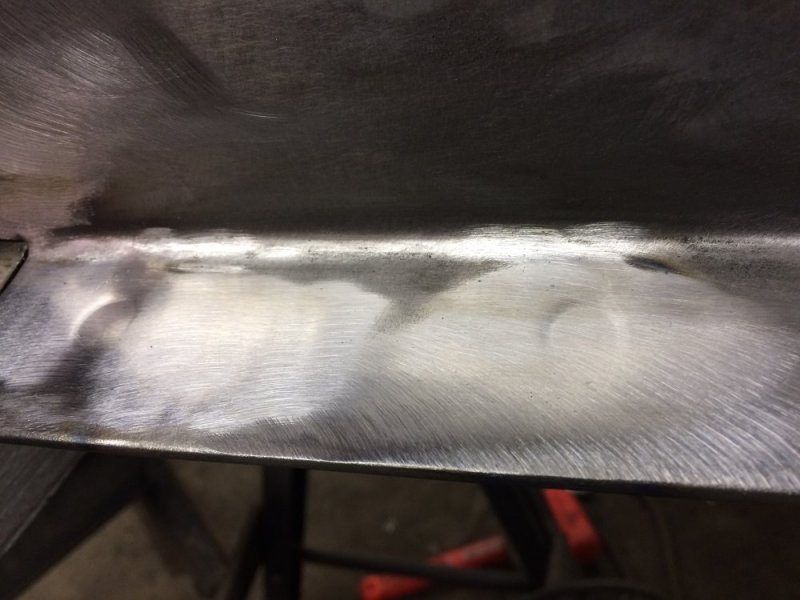
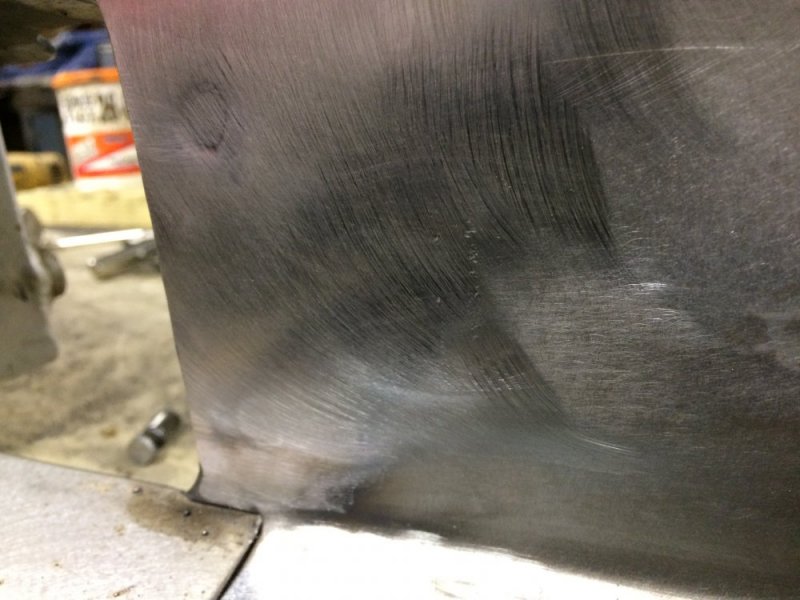
So I ground the deflector down to the height of the dimples and DAd it and now all is well. It can use a little more sanding, but I wanted to get it reinstalled to make sure it was ok before I took it to the nth degree.
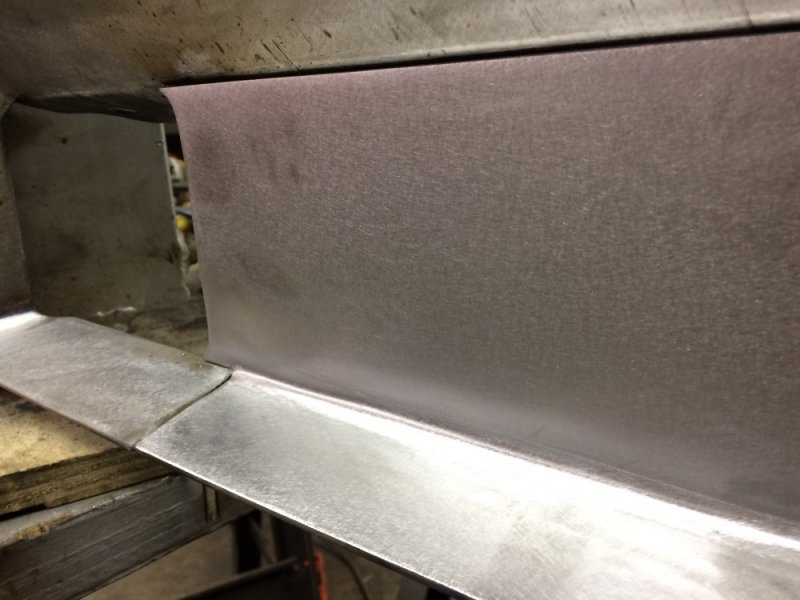
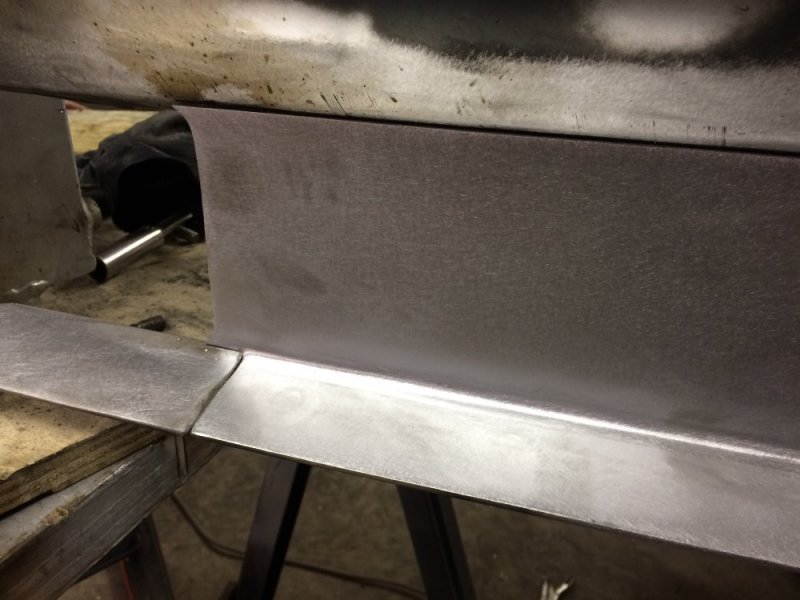
So now I just have to do the same thing to te other deflector, sans screw-up of course.
First thing I did was drill out the holes to 15/16". And no....that didn't freak me out one bit

Then I installed carriage bolts in the bumper braces. After that I installed the deflector over the bolts.

Next was welding. I was able to lay some nice beads since I had so much real estate to work with.

Then I ground the welds and bolt heads down.
After that I reinstalled the deflector. This is when I found out that I had screwed up earlier. I got dimples again!!! But I couldn't pull the bolts through like before...which made sense. What I did wrong is I had only finger tightened the nuts before, not wrench tightened. So when I reinstalled the deflector and tightened the nuts with a wrench it drew the bolts in a smidge and voila....dimples!


So I ground the deflector down to the height of the dimples and DAd it and now all is well. It can use a little more sanding, but I wanted to get it reinstalled to make sure it was ok before I took it to the nth degree.


So now I just have to do the same thing to te other deflector, sans screw-up of course.
Ahh, my eyes are much better now.
n8in8or
I never met a project I didn’t like
Nosferatu49534
Well-Known Member
Man that's purty. [emoji2]
n8in8or
I never met a project I didn’t like
Jaryd
Extremely Deplorable
looking good

