DieselSlug
Well-Known Member
Got the pitman arm off, always fun. I think all we need to do now is recenter the input orientation and we can swap this sucker over to the Yukon. I've never been more excited about something so lame.


Follow along with the video below to see how to install our site as a web app on your home screen.
Note: This feature may not be available in some browsers.


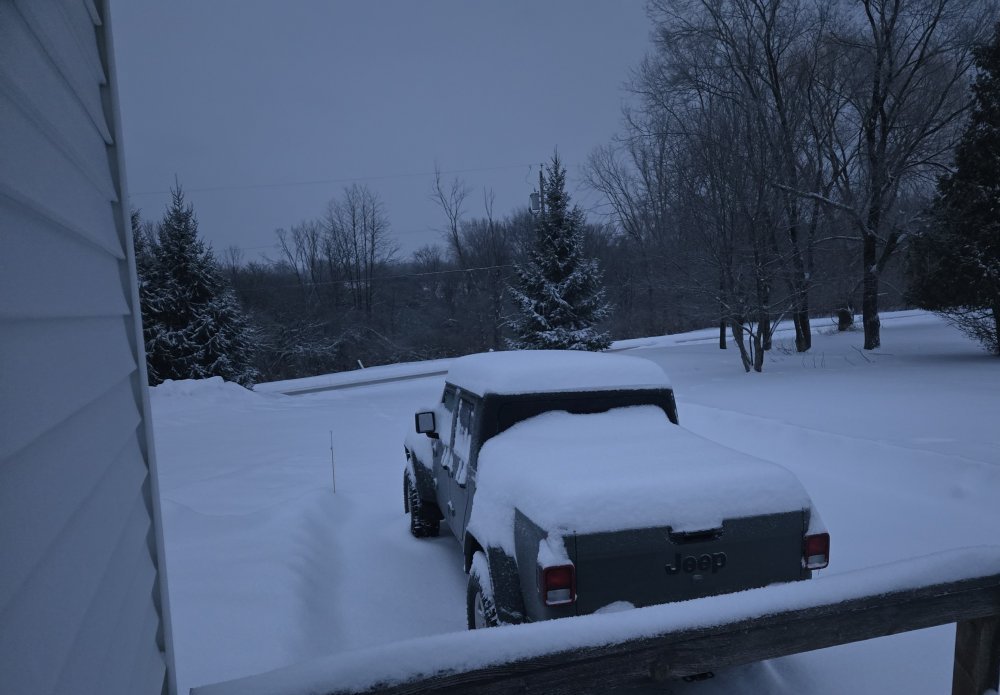
you know I stared at this pic for a while trying to rattle my brain where in the heck this lives on a Yukon. couldn't do it. then realized when I saw the pic of the lift cylinder, this must be the remote headlights mounted on the plow. no way that was a factory design on the GMT800's. haha. sorry about the busted nut.Prepping for the biggest storm of the year for us.
The plan was to get my headlights adjusted, heated the first nut up good after a few weeks of periodic spraying I decided to try it. Guess what, it broke. Not surprised. So for now, sorry to the people I blind. The head of the bolt is hidden beneath a double riveted plate. Such a horrible design. So to tackle this project again I will need to break the remaining 3 bolts, disassemble the housing, drill out all the rivets, insert new carriage bolts (most likely cut an access hole for future), re-rivet, re-assemble, reinstall, and finally aim.
This is what the inside looks like, the head is beneath the tiny hole you see:
View attachment 97703
Haha, 100% correct. This is the Fisher plow headgear. Reading how I wrote it I can see the thinking!you know I stared at this pic for a while trying to rattle my brain where in the heck this lives on a Yukon. couldn't do it. then realized when I saw the pic of the lift cylinder, this must be the remote headlights mounted on the plow. no way that was a factory design on the GMT800's. haha. sorry about the busted nut.


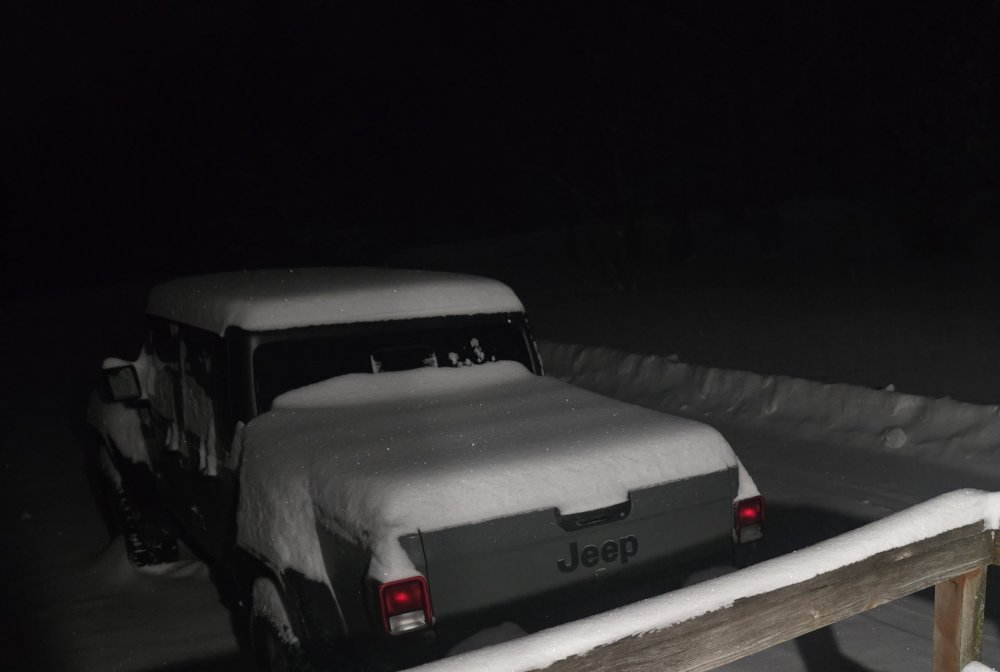
First plow round Sunday just before 5. Took care of our drive, MIL, and BIL.
View attachment 97777
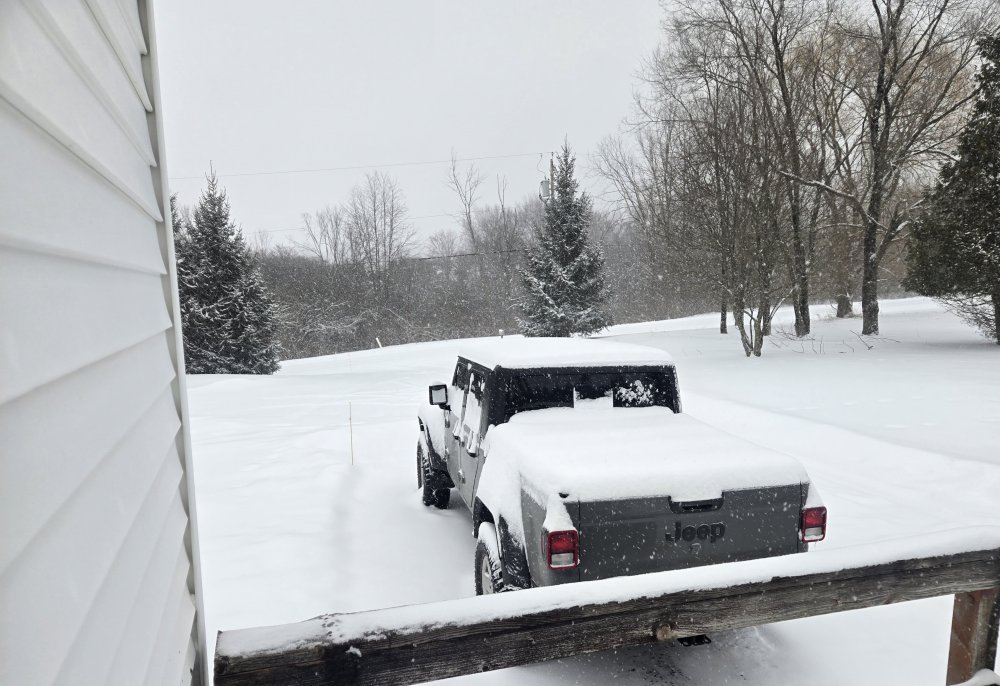
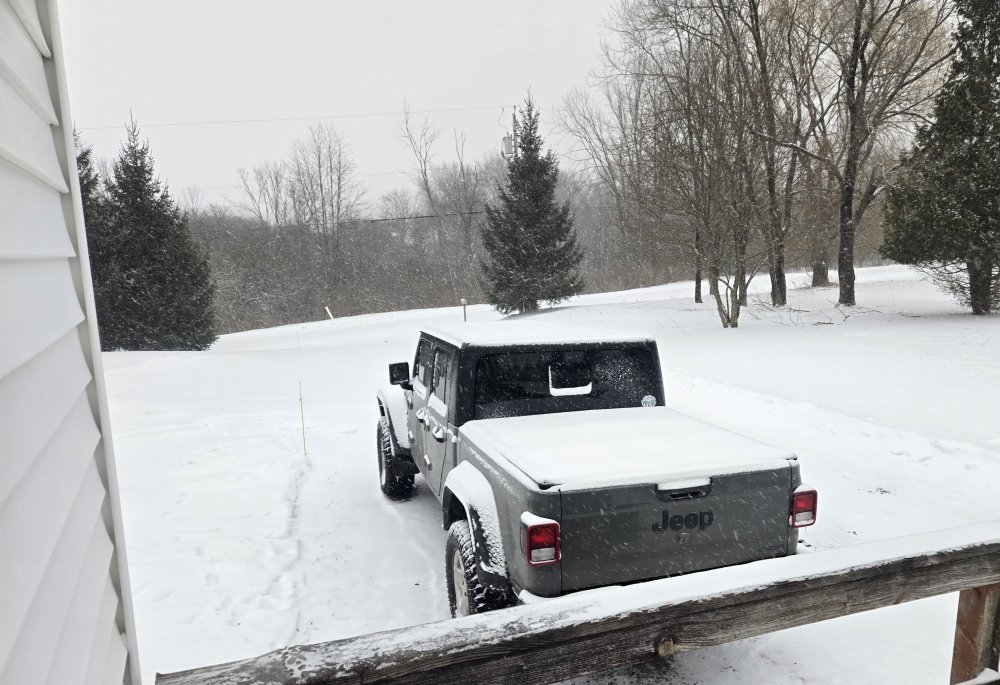
Second plow event Monday AM along with a road rip to make the rounds to MIL and BILs:
View attachment 97781View attachment 97782


If You go back with stainless steel bolts get some kind of antiseize on them threads.looks like those are carriage bolts made to adjust in the slots. you should be able to find some stainless carriage bolts to go back together with, if not, try electroplate the new ones with brass to help make them live longer. you can do the steel brackets as well while it's apart.
I may have to grind the head some on the new traditional carriage bolts to help them sit in the valley plate properly, but its doable.looks like those are carriage bolts made to adjust in the slots. you should be able to find some stainless carriage bolts to go back together with, if not, try electroplate the new ones with brass to help make them live longer. you can do the steel brackets as well while it's apart.

My plan was to try and find stainless. If I cant to try and find at least a grade 5 or more. Im not too worried about the future in terms of rust for these as I fluid film this thing annually and plan to heavily douche it in protectant upon re-assembly. I think i only have the copper and aluminum antiseize here on hand.If You go back with stainless steel bolts get some kind of antiseize on them threads.
Stainless is recommended to use nickel base, if You dont have that then just use the old standby silver aluminum base.


I see what your saying, ive always wanted a nutsert kit. Contemplating if there is enough room for anything above (or below for that matter) on the inner plate. Its butt-tight to the housing. I actually struggled tonight to get it all back together dryfitted with just the thickness of the plates and gaskets. I feel like a 8-32 machine screw would do.what about using some nut-zerts (or whatever their called) or tack welding some small machine nuts on the base plate so you can use some stainless machine screws instead of rivets? iirc they make brass nut inserts that you could drill out the base plate to the proper size, then drive the inserts in from the back. they come with a knurled outer diameter to be press-fitted into the holes.
how thick is the steel back plate? would it be thick enough to run an 8-32 tap through and get enough threads to hold similar to how a self tapper would on sheet metal? the nutserts I was thinking of are made for setting into plastic with a soldering iron. normal nutserts aren't threaded all the way down.I see what your saying, ive always wanted a nutsert kit. Contemplating if there is enough room for anything above (or below for that matter) on the inner plate. Its butt-tight to the housing. I actually struggled tonight to get it all back together dryfitted with just the thickness of the plates and gaskets. I feel like a 8-32 machine screw would do.
I did manage to get all stainless hardware today, and of course a rivet kit that isn't gonna work without at a minimum longer rivets.


You might also want rivet washers on the ends of the rivets.I see what your saying, ive always wanted a nutsert kit. Contemplating if there is enough room for anything above (or below for that matter) on the inner plate. Its butt-tight to the housing. I actually struggled tonight to get it all back together dryfitted with just the thickness of the plates and gaskets. I feel like a 8-32 machine screw would do.
I did manage to get all stainless hardware today, and of course a rivet kit that isn't gonna work without at a minimum longer rivets.