• Welcome to The Truck Stop! We see you haven't REGISTERED yet.

    Your truck knowledge is missing!
    • Registration is FREE , all we need is your birthday and email. (We don't share ANY data with ANYONE)
    • We have tons of knowledge here for your diesel truck!
    • Post your own topics and reply to existing threads to help others out!
    • NO ADS! The site is fully functional and ad free!
    CLICK HERE TO REGISTER!

    Problems registering? Click here to contact us!

    Already registered, but need a PASSWORD RESET? CLICK HERE TO RESET YOUR PASSWORD!

88GMCtruck's 99 6.5L Towpig slow build.

I truly feel for you and Diesel the dog. This has got to be eating you up inside.
In October I had to make the decision to have my 13 year old golden retriever put down because of tumors in her mouth. I still get teary eyed thinking about it. Toughest call of my life. I shure hope you don't have to make that call.
 
Turns out, the ground for the passlock is a large ground bolted to the back of the block (there are two ground studs in this area). Upon inspection of the area, I found there were indeed two ground studs, however all 4 wires were on 1 of them instead of 2, and everything was nice and dirty. One of the studs is actually holding on a coolant blockoff plate.... Upon closer inspection, I see coolant sitting there next to it.


Exactly where are these studs?
Top of the block.....by the tranny dipstick tube?....Or bottom?
 
Passenger side head, at the top back. One stud is the last intake stud, the other is on the coolant blockoff plate. IIRC the auto dipstick bolts to one but mines an manual so i can't say for sure.
 
No pass-lock on a 96 tho.....and I can't believe they put another ground in that block-off plate stud.......so you should have had the braided strap, 2 skinny wires into one eyelet (PCM), and the pass-lock ground on that block-off plate stud.....3 connections, correct?
 
Mine has the two wires into the single eye, and another eye with a smaller gauge wire on the intake stud, and then the braided strap and a large gauge black wire (which is the passlock and much of the interior) on the blockoff stud.

As mentioned in your thread, I have wiring diagrams for my 99, if you need any specific ones PM me.
 
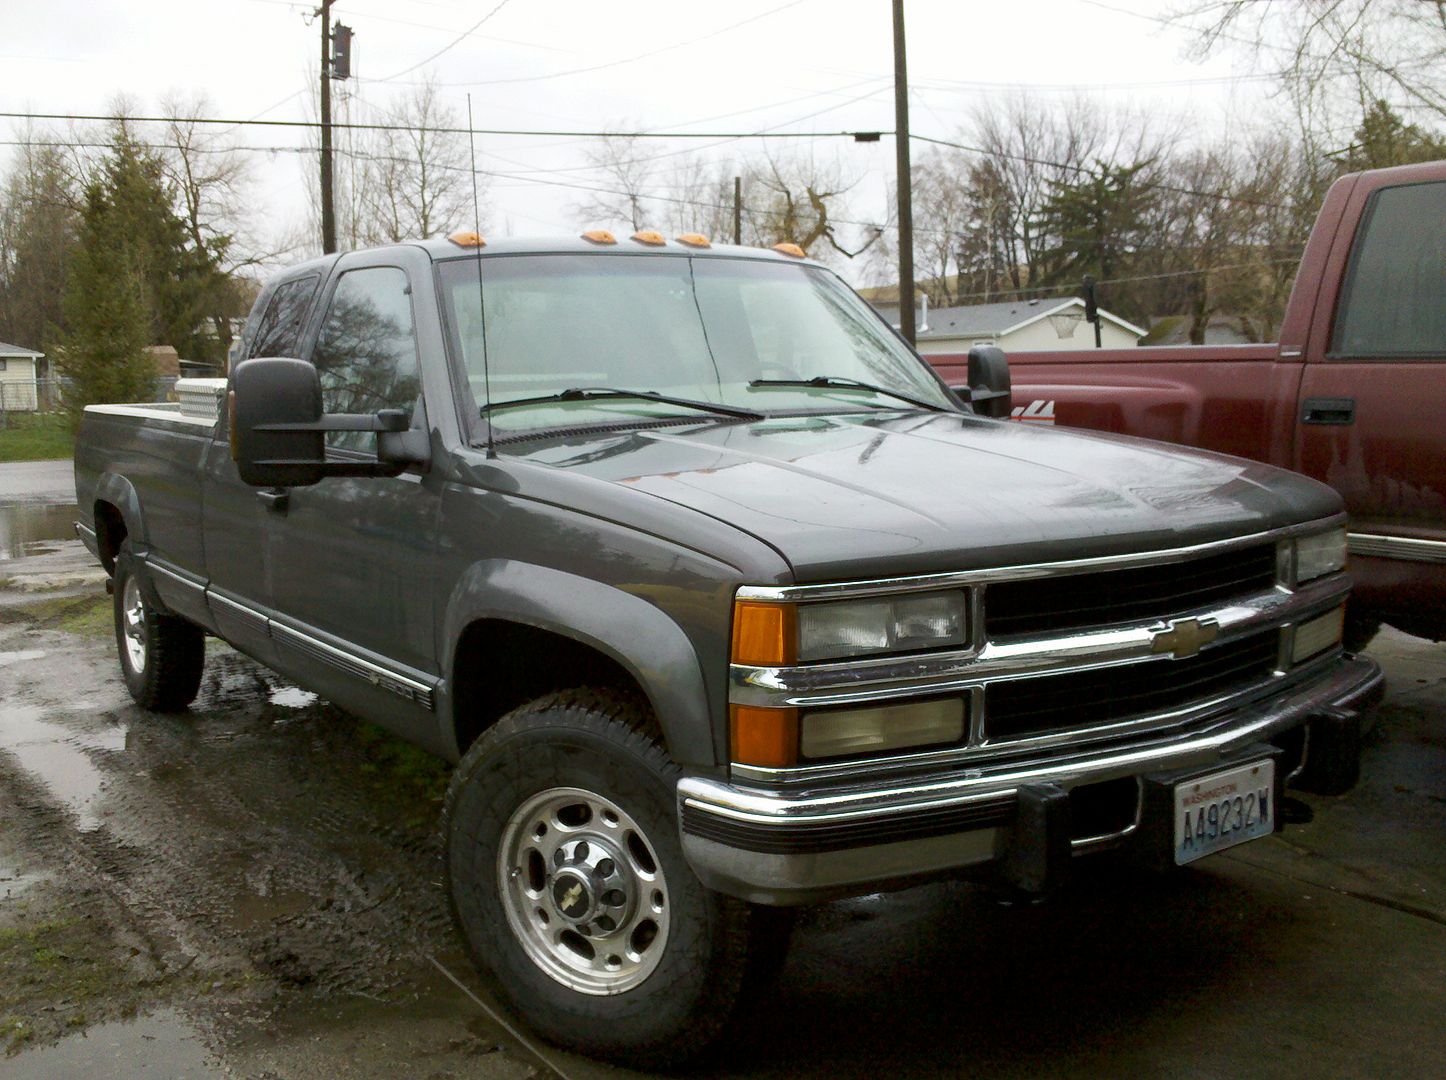
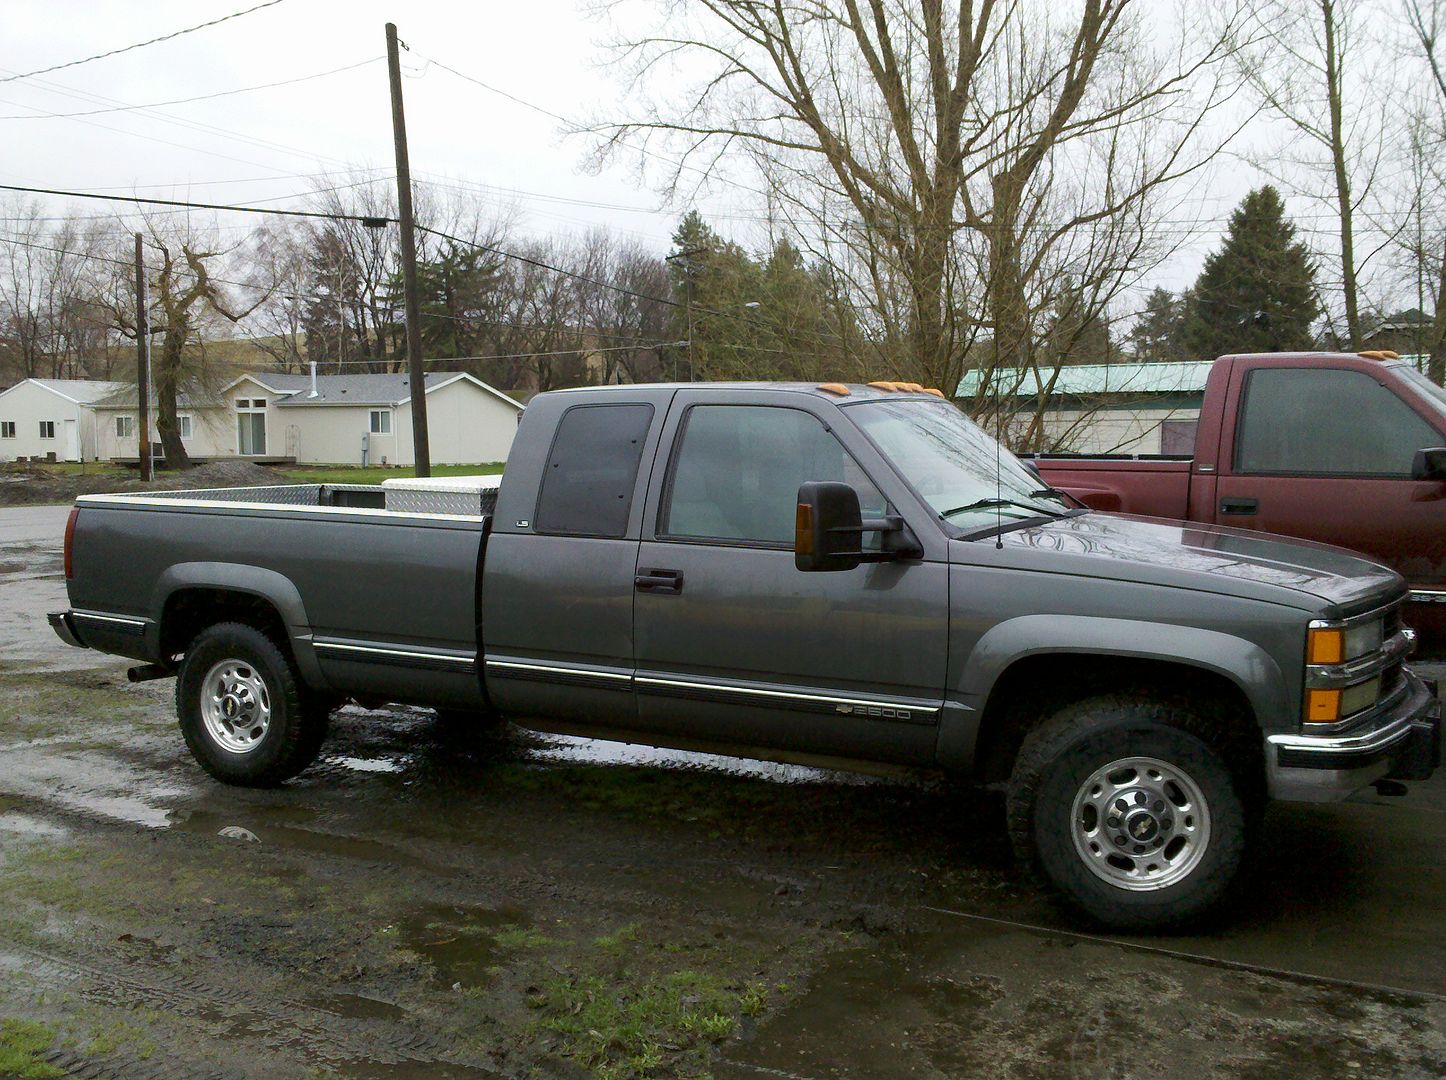
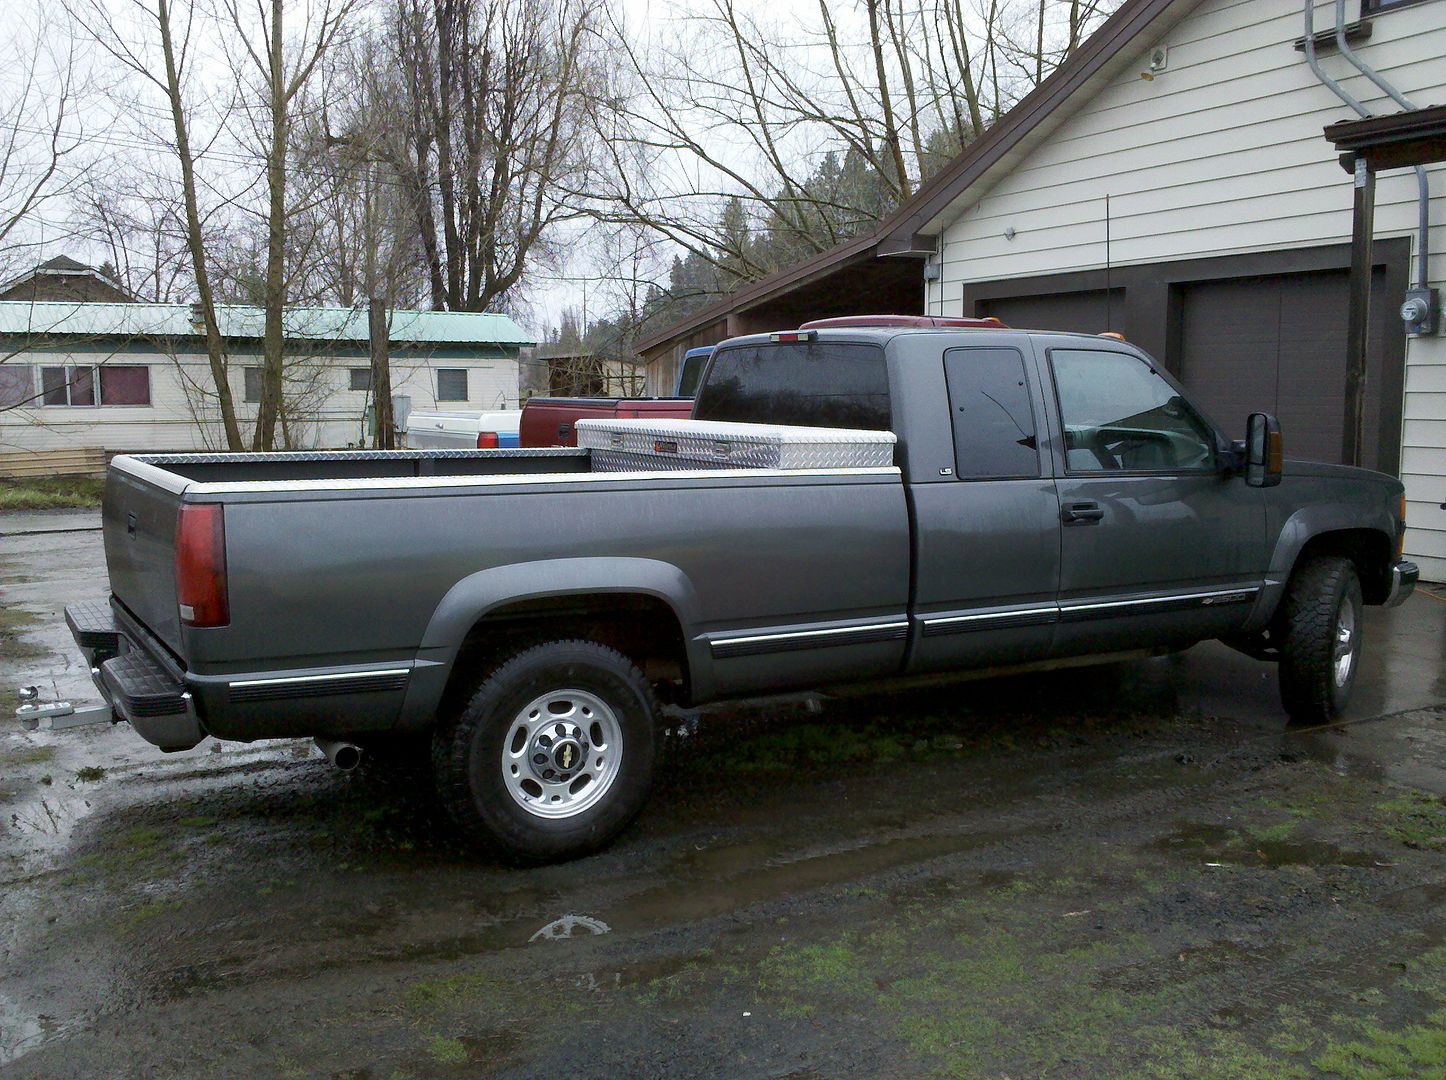
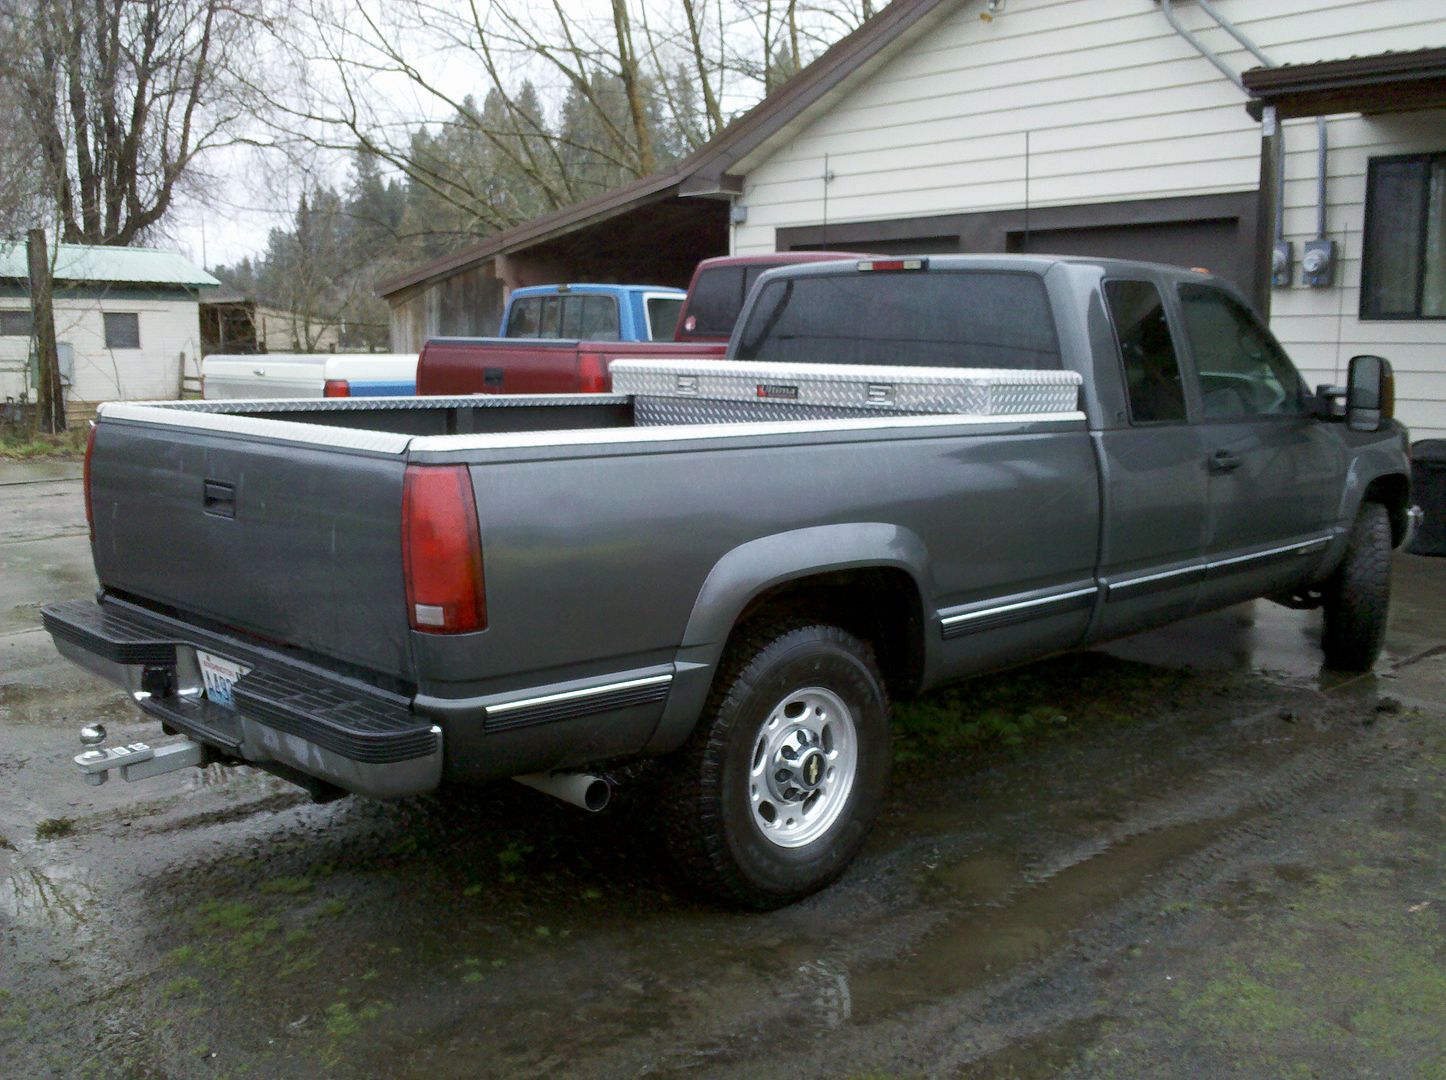
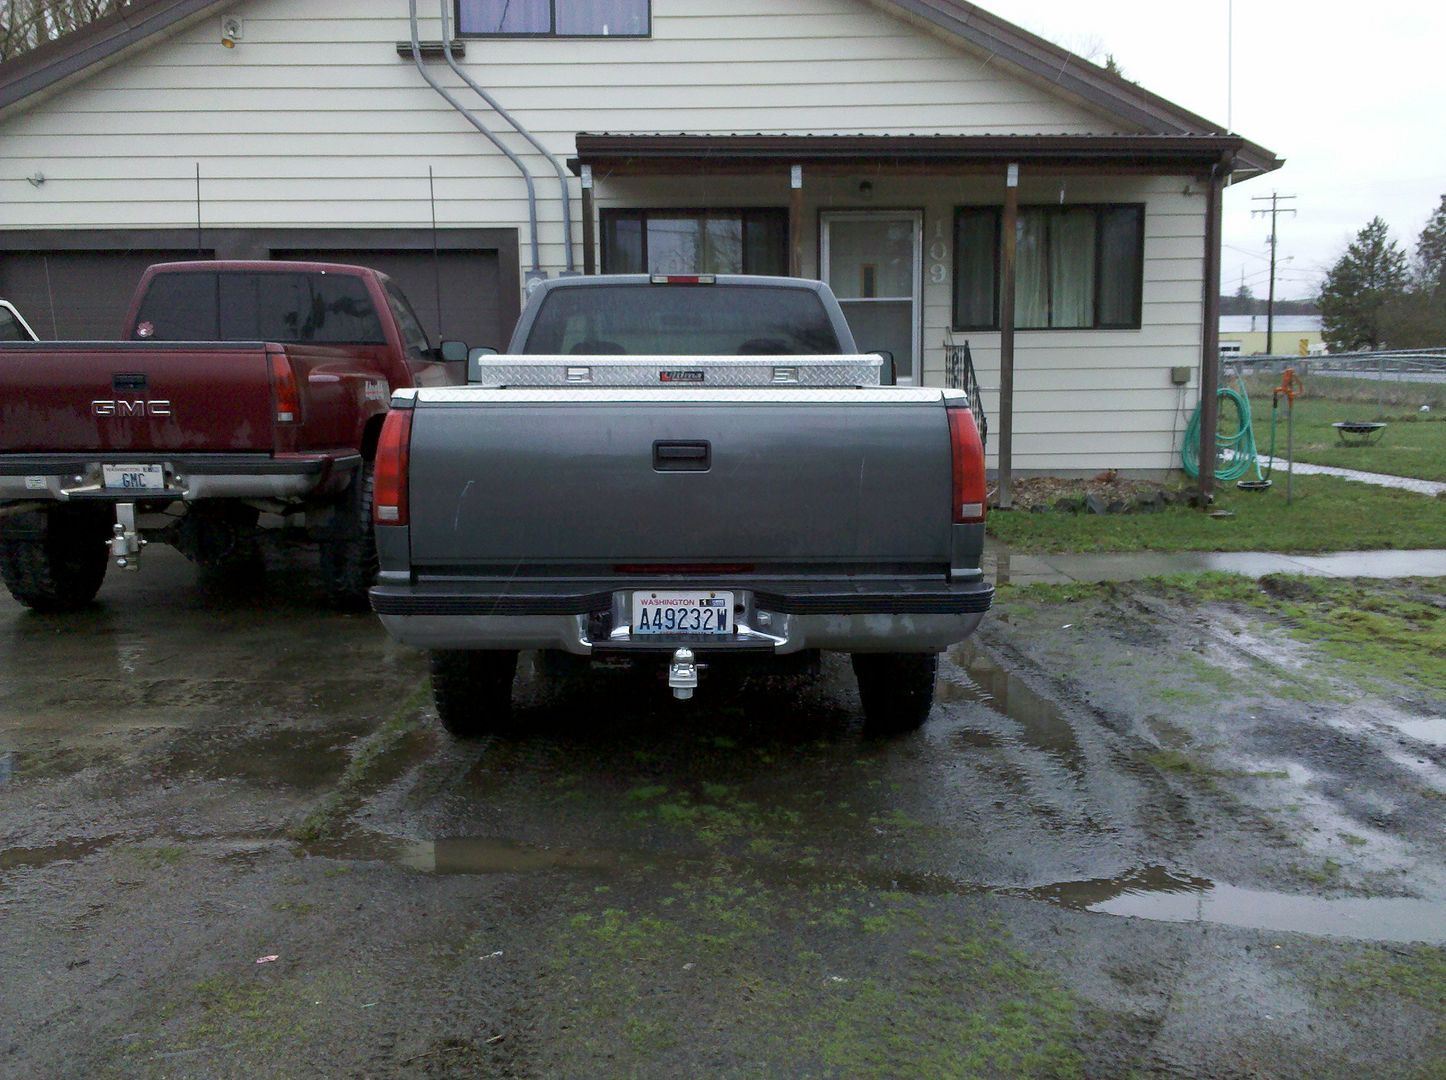
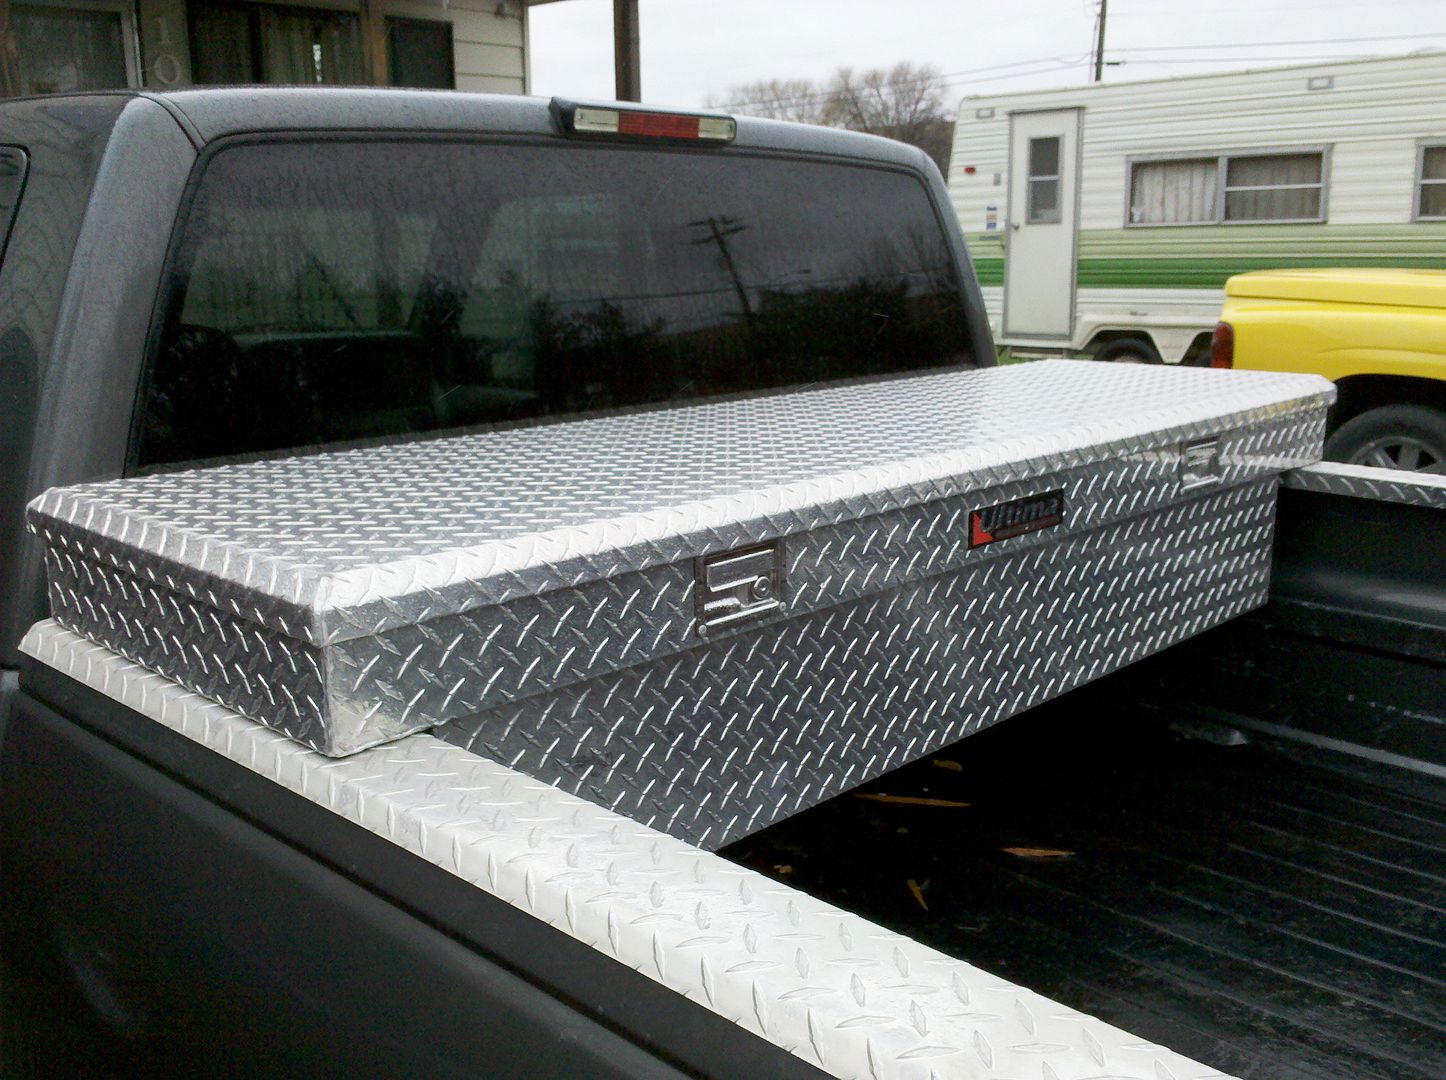
Updates! I picked up an Ultima diamondplate toolbox from a friend of mine for $75. The door needed a little adjustment and the lock replaced, but now all is well. Now I need to strip the yellowing clear off the bedrails.
IMG_20110330_114124.jpg

IMG_20110330_114135.jpg

IMG_20110330_114223.jpg

IMG_20110330_114217.jpg

IMG_20110330_114238.jpg

IMG_20110330_114249.jpg


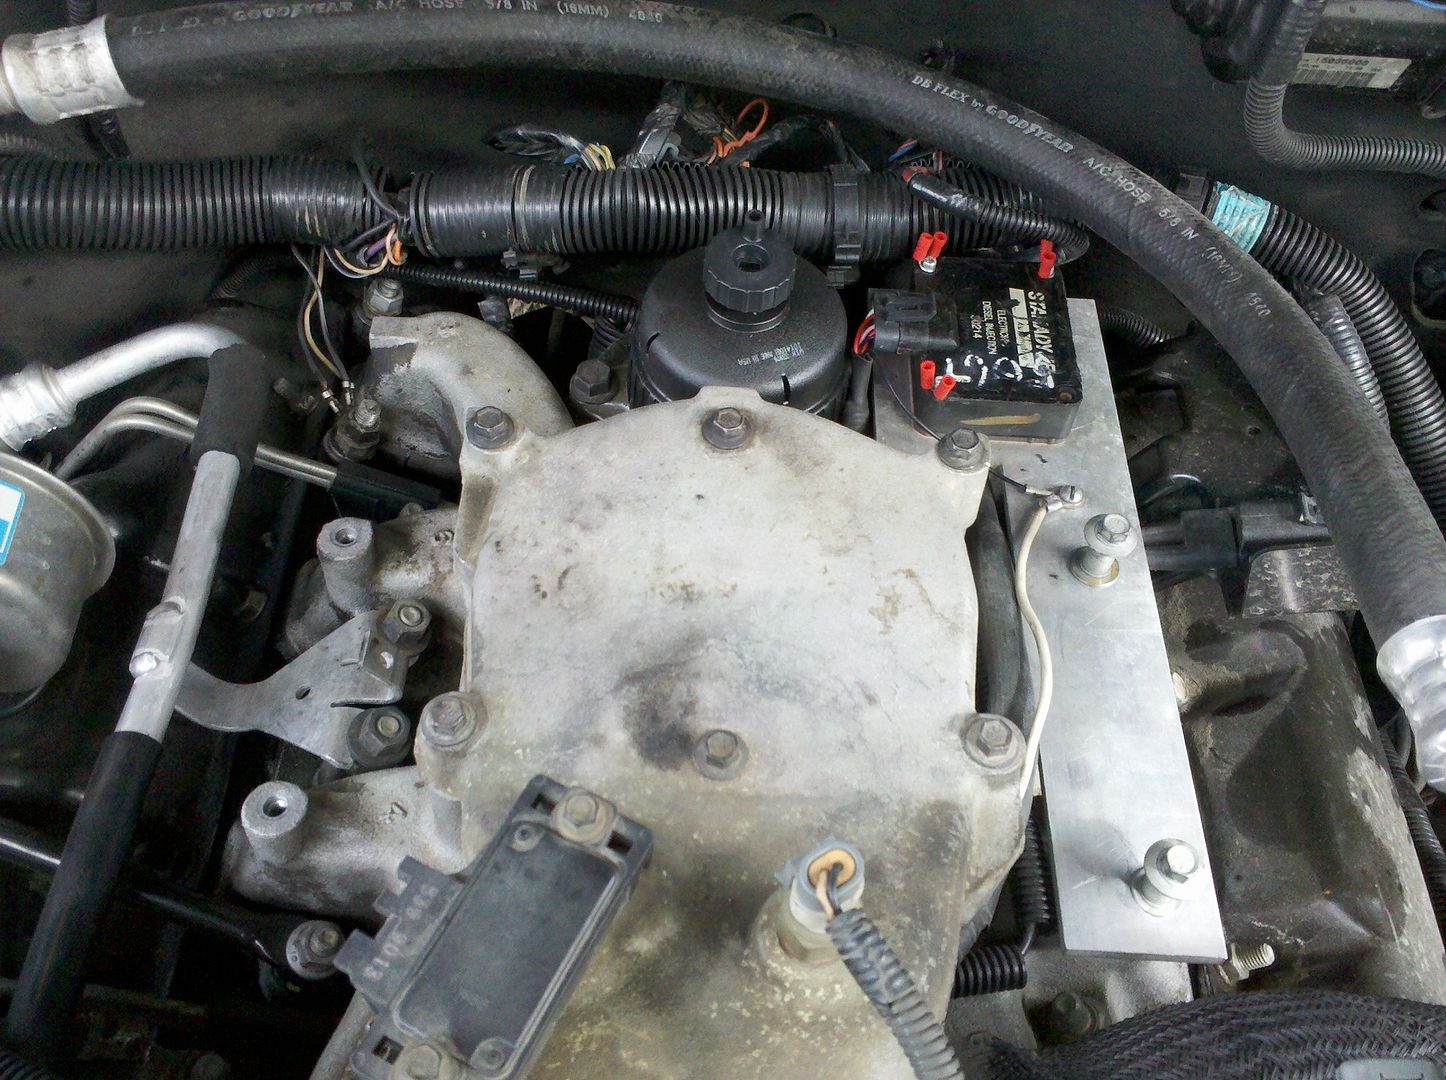
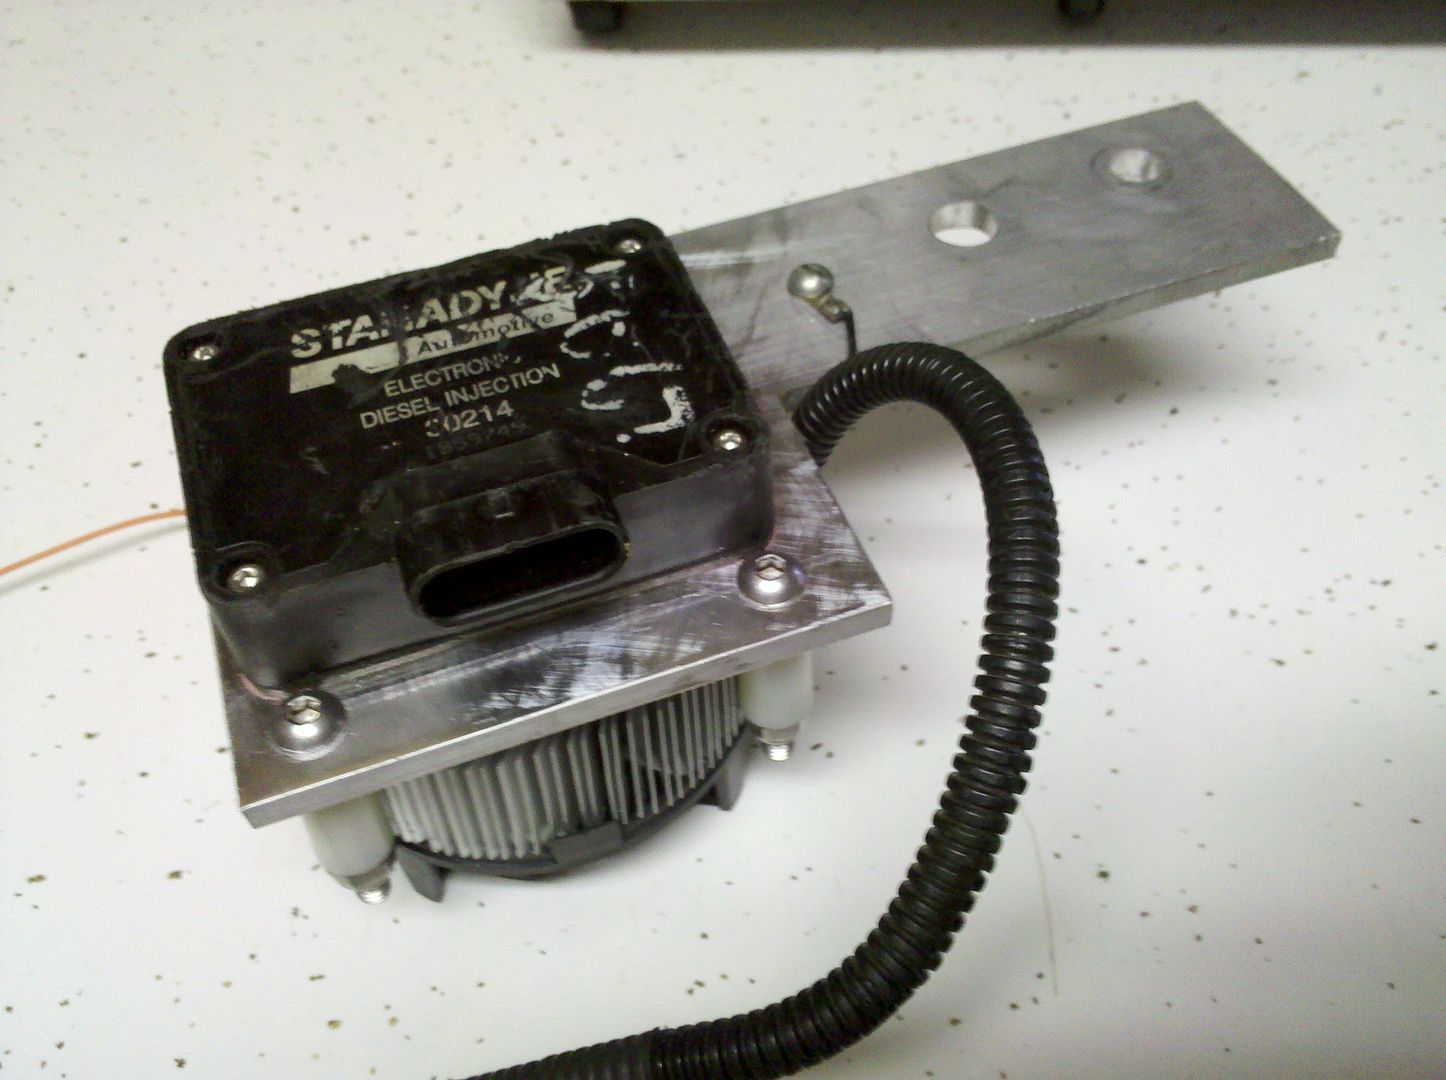
And another mod. Time to make a better temporary PMD cooler. Here is the existing. Ignore the red ring terminals, I used them as temp washers when I had the runaway issue because the bolts were too long.
IMG_20110330_125903.jpg


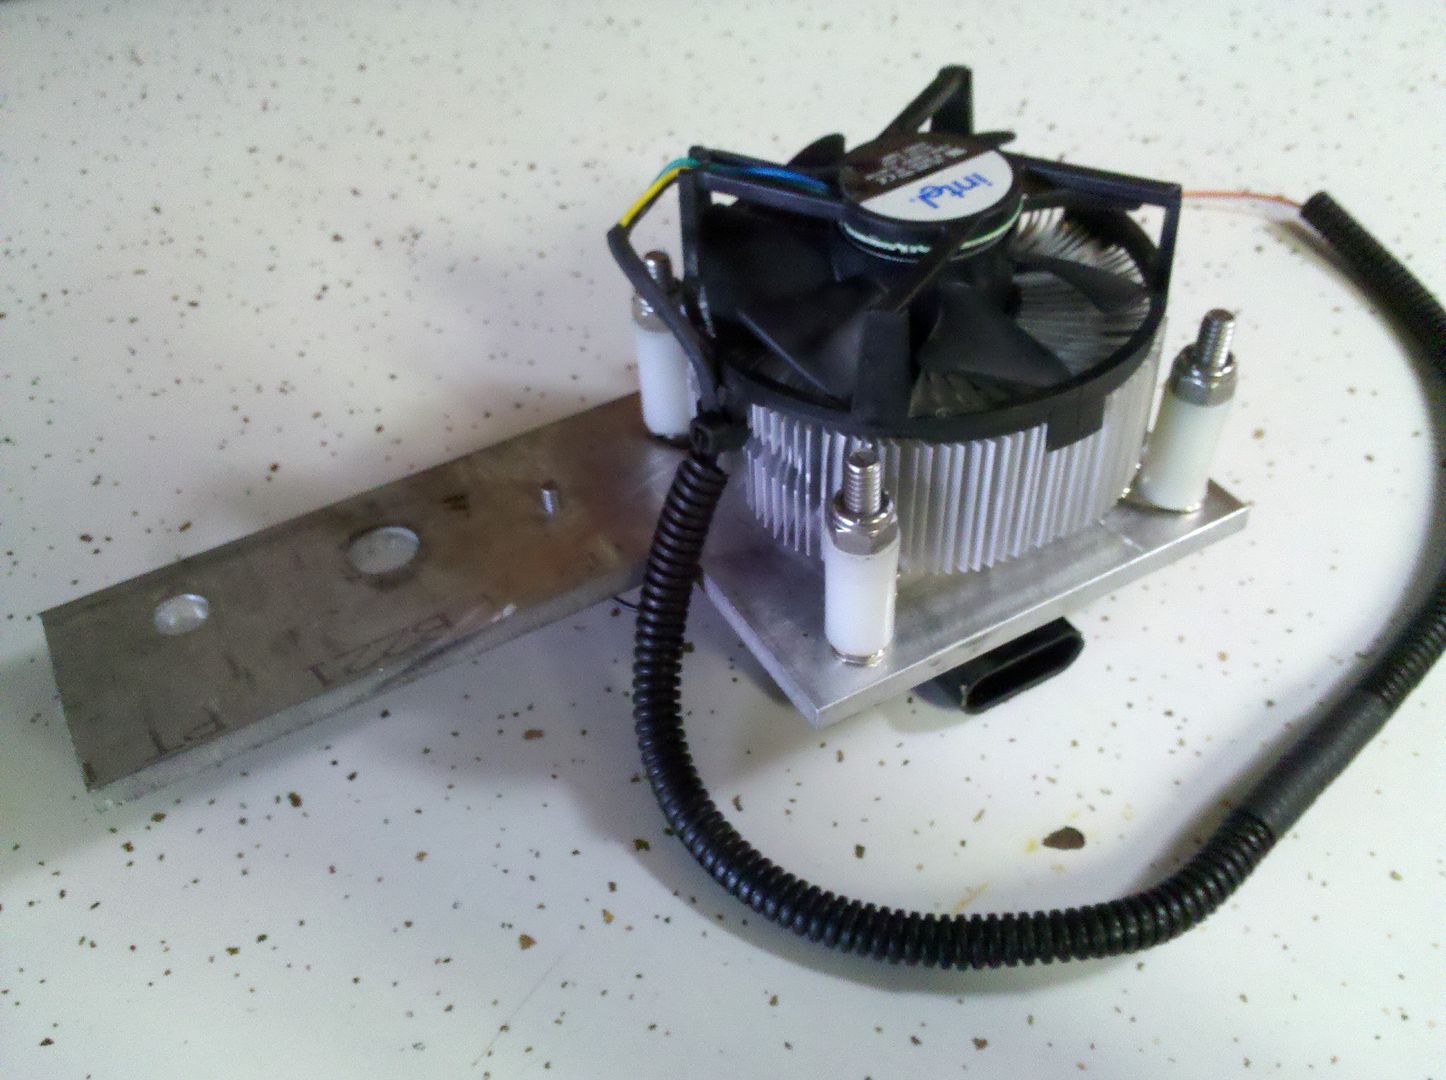
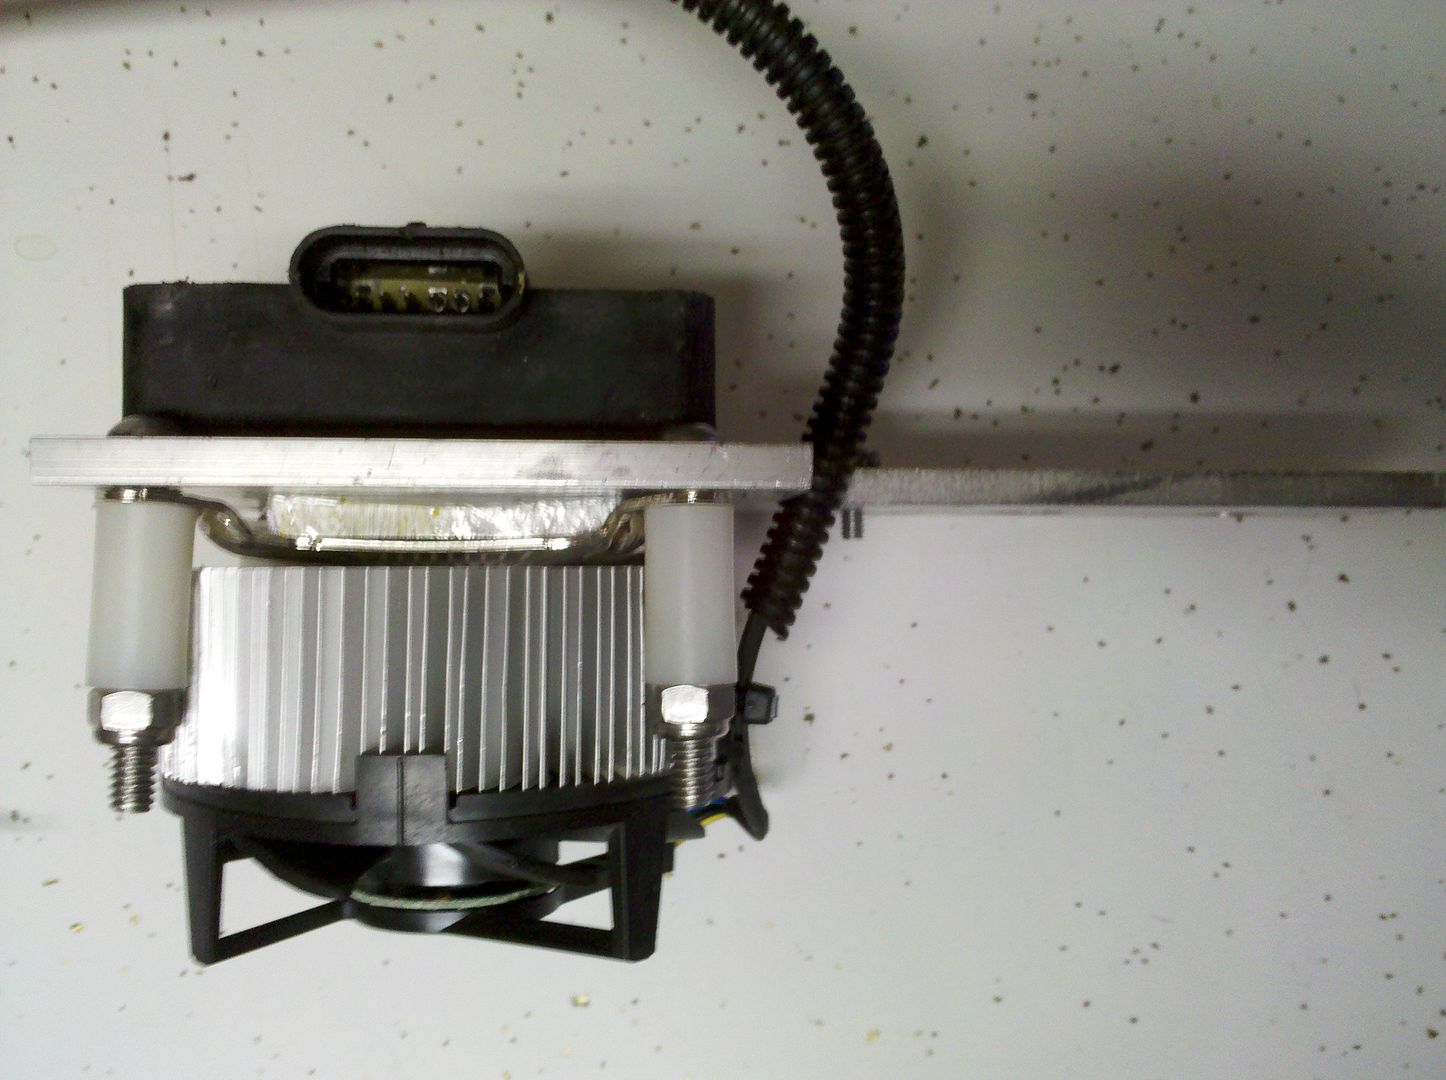
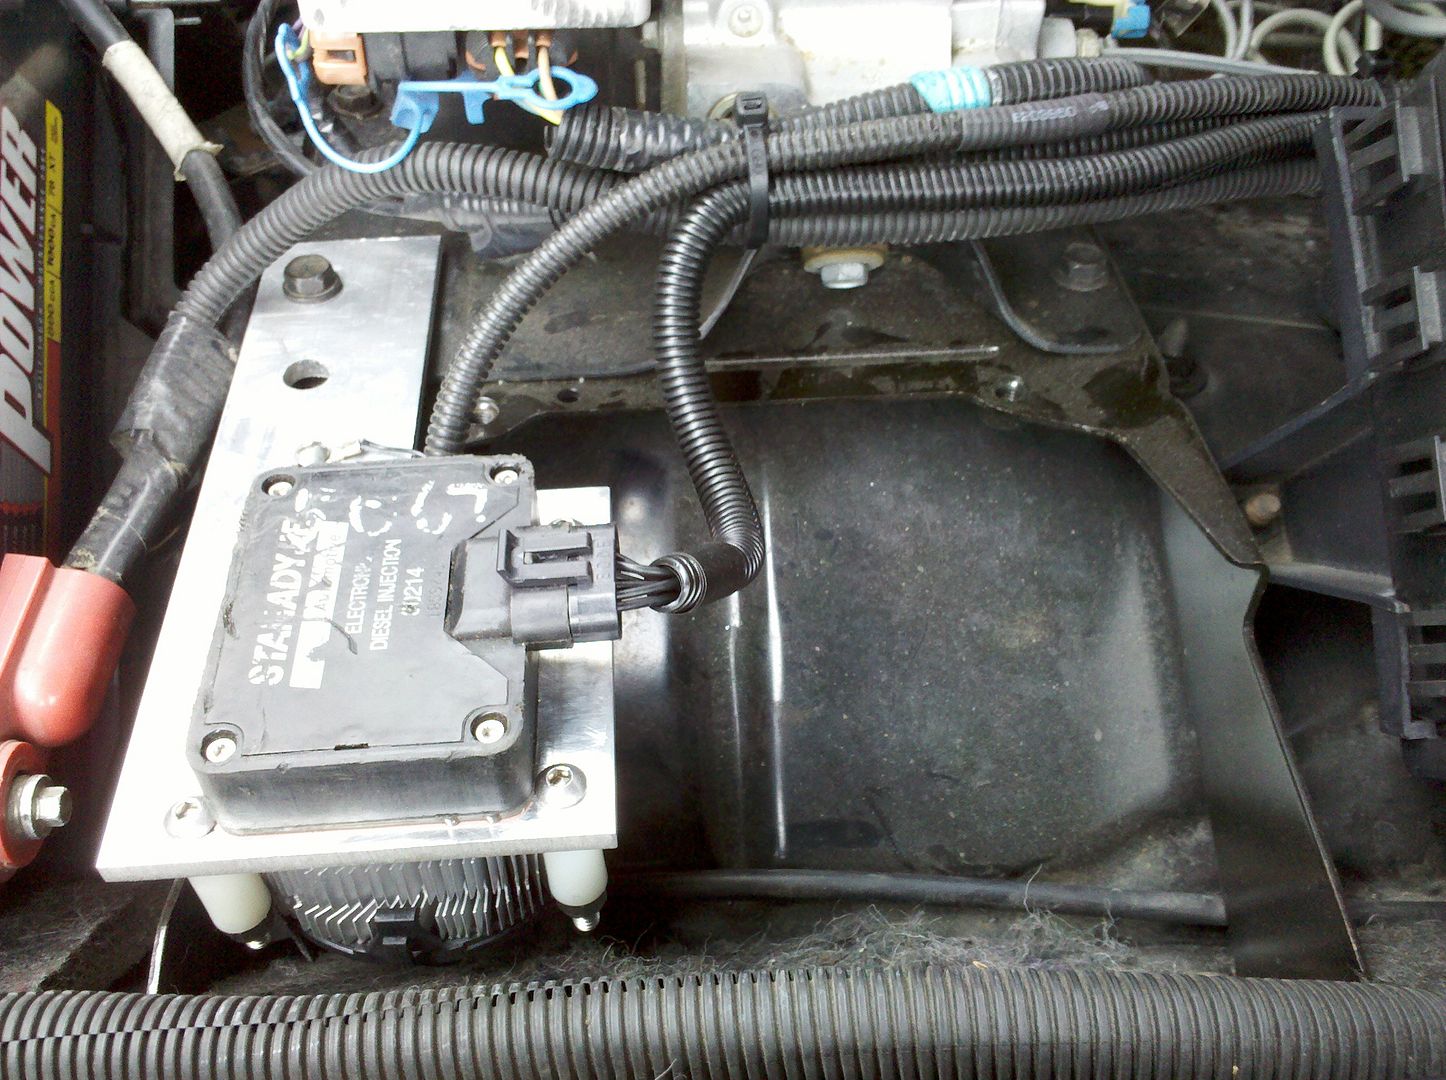
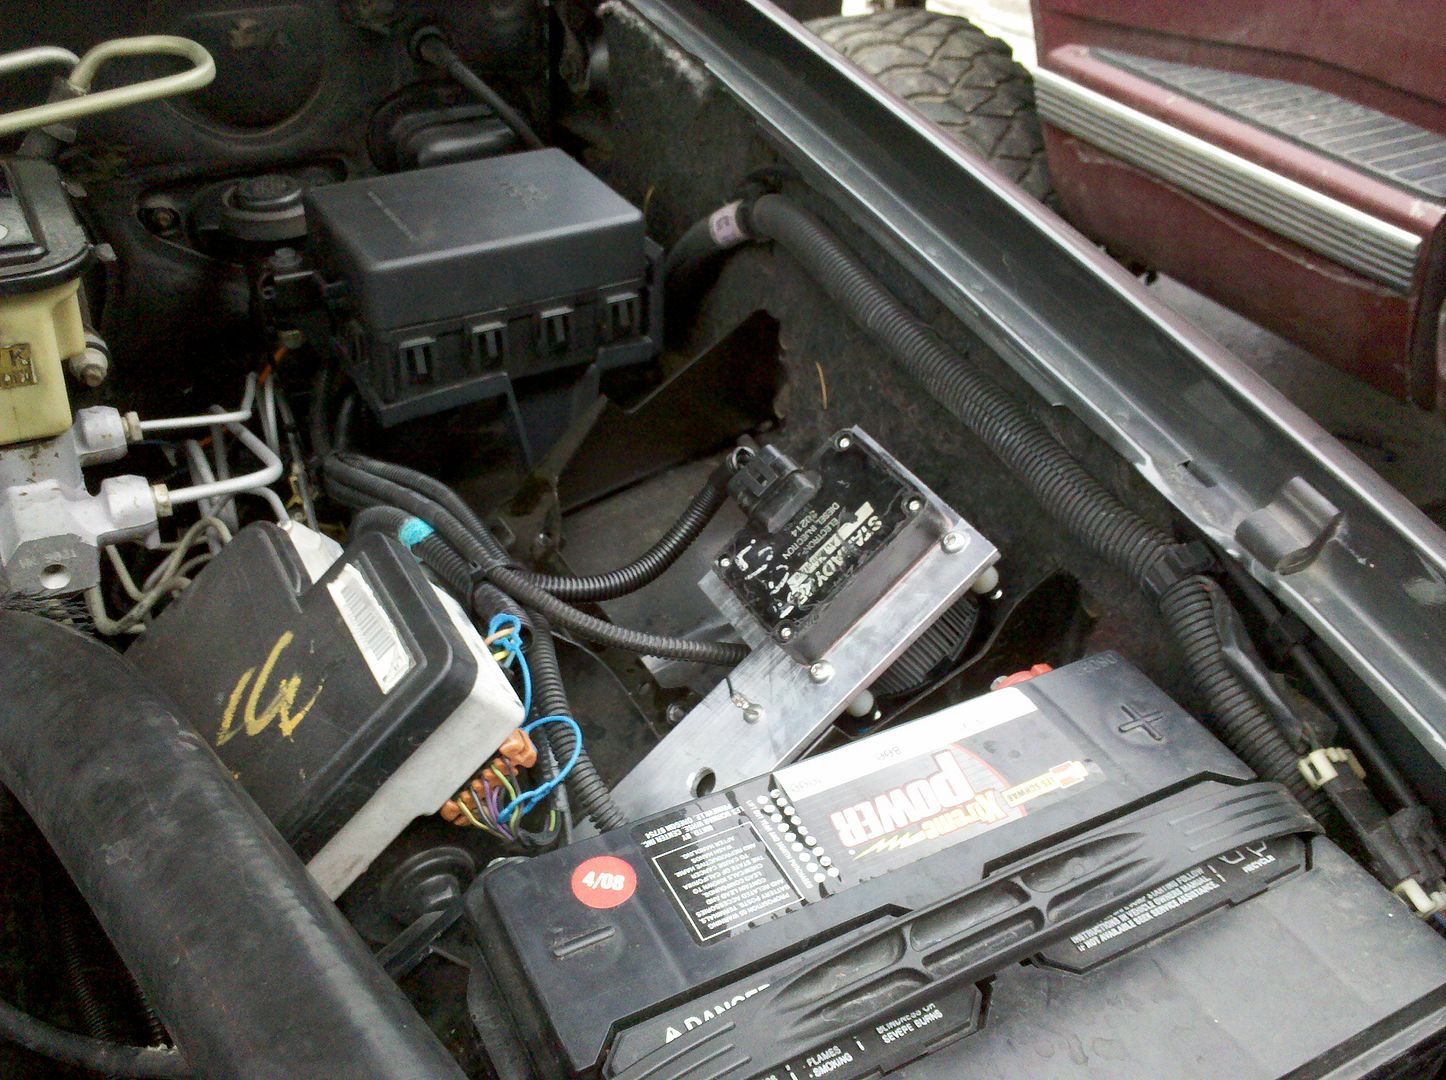
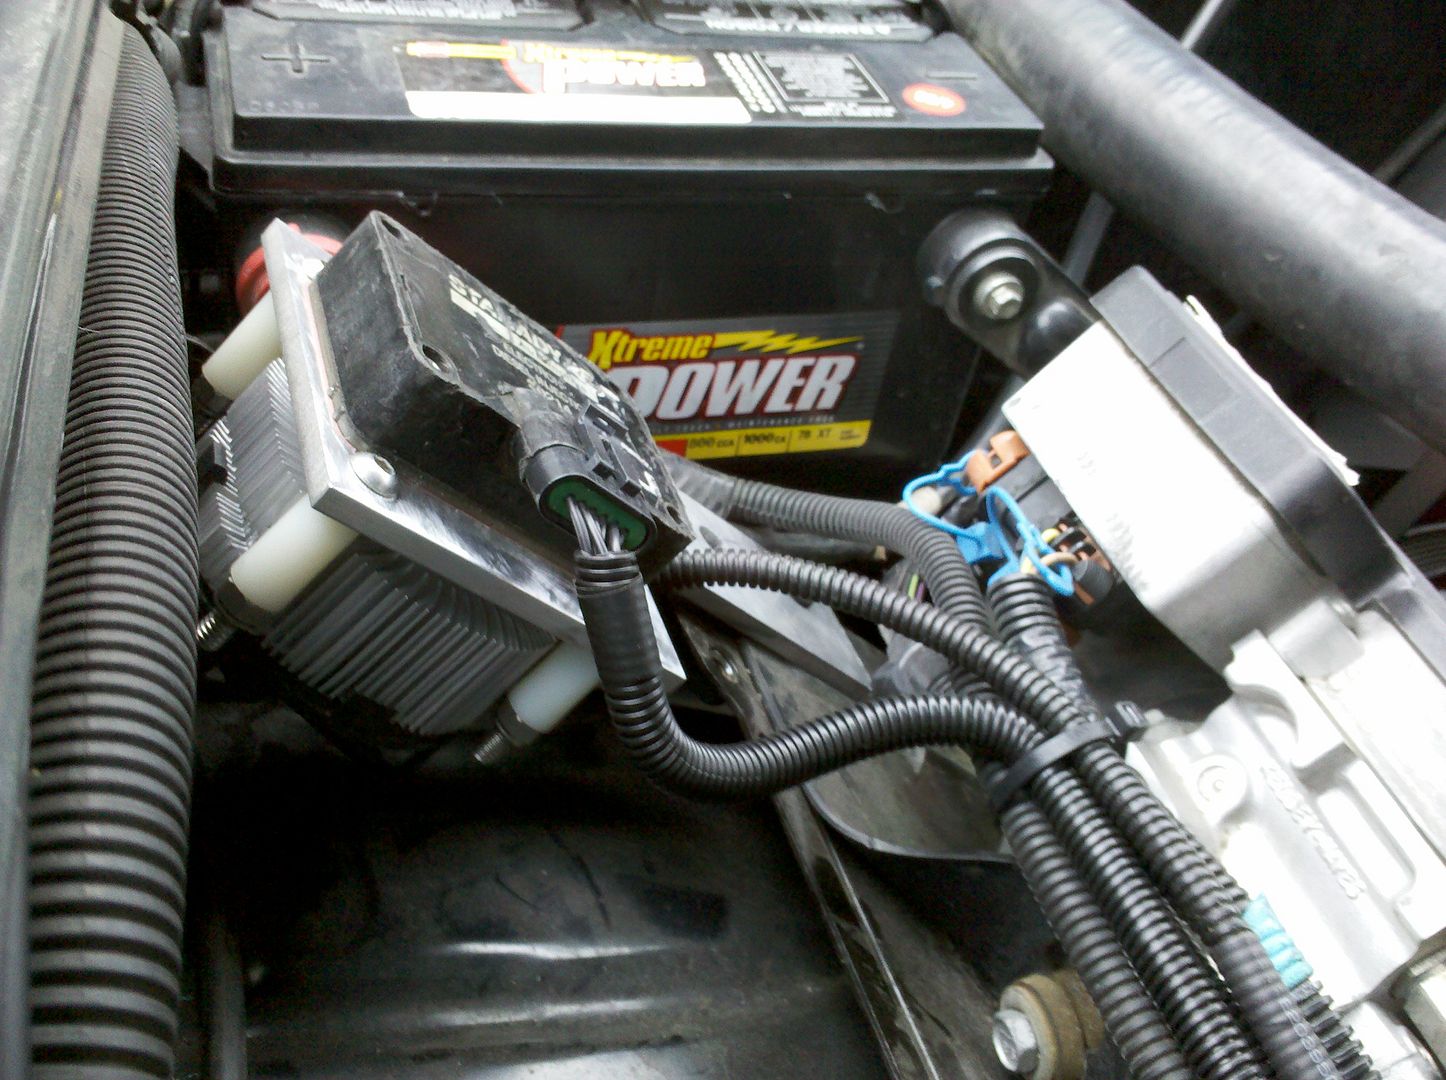
I shortened the plate and used an extra Pentium 4 CPU cooler I had lying around to help dissipate some heat. The fan is hooked up to the ignition.
IMG_20110330_150115.jpg

IMG_20110330_150158.jpg

IMG_20110330_150216.jpg


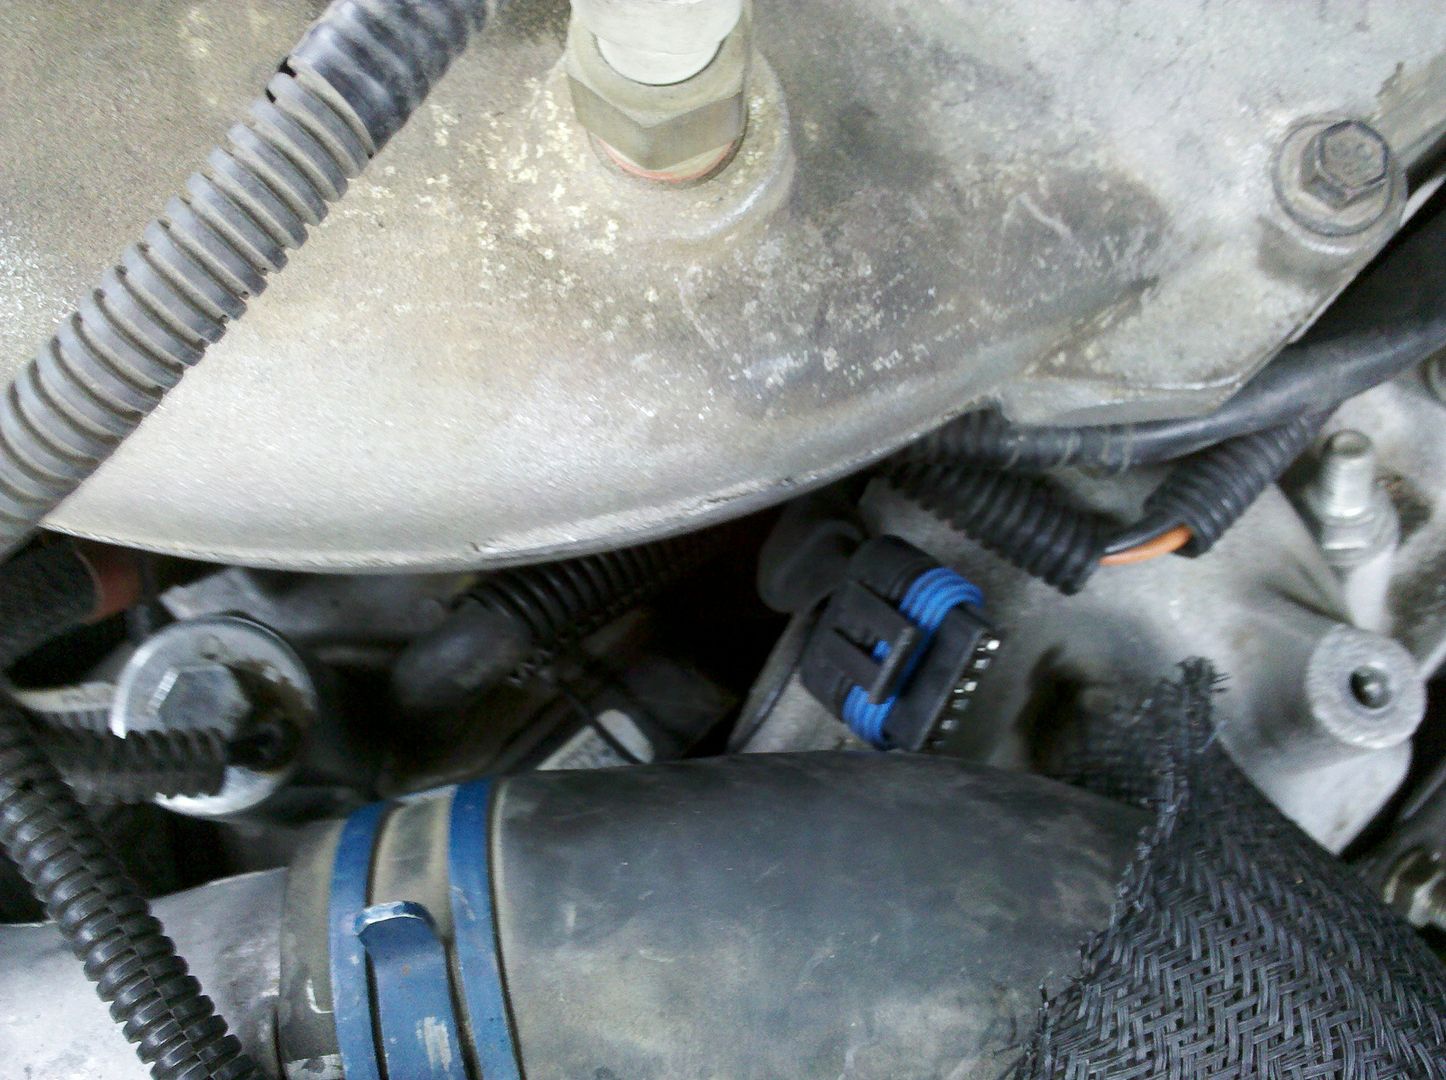
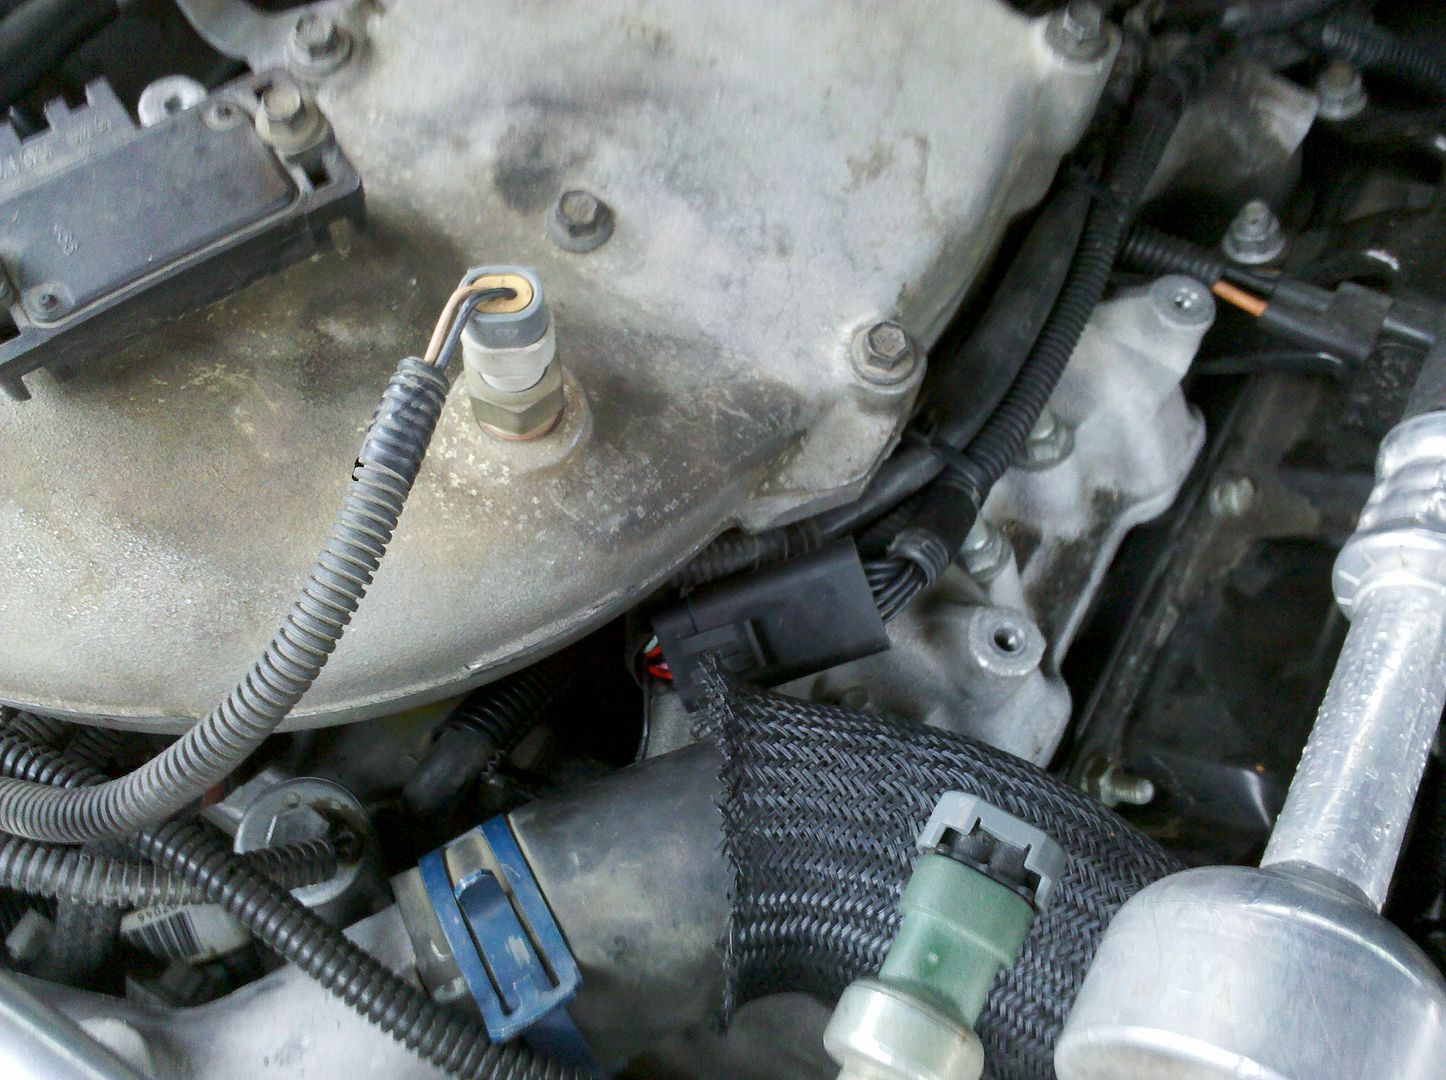
I also had to re-route the PMD plug back under the intake. I hooked the ground back up to the IP.
IMG_20110330_153049.jpg

IMG_20110330_155324.jpg


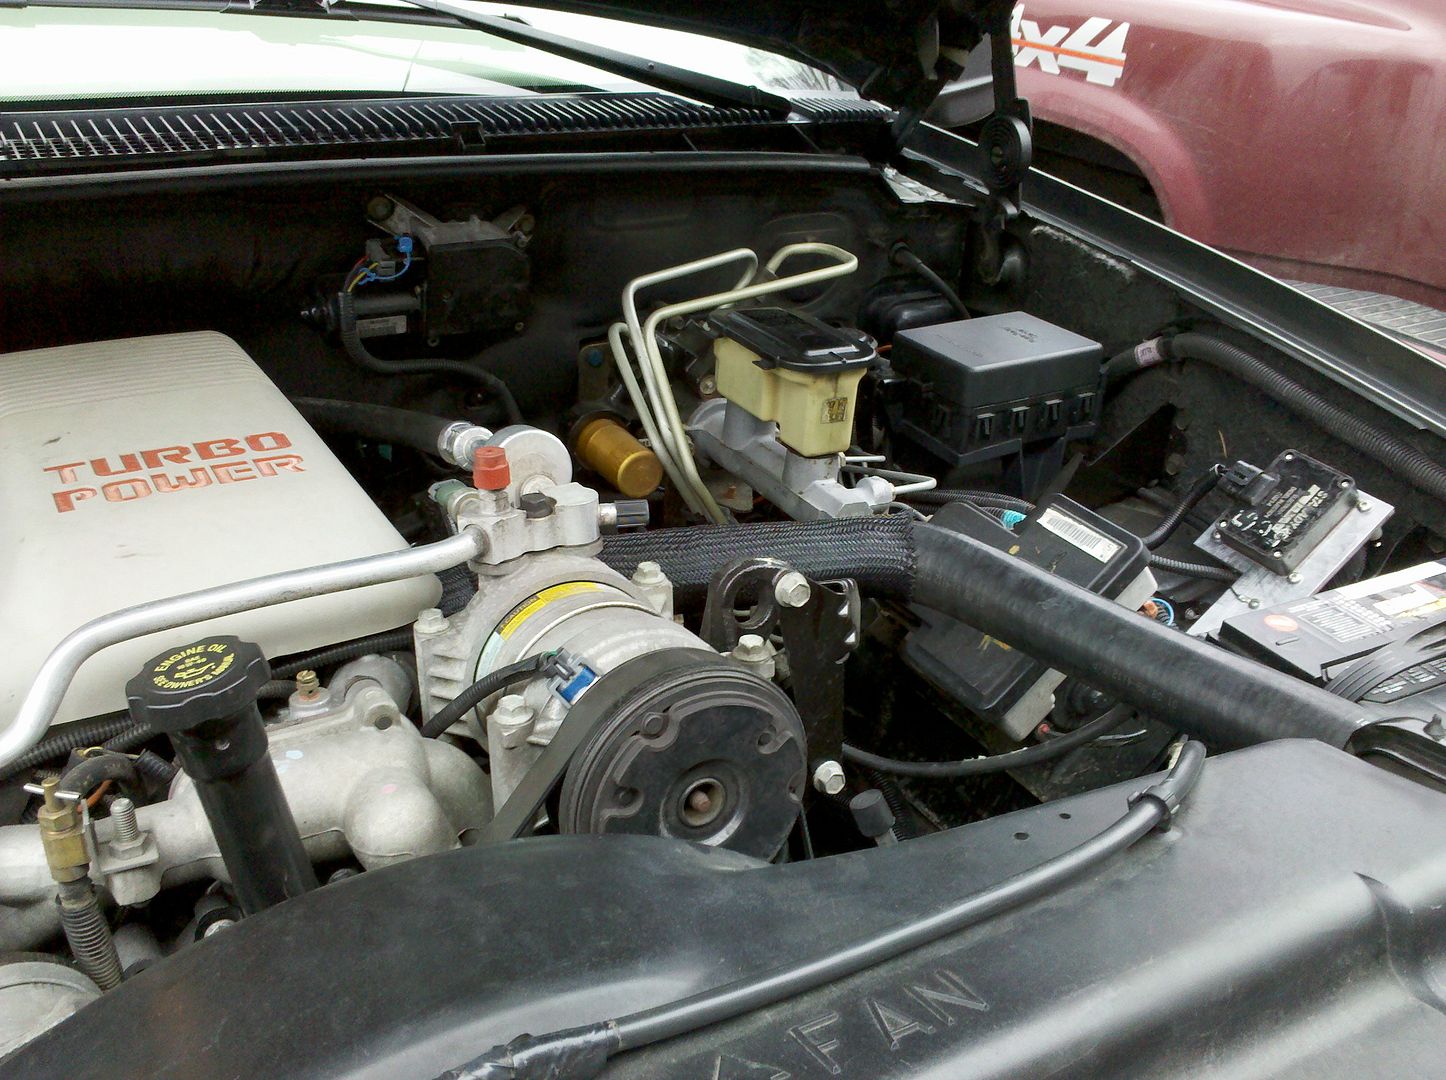
And the new temp mounting location. Farther from the intake heat, and easy to swap out if need be.
IMG_20110330_155306.jpg

IMG_20110330_155339.jpg

IMG_20110330_155404.jpg


Had the put the "Turbo Power" cover back on.
IMG_20110330_155754.jpg


Once I determine the final location of the PMD and find something to cut the gigantic heatsink up, I will be moving it outside the engine bay. At least as a temp solution, this location should be cooler due to it's location and addition of the fan.
 
Looks like good work as always (you know theres a "but" coming), but the PMD is going to run hotter in your new location on inner fender than it would on the IP. Once the temps get over what the heatsink can remove the fans are no good.
As you planned Get it out of engine bay ASAP
 
Well, the PMD wasn't on the IP (original is still there and it's condition is assumed bad since it was relocated when i bought the truck). The relocated was just on the plate and mounted tot he intake manifold. This new setup should at least be marginally better than what was there, and it is only temporary until i cut up that gigantic heatsink i bought. Once i find the methods to cut it up, it will be moved to the bumper, no worries.
 
My jigsaw died awhile ago, so I have no power tool here to put it up.

I was planning on cutting it up into multiple pieces and selling them on the cheap anyway. :lol:
 
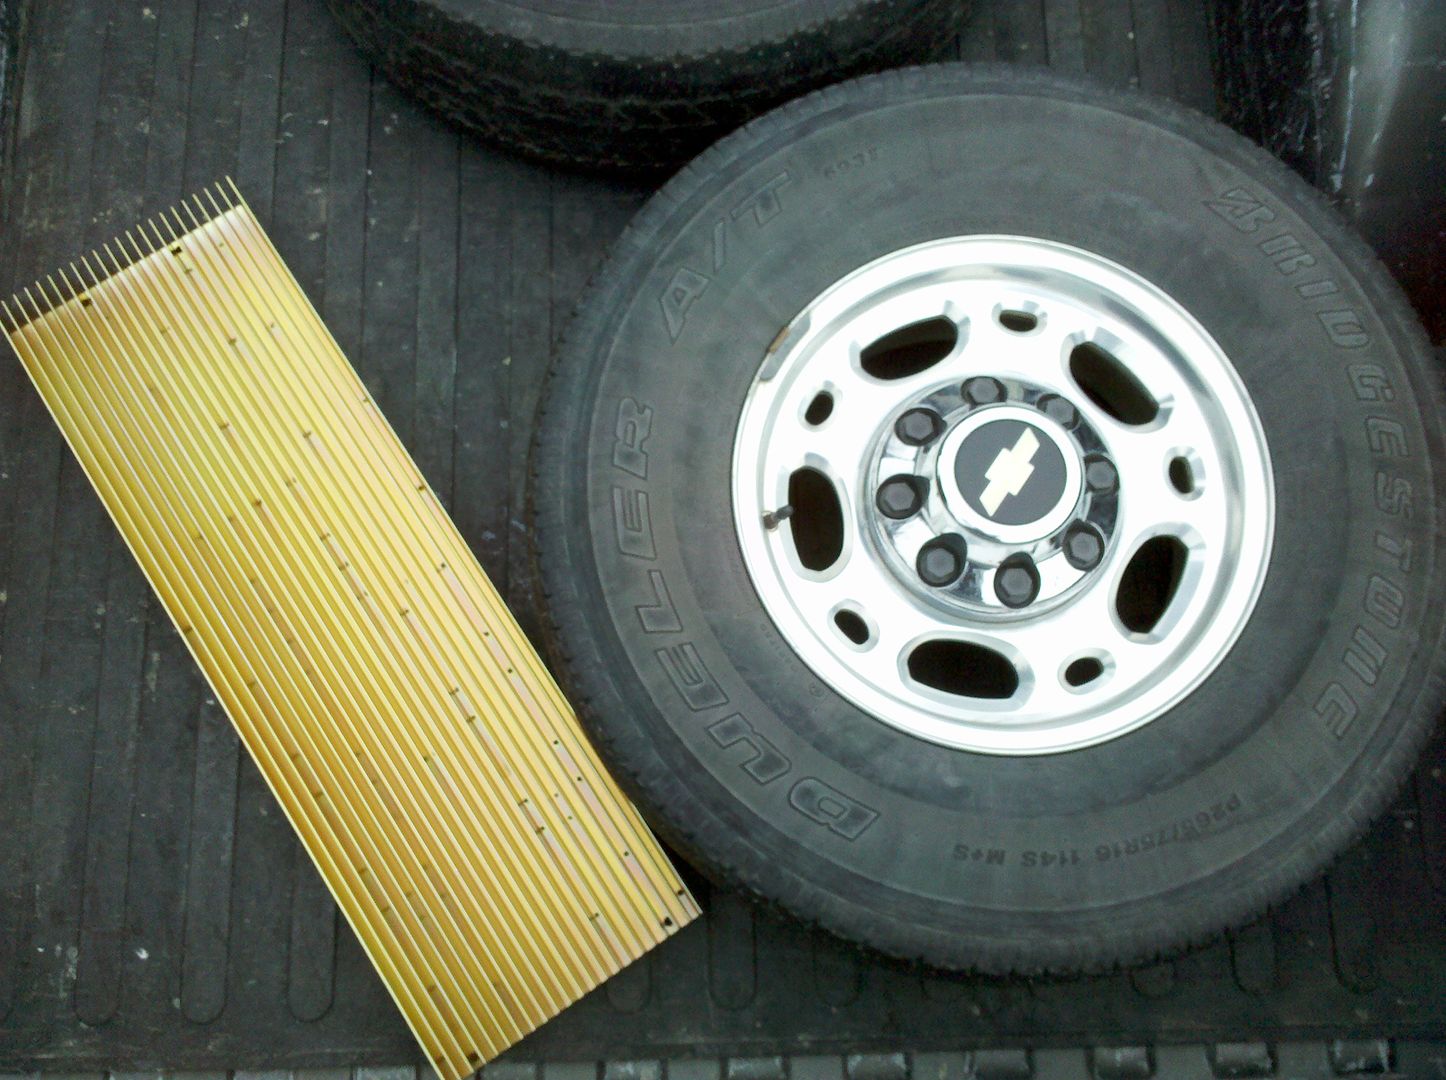
It's a little too large to really use the whole thing. I was thinking 1/4 of it....

Next to a 265/75R16 for comparision
IMG_20110213_163907.jpg
 
Whoa, it's an intercooler for your PMD!

Carbide tipped cross-cut blade on a circular saw will do the trick. I saw floor sections from semi-truck refrigerated trailers (extruded aluminum planks), repairing them. It's loud as HELL.
 
Yeah, it's overkill. I got it cheap at a surplus place. I was planning on hacking it up into 4 or 5 heatsinks with my dad's metal chop saw this weekend.
 
Very nice rig! Wish mine was in half the condition yours is.. CNY is a brutal place on vehicles in the winter. Cant wait to see other additions to your rig!
 
An abrasive wheel cut-off saw will tend to load up on aluminum, just like a grinding disc/wheel will do. Your best bet for cutting is like 3500GMC said, a carbide saw blade. I slight reverse rake triple chip tooth is the best if you can fine somebody who has one. The regular positive rake tooth will tend to pull the blade into the cut, making it harder to control the saw. Wear safety goggles and a long sleeve shirt. The chips will fly everywhere and be HOT.
 
Back
Top