• Welcome to The Truck Stop! We see you haven't REGISTERED yet.

    Your truck knowledge is missing!
    • Registration is FREE , all we need is your birthday and email. (We don't share ANY data with ANYONE)
    • We have tons of knowledge here for your diesel truck!
    • Post your own topics and reply to existing threads to help others out!
    • NO ADS! The site is fully functional and ad free!
    CLICK HERE TO REGISTER!

    Problems registering? Click here to contact us!

    Already registered, but need a PASSWORD RESET? CLICK HERE TO RESET YOUR PASSWORD!

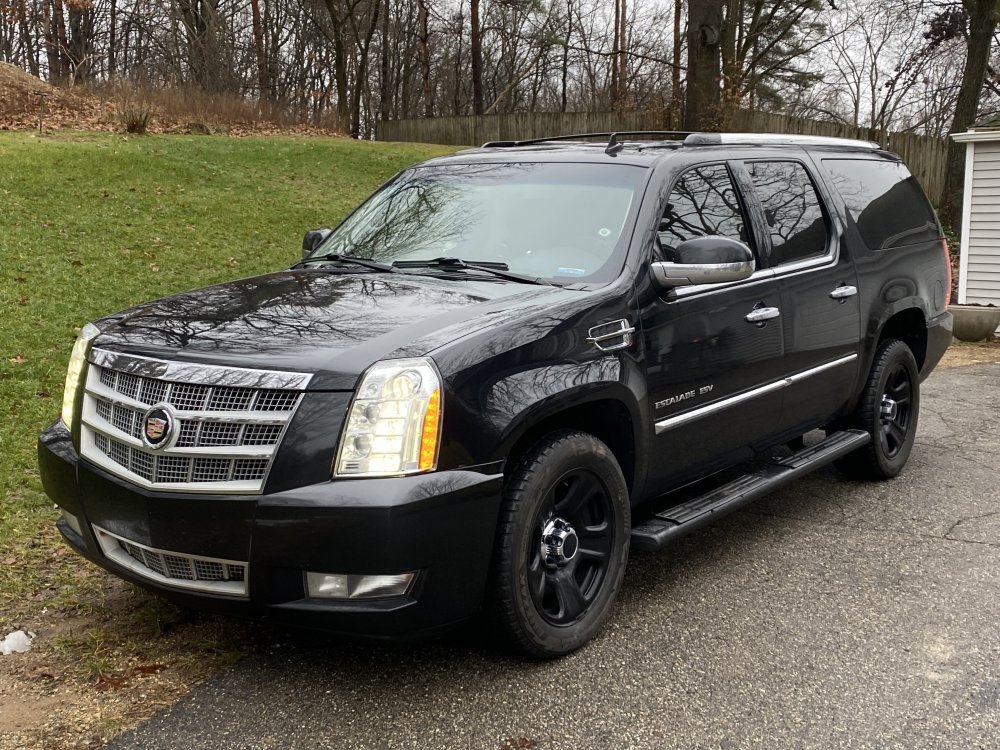
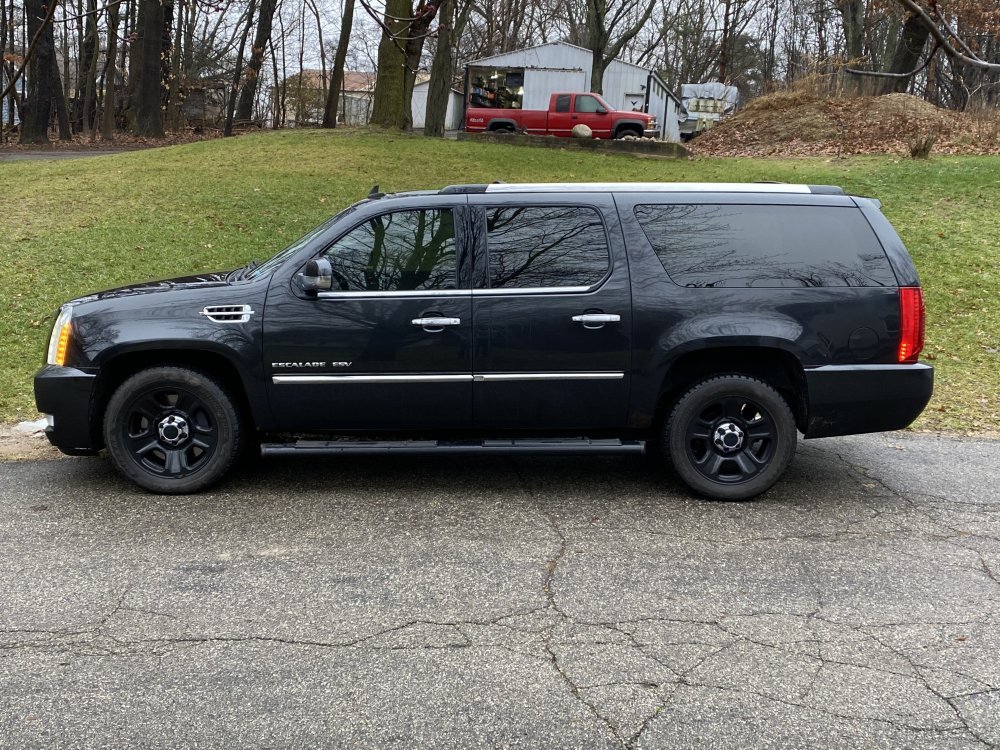
2013 Escalade ESV w/ SLP TVS2300

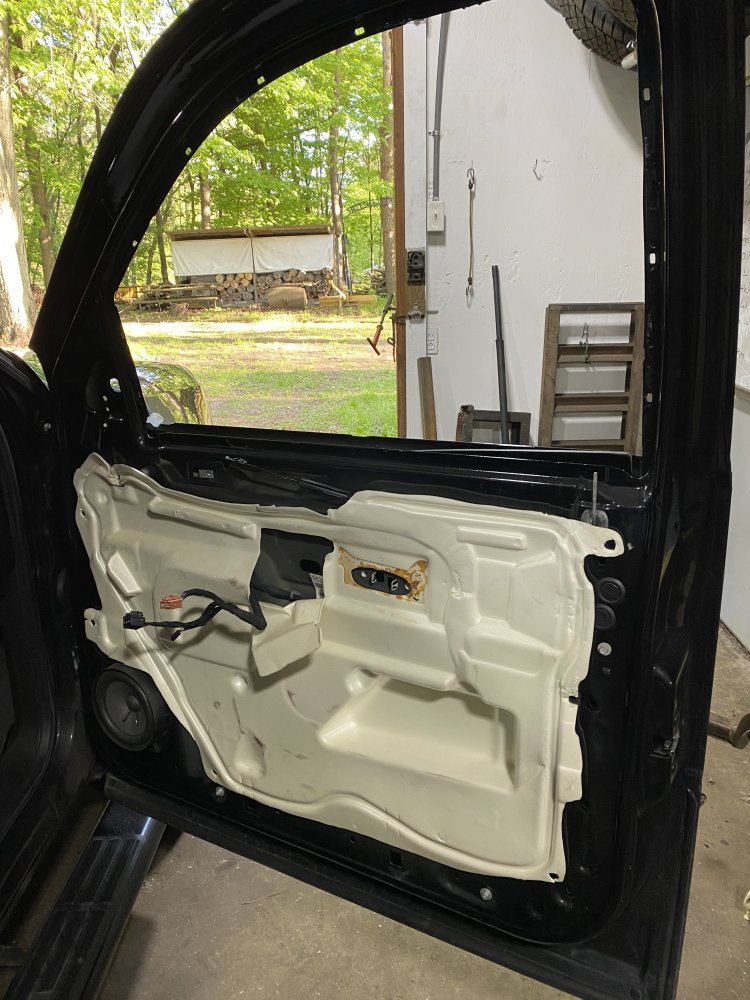
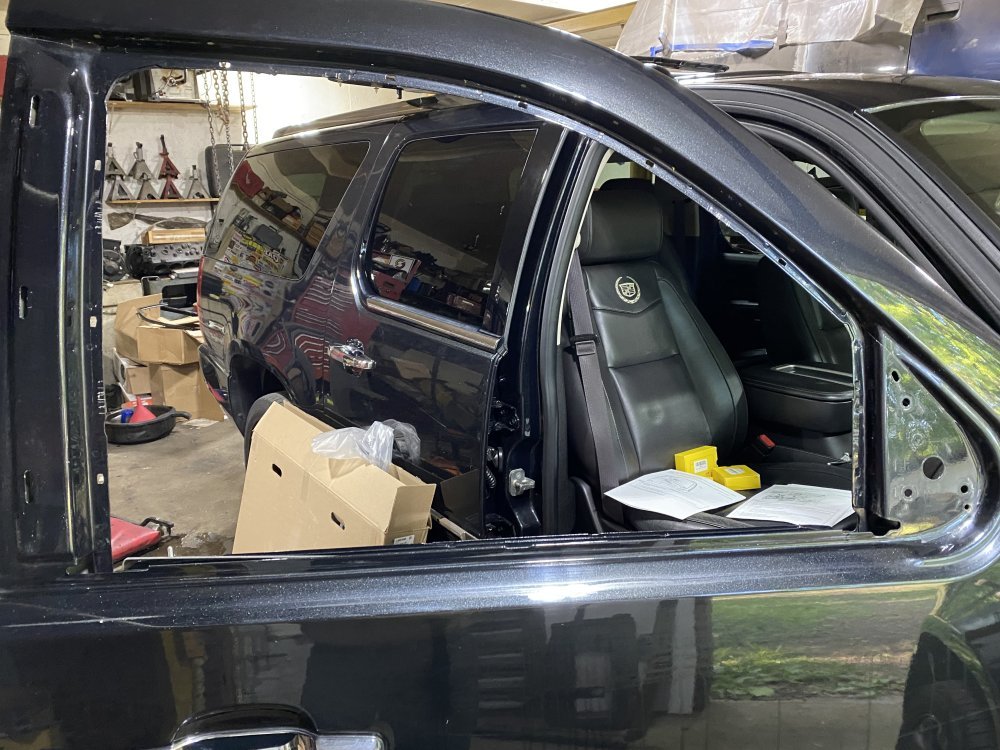
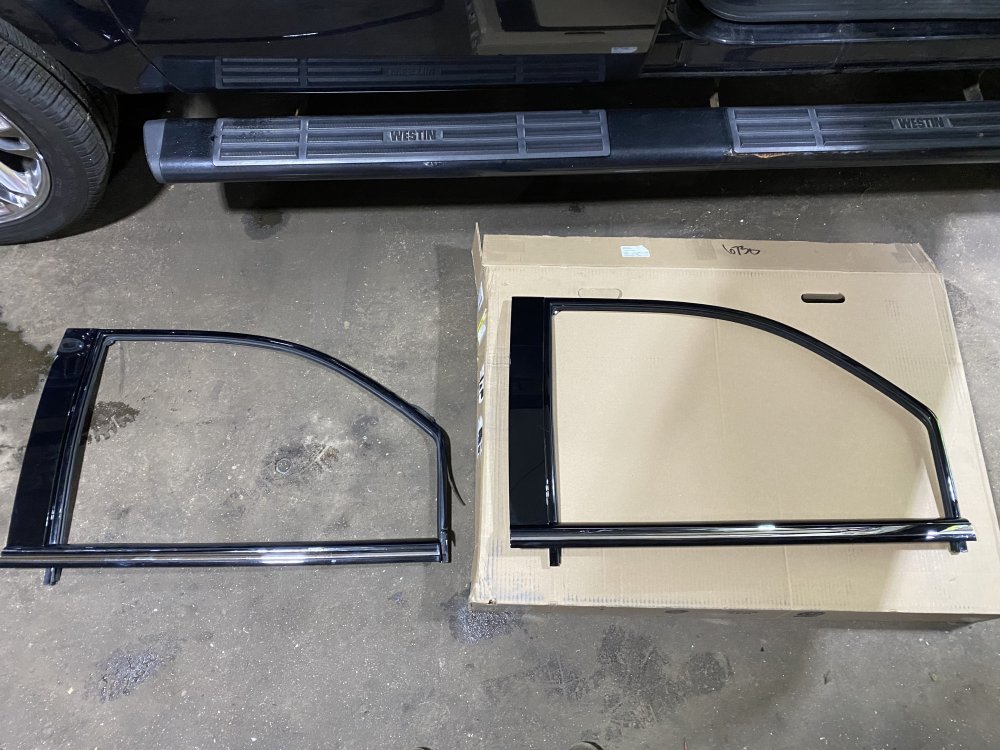
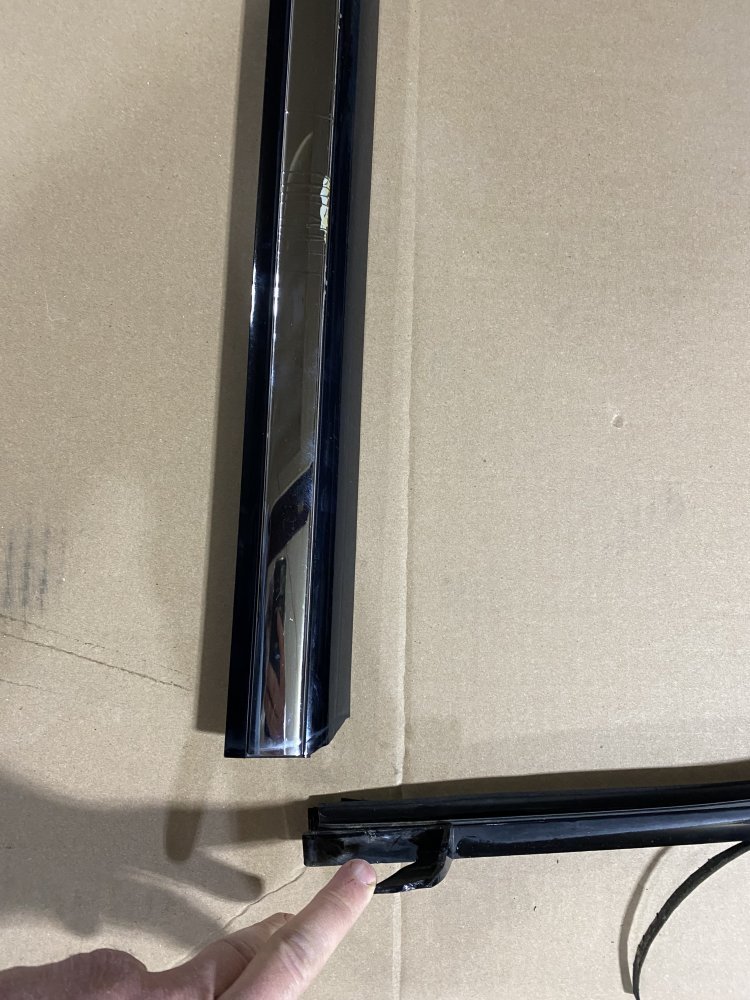
A few weeks ago we were on a trip and while driving home the winds were high and there was really bad wind noise coming in the passenger side window. I did some searching and it’s not uncommon for foam seals inside the window trim to fail and allow wind in. This is fixable by removing the trim and applying caulk. However, my trim piece had some issues visible so I decided to just buy a new one from GM. Good thing I chose to replace it because when I removed it I found the main issue was that the piece was broken at the front corner, along with some other tabs broken off.

IMG_9454.jpegIMG_9455.jpegIMG_9456.jpegIMG_9459.jpeg

It is so much quieter inside now, even without strong headwinds.

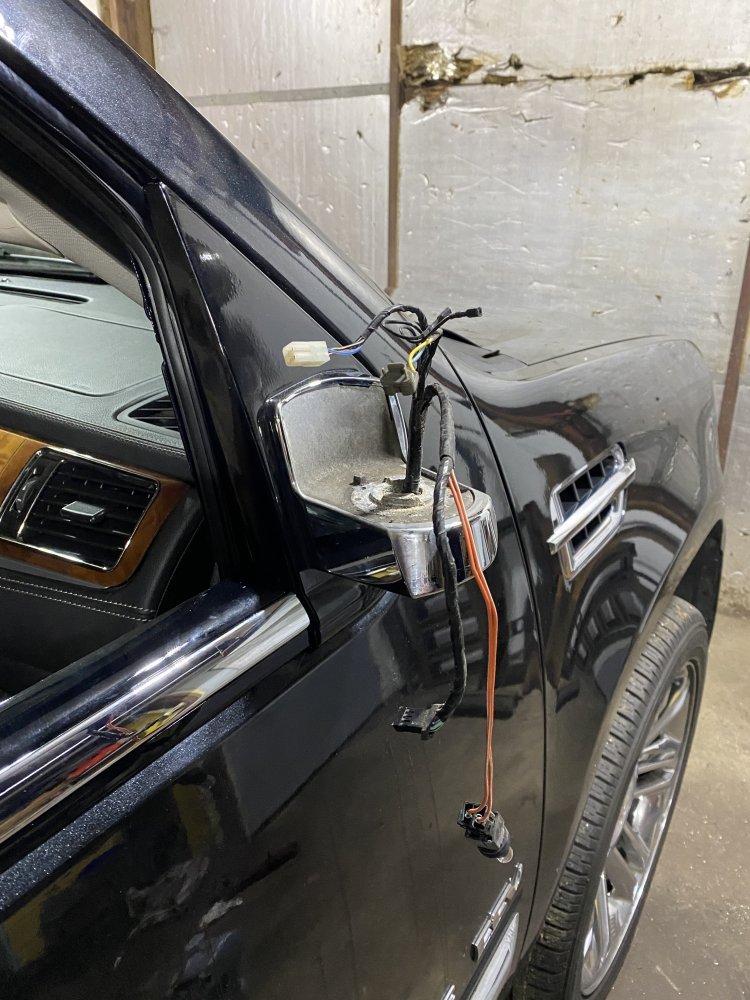
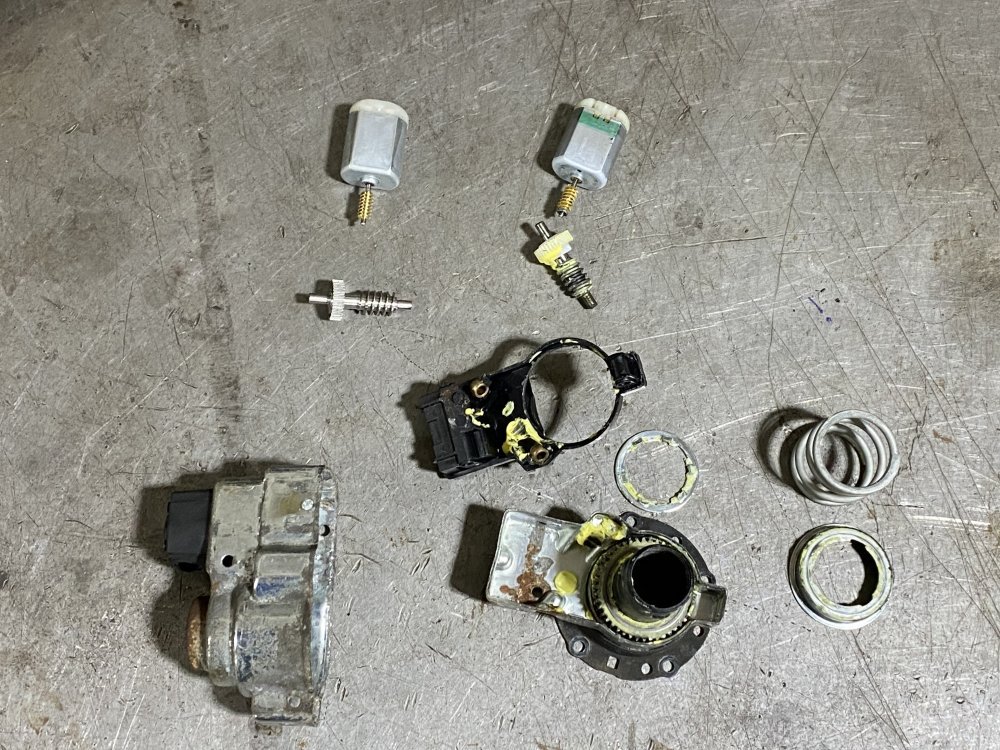
While that door was apart, I thought it was a good idea to proactively replace the mirror motor and gear on that side. It took a bit to get the mirror all apart, but the instructions on the website for the parts were very helpful. The mirror folds super quick now and quieter than before. Very pleased.

IMG_9460.jpegIMG_9461.jpeg

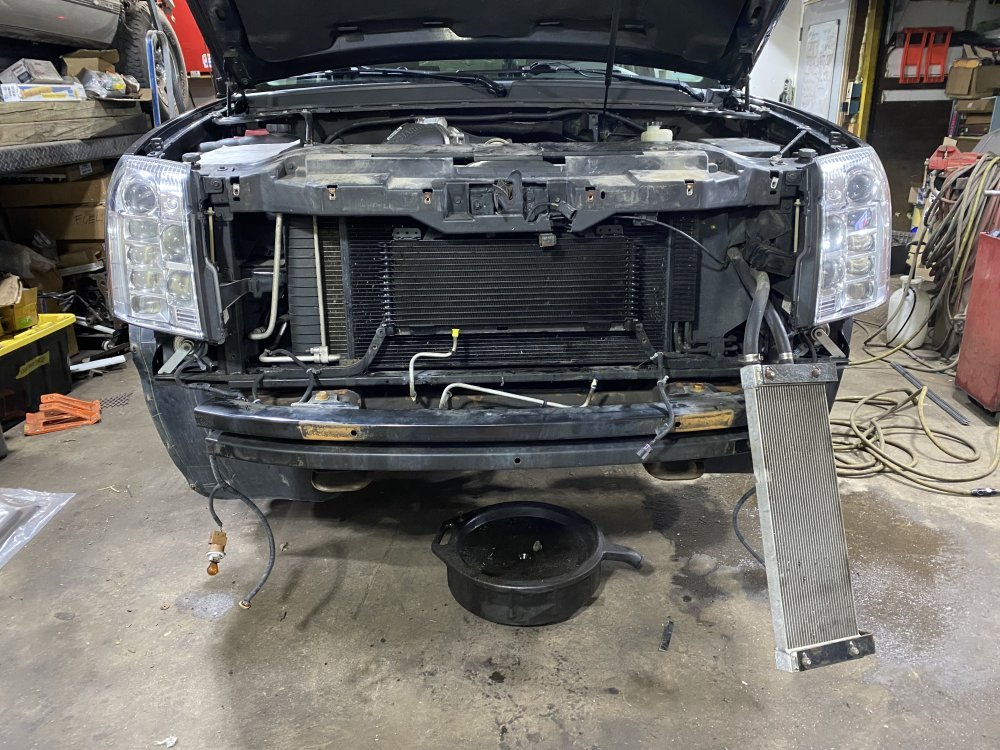
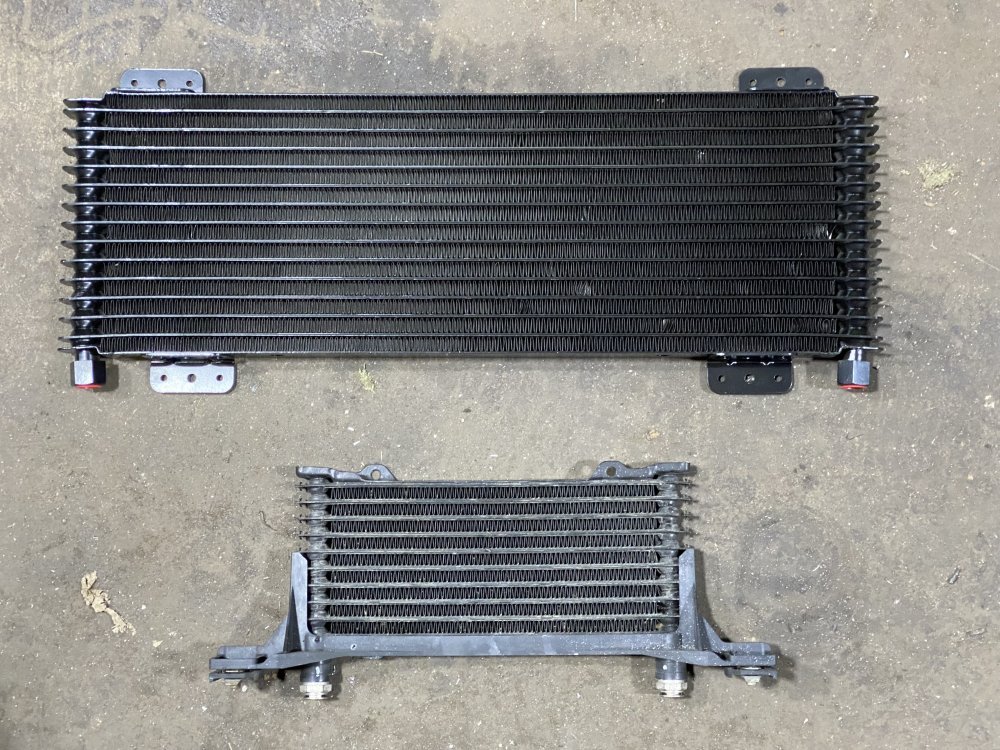
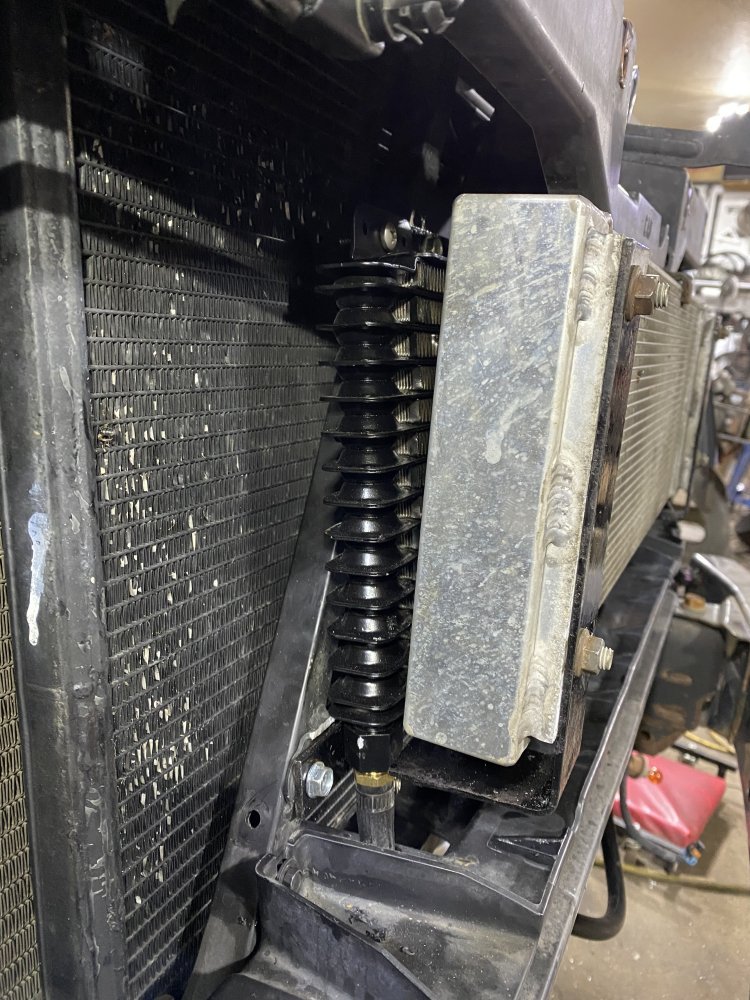
One last thing I decided to do was replace the factory transmission cooler with an aftermarket 40K unit. I thought I was going to have the transmission replaced with a built unit by now, but plans haven’t worked out that way, so figured I better do this now to help keep the existing transmission alive. The installation was a bit more challenging than I expected because I had to work around the intercooler heat exchanger and its brackets, but in the end it turned out well.

IMG_9467.jpegIMG_9466.jpegIMG_9469.jpeg

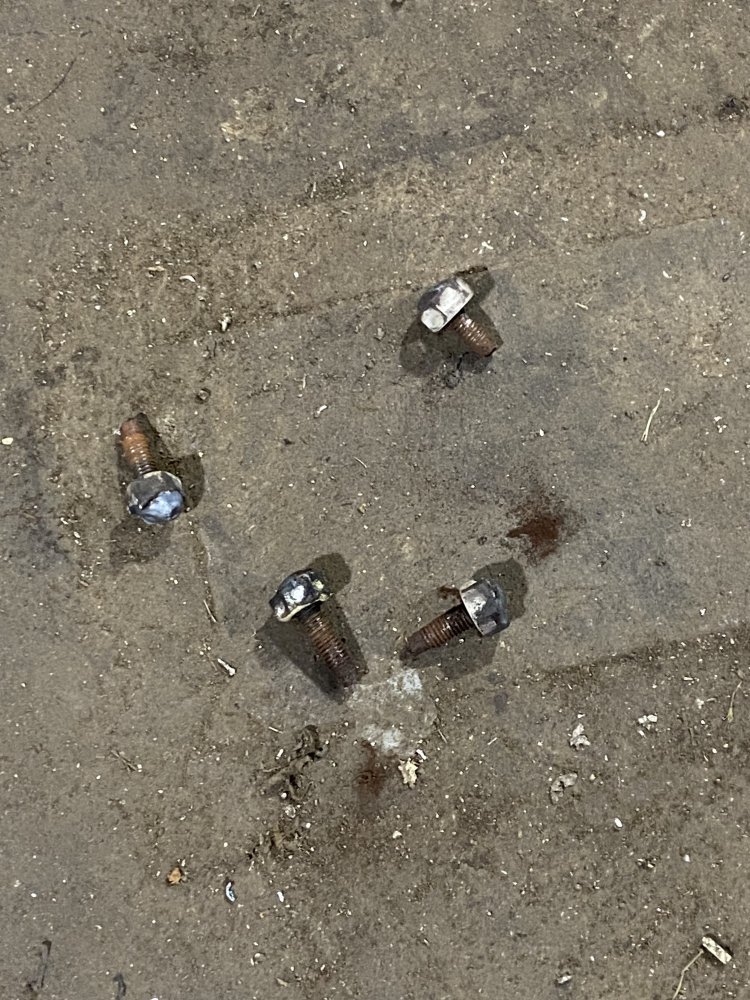
I also had to deal with all 4 of the bolts that fasten the bumper ends to the fenders breaking off, but fortunately they came out by welding nuts to the broken stubs.

IMG_9470.jpeg
 
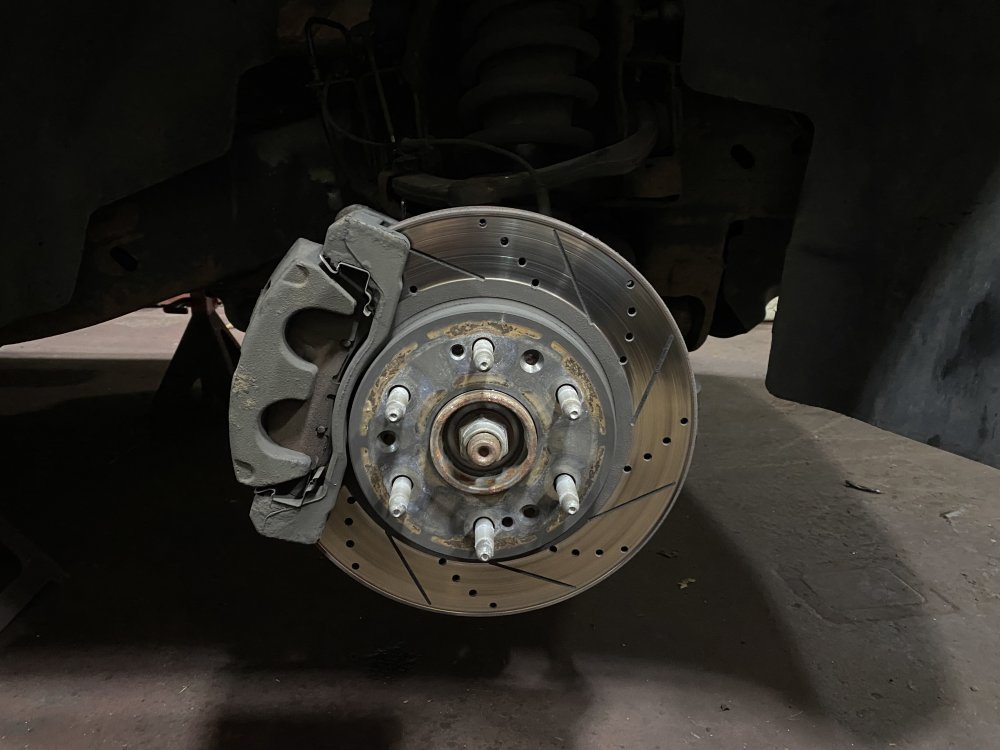
Time for new front brakes. I had gotten all the good out of the drilled and slotted ones that were on it when I bought it. I had been seeing other guys in a 3rd Gen Escalade Facebook group installing the 2021+ Tahoe PPV brakes on and that it was pretty much a bolt-on. Kind of pricy, but seemed like a cool upgrade for this truck…..especially once I finally get to the engine upgrades. So I pulled the trigger.

Worn out:

IMG_9858.jpeg

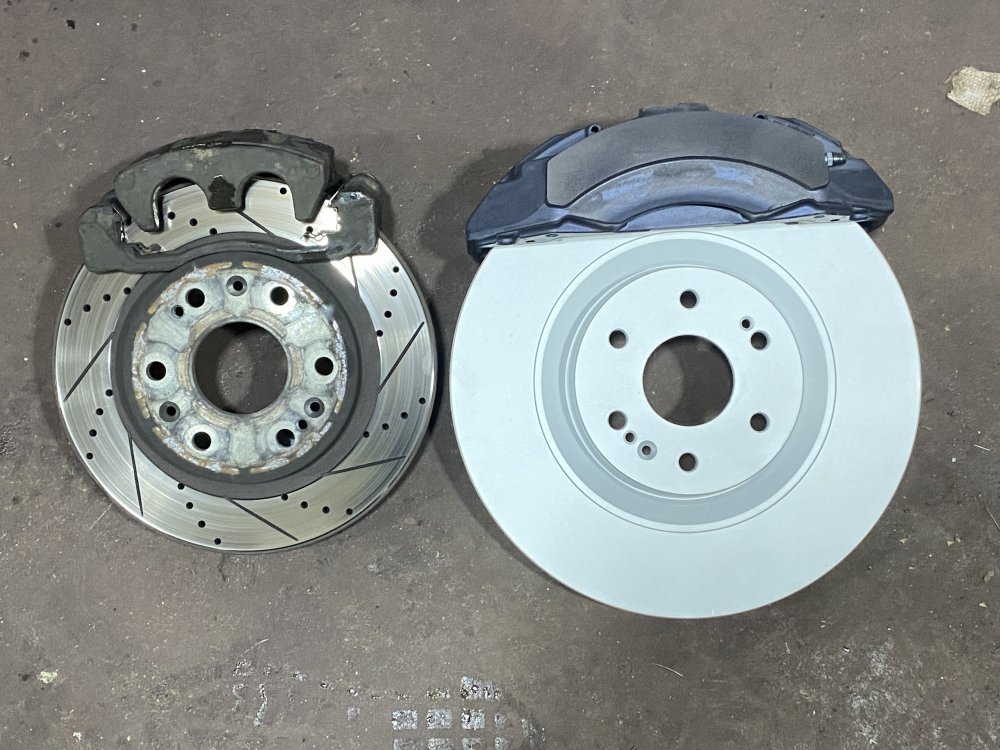
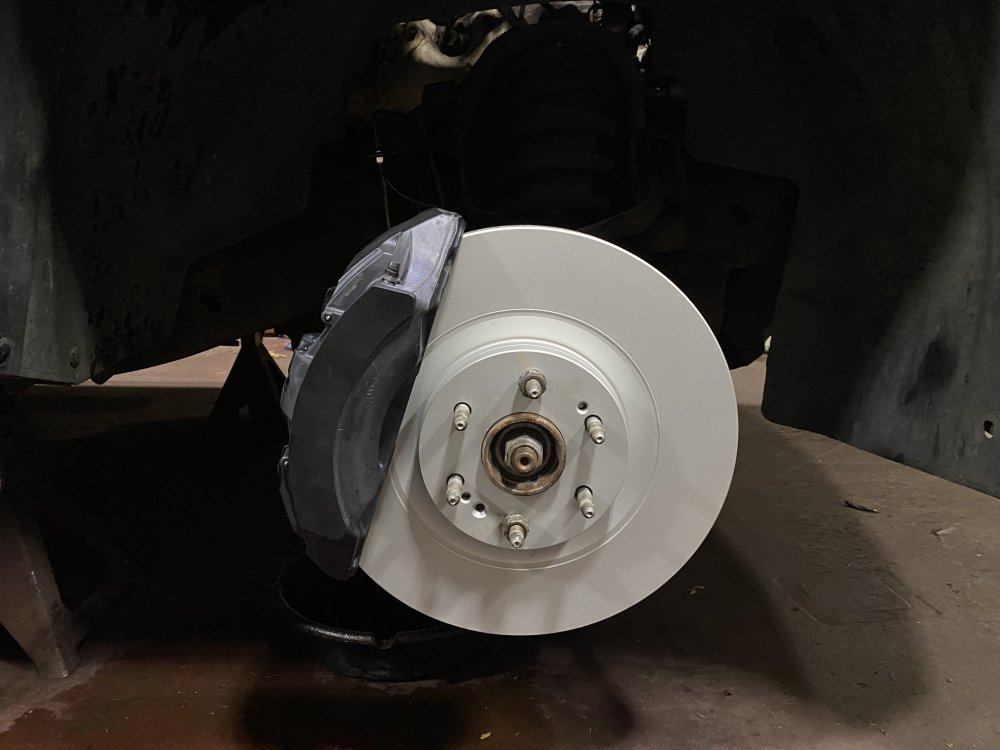
Old vs new. Old is a 13” rotor. New is a whopping 16 inches!! Old caliper is dual piston, which would be exciting for my GMT400s…..but now I have 6 piston calipers on this sucker!!

IMG_9859.jpeg

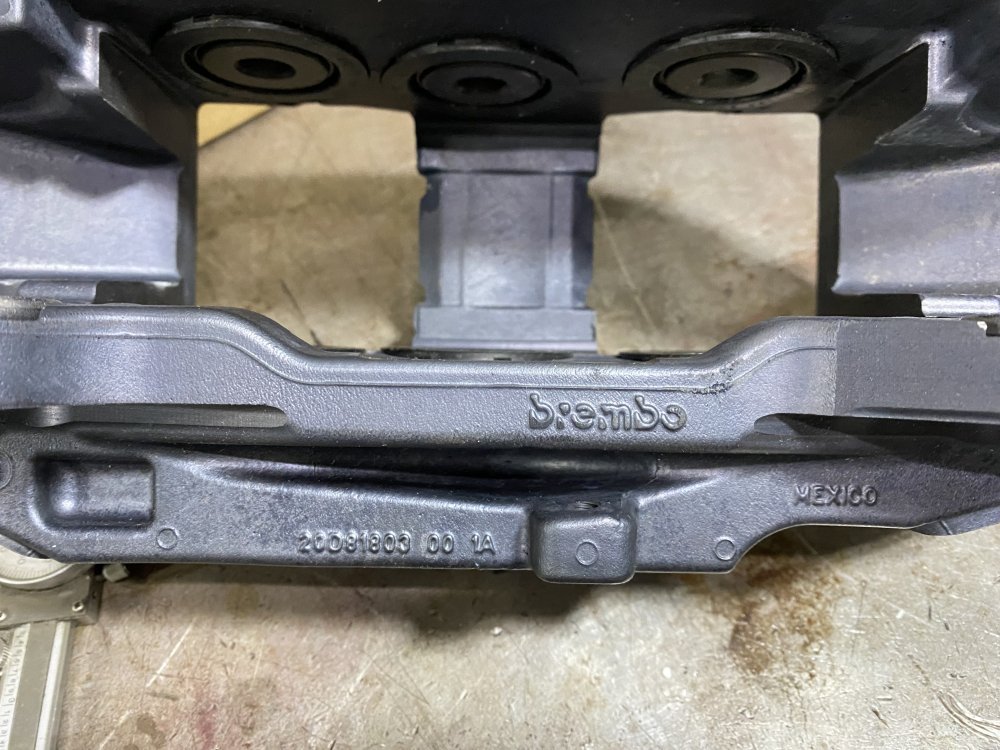
And look, factory GM Police Tahoes have Brembo calipers on them!

IMG_9860.jpeg

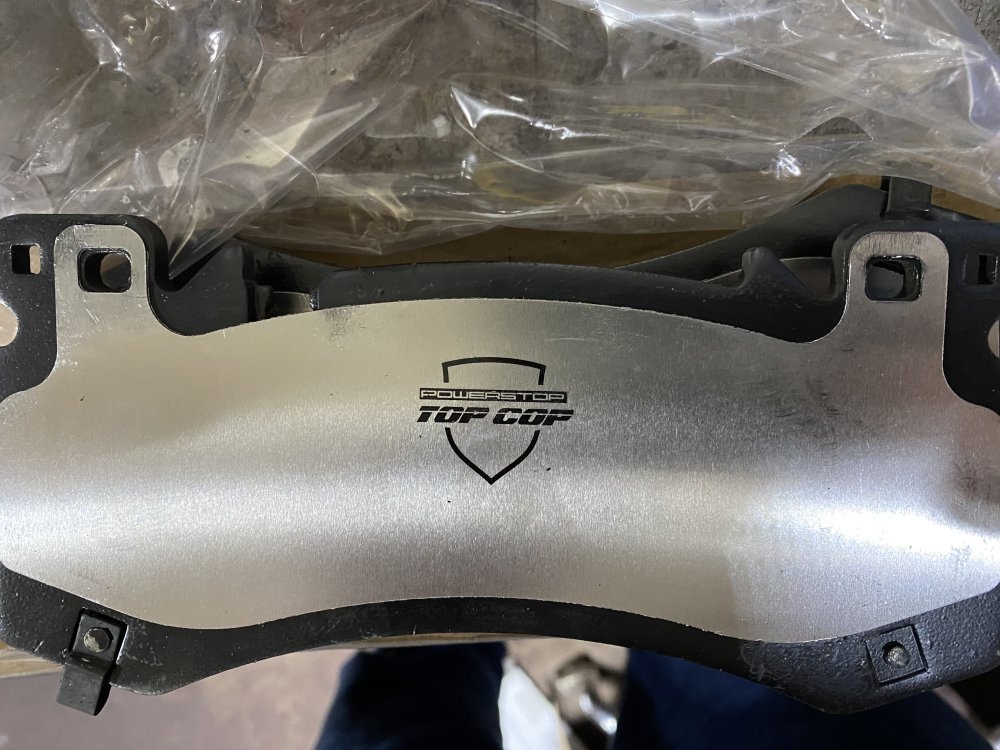
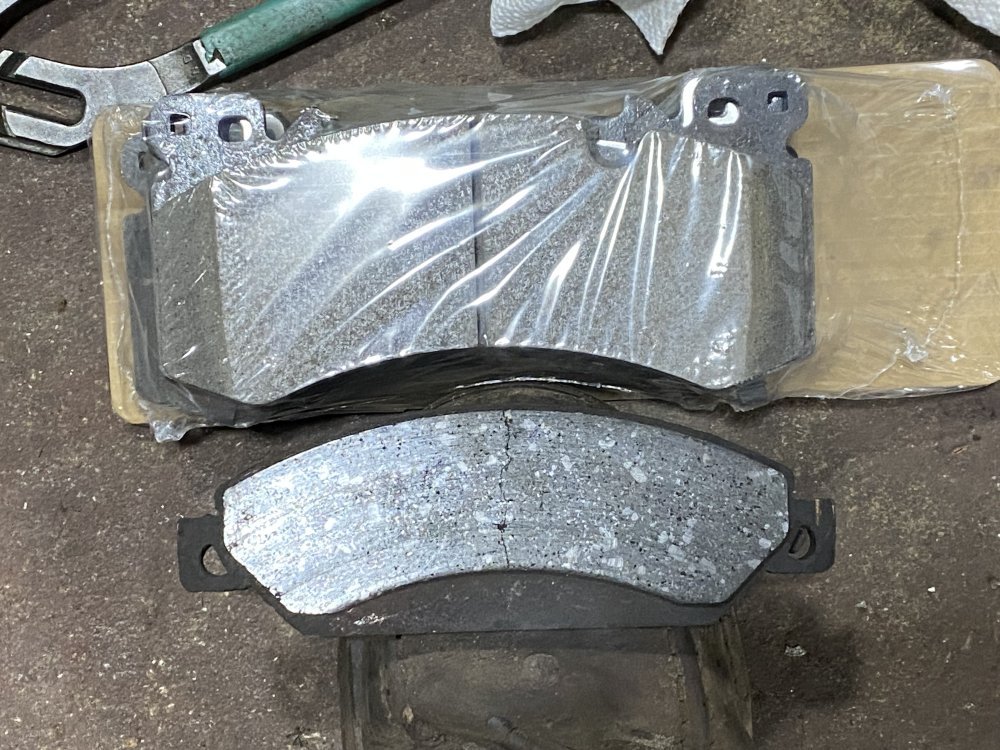
I’m using Power Stop Z37 “Top Cop” pads. Look how much bigger the pads are, too.

IMG_9865.jpegIMG_9863.jpeg

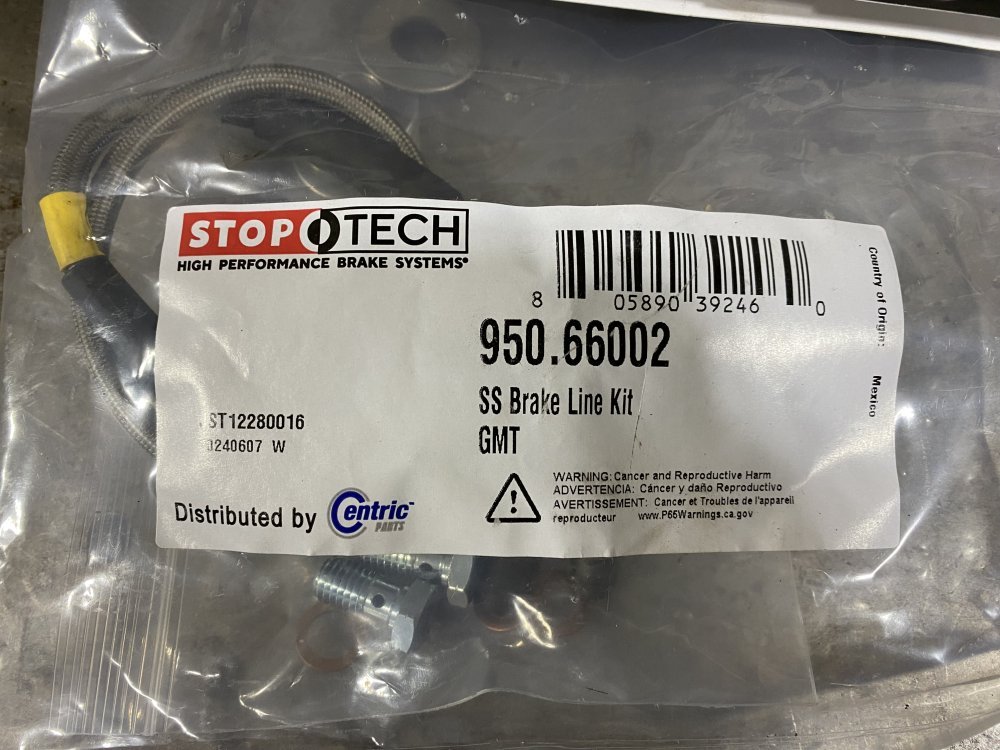
I also installed some braided hoses while I was at it.

IMG_9866.jpeg

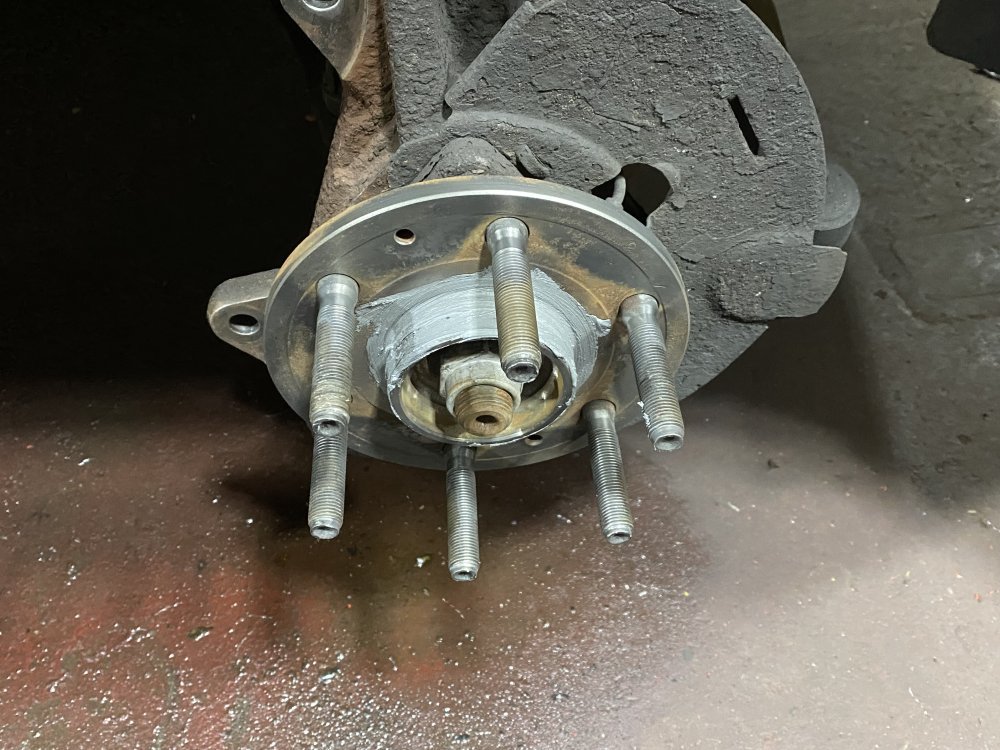
I thought I was home free, but I got some bad info…..my stock wheels do NOT clear these brakes - the diameter isn’t the problem, it’s the inside face of the wheels. Well damn. I found a thread on a forum after the fact that went through the same scenario. He shared in that thread a Dorman part number for some F350 studs that go right in and have enough length for the 15mm spacers necessary to clear these calipers.

IMG_9868.jpegIMG_9870.jpeg

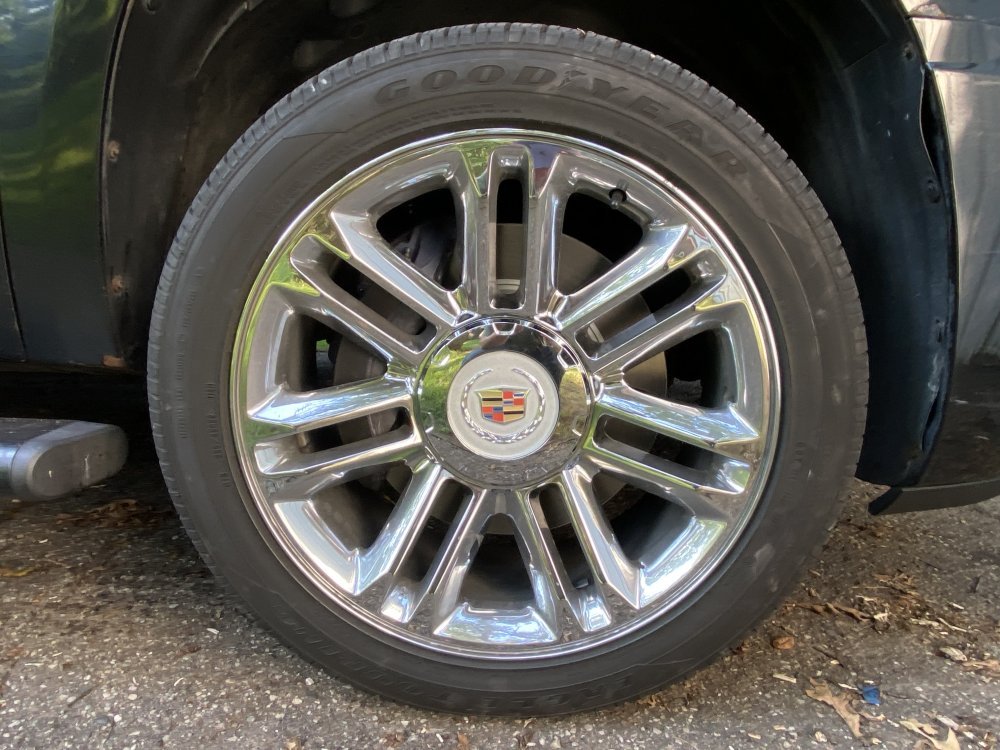
I just got it bled and took my test drive this evening. It feels smooth and stops well, though I haven’t had a chance to put it through its paces yet. Look at how they fill up these 22” wheels!

IMG_9864.jpegIMG_9876.jpeg

Oh, and just for funsies, I tried putting my winter wheels on. Not even close to fitting, so I’ll be trying something else before this winter.
 
I’ve been looking for some different 20” wheels to use in the winter that would clear the larger brakes. I wasn’t finding any clear information on what would definitely fit that I was willing to spend money on…..and I wasn’t really willing to guinea pig a bunch of wheels either.

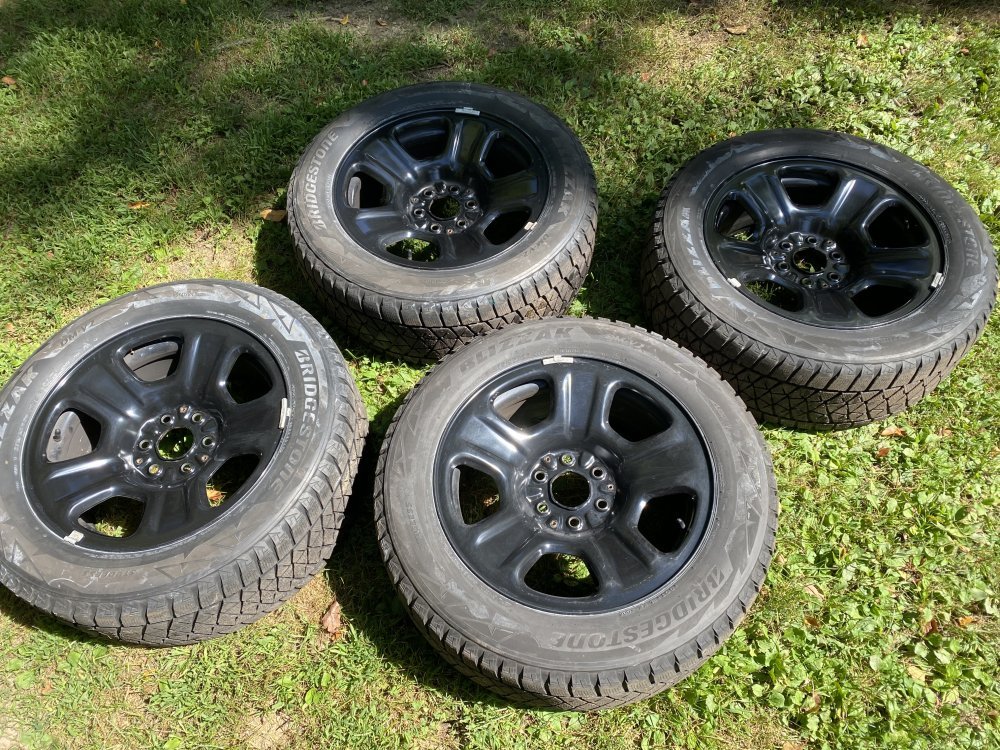
I got lucky and found a set of police Tahoe steel wheels not far from me for $500 so I grabbed those. I got the tires mounted and balanced so they’re ready to go. I think I’ll put some black paint on the wheel weights, but otherwise they’re all set and there’s no doubt they’ll fit around the brakes.

IMG_0101.jpeg
 
I’ve been looking for some different 20” wheels to use in the winter that would clear the larger brakes. I wasn’t finding any clear information on what would definitely fit that I was willing to spend money on…..and I wasn’t really willing to guinea pig a bunch of wheels either.

I got lucky and found a set of police Tahoe steel wheels not far from me for $500 so I grabbed those. I got the tires mounted and balanced so they’re ready to go. I think I’ll put some black paint on the wheel weights, but otherwise they’re all set and there’s no doubt they’ll fit around the brakes.

View attachment 89494

Looks like Blizzak DM-V2 winter tires?

Great find on the wheels.
 
Now all you need is the chrome police center dome caps! put some fake LED's in various places and go for a cruise through town. see how many folks slow down, both hands on wheel, and pull over to another lane hoping you will pass them HAHA!!

My old dodge ram is solid black with a wide red strip down the middle lengthwise on the sides. back when I was in the volunteer fire dept I had mounted a full size light bar on the roof. there was another state trooper in the area that used the same model truck so as I went cruising in our town I got the same treatment (no lights were used) HAHA!!
 
Time to put the winter wheels on. I did some test fitting of different configurations with parts I had and parts I already ordered and finalized my plan.

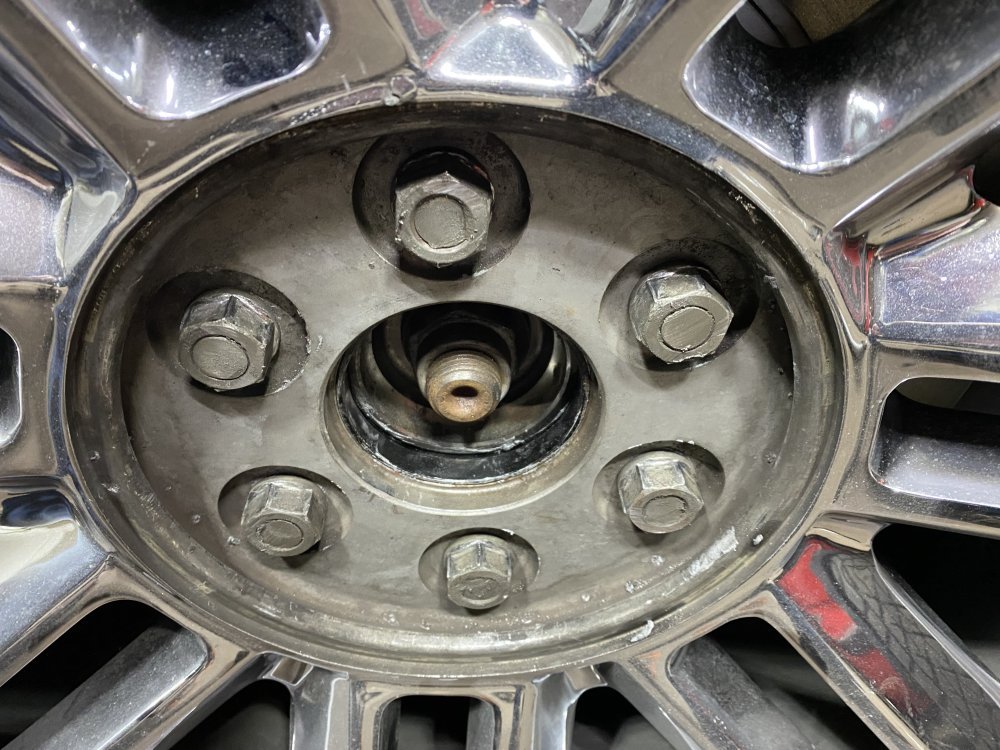
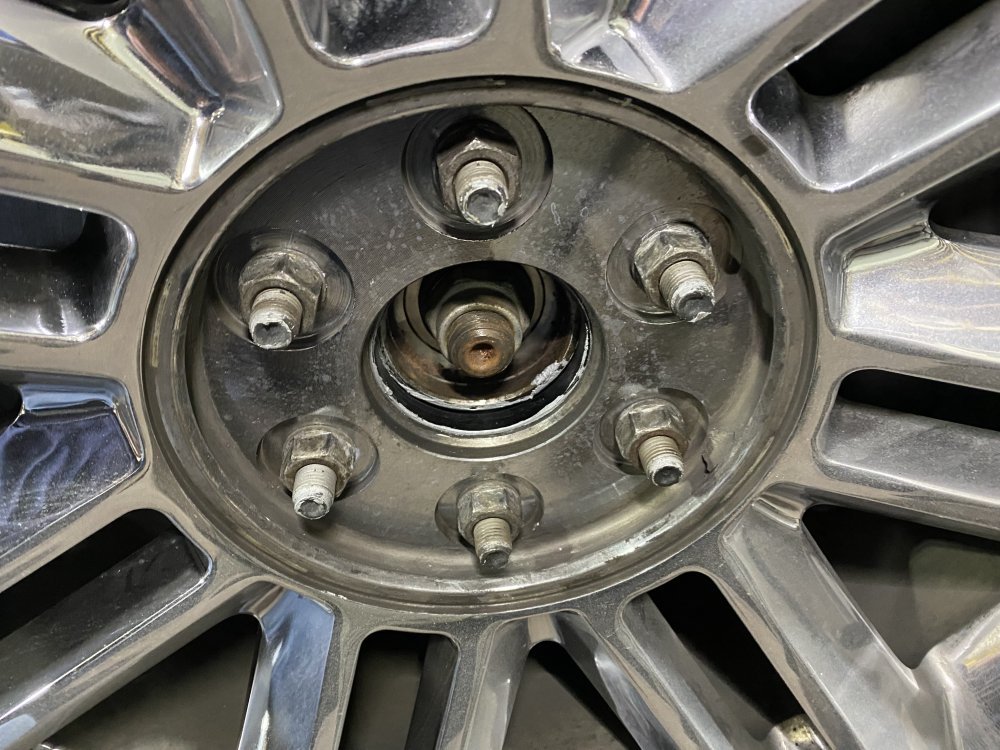
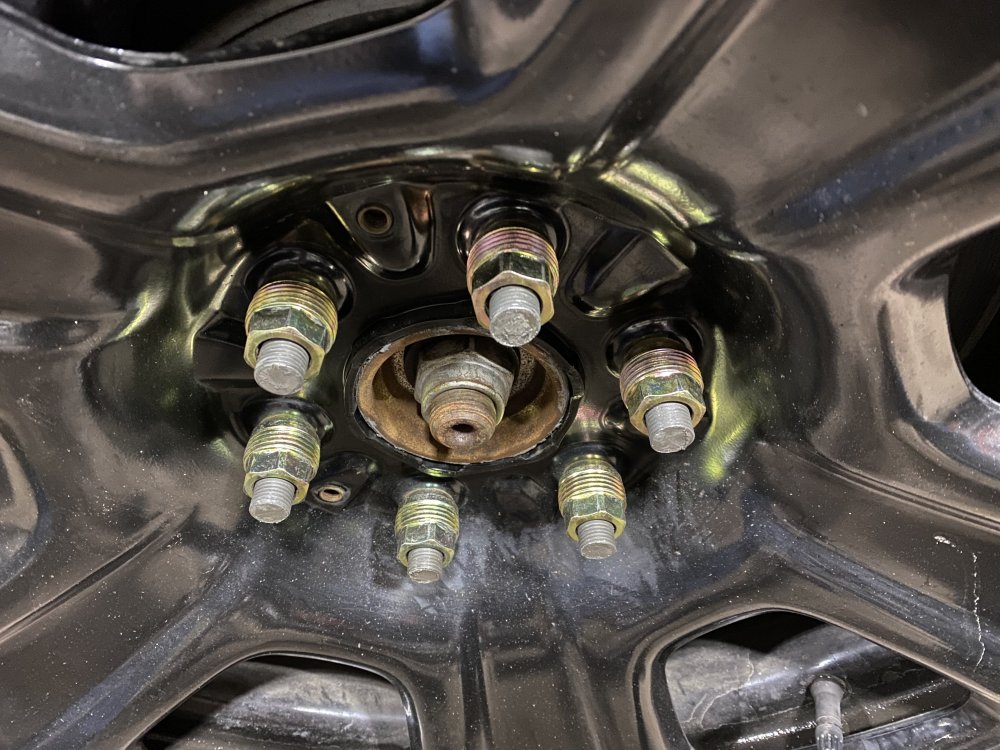
First thing I did was cut the studs flush with the lug nuts when the 22s and 15mm spacers are installed. Here’s the original setup:

IMG_0672.jpeg

And after cutting the excess off:

IMG_0673.jpeg

I bought some 2” long lug nuts, but even with the studs cut down, the nuts bottomed out on the end of the studs before touching the wheel. No problem, I had already purchased some 3/16” spacers in anticipation of this problem. The wheels barely still engage the hub, but I’m not sure you could really call it hub-centric anymore like this.

IMG_0674.jpeg

I’d like to get some center caps to protect the axle stubs. PPV center caps are pretty pricey right now, so I’m going to try regular truck/SUV caps and see if they will work - if they do work, then I might be able to use some open lug nuts and plastic caps, and that setup might clear the ends of the studs without the 3/16” spacers.

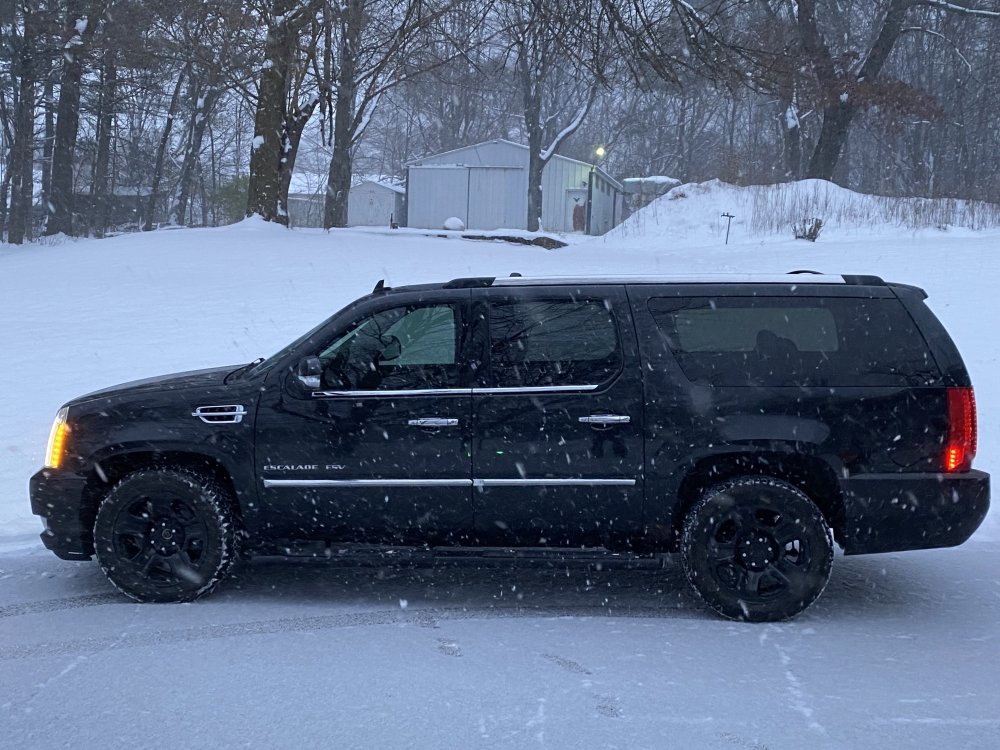
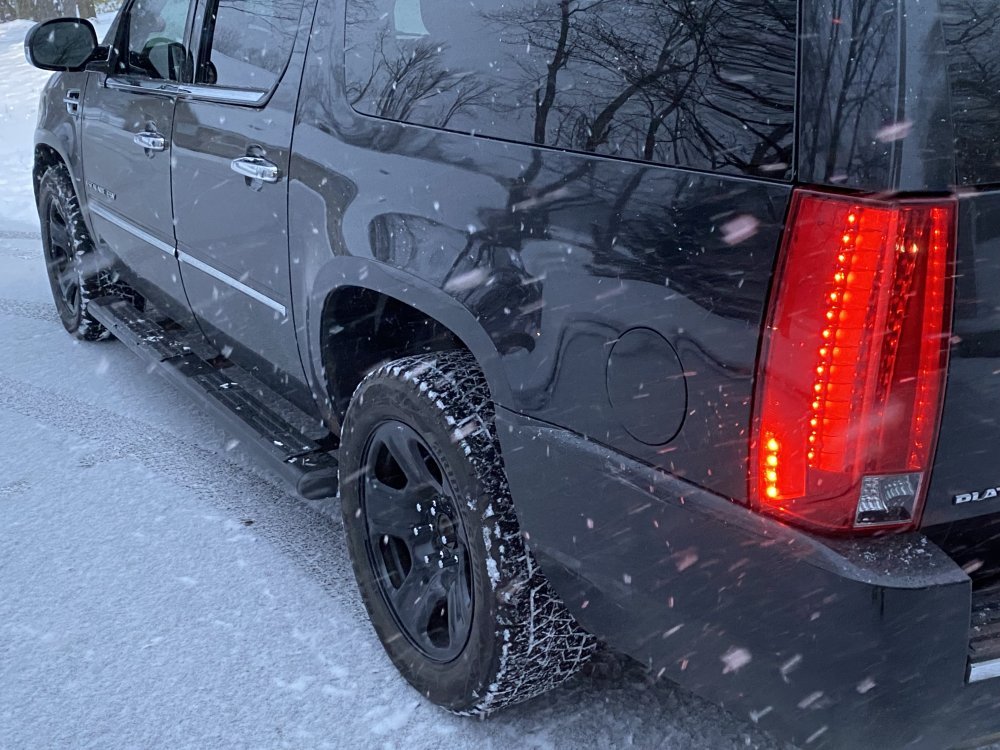
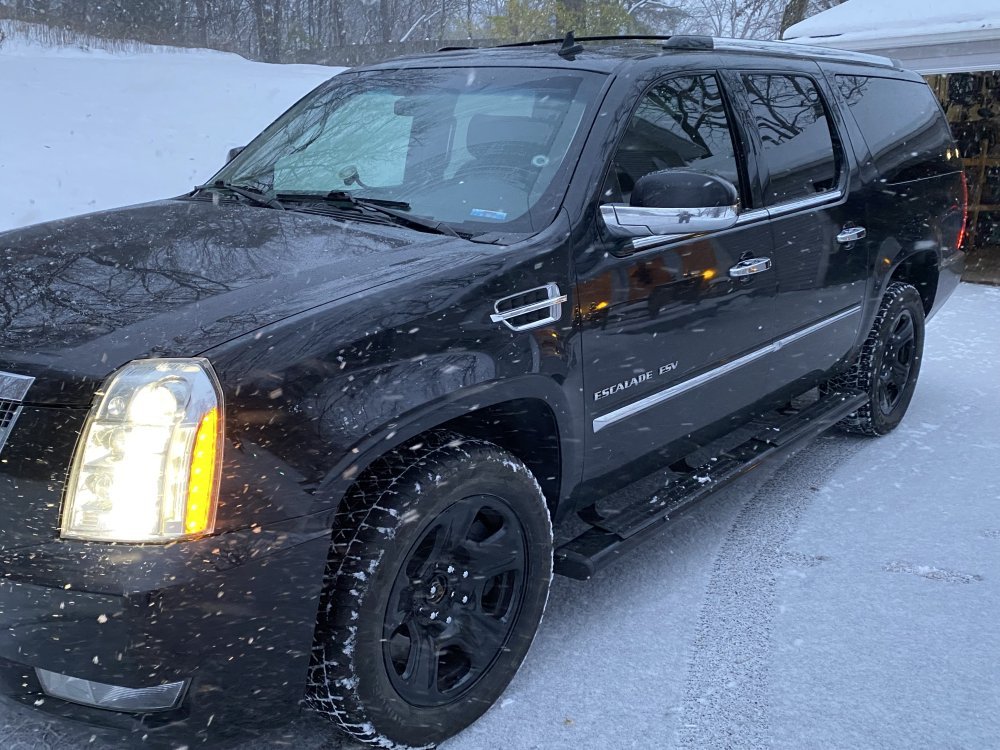
They look pretty good for a winter setup. We got 6” snow yesterday, so I got these installed just in time.

IMG_0687.jpegIMG_0688.jpegIMG_0689.jpeg
 
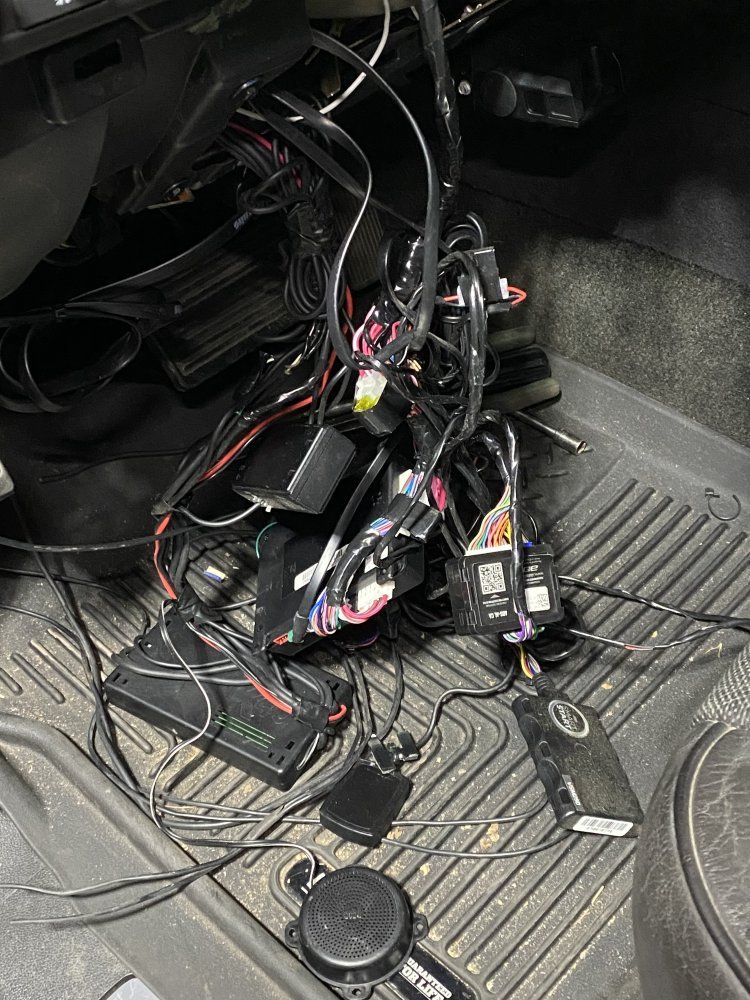
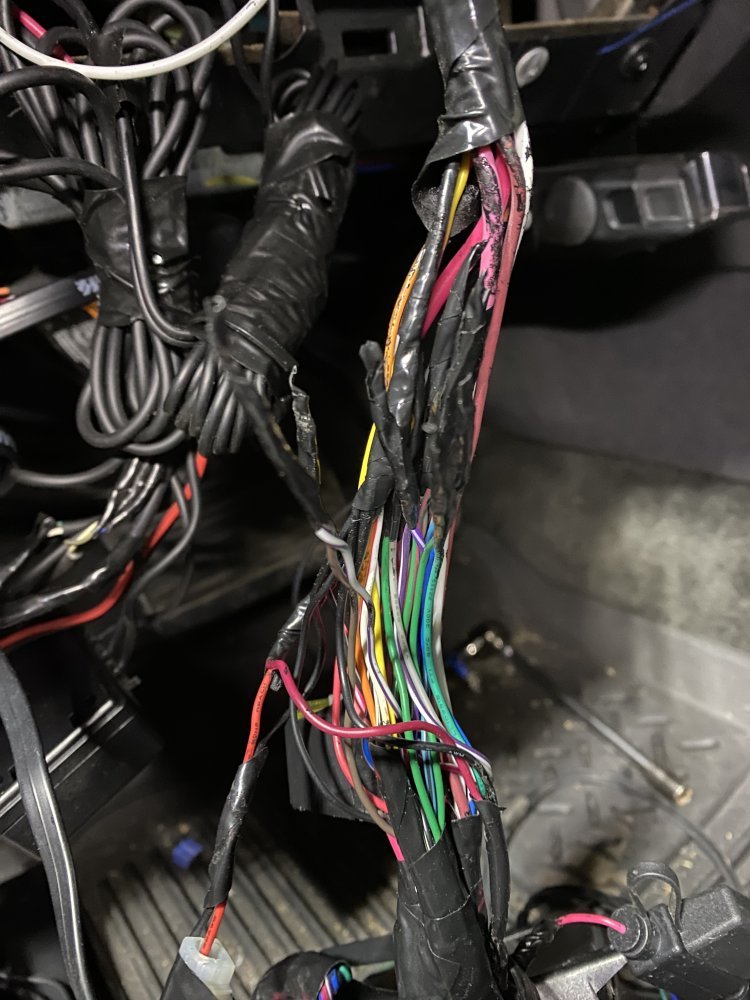
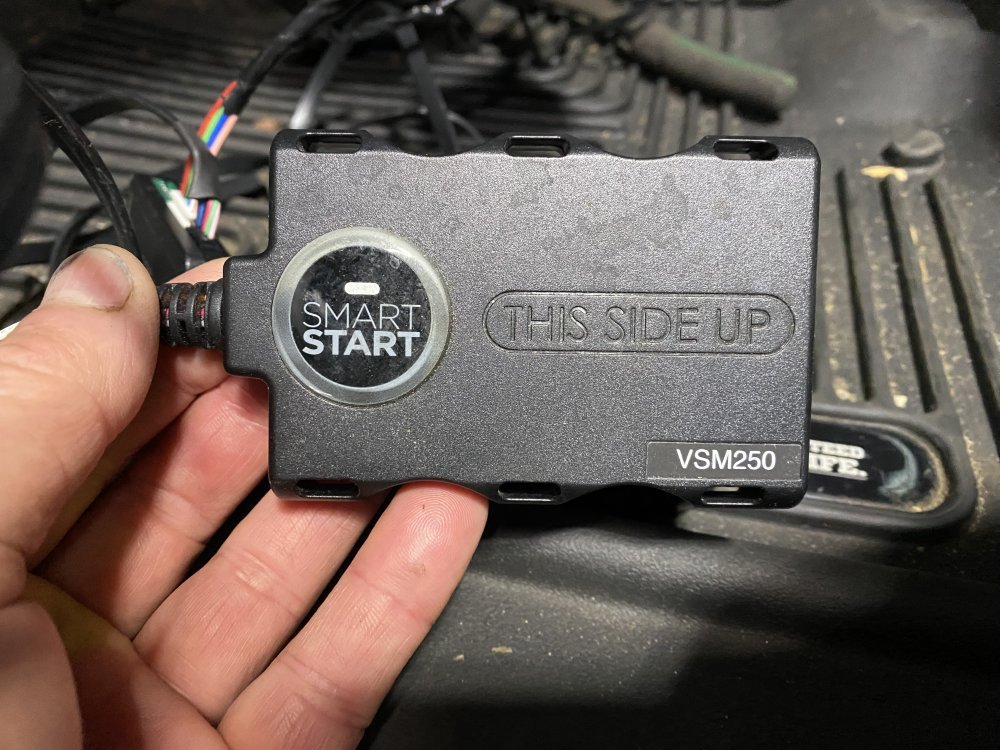
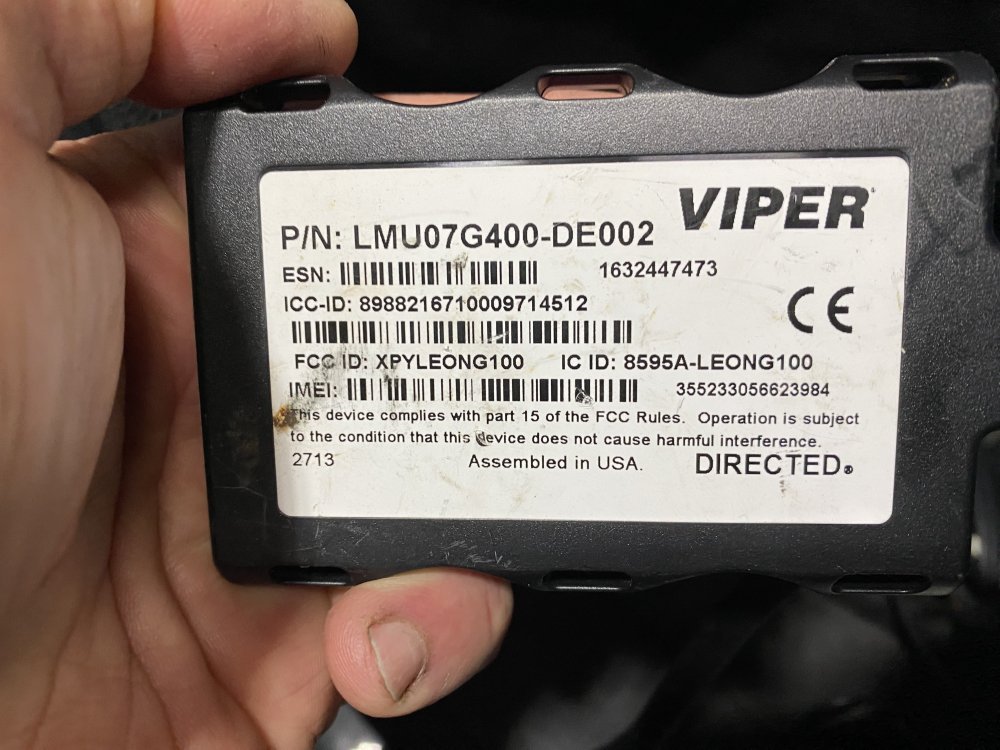
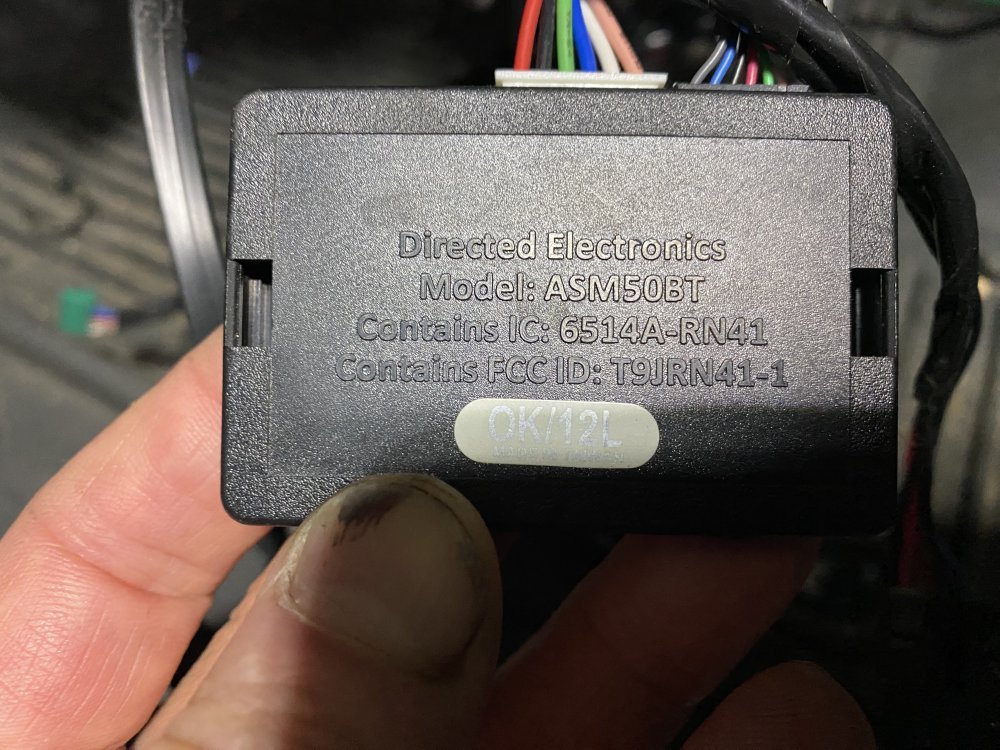
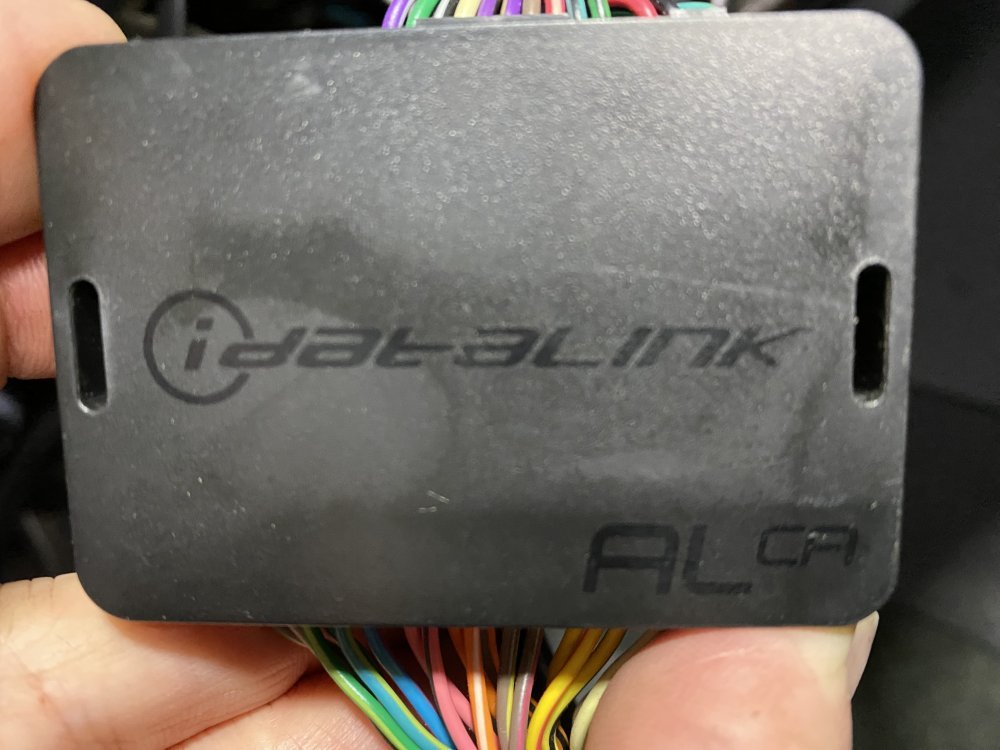
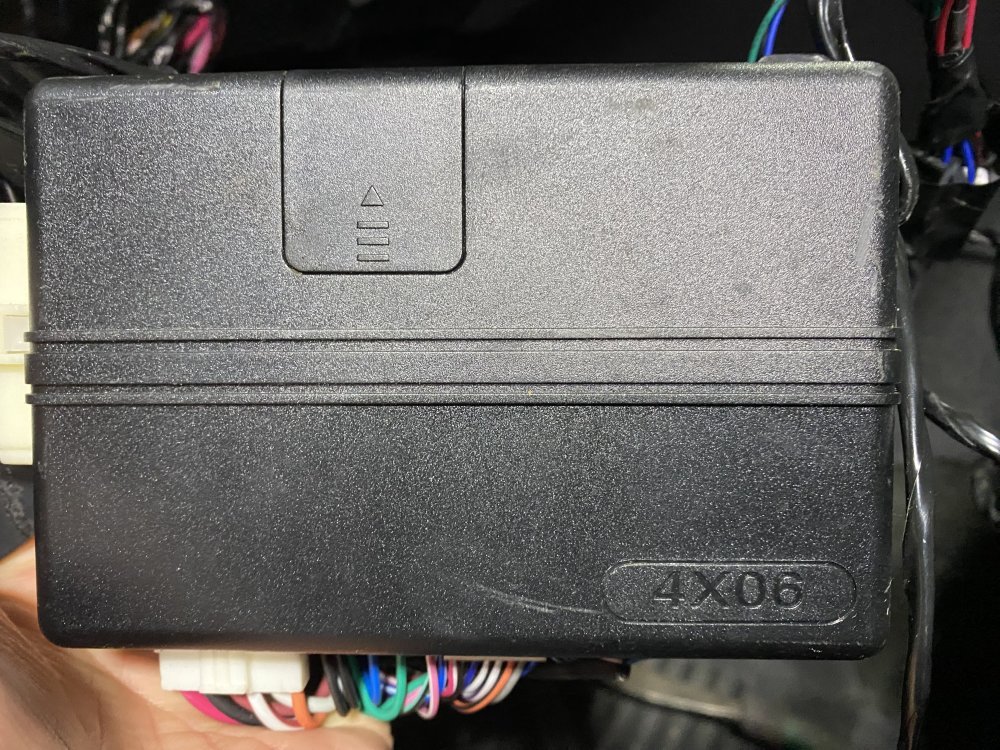
After messing with wheels it was time to address something else. I had to have the windshield replaced about a month ago. There had always been some aftermarket module dangling next to the rear view mirror, so while the windshield was out, the guy pulled that over to the side and tucked it into the A pillar for me so I could correctly remove it later rather than just blindly snipping the wires….I decided yesterday was a good time to do that. I traced it down to another module under that dash, and then……I found a TON of aftermarket junk under the dash!!

IMG_0675.jpeg

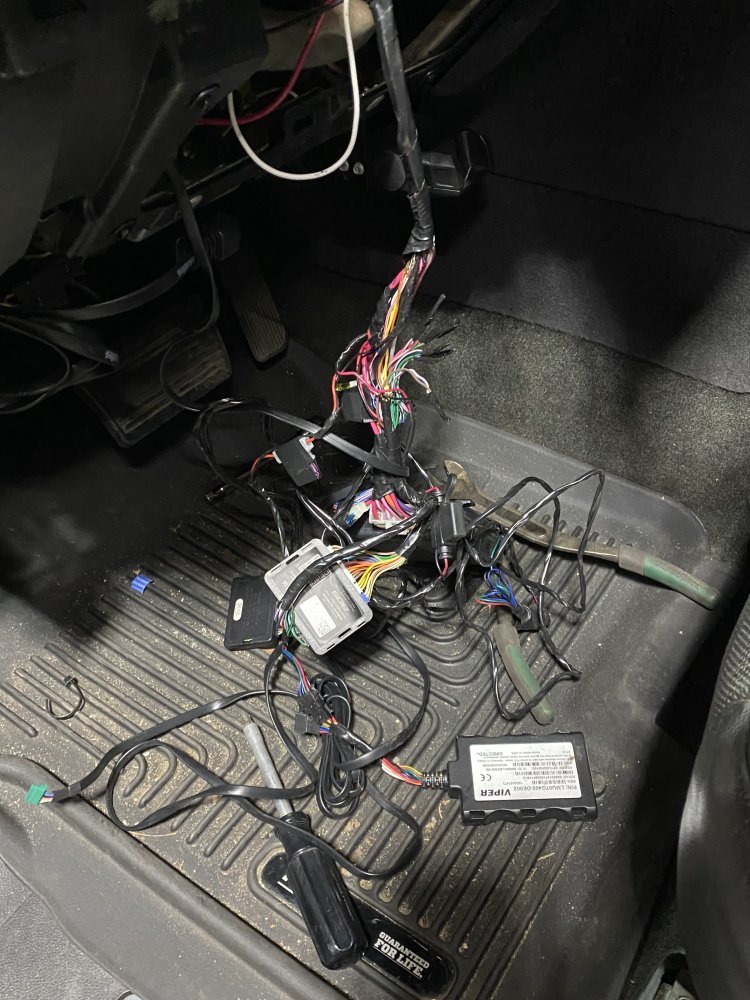
I figured out the original thing I was removing was for a built-in radar detector - neat, but it didn’t seem to be working, so might as well remove it. I’ve been able to identify that at least some of this other stuff is some kind of a bluetooth/remote start adapter thingy. It’s REALLY integrated into the steering column wiring.

IMG_0676.jpeg

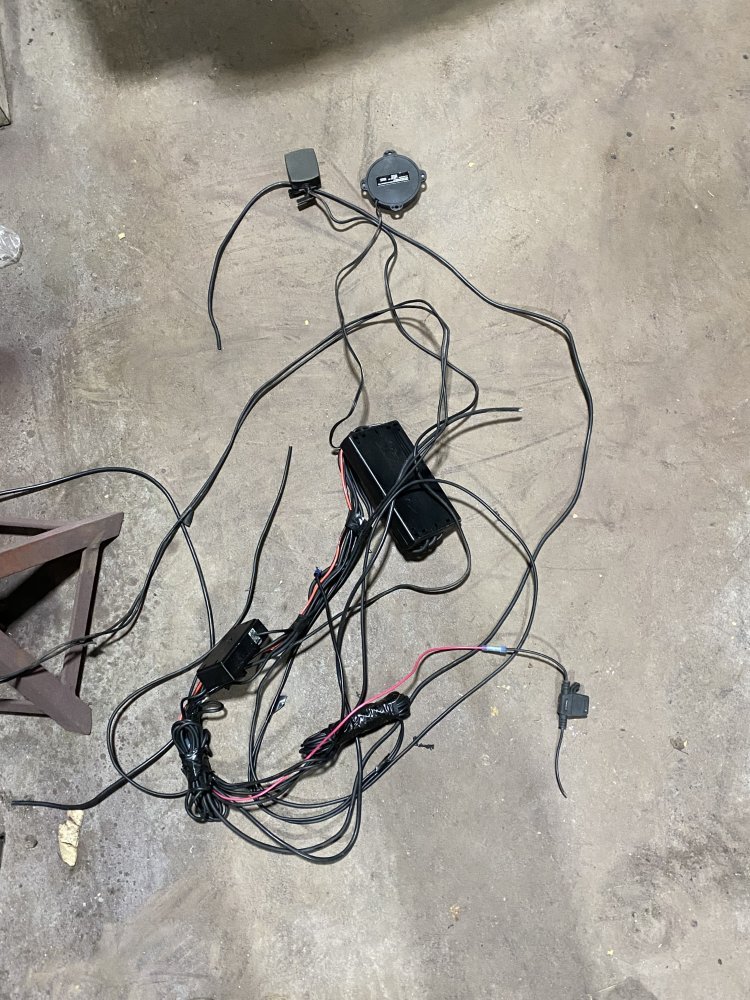
I decided to remove the radar detector as originally planned.

IMG_0684.jpeg

And this is what I was left with.

IMG_0685.jpeg

I verified the truck still ran right and then tucked it back up in the dash. I’m going to research what these modules are and then decide what to do from there. These might have some neat functionality.

IMG_0677.jpegIMG_0678.jpegIMG_0679.jpegIMG_0680.jpegIMG_0681.jpegIMG_0682.jpeg
 
Oh, and one more thing….. The right rear had been leaking a little air for about a month or so. I decided to just keep topping the tire off since it was close to winter tire time. After removing it from the truck I inspected the tire. I didn’t see anything in the tread, so I tried soapy water on the bead. I found the leak on the backside and…..it’s a crack in the rim. Crap. So I need to get that fixed.

IMG_0686.jpeg
 
If one rim is cracked, I'd be inspecting the other three too! My son-n-law's Challenger had a cracked rim, he took it to try and get it repaired but after the repair he and the same shop could never get the bead to seal properly, his had a pretty severe crack across the bead and the lip began to push out. the shop told him that if he had caught it before it got that bad he could have saved it. he did what hey could to repair it in the end the rim was no bueno. the rims for his car are apparently rare to find since they are 20's

It took him almost two years to find another rim that didn't cost an arm and leg. most cracks in rims come from a bad pot hole or curb hopping. if the PO hit them on occasion, cracks start to form, some leak right away, others take more time as the crack gets bigger to show their ugly head!
 
Viper alarms w/ remote start used to be good units. I never kept up with them over the years.

Cracked rim there is weldable.
Balance the rim by weld/ grind with a tire first. Here there are specialty shops that fix rims.

If one rim is cracked, I'd be inspecting the other three too! My son-n-law's Challenger had a cracked rim, he took it to try and get it repaired but after the repair he and the same shop could never get the bead to seal properly, his had a pretty severe crack across the bead and the lip began to push out. the shop told him that if he had caught it before it got that bad he could have saved it. he did what hey could to repair it in the end the rim was no bueno. the rims for his car are apparently rare to find since they are 20's

It took him almost two years to find another rim that didn't cost an arm and leg. most cracks in rims come from a bad pot hole or curb hopping. if the PO hit them on occasion, cracks start to form, some leak right away, others take more time as the crack gets bigger to show their ugly head!
My brother told me about a good welding shop in town that should be able to repair it. And I’ve had aluminum wheels straightened by another guy before. I haven’t put this wheel on my balancer since finding this crack, but I remember one of the wheels had a bend in it that I found when rebalancing the wheels and I’d be willing to bet this spot where it’s cracked is where I saw that bend.
 
I have a crack on the edge of an aluminum wheel.
Maybe I should pull that and see about getting it welded.
It was created when some @ss hole from the towing company tried to YANK my truck from setting length wise on top of a three foot high rock retaining wall.
Wifey got it stuck there.
He tied to the receiver hitch and used his bad dodge diesel, took a long run at the rope, jerked the truck cross wise and slammed the front tires against the wall. Bent the tie rod adjuster on the left side in the process.
After I got there I asked him, where the £€#¥ is the roll back that retrieves vehicles ? He said he THOUGHT he could get it without the roll back.
Roll back got there, truck about three foot off the ground and snow drifted against it. Roll back backed under the truck, lifted it off the wall, then he did have to haul it to my garage and get it shoved inside.
He bought the parts. Offered to do the work, told him you done enough damage so just leave.
 
My brother let me borrow the stock lug nuts and a center cap off of his 2013 Silveraydo so I could see if something like that would work with the PPV wheels. It worked perfectly! In fact, it looks like I wouldn’t have had to cut the lugs, even without the spacer. Oh well. So I started looking online for some cheap, stock-style center caps to install. I found a set of 4 chrome ones with generic black caps on eBay for $45 so I bought them.

Not much to see here, but I snapped a pic with the new lug nuts installed and no spacer.

IMG_0825.jpeg

And here it is with the center caps. Visually I like this better than just the chrome lug nuts, and I also like that the hubs are more protected from the elements. Plus it’s nice to ditch the spacer so the wheels are actually hub centric again.

IMG_0826.jpegIMG_0827.jpegIMG_0828.jpeg
 
Back
Top