• Welcome to The Truck Stop! We see you haven't REGISTERED yet.

    Your truck knowledge is missing!
    • Registration is FREE , all we need is your birthday and email. (We don't share ANY data with ANYONE)
    • We have tons of knowledge here for your diesel truck!
    • Post your own topics and reply to existing threads to help others out!
    • NO ADS! The site is fully functional and ad free!
    CLICK HERE TO REGISTER!

    Problems registering? Click here to contact us!

    Already registered, but need a PASSWORD RESET? CLICK HERE TO RESET YOUR PASSWORD!

1994 K3500 extended cab dually

Just add the usual heat barrier material...
Oh yeah, I wouldn't do fiberglass now. I was just saying that I don't think of fiberglass as a material to use when fabricating - I almost always go straight to metal, but there are definitely some instances where fiberglass mat and resin could be a great fit and a time saver.
 
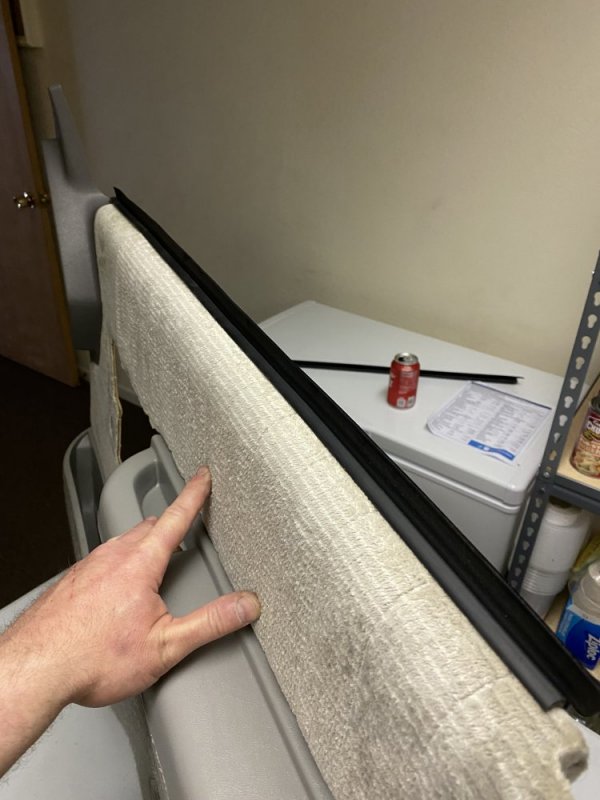
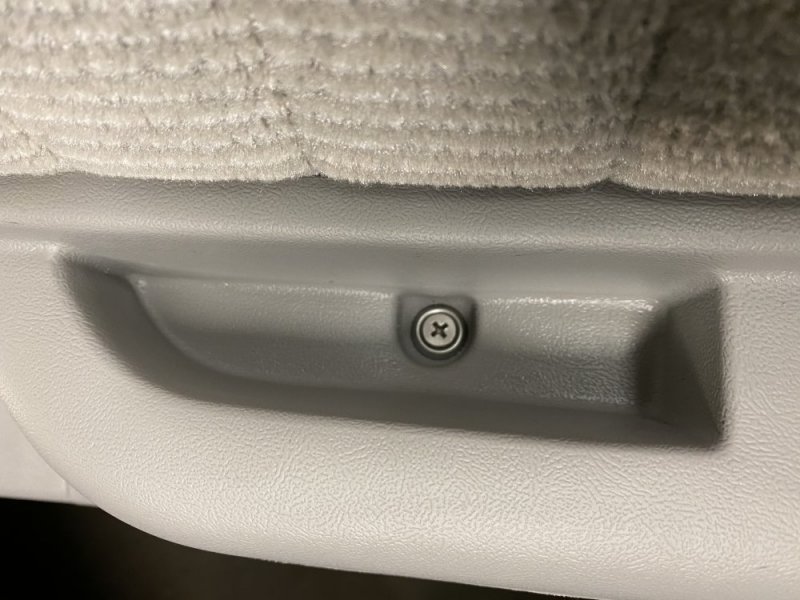
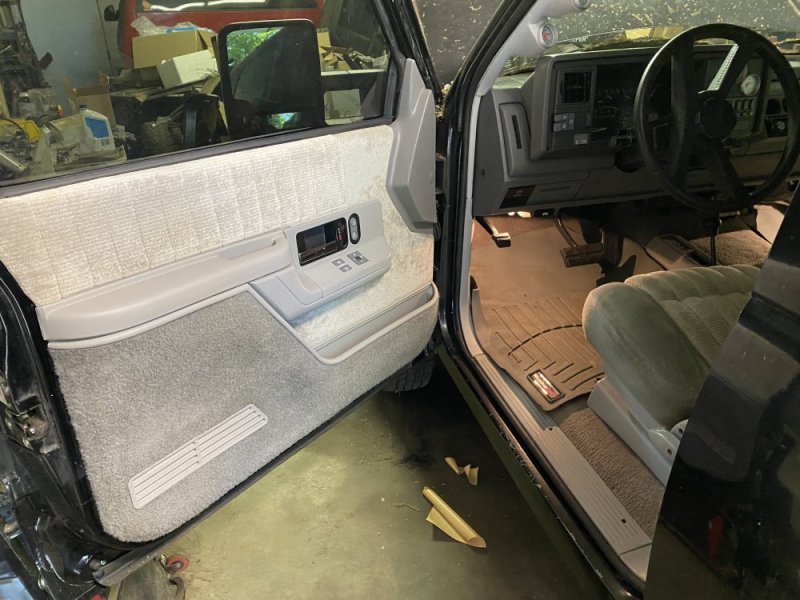
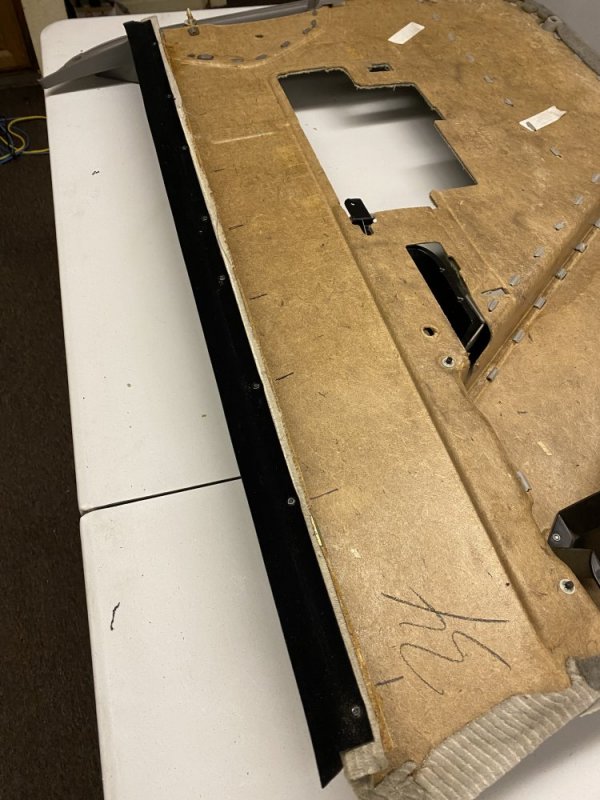
Finally have the interior wrapped up. I took the door panels apart and cleaned them up. I installed new felt sweeps from Steele Rubber. I cut the staples off the originals and used black 1/8” pop rivets to attach the new ones in the same spacing as the original staples.

5D0C0EDC-9D16-41A3-95E2-B8D110C6695E.jpegC3358D2F-8CDA-4A18-9428-04A2266A0770.jpeg

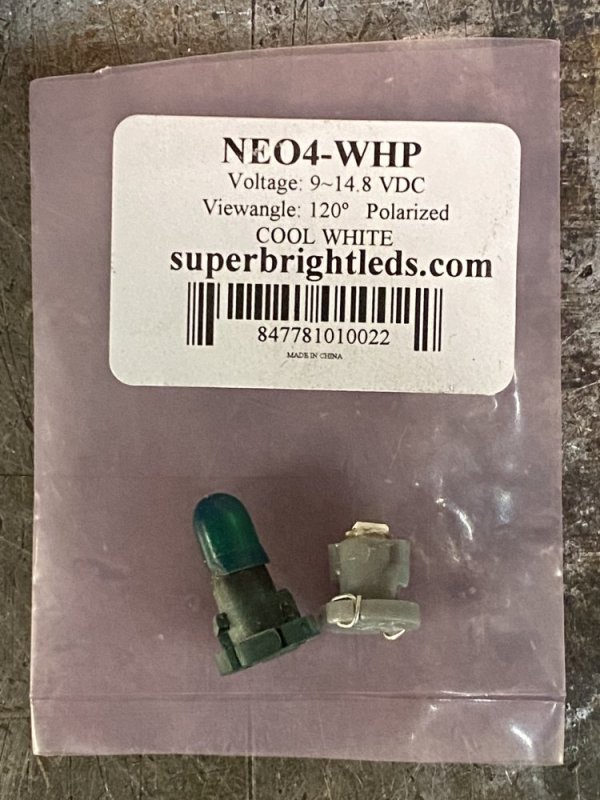
After that I installed LED bulbs to replace the original incandescent bulbs in the window switches.

67BB470D-F1E4-4D07-A2EC-350EEC420610.jpeg

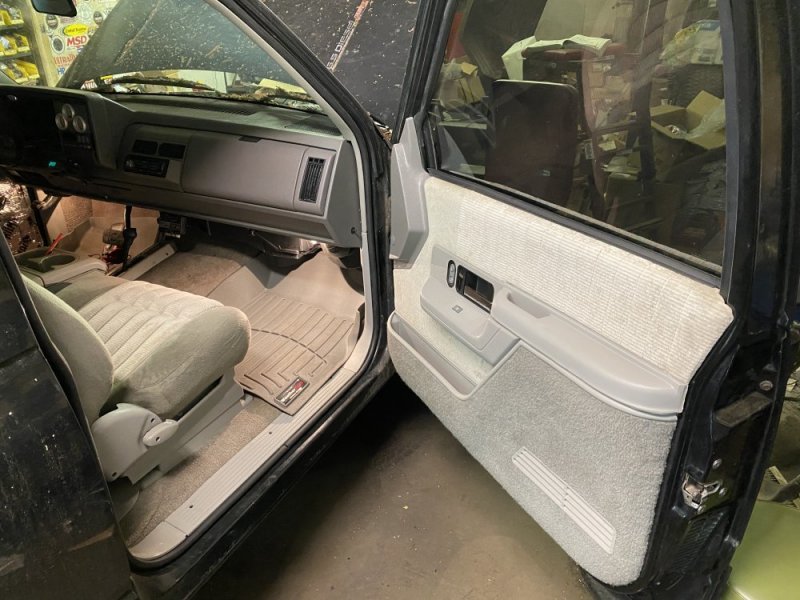
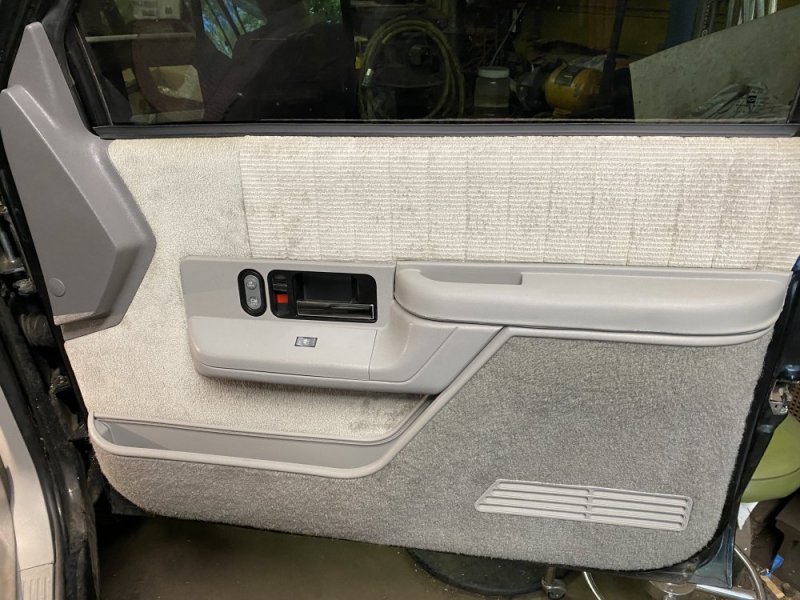
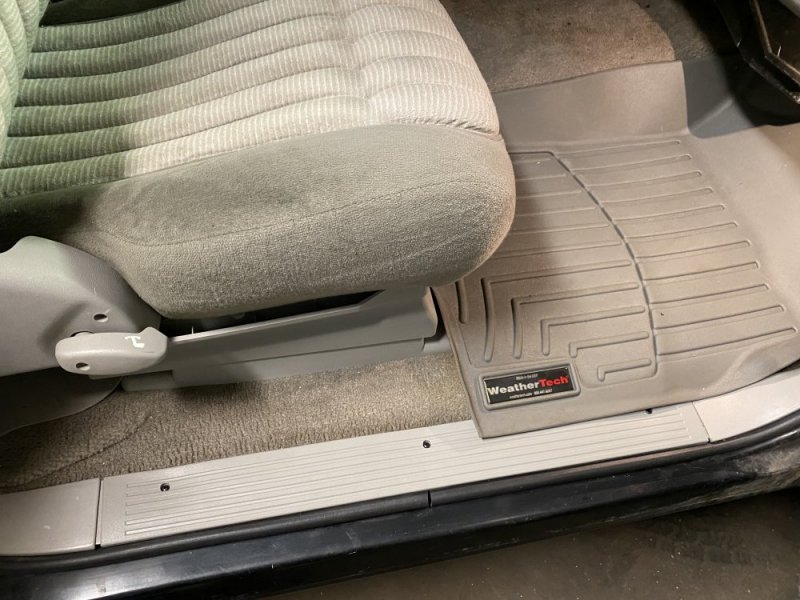
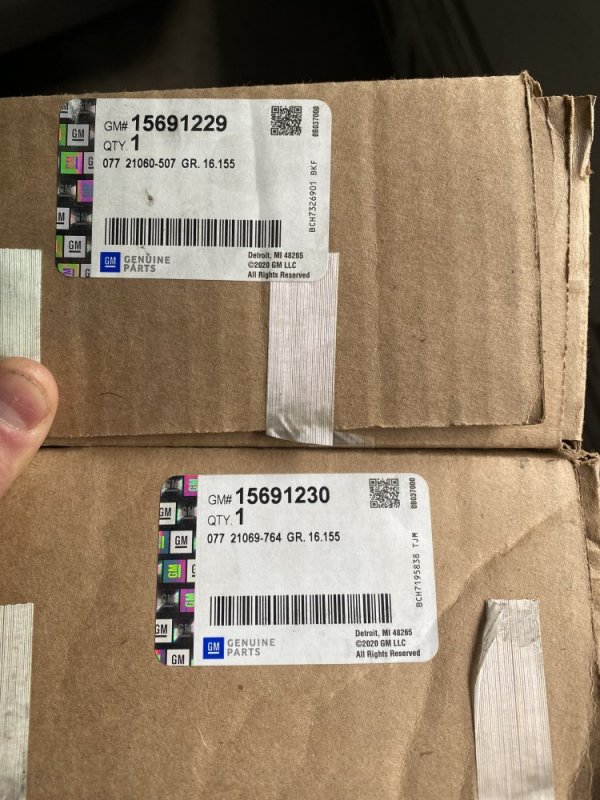
Then the panels got installed. You can still get new armrests from GM, so I got those while I was doing this. I also got the kick panels cleaned up and installed and put the new sill plates in. I can’t remember where I got the sill plates now…..I think LMC, but can’t recall since that was nearly a year ago that I bought them.

0C8042D8-F4BE-458D-A7EB-ED725AFC2784.jpeg305318AE-D030-4007-91BD-D2DC50536E3E.jpegAF1AD499-BBD6-4A27-87A4-63901B85CECA.jpeg87DD60C4-DF2B-43BF-8A13-D0471EA06C24.jpegC9036ACE-7BE3-485F-9E18-333A1B9D025A.jpeg83805C61-BC05-4BF4-82C3-07CF809DC06C.jpeg

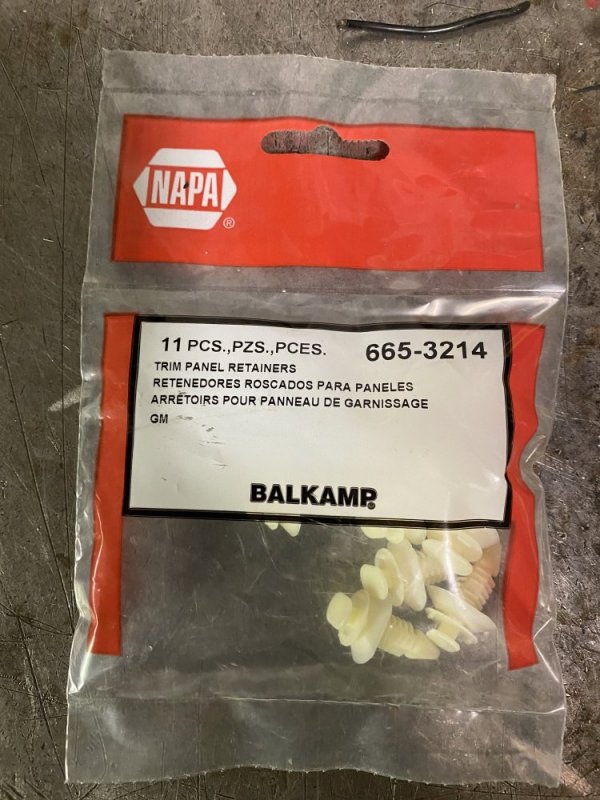
Oh and I had to go to Napa to get the correct panel retaining clips. I had ordered a set of Dorman clips that were supposed to be right, but they didn’t go into the panel correctly, so I went to Napa with one of the original clips and we matched it up with one in their catalog - perfect fit.

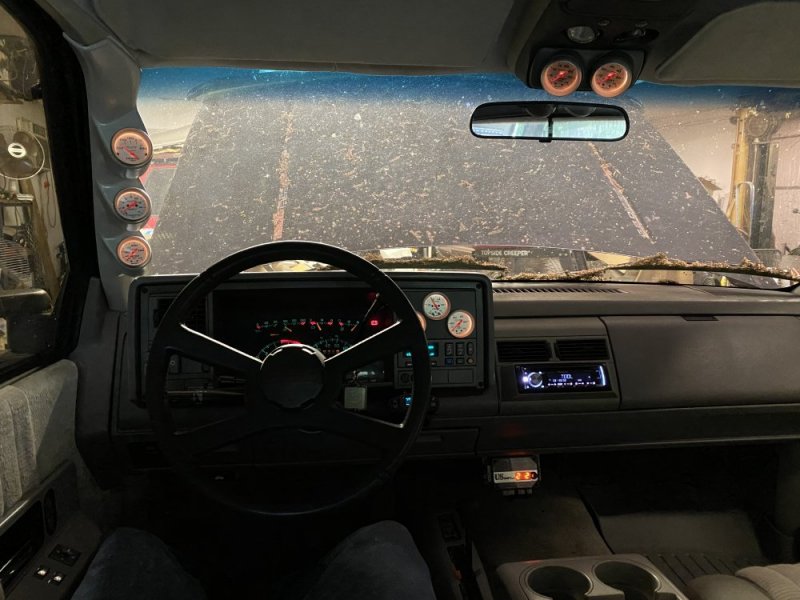
0868E97C-C4CD-41BC-8D89-DD720EF23B91.jpeg

It turned out pretty well, if I do say so myself. I found that the dome light doesn’t work - no continuity in the white wire at the fixture to where it comes out under the dash. I’m not sure where it might be open, but I’m not really interested in taking any panels back off so I’m just going to leave it alone…..the map lights in the dome light as well as in the overhead console all work so I have plenty of light when needed. So far that’s the only electrical device that isn’t functioning correctly, which considering I had all the wiring torn apart isn’t too bad.
 
Looks great!

Could you share the part number for the armrests?

Thanks for sharing the part number for the door panel retaining clips.

I feel like I am breaking everything when I take the door panels off.
Yup. Me too.
Taking the truck to the body shop I trust to get the panel off without busting it and getting it back on again and having all the clips and fasteners still attached and secure.
Last time i had drivers side panel removed, I busted a placement plastic nub and had to use J-B Wrld plastic bondo stuff to get it reattached. Seems to happen more frequent with age, break more than I set out to fix.
 
Looks great!

Could you share the part number for the armrests?

Thanks for sharing the part number for the door panel retaining clips.

I feel like I am breaking everything when I take the door panels off.

After I posted this I realized I should have posted the armrest pads. Here ya go:

9A7370C3-48B6-4659-8084-439475B9383B.jpeg

I really dislike taking interior panels off, it seems like they’re never on as good as they were before they were removed.

WOW, lost for words again so I have just one AWESOME.
I love the pop rivet idea replacing the big staples...so I will use your idea on my felt sweeps too.

Thanks, but I can’t take credit for the idea…..I did some searching online to get ideas on how to reattach them and I saw someone did it this way. I think I forgot to mention that I used backers on the back side of the rivets to keep them from pulling through the pressboard the panels are made of.

Yup. Me too.
Taking the truck to the body shop I trust to get the panel off without busting it and getting it back on again and having all the clips and fasteners still attached and secure.
Last time i had drivers side panel removed, I busted a placement plastic nub and had to use J-B Wrld plastic bondo stuff to get it reattached. Seems to happen more frequent with age, break more than I set out to fix.

Ha! Yeah isn’t that the way…..trying to fix one thing and you have to fix 2 more you broke when trying to fix the one! It seems it’s hard to get good work done anywhere, I think I’d take all the interior panels off myself before it went to the bodyshop than trust someone else to care about my 30 year old parts as much as I will.
 
I have NOT been having fun the last 2 weeks. Any thoughts are appreciated.

 
I have gotten a few small things done lately besides screwing up the air conditioning system.

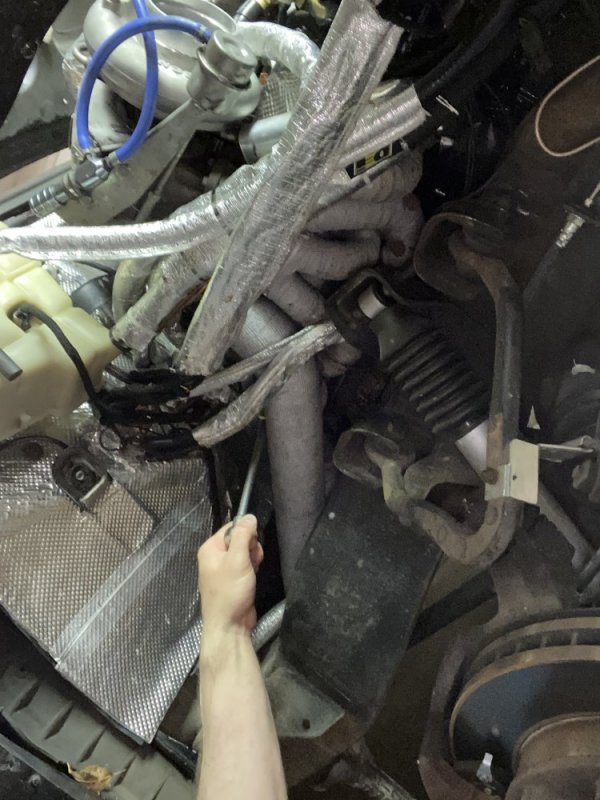
I have still been having problems with white smoke on cold starts. Sometimes, no matter how long I manually ran the glow plugs, even with after glow, it would still run rough and chug white until I could put heat into it. Starting wasn’t an issue as it would always fire right up, but it wasn’t right. And this was only on cold starts after sitting overnight. I started thinking about the glow plugs. I had installed the Duraterms from the Tahoe in this engine. They were working well when I stopped driving that and they maybe had 25,000 miles on them….should have plenty of life still, so I just threw them in. Now I was wishing I had tested them first. So I ordered a new set of Duraterms off Rock Auto and swapped them out. While I was swapping I decided I should check continuity on my glow plug wires while I’m doing this. I actually found a couple connections that weren’t so good and probably my problem and not the glow plugs. Regardless I still replaced the glow plugs. The first start I noticed a difference right away - while the glows were on, it was drawing the battery voltage down far enough that it illuminated the warning light on my voltmeter. Interesting. Then I went to do an extended burn and the system quit running. Hmmm. I turned the key off and back on and no glow plugs. Ok. So I got out and checked my circuit breaker. Yep, it was popped. Ok. So I reset it. I cycled the glows again and same thing - blew the breaker after a few seconds. Well this was encouraging and discouraging - I now knew I had more current going to the glow plugs, so it should start better now, but now my circuit breaker was undersized. I was afraid this would happen when I selected the breaker for that circuit. The largest rated breaker in that series of breakers I used for most everything was 40 amps, and that’s what I used for the glow plug circuit. It was hard to find info on how much the system would draw and based on the wire size 40 amps was in the ballpark so I ran with it, knowing I may have to regroup later. So now I’m regrouping. Right now I have the circuit breaker temporarily bypassed with a maxi fuse holder with a 50 amp fuse in it. This will get me by for a while and help me to decide the rating of the breaker that I want to run. Then I need to find a breaker with a form factor I’m happy with and decide how to mount it. Anyway, yes, now it starts great so that makes me super happy. I was starting to get anxiety about the way this thing was starting cold and our upcoming camping trip. I didn’t want to be that guy starting his truck up at the campground and smoking out the other sites with unburnt diesel until it got some heat in the cylinders - they’re already going to hate me any time I fire up this rattle box 😅. I have yet to test the glow plugs I took out, but I’d be willing to bet it was the wiring and not the glow plugs that were at fault - the one harness I didn’t rebuild is the one that gave me trouble. I’ve never had glow plug problems before so I’ve never really given the wiring much thought, but now I will. I’ll be making a new harness for this soon….I just need to figure out what wire to run.

I should also note that I have an assortment of the breakers in the truck in case I find I chose an undersized breaker on another circuit, then I can swap it out if it makes sense. Or if I have a breaker failure. So far everything else is working as it should, but I have very few miles on it at this point also - plenty of opportunity for gremlins to rear their head.

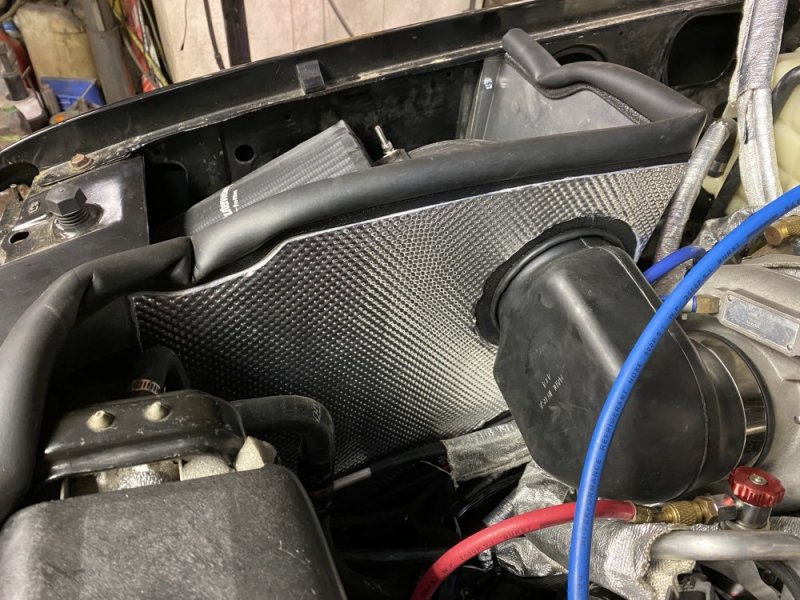
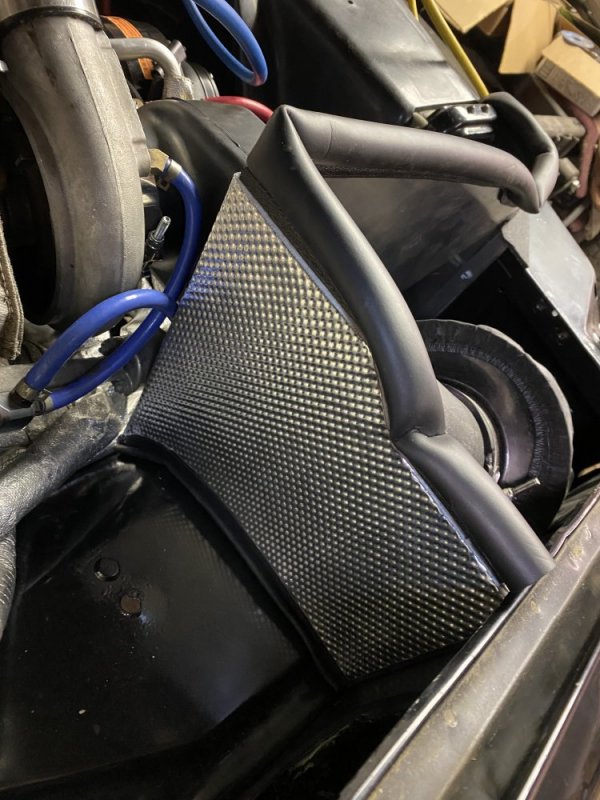
While I had the passenger side inner fender out to make it easier to get to the plugs I had the perfect opportunity to finally insulate my air box. I put a layer of Tunnel Shield on it.

4FFC2B0B-576F-4356-B1FF-F400BF30A17C.jpegBA4E871A-1758-4FE5-B496-BE2F44872D1A.jpeg84C8CE35-657E-439C-B746-C694341CC673.jpeg

Next up, I’ve decided to get the intercooler hooked up. I have an RV 5 gallon water tank I am going to mount under the bed to add more cooling capacity to the intercooler system, but for now I’m just going to do a quick-and-dirty installation of just the radiator and pump using the plumbing I took off the Tahoe. Later this summer I’ll do the complete installation with the additional reservoir.

Oh, I also took a couple decals off as well. I used a wheel I got off of Amazon. It worked really well!! It made quick work of the decals.

Decal Remover Eraser Wheel. Remove Car Decals, Vinyl & Stickers in Minutes with The 4" Wonder Wheel Toolkit - Arbor Supplied https://www.amazon.com/dp/B00VFACQR...abc_DBQMAVX3DMPYPYAGSQ41?_encoding=UTF8&psc=1

Oh yeah, I also forgot about jumper cables. Will had mentioned installing a plug and getting jumper cables that I could plug in when needed. I can’t remember the name of the plug now, but I liked the idea. I had a brand new set of heavy gauge cables already so I figured I’d cut an end off and add the plug in. So I started searching for those plugs. They’re not cheap, so I did a lot of searching around. I finally ended up finding a set of 1 gauge cables on sale with a pigtail and a plug set already installed so I went that route. I also installed these while I had the inner fender out - it made hooking them up to my wiring a ton easier with that out of the way. I haven't decided where I’m going to mount the plug yet, so they’re just coiled on the inner fender for now. I didn't get any pics of the cable yet, I’ll do that later, but these are what I installed.

TOPDC Jumper Cables with Quick Connect Plug 1 Gauge 25 Feet 800Amp Clamps Heavy Duty Booster Cables with Carry Bag (1AWG x 25Ft) https://www.amazon.com/dp/B078NSKCL...abc_MM41N9QVHZW3DKQ8MKPS?_encoding=UTF8&psc=1

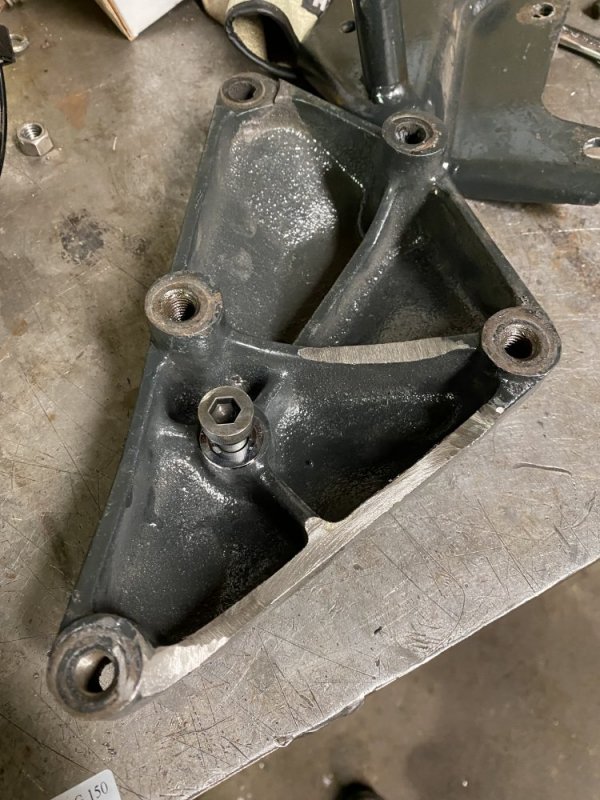
Oh yeah and I forgot that I had to mod the compressor mounting bracket to fit the scroll compressor. I’m not sure if clearancing was needed because I chose the oversized compressor or if it’s because it hadn’t been confirmed to fit the 6.5 brackets when they designed it (more likely I’m guessing), but I had to grind away some of the ribbing to clear the back of the compressor. I also had to swap the upper bolt that screws into the cylinder head from a hex head cap screw to a socket head cap screw - plus I had to shave about 1/16” off the top of the head of the screw. This AC fiasco sure has been fun.

FBC8B035-B813-4190-A976-53A0006BE215.jpeg

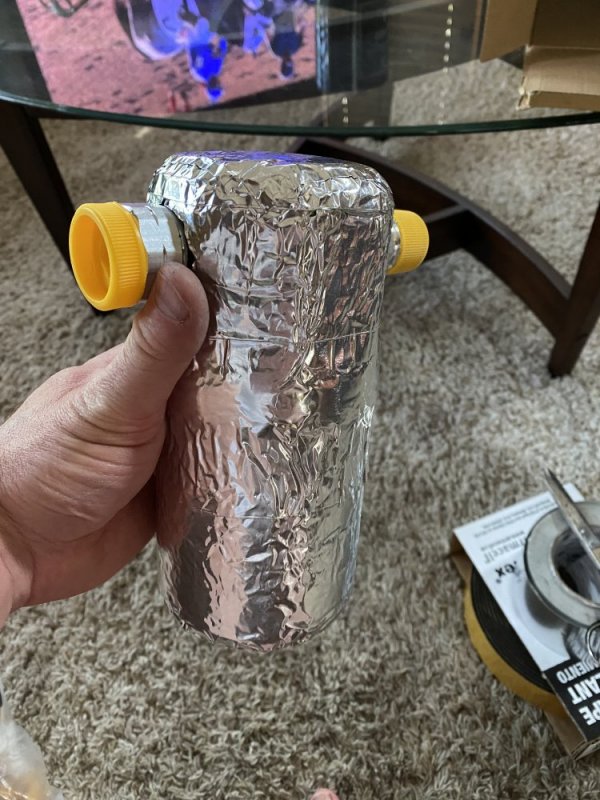
Oh and I also got to insulate the accumulator each time I went through this. This is the last one I did.

F8BD78D6-910A-4E9F-AB5B-2FC9CA2430C3.jpeg
 
As an Amazon Associate we earn from qualifying purchases.
Back
Top