Navigation
Install the app
How to install the app on iOS
Follow along with the video below to see how to install our site as a web app on your home screen.
Note: This feature may not be available in some browsers.
More options
-
Welcome to The Truck Stop! We see you haven't REGISTERED yet.
Your truck knowledge is missing!
- Registration is FREE , all we need is your birthday and email. (We don't share ANY data with ANYONE)
- We have tons of knowledge here for your diesel truck!
- Post your own topics and reply to existing threads to help others out!
- NO ADS! The site is fully functional and ad free!
Problems registering? Click here to contact us!
Already registered, but need a PASSWORD RESET? CLICK HERE TO RESET YOUR PASSWORD!
You are using an out of date browser. It may not display this or other websites correctly.
You should upgrade or use an alternative browser.
You should upgrade or use an alternative browser.
1994 K3500 extended cab dually
- Thread starter n8in8or
- Start date
ak diesel driver
6.5 driver
So I have to ask Nate is there an extra line tying into the return line near the IP?
n8in8or
I never met a project I didn’t like
Hmm, I’m not sure I follow. Maybe what you’re seeing is the return line that no longer follows the valley of the block and normally runs over the bellhousing? I rerouted that to drop off the driver side front of the engine. That’s the rubber hose without the nylon braided outer layer.So I have to ask Nate is there an extra line tying into the return line near the IP?
ak diesel driver
6.5 driver
So you put a T fitting there?
n8in8or
I never met a project I didn’t like
Nope, the plumbing is complete. I'll take a video later to explain the plumbing up at the engine, that will probably explain better than pictures and words.So you put a T fitting there?
n8in8or
I never met a project I didn’t like
Here’s the dime tour of the engine plumbing.
Husker6.5
135' diagonal 16:9HD, 25KW sound!
Nice job, Nate! What do we get for a quarter?
n8in8or
I never met a project I didn’t like
A double-feature and half a bag of microwave popcorn.Nice job, Nate! What do we get for a quarter?
Husker6.5
135' diagonal 16:9HD, 25KW sound!
Gee, is the Second Feature a video tour of your (finally) completed skid steer, Nate? 


n8in8or
I never met a project I didn’t like
That will be WAY more than a quarter and that's still in pre-production. I'm currently looking for a skid-steer doubleGee, is the Second Feature a video tour of your (finally) completed skid steer, Nate?

ak diesel driver
6.5 driver
So the sensor on your oil pressure line is so you can have a light/guage as well as a mechanical guage?
n8in8or
I never met a project I didn’t like
Partially. The main purpose of the oil presser sensor is I'm still using that as the main trigger for the lift pump relay, but yeah, I also left the factory gauge functional, mostly just so I didn't have dead gauge in my cluster.So the sensor on your oil pressure line is so you can have a light/guage as well as a mechanical guage?
n8in8or
I never met a project I didn’t like
It’s been a little bit since I reported progress. I spent a few days prepping for a new arrival.
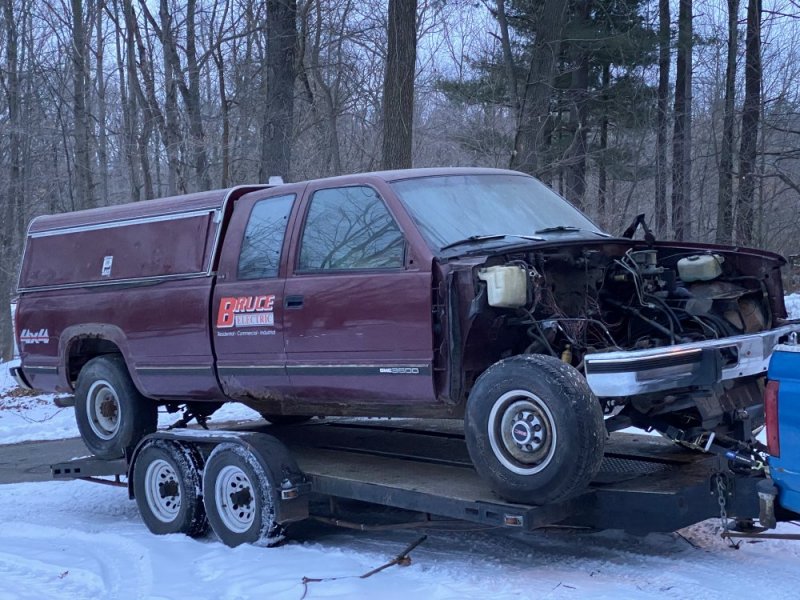
That makes number 5 Now I have almost a full set of GMT400 turbo diesels....with this one being a 93 I now have 92, 93, 94, 96 and 97. I went to look at some parts off of this one, but in the end the owner and I decided I needed the whole truck. I took a couple parts off of it already for the dually, but the ultimate fate of it is still up in the air. I think it would make a good truggy, but time will tell.
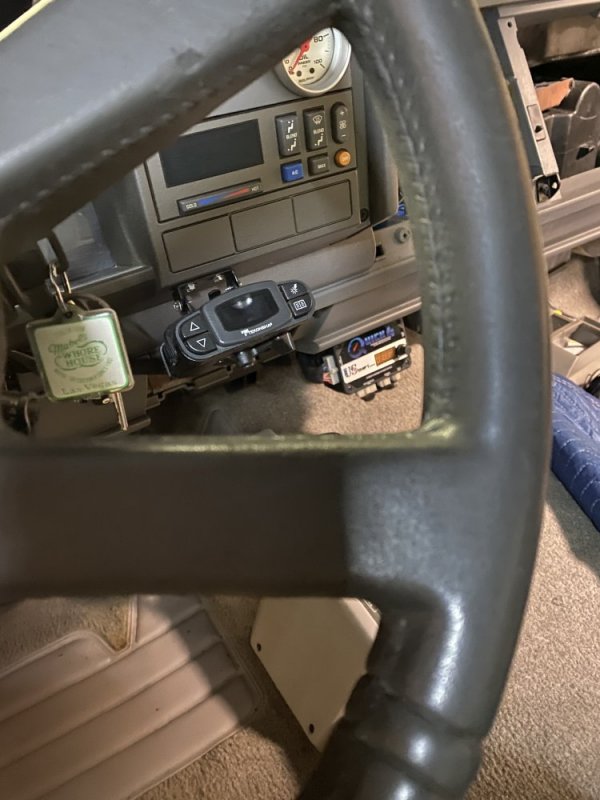
For the dually I’m buttoning up some details in the interior and it’s feeling really good. I installed the driver seat so I could finalize placement of the transmission and trailer brake controllers. I was originally thinking I would build the trans controller into an ABS pod and mount that to the dash bezel so it would be kind of built-in, but then decided that was way more effort than it was worth, so in the end it just got mounted on an aluminum bracket under the dash. Then I mounted the trans controller to the bezel in a handy position.
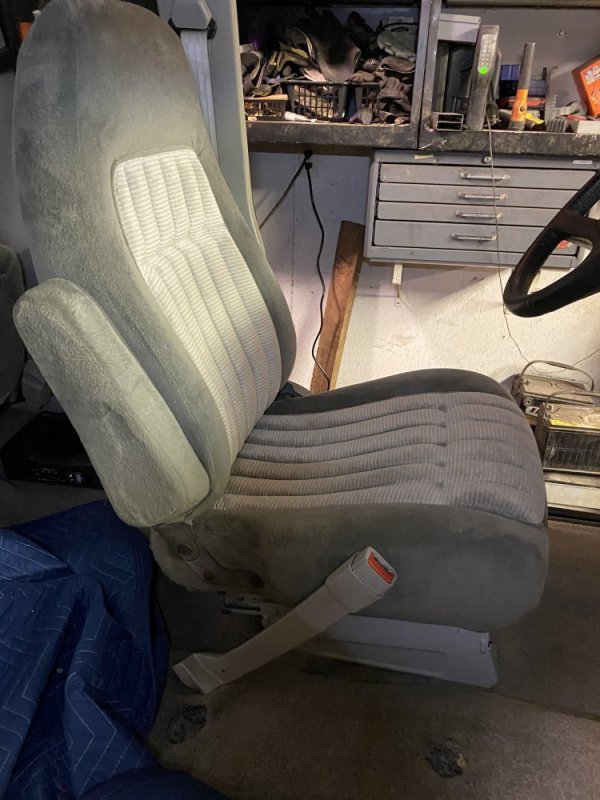
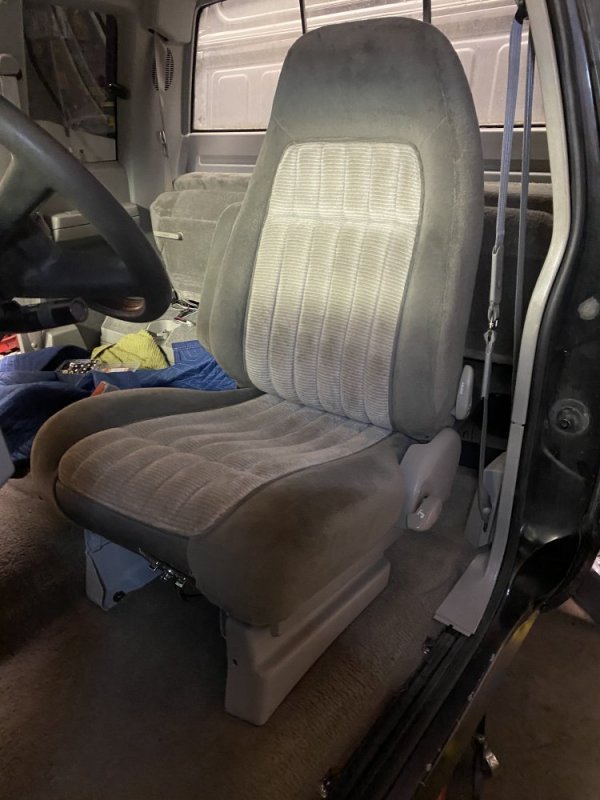
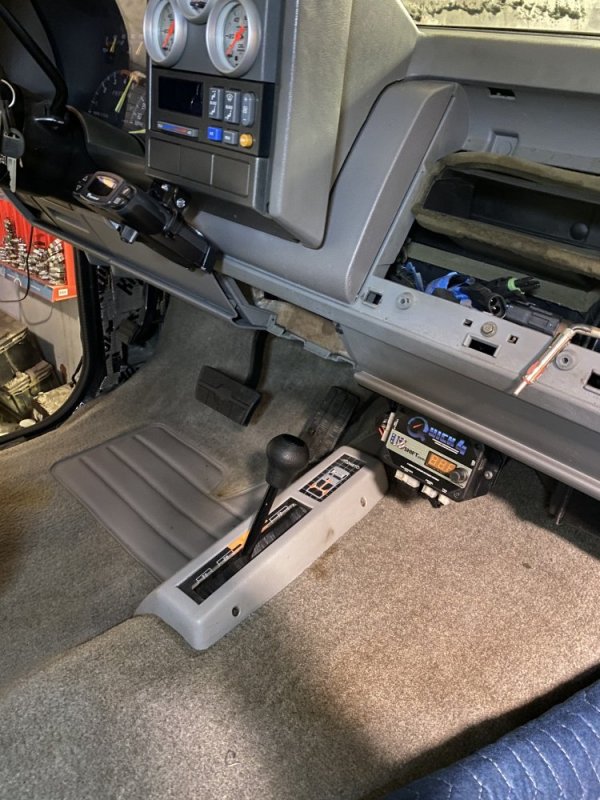
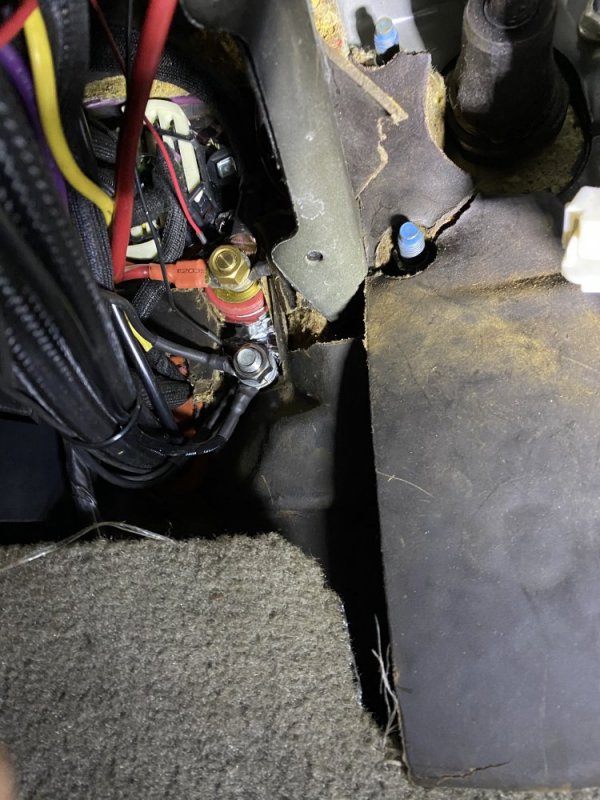
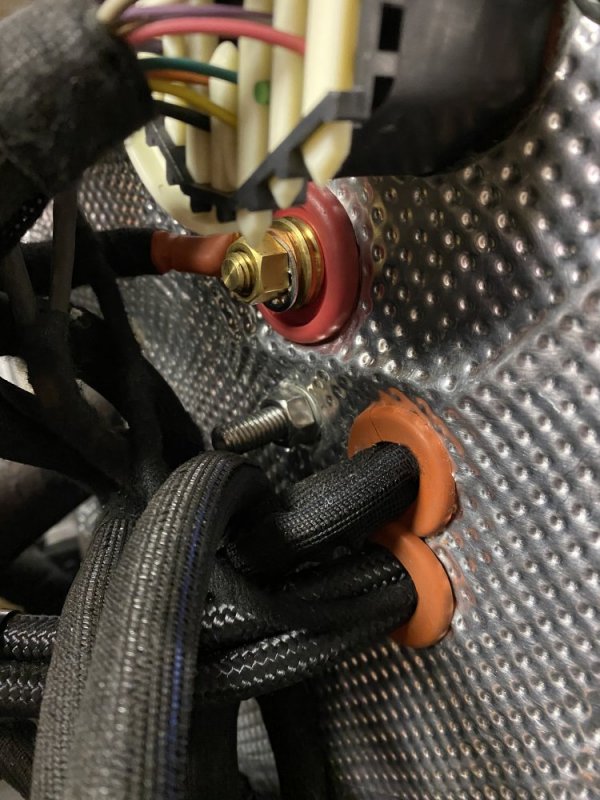
With these mounted I could finalize the wiring under the driver side of the dash. I ran all my hot wires to the pass thru stud on the firewall. Then I added a ground stud below that so I can link grounds inside and outside.
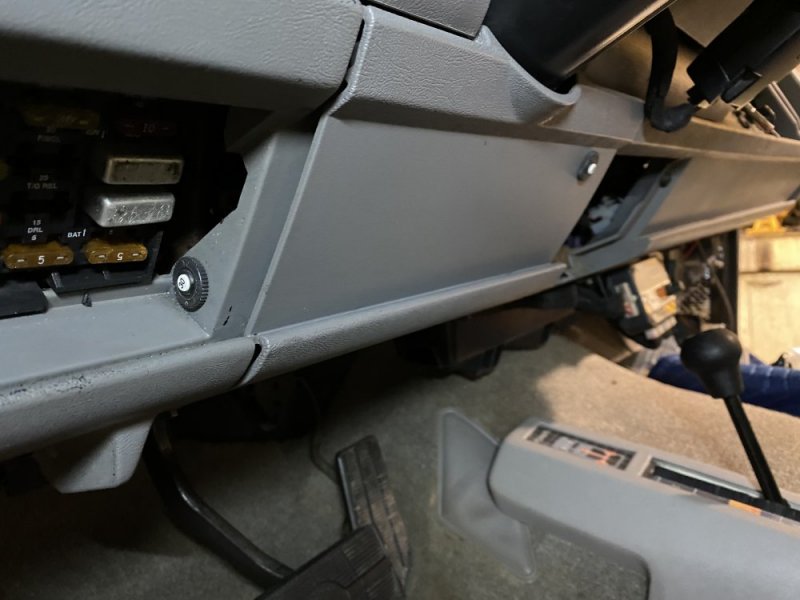
I mounted a circuit breaker for one of the main power leads in the cab in the fuse compartment in the dash - this was originally a fusible link in the engine compartment. Then I mounted a breaker for power to the brake controller in the panel under the steering column so if it tripped I could easily reach it to reset it while driving.
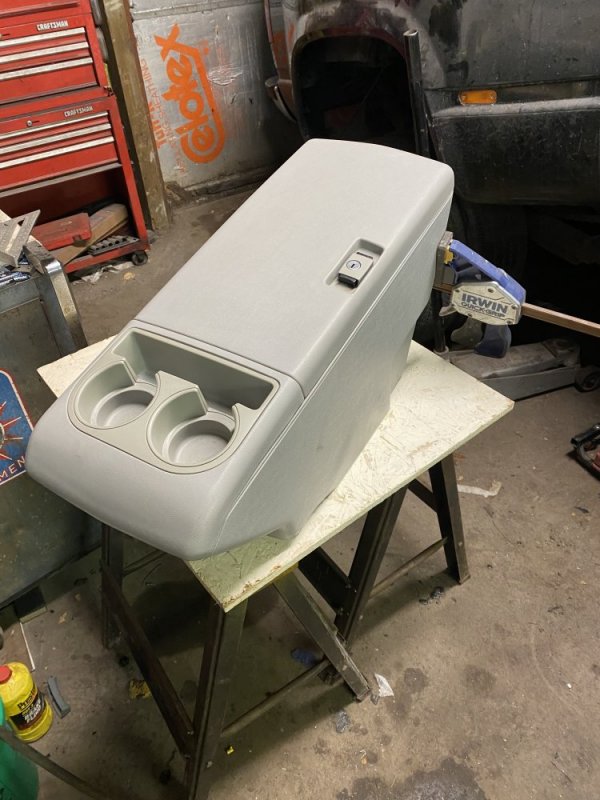
I got the transfer case shifter and bezel installed which wasn’t a treat - the added carpet padding made it really tough to get the screw holes lined up. And the center console is cleaned and ready to install, but right now some glue is drying to repair where it was cracking apart at the seams.
Next will be the installation of the driver door.
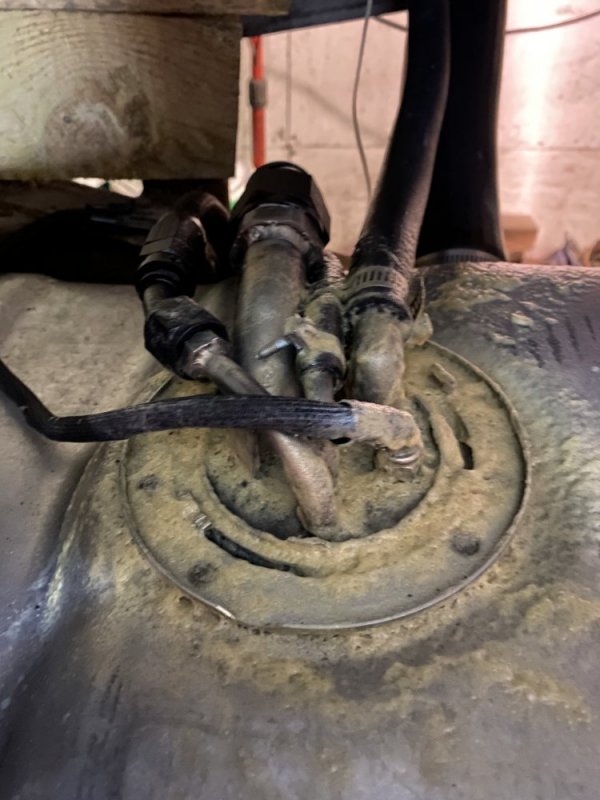
Oh and I sprayed the cavity wax on the FSU now that everything is connected.

That makes number 5
For the dually I’m buttoning up some details in the interior and it’s feeling really good. I installed the driver seat so I could finalize placement of the transmission and trailer brake controllers. I was originally thinking I would build the trans controller into an ABS pod and mount that to the dash bezel so it would be kind of built-in, but then decided that was way more effort than it was worth, so in the end it just got mounted on an aluminum bracket under the dash. Then I mounted the trans controller to the bezel in a handy position.


With these mounted I could finalize the wiring under the driver side of the dash. I ran all my hot wires to the pass thru stud on the firewall. Then I added a ground stud below that so I can link grounds inside and outside.


I mounted a circuit breaker for one of the main power leads in the cab in the fuse compartment in the dash - this was originally a fusible link in the engine compartment. Then I mounted a breaker for power to the brake controller in the panel under the steering column so if it tripped I could easily reach it to reset it while driving.

I got the transfer case shifter and bezel installed which wasn’t a treat - the added carpet padding made it really tough to get the screw holes lined up. And the center console is cleaned and ready to install, but right now some glue is drying to repair where it was cracking apart at the seams.

Next will be the installation of the driver door.
Oh and I sprayed the cavity wax on the FSU now that everything is connected.

n8in8or
I never met a project I didn’t like
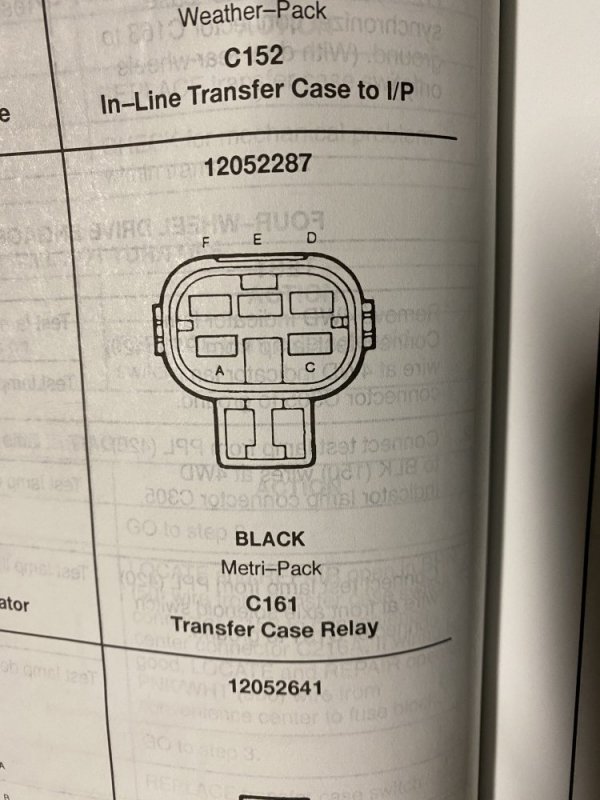
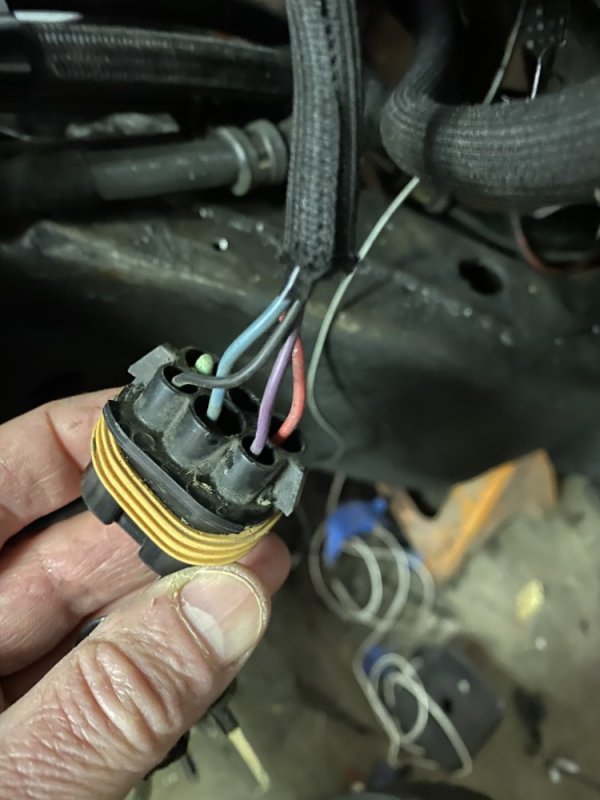
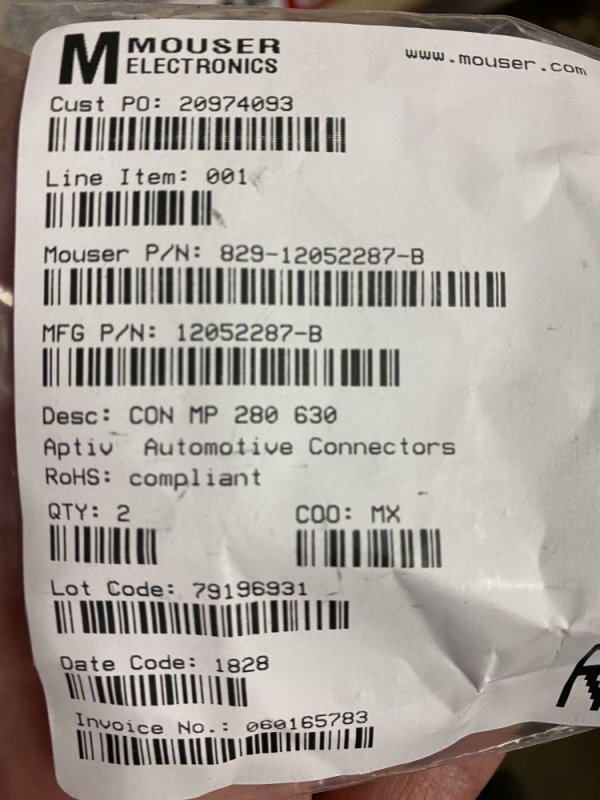
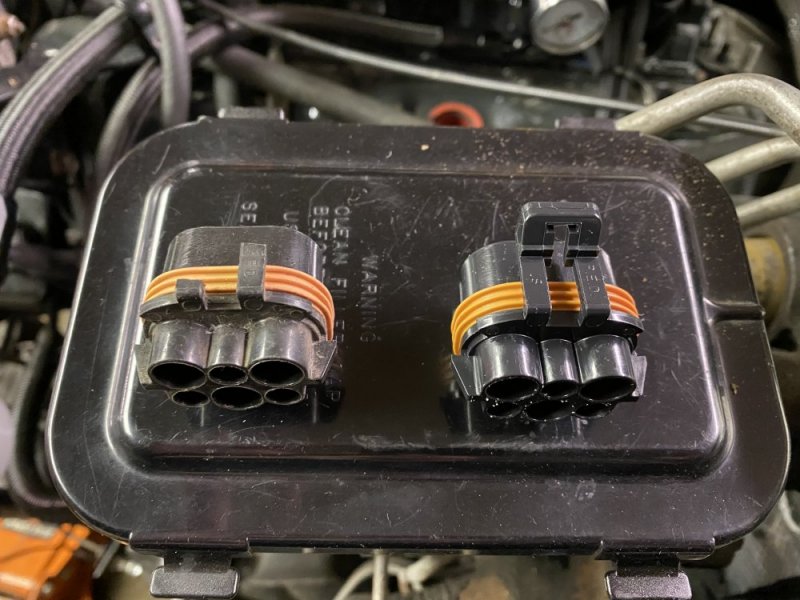
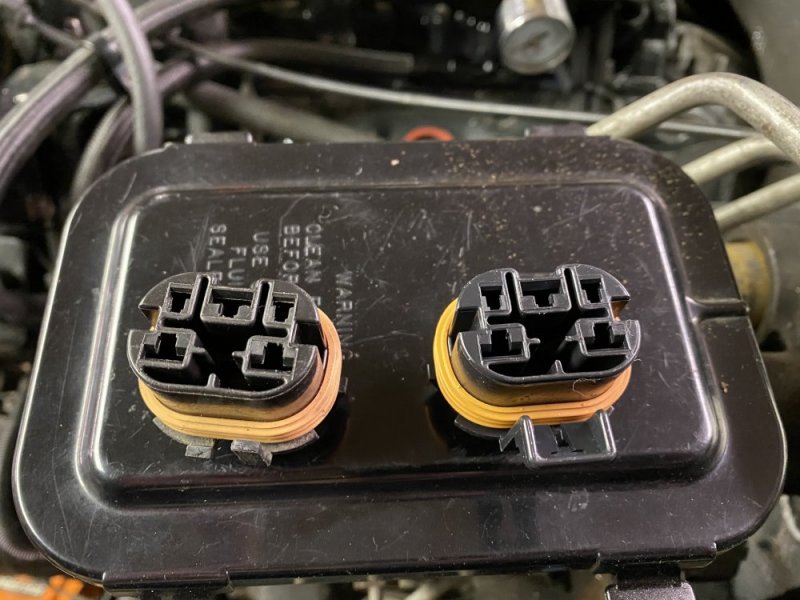
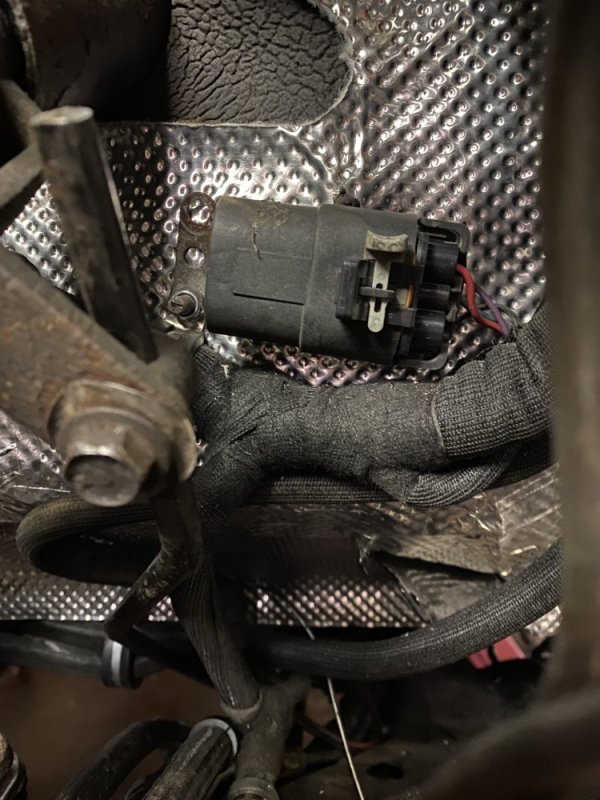
The latch on the transfer case relay connector had gotten brittle with age and broken during removal. The service manual had the part number for the connector in it. A quick search showed that the part number has since had a “-B” added to the end of it. Mouser had them in stock. I ordered a couple and they arrived 2 days later.


FellowTraveler
Well-Known Member
Yes, it is exposed to UV via reflection, there are water based UV rejection coatings that can be applied to hoses, interior components and other items. Many individuals are using DuraBak smooth to coat tires for protection from UV...Rust Seal also degrades from UV, but it will see limited UV where it is under the truck. I'll have to look into that DuraBak.
You can get window tint that blocks UV.
FellowTraveler
Well-Known Member
AWESOME...This weekend I got the pre-IP fuel filter mounted. I had been planning on mounting it to the fender or core support, but Friday night I was looking at things closer and determined I could hang it off the alternator bracket. This is a good thing because now I can finish all fuel plumbing before hanging the front clip. Unfortunately I need a couple different hose ends and won’t have those until Monday so I wasn’t able to finish the fuel system this weekend.
View attachment 63409View attachment 63410
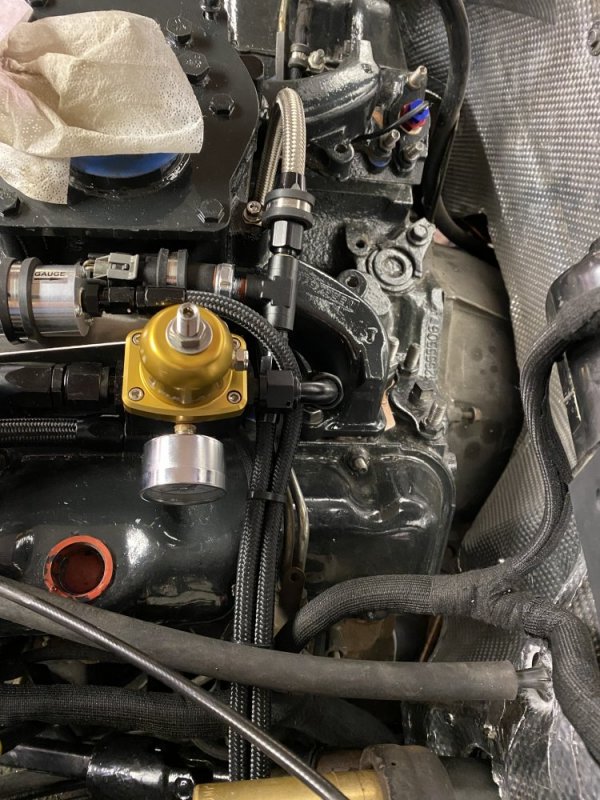
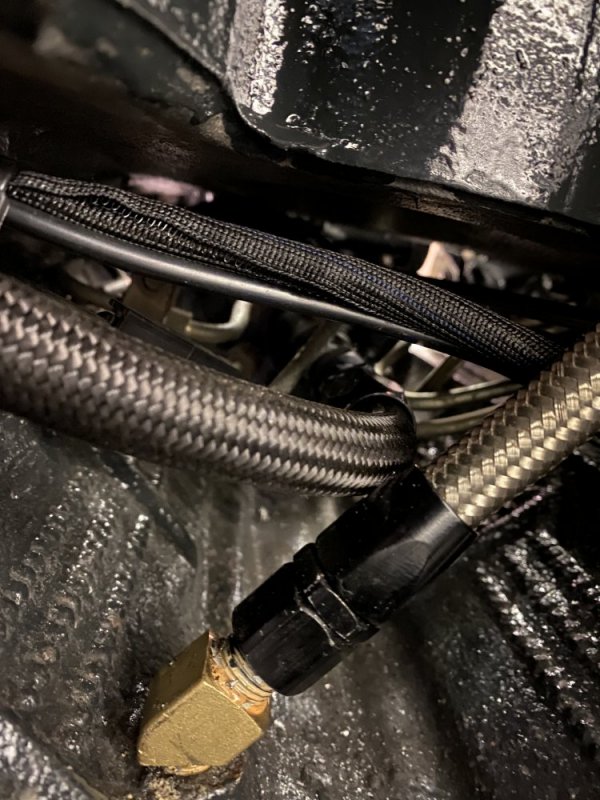
I also got the fuel pressure and oil pressure gauges plumbed with -4 hose. The FP gauge hose is filled with antifreeze between the isolator and the gauge.
View attachment 63411View attachment 63412
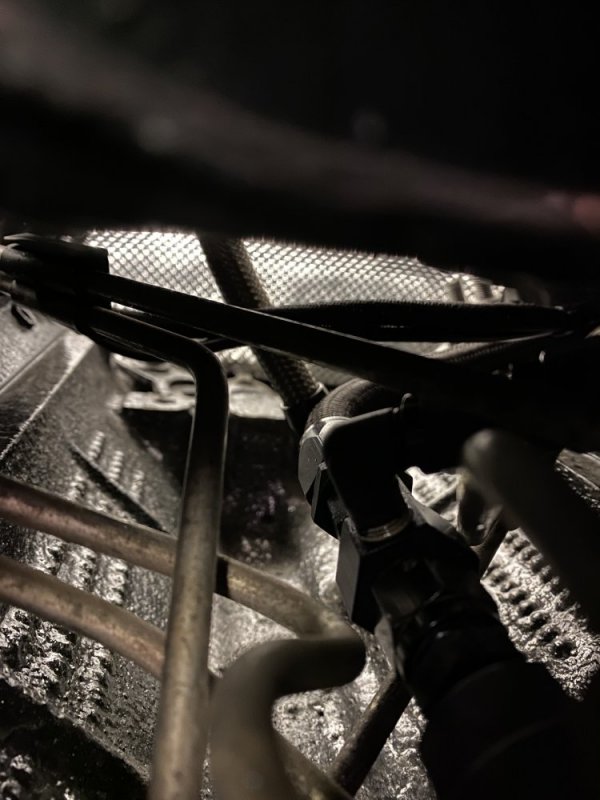
I made a new block off plate for the rear of the passenger side head and tapped it 1/2” NPT for the water temp gauge. And hooked up the EGT probe.
View attachment 63413View attachment 63414
n8in8or
I never met a project I didn’t like
Thank you. I based a lot of the supply end of this on info you shared. I can’t wait to see the results.AWESOME...
n8in8or
I never met a project I didn’t like
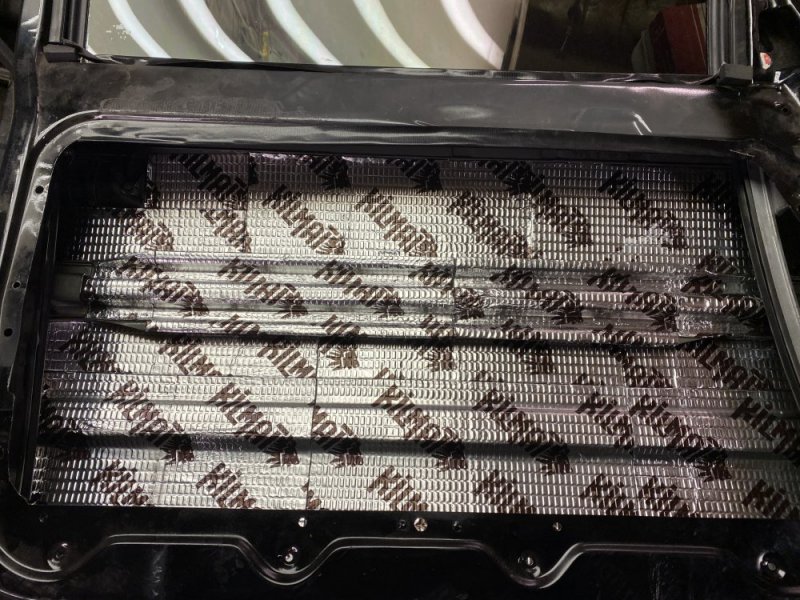
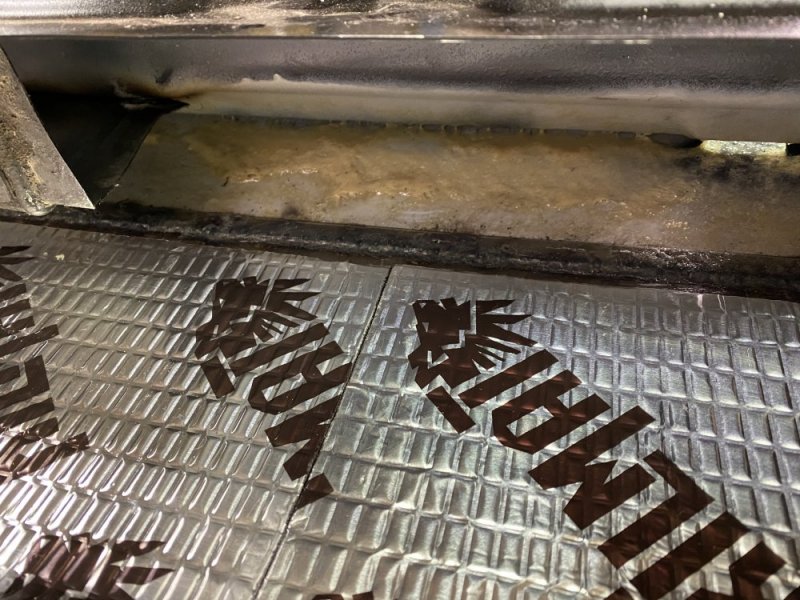
I was working on assembling the driver door, but unfortunately found that the NOS window motor I bought a couple months ago was the wrong one, so I had to stop after spraying the bottom with cavity wax and installing sound deadener.
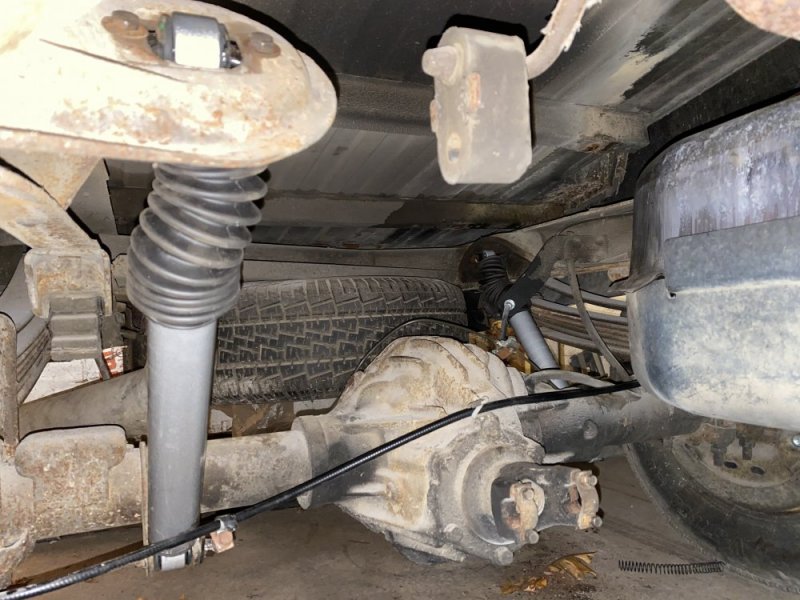
So after that I switched to a couple other things. I installed the rear shocks finally and it was convenient because the bed was still raised.
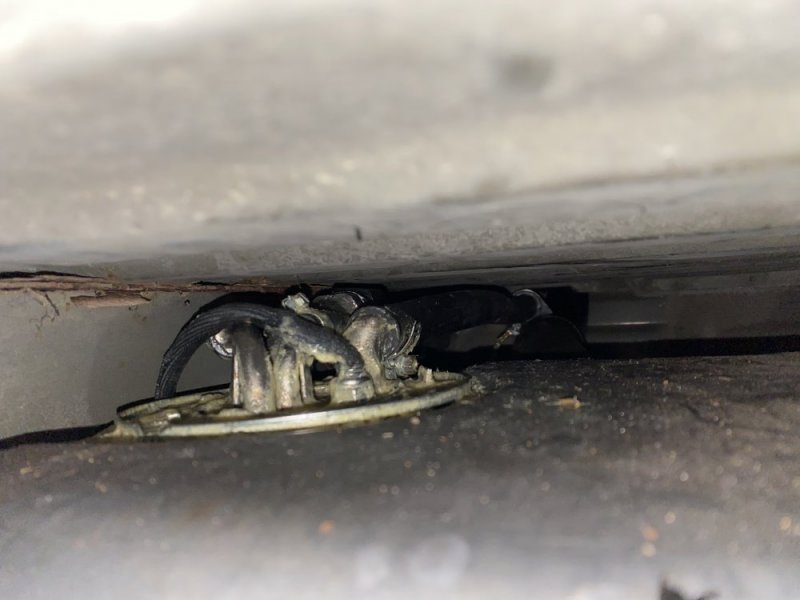
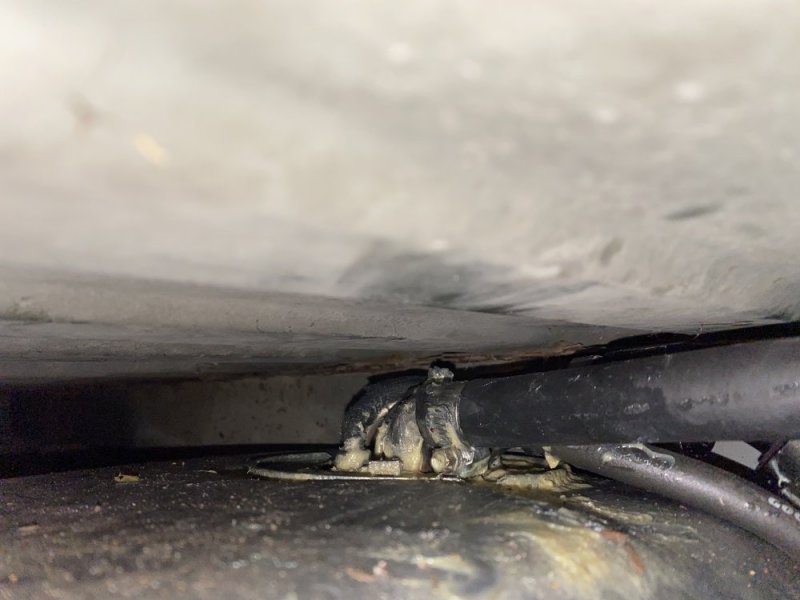
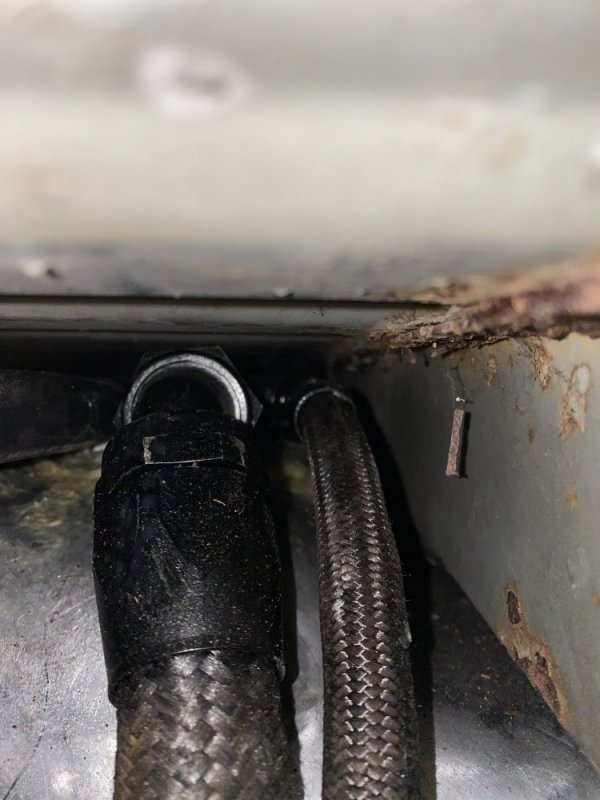
After that I lowered the bed and hooked the fill hose up to the bed. It was hard to get pics, but I ended up with about 3/16” of clearance between the -16 fuel hose and the floor of the bed, which was a bit closer than I expected, but still enough.


So after that I switched to a couple other things. I installed the rear shocks finally and it was convenient because the bed was still raised.

After that I lowered the bed and hooked the fill hose up to the bed. It was hard to get pics, but I ended up with about 3/16” of clearance between the -16 fuel hose and the floor of the bed, which was a bit closer than I expected, but still enough.


93detroit
Well-Known Member
Good work Nate! I think I've done a lot to my truck, then I look at your stuff and realize I'm such an amateur!
n8in8or
I never met a project I didn’t like
I had another delay with the driver door: I forgot there were problems with the driver side lock cylinder so once I started looking at it now I found I needed a new cylinder and the handle was kind of messed up as well, so more parts to order.....
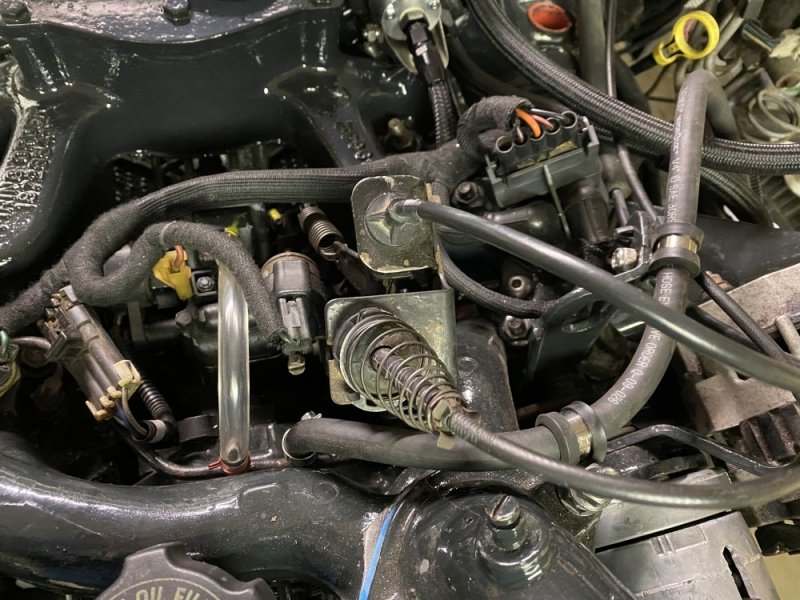
So I shifted my focus to some details that needed to be addressed. In no particular order I added some Earl’s heat sleeve to the fuel lines where they were close to the exhaust. I installed the NOS cruise control cable I got lucky finding on eBay since mine was broken. I installed new hydroboost hoses. I cut the original connector off the Raptor pump and added a Weatherpack connector to it, then I finished the wiring for the lift pump. The last thing I did was finish all of the grounds on the driver side of the engine compartment - I tied the body, the frame and the engine all together at the ground stud I put in the firewall. With this stuff done I THINK the driver side is done until the front clip is reinstalled.
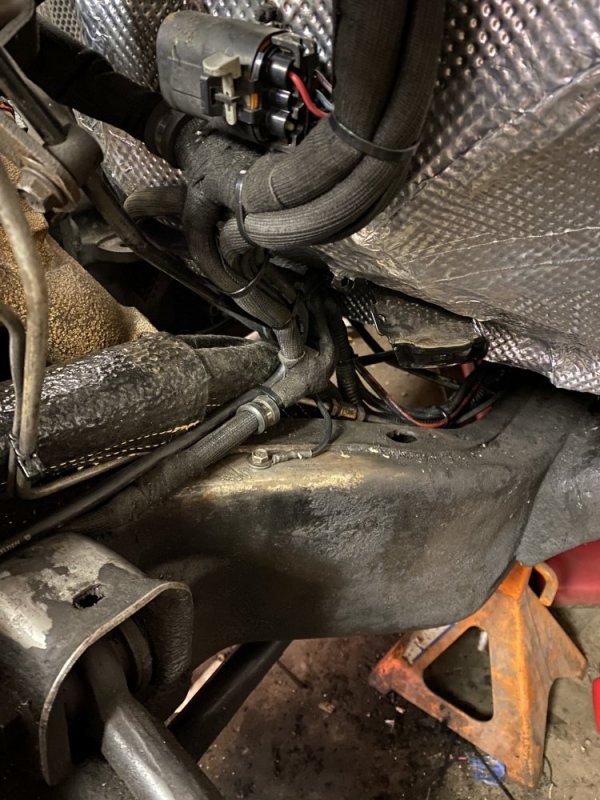
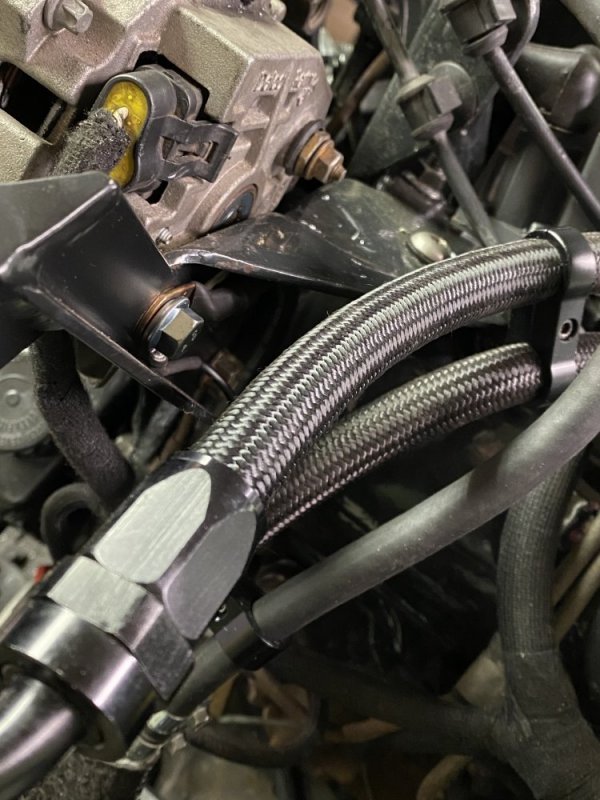
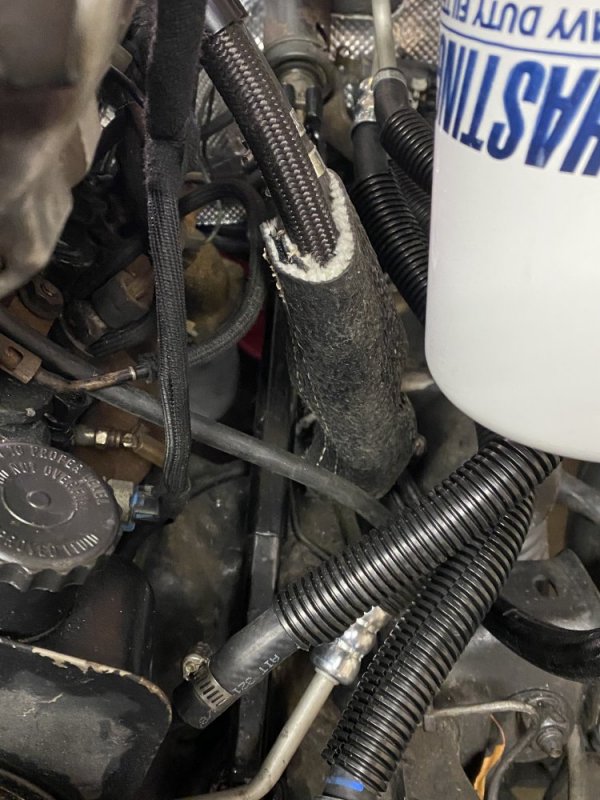
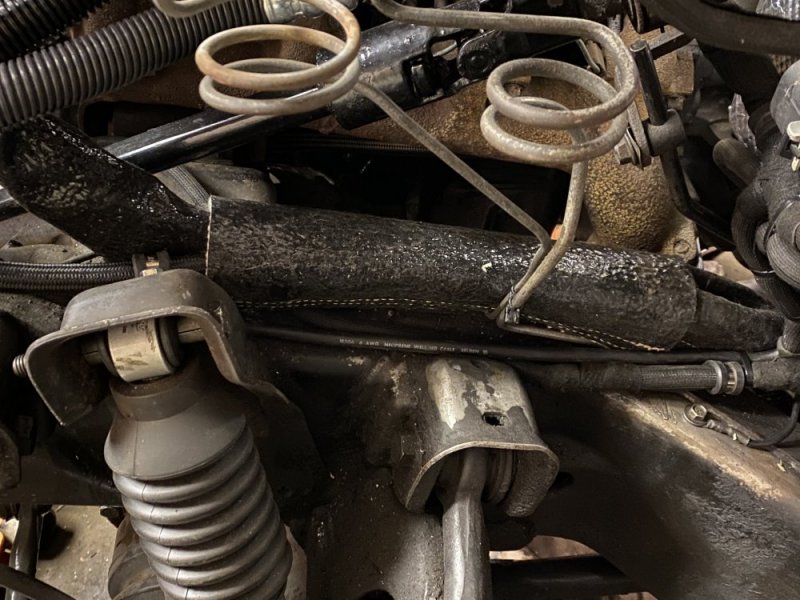
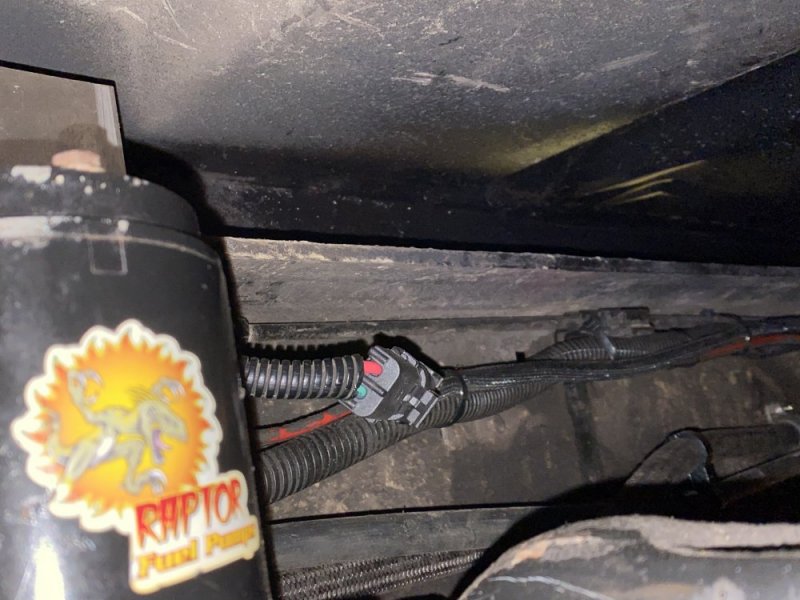
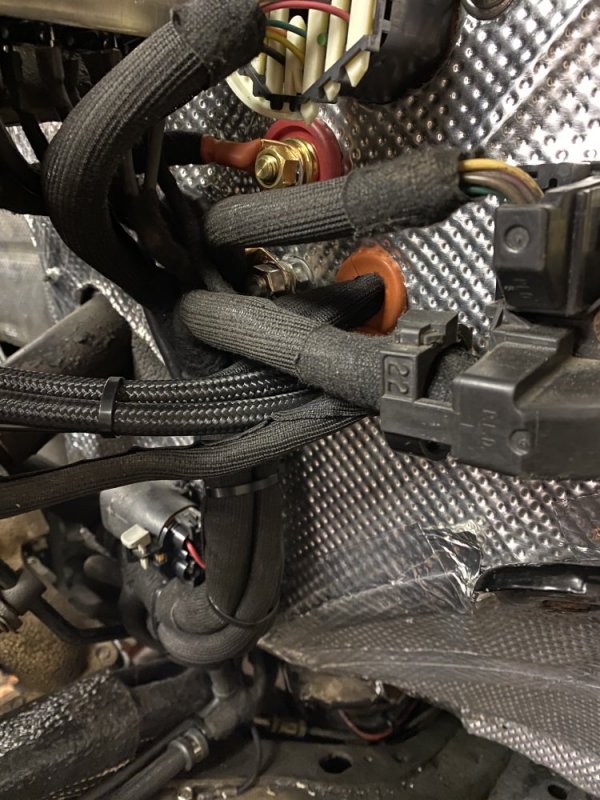
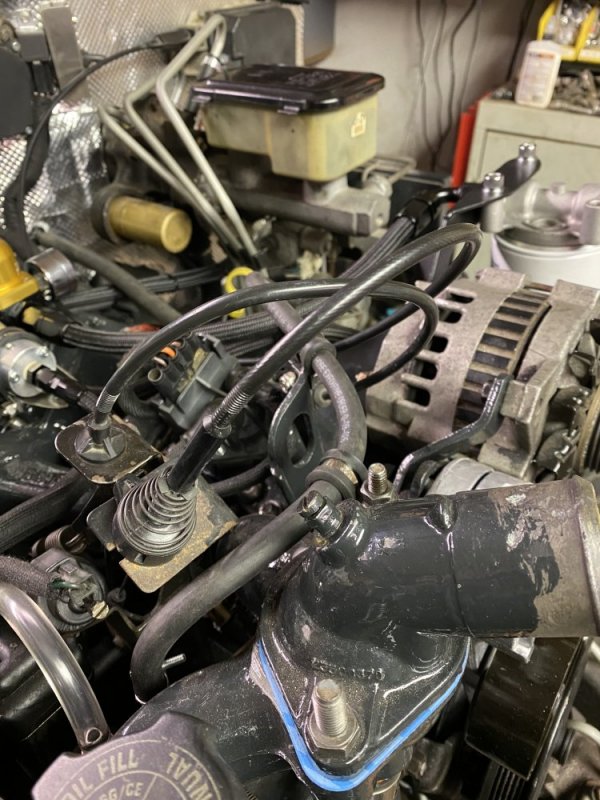
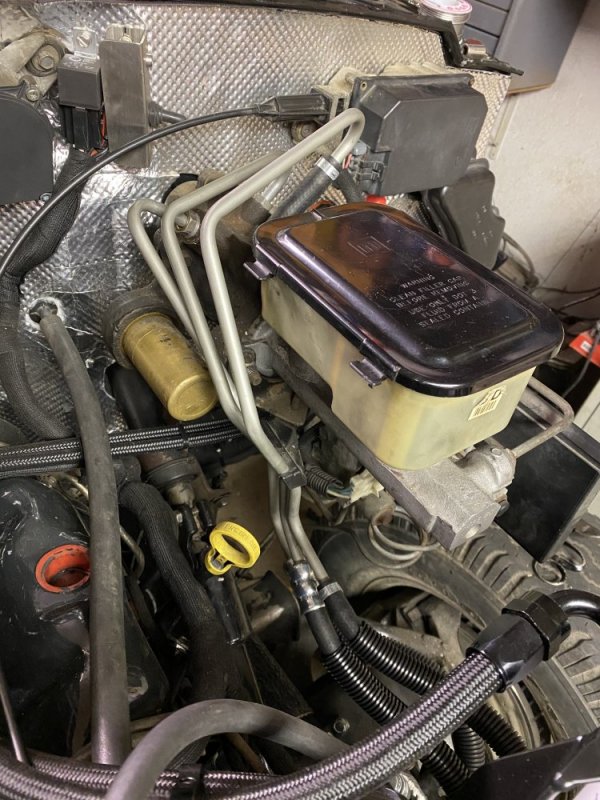
So I shifted my focus to some details that needed to be addressed. In no particular order I added some Earl’s heat sleeve to the fuel lines where they were close to the exhaust. I installed the NOS cruise control cable I got lucky finding on eBay since mine was broken. I installed new hydroboost hoses. I cut the original connector off the Raptor pump and added a Weatherpack connector to it, then I finished the wiring for the lift pump. The last thing I did was finish all of the grounds on the driver side of the engine compartment - I tied the body, the frame and the engine all together at the ground stud I put in the firewall. With this stuff done I THINK the driver side is done until the front clip is reinstalled.


