i say 5. what's my prize?.......Any bets on how many parts I still have to replace on the AC system?........
Navigation
Install the app
How to install the app on iOS
Follow along with the video below to see how to install our site as a web app on your home screen.
Note: This feature may not be available in some browsers.
More options
-
Welcome to The Truck Stop! We see you haven't REGISTERED yet.
Your truck knowledge is missing!
- Registration is FREE , all we need is your birthday and email. (We don't share ANY data with ANYONE)
- We have tons of knowledge here for your diesel truck!
- Post your own topics and reply to existing threads to help others out!
- NO ADS! The site is fully functional and ad free!
Problems registering? Click here to contact us!
Already registered, but need a PASSWORD RESET? CLICK HERE TO RESET YOUR PASSWORD!
You are using an out of date browser. It may not display this or other websites correctly.
You should upgrade or use an alternative browser.
You should upgrade or use an alternative browser.
1992 6.5TD Rescue
- Thread starter WarWagon
- Start date
NVW
Well-Known Member
Don't forget the rag in the air intake, we know it can happen.
tanman_2006
Just a farm kid...
Or the hose clamp screw, I hear that's been an issue for some haha.
Don't forget the rag in the air intake, we know it can happen.
Attempt to suck in the NASCAR seat cushion - Failed: Engine just stalled out. Got an old frying pan as the emergency air stop ready.
Or the hose clamp screw, I hear that's been an issue for some haha.
Over here we don't skimp! We give it the entire worm clamp so it takes a week to come apart and make noise! The rest of the clamp was still stuck in an intake port.
So we got it smoking. Governor check passed and nothing Cumapart...
It's now "Turnkey!" Starts so quick now after glowplugs that I for sure need to get the new pump on hard starting Patch.
Last edited:
n8in8or
I never met a project I didn’t like
Sounds good! Congratulations WW.
Will L.
Well-Known Member
Sounds good man.
i say 5. what's my prize?
So this turns out to have the orface tube located in the bottom of the evaporator. A real PIA to get to. System doesn't run long with 2 orface tubes in it... So we removed the condenser VOV orface tube.
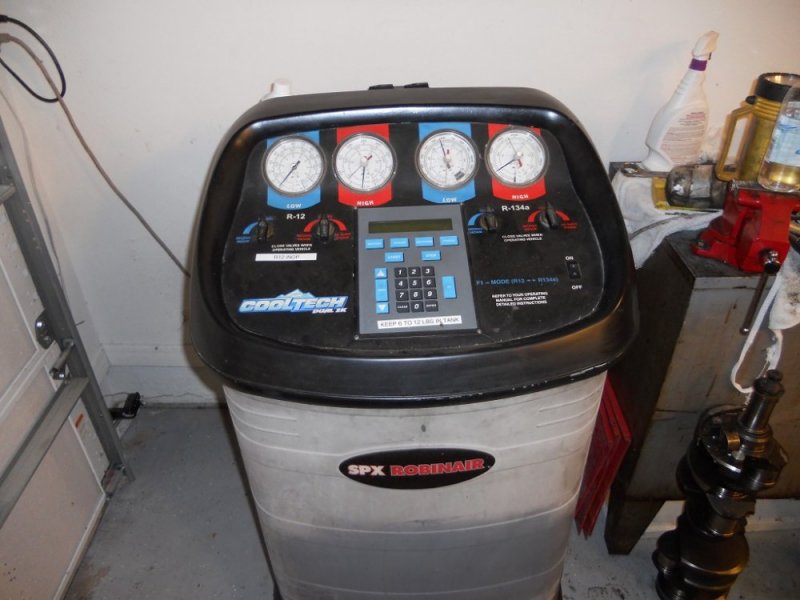
New junkyard R134a condenser as the R12 one had mangled fins. Added a high pressure cut out switch and R134a conversion fittings. Replaced compressor to line seals. Replaced accumulator and added 8oz of PAG oil. 2 lbs of R134a. System works and is leak free. Surprised with the OEM Harrison name compressor on it. (It may or may not be original. It is old as they haven't made Harrison R4 compressors in a long time. )
And a shout out to @RockAutoLLC and @Burning oil for lots of parts to get this running. I have half the side of a tool box covered with @RockAutoLLC magnets.
Last edited:
Nosferatu49534
Well-Known Member
Sounds real nice. 
Sent from my VS995 using Tapatalk
Sent from my VS995 using Tapatalk
As an aside on AC work:
Yes I should have checked the evaporator for an orface tube. However we charged and recovered the system a few times fixing a leak and the orface tube 2x problem. The amount of shop time saved and money saved on doing my own AC work has paid for one of these used many times over. I did have the R134a compressor changed in the Robinair and related work for $1500.00: The shop bill of just one complete AC job. Nice to have friends with one of these or own one outright in hot climates like ours. A leak sniffer is also a requirement because dye only does so much and takes days.
And a shout out again to @RockAutoLLC for carrying the "Good" rear brake shoes! Both Raybestos and Wagner! Local parts house quit carrying the Wagner because they don't sell well. DUH!!! Rear brakes aren't replaced that often!
WAGNER PAB655R (PAB451R, PAB451RNA, PAB655RNA) ThermoQuiet Rear; 13 x 2-1/2" Brake 8600 Lb GVW
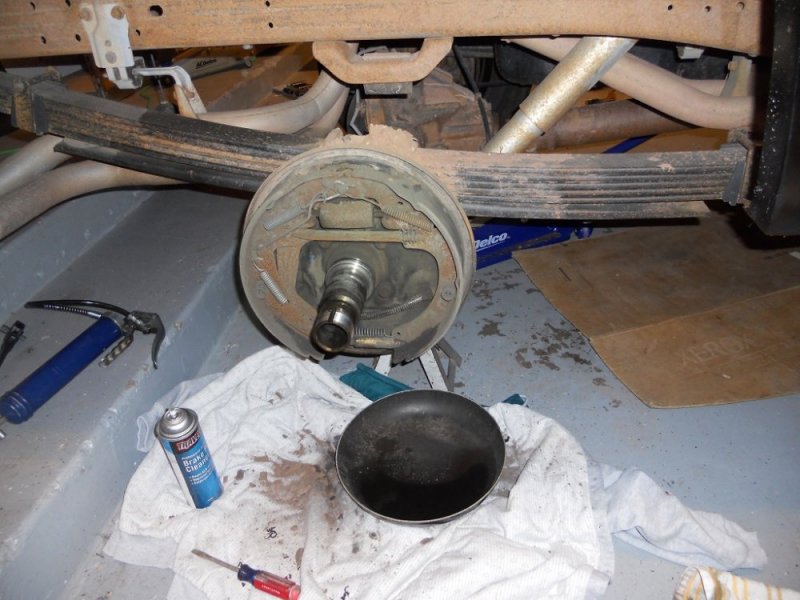
The oil leak from the brake drum is a concern!
No, I upgrade the concern to a full Problem! Pretty sure these brakes are supposed to be "dry" not wet frictions.
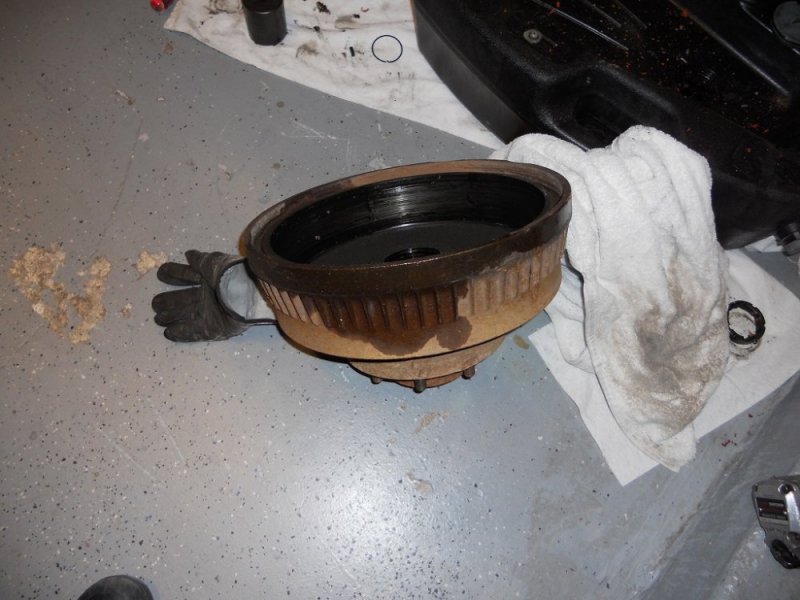
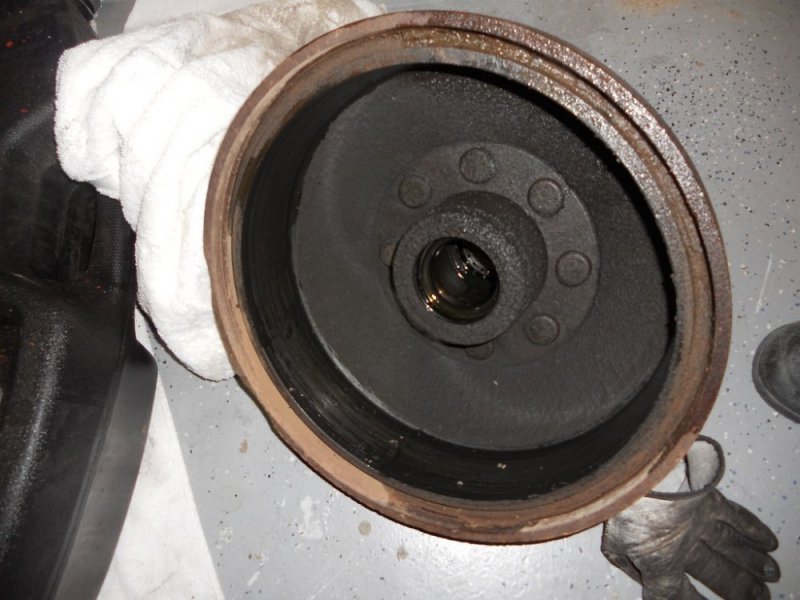
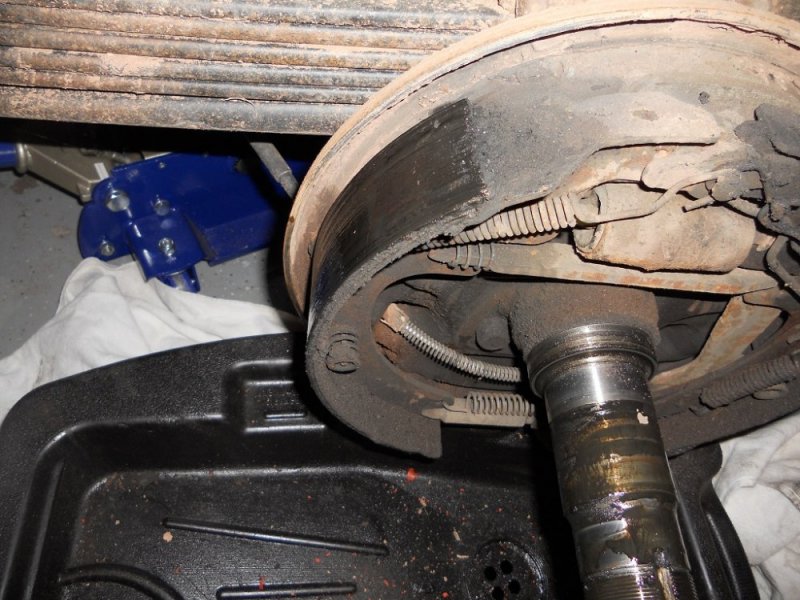
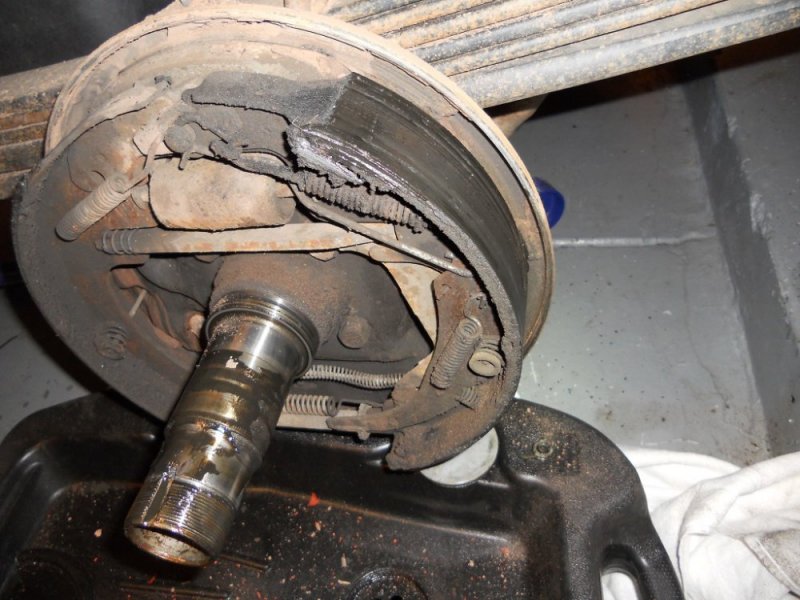
And this pic is so I know how the driver side goes back together. Thicker and longer shoe to the rear.
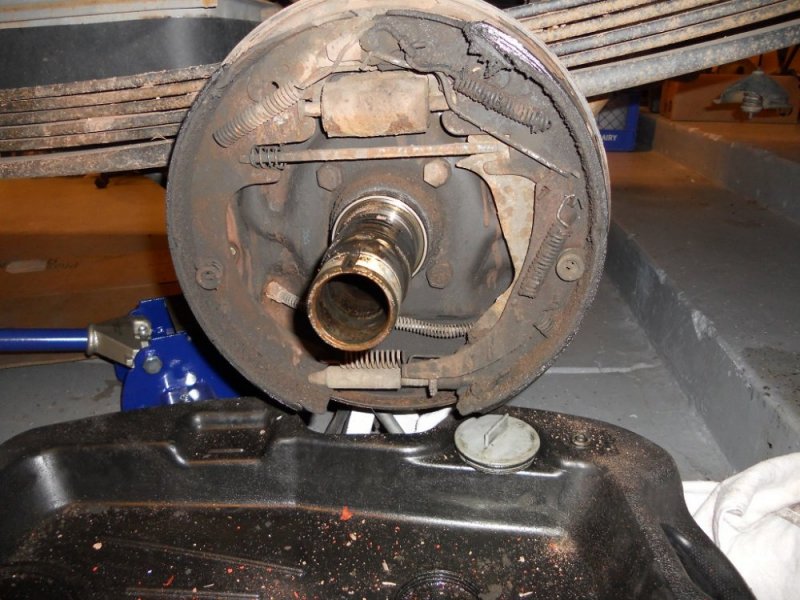
Yeah, no saving the shoes.
Assembly tip: Add some grease to the bearings. This lubes them until they get oil. Otherwise (not recommended) park with the serviced side low so oil flows to it. The bearings will burn up if you drive without doing either. You have to turn around if you do both sides and park for an hour or so.
Yes I should have checked the evaporator for an orface tube. However we charged and recovered the system a few times fixing a leak and the orface tube 2x problem. The amount of shop time saved and money saved on doing my own AC work has paid for one of these used many times over. I did have the R134a compressor changed in the Robinair and related work for $1500.00: The shop bill of just one complete AC job. Nice to have friends with one of these or own one outright in hot climates like ours. A leak sniffer is also a requirement because dye only does so much and takes days.

And a shout out again to @RockAutoLLC for carrying the "Good" rear brake shoes! Both Raybestos and Wagner! Local parts house quit carrying the Wagner because they don't sell well. DUH!!! Rear brakes aren't replaced that often!
WAGNER PAB655R (PAB451R, PAB451RNA, PAB655RNA) ThermoQuiet Rear; 13 x 2-1/2" Brake 8600 Lb GVW
The oil leak from the brake drum is a concern!

No, I upgrade the concern to a full Problem! Pretty sure these brakes are supposed to be "dry" not wet frictions.


And this pic is so I know how the driver side goes back together. Thicker and longer shoe to the rear.

Yeah, no saving the shoes.
Assembly tip: Add some grease to the bearings. This lubes them until they get oil. Otherwise (not recommended) park with the serviced side low so oil flows to it. The bearings will burn up if you drive without doing either. You have to turn around if you do both sides and park for an hour or so.
Last edited:
Couple of minor things left:
1) Major passenger side drum shoes and seal.
2) 4X4 front axle stays locked in. (they removed the light bulb.) Has the upgraded motor over the thermal mess, but, I suspect wiring wasn't done.
3) Passenger side power window goat and bailing wire ClusterF. Has a switch in the dash to put it up and down.
4) Radio missing install kit.
5) headlight switch going bad incl parking lights. Another Goat bailing wire switch...
6) Check oil in transfer case, front diff, and change oil rear diff.
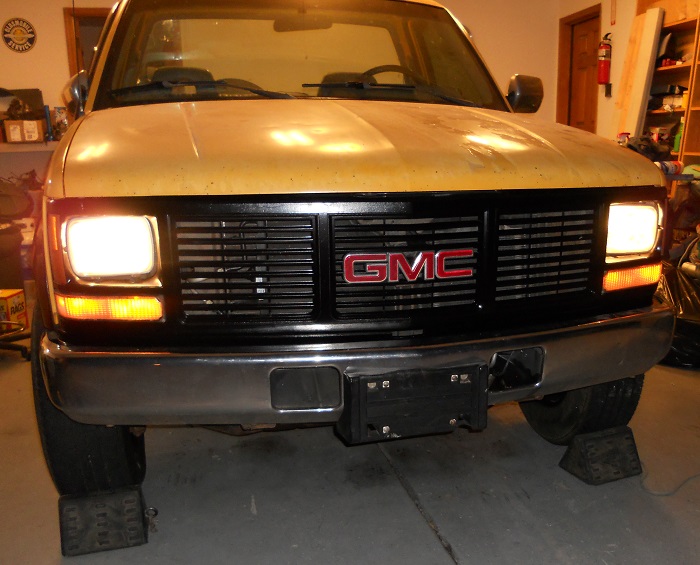
7) Put front grille in.
8) Fix brake lights.
Yes, that's a screw holding the switch in the UP position!
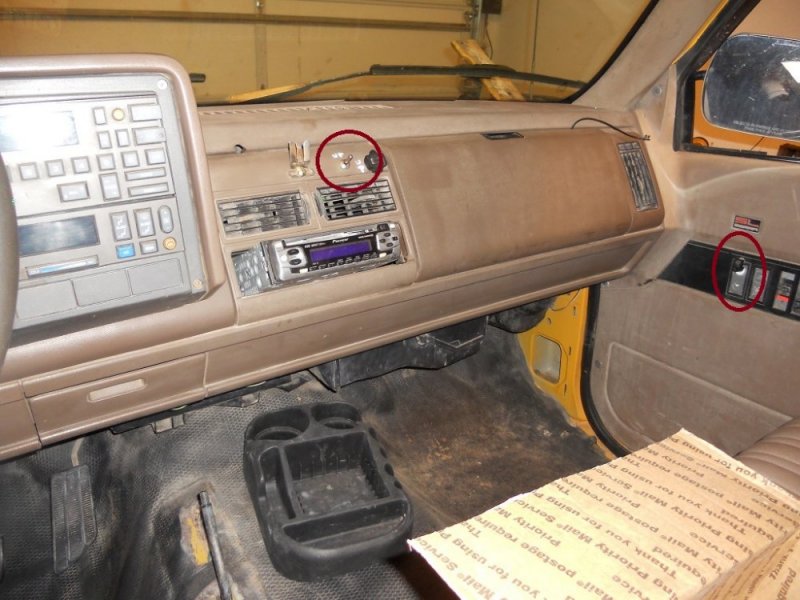
Headlight switch "Run a Bypass".
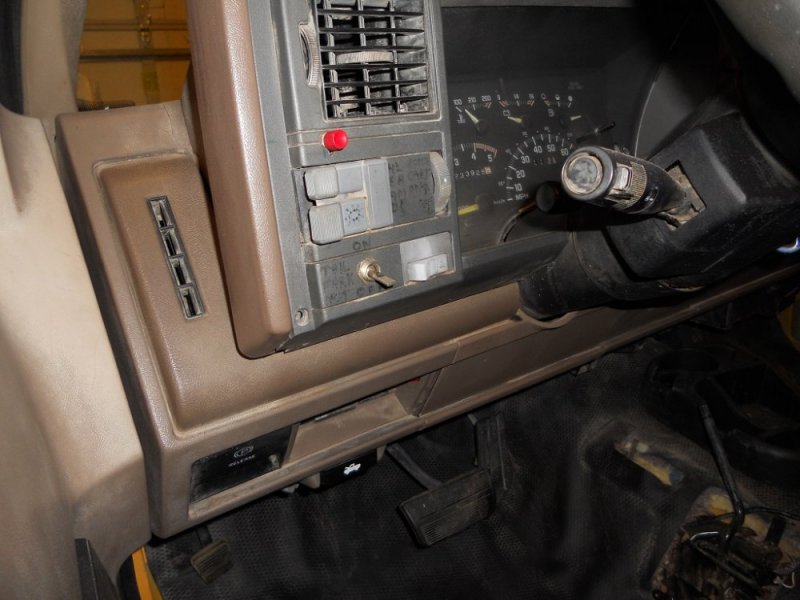
1) Major passenger side drum shoes and seal.
2) 4X4 front axle stays locked in. (they removed the light bulb.) Has the upgraded motor over the thermal mess, but, I suspect wiring wasn't done.
3) Passenger side power window goat and bailing wire ClusterF. Has a switch in the dash to put it up and down.
4) Radio missing install kit.
5) headlight switch going bad incl parking lights. Another Goat bailing wire switch...
6) Check oil in transfer case, front diff, and change oil rear diff.
7) Put front grille in.
8) Fix brake lights.
Yes, that's a screw holding the switch in the UP position!

Headlight switch "Run a Bypass".

Will L.
Well-Known Member
Oh my, the hours I spent using that same a/c machine. It ruined me by being so nice to work with.
Will L.
Well-Known Member
Hot rod mod: weld the spider gears for full posi!
Nosferatu49534
Well-Known Member
I like the front.Least the passenger side seal was good.
View attachment 49761
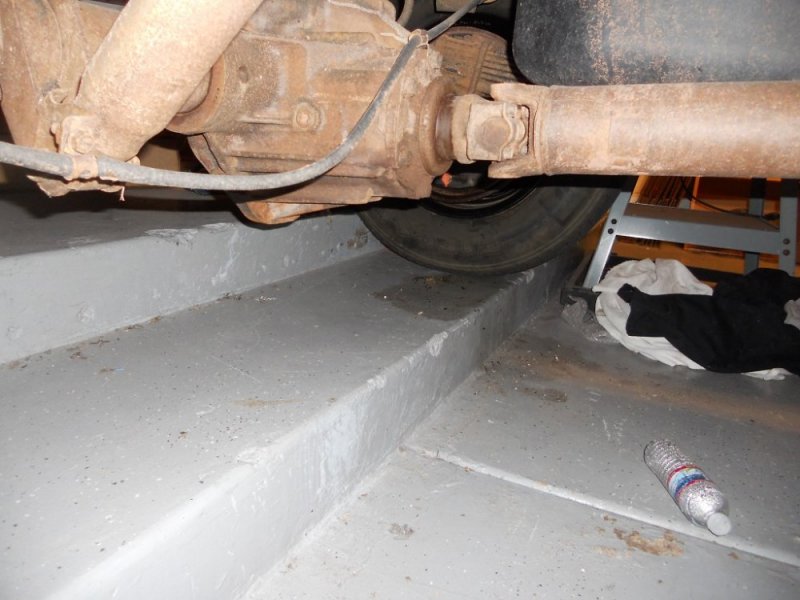
Grille is in. Has a "One Tire Fire" rear diff. Had it on the street and loaded the brakes up to seat the rings. It was rolling, shifted down to first, and lit it up. (OOPS!) Verified open when I changed the diff oil.
View attachment 49762
tanman_2006
Just a farm kid...
I've never had an issue with my axle bearings needing greased. I do dunk them in oil preassembly but after that I just pump in the amsoil and drive.
Had a buddy pack grease in his and lock up a bearing, got towed to the dealership and they told him no to grease the bearings or it will starve for oil.
Idk, heard both ways but never had an issue just filling with oil.
Had a buddy pack grease in his and lock up a bearing, got towed to the dealership and they told him no to grease the bearings or it will starve for oil.
Idk, heard both ways but never had an issue just filling with oil.
tanman_2006
Just a farm kid...
The exhaust looks lacking....
The exhaust looks lacking....
Surprisingly there is a GM part number on the muffler. It's the only double exit from the muffler I have seen on a 6.5TD. The install and hangers looks professional enough to be factory.
It is assuredly GUTLESS with a stock setting on the pump and the GM1 when wound up. However this is a rescue: not a Hot Rod.
tanman_2006
Just a farm kid...
A little dual purpose building never hurt anyone. Yank, att, trutrac, diamond eye, and and and and and and
Have the G80 in stock...
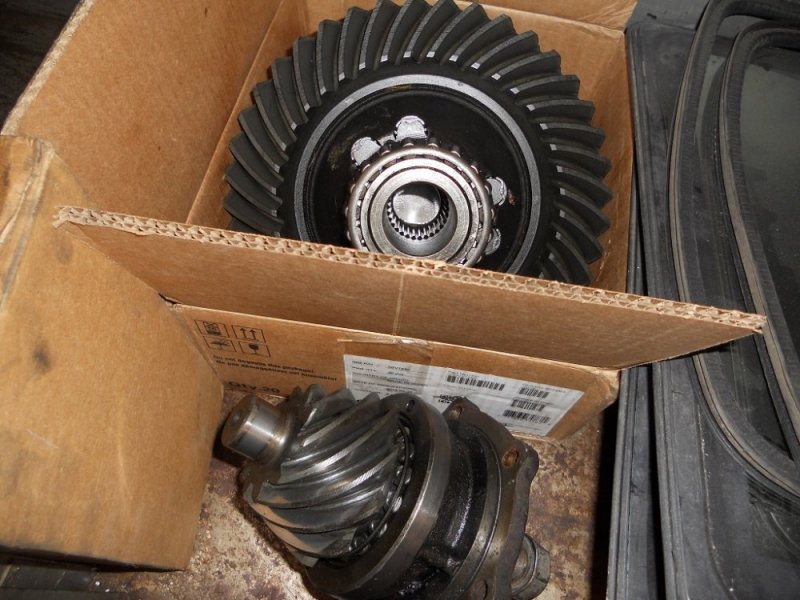
@Burning oil
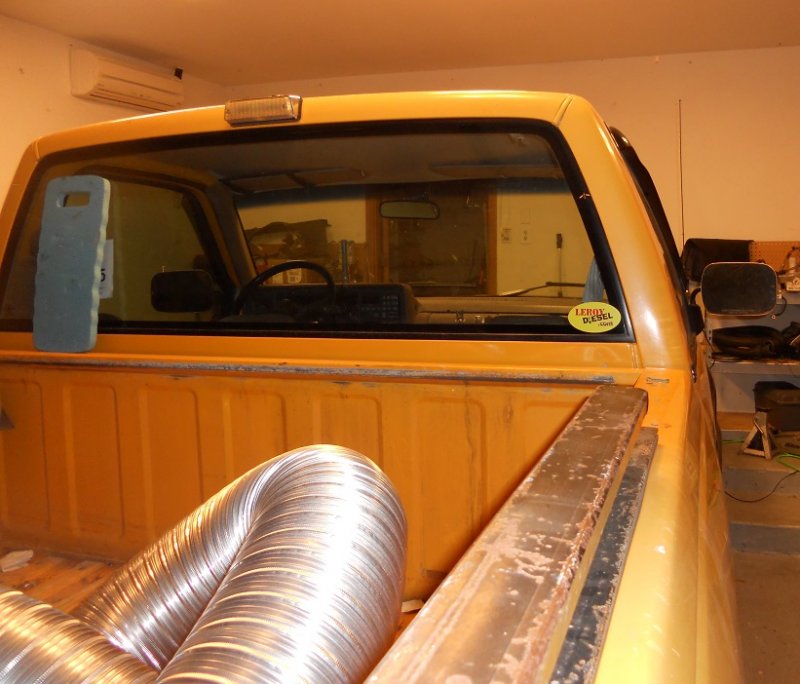
Went to WAR on the AC system.
Turns out the VOV I got was plugged solid. Made wrong whatever. So I ran the system without an orface tube and it sucked of course. So I went looking for the OT. Installed the VOV in the evaporator and found it was bad. Removed, put in standard OT as a VOV wasn't in stock and blew the oring out. Redid a couple time till it was fixed. The Orface tube is noisy in the bottom of the evaporator, but, it's blowing ICE cubes with a low 30's duct temperature. This is due to the dmax fan and the KD fan clutch moving lots of air in the under 100 degree weather.
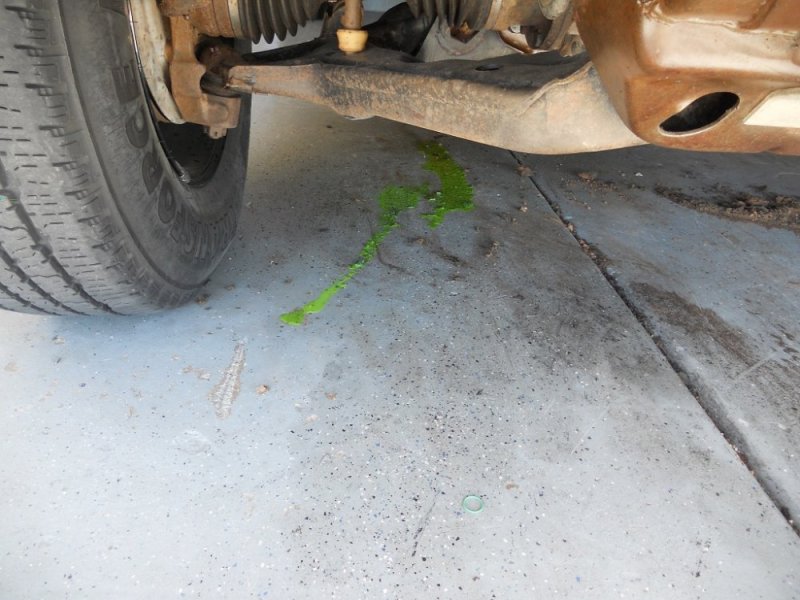
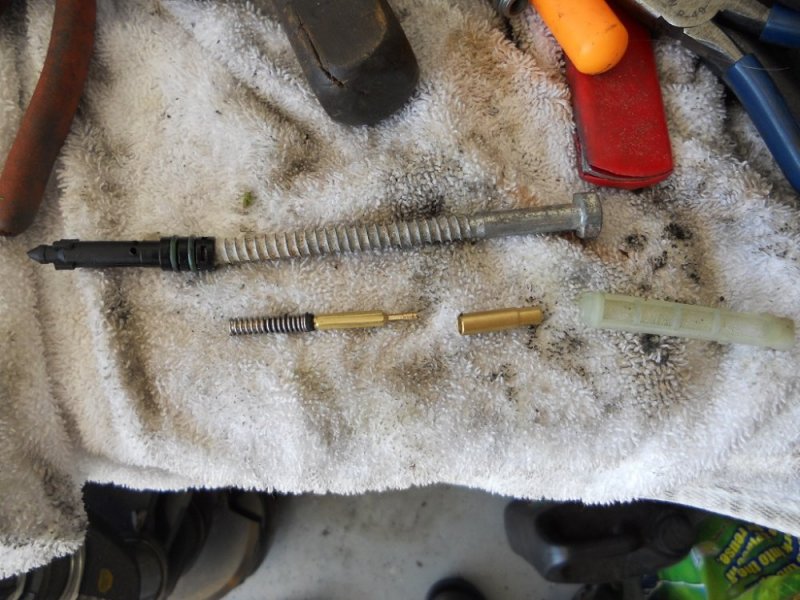
WAR? Removed?... Of course it was stuck and the screen popped off. Then compressed air merely blew the innards out. So a long lag bolt removed the rest of the bad VOV. Damned bad parts took an entire day to UN-FUBAR. The VOV itself is an ingenious device with the spring loaded brass things sliding in and out of the other brass part due to pressure. Phoenix has a larger orface at extreme pressures - if you look closely at the tip you can see the steps that make up the variable orface.
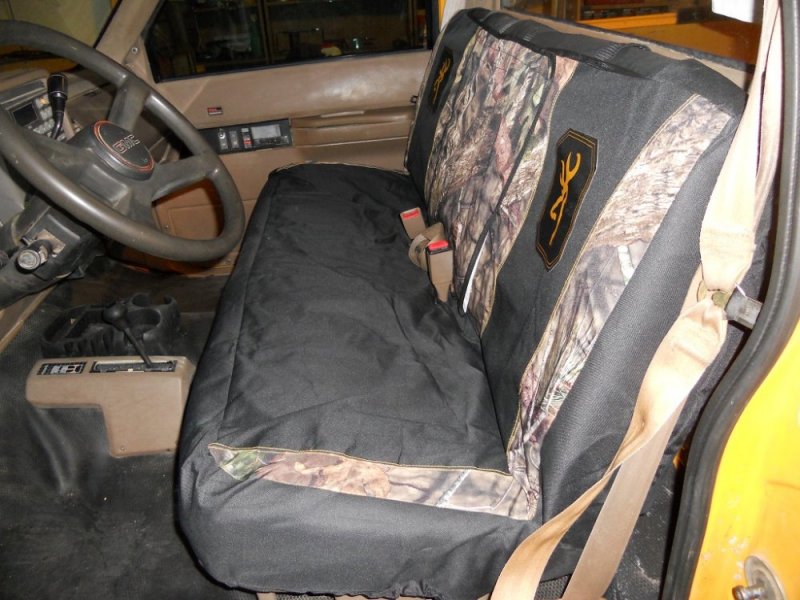
Seat handled.

@Burning oil

Went to WAR on the AC system.
Turns out the VOV I got was plugged solid. Made wrong whatever. So I ran the system without an orface tube and it sucked of course. So I went looking for the OT. Installed the VOV in the evaporator and found it was bad. Removed, put in standard OT as a VOV wasn't in stock and blew the oring out. Redid a couple time till it was fixed. The Orface tube is noisy in the bottom of the evaporator, but, it's blowing ICE cubes with a low 30's duct temperature. This is due to the dmax fan and the KD fan clutch moving lots of air in the under 100 degree weather.

WAR? Removed?... Of course it was stuck and the screen popped off. Then compressed air merely blew the innards out. So a long lag bolt removed the rest of the bad VOV. Damned bad parts took an entire day to UN-FUBAR. The VOV itself is an ingenious device with the spring loaded brass things sliding in and out of the other brass part due to pressure. Phoenix has a larger orface at extreme pressures - if you look closely at the tip you can see the steps that make up the variable orface.

Seat handled.

Last edited:
tanman_2006
Just a farm kid...
Tilt wheel, power doors, seat cover, and AC? Please tell me your roof leaks, head liner is falling, and window is cracked...

