• Welcome to The Truck Stop! We see you haven't REGISTERED yet.

    Your truck knowledge is missing!
    • Registration is FREE , all we need is your birthday and email. (We don't share ANY data with ANYONE)
    • We have tons of knowledge here for your diesel truck!
    • Post your own topics and reply to existing threads to help others out!
    • NO ADS! The site is fully functional and ad free!
    CLICK HERE TO REGISTER!

    Problems registering? Click here to contact us!

    Already registered, but need a PASSWORD RESET? CLICK HERE TO RESET YOUR PASSWORD!

1990 F350 4x4 7.3 IDI

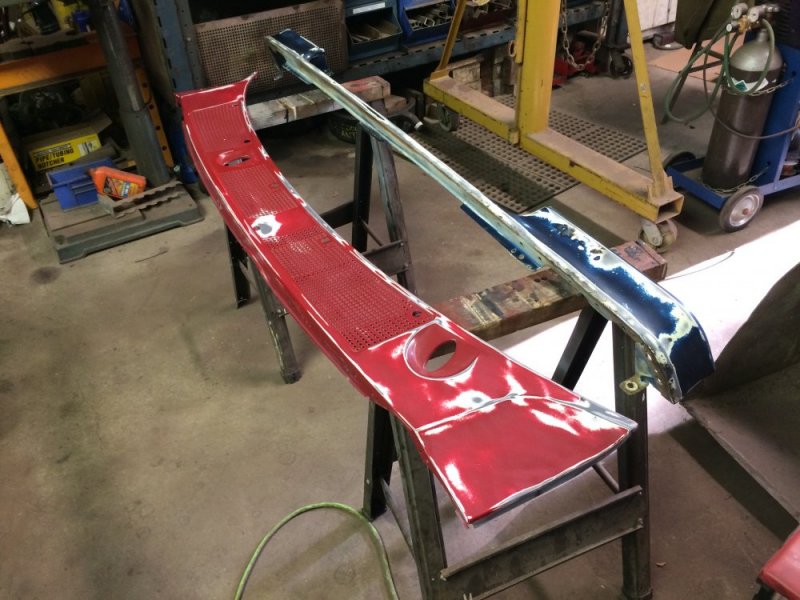
I know the old fish oil based red metal primer stops rust unlike other primers. I primed a tank 30+ years ago and it still looks good and that's with no paint over it.
 
This is common esp in areas that use the AC more. before doing any AC work make sure you have new high and low side
shrader valves on hand. Then when the system is empty change them out. Every single time. Small window of 30 days you might get away with them sealing back up, but, have them on hand. Hotter temps and system operating temps like we get just bake the high side valves down beyond reuse. (The high side sees 160 to nearly 200 degrees, around 450PSI and slightly hotter 500 PSI the relief vents the system.) Any wear debris will cause a leak as well.
That's a good point. In my particular case, I had damaged the shrader valve when I screwed the R134 adapter that contains a sharder valve of its own on top of the R12 low side port without removing the existing shrader valve first. Conveniently, the low side port is on the accumulator, so when I swapped the accumulator I also got a new low side shrader valve as a two-fer. But you're right....I should have also put a new shrader valve in the high side port while it was apart. I put dye in the system, so I'll be sure to keep an eye on that high side port to see if it leaks....if so, then I'll know what the culprit is.
 
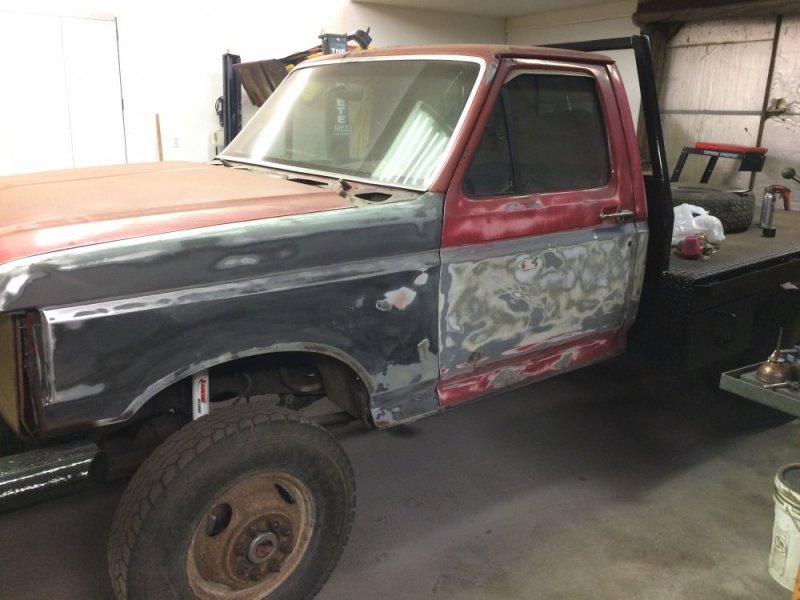
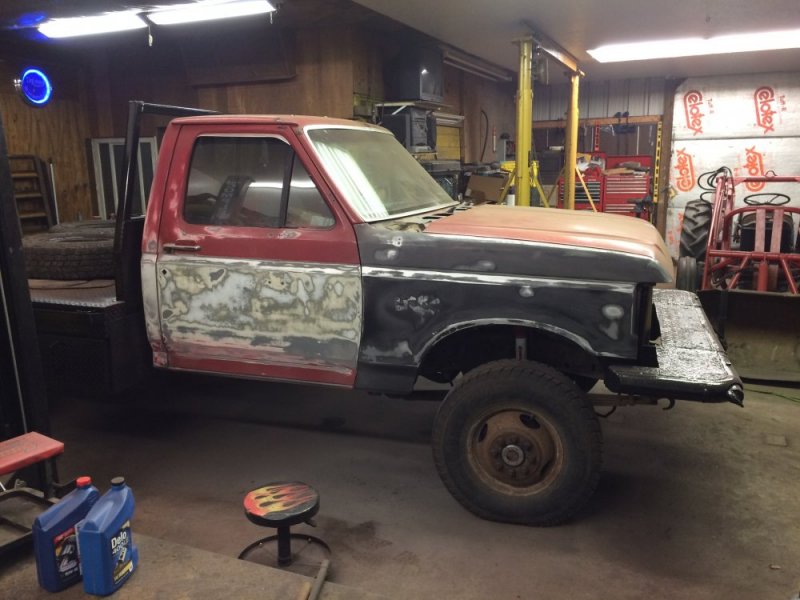
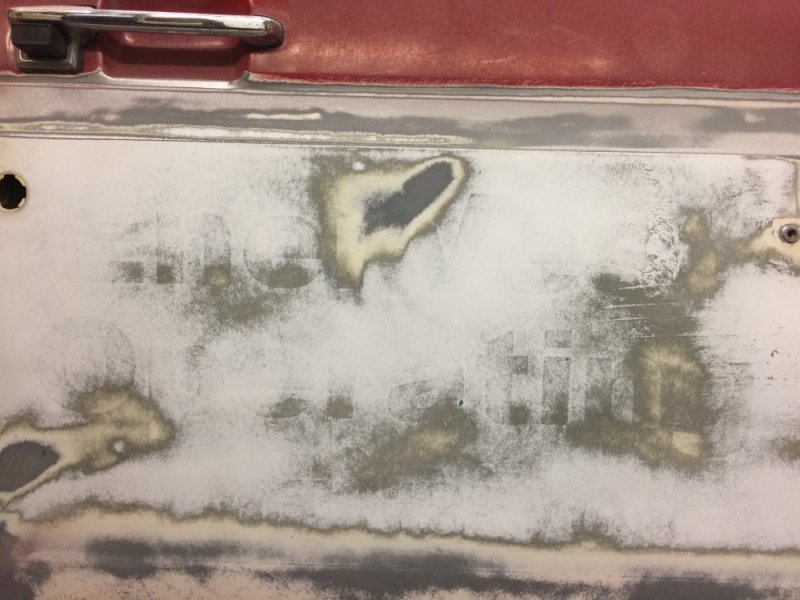
More DA action tonight. As I was sanding the doors I discovered a clue to the truck's past: I uncovered the words EnerVest Operating. I Googled it and found that there's an oil company with that name. I guess that's part of the life she lived in her past. I wonder how long ago and for how long??

https://www.enervest.net/

Done for now, I needed to give the compressor a break in this heat - I discovered my block heater from this winter was still plugged in!! So I drained the oil and I'm heading out to get fresh oil now. I'm glad I noticed that, sheesh!!!IMG_9180.JPGIMG_9181.JPGIMG_9182.JPG
 
Just curious . . .

Why not use stripper? Brush-on, wash off . . .
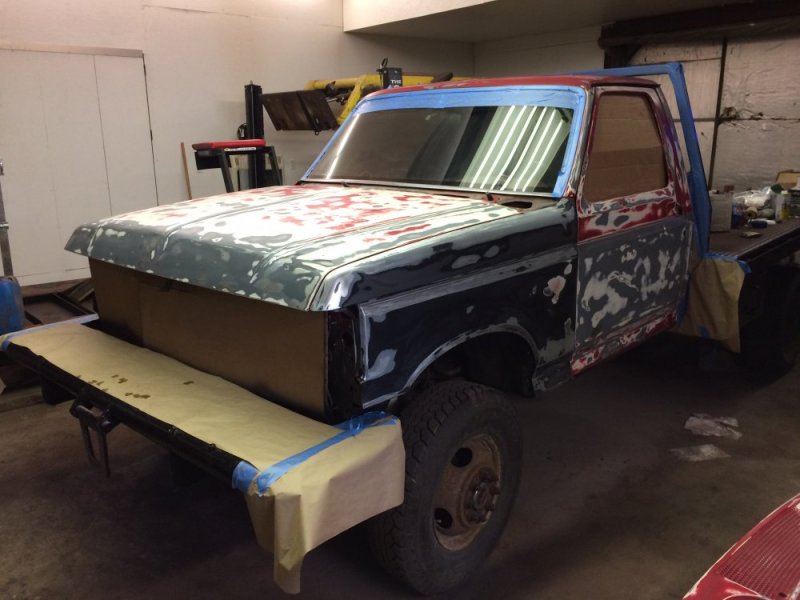
Well, I've never used that stuff, for one, so I guess there's that. But also, I'm not trying to make the truck perfect, just clean it up enough so it can get a solid coat of tractor paint. So really my main goal is to sand off paint stripes, make any rough surfaces smooth and sand down scratches and gouges in the existing paint so they don't telegraph through the new paint. I'm not planning on fixing any dents in body panels because there are quite a few and I will be forever fixing those, but also I don't want to have to worry about denting this truck - I won't deliberately beat on it and bang it up, but if it gets an incidental scratch/dent I don't want to cry over it....in fact if I do, I'll probably just touch it up really quick with a spray bomb.
 
Go over the frame and check the axles real good. We broke frames and axles in the muddy oil patch. Due to liability we scrapped broken frame Fords, but, not everyone would. Looking for a crack or welded up frame.
 
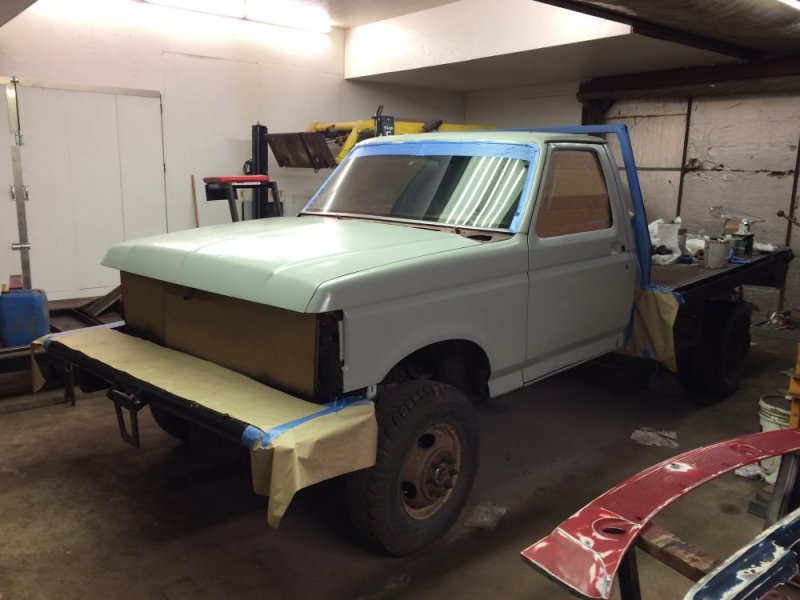
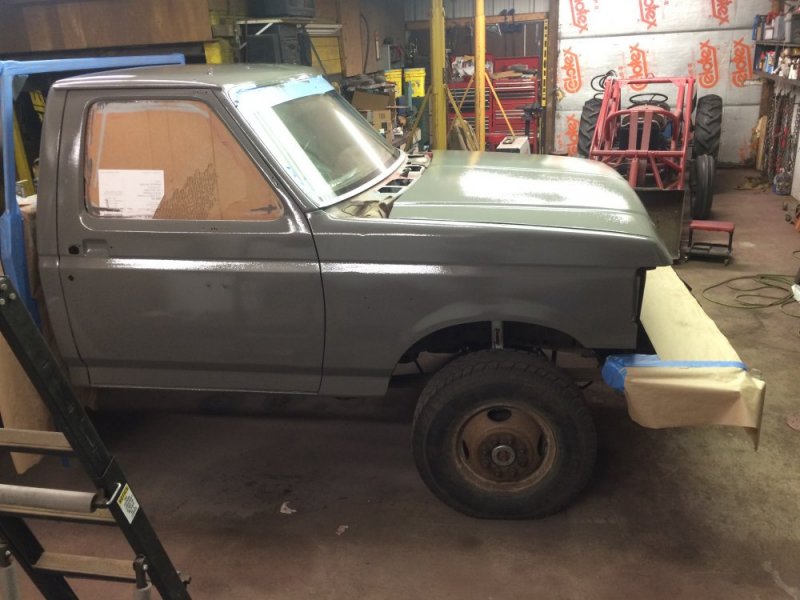
Just about ready..... I DAd the body with 240 to get rid of 80 grit sanding marks and then masked. I have made a possibly controversial decision: I'm going to apply the paint with a roller. I went back and forth a couple times - from rolling on Rustoleum all the way to buying good automotive paint and spraying it. I finally decided that rolling Valspar tractor paint with hardener was an appropriate path for this project for a few reasons: 1. I'm not currently set up for spraying so I'd have to work on plumbing my air supply to make it good enough for painting and I don't want to spend extra time right now. 2. I don't really want to deal with the overspray. 3. As stated before, I don't want to cry if the paint gets scratched, so tractor paint will be easy to touch up if I want....either by rolling on more or using a spray bomb. 4. It's just plain less stressful to roll, and that sounds really good to me right now - I like working on the truck after work to reduce stress, not add to it.

So I've seen people that roll a paint job and then do all kinds of wet sanding to make it as smooth as a sprayed paint job.....none of that going on here! I will scuff the primer with a 3M pad once it's dry to help topcoat adhesion, but that's it. I kind of hope it has a nice even texture in fact....we'll see. But also I may thin it just enough so it lays flat. Who knows. Not terribly worried - it will be one color and not rusty and that's all this truck needs to be.

Tonight I wiped it down with grease and wax remover and then went over it with tack cloths. Tomorrow I'll hit it with tack cloths again and then start priming. Sunday should be the first color coat and then another color coat Monday night. After that will be reassembly. The end is near!!IMG_9209.JPGIMG_9210.JPGIMG_9211.JPG
 
I know what you mean about not wanting to add to stress after work......... Looking forward to seeing that work truck in color!
 
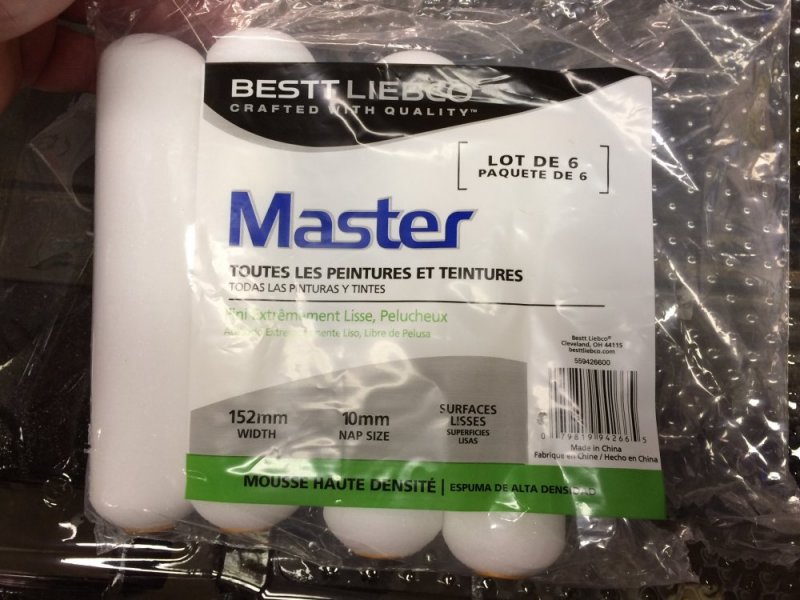
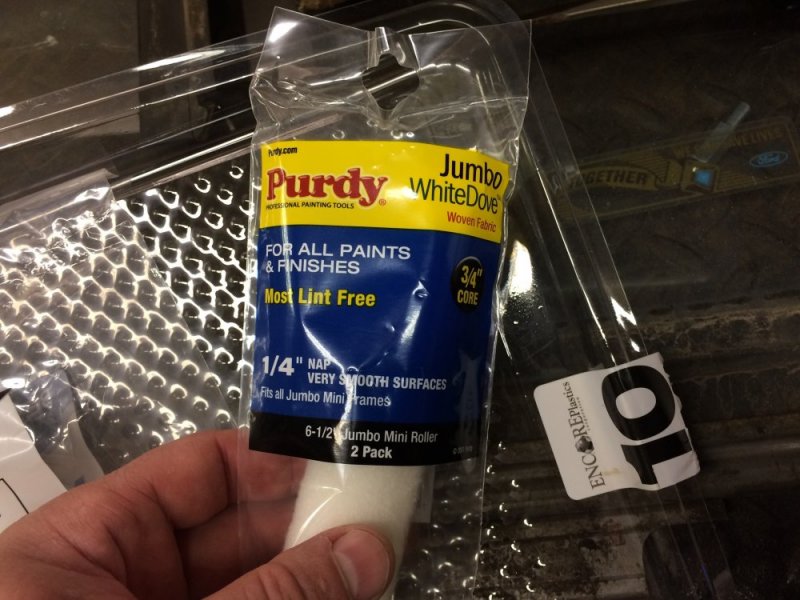
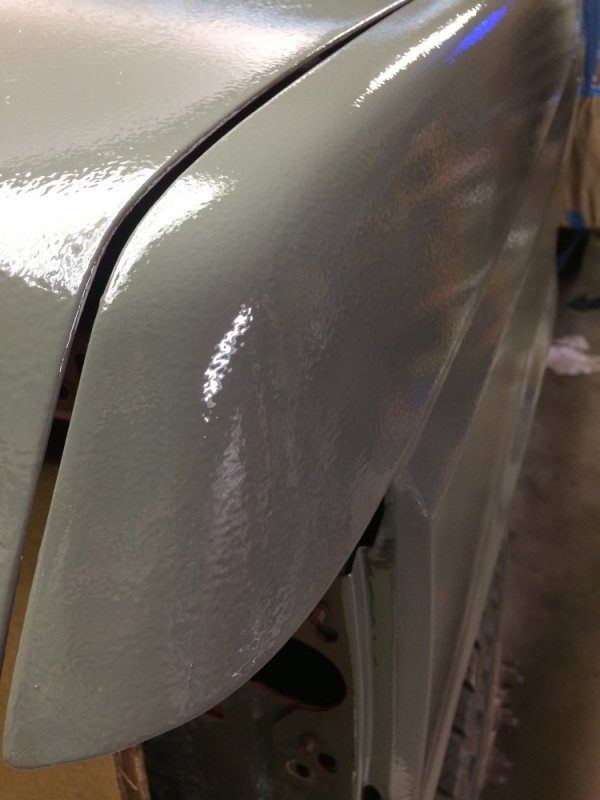
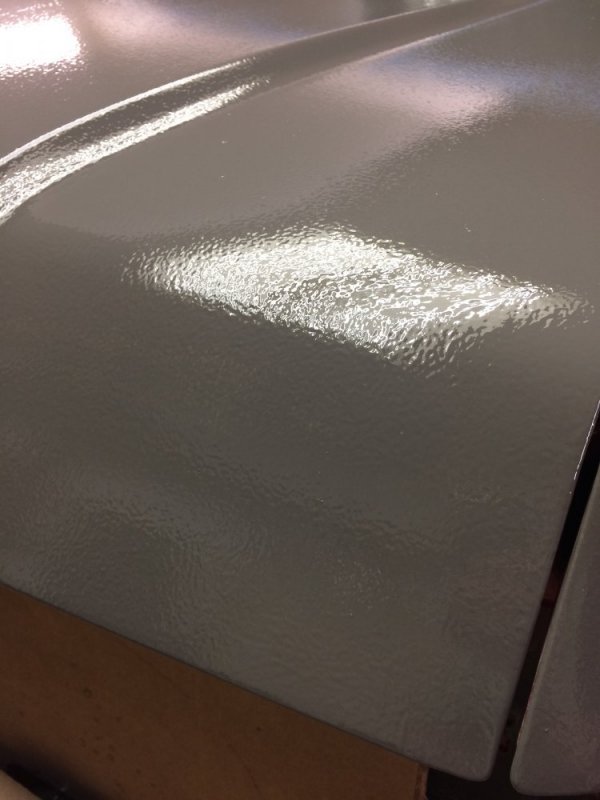
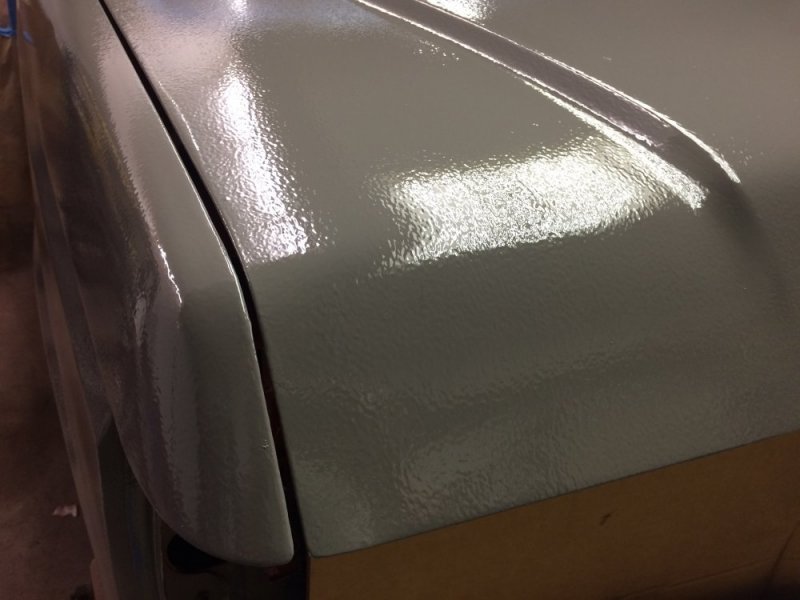
I got the primer on tonight - it was a lot harder than I anticipated. I did have a little complication that didn't help - the rollers that I first bought sucked.....so much in fact that I ran out and bought different ones before I even finished painting the roof. The first ones I used were foam and they were made not concentric with the roller so they kind of bounced as you rolled and you could see that in the paint. Also it was pretty much impossible to blend each pass with the previous pass so I was getting a ton of lines. Once I got the other rollers I was able to get a much more consistent coat. However, the new rollers leave more texture so then you have to be very consistent with your strokes to make it all even. I think it's going to work out fine though - the texture so far is reminding me of what I had in mind when I originally said I wanted to paint the body in bedliner. If I can keep the texture consistent I think it will look good, but time will tell.

Now that I have so much texture I'm starting to think that I won't scuff the primer before I top coat because I'm just not sure what that will do to the finish and I don't know that it will really help adhesion. I'll try to take some good pics of the texture once it's dried.

IMG_9228.JPG

These are the rollers I didn't like.

IMG_9229.JPG

These are the ones I ended up happy with.

IMG_9230.JPG

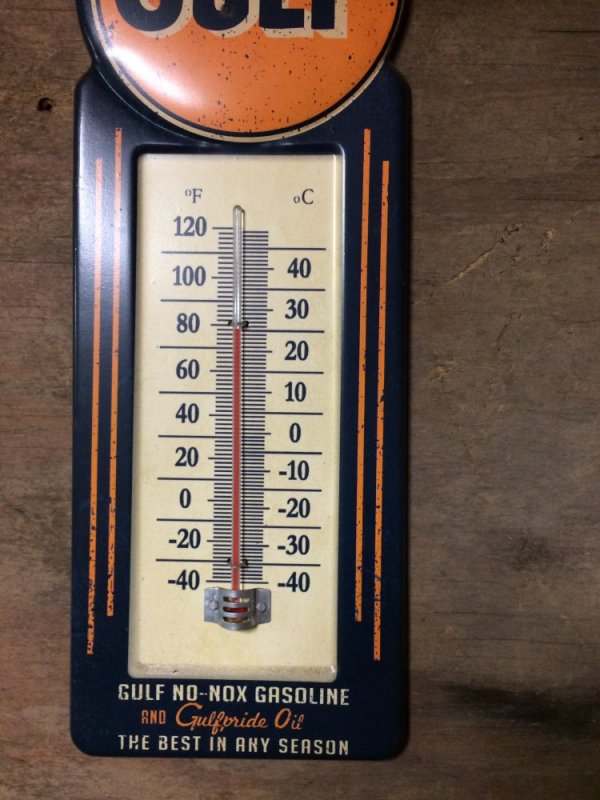
Temp in the barn.

IMG_9226.JPG

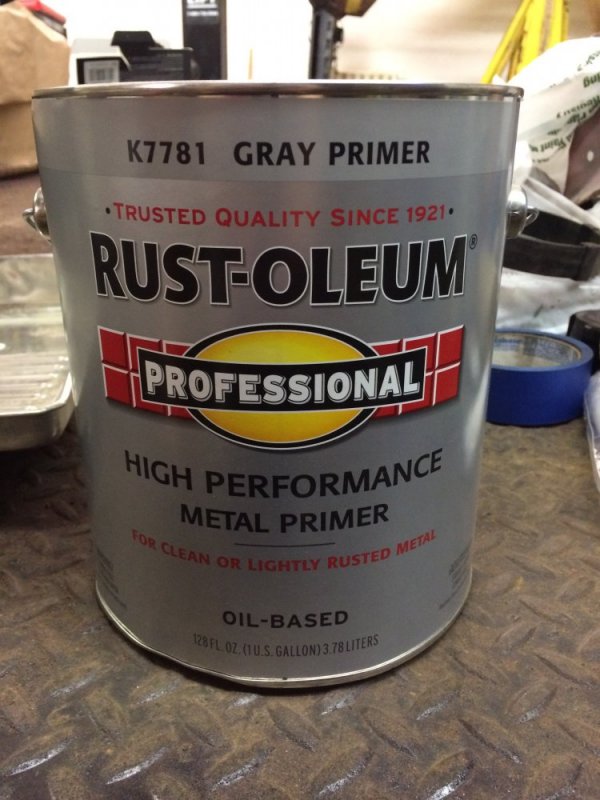
Primer I used. I used about 1/3 gallon for this coat.

IMG_9227.JPG
 
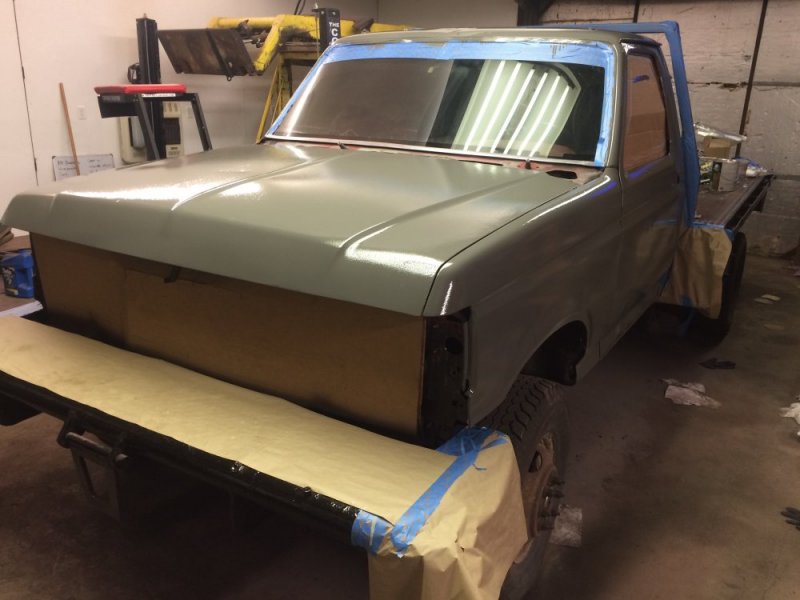
First coat of paint was put on this morning and has been drying for about 5 hours now. The paint flows much better than the primer did and I think that had the primer coat been smooth I could have nearly had a flat/smooth coat of paint on it. I had to be much more careful about runs with the paint than I did with the primer. Tomorrow night I should be able to put the second coat of paint on. This coat only used about 1/4 of a gallon of paint and unfortunately I had mixed up 1/3 gallon of paint and hardener, so tomorrow I'll mix less. One thing I didn't realize was you have to wait 30 minutes to let the hardener activate before you start applying the paint, so that was a little of a surprise, but I just watched some videos on YouTube while I waited and stirred periodically.

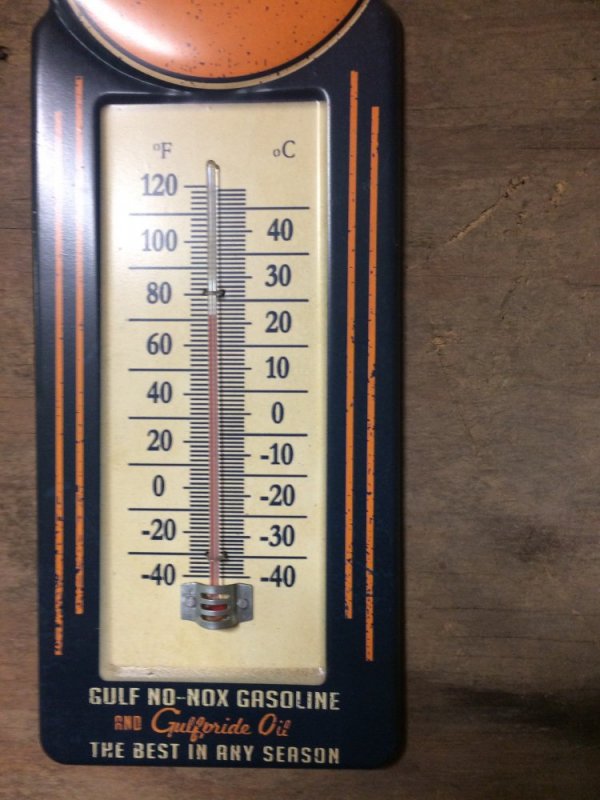
Temp in the barn

IMG_9238.JPG

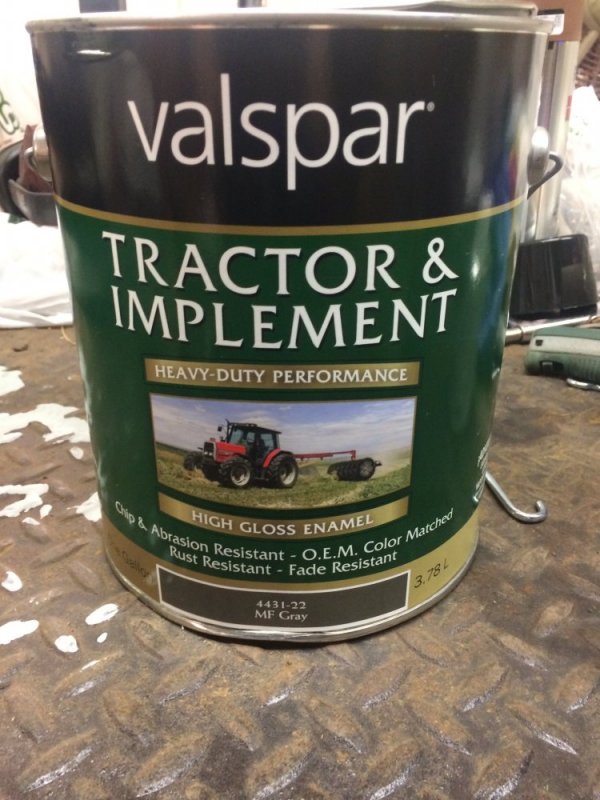
Paint I used

IMG_9239.JPG

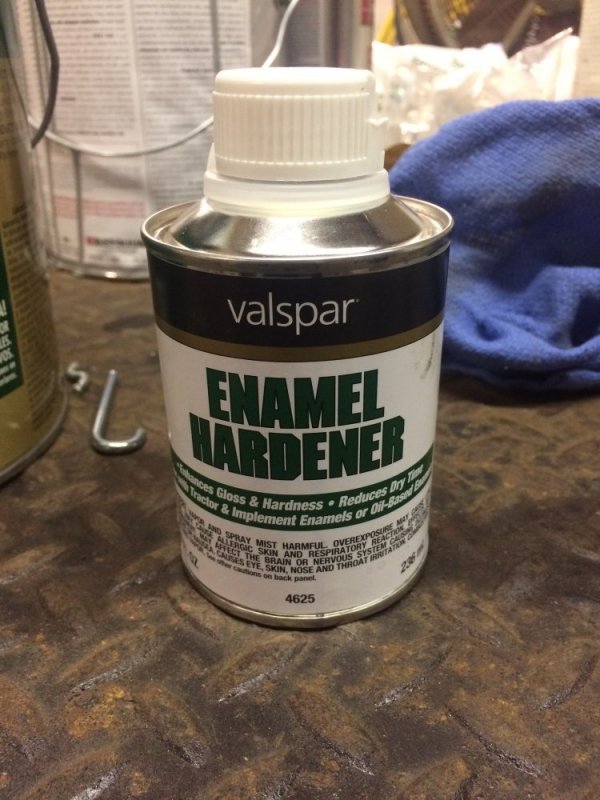
Hardener I used

IMG_9240.JPG

While the paint was wet

IMG_9241.JPG IMG_9242.JPG

After 5 hours of drying

IMG_9245.JPG IMG_9246.JPG IMG_9247.JPG
 
It looks tough. But your thermometer seems broken- never seen one that low in July/ August. Maybe take it out of the fridge?
 
It looks tough. But your thermometer seems broken- never seen one that low in July/ August. Maybe take it out of the fridge?
Ha! I think I would melt in your neck of the woods. I do have a trick though - I have a window shaker mounted in my barn for the first time this year and it's good for taking the edge off.
 
Back
Top